Why Take a VMware Snapshot?
So how exactly can people benefit from taking snapshots of their VMs?
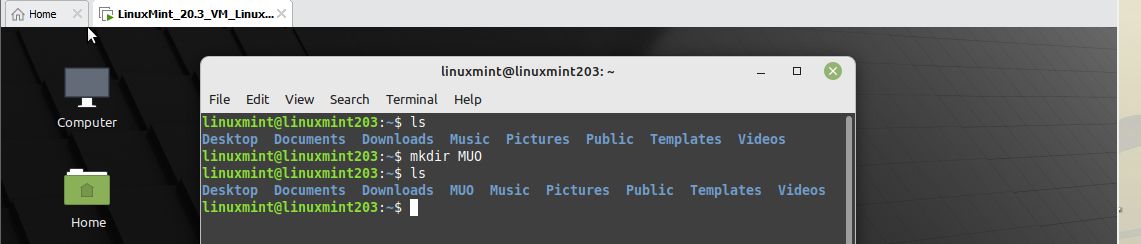
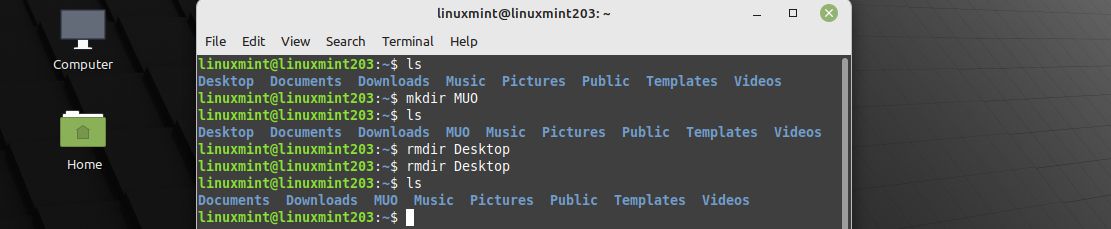
In the screenshot above, we usedbasic bash commandsto create a directory named “MUO.”

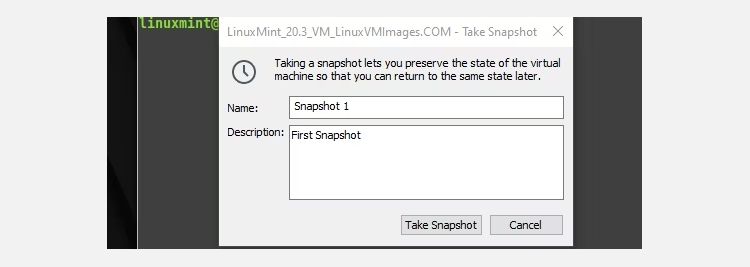
Now, we want to take a snapshot of this state so that we can revert to it later.
To take a snapshot using VMware:
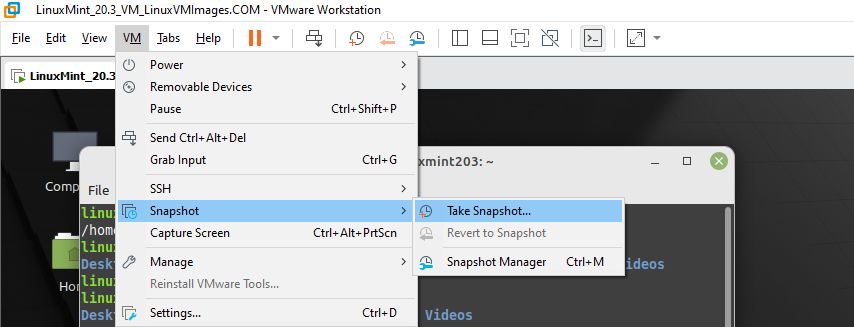
Navigate through your toolbars and click onVM > Snapshot > Take Snapshot.
Or you might tap on the snapshot icon (clock with a plus symbol) to take the snapshot.
You have now successfully created a VMware snapshot!
How to Restore and Manage Snapshot
Reverting to a snapshot is also as easy as making them.
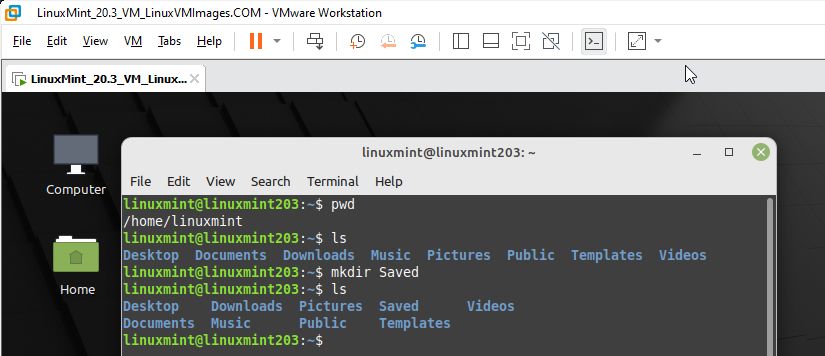
This was a mistake, and now we want to revert to our previous snapshot.
The machine has now successfully reverted to its old state, as shown in the screenshot below.
check that tofree up some storage spaceand allot enough memory on the host equipment for your snapshots to grow.
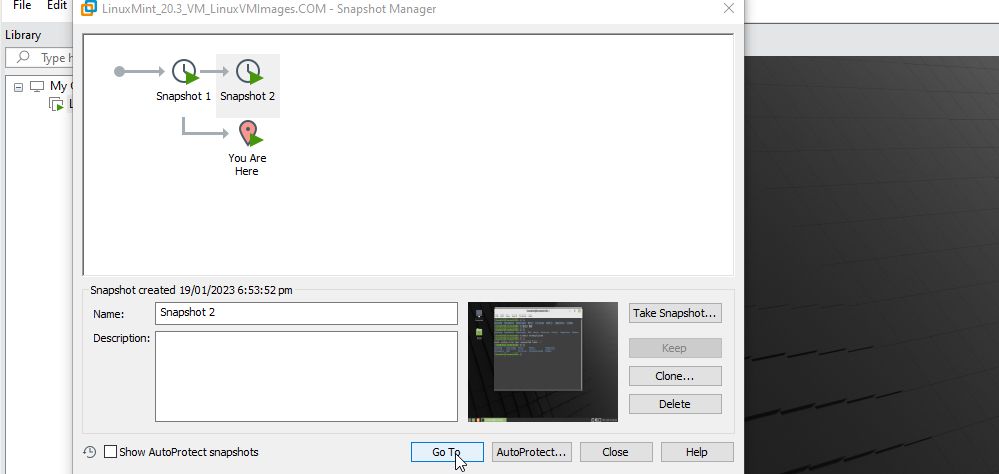
To revert to a specific state, press the snapshot you want to revert to and clickRestore.

you’ve got the option to also delete, clone, and protect certain snapshots in this menu.
you’re able to now take, restore, and manage VM snapshots in VMware Workstation.
Cloning is best used when making multiple copies of a VM for testing and development.
What About VMware Workstation Player?
VMware provides two flavors of its VMware Workstation: VMware Workstation Pro and VMware Workstation Player.
Unfortunately, VMware Workstation Player does not provide the snapshot feature (with or without a product key).
However, there is a way to manually create a snapshot in Workstation Player.