You may already be used to one of many free animation software systems.
You might also be familiar with traditional animation, which is a worthwhile skill to have.
In the world of digital animation, the industry standard is Toon Boom Harmony.
This walkthrough covers the bare necessities required to get started with Harmony 20 in the most rudimentary sense.
What Is Toon Boom Harmony?
Toon Boom Harmony is one of the most enjoyable experiences that a digital animator can partake in professionally.
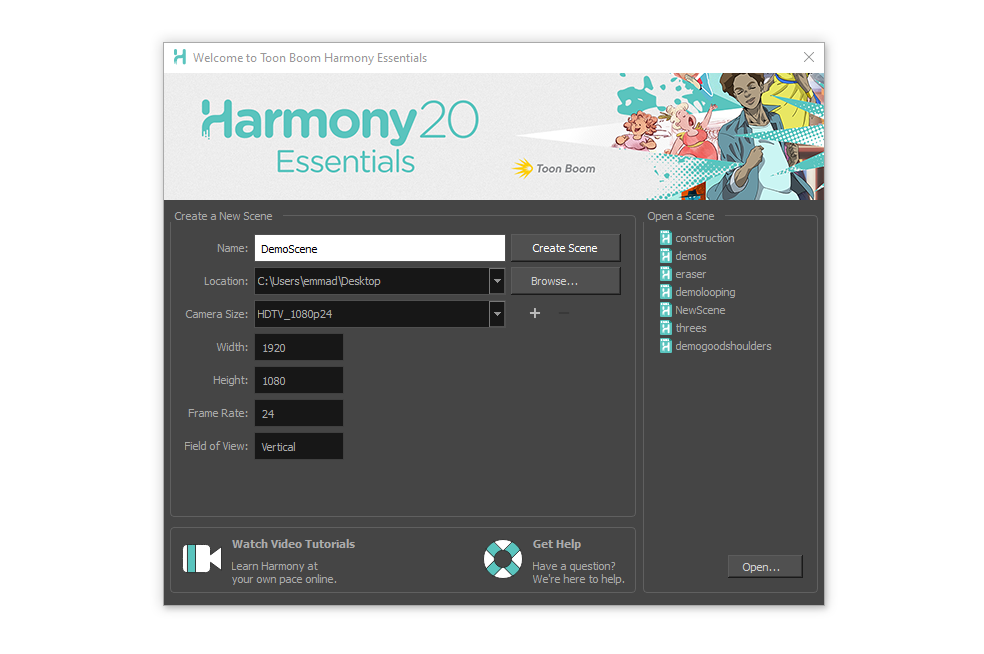
Creating a new scene in Harmony 20
It’s an end-to-endanimation systemcapable of both cut-out animation and paperless animation.
Just pick your poison and you’re off to the races.
Many will cite the learning curve associated with Harmony, but we encourage you to pay them no heed.
it’s possible for you to purchase a subscription for Harmony 21 onToon Boom’s website.
The subscription starts at $25.50/month for the most basic version of the software.
Name your project, select a destination, and hitCreate Sceneto continue.
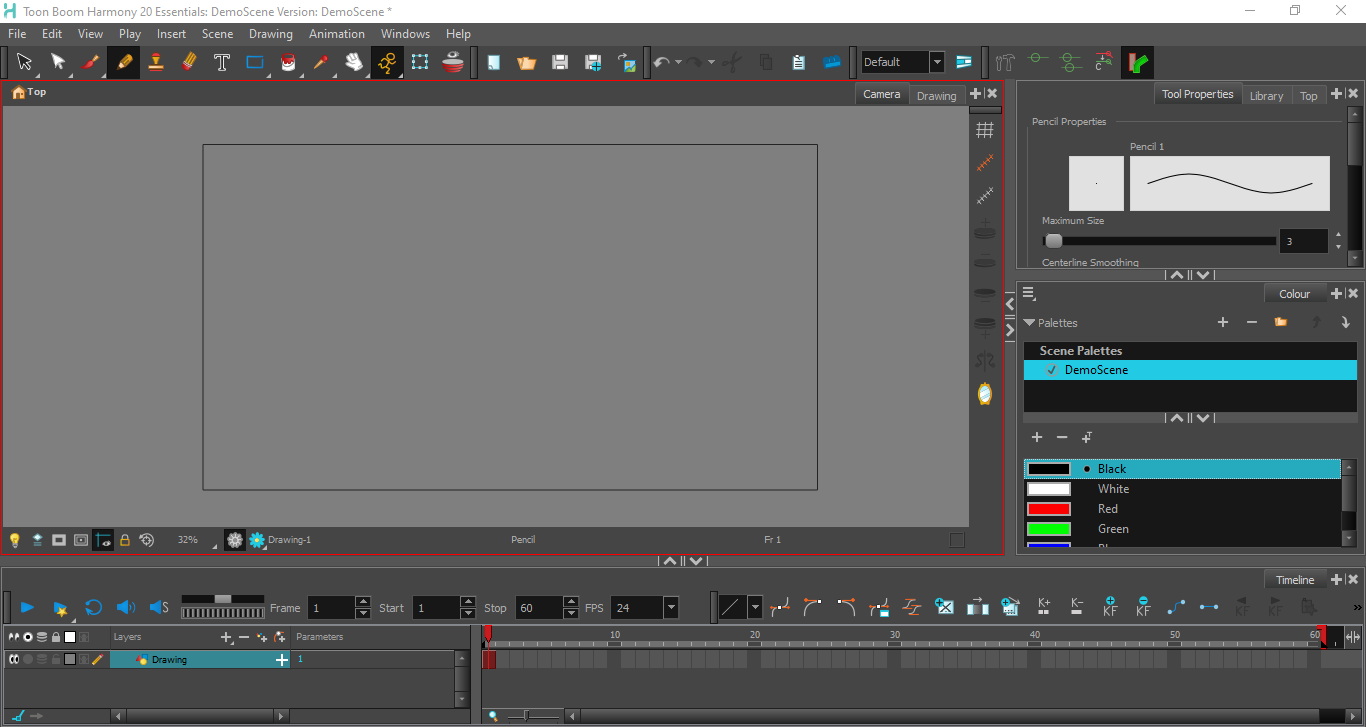
The natural reaction is to panic, but we urge you to push through.
A moment of scrutiny will help untangle what’s in front of you.
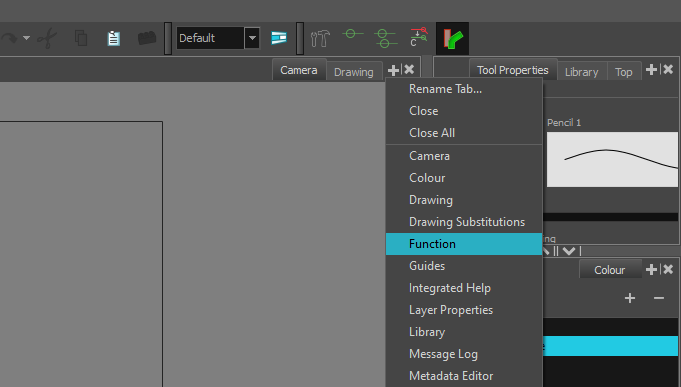
To add a new View to a docked group, click theplus(+) symbol.
There are many Views, and several of them come with dedicated Toolbars.
For somebody just starting out, a couple of these Views will be more immediately useful than others.
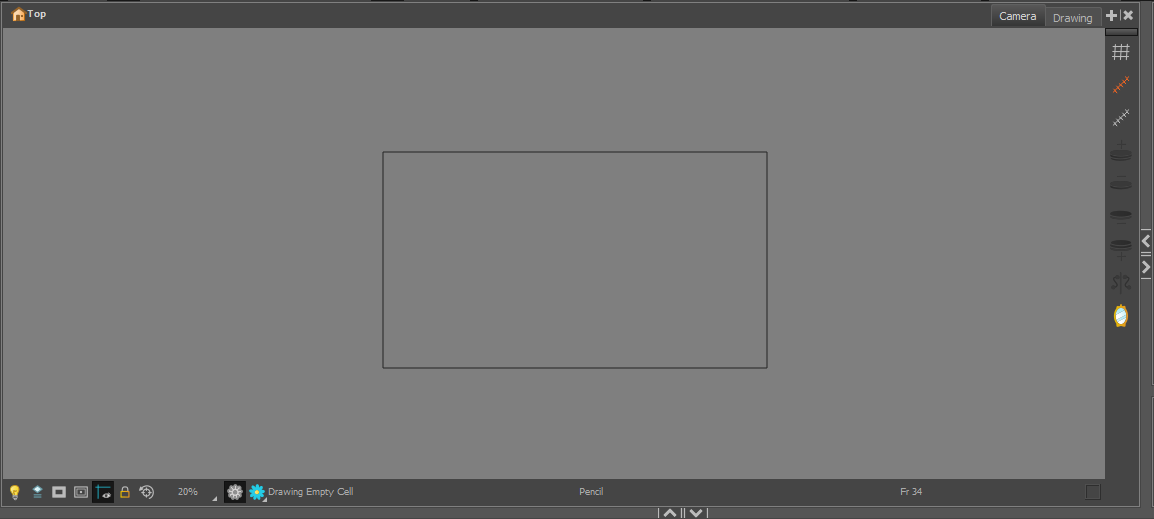
You draw here, move things around, and view your animation frame-by-frame and in real-time.

Underneath the staging area, some display options line the bottom of the frame.
The Light Table is one that you will probably end up using a lot.
To the right, the Camera Toolbar lets you toggle the Grid on and off, among other things.
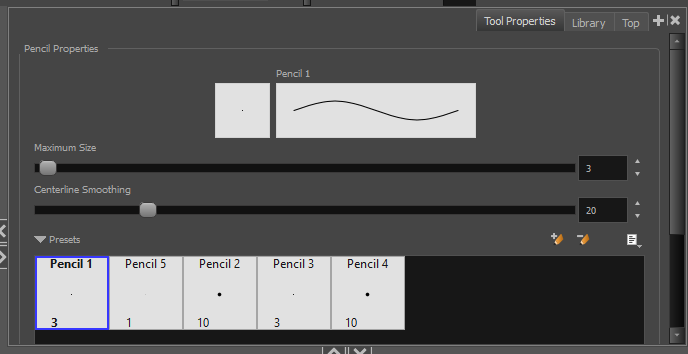
The Tool Properties View
Next to the Camera Toolbar, you should find your Tool Properties.
Some tools also offer alternate modes, which are found here as well.
This feature makes painting each character, prop, and scene a breeze.
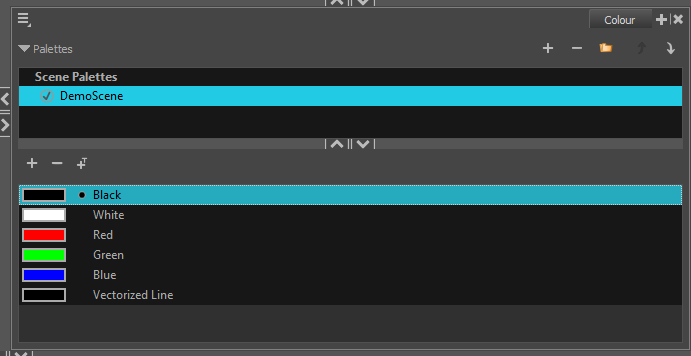
These palettes are dynamic.
Using this feature will save you a ton of time.
All of your animation layers will be stacked up on top of each other.

Each frame on each layer will be displayed along the Timeline itself temporally.
Everything that you should probably navigate the Timeline View will be found right above.
The Start and Stop dropdowns act as a pair of in and out points for your Timeline.
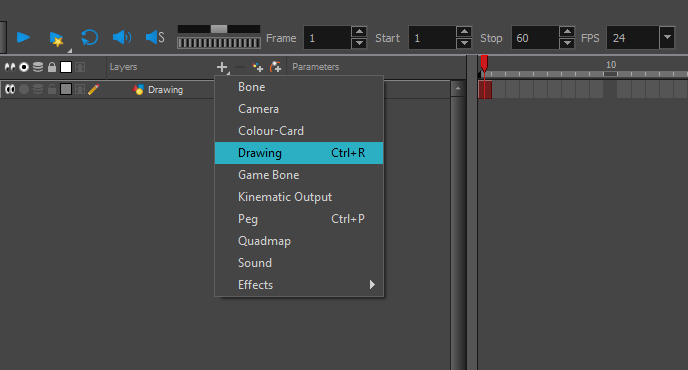
To create another layer, punch theplus(+) icon right above the Timeline.
you could also create a new layer from theInsertdropdown above.
it’s possible for you to navigate between them by simply clicking on the one that you need.
A new blank frame should appear automatically.
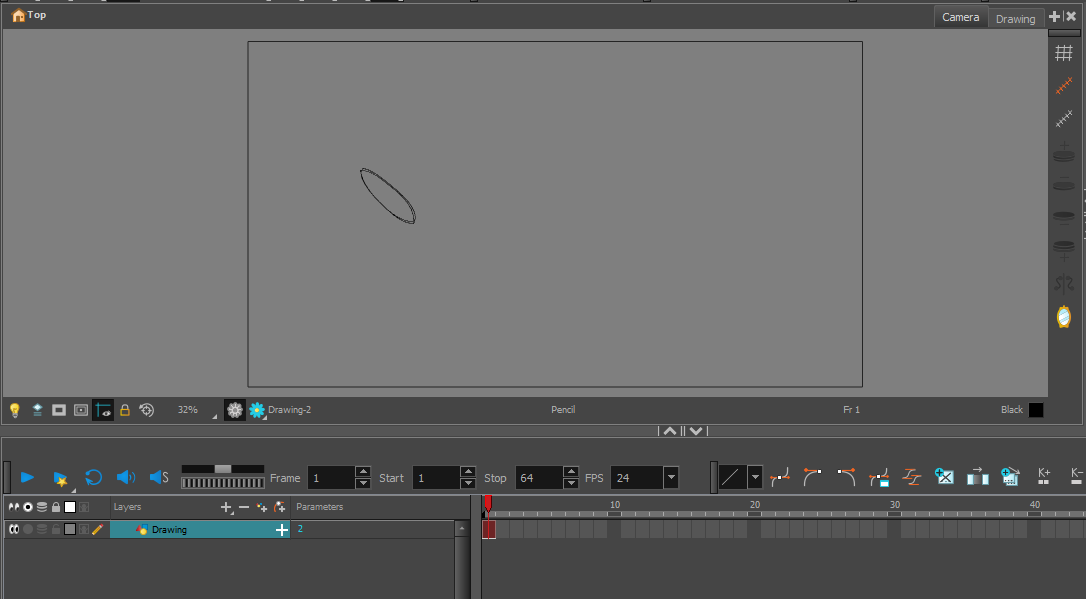
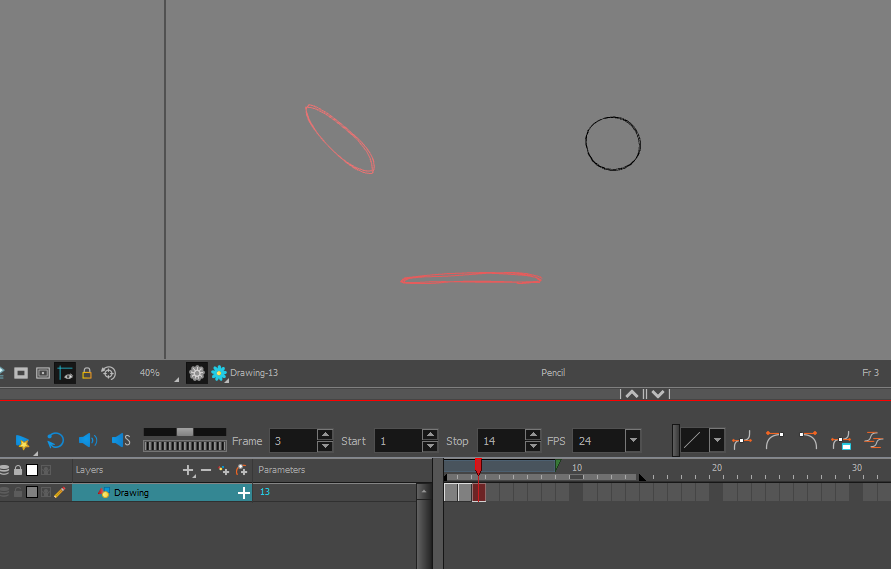
Drawing your first frame is as easy as selecting thePenciltool and getting down to business.
In this case, we’re going to draw a ball bouncing off of the ground.
Using thekeys advances the playhead by one frame backward or forward, respectively.
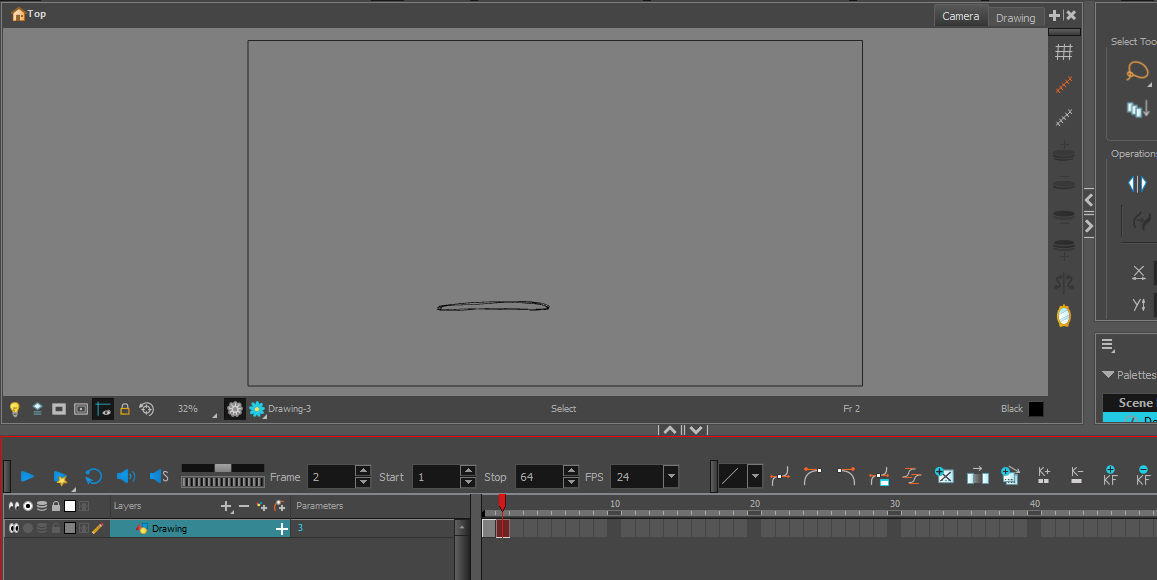
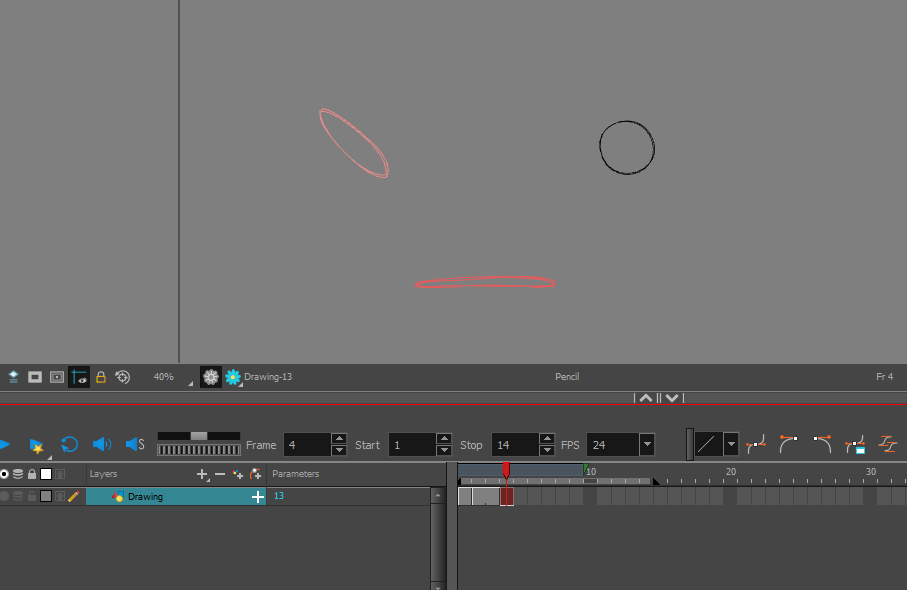
Hit>once to begin drawing your second frame.
Niceit’s looking a little lonely, though.
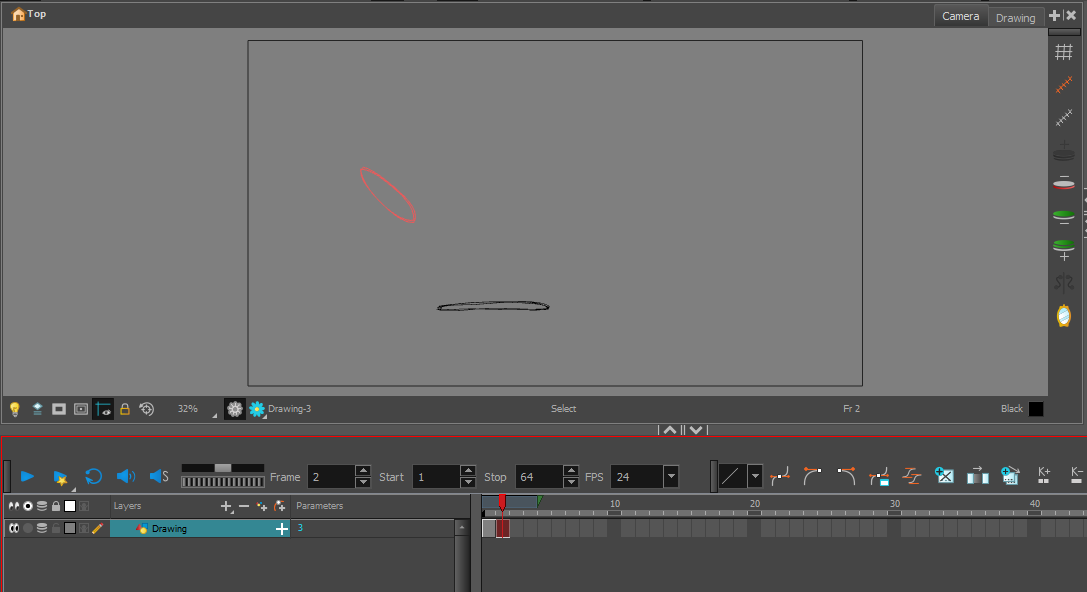
To enable Onion Skins, pressAlt + O.
Seeing the previous frame will make drawing our in-betweens much easier.
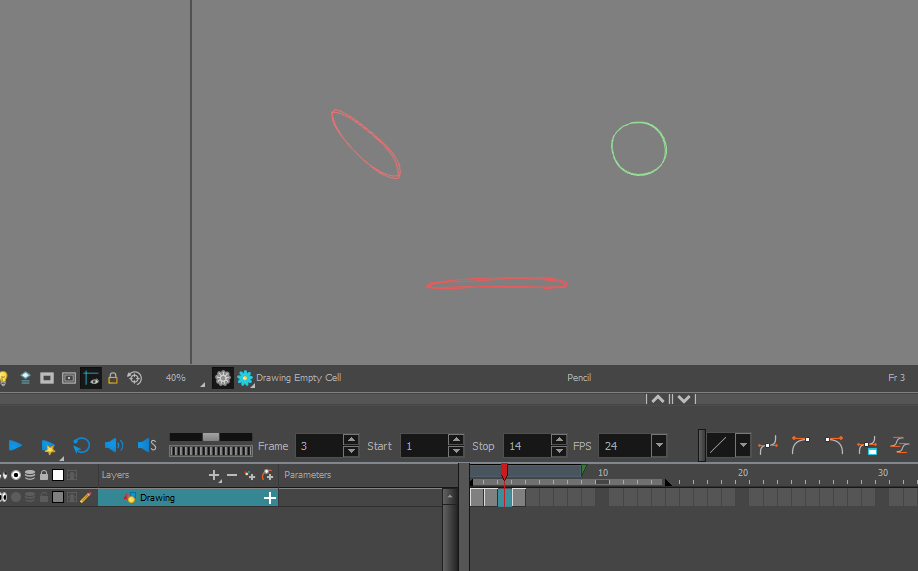
To hustle one of your frames up or down the Timeline, snag the frame once to select it.
Once it’s been selected, drag it one frame forward.
Harmony fills in the gap with an extension of the frame that came before.
you’re free to use this extension as a placeholder if you’re just working on timing.
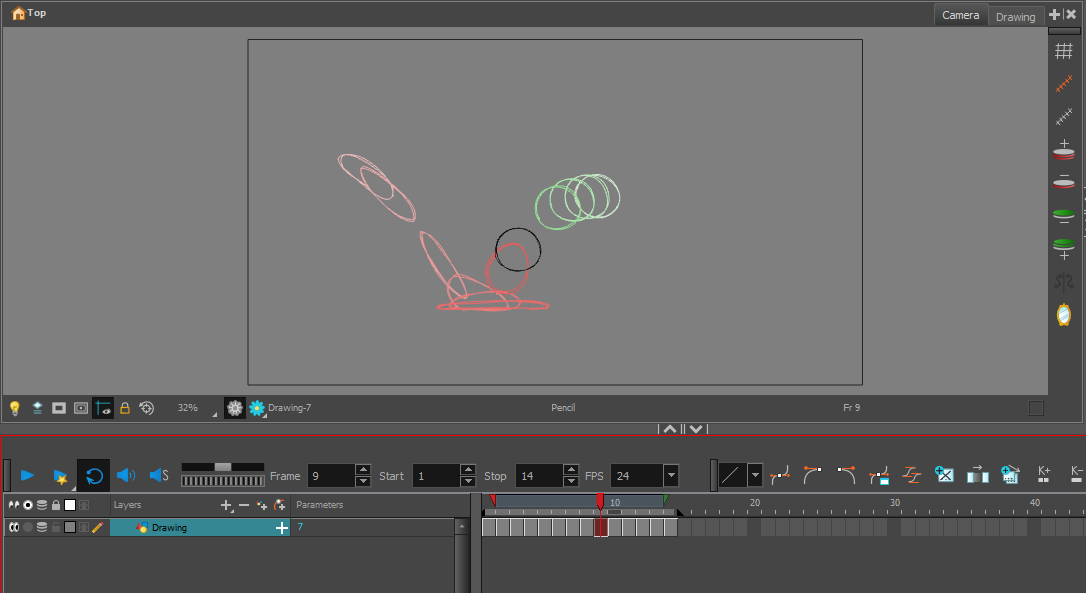
Next: more in-betweens, completing the action of the sequence.
With Onion Skins enabled, it’s easy to pick out any frames that feel out-of-line.
Play your animation back once or twice.
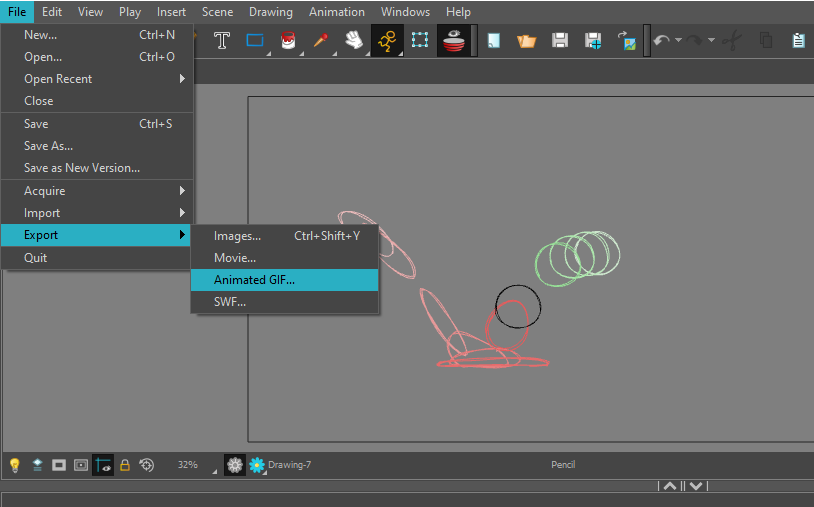
If it feels right, the final step is to export the project.
you’re free to find these four options by heading toFile > Export.
Your project should be exported and ready to go.
There is an entire world of symbols, rigging, deformers, and clean-up that remains to be explored.
Once you’ve acquainted yourself with the program, the obsession can truly begin.