But, you’re not loving that plain white look.
Maybe it doesn’t fit in with all your other devices and furnishings?
Maybe you don’t like those sharp edges?
Or maybe you just want something that’s a bit more colorful?
Here are the best PS5 faceplates.
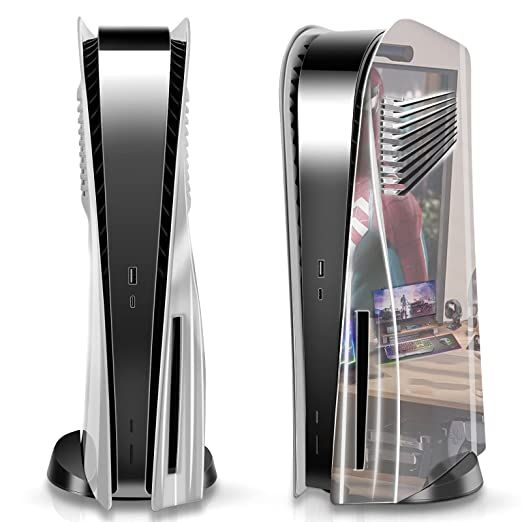
The faceplate itself is anti-scratch and dustproof, and both are precision cut to fit the PlayStation 5 console.

And the protection and durability it offers only add to its appeal.
Its made from lightweight ABS plastic and is childs play to snap into place.
Theres no extra ventilation to be had here, beyond that which you would expect from the original faceplate.
So if this is something youre looking for gains in, this is probably not the one for you.
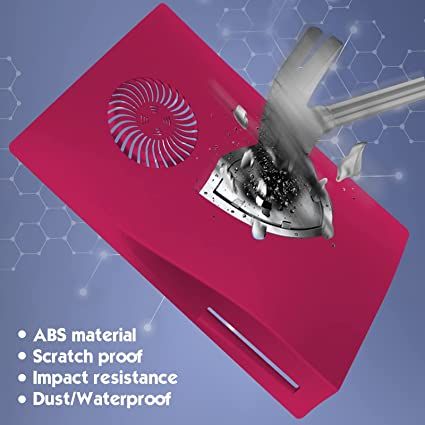
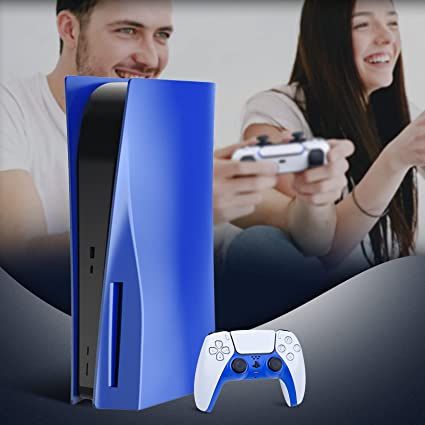
Its made from impact-resistant ABS plastic which is shockproof as well as scratch-resistant.
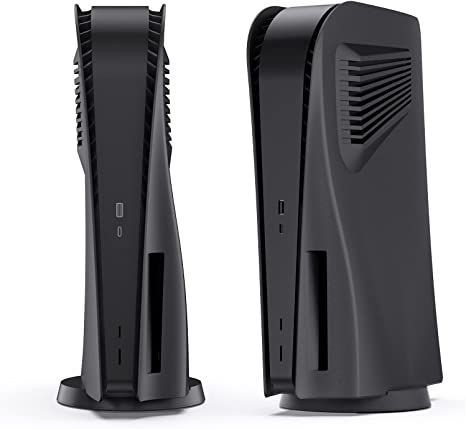
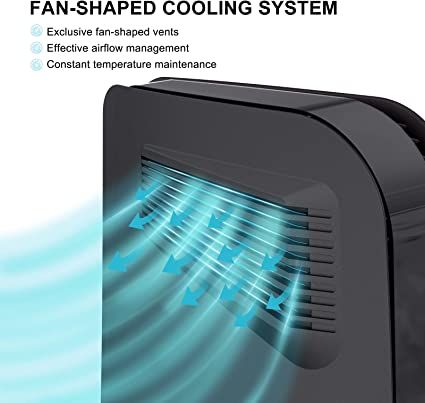
It has cooling air vents on both faceplate pieces to aid circulation and keep things cool.

It grants easy access to all ports and buttons and fits nicely around the PS5s vertical stand.
Plus, youll be the envy of all your buddies with this one, which is worth reflecting on.
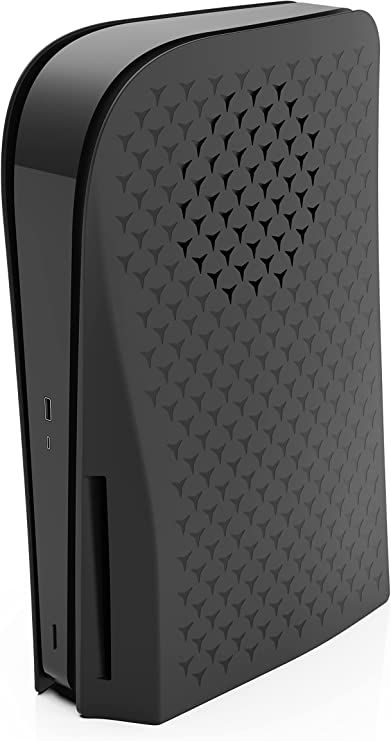
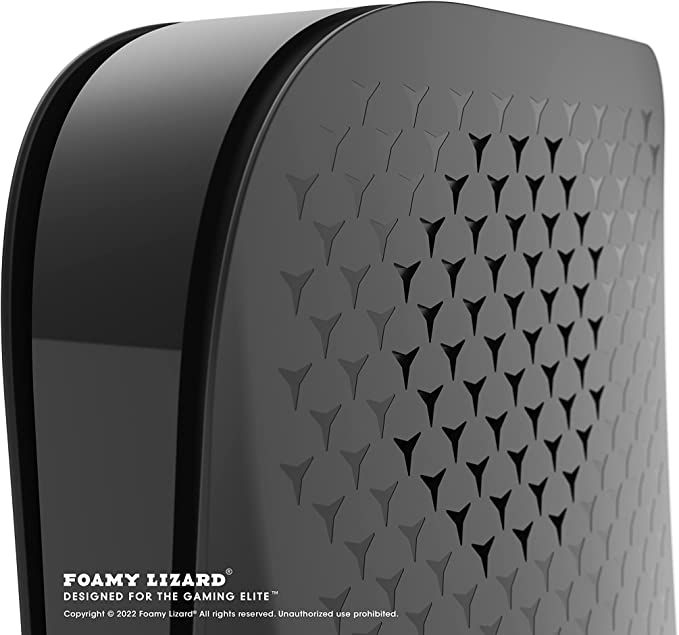
As with the bulk of PS5-compatible faceplate covers, it is made from impact-resistant hard ABS material.
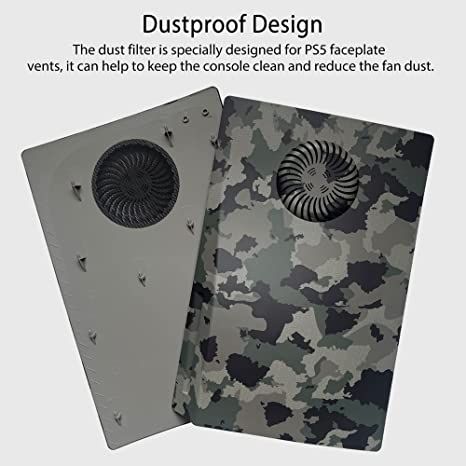
It has been engineered to resist dust build-up and is lightweight and durable.
Besides its cool aesthetic, the real pull of this faceplate cover is those heat-dissipating vents on either side.
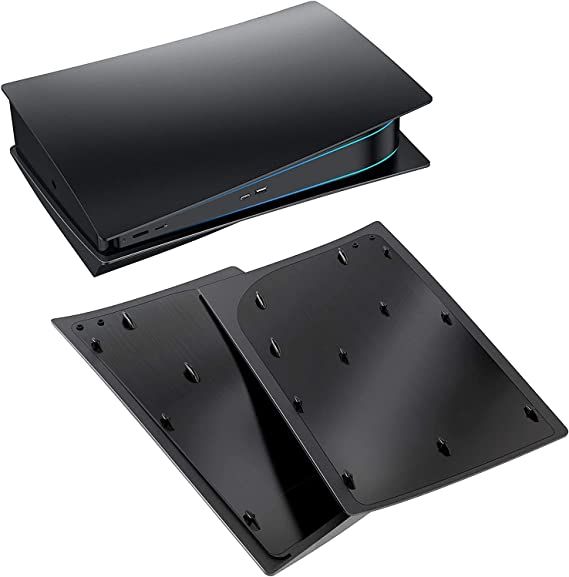
It is scratch-resistant and offers some protection against dust and water.
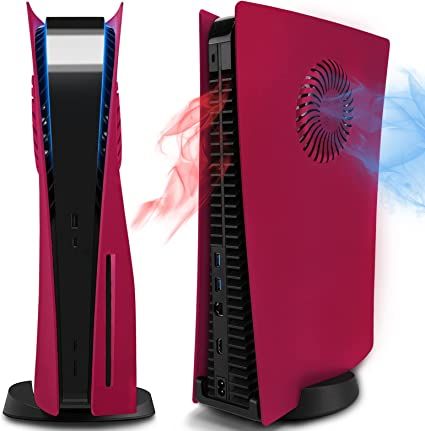
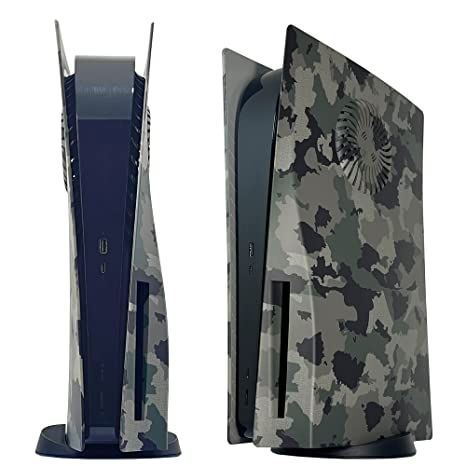
It has a pre-cut circular ventilation window on each side of the faceplate, to help harmlessly dissipate heat.
It provides easy access to all ports and is compatible with the PS5 mounting stand.
FAQ
Q: Does Changing a PS5 Faceplate Void Your Warranty?
Sony has stated that installing new PS5 faceplates, or replacing damaged ones, will not void the warranty.
Q: How Do You Remove a PS5 Faceplate?
To remove the PS5 cover plates, turn your console off and disconnect all cables.
Q: How Do You Attach a Faceplate to a PS5?
Flip the console around, again with the PS5 logo to your top right.
Slide the cover from left to right, pressing near the logo as you do.
One last click will let you know that your job is done.