Learning the basics will provide you with a solid knowledge base to confidently work toward more complex tasks.
What Will You Need?
The following items are included with theKitronik Inventor’s Kit for Raspberry Pi Pico.

You will need a Pico with GPIO pin headers attached.
If you haven’t done so already, find outhow to solder header pins on a Raspberry Pi Pico.
The remaining connectors will connect to parts of the breadboard around the seven-segment display and resistors.
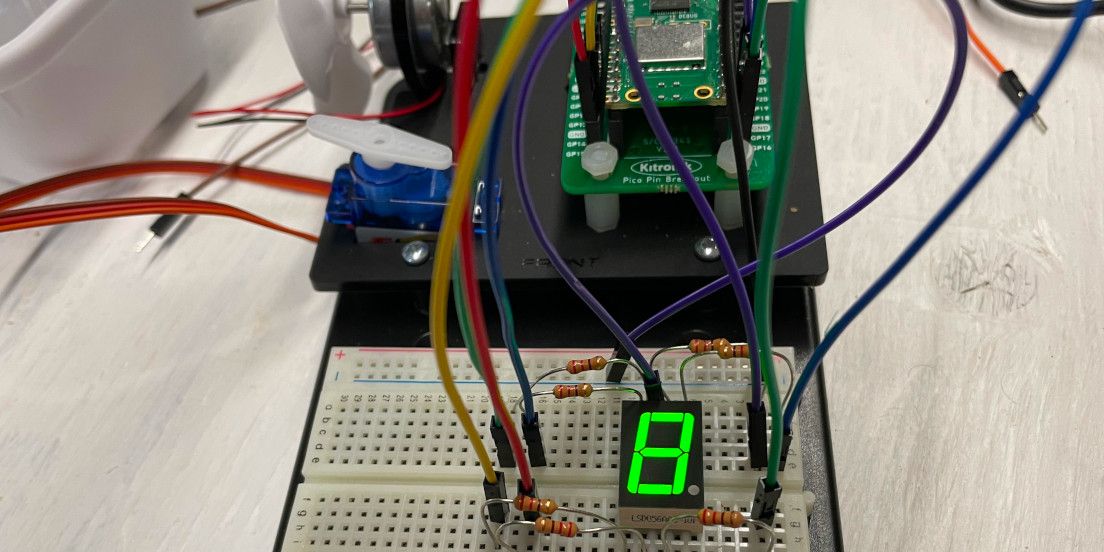
Again, be sure to connect the wires in line with the correct resistors.
There is a smaller jumper wire that will need to be connected along the negative rail of the breadboard.
The other side of this connection will go between two resistors just above the display.
Consider testing your resistors (especially if you’ve been accumulating electronics components for some time).
See our guide onhow to measure resistance with a multimeterfor testing steps.
Check out our guide on how toget started with MicroPython on Raspberry Pi Picofor more details.
you might download the7segment.pycode file from theMUO GitHub repository.
A list, calledpins, holds these variables in the same order.
When that is completed, the display will be cleared for a brief period of time.
From there, the process will begin again.
If you haven’t guessed already, this loop will not stop.
The code will instruct your Raspberry Pi Pico to count in an endless loop.
What Will You Experiment With Next?
Does this project inspire you to create a digital clock using your Raspberry Pi Pico and extra seven-segment displays?
A snooze button can be added by stopping the music and then playing the audio ten minutes later.
When you push the button three times, the music could be set to turn off until tomorrow.
