Related
As a student, I carry my USB stick with me everywhere.
The issue is, I also use my Windows PC regularly as well.
One downloads Allway Sync, and lets the software do everything.
Step 1: Get Allway Media Sync
DownloadAllway Media Syncand complete the installation process.
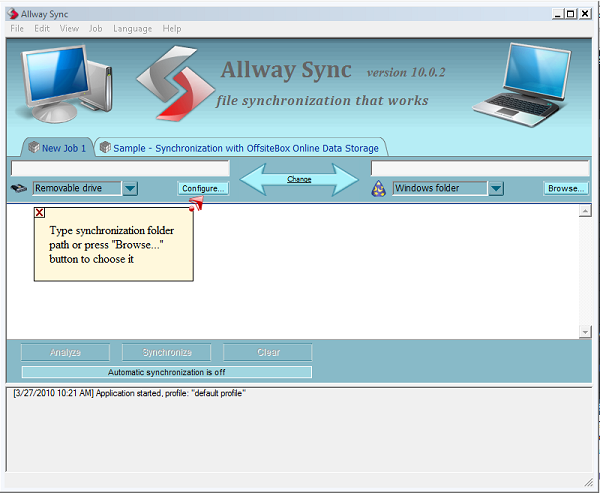
Go ahead and boot it up for the first time; you should be welcomed by the main screen.
Go ahead and smack the two drop down folder types that you want to add.
For the Windows folder, go ahead and “browse” for the folder to sync.
We’ll do the USB in the next step.
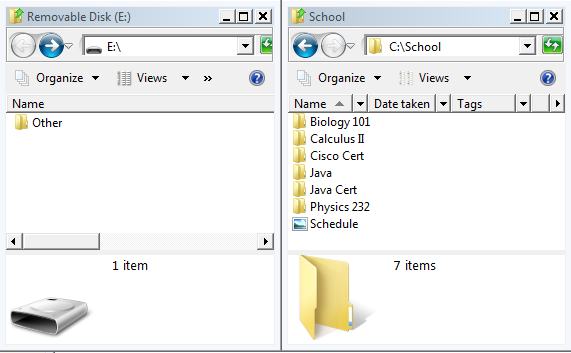
I want to synch the folder with a USB drive that currently has no folder called school.
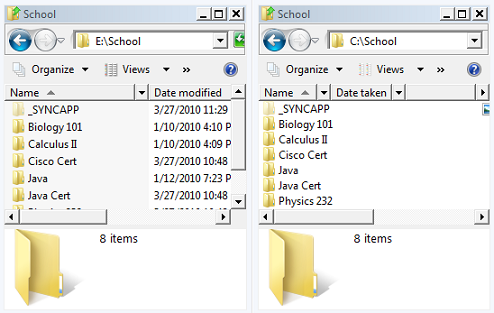
Below are my two folders and their contents (equivalent to a “before” photo).
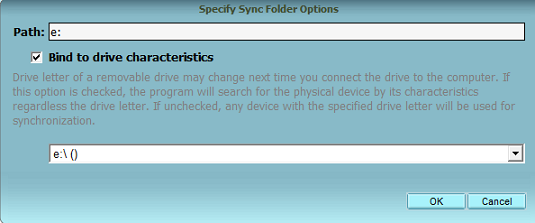
tap the drop-down and find your USB equipment.
Mine was the e:\ drive, as shown in the screenshot below.

double-check you punch in in the full path to your folder.
This is what my folder configuration looks like at the end of step 3.
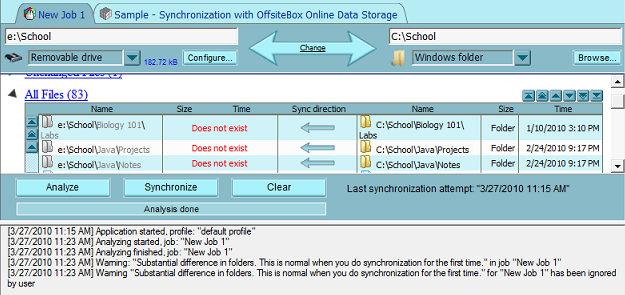
In here you’ll find some things that influence the behavior of the automatic sync.
I personally went to “automatic synchronization” and checked the following configs.
Thanks to the analyze feature, I realized my mistake before 120GB of information started moving.
Notice the direction of the Sync arrow is to the LEFT in my case.
Step 6: Synchronize
ClickSynchronize, and let the process finish.
Now, check your two folders - are the contents identical?
In my case, as you might see, they are identical.
Every time I make a change to one, it will be mirrored in the other.
There are some really slick options (especially for U3 owners) that Allway Sync supports.
What’s your solution for mirroring folders?