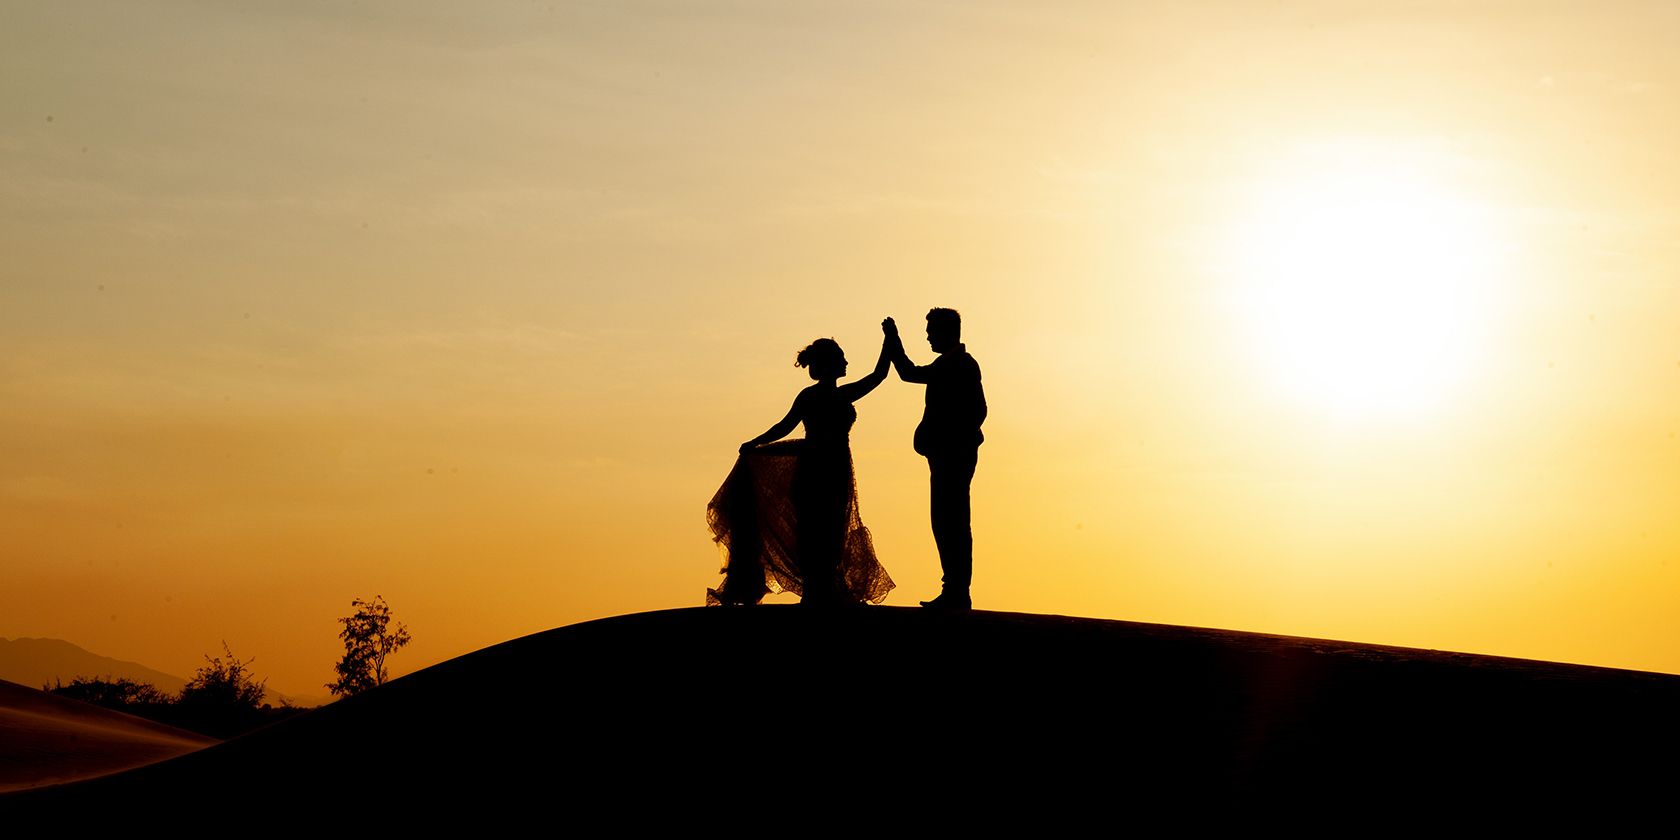
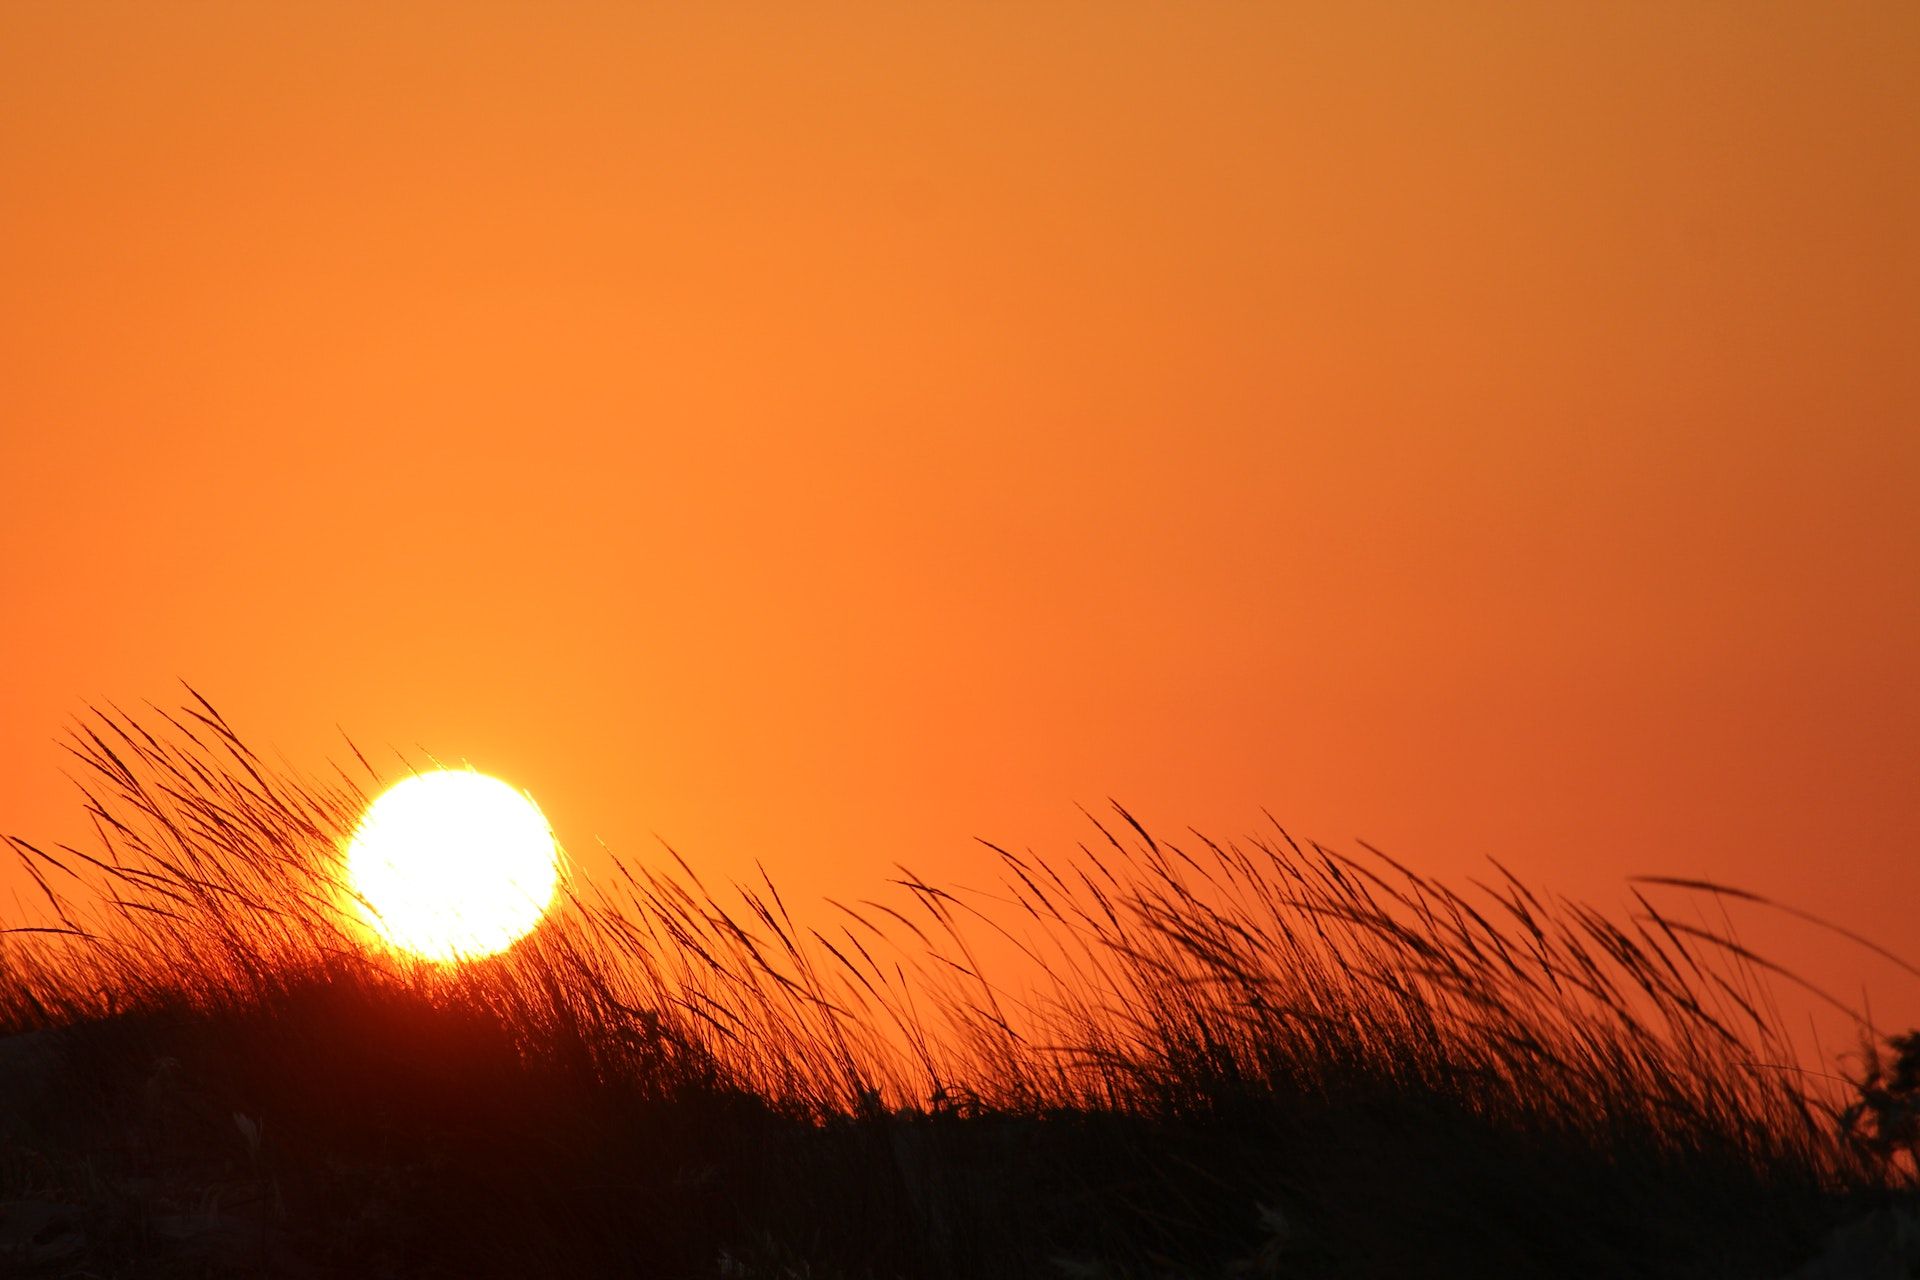
Sunsets are probably the most-photographed natural phenomena in the world.
Let’s get started.
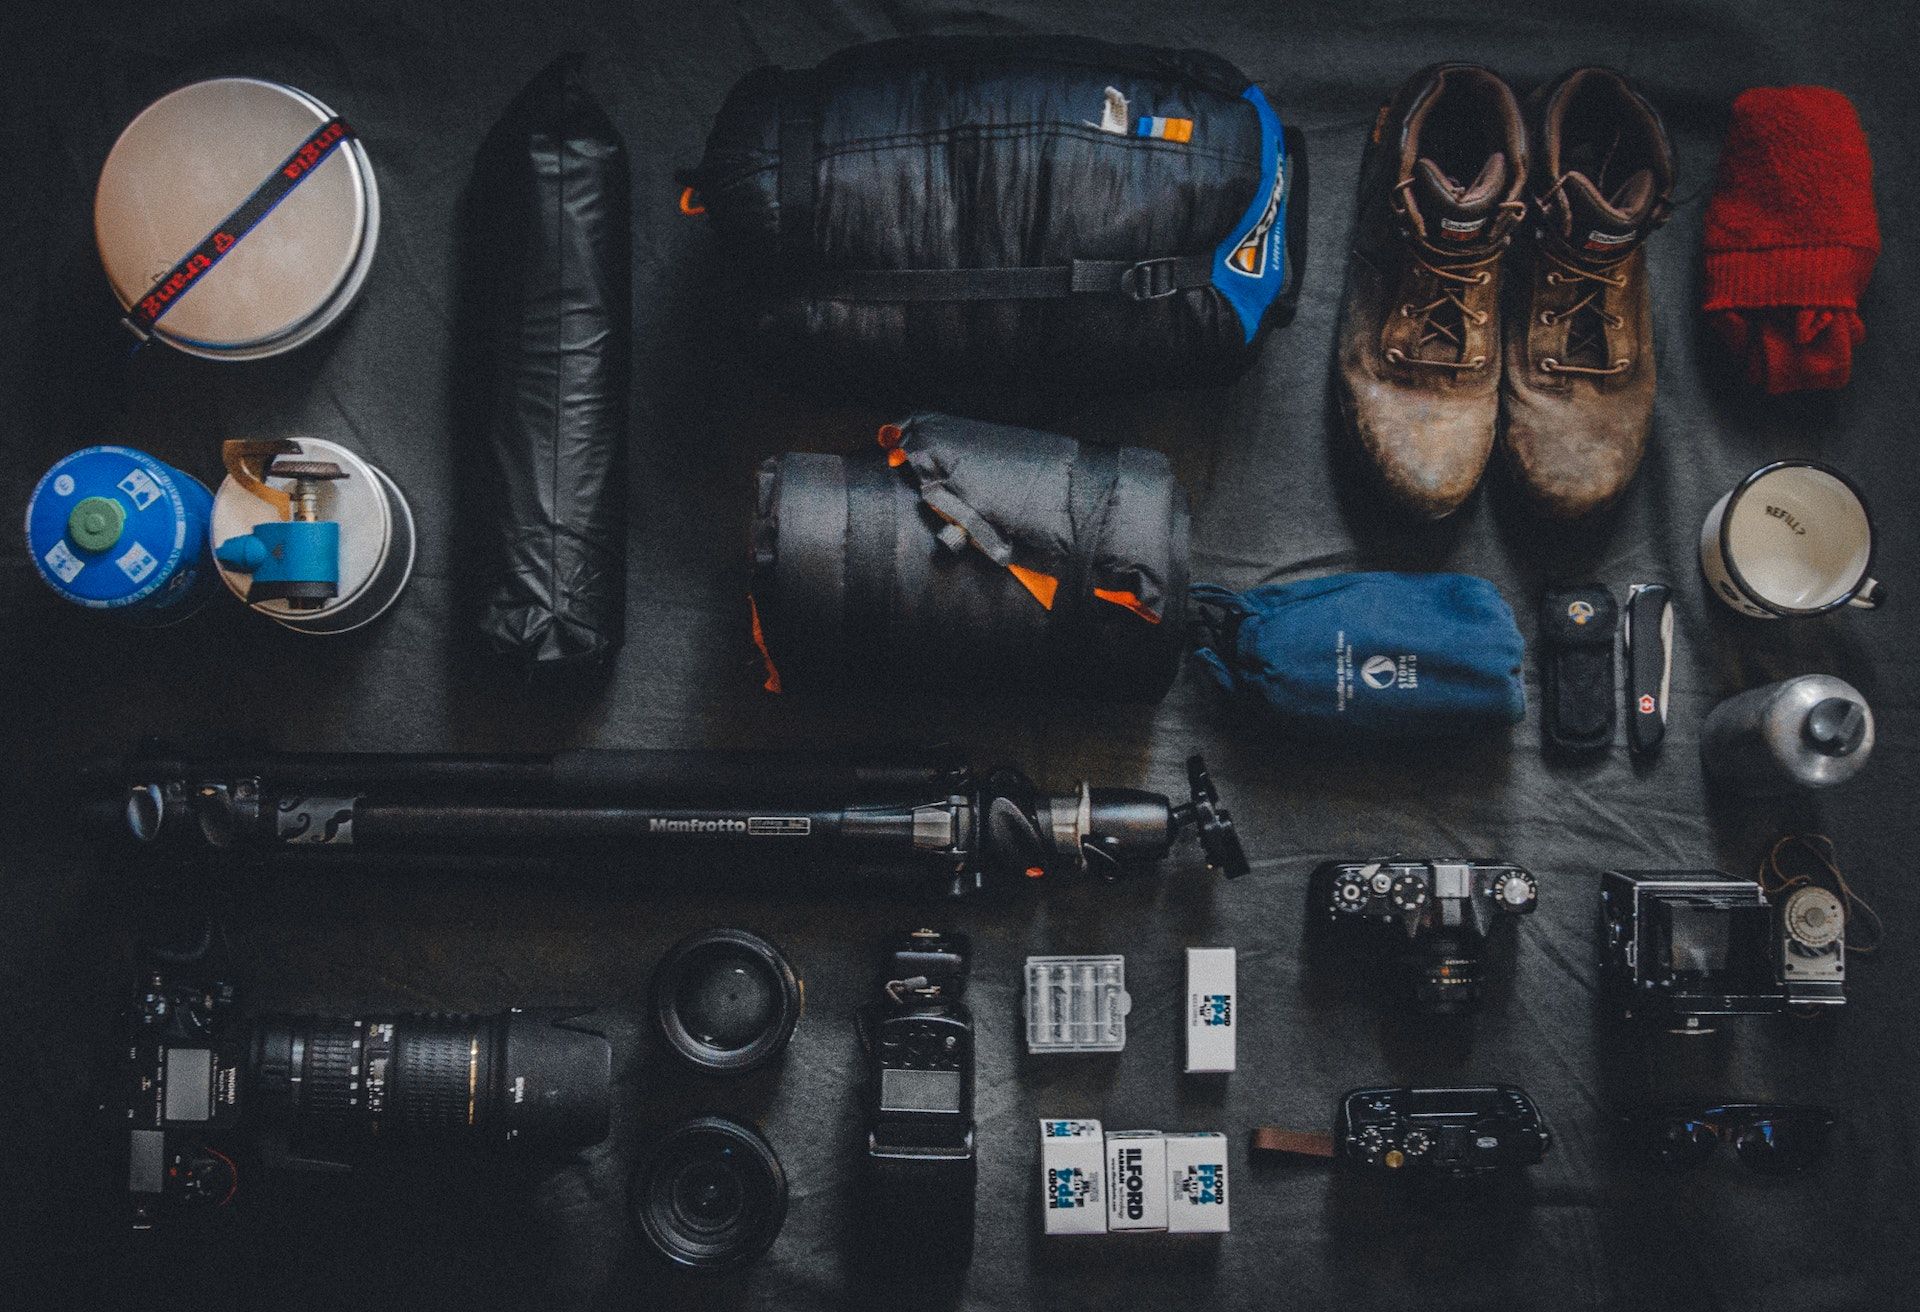
At the very least, you just need a camera and the ability to edit your photos.
Consider the below list of tools optional but very helpful to capture sunsets with your camera.
They also come in very handy if you’re capturing long exposure shots.
Here’swhat you better consider before purchasing a tripod.
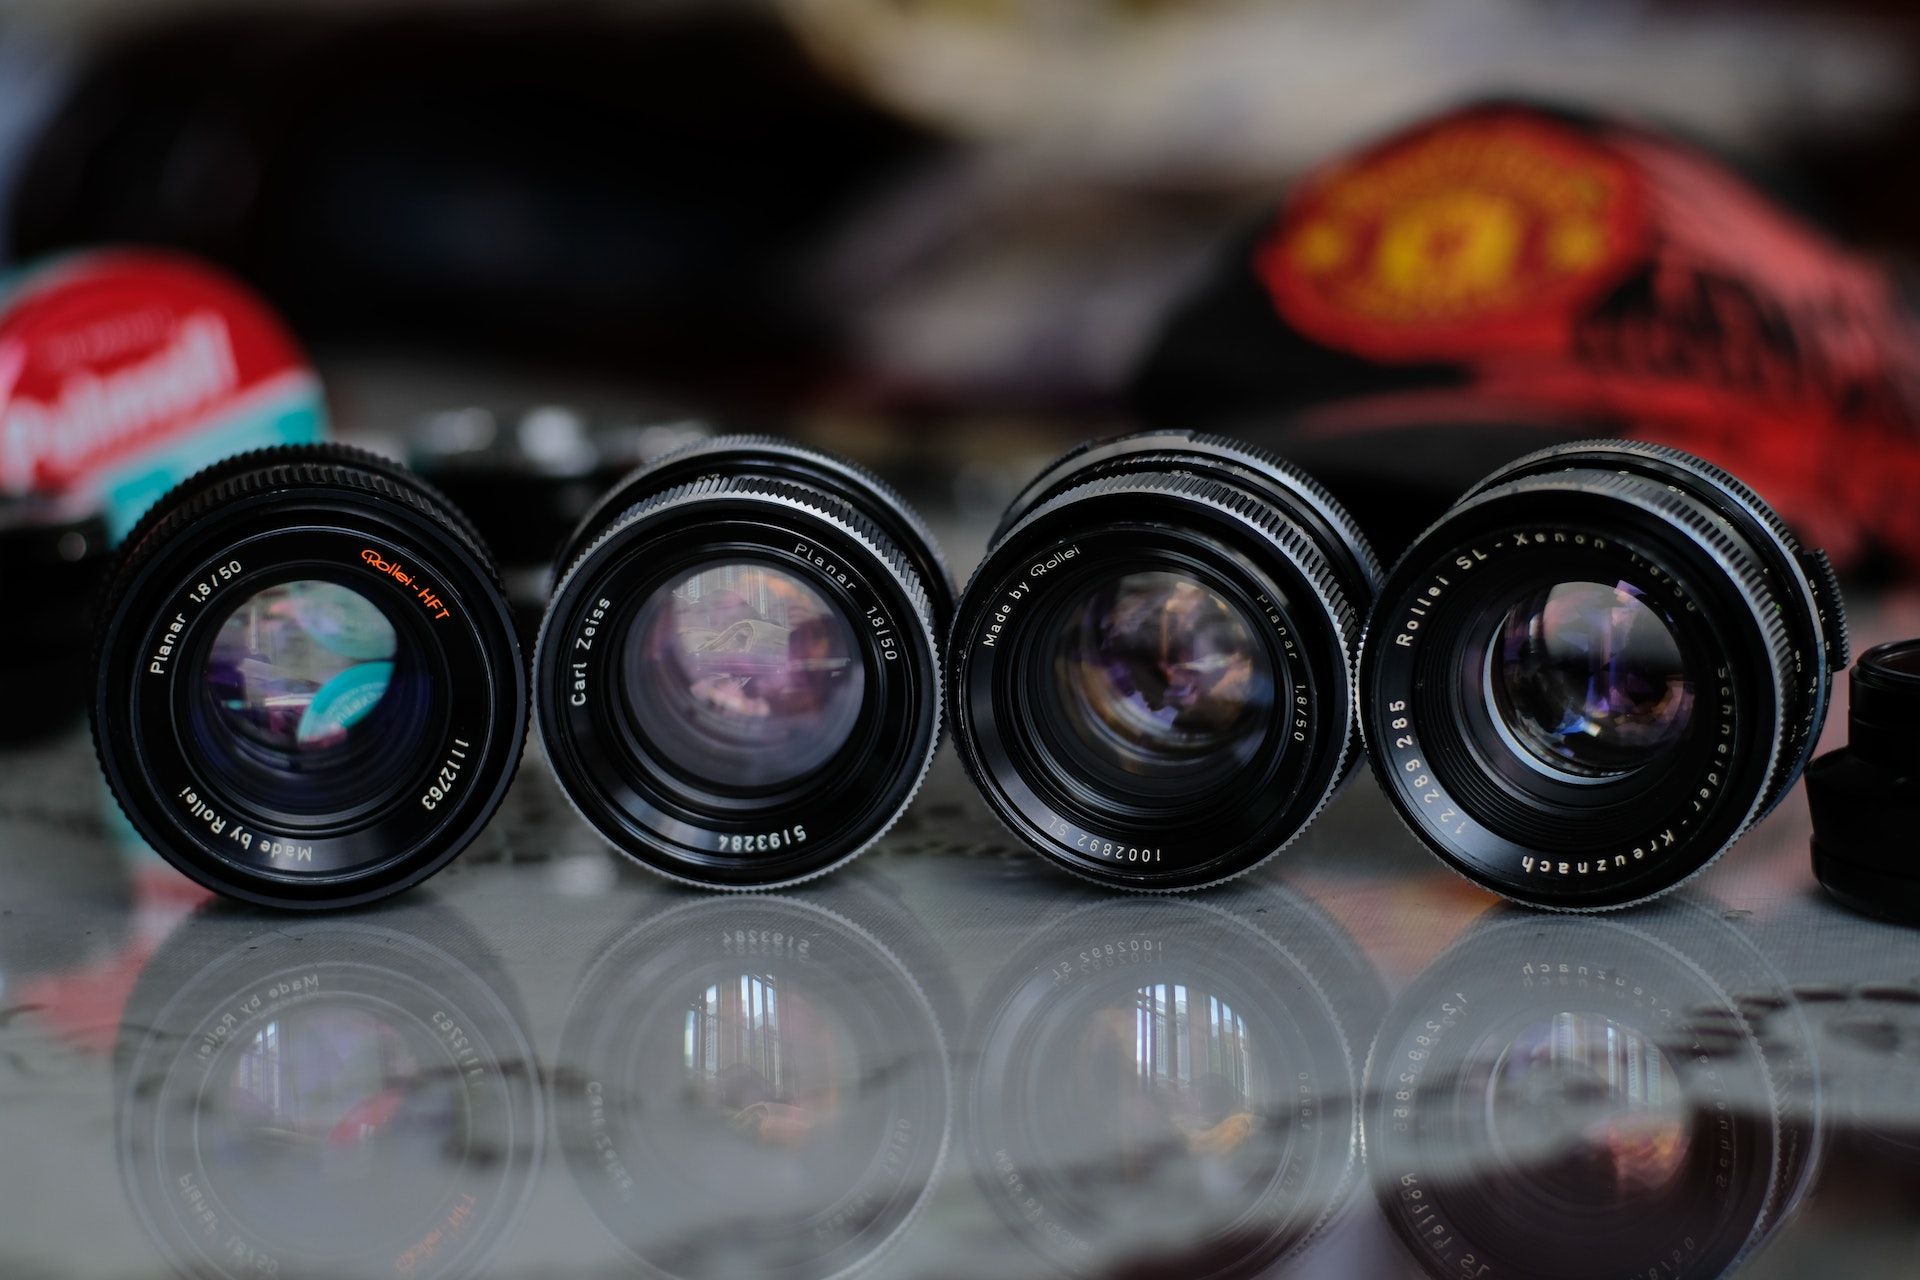
Lens Hood
Lens hoods are great tools for reducing sun flares.
How prominent (big or small) you want the sun to be is also a consideration.
Remember that crop factors apply if you’re not shooting on a full-frame camera.
Here’swhy crop factor matters.
You’ll also want to be in Manual mode.
So we already have ISO set at 100.
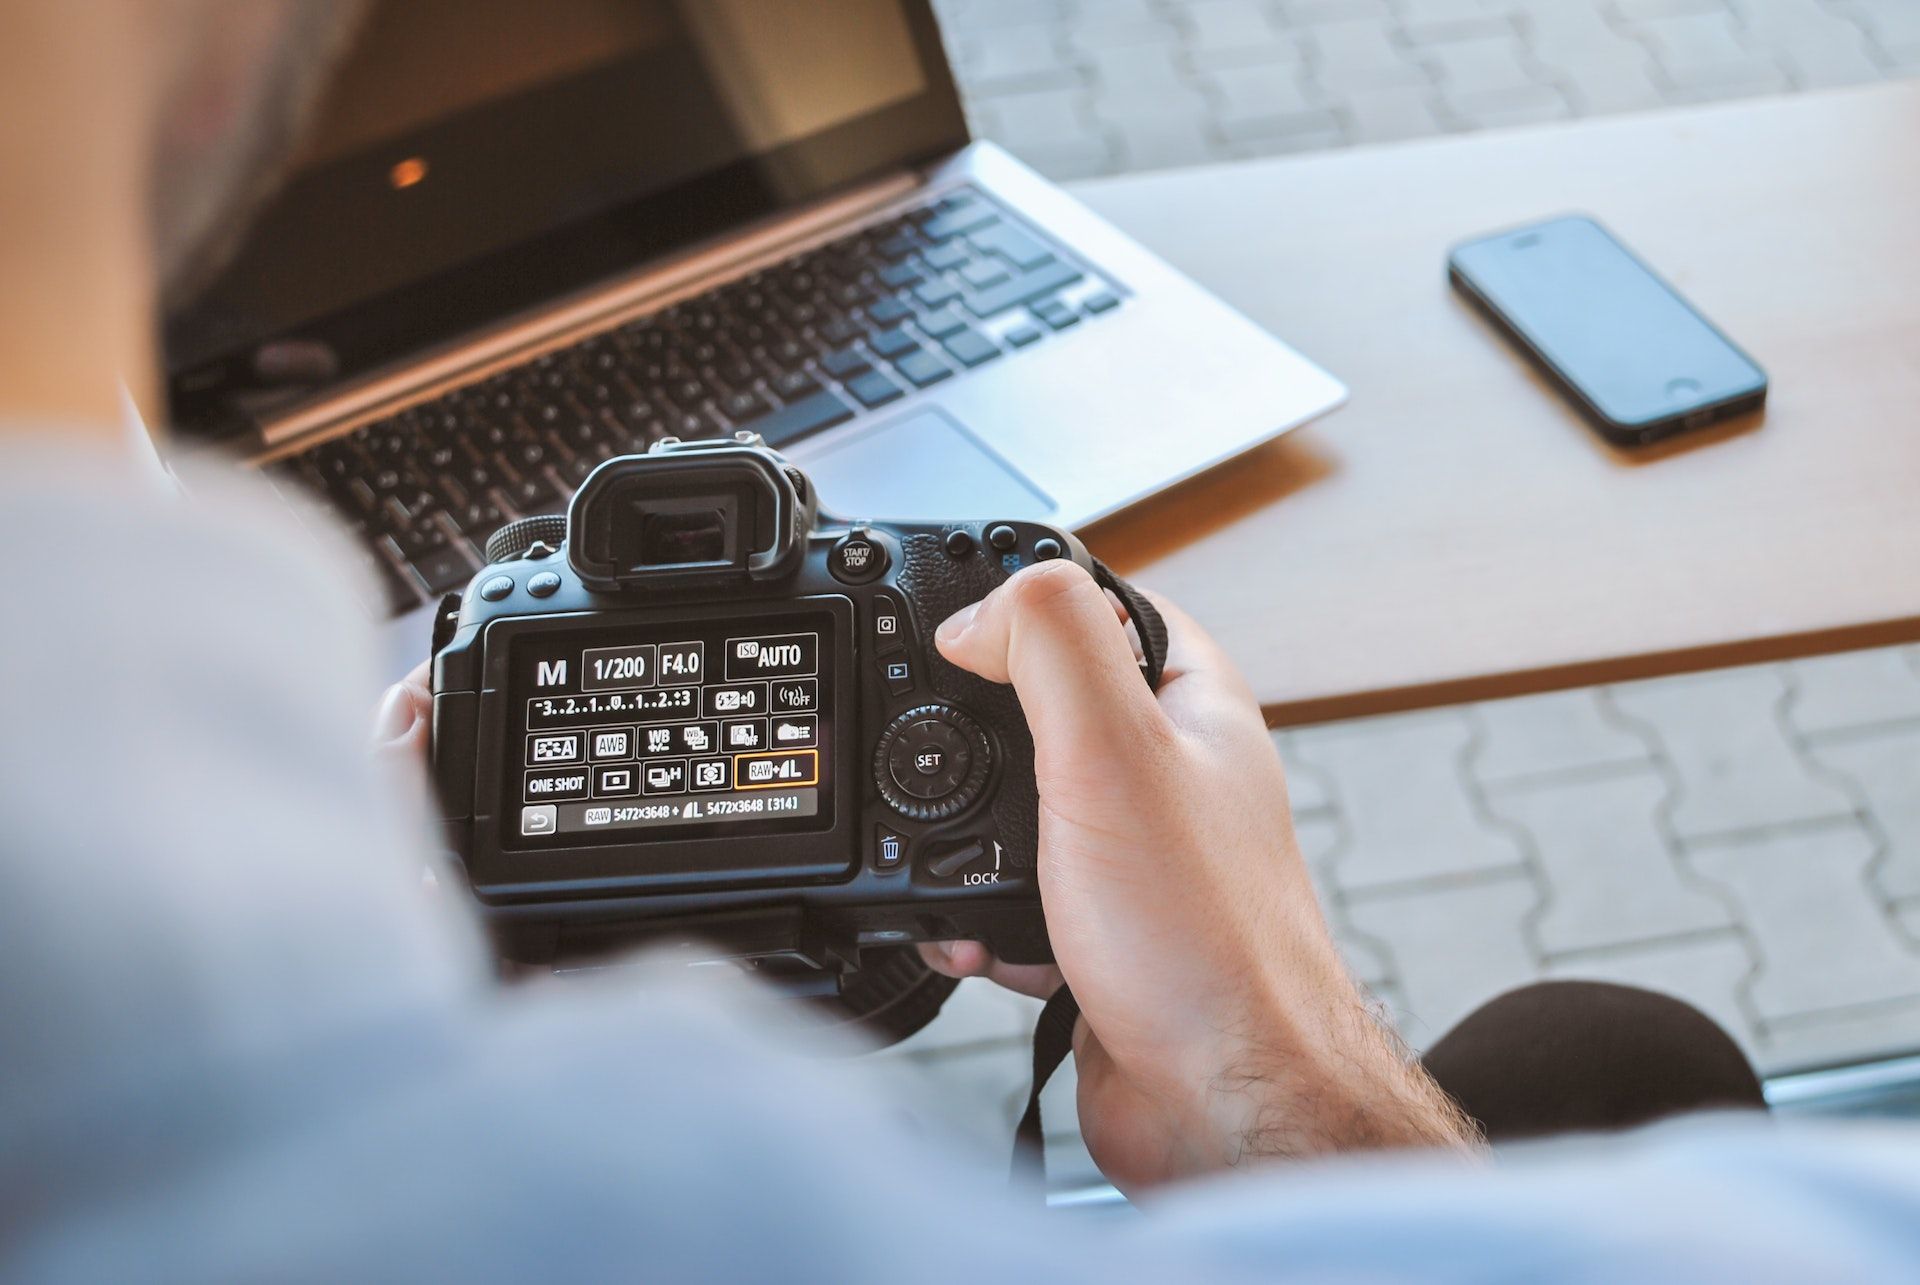
The other primary tweaks to work with are the shutter speed and aperture.
For sunset photography, consider an f-stop ranging from f/8 to f/22.
This will allow for greater depths of field and details.
If you’re looking to create a starburst effect, use an f-stop of f/16 or higher.
Then calculate the correct shutter speed to get your desired look.
Exposure Bracketing
Most DSLR and mirrorless cameras will allow you touse exposure bracketing.
When in use, the camera will take multiple exposures at the same time.
For sunsets, it’s best to bracket for between three and five different exposures.
Then you would have two bracketed shots that are overexposed and two that are underexposed.
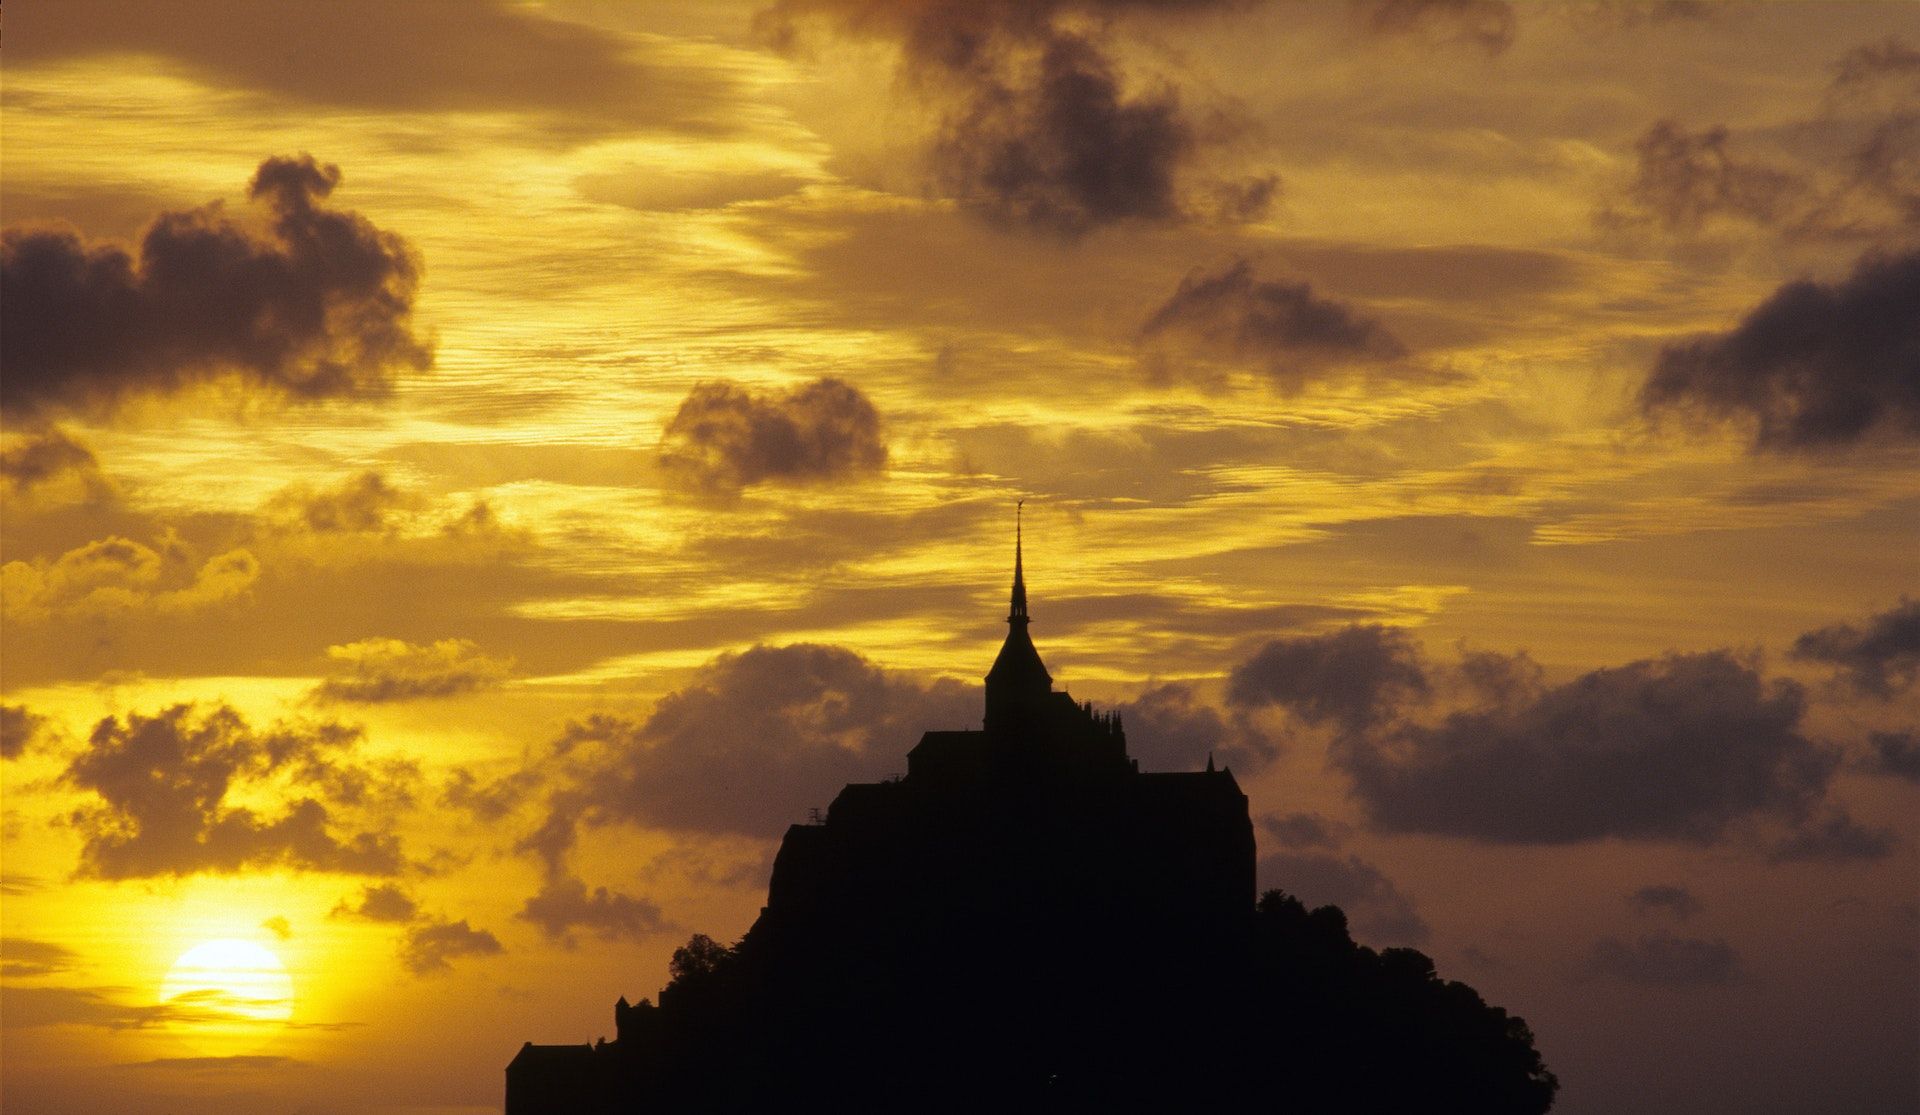
Composition Tips
A good composition will make your sunset photography stand out from the crowd.
Post-Processing Tips
Post-processing is also a very broad topic to cover.
But there are a few basic tips that could apply to many sunset images.
There are somecreative ways to edit your sunsets in Photoshop.
