Countless modern cloud services enable access to your files everywhere.
However, they share a catch: you’re giving access to your files to a third party.
Thankfully, there are other ways to achieve the same goal.

One of the best is SyncThing.
With SyncThing, you remain in control of your data.
And did we mention it’s open-source and free?
However, although such solutions allow you to access files on a gear from another, they don’tsync them.
For that, you have to use something like Dropbox or Google Drive.
The problem with such cloud services, though, is that they rely on third-party servers.
SyncThing can be the solution to those problems.
SyncThing is available on most OSes, from Windows and Linux to FreeBSD.
you might also find both official and unofficial versions on Android and iOS.

So, you might probably share data betweenallyour devices.
For this guide, we’ll use SyncThing on a Windows 10 PC and an Android smartphone.
SyncThing offers a native Windows version, but it only comes with a web interface.
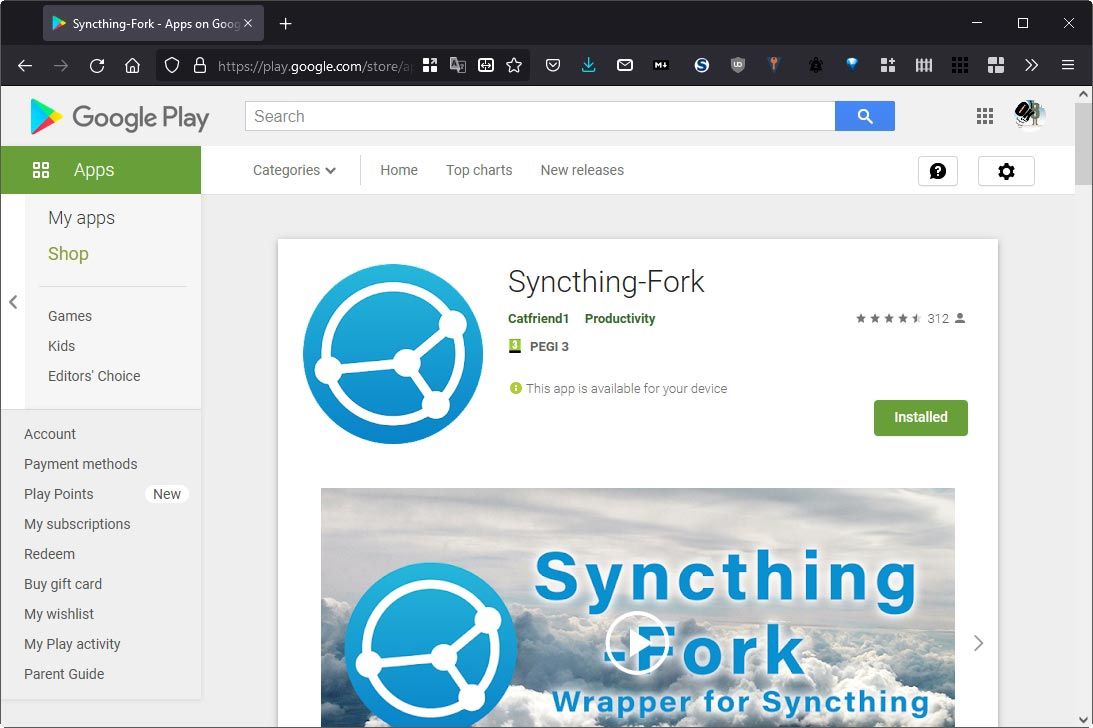
Although it’s not the official app, you could download it too fromSyncThing’s site.
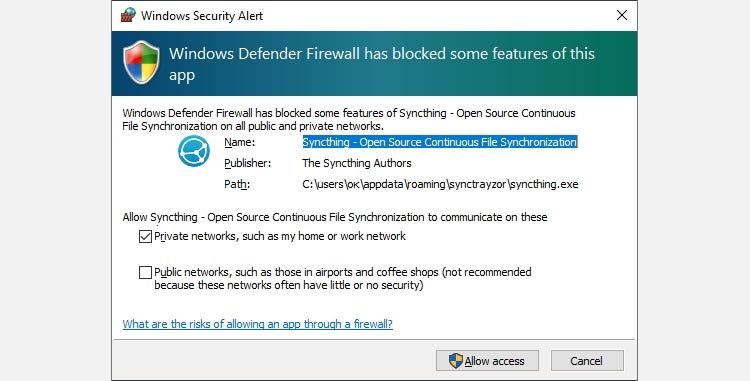
trigger the downloaded executable and install SyncThing on your PC.
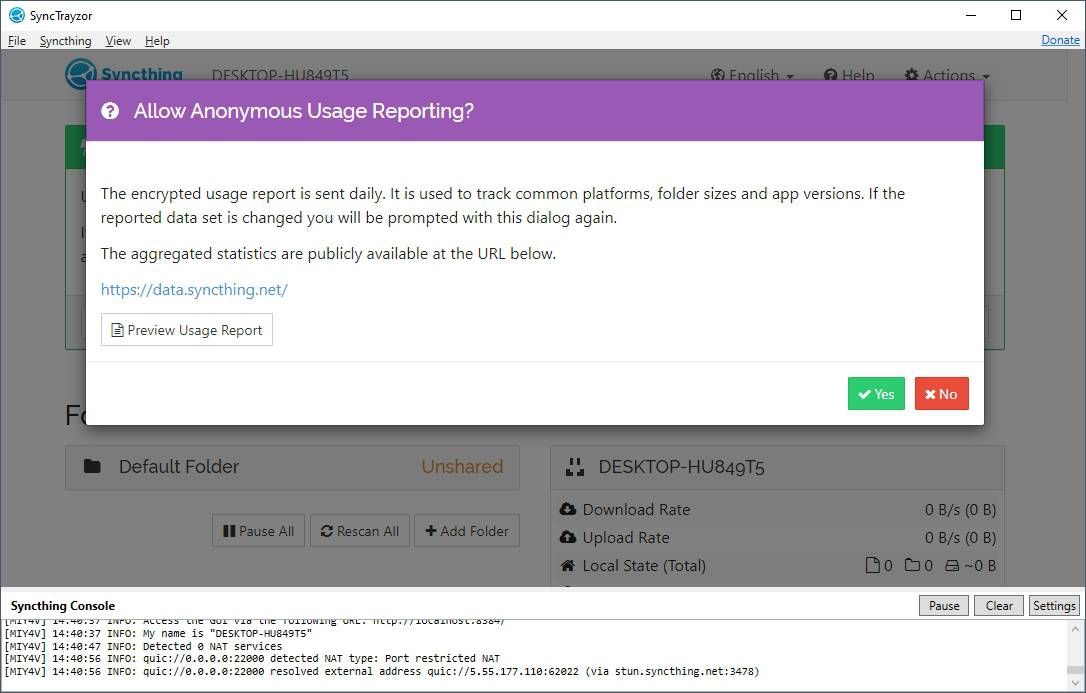
During SyncTrayzor’s first run, security-conscious users might want to deny sending anonymous usage reports.

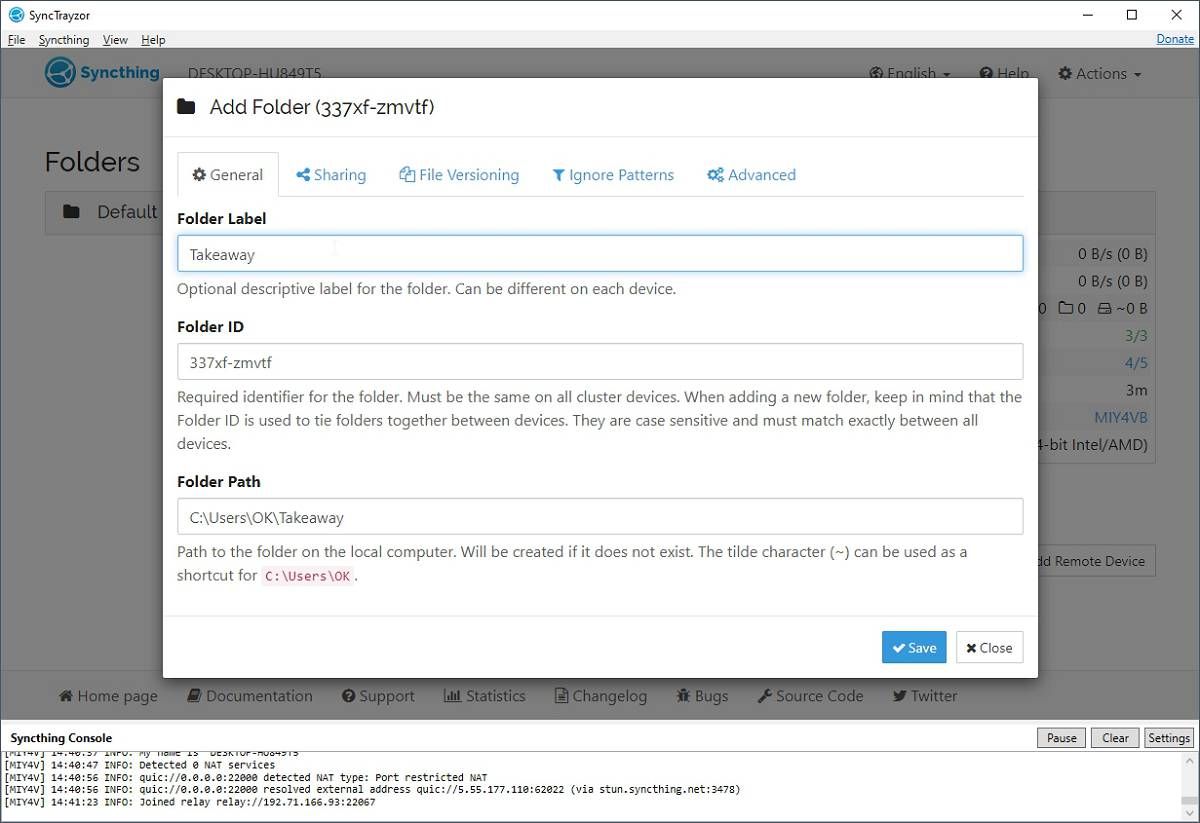
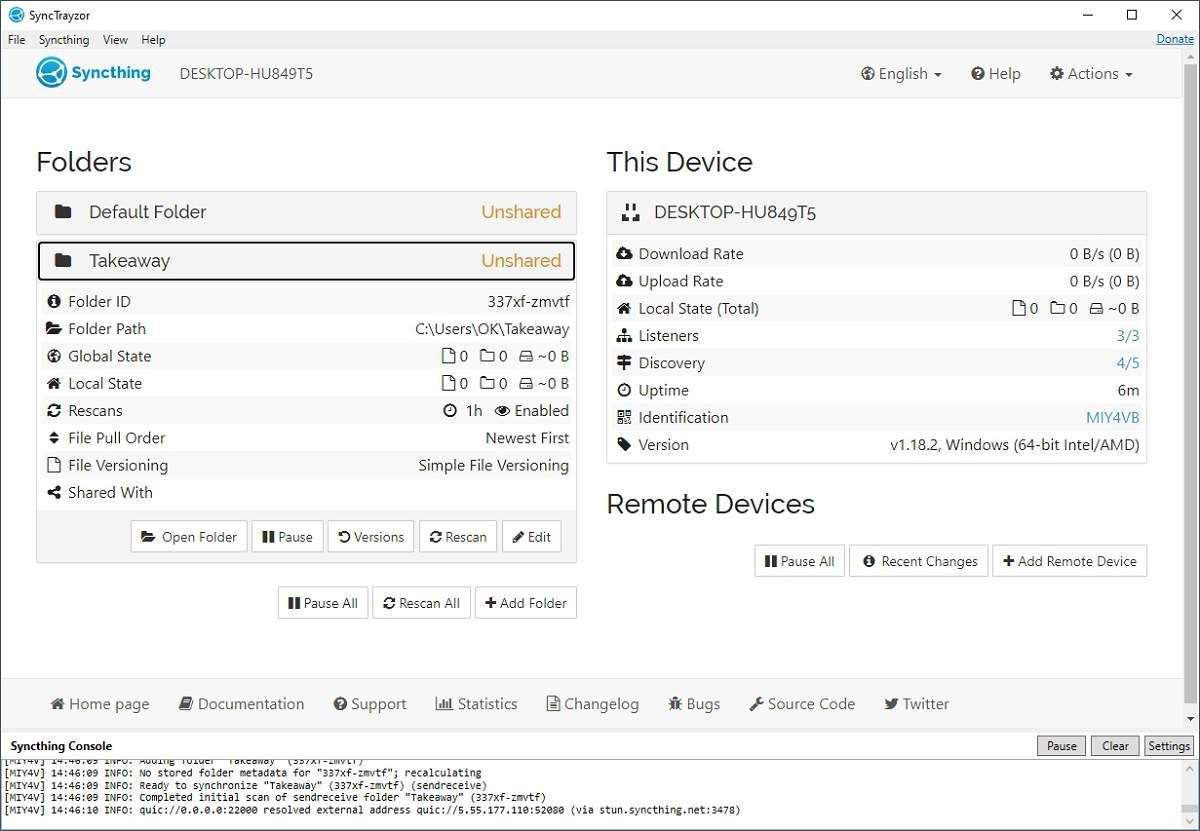
With the core “sharing engine” in place, the next step is definingwhatshould be shared.
We’ll skip it to see how you’re free to set up and shareanyfolder from scratch.
Then, enter the full path to the folder inFolder Path.
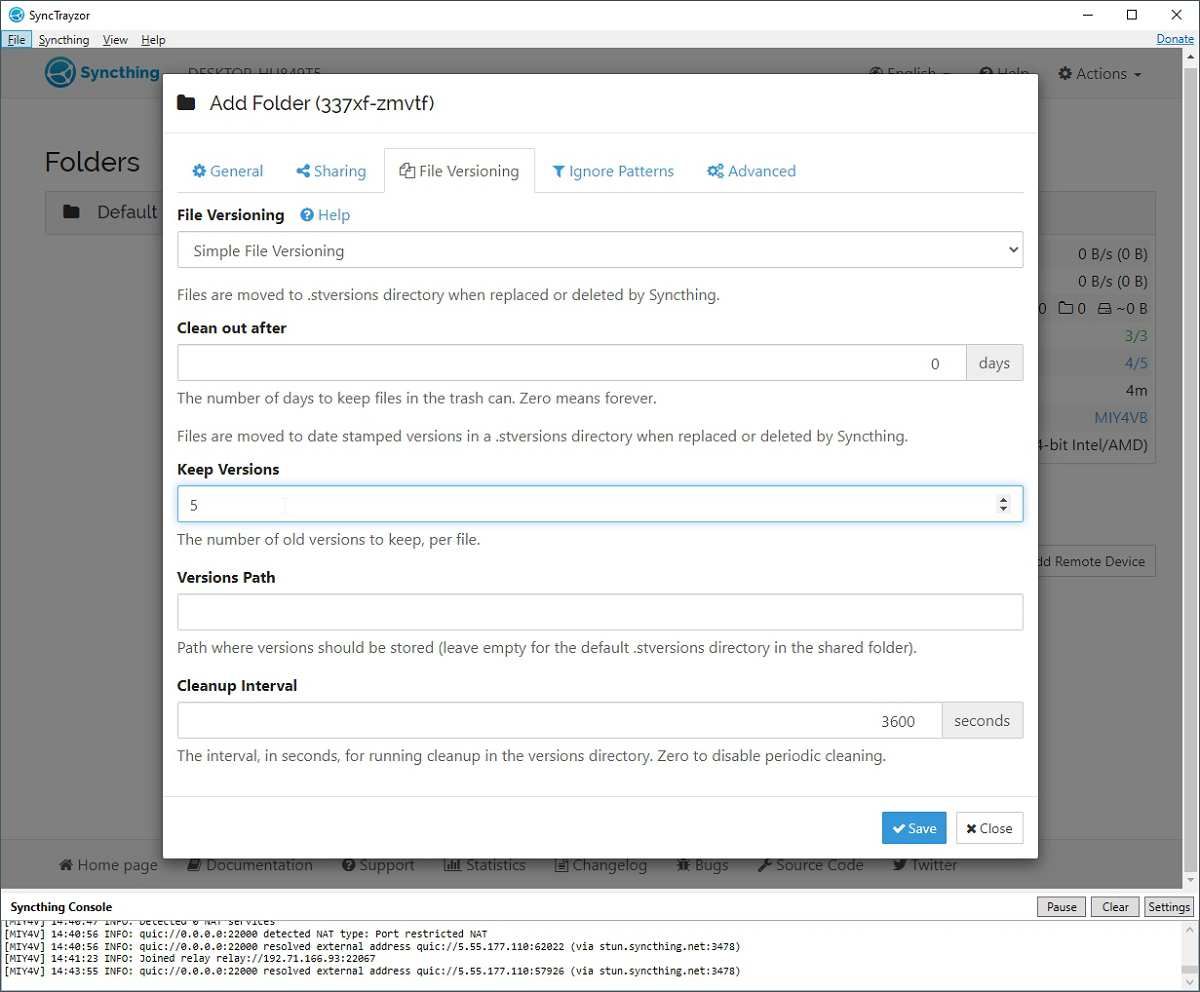
Move to theFile Versioningtab and changeNo File VersioningtoSimple File Versioning, equivalent to simple backup functionality.
After enabling a file versioning approach, the section expands with related options.
The defaults are okay forSimple File Versioning.

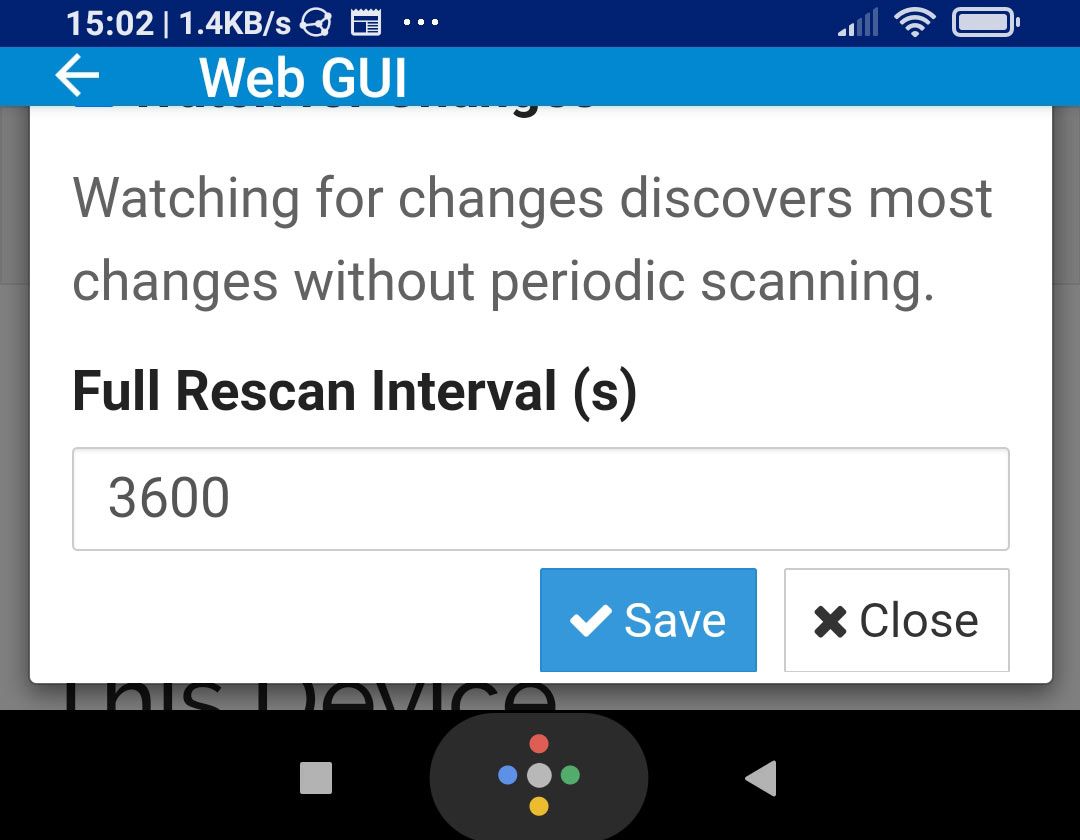
Pay a visit to the Advanced tab and ensureWatch for Changesis enabled.
Set theFolder TypetoSend & Receivefor bidirectional exchange of data.
you might also change from theFile Pull Ordermenu how the app prioritizes which files to transfer first.
Finally, press the Save button on the bottom right of the dialog to create your shared folder.
Thus, we’ll go with that for this guide.
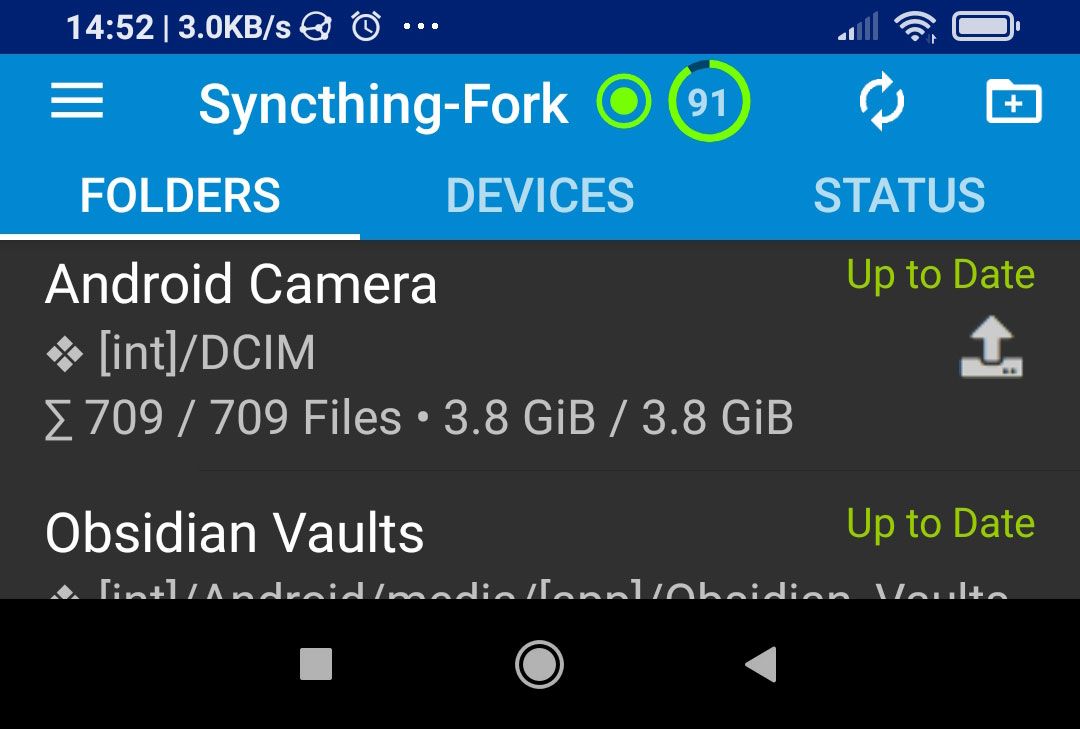
Install Syncthing-Fork on your Android equipment and run it.
It will already have registered your smartphone’s default photo folder as one you might potentially share.
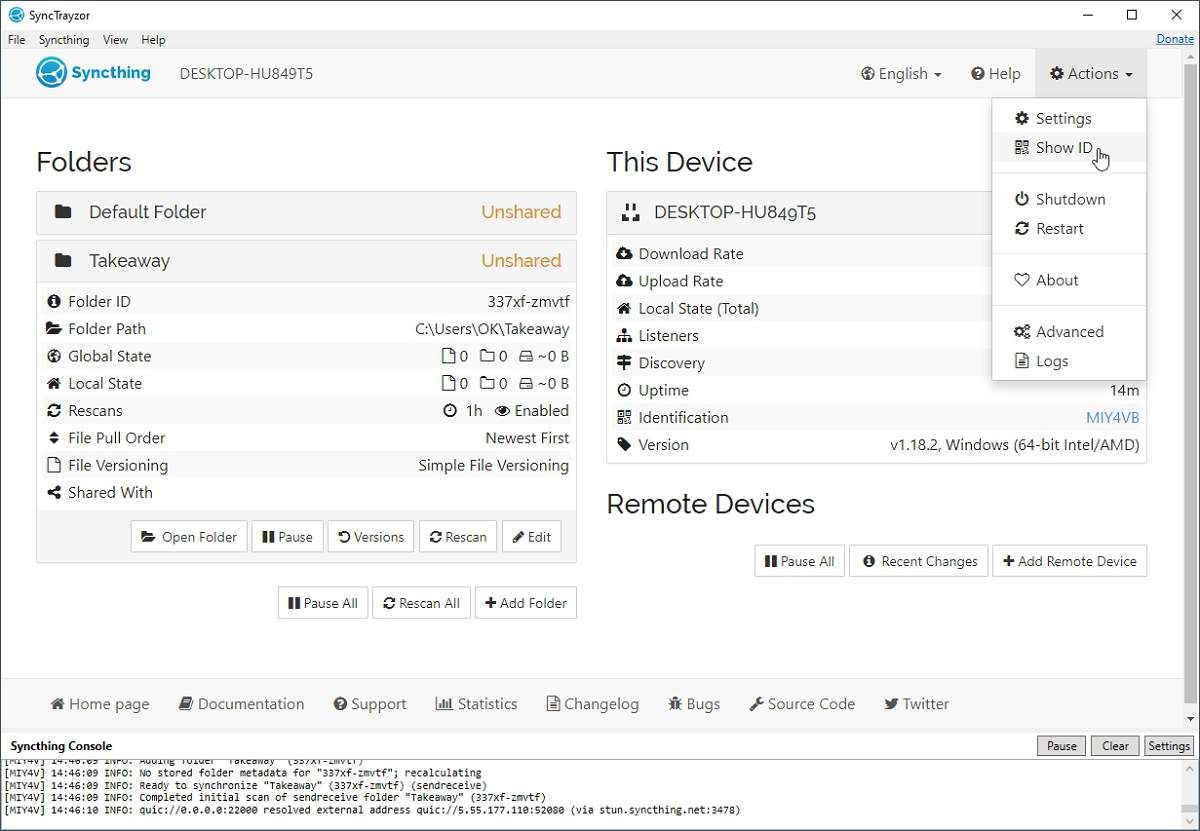
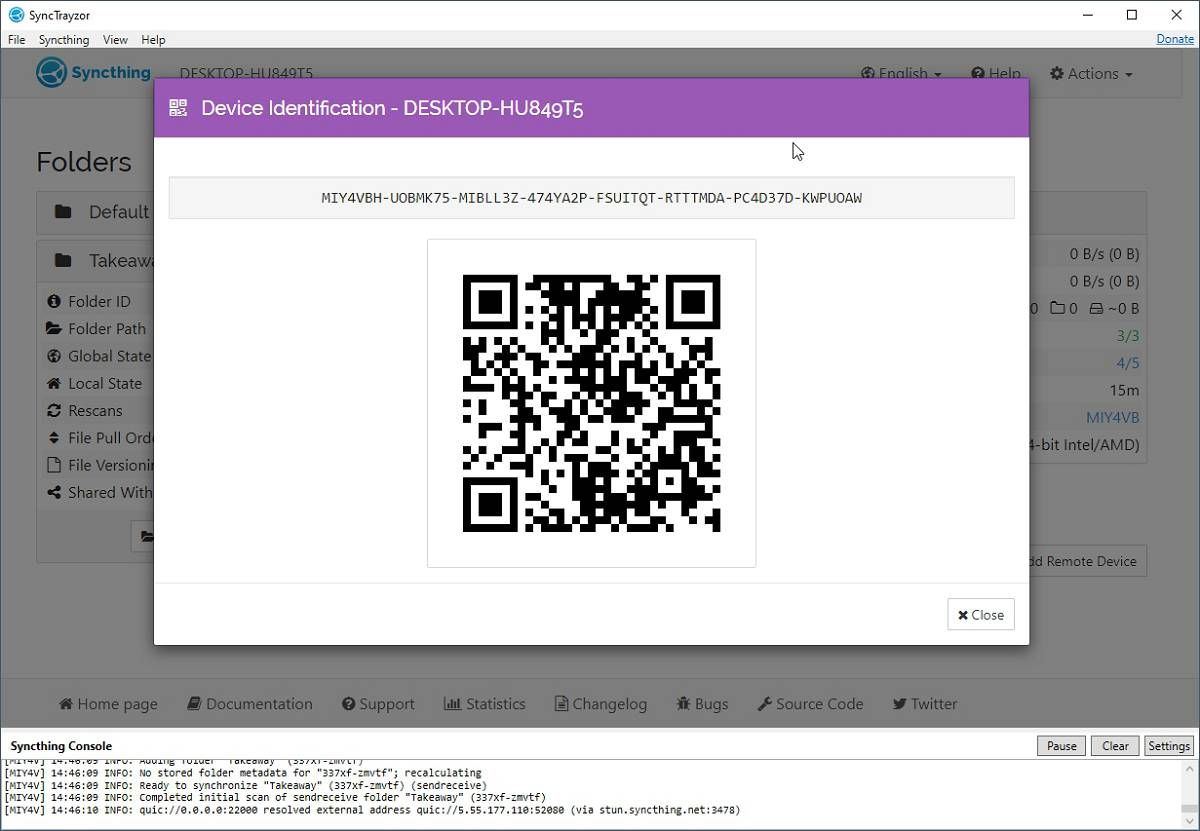
Return to your PC and chooseShow IDfrom theActionsmenu at the top right of SyncTrayzor’s interface.
A QR code with your PC’s ID will appear on your screen.
When done, tap on thecheckmarkon the top right of your Android smartphone’s screen.
This will link your PC and your smartphone and allow sharing folders between them.
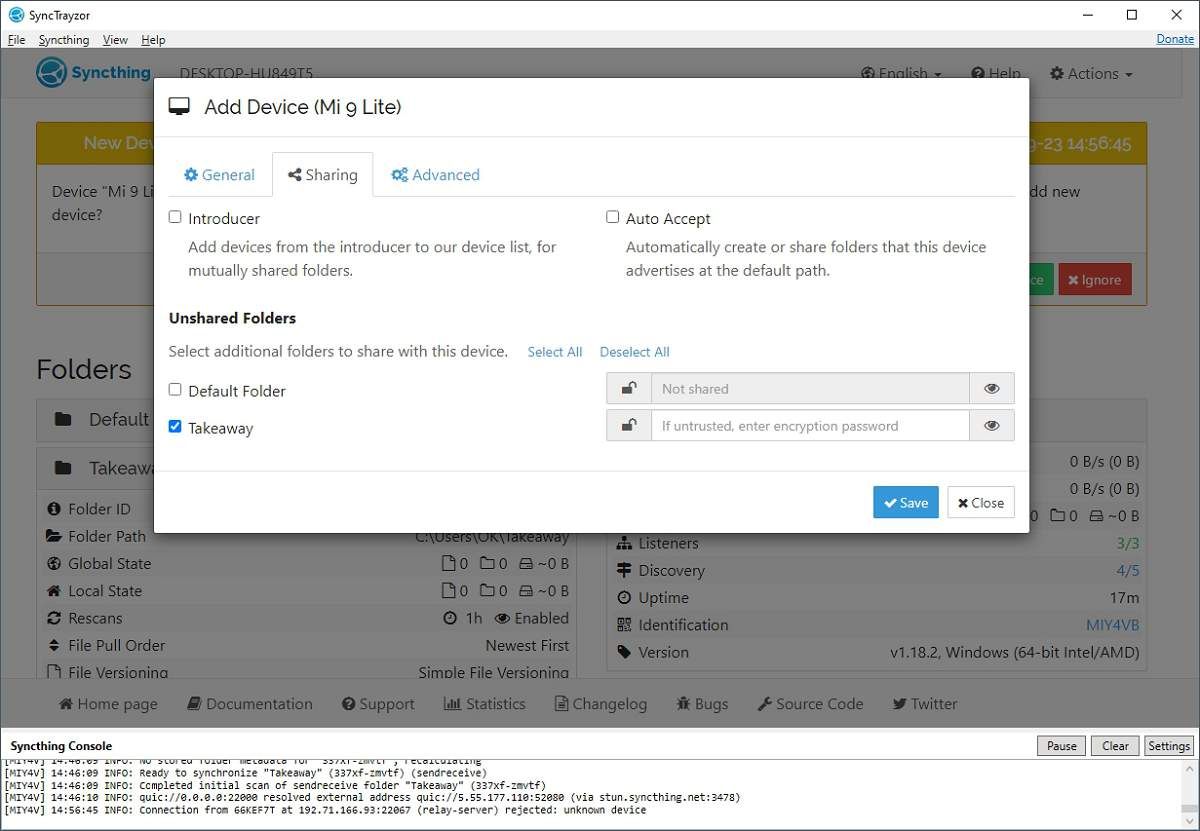
SyncTrayzor will ask you if you want to allow the gear “pinging it” to connect.

Click onAdd Deviceto create a SyncThing connection between it and your PC.
In our case, it was a single folder named “Takeaway”.
Back on the Android side of things, Syncthing-Fork might not immediately detect or show your newly shared folder.
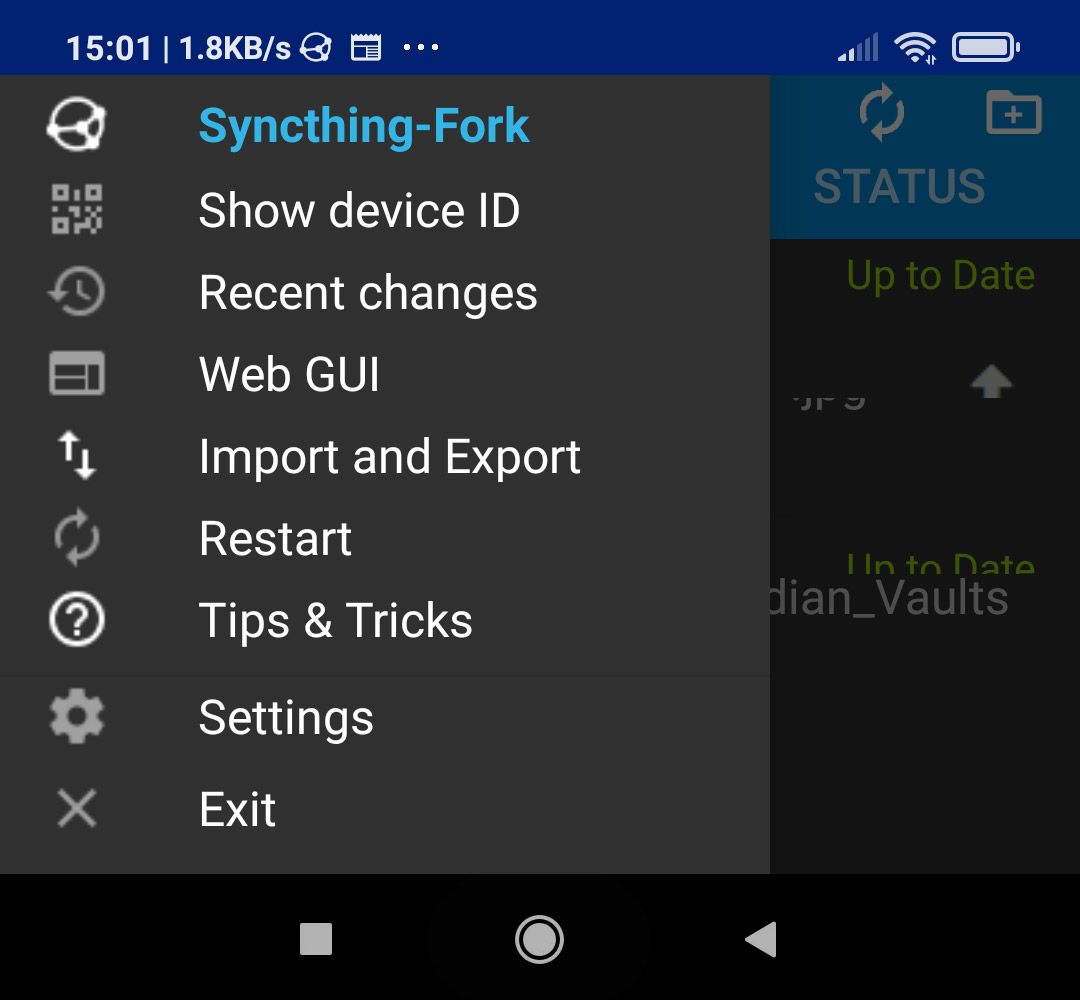
Tap on itsmenu buttonon the top left of the screen and chooseWeb GUI.
This will launch the actual SyncThing web interface in your smartphone’s default online window.
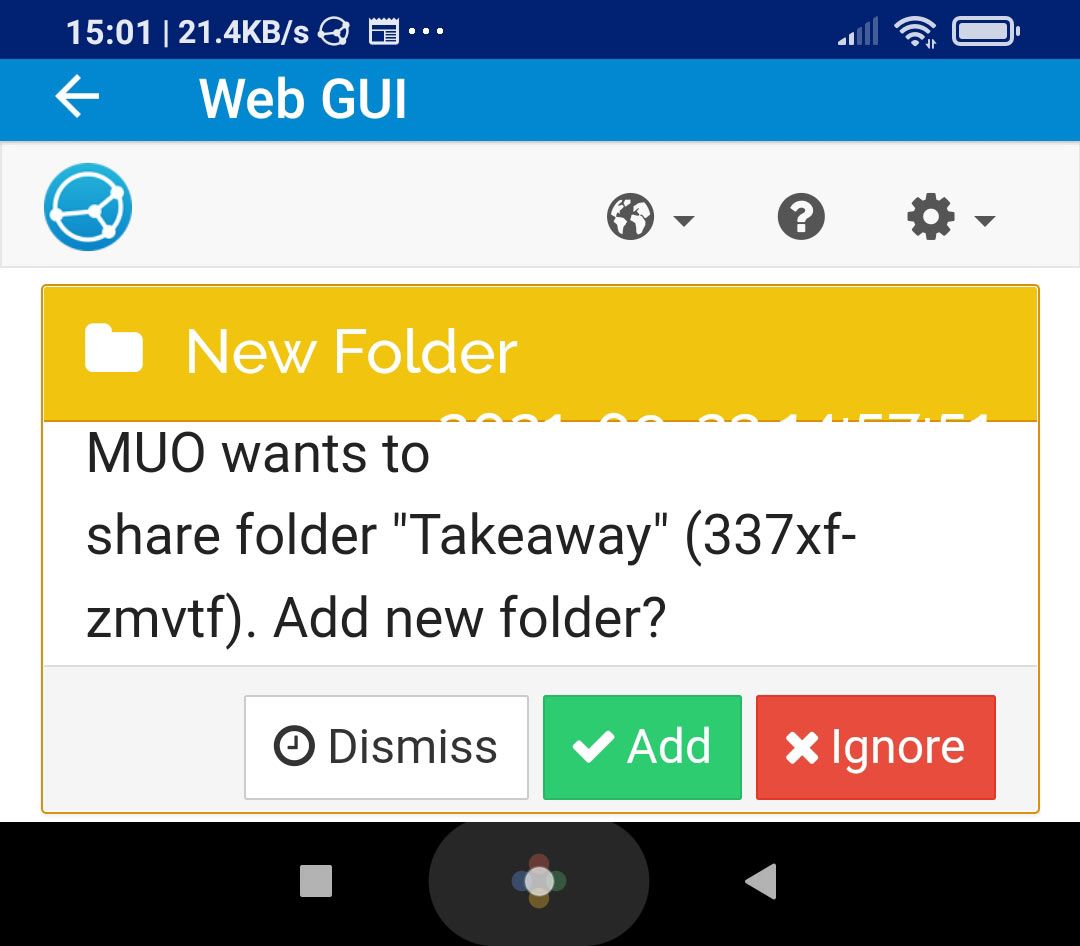
The first thing you’ll see there is a prompt at the very top about a new folder.
Tap onAddto do so.
Go through the available options and ensure they match the parameters for the folder on your PC.
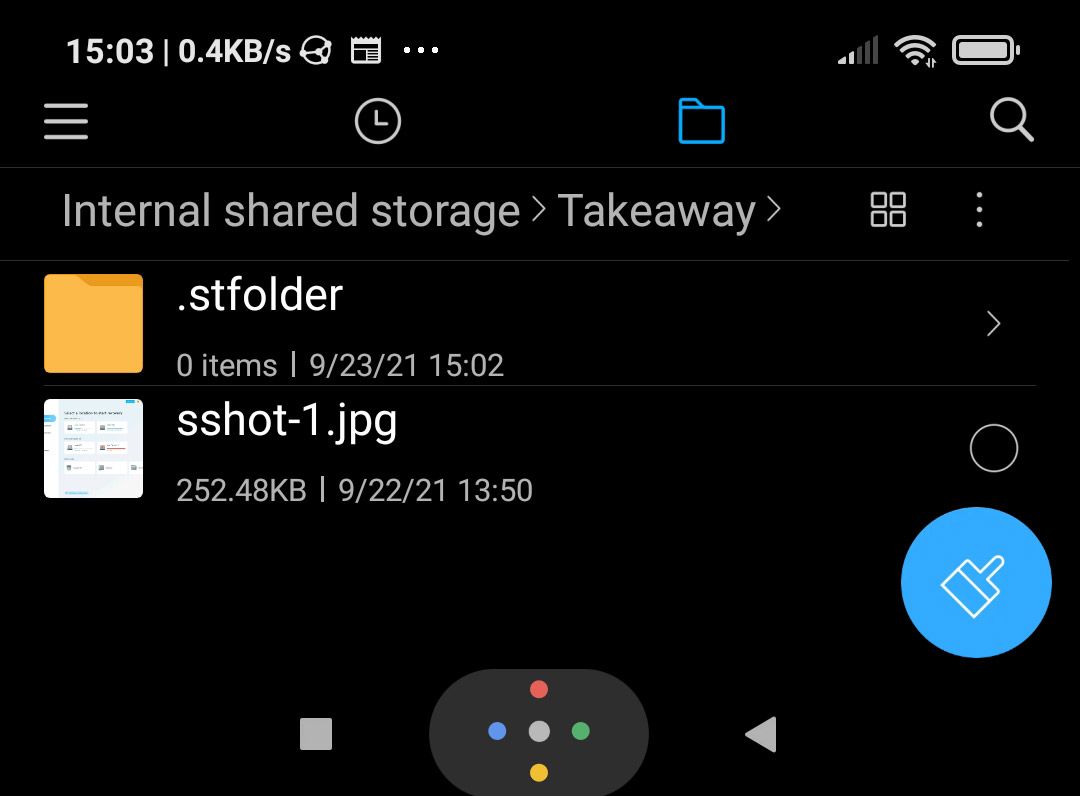
Your devices will start syncing almost immediately after linking them and sharing a folder between them.

you’re able to access them with any file manager.
SyncThing allows you to control where and how you’re sharing your data.
Still, you should keep in mind that syncing is not the answer to everything.
You never know when you might need them.