The DNS challenge method with a secure Cloudflare Tunnel is easier to follow and deploy.
However, if you still want to go with the DDNS method, follow theofficial Home Assistant guide.
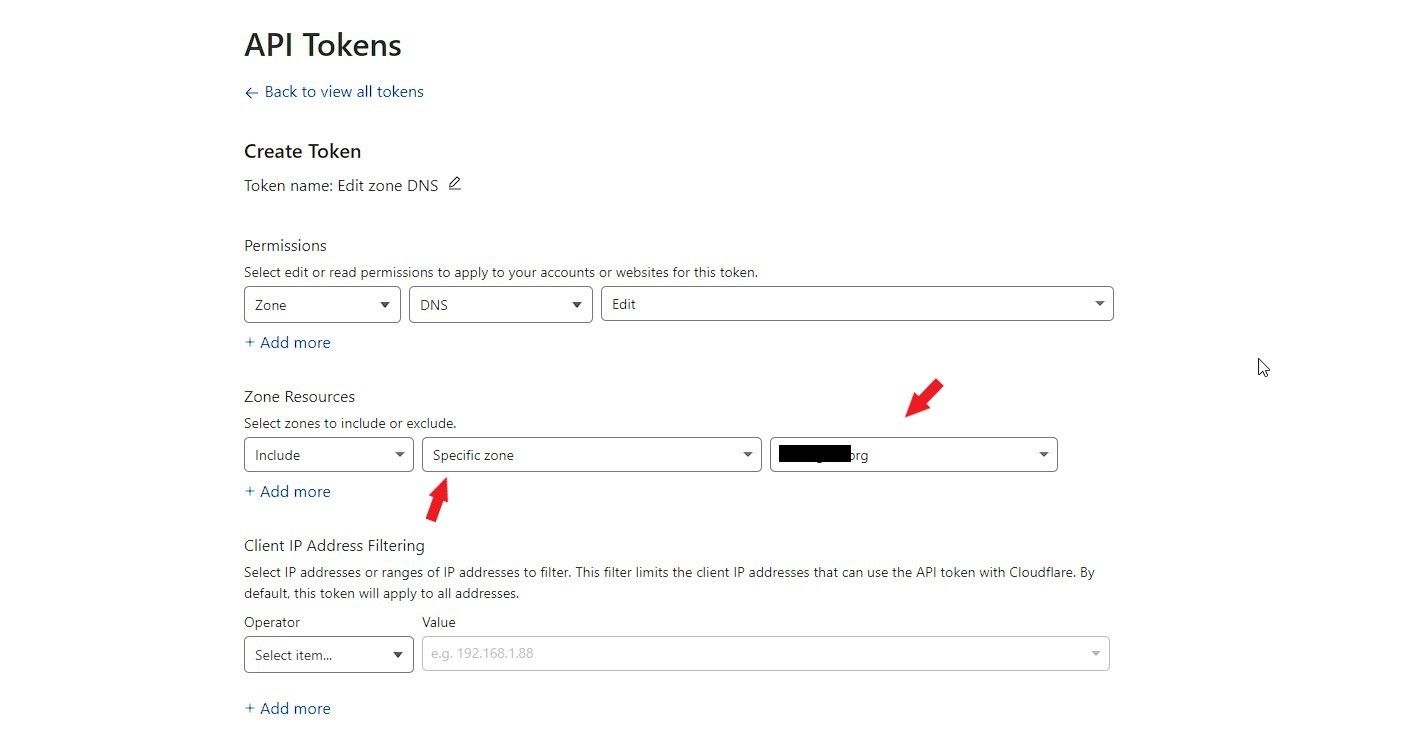
For now, chooseFlexible.
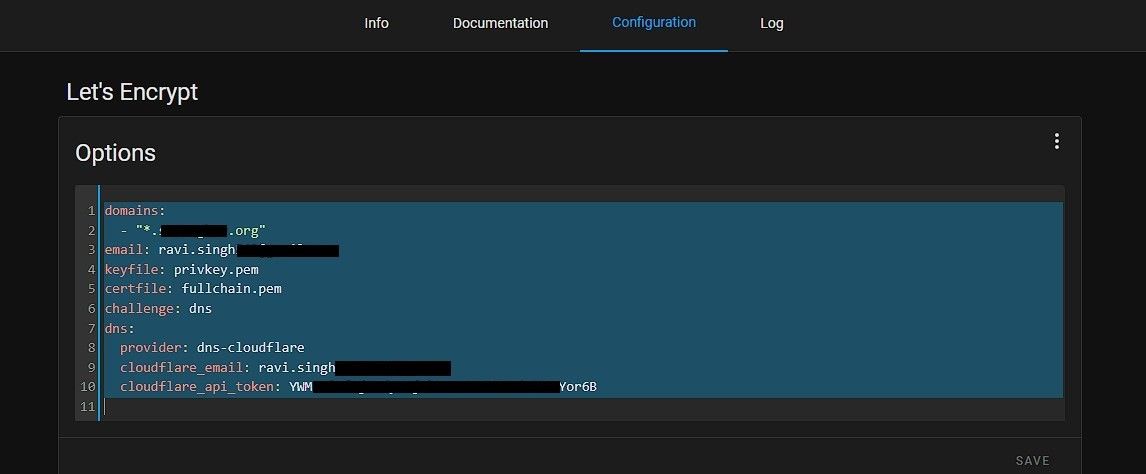
Also, this will help complete the DNS challenge for installing the SSL certificates on our Home Assistant server.
This will take a while to complete.
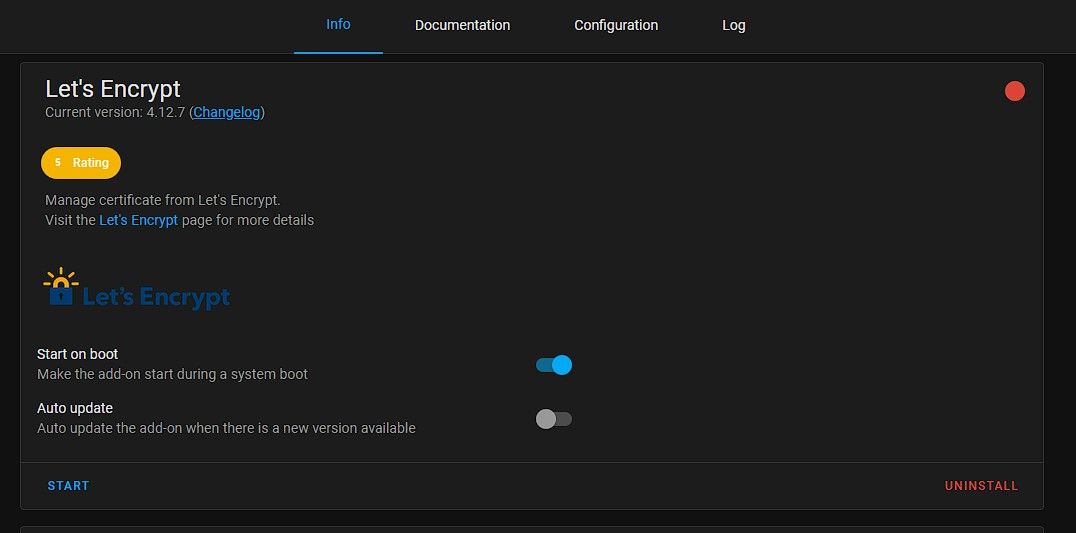
We strongly advise that you punch theLogtab and keep an eye on the logs (keep refreshing).

If everything goes well, the certificates will be generated and installed.
The free certificate will be valid for three months.
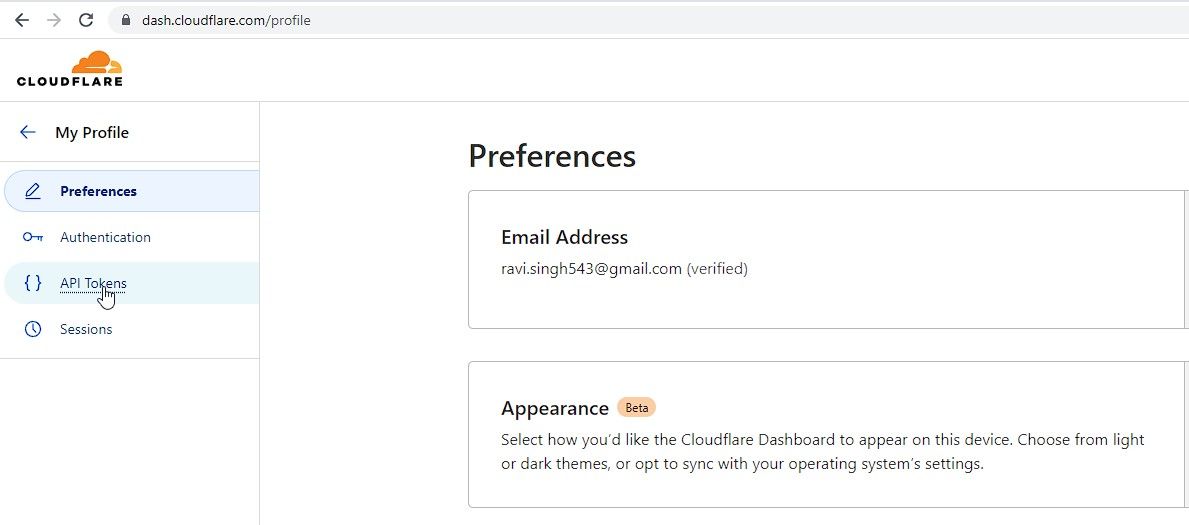
At this stage, you could enter to your Cloudflare account and turn onFull modeunderSSL/TLSfor end-to-end encryption.
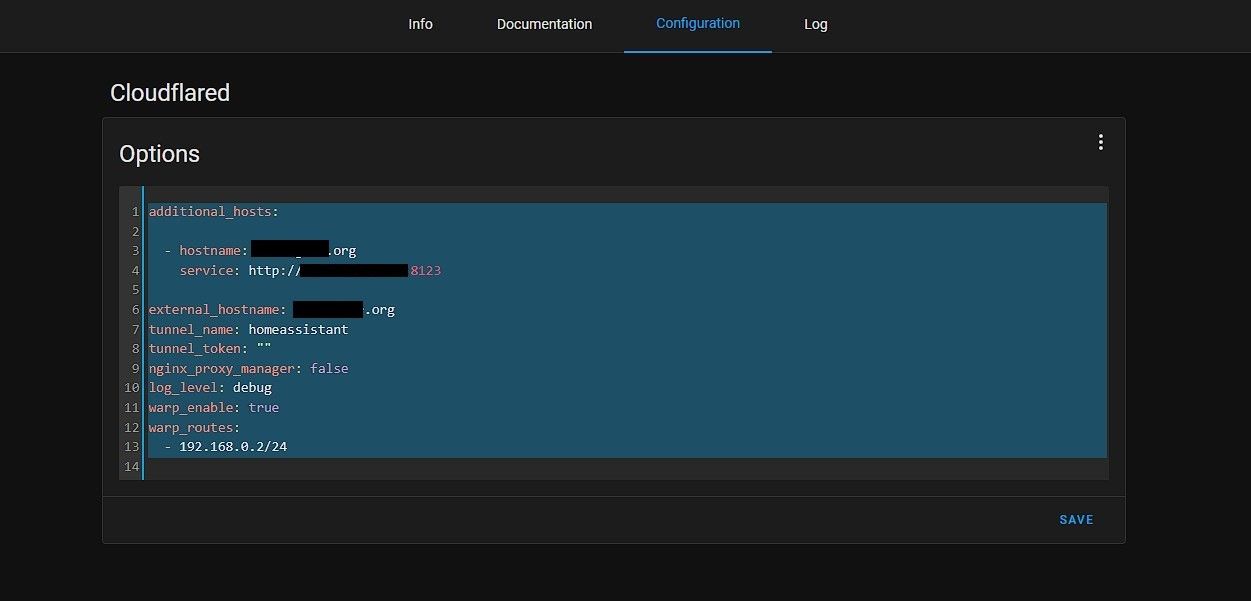
You have successfully generated and installed SSL/TLS certificate on your Home Assistant server.
With Cloudflare Tunnel, your Home Assistant instance is also end-to-end encrypted.