He prefers to work on projects where he designs solutions around moving parts.
The idea is initially credited to a high school friend.
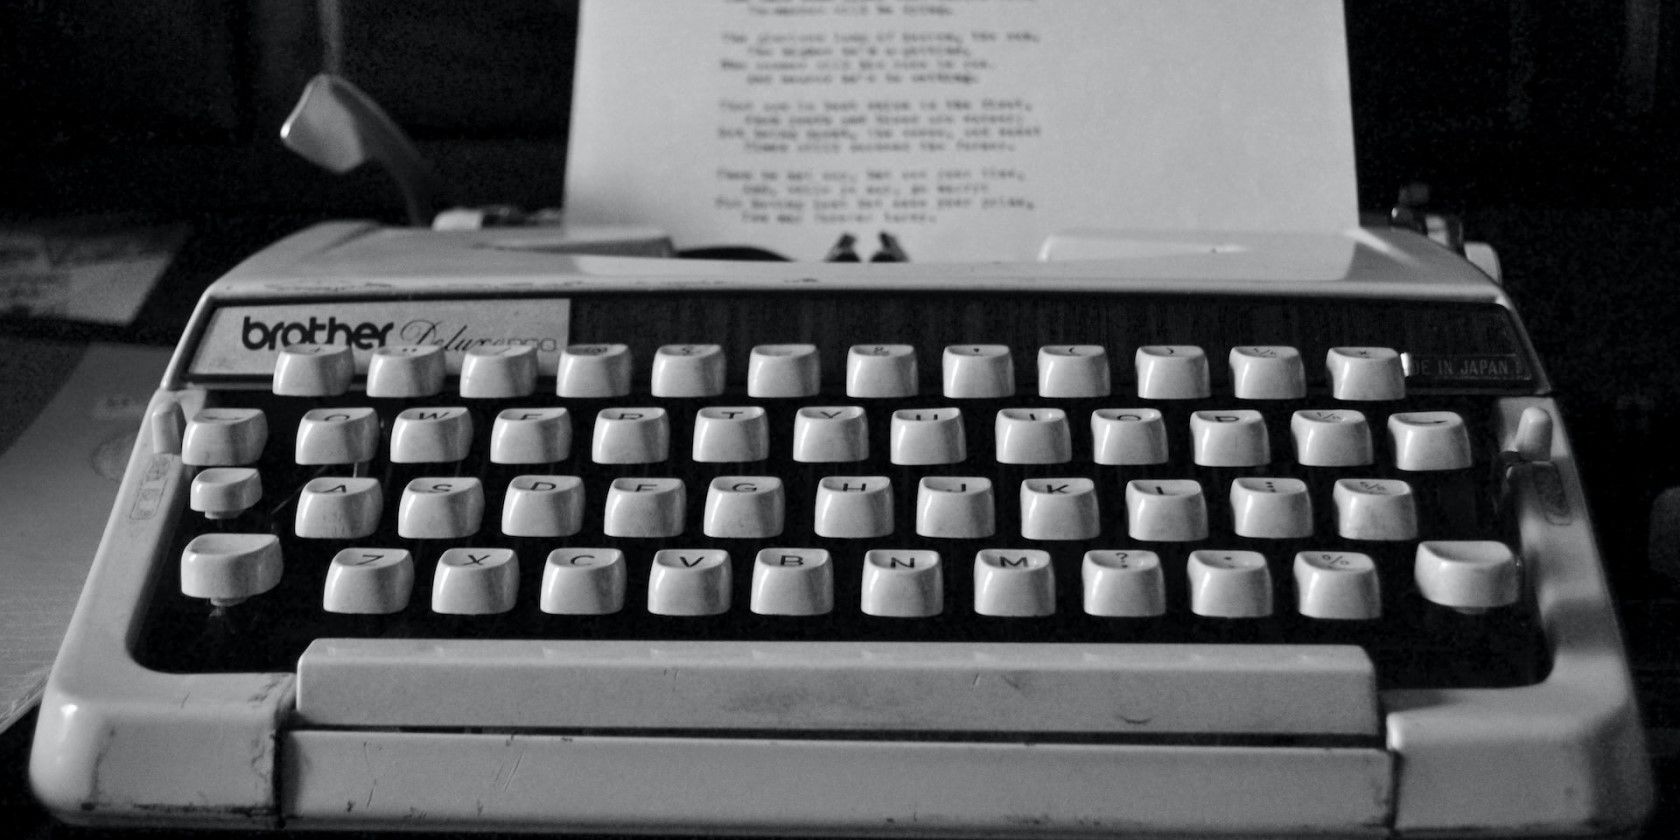
Unfortunately, the keyboard parts have now been collecting dust for six years.
This project is a great way for you to understand how moving parts work and how technology communicates together.
Each key is assigned a number between 0 and 87 to make programming easier.
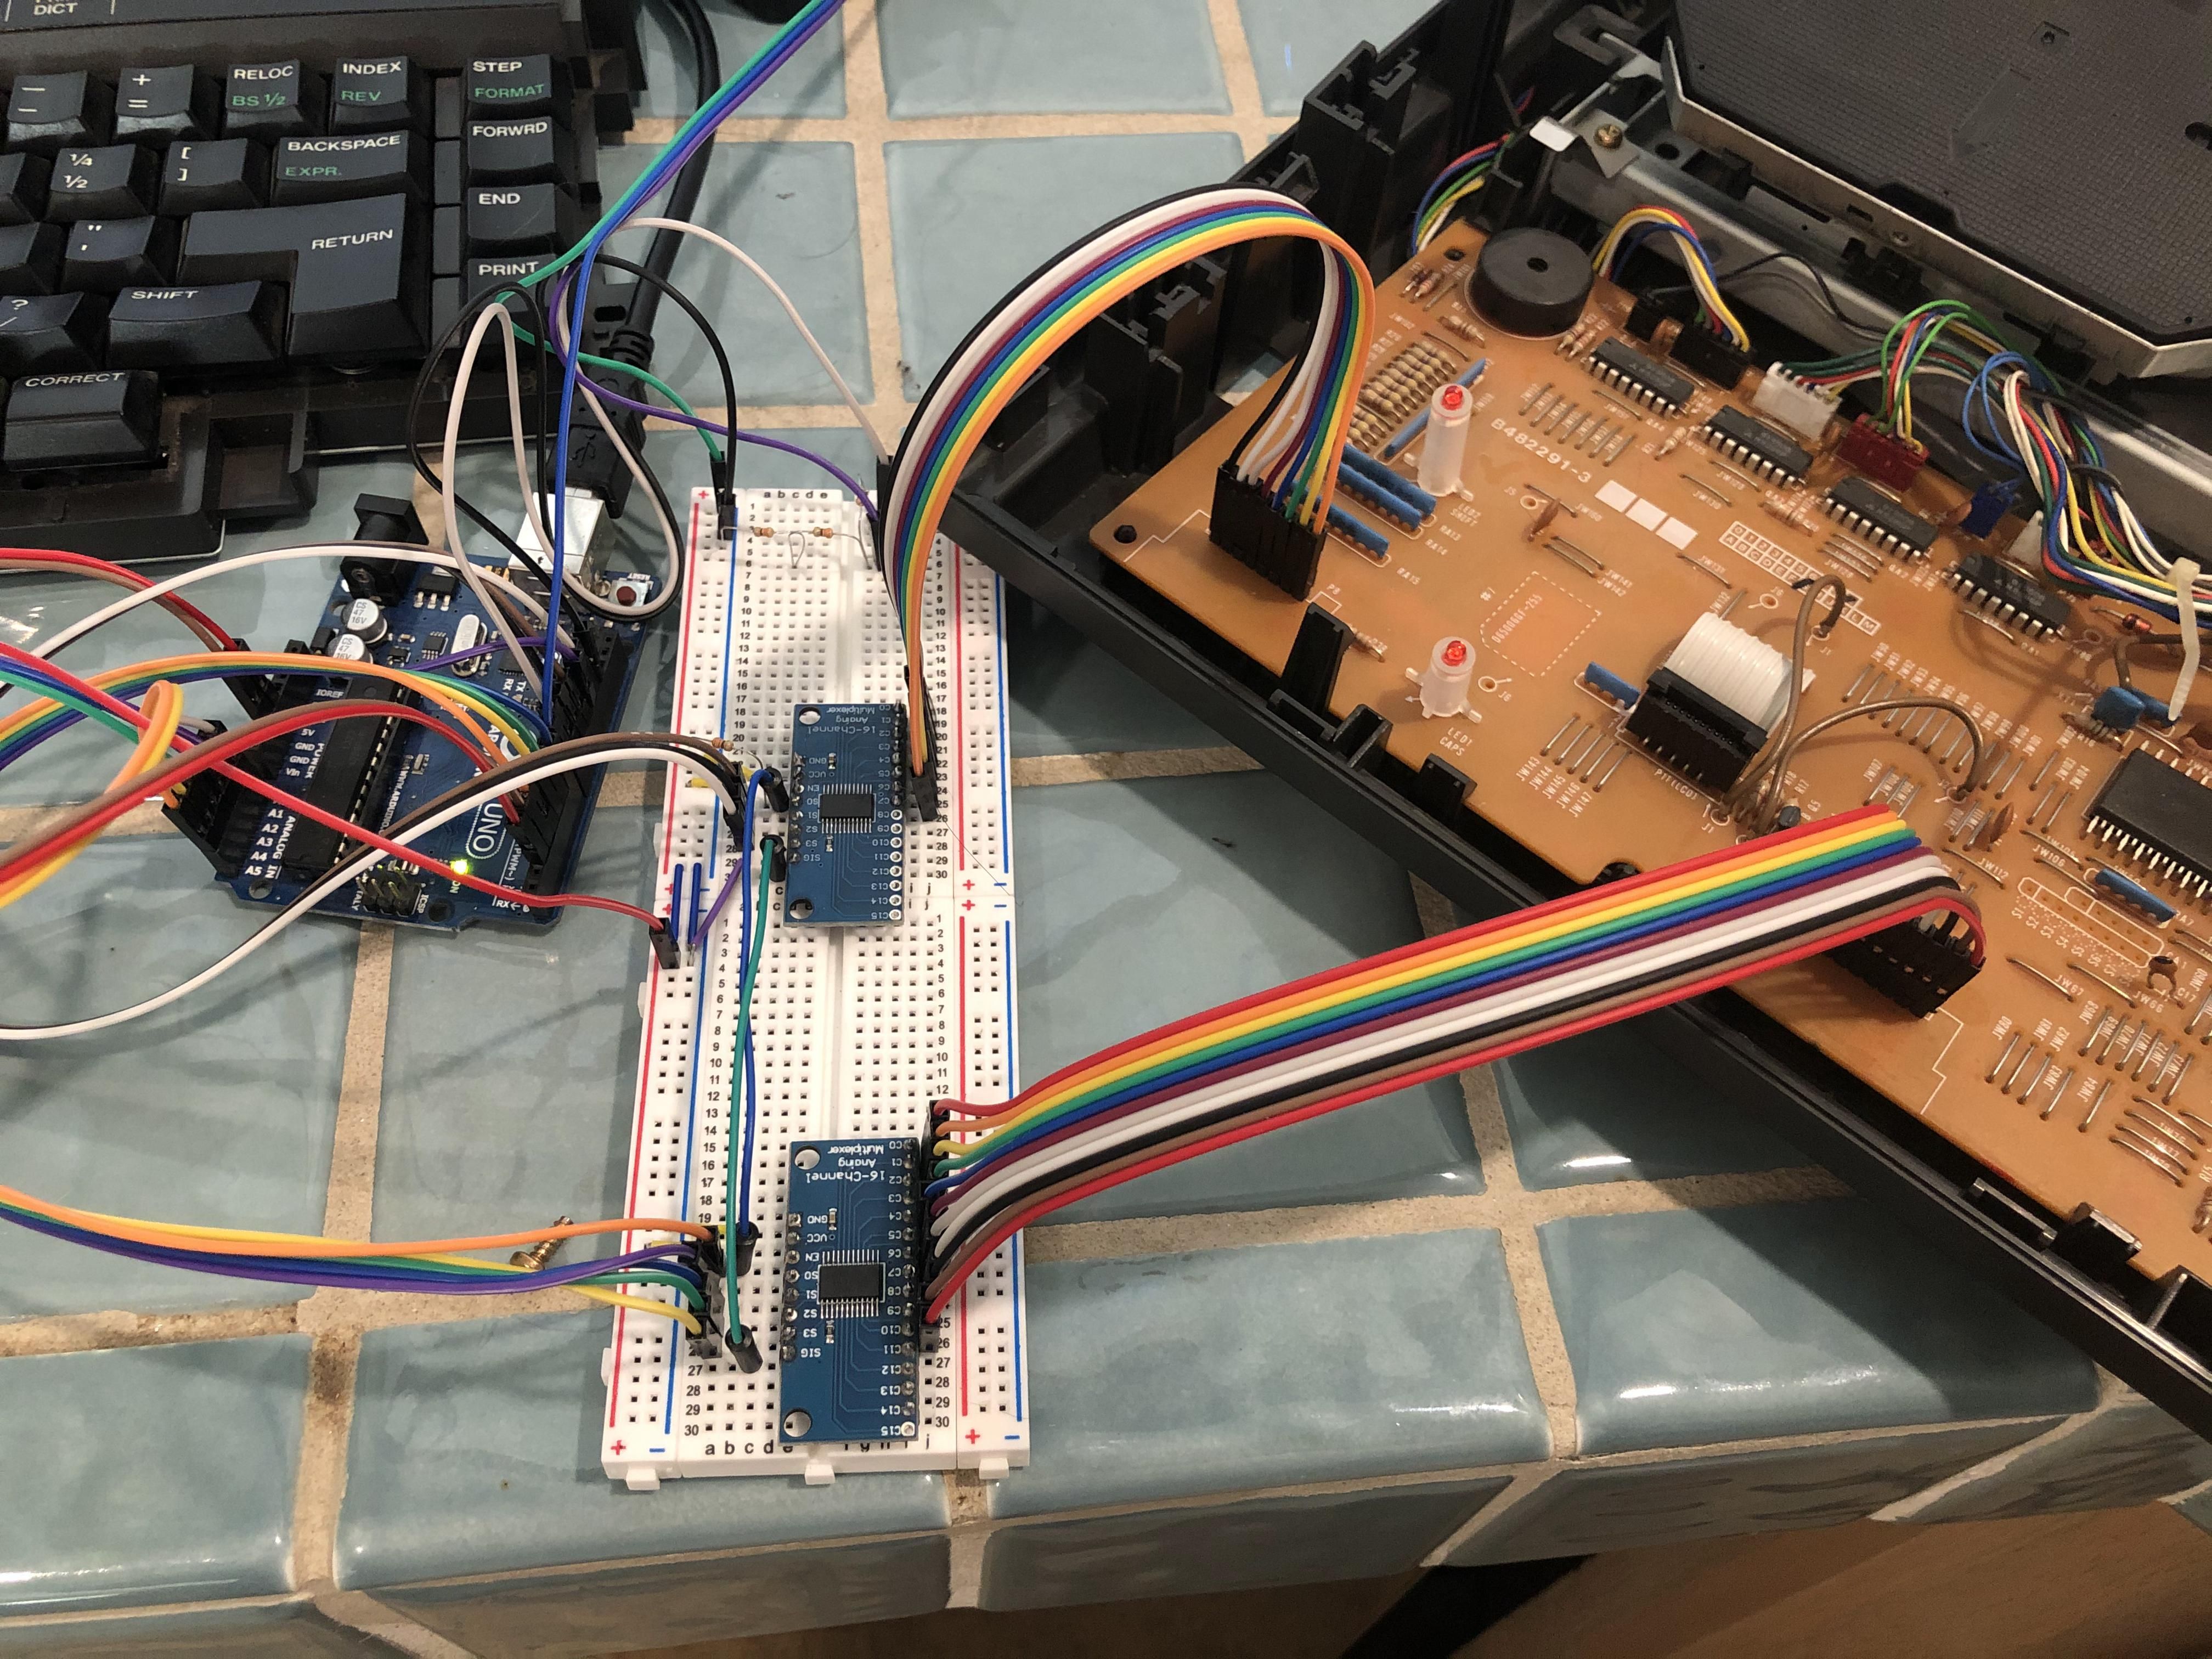
The multiplexers are used to connect inputs and outputs without needing a lot of extra cabling or connectivity.
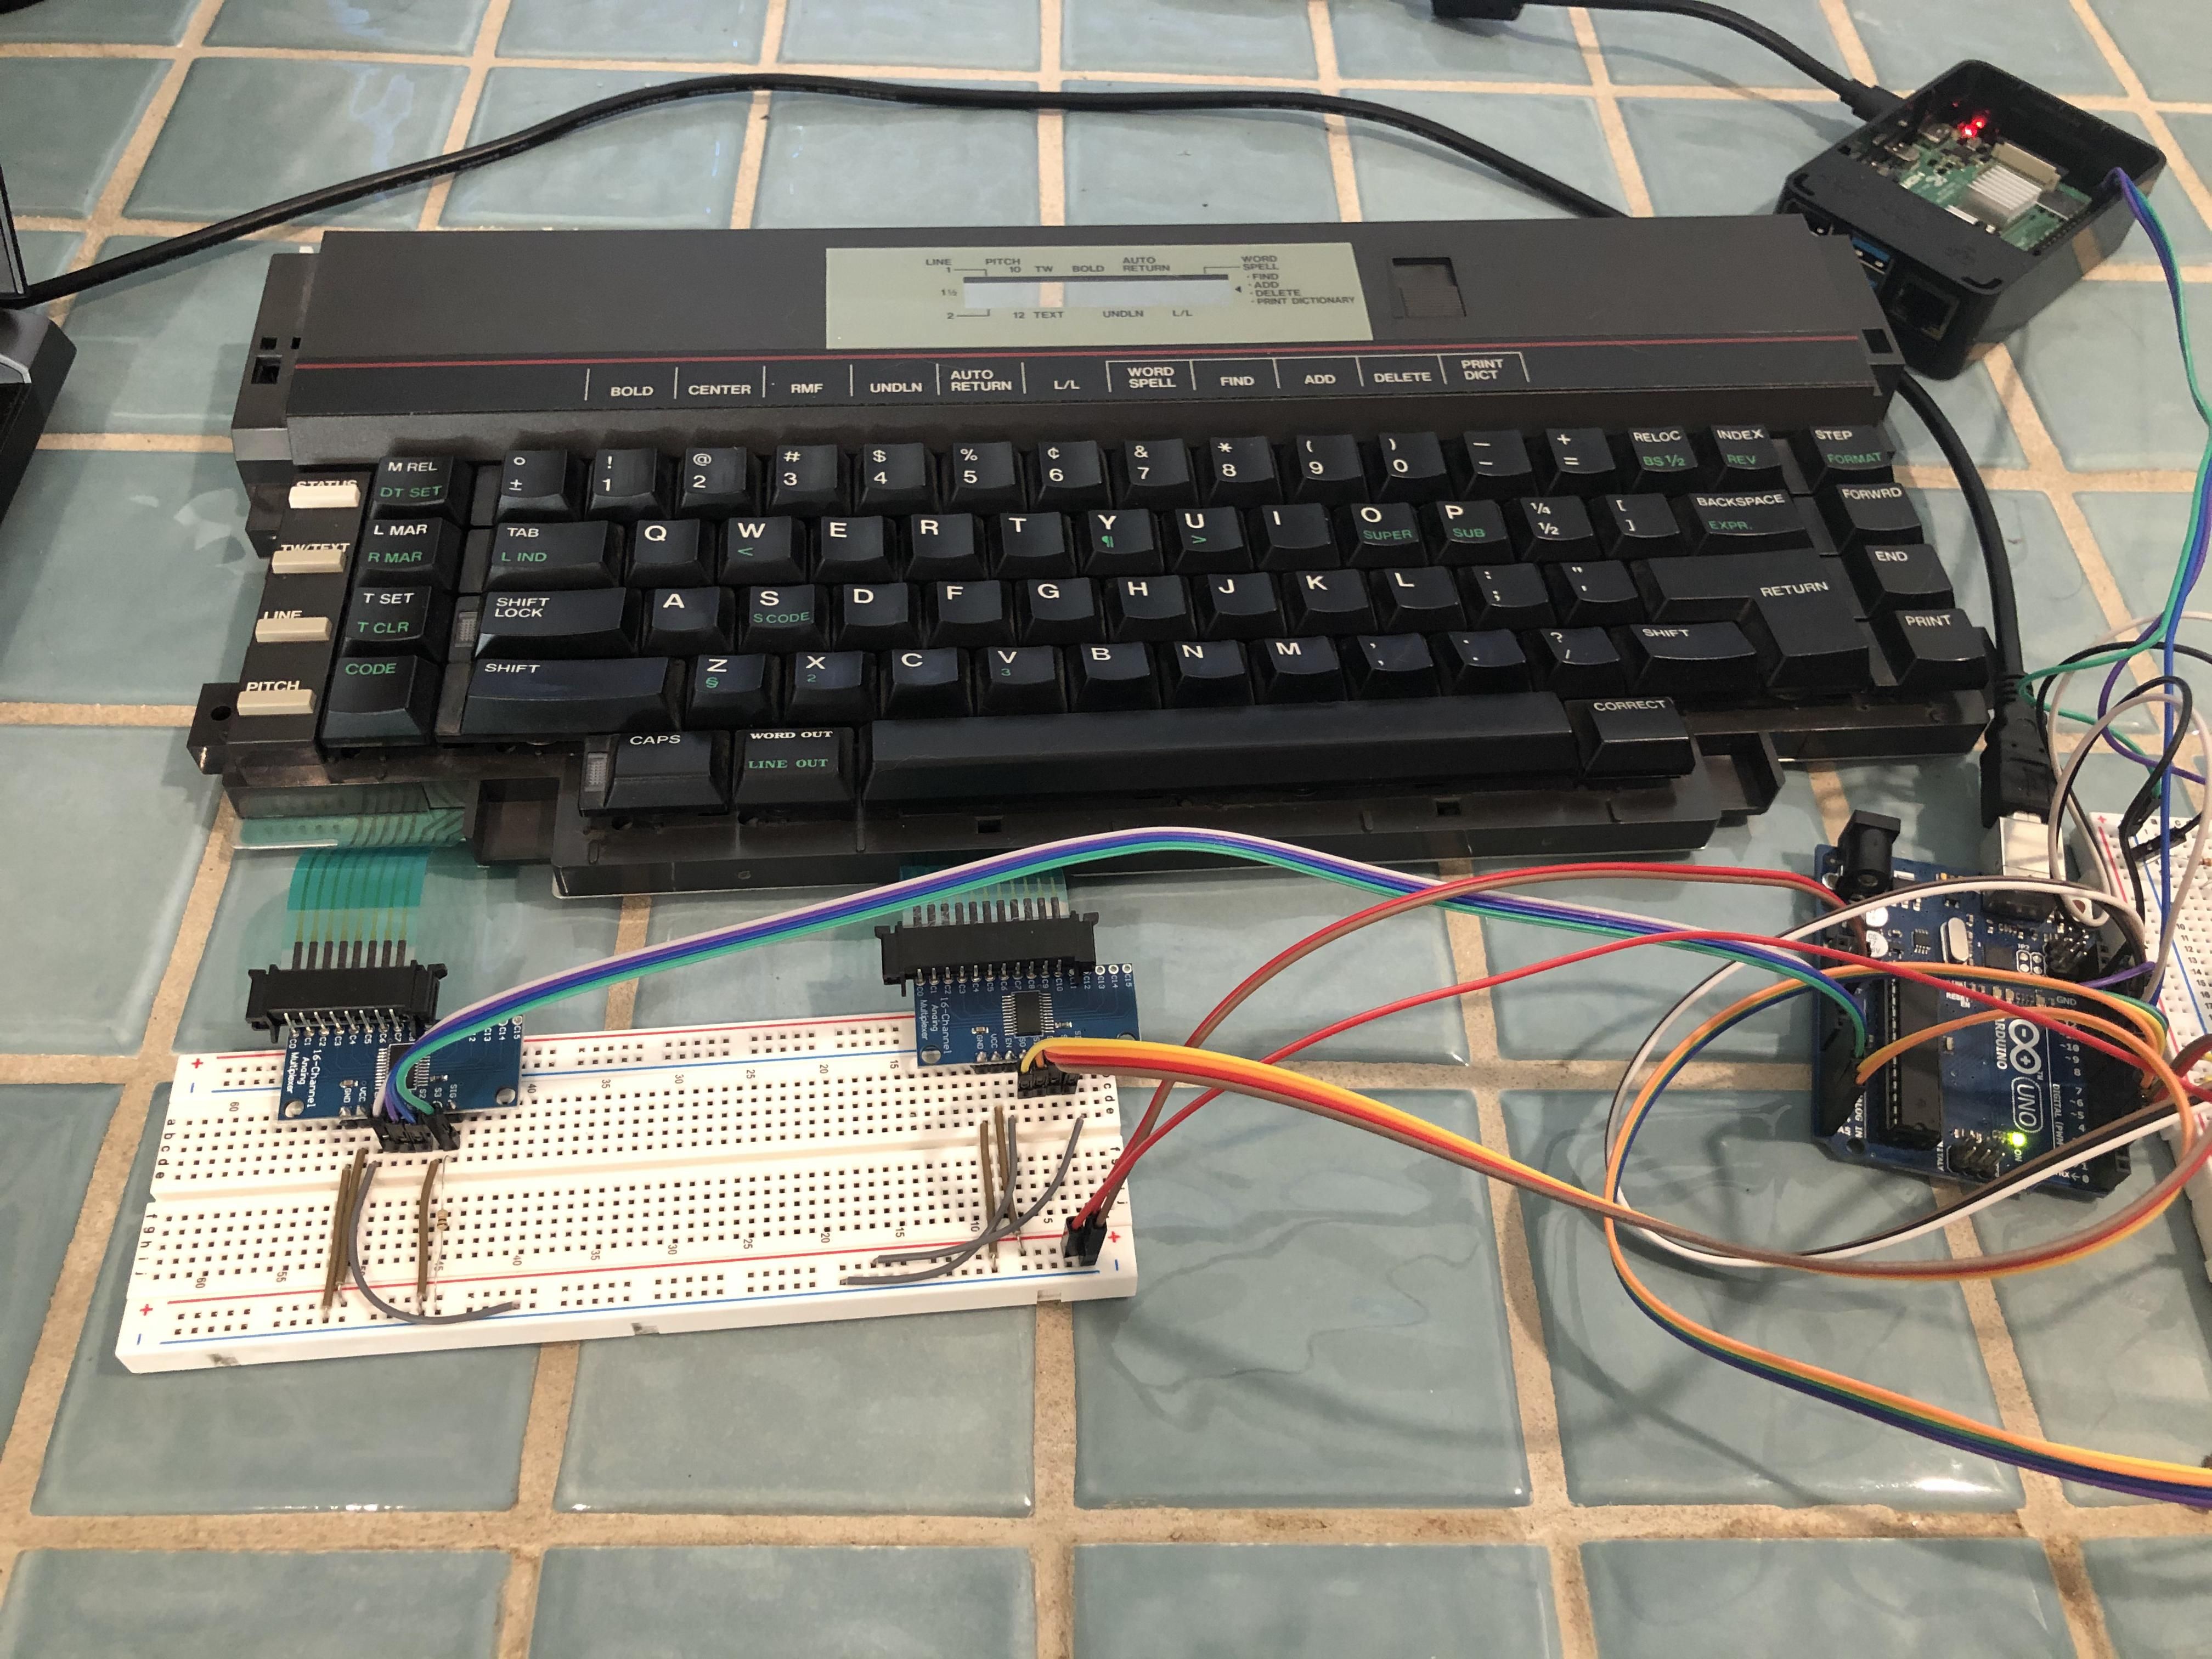
With respect to the typewriter, multiplexers are used to connect many input pins to a single output pin.
When changing the selected pins you’re able to then choose which input is connected to the output.
Connecting Components
Based on Riley’s research the daisy wheel typewriter mechanism works well with the Arduino.
To learn more about this microcontroller, check out our guide onexploring the different Arduino typesfor details.
Why did he end up using a Brother AX-25?
This is merely the first typewriter he found to fit his criteria.

In the picture above, a long rectangle board connects various technology together.
This is called a breadboard.
The main purpose of this board is to simplify electronic circuits.
Check out our guide onhow a breadboard worksfor details.
To get a deeper understanding of terminal functions, consult our guide onthe history of Linux commands.
The Raspberry Pi runs Raspberry Pi Lite OS which meets the needs of this project well.
This is due to the typewriter displaying simple functions through the TTY (or teletype) terminal.
Riley admits that the Arduino could be removed from this equation.
Alternatively, creating a new Linux driver is needed to replace the Arduino.
This is not something in this creator’s plans for now.
He also considered removing the Raspberry Pi and adding a serial port connection between the Arduino and the typewriter.
The timing issue was eventually solved by telling the Arduino to press two keys very close together.
Recently Riley shared a live broadcast on his YouTube channel designing a PCB in real-time.
Not sure what a PCB is?
Check out our guide onprinted circuit boards.
When the schematics are completed he plans to send the PCB design to a manufacturer.
Will You Try This Project Yourself?
You are welcome to view Riley’s open-sourceserial-typewriter GitHub repository.
If you find yourself needing a helping hand, consult Riley’sYouTube channel, Artillect, for details.
You’ll also find that he includes other ways to connect with him as well.
Enjoy giving your electronic typewriter new life as a Linux terminal!
