In addition, there’s already a wide range of add-ons and accessories available for it.
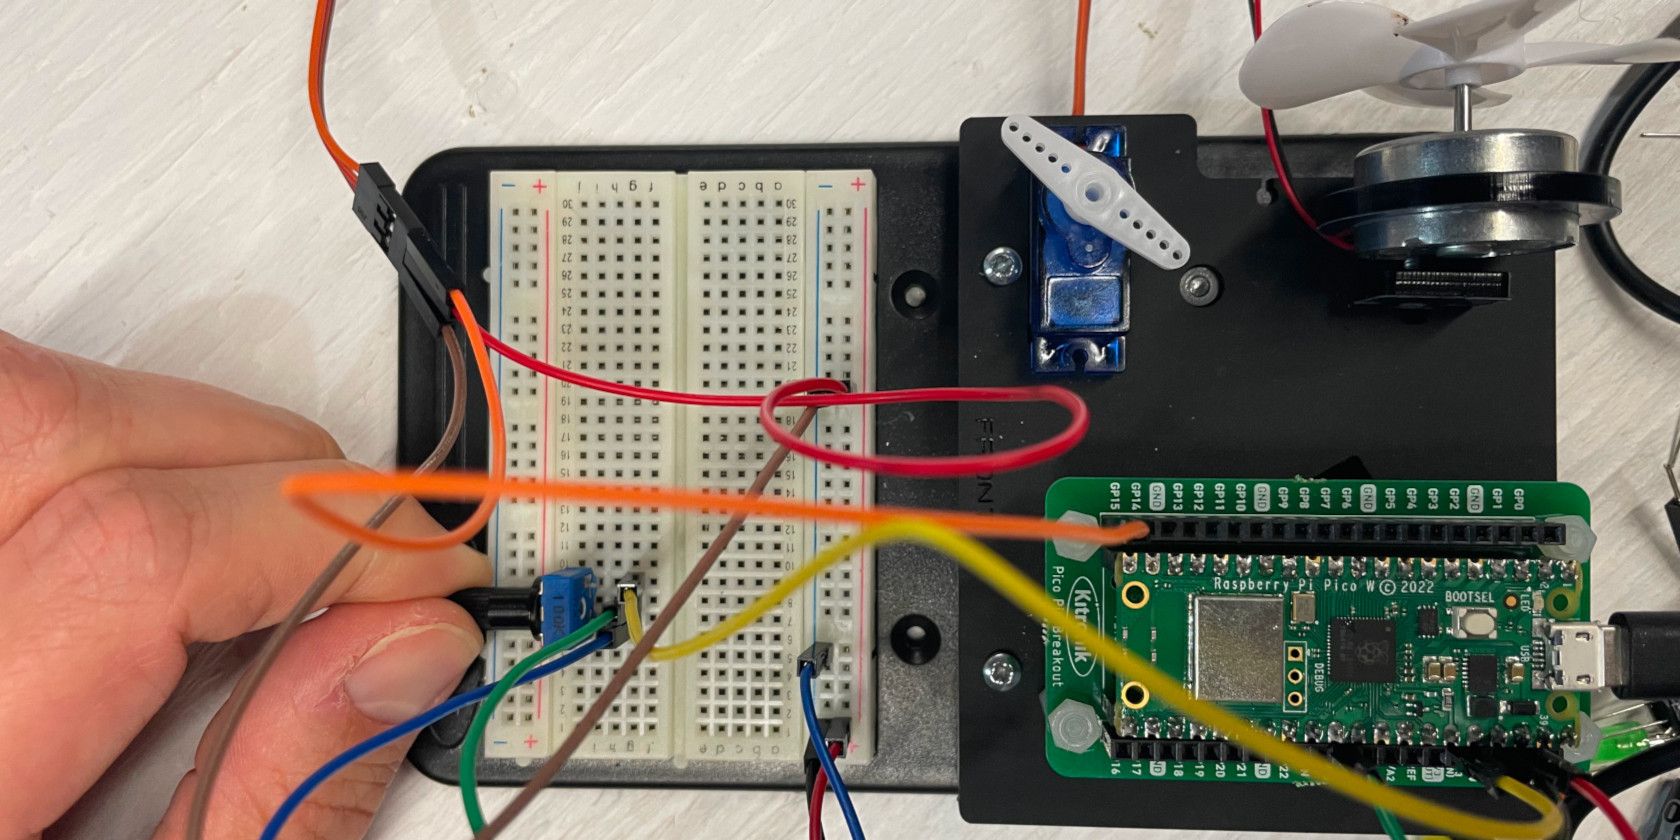
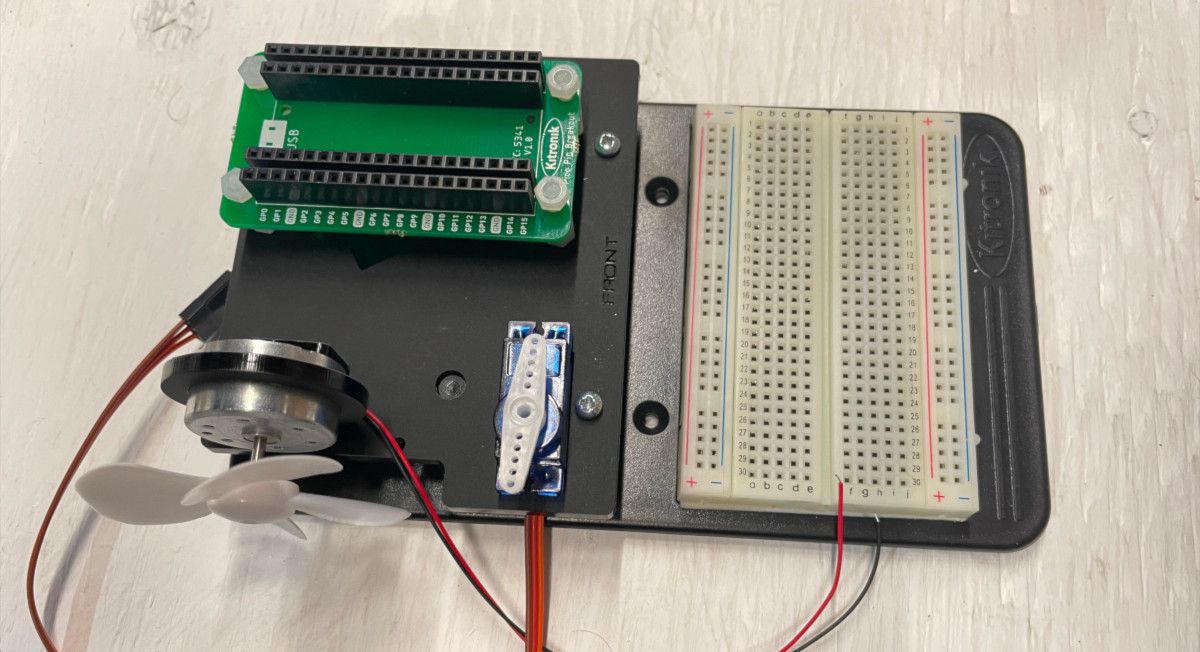
One such add-on is the Kitronik Inventor’s Kit for Raspberry Pi Pico.
Let’s take a closer look.
What Can I Build With the Kitronik Inventors Kit?
The example projects for the kit are programmed using the MicroPython language, a variant of Python for microcontrollers.
Learn how toget started with MicroPython on the Raspberry Pi Pico.
Blink LED, Blink!
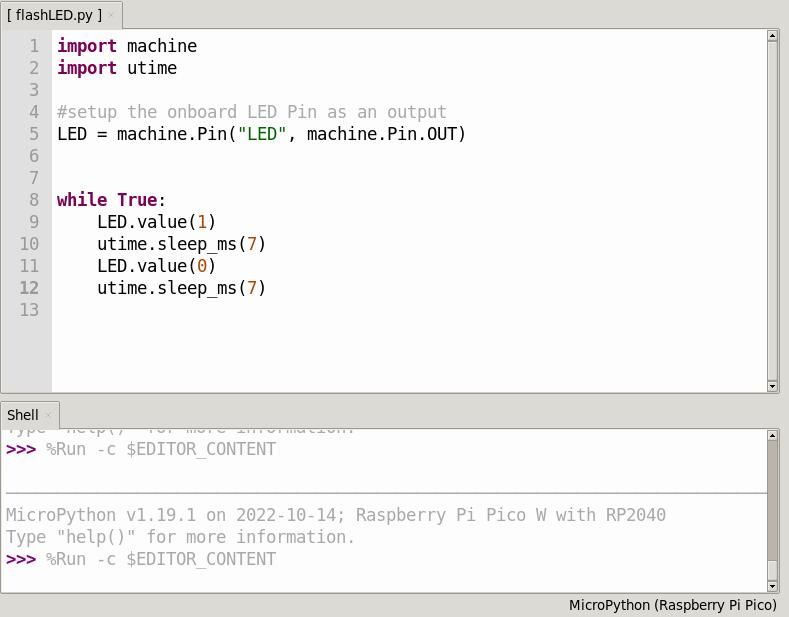
Let’s ease in by getting the Pi Pico’s onboard LED to blink.
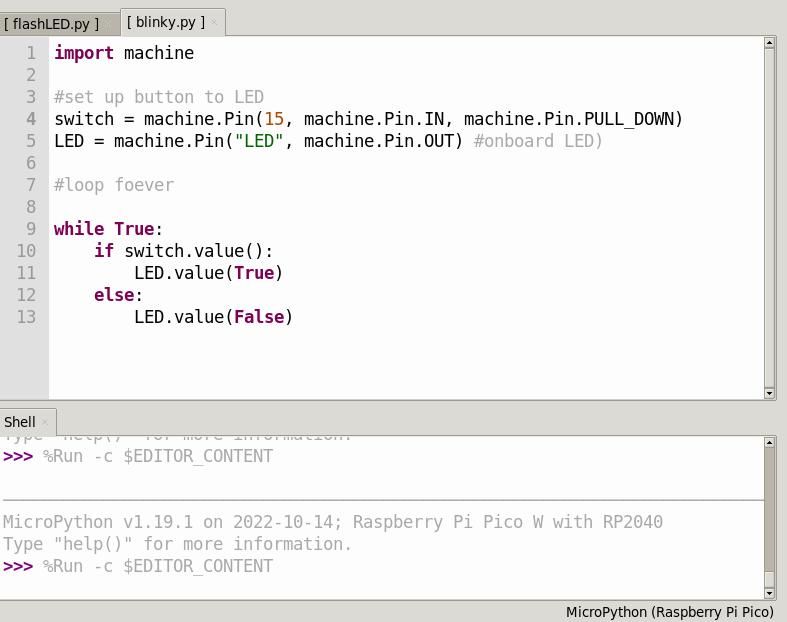
Challenge yourself to stop this process whenever a keyboard button is pressed.
The code’sifcondition is then met and the LED is switched on.
When the button is not pressed, theelifcondition is met and the LED is turned off.
Your journey with circuits, breadboards, and everything in between begins.
If you get stuck, follow the experiment link written in the included booklet for help.
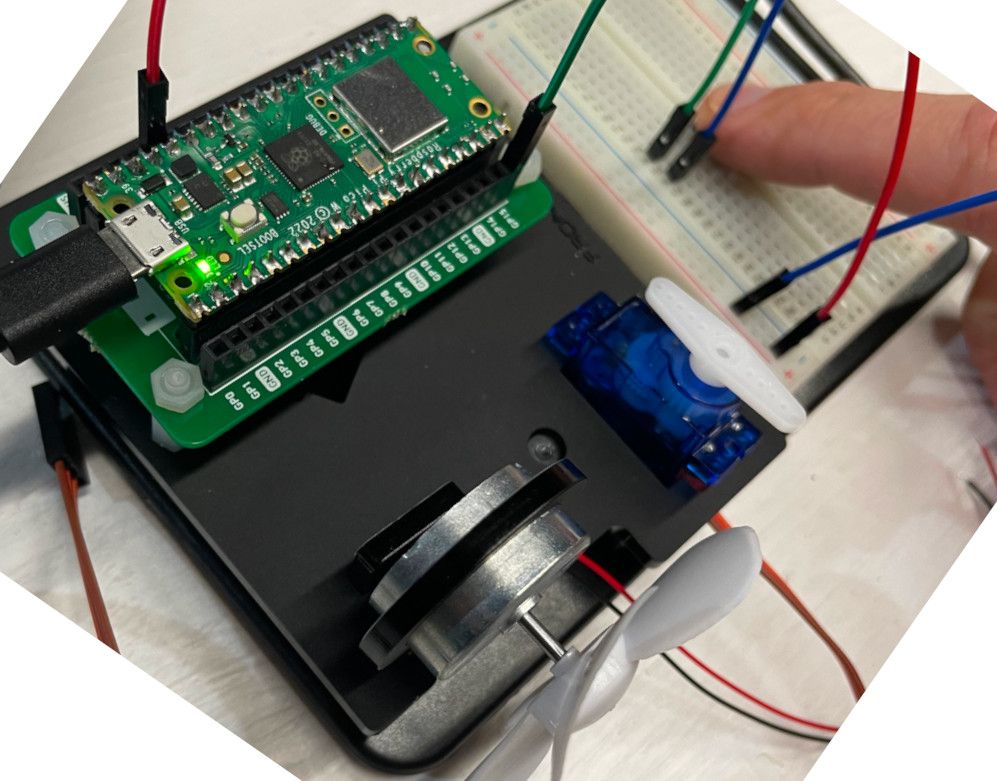
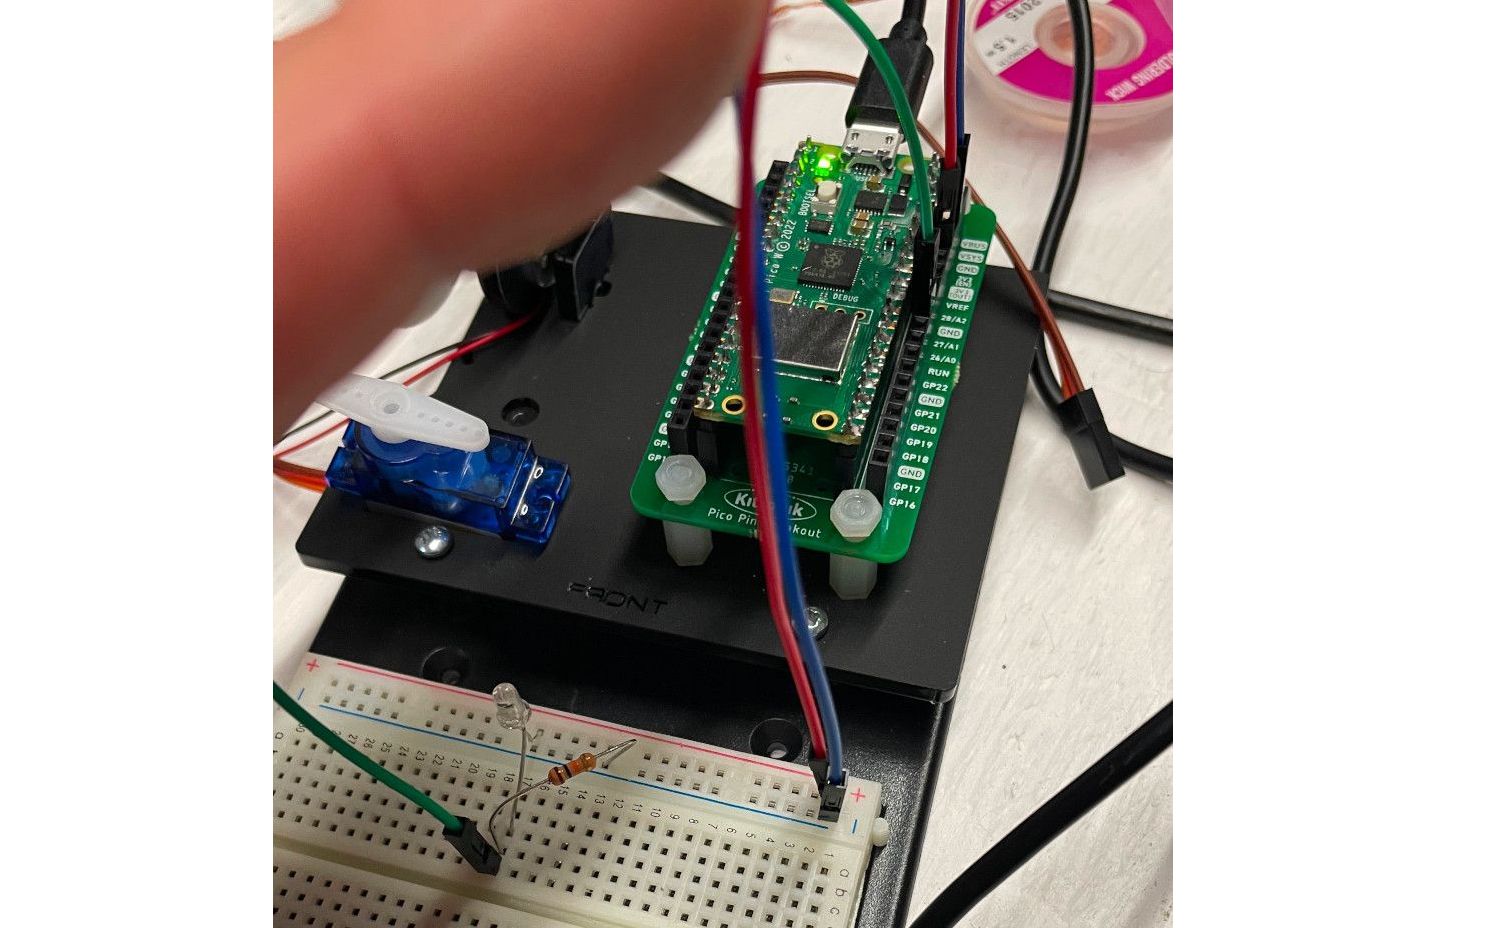
Light, Sensor, Action!
This project will have you using some jumper wires, a resistor, and phototransistor.
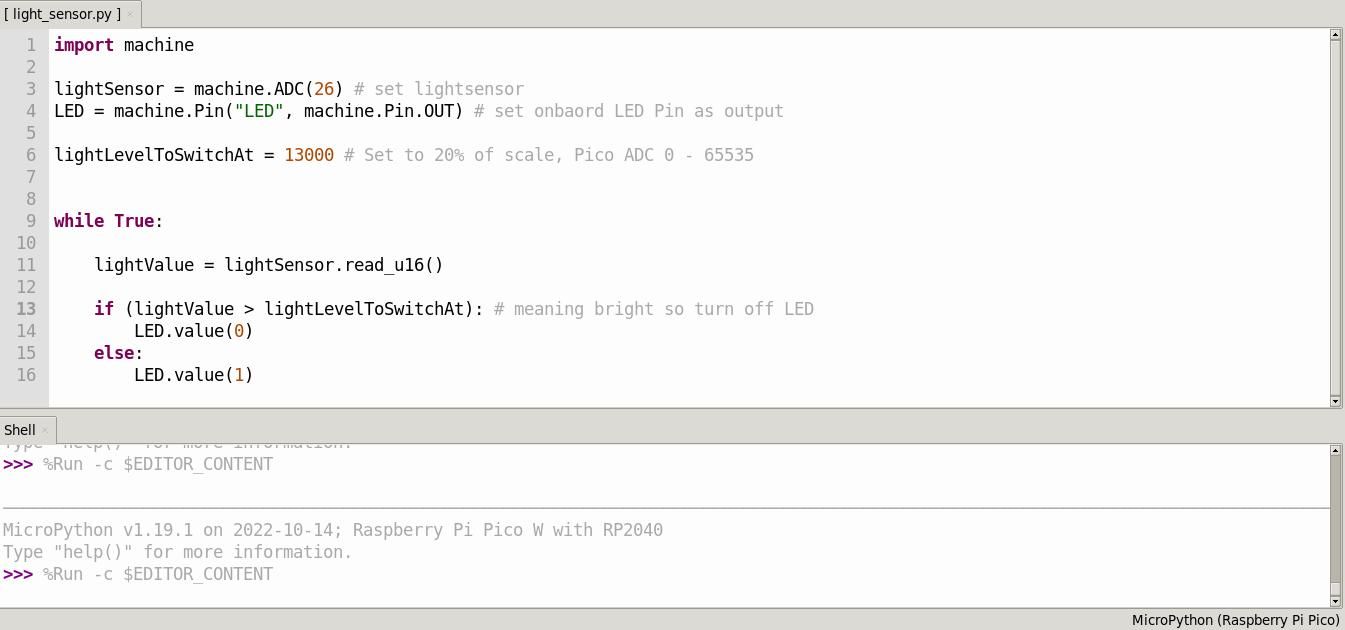
As you’ll recall, the switch used previously used a digital signal (on or off only).
Feel free to change thelightLevelToSwitchAtvalue in the code to another number.
Do you still see the same effect?
What Are You Looking Forward to Tackle First?
Do you prefer working with digital signals?
That is, if it’s possible for you to get nail the right frequencies of each note.
There are many more electronic experiments to explore.
Alternatively, there are other kits and breakout boards available for the Pico.