If you haven’t guessed it yet, we’re big fans.
Imagine being able to write a blog post with actually embedded maps - not just screenshots.
You’re already halfway to mapping multiple locations on your blog!
It appears those are the only languages currently available.
Now MapTheWay is installed on your site, and you’re ready to start embedding your maps!
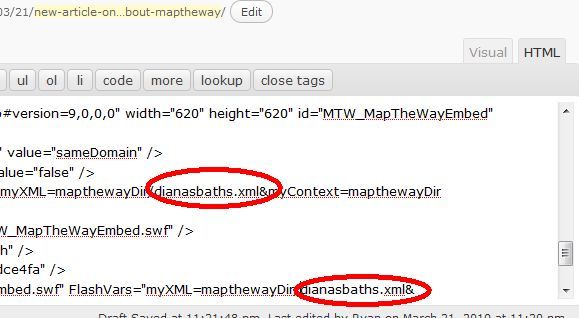
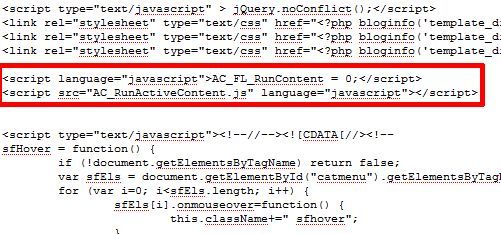
Two of those files areHtmlHead.txtandHtmlBody.txt.

The header script doesn’t change.
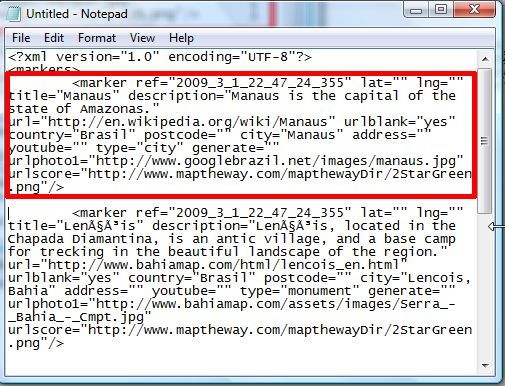
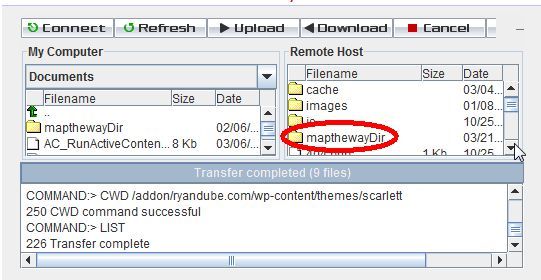
Now, you better set up your XML file filled with your Way Points.
The template to use isMyWebPage.xmlincluded in the mapthewayDir folder.

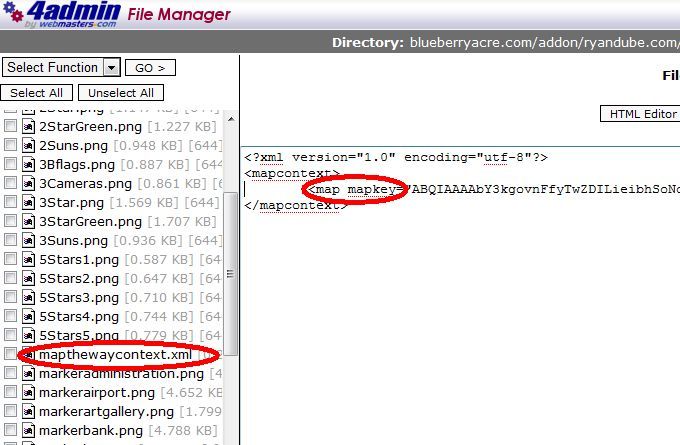
The format of that file is as shown below.
Many of the variables used in the example file aren’t available in the free version.
So, you could customize your own marker icons if you use that naming convention.
Your first question here is probably - isn’t this a bit complicated?
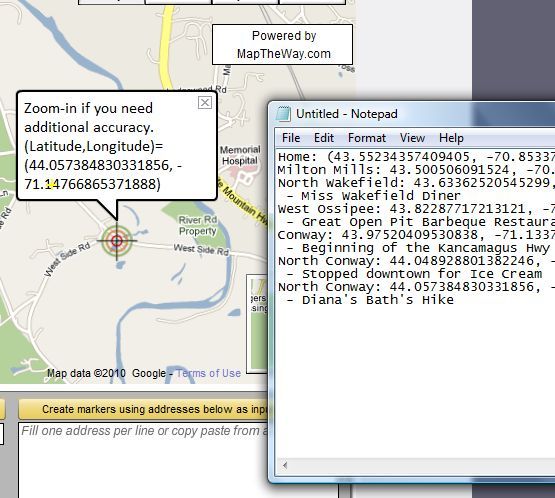
How are you supposed to know the lat and long of your locations?
Just go to your web client, go to your domain and open up the file.
If it doesn’t work at your domain, just use the utility offered for free atMapTheWay.
Simple drag the target along your route and it’ll give you the longitude and latitude of each point.
Keep a note of each waypoint as you trace your trip.
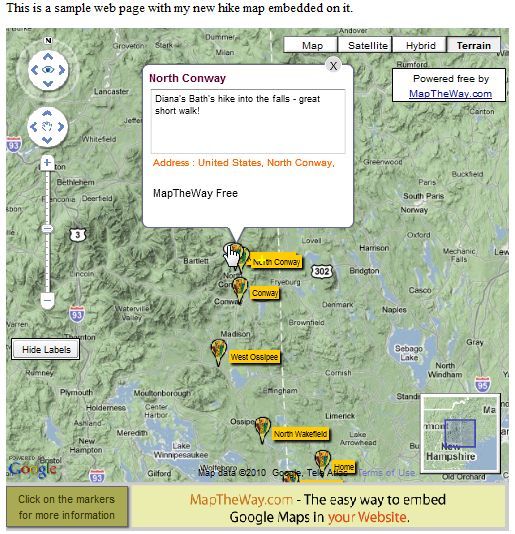
Save the page, and your new map is now embedded on your website!
The map embedded perfectly on my webpage.
So, if you’ve created your own website - embedding this app will be a breeze.