Related
LaserPecker 2
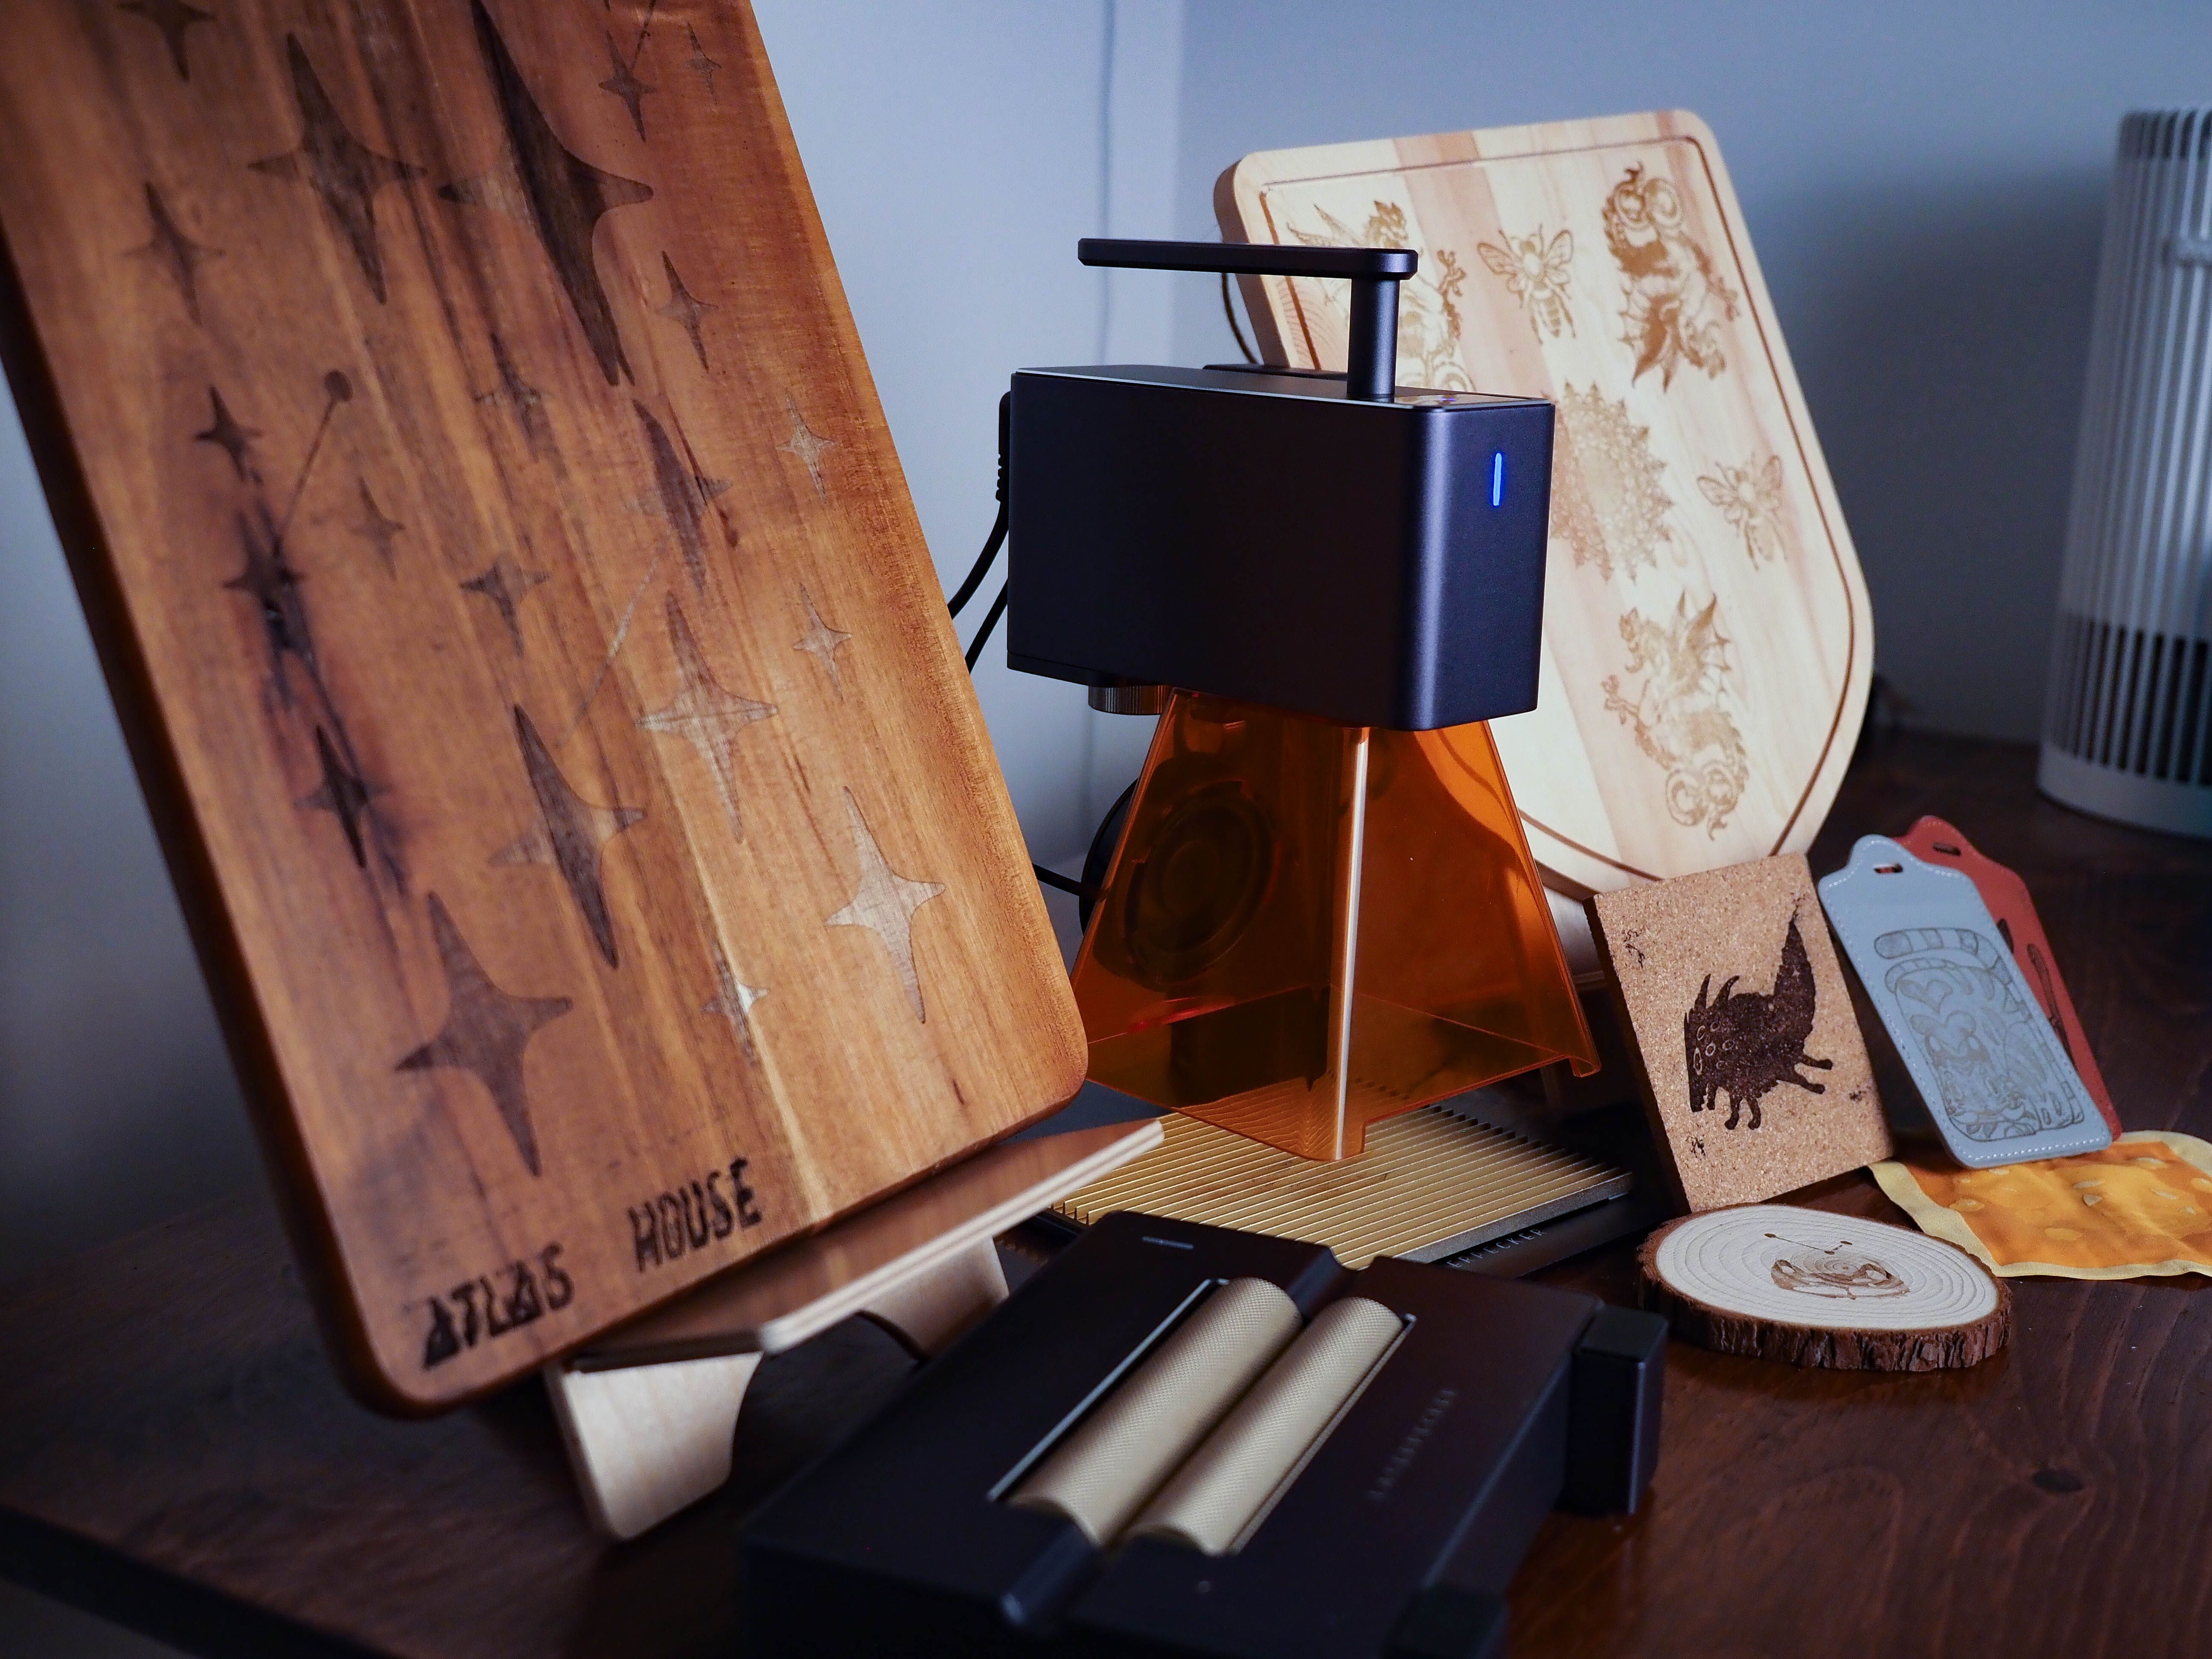
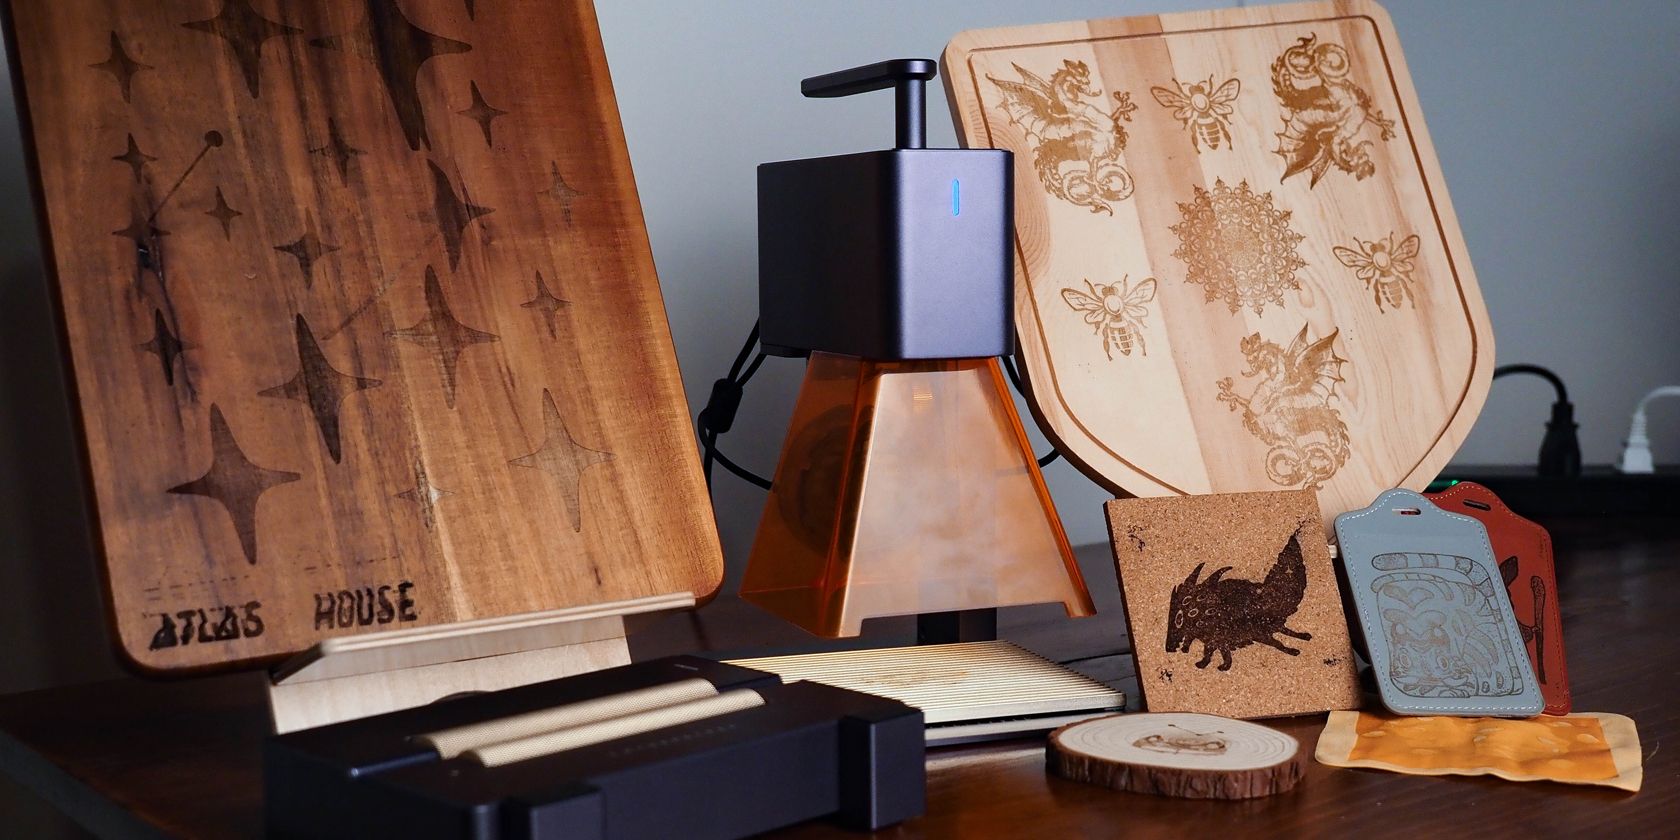
The LaserPecker 2 offers a portable solution for laser engraving on demand.
TheLaserPecker 2combines the many benefits of larger engravers while taking up a smaller footprint.
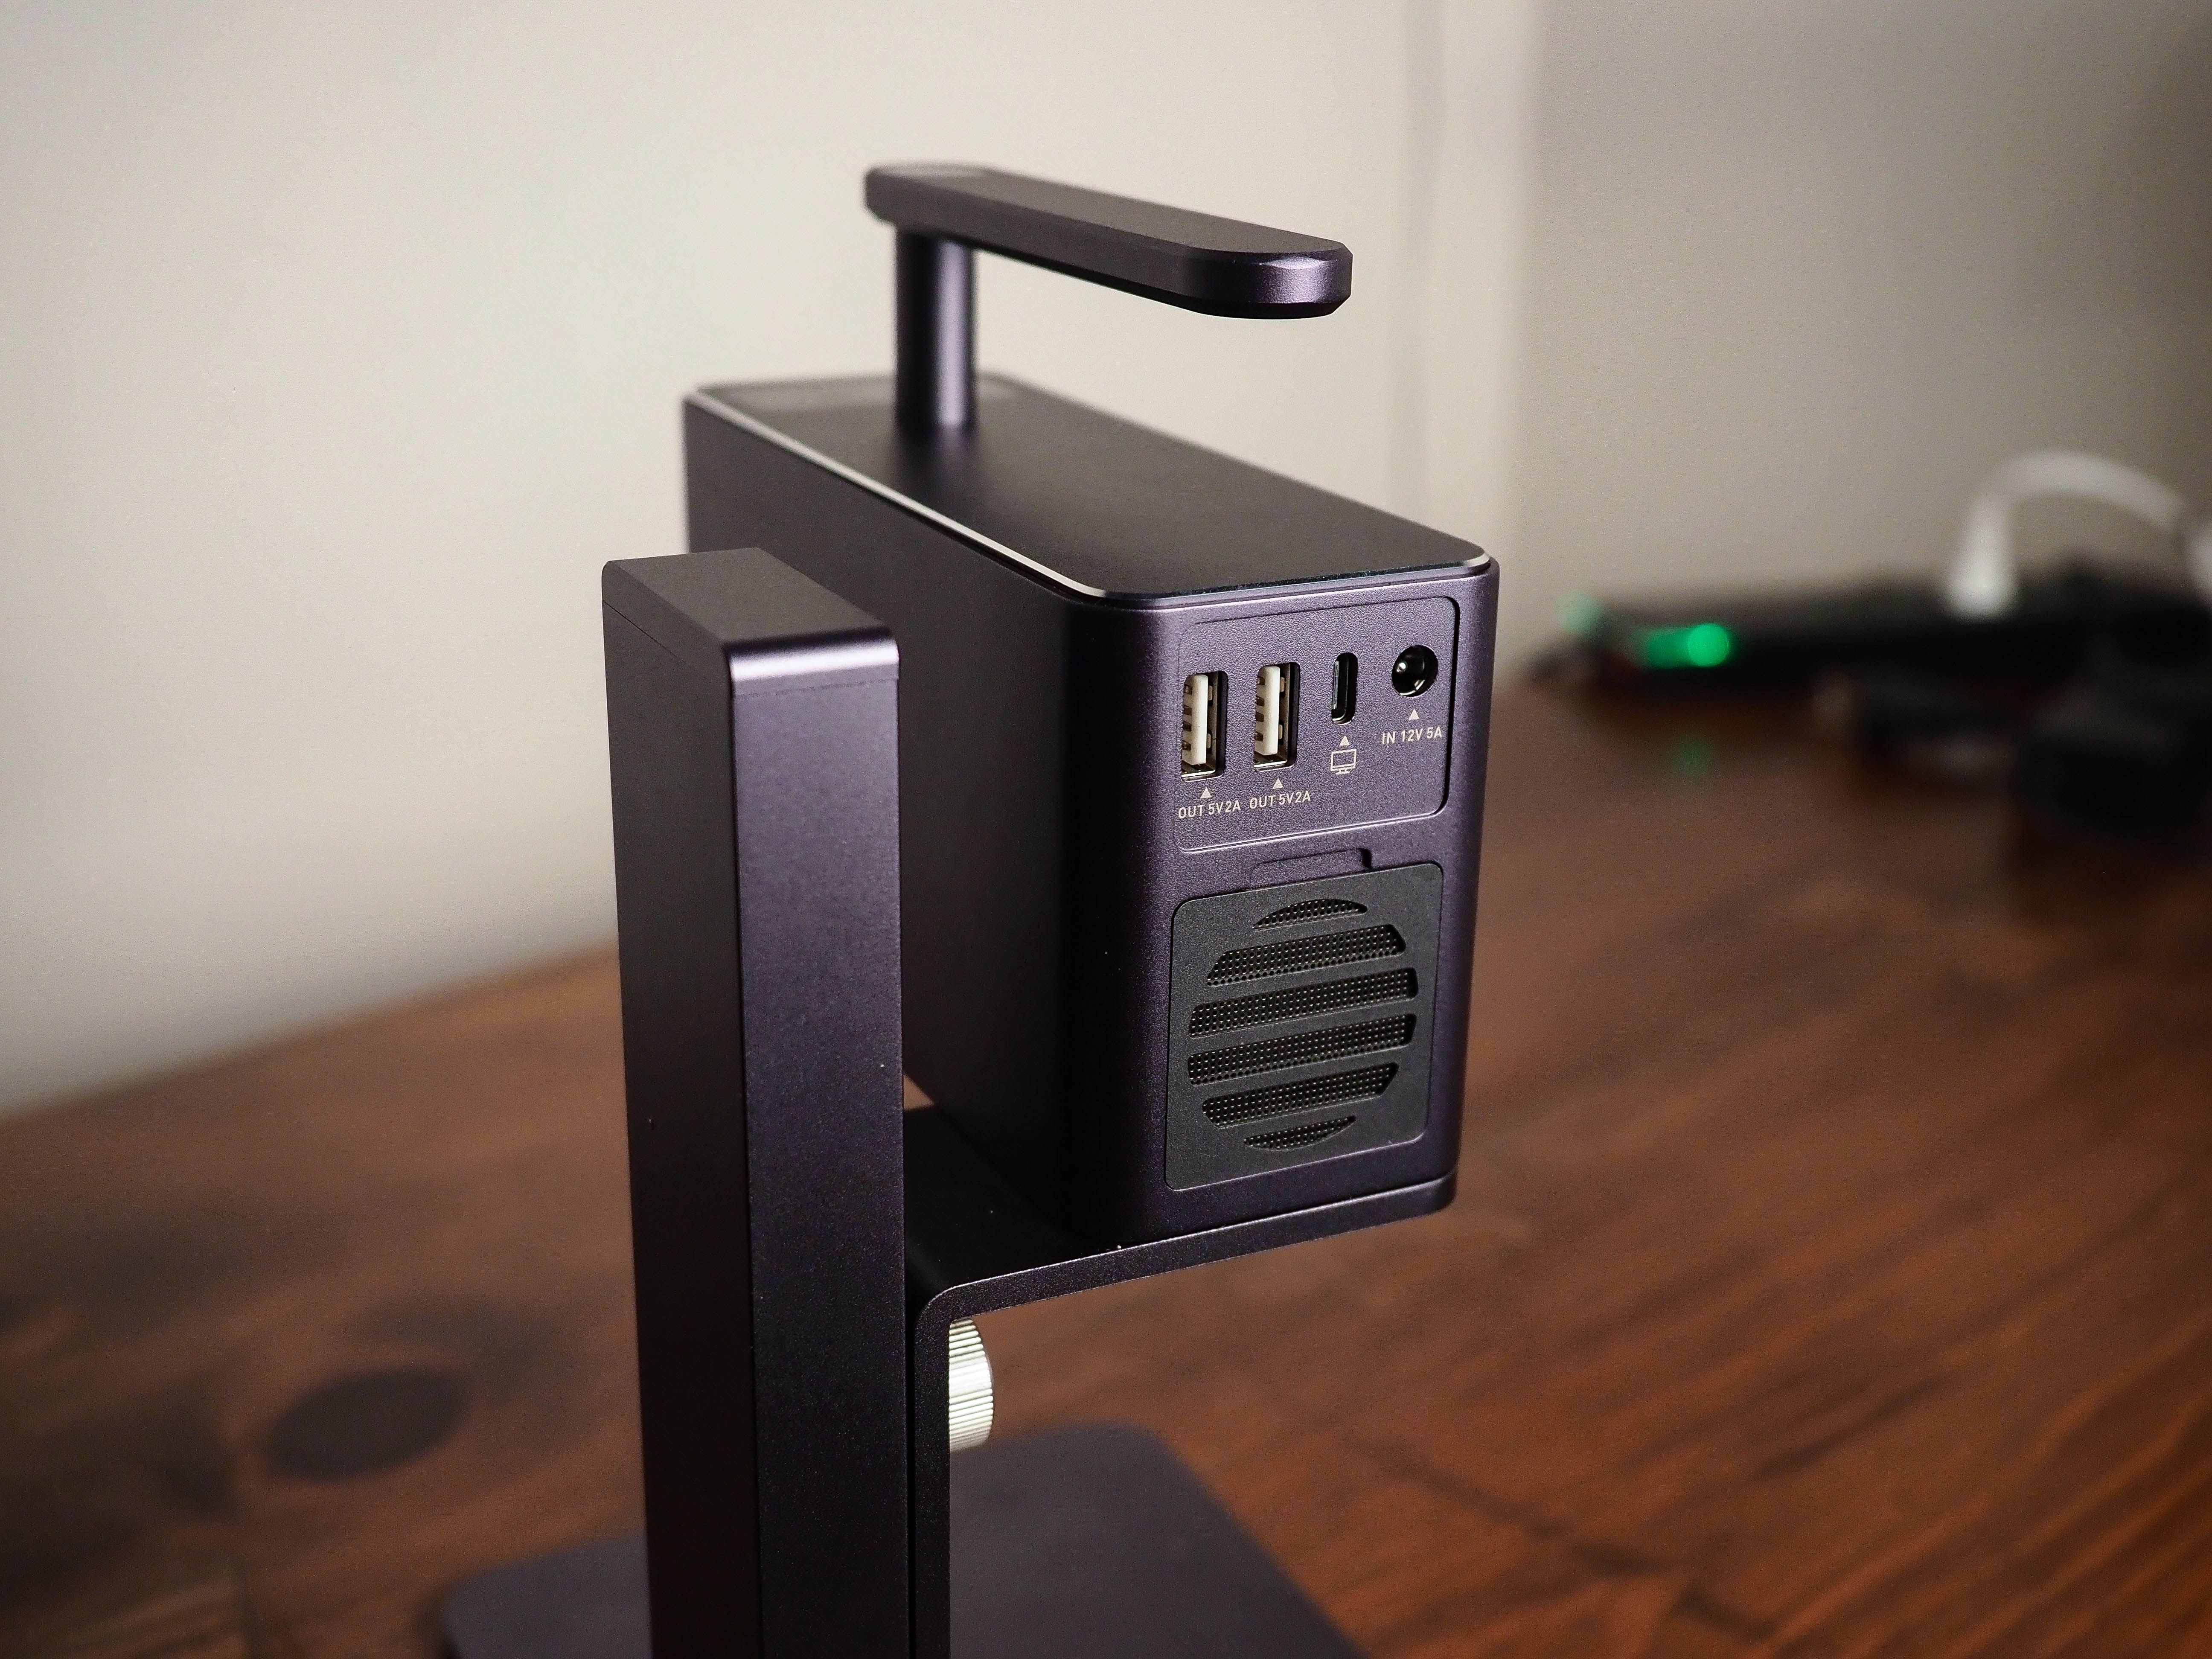
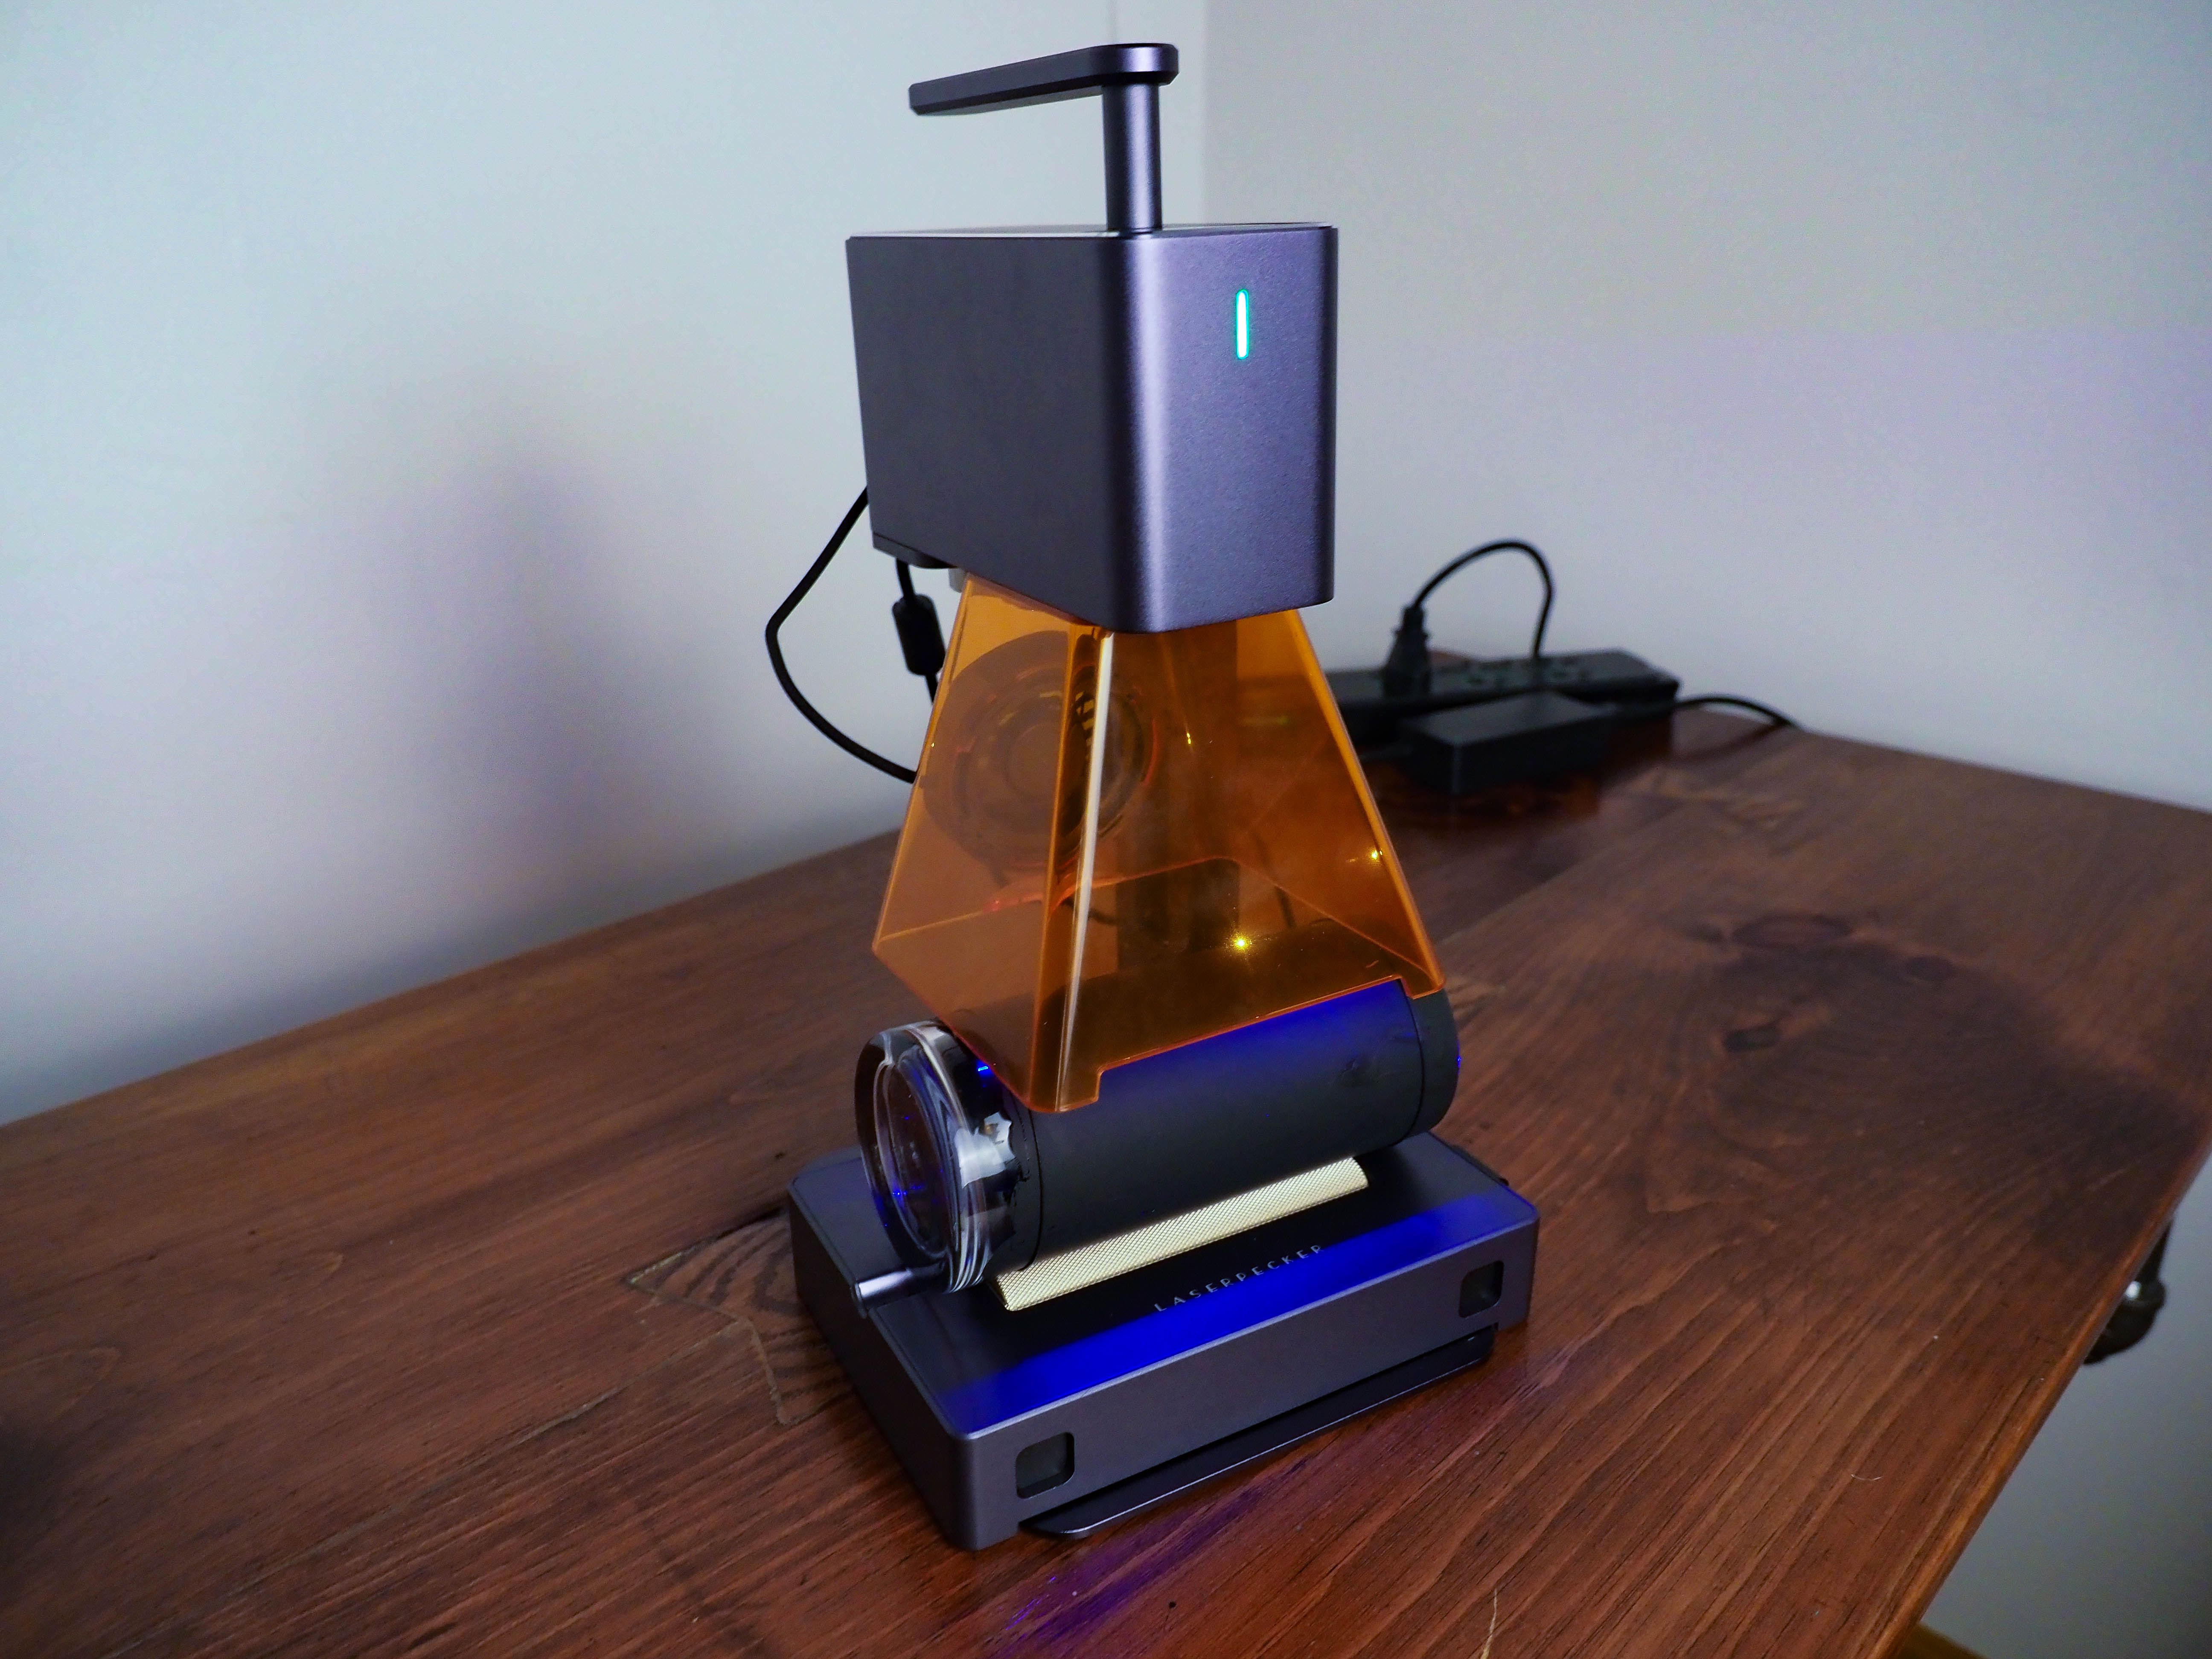
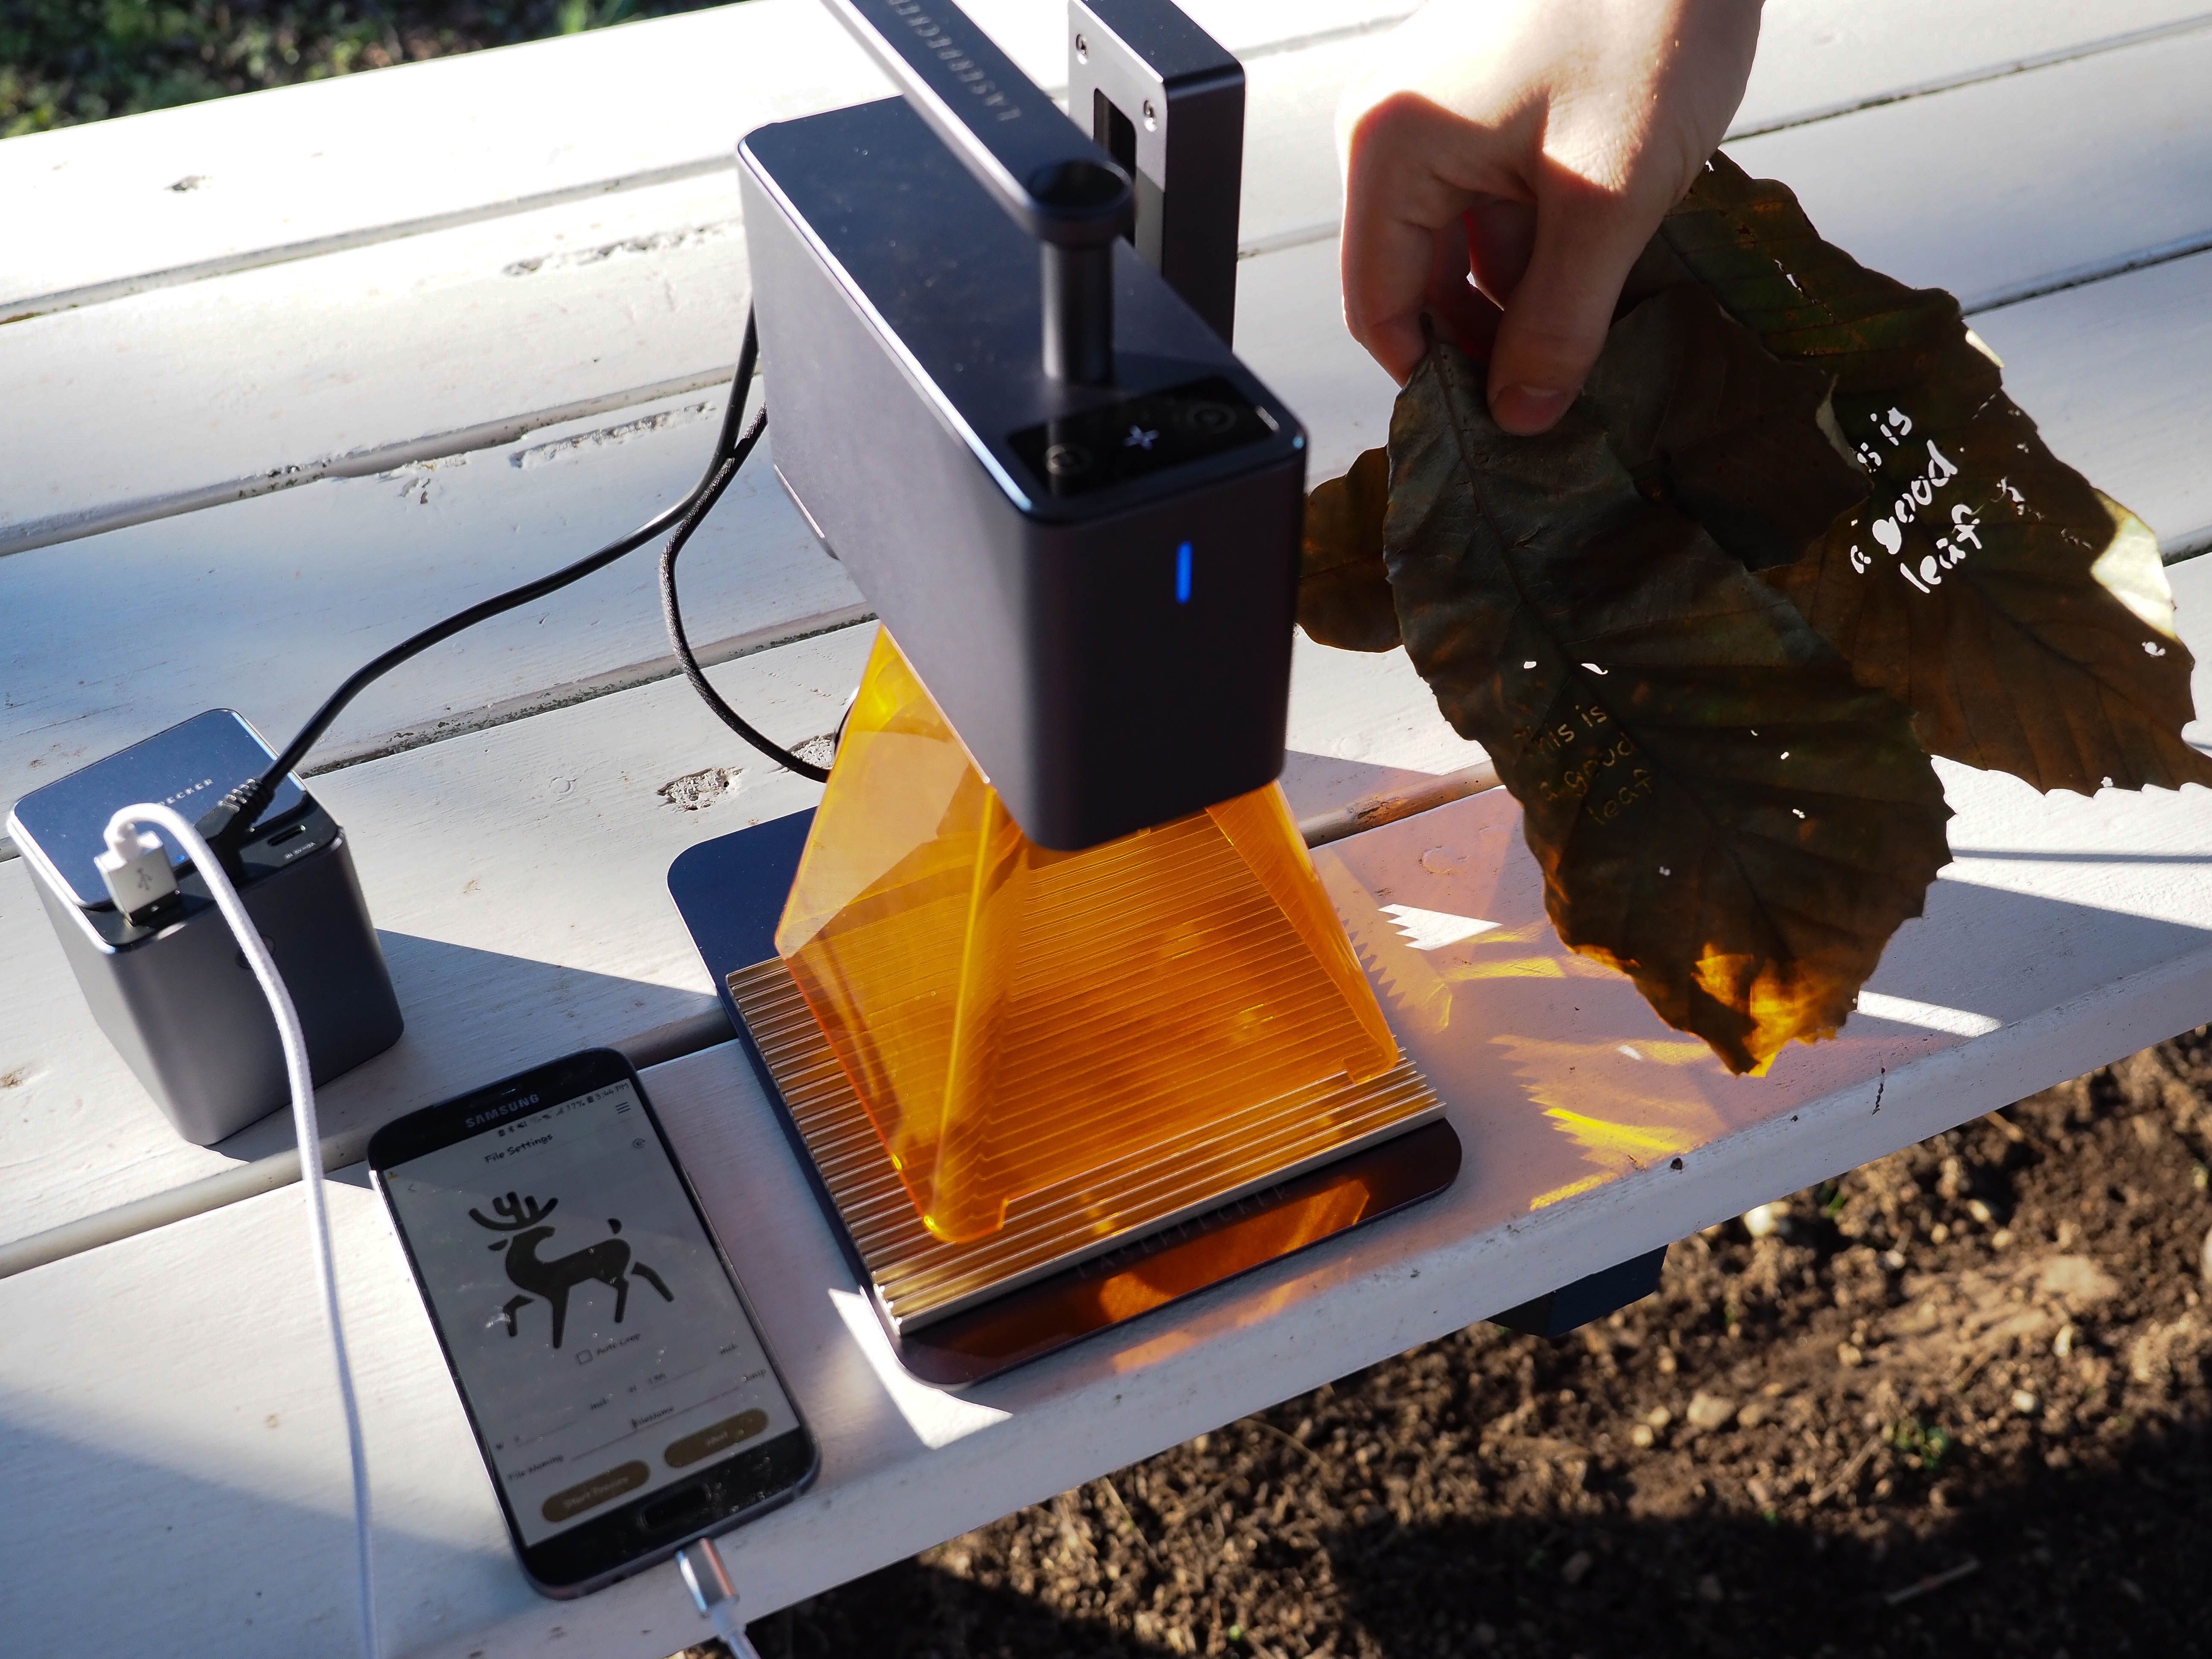
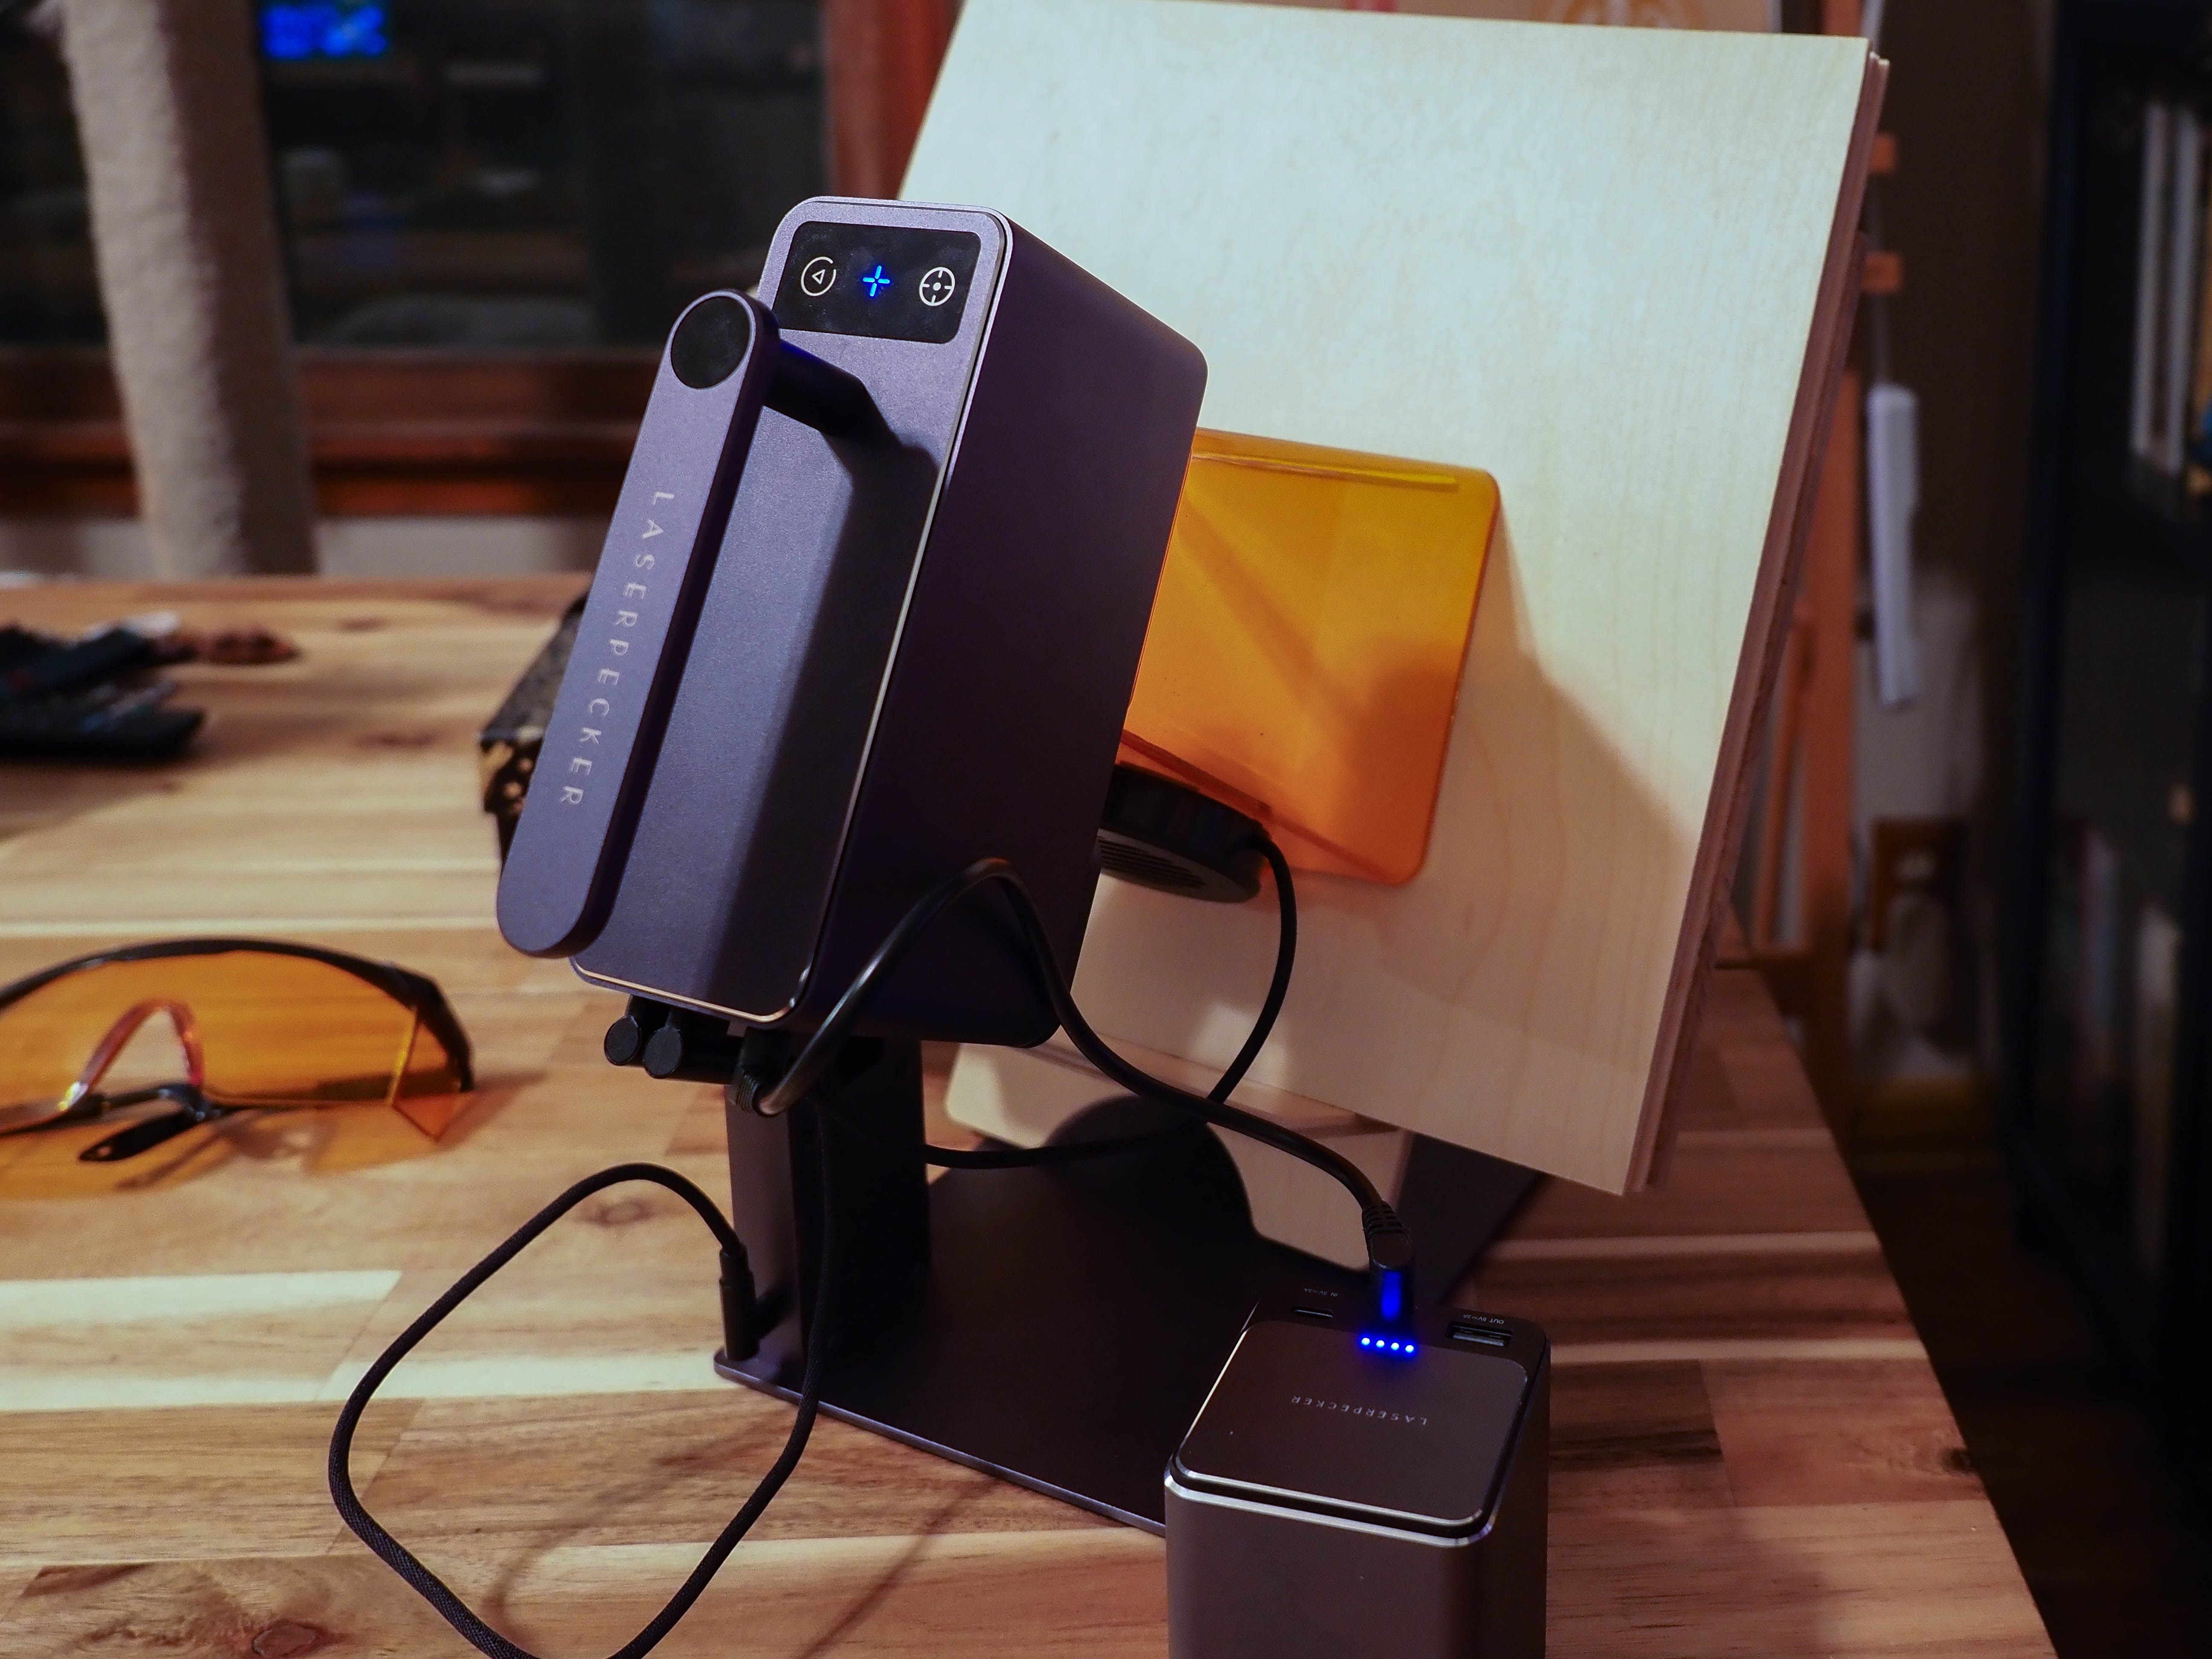
From here, users can connect the power supply and adjust the base height of the LaserPecker 2.
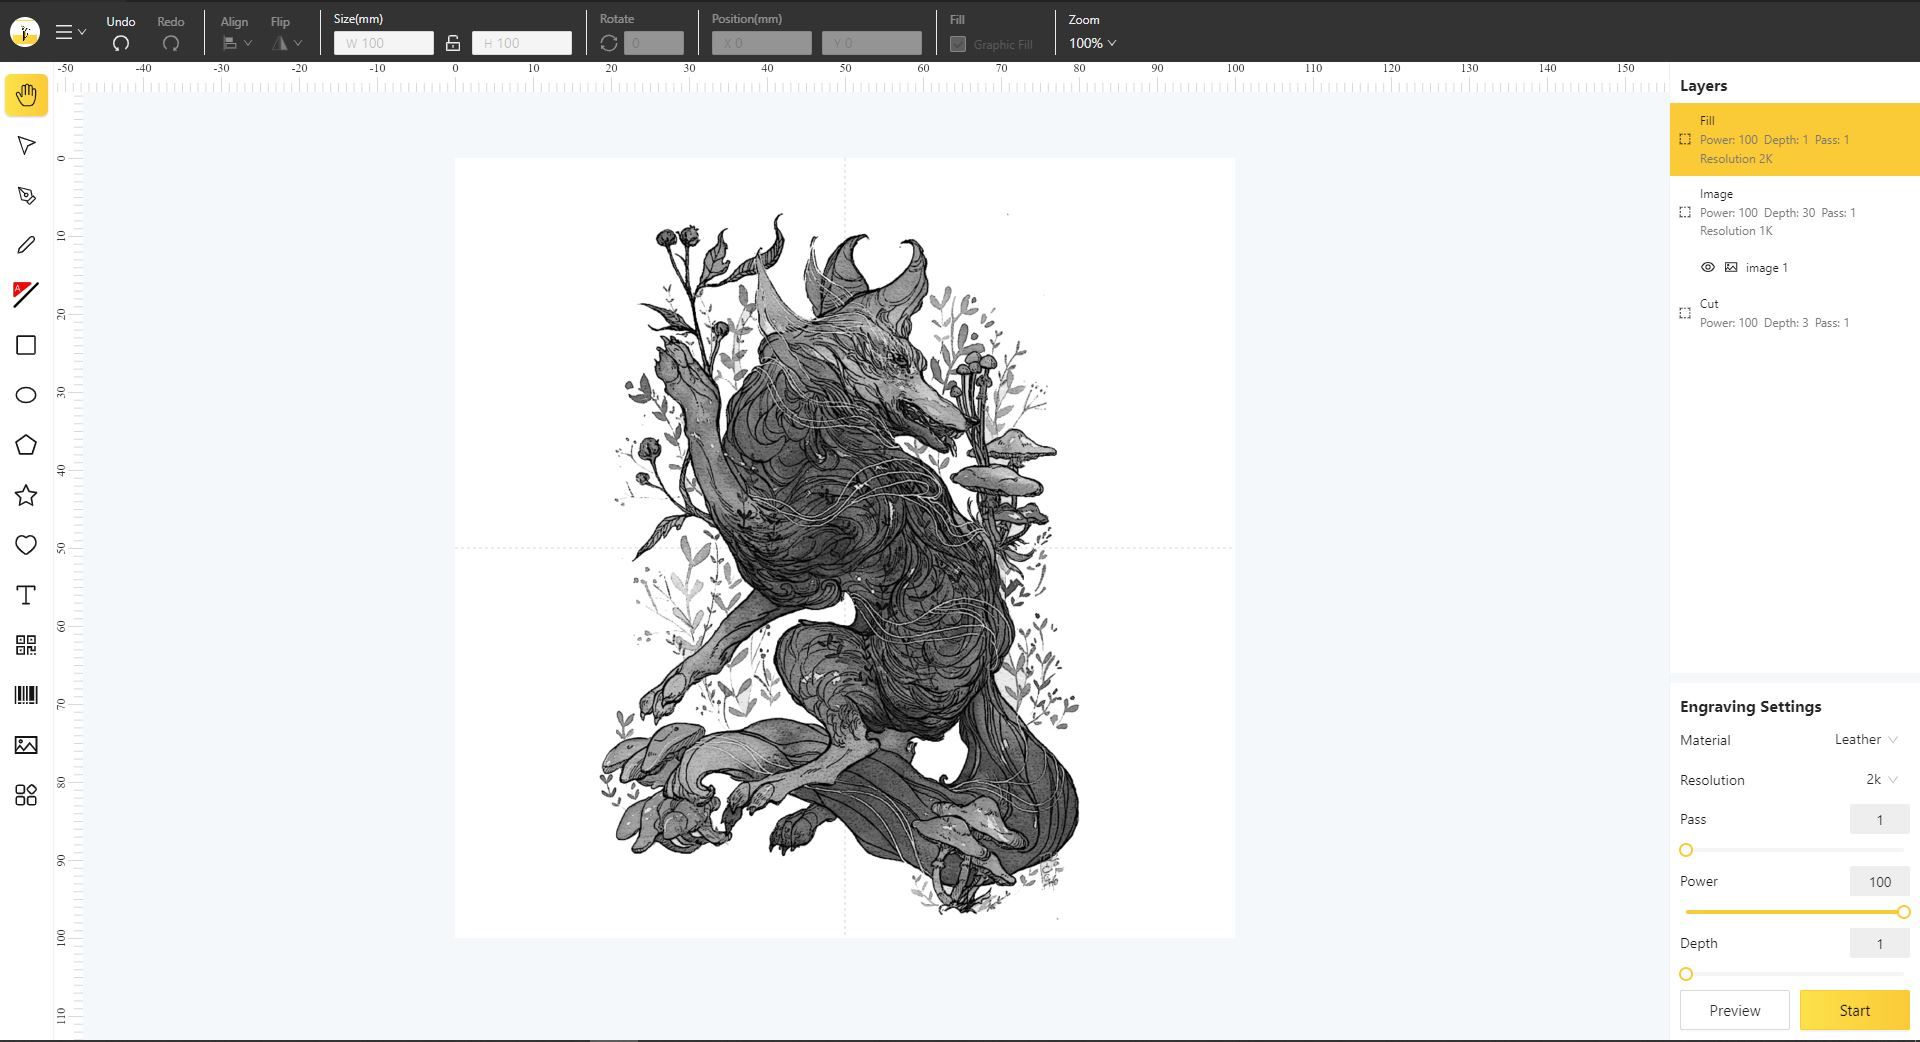
Before beginning any job, the LaserPecker 2 allows for a variety of ranging methods.
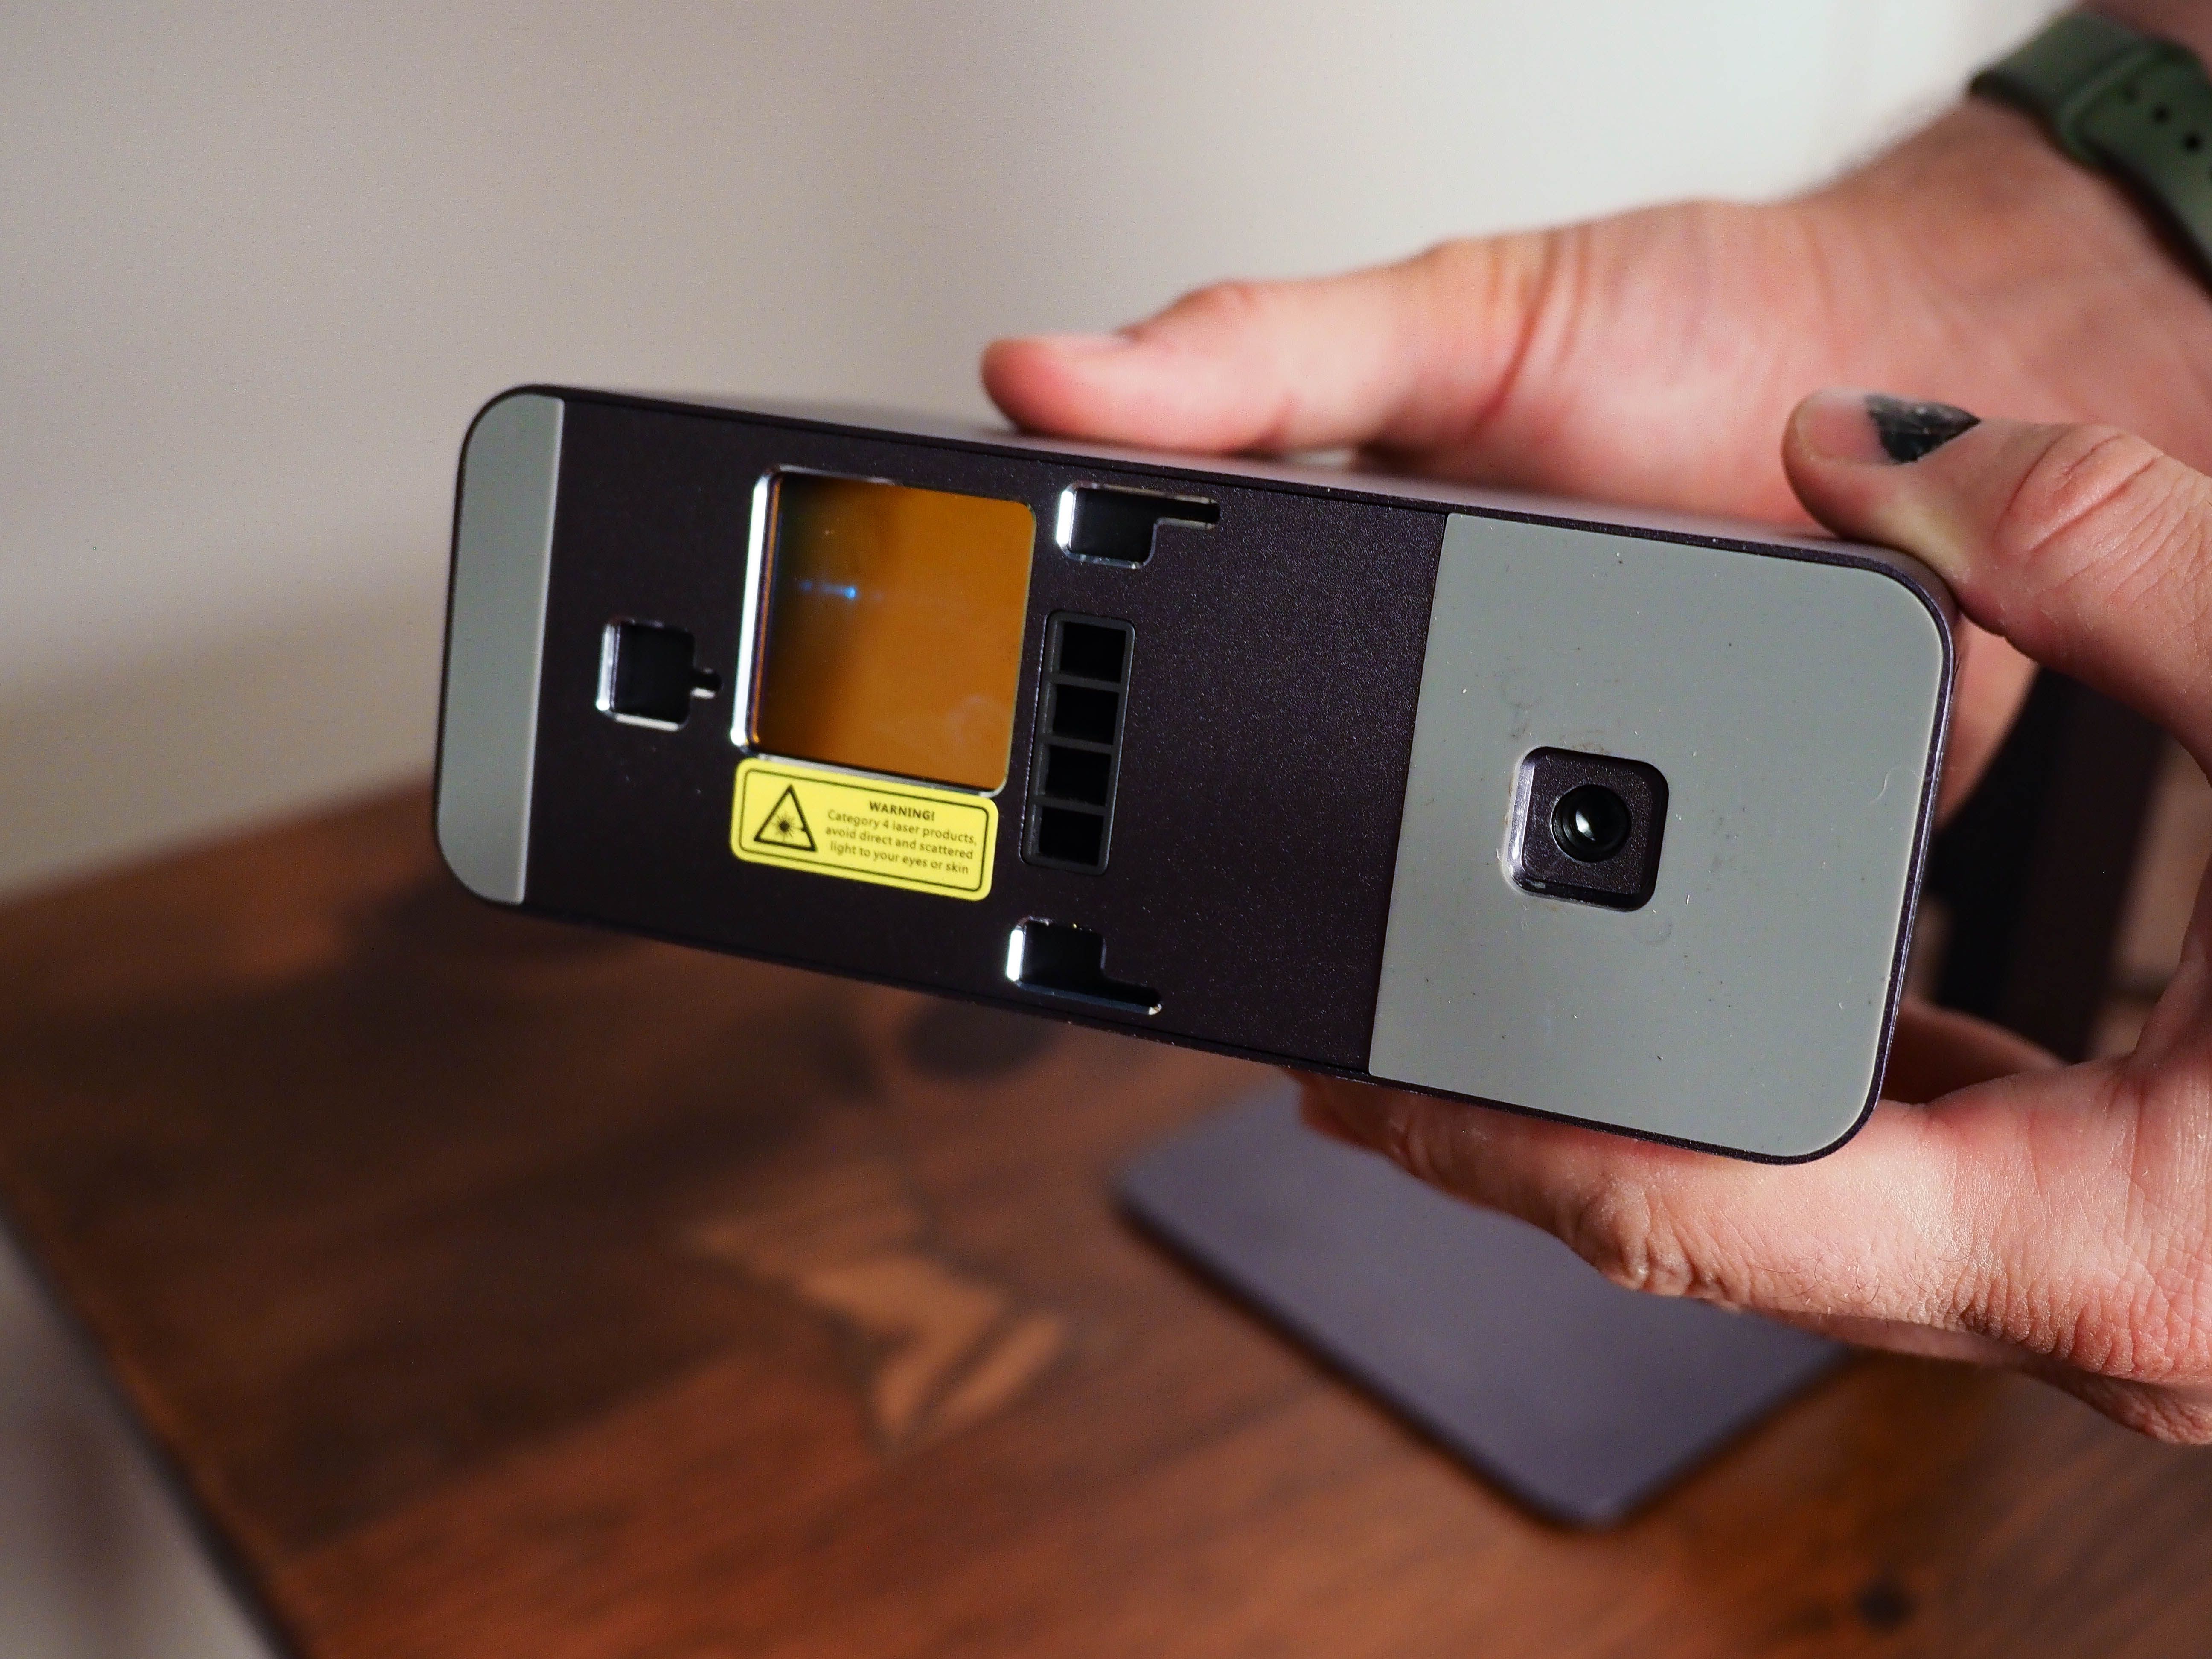
It doesn’t have automatic focussing; this needs to be done manually.
The 450nm NICHIA diode laser’s power is rated at 5W.
For previewing, the frame or graphic previews can run at speeds of up to 3750mm/s.
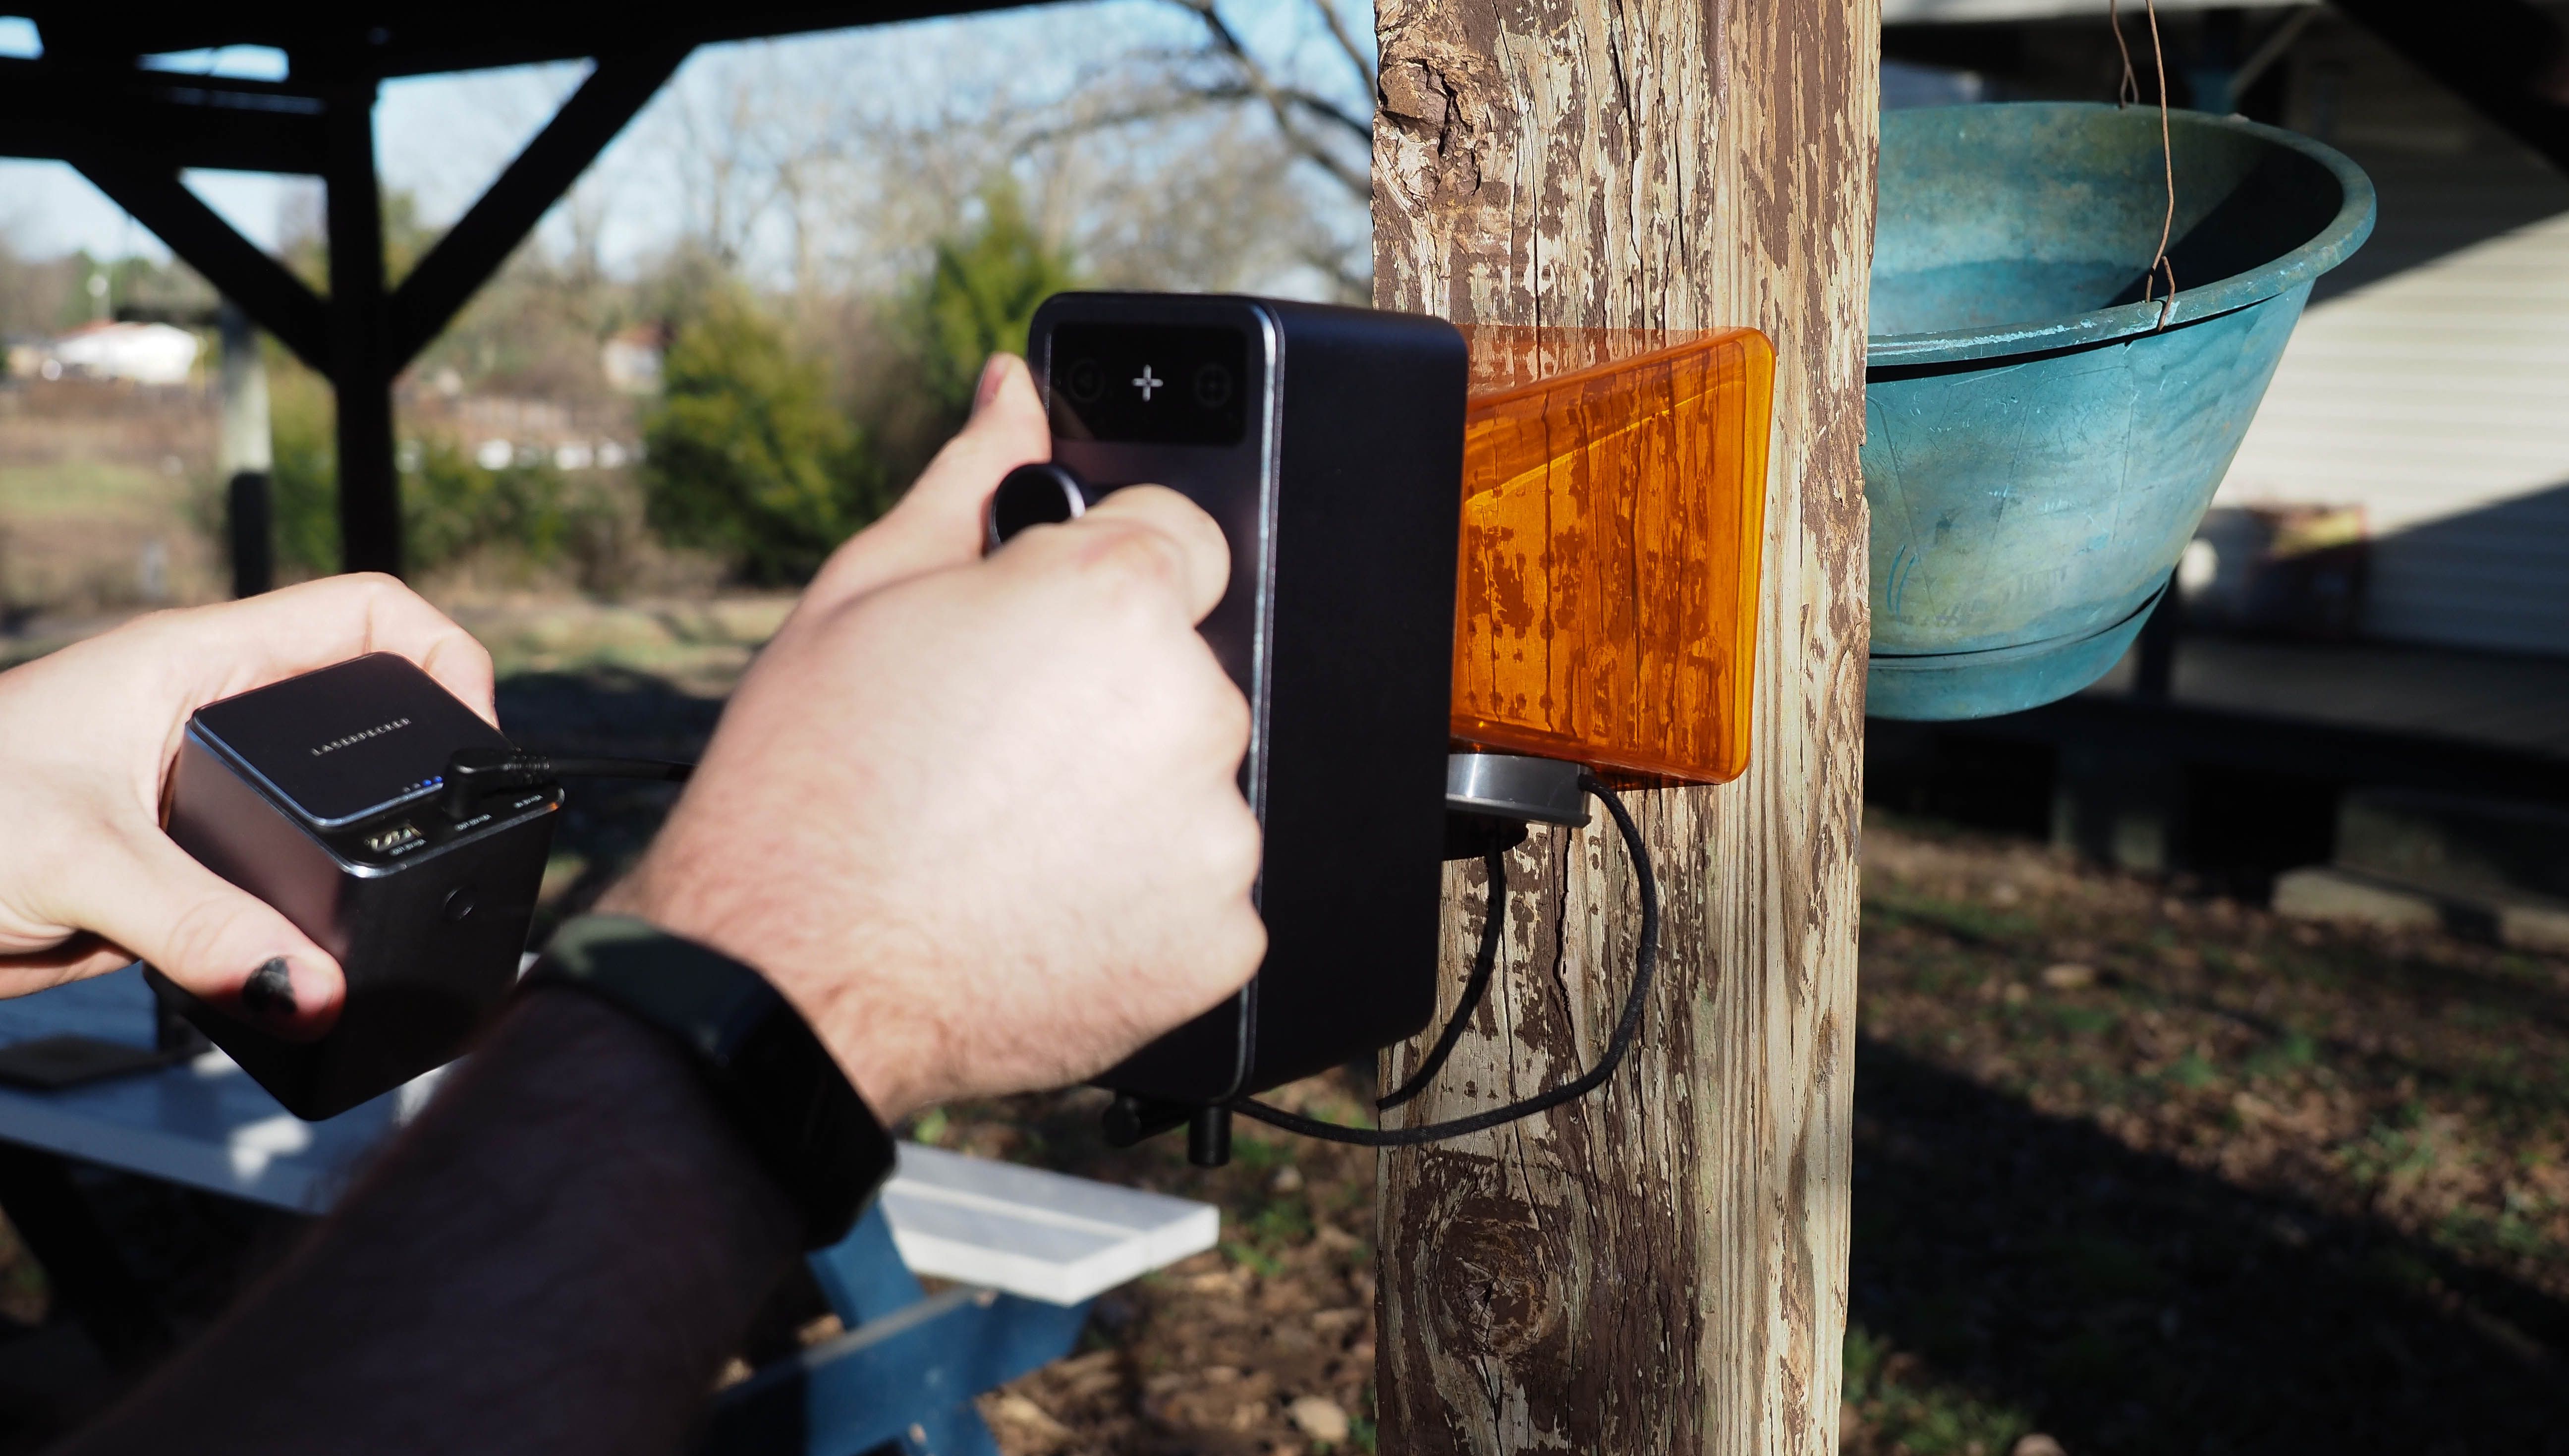
The additional axis electric roller and its secondary sliders can achieve an expanded maximum of 100 x 2000mm.
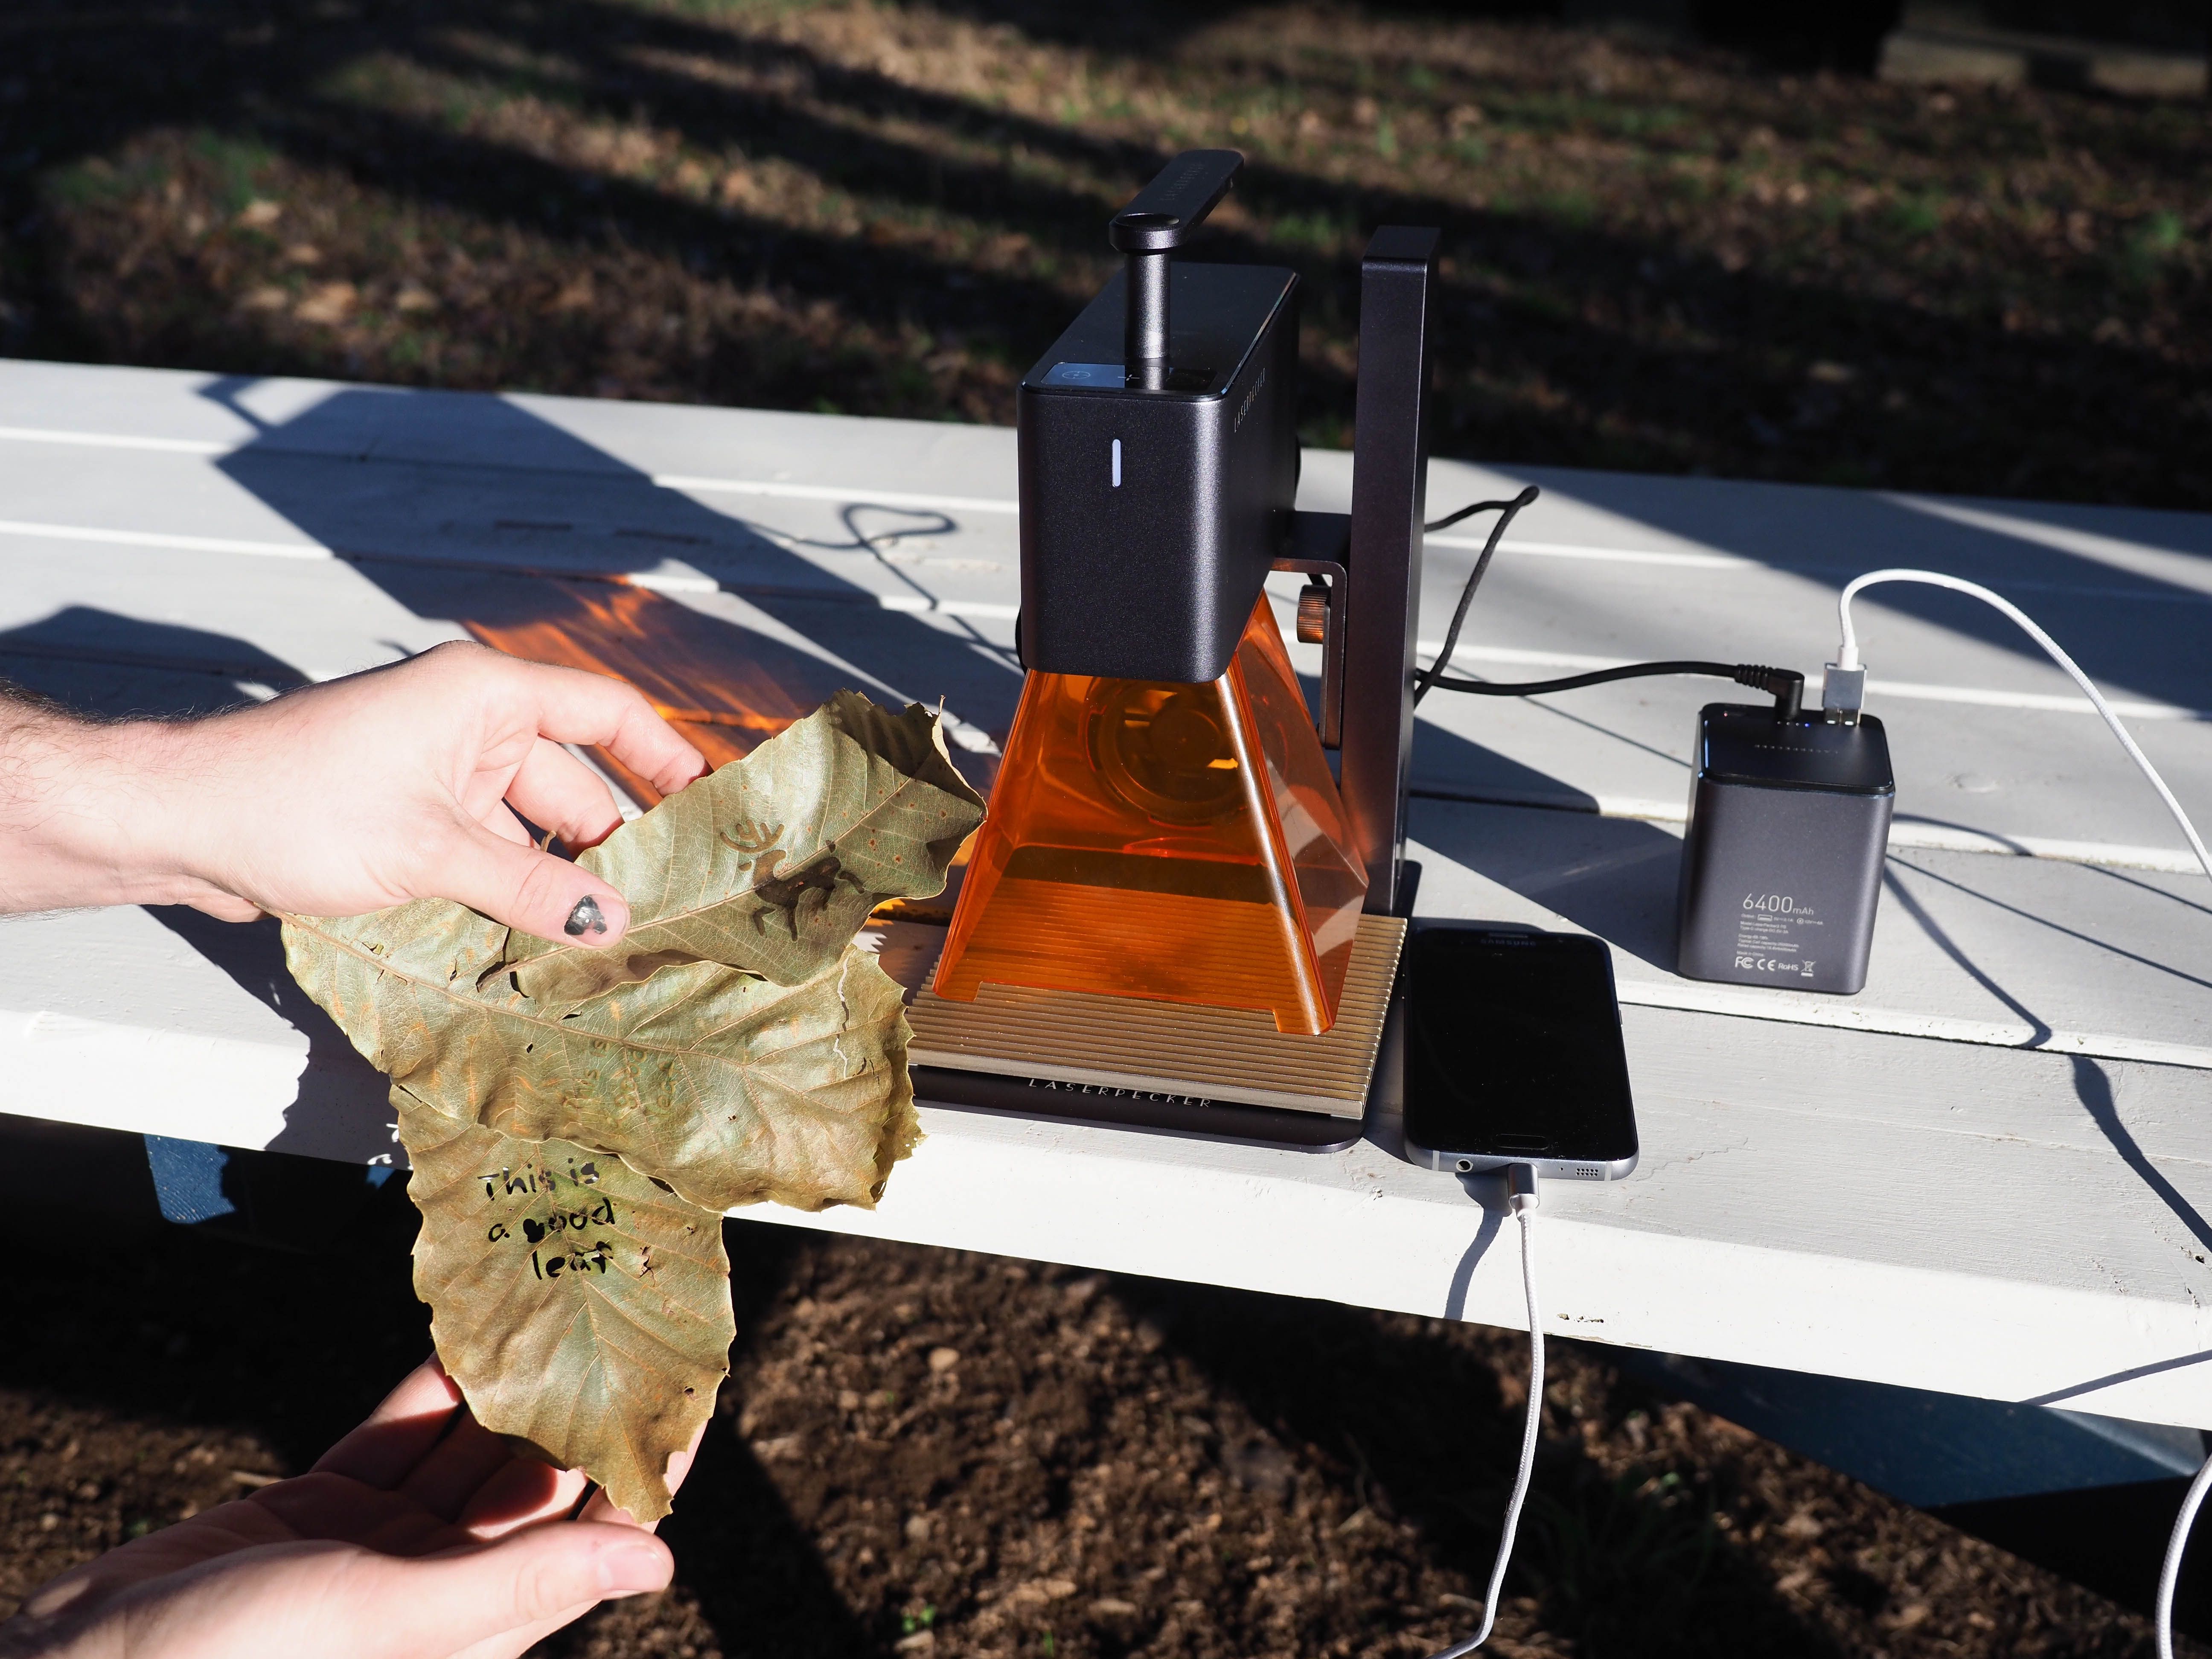
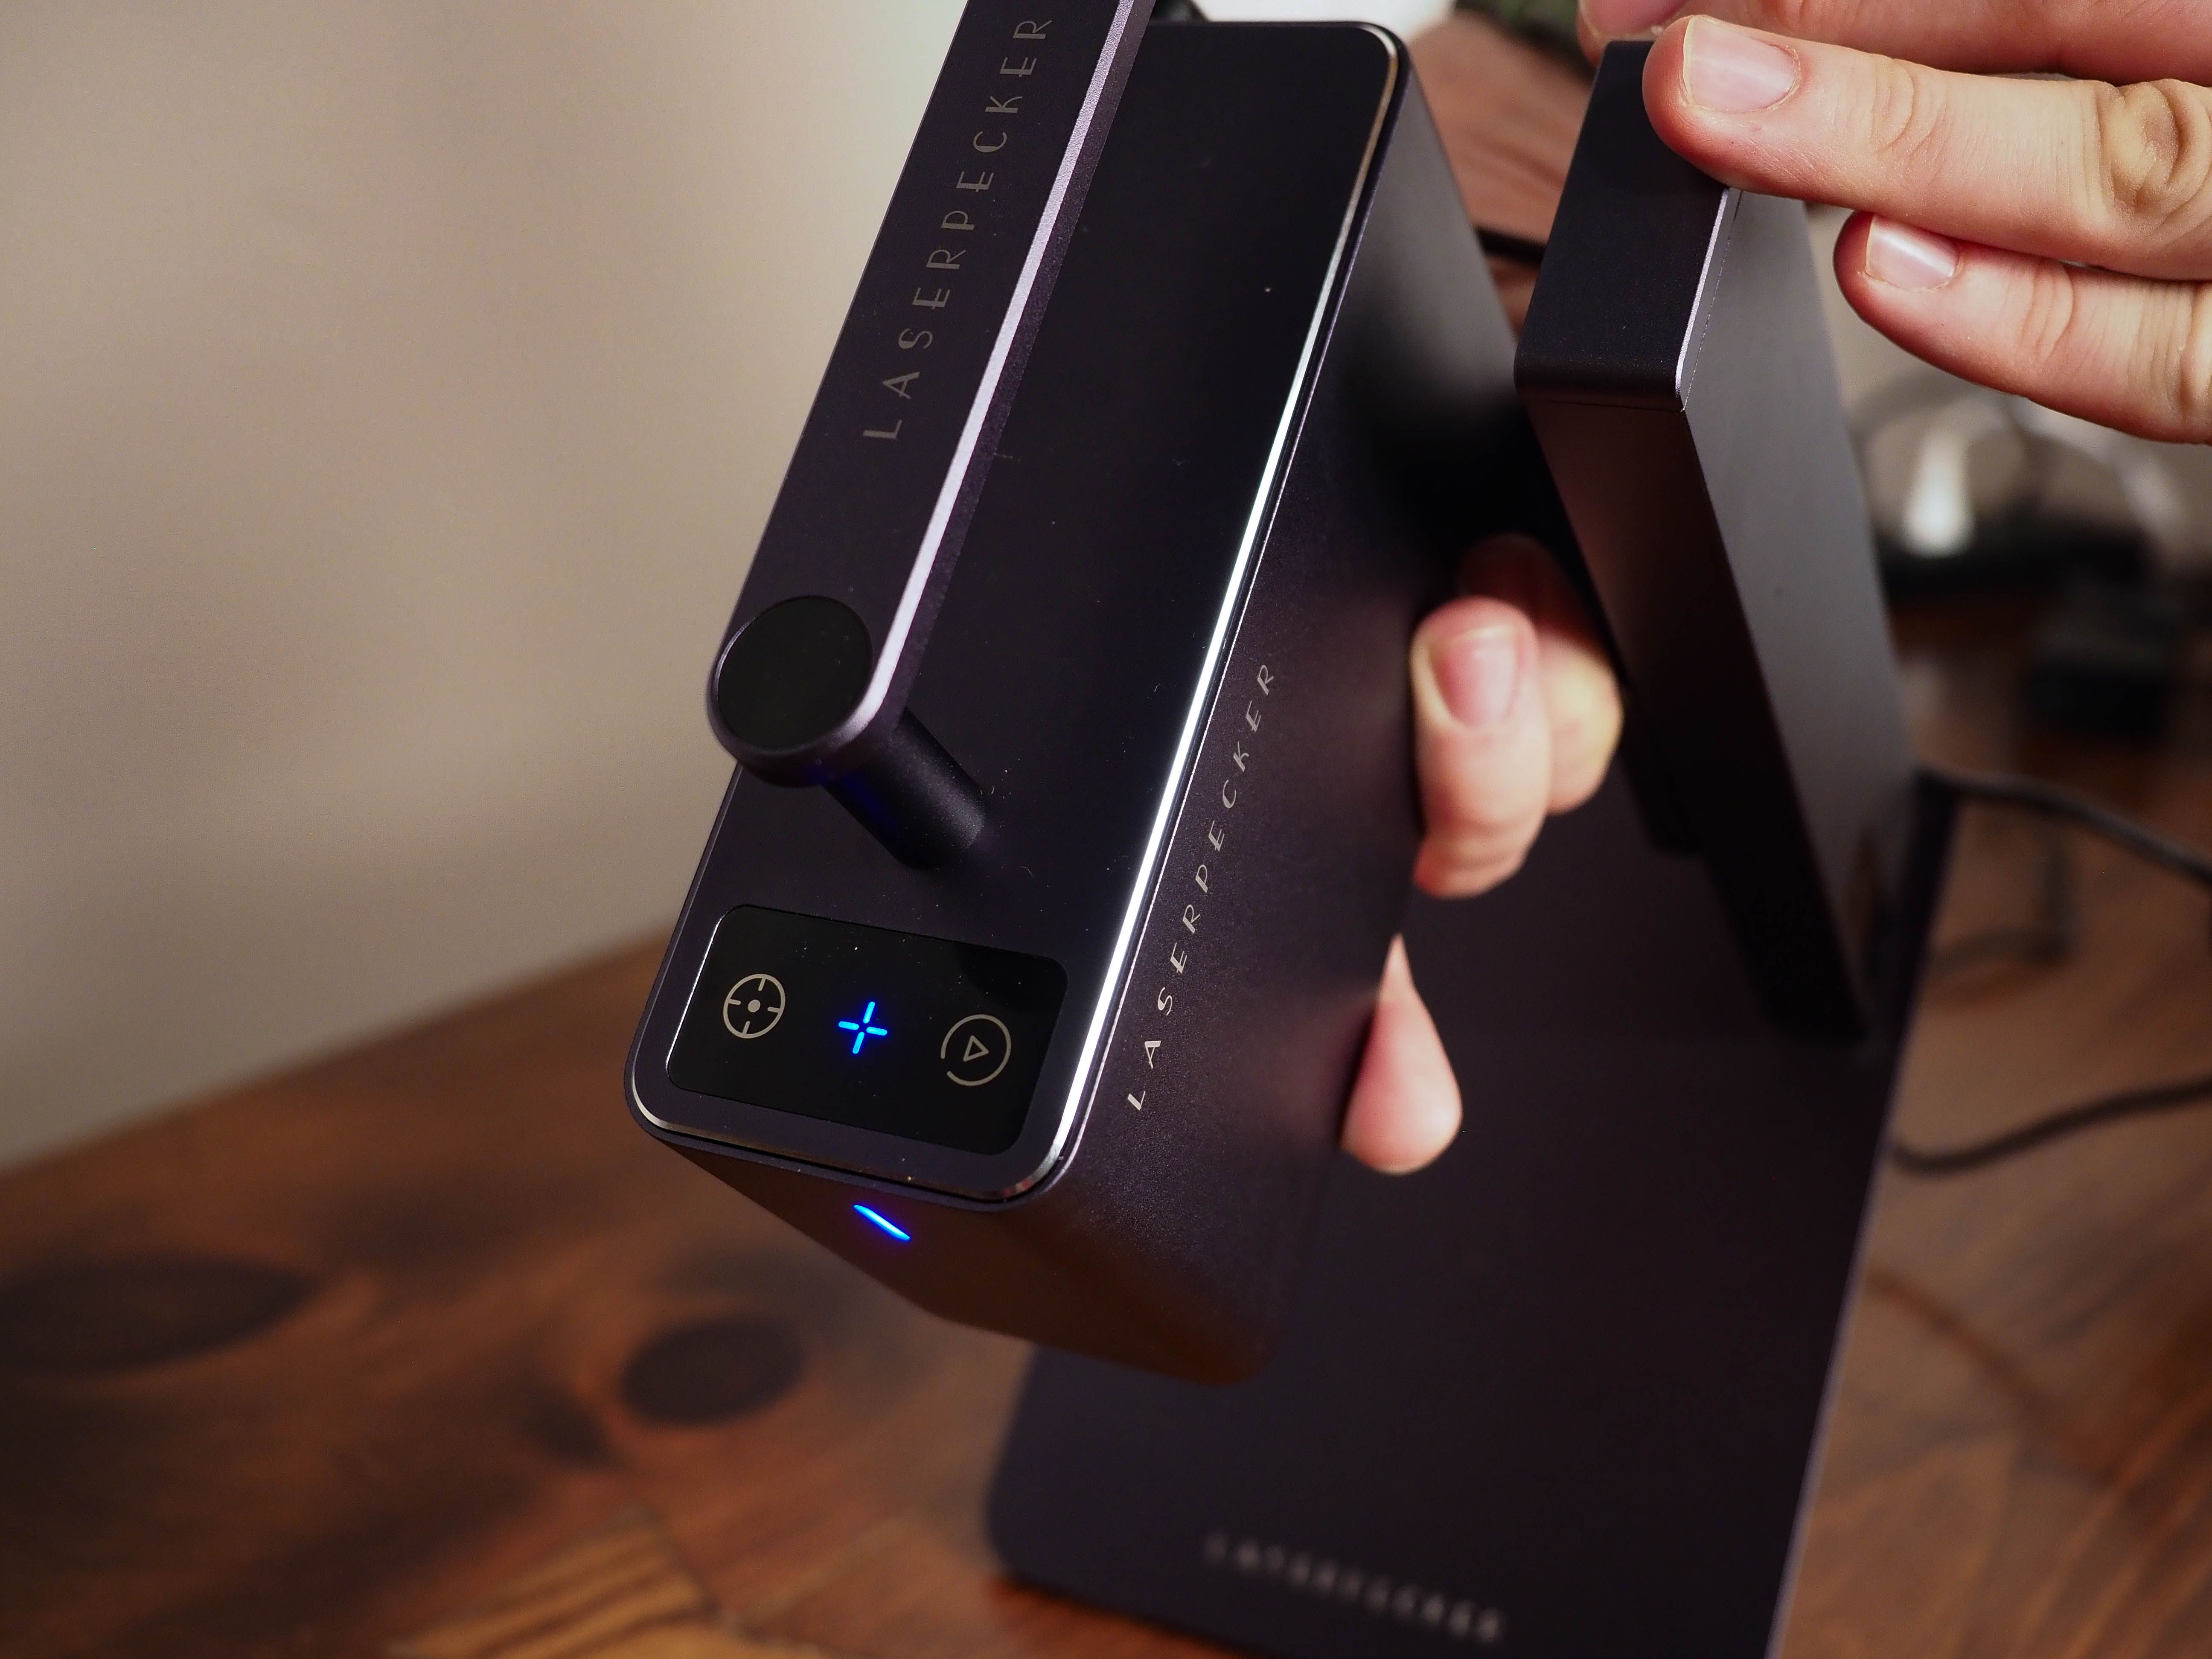
For those interested in transportability, the LaserPecker 2 can be easily tucked away in a bag.
Overall, the accessories only add a little more weight, so it can go with you when required.
A safety password must be input before beginning a preview or job to prevent accidental activation.
In addition to these protective measures, there’s tilt and overheat protection to prevent accidents.
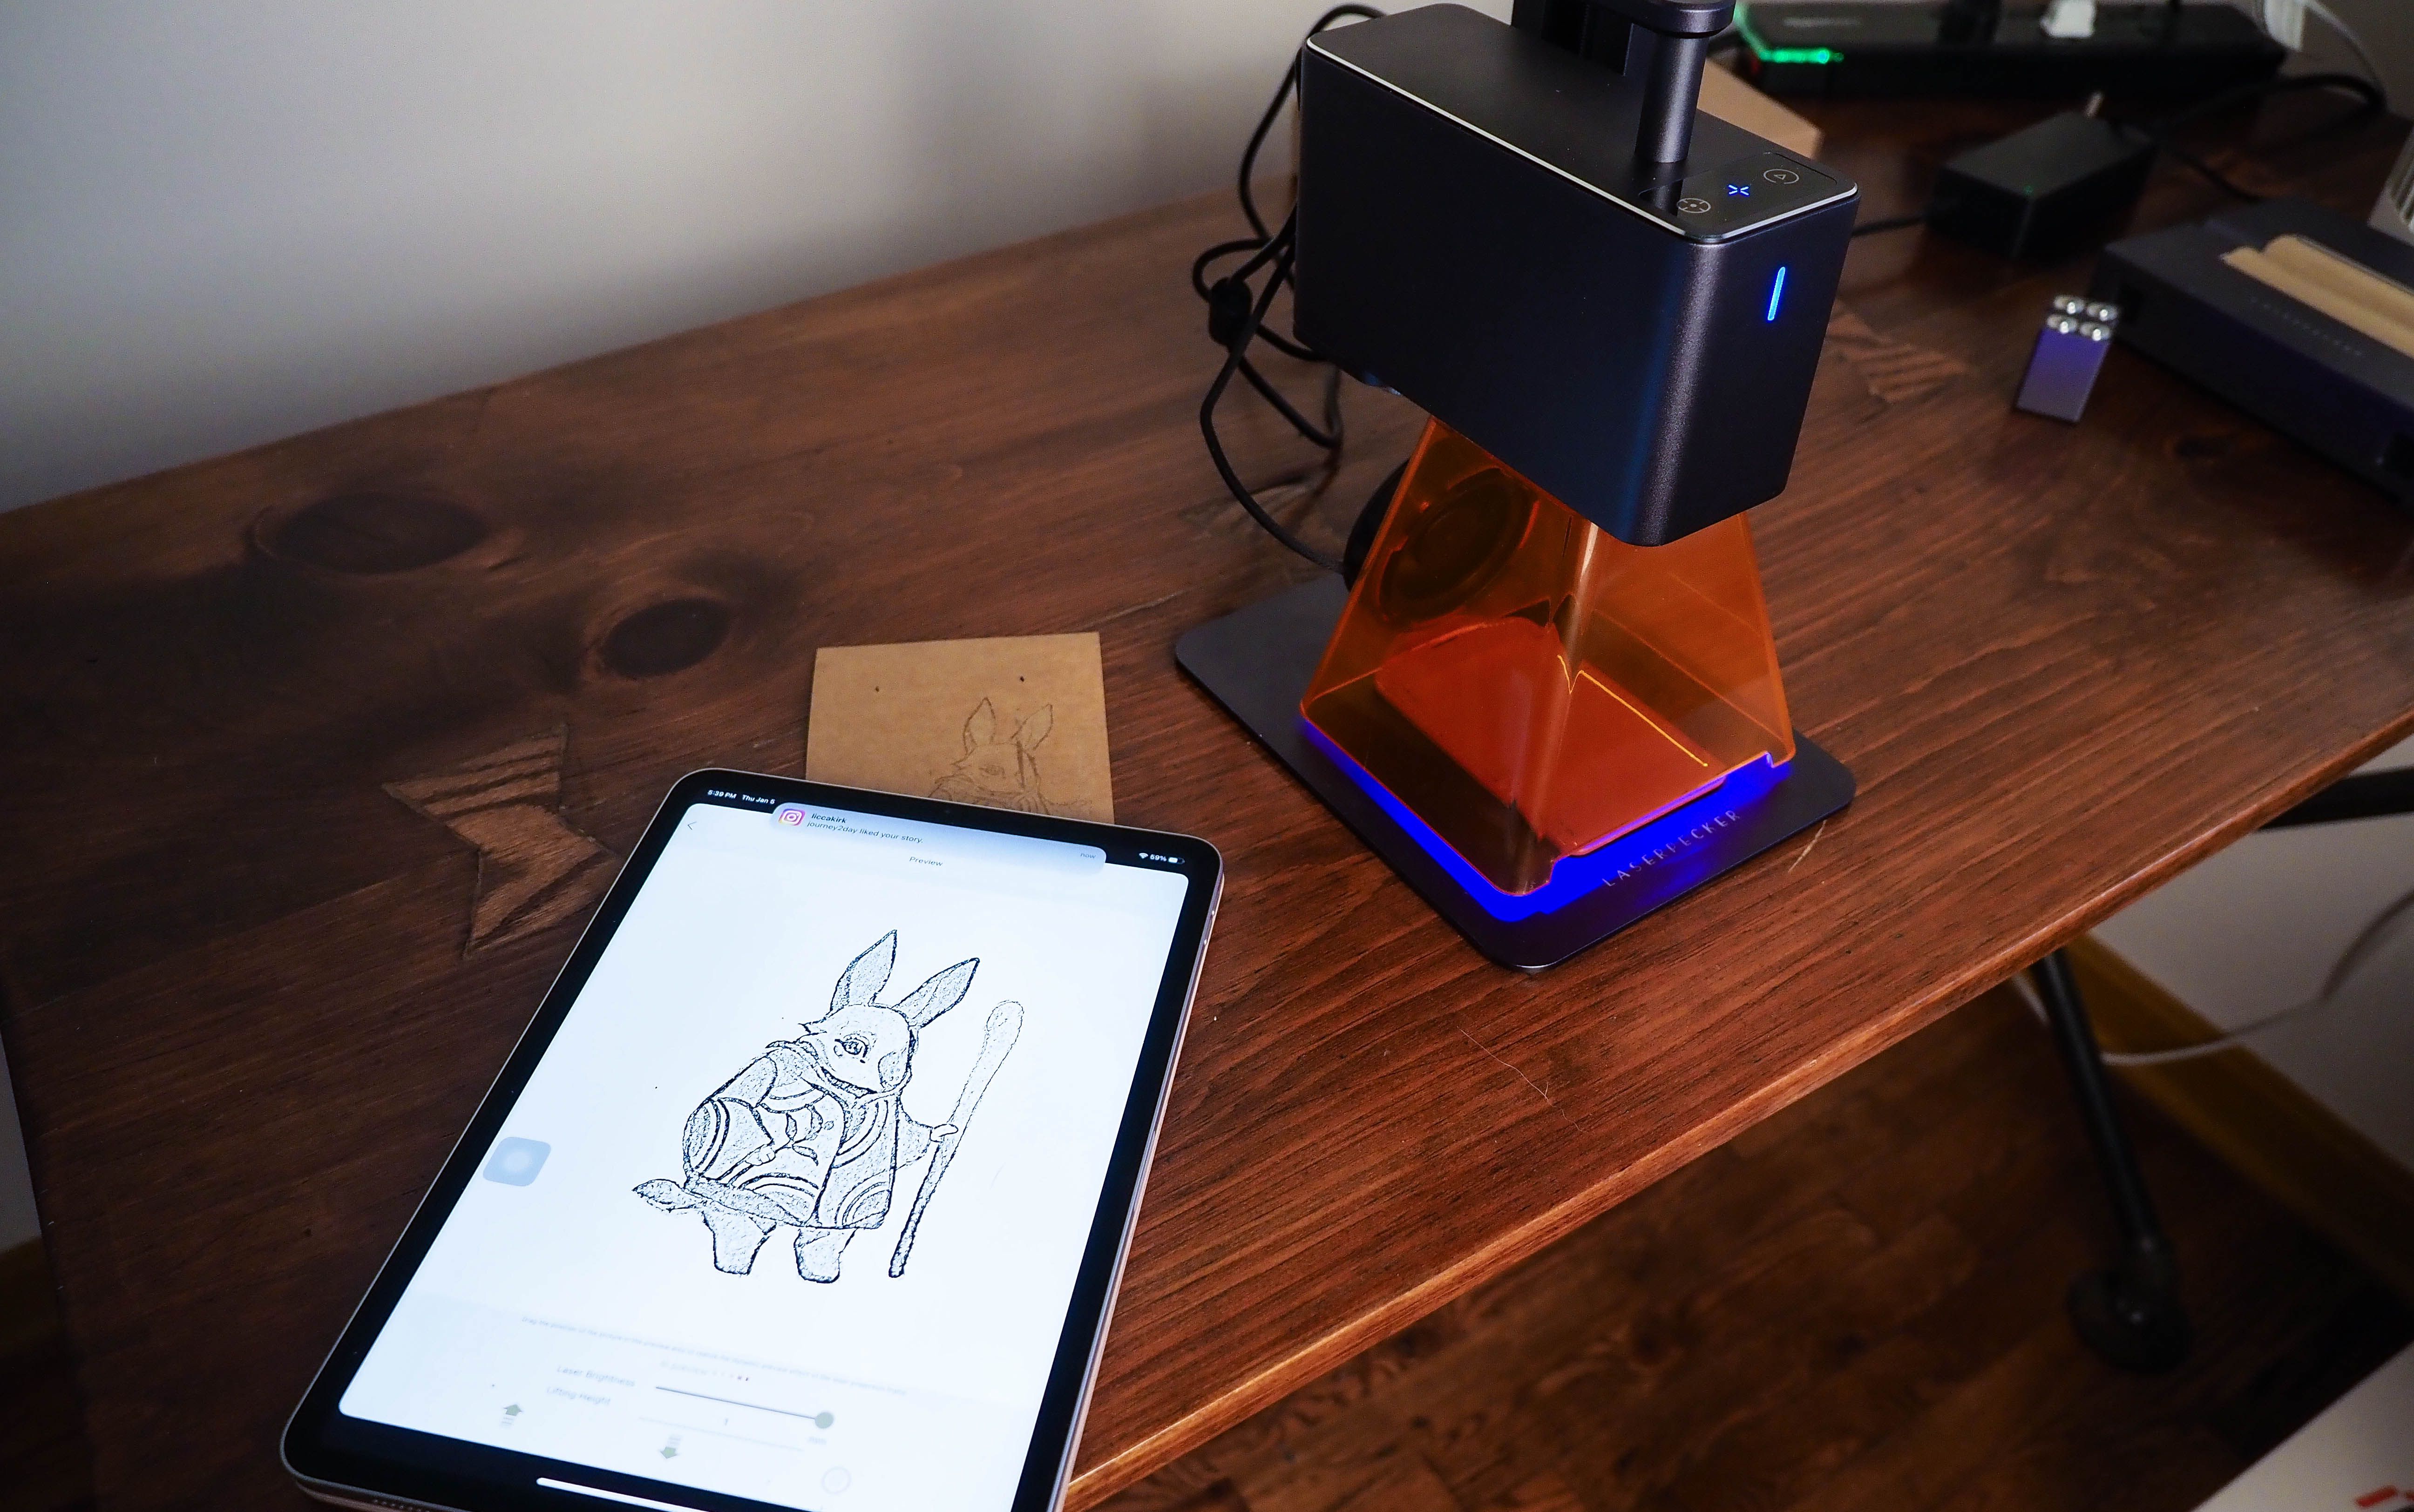
However, creating text using your system’s fonts or generating QR and barcodes proves far more useful.
Orientating your design with the LaserPecker app isn’t always obvious.
In addition, I found occasional issues with the Bluetooth connection.
Sometimes, the LaserPecker app will report that there’s an unstable Bluetooth connection and not operate as intended.
To bypass this, you might typically restart the app and the machine; it can occasionally linger on.
In most cases, these are significantly reduced if you update the LaserPecker 2’s firmware.
Some connectivity issues can pop up when using the newer beta versions of the desktop software.
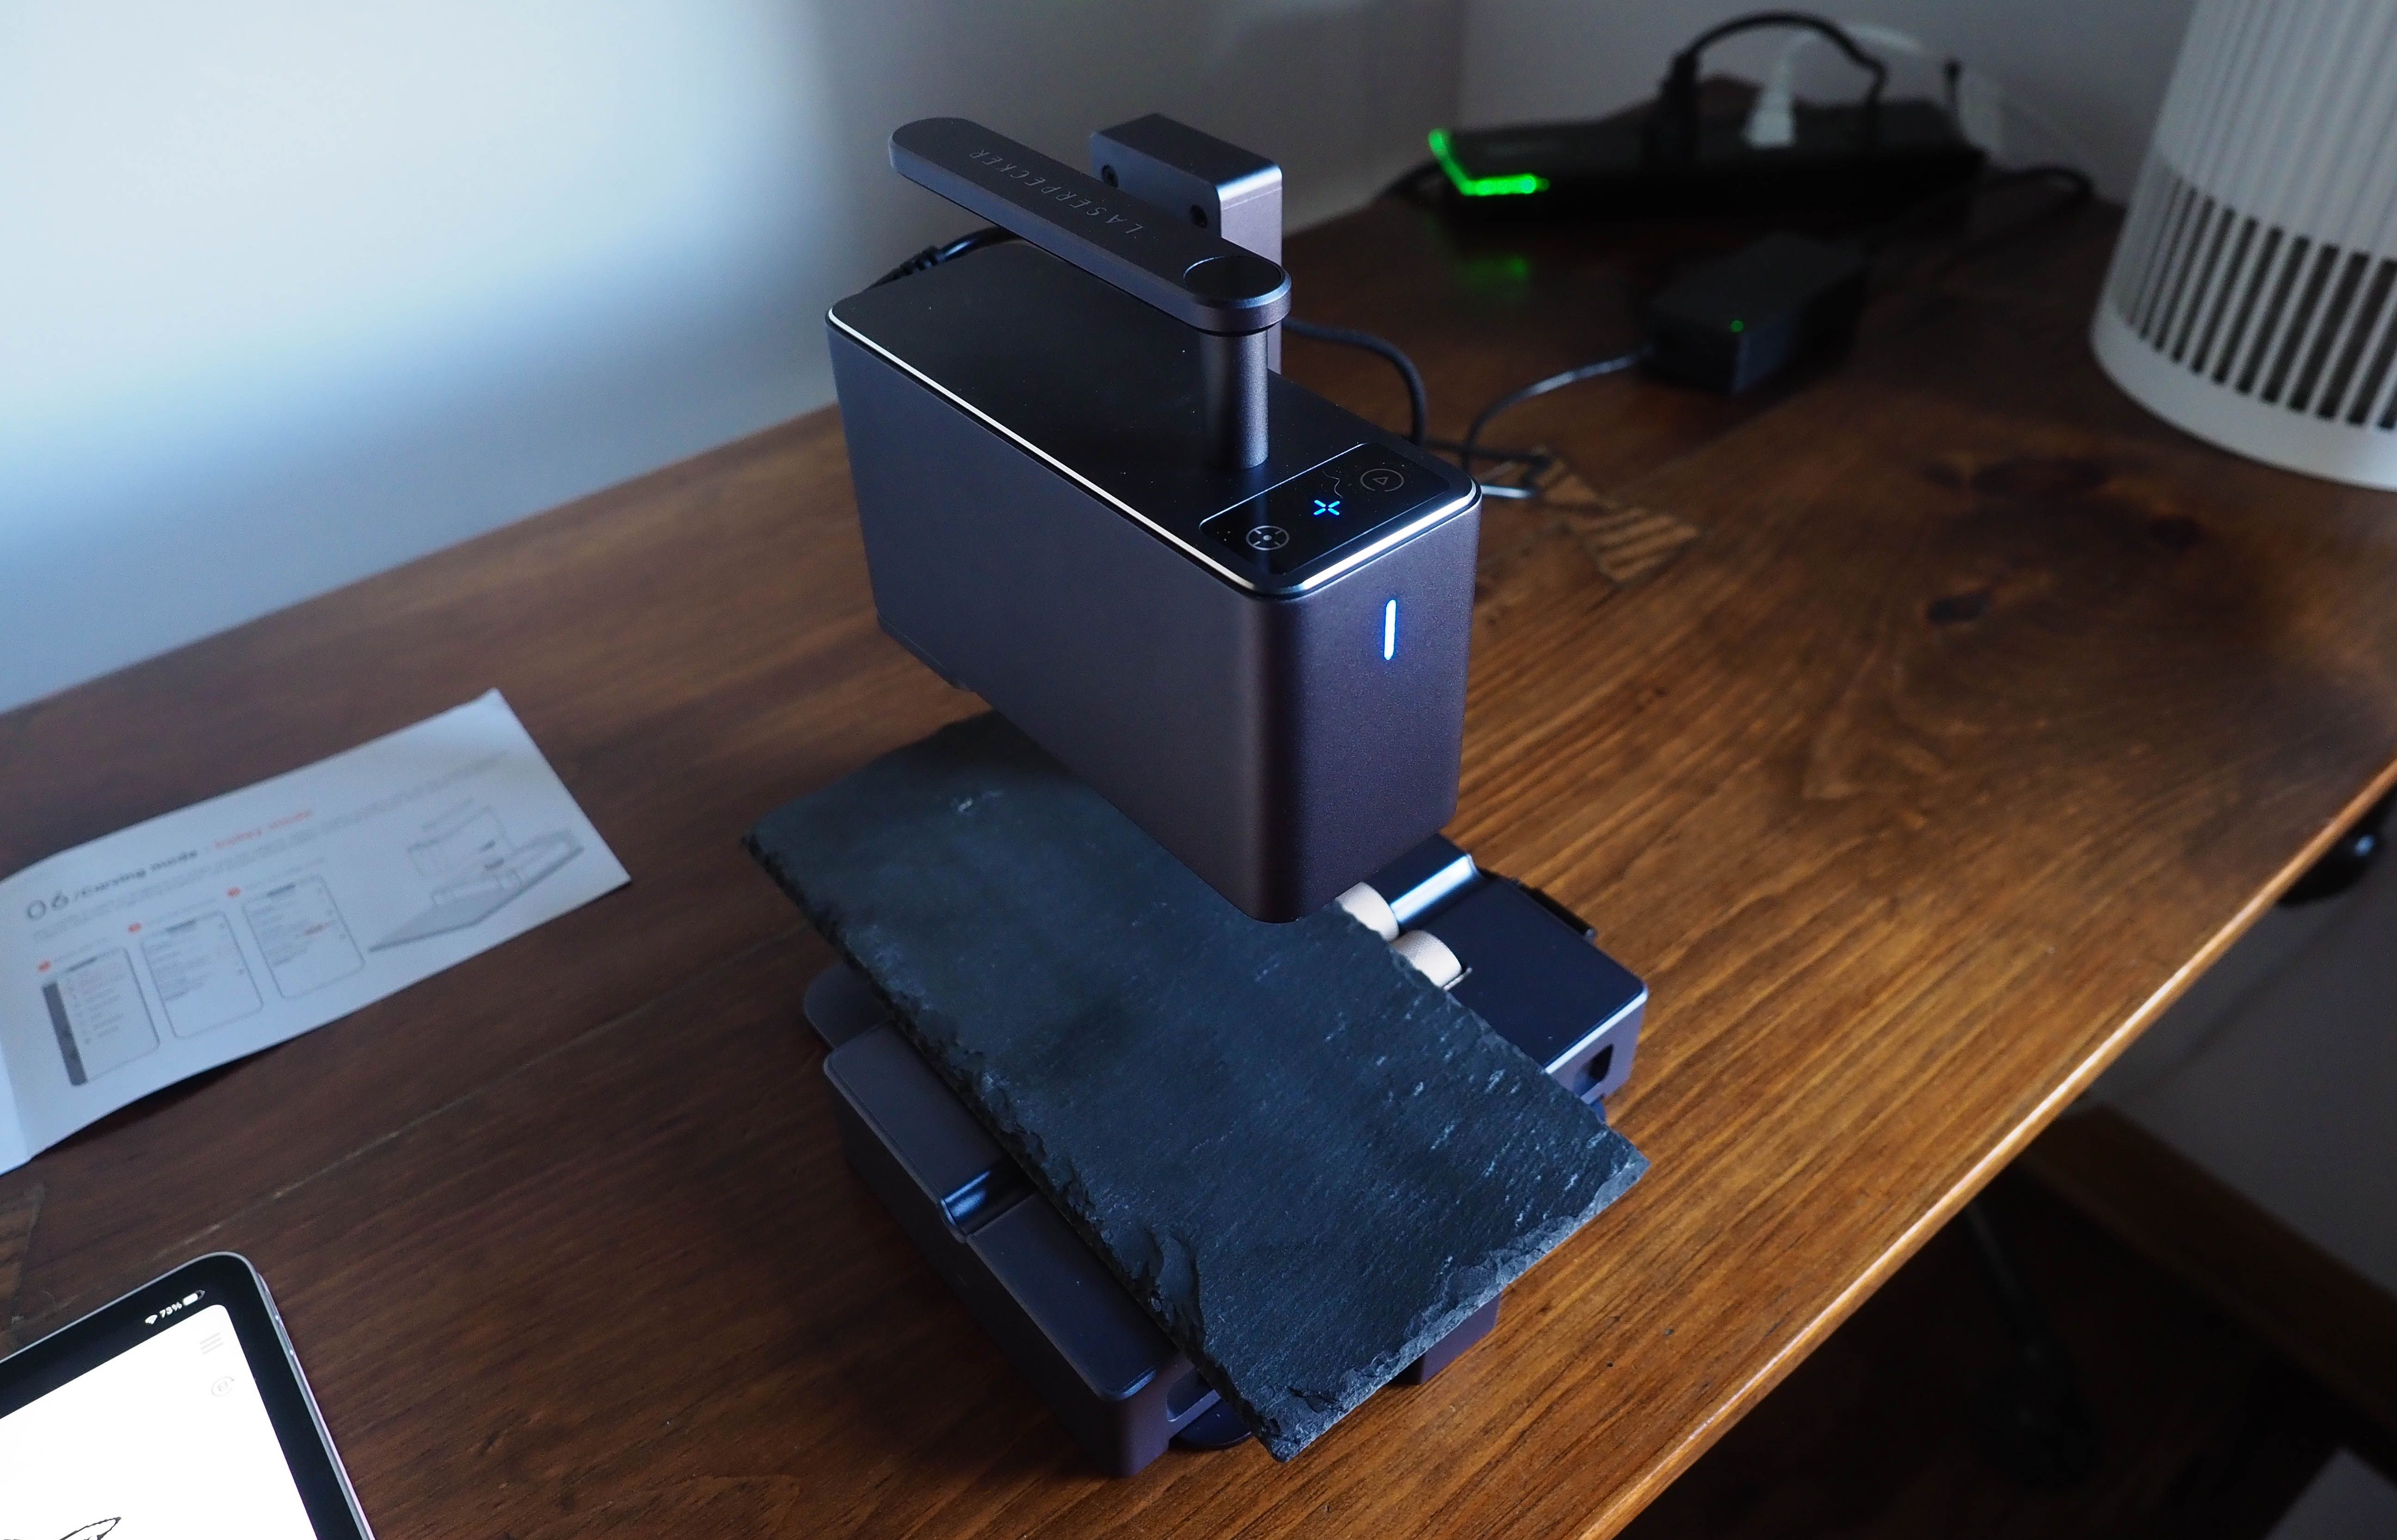
Alternatively, the LaserPecker 2 can also be removed from the support base.
The trolley mode offers an expanded maximum working area of 100 x 2000mm for longer design jobs.
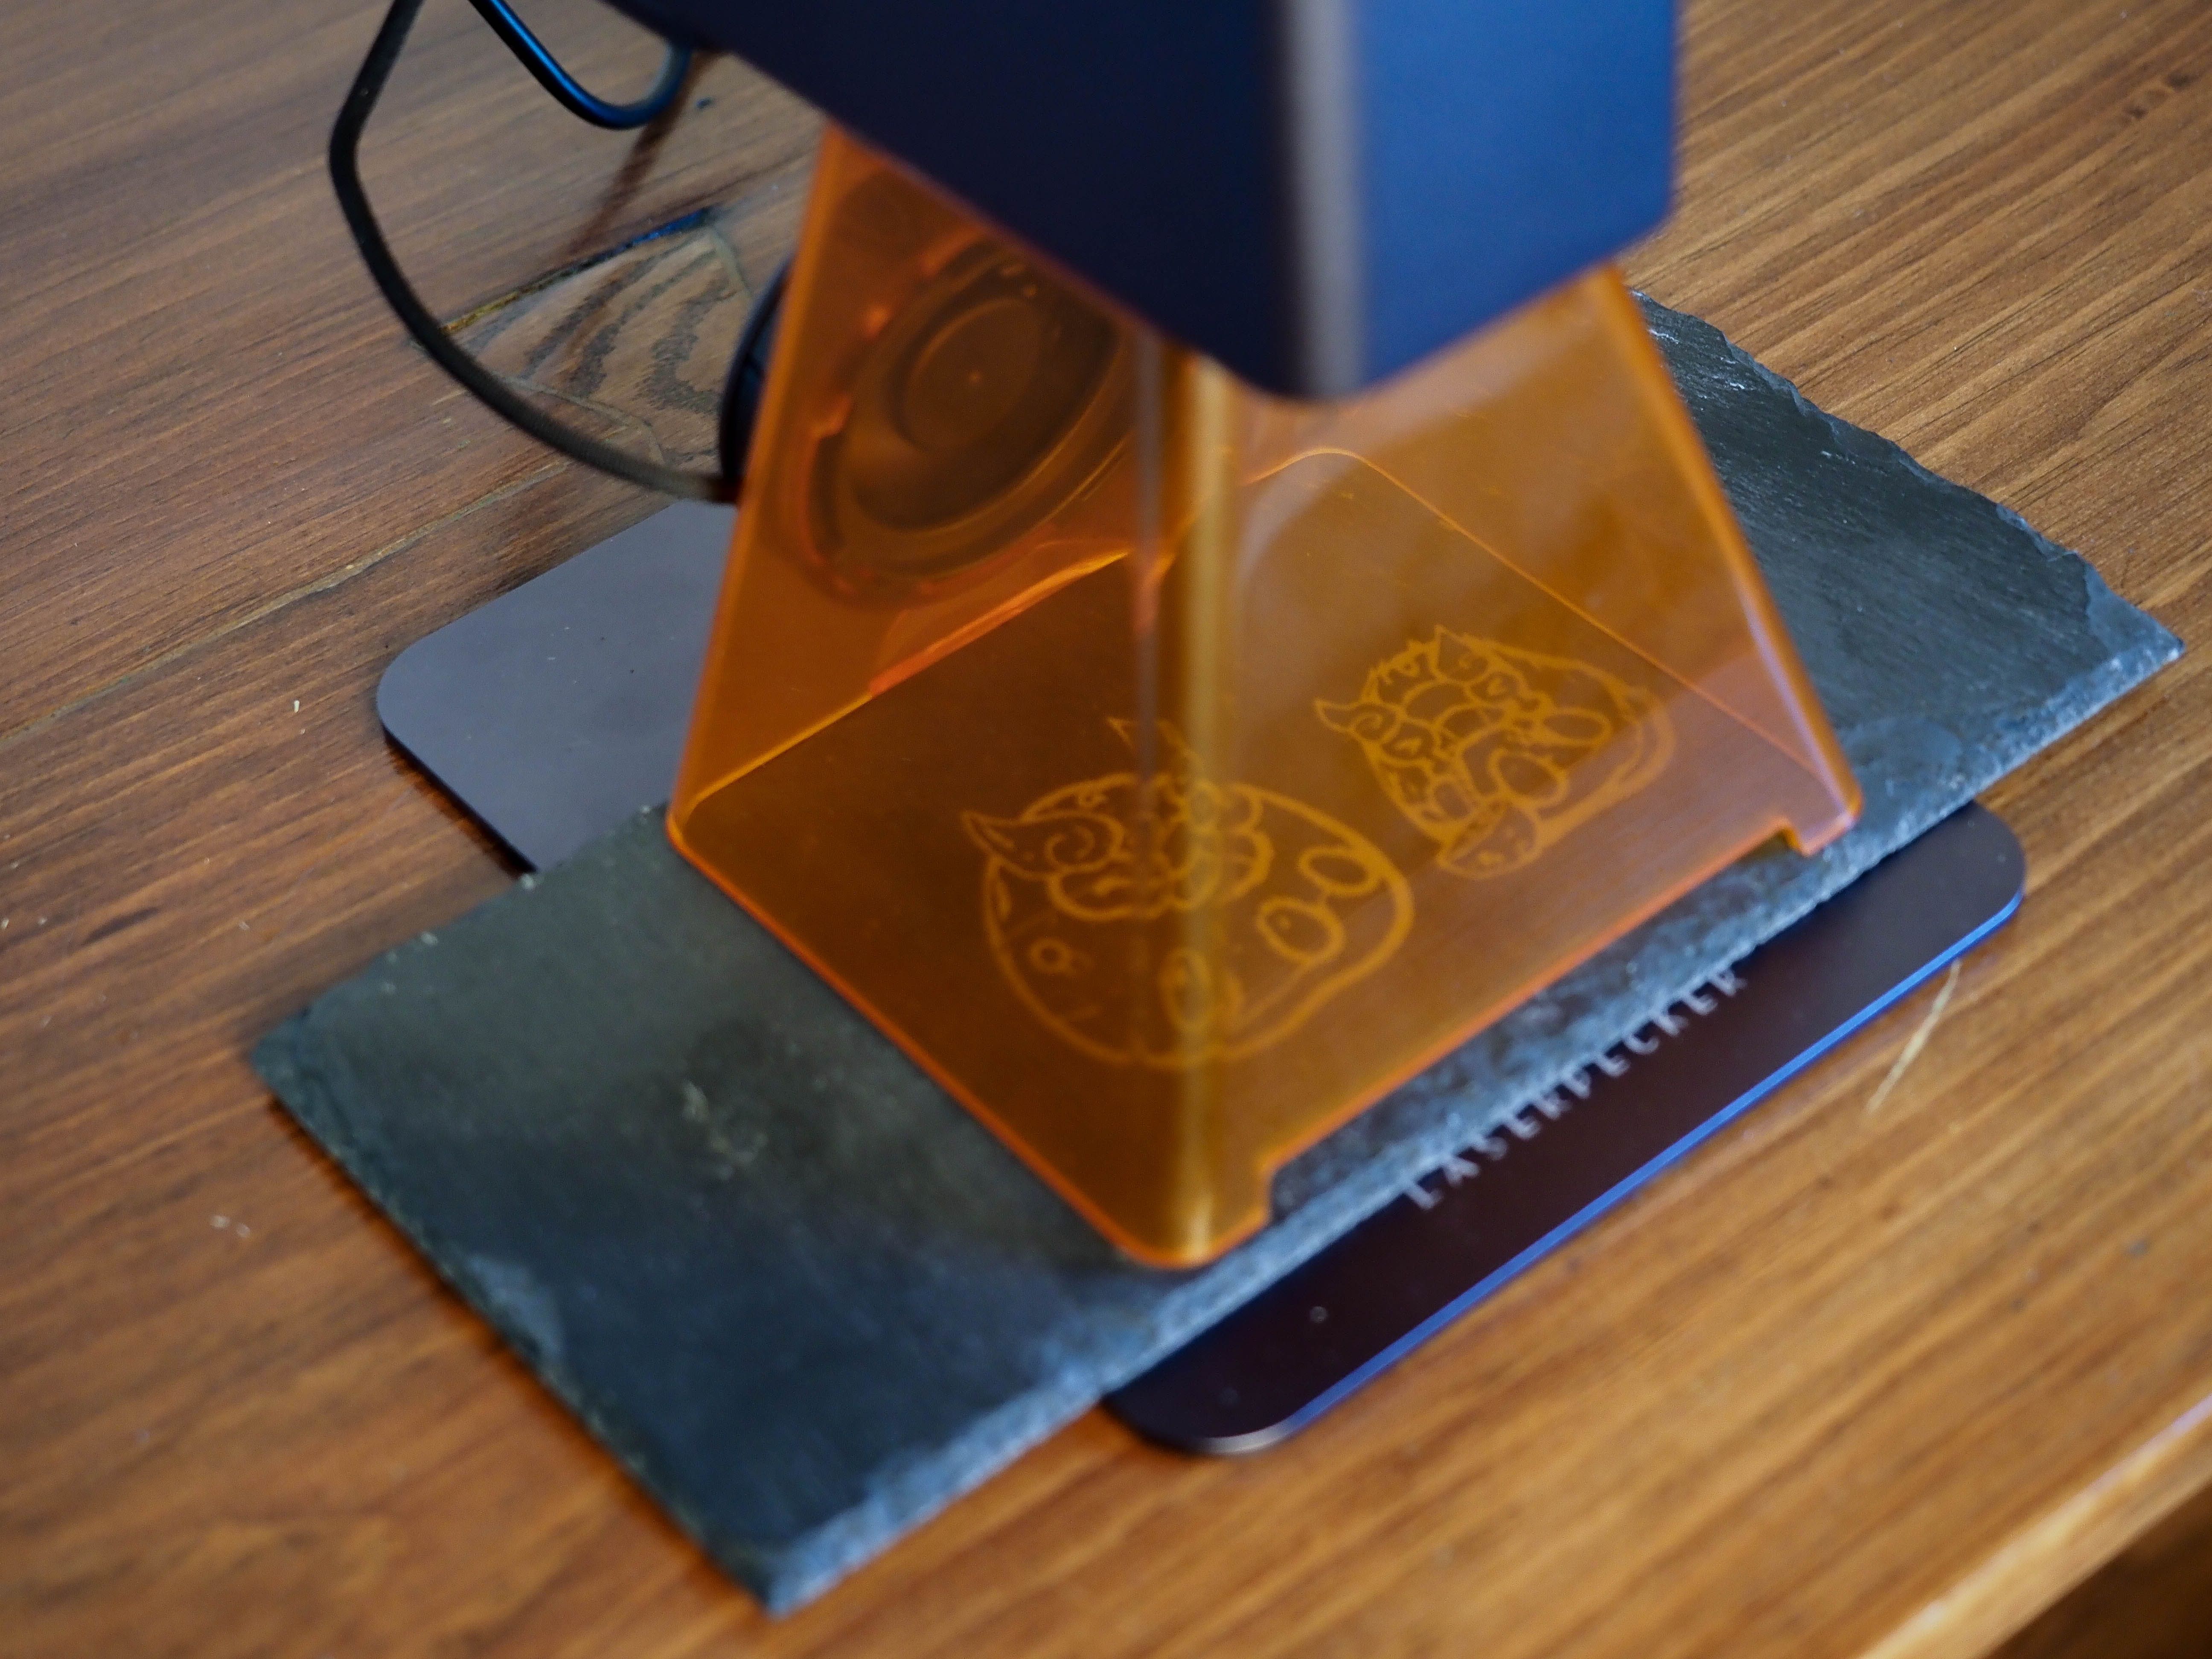
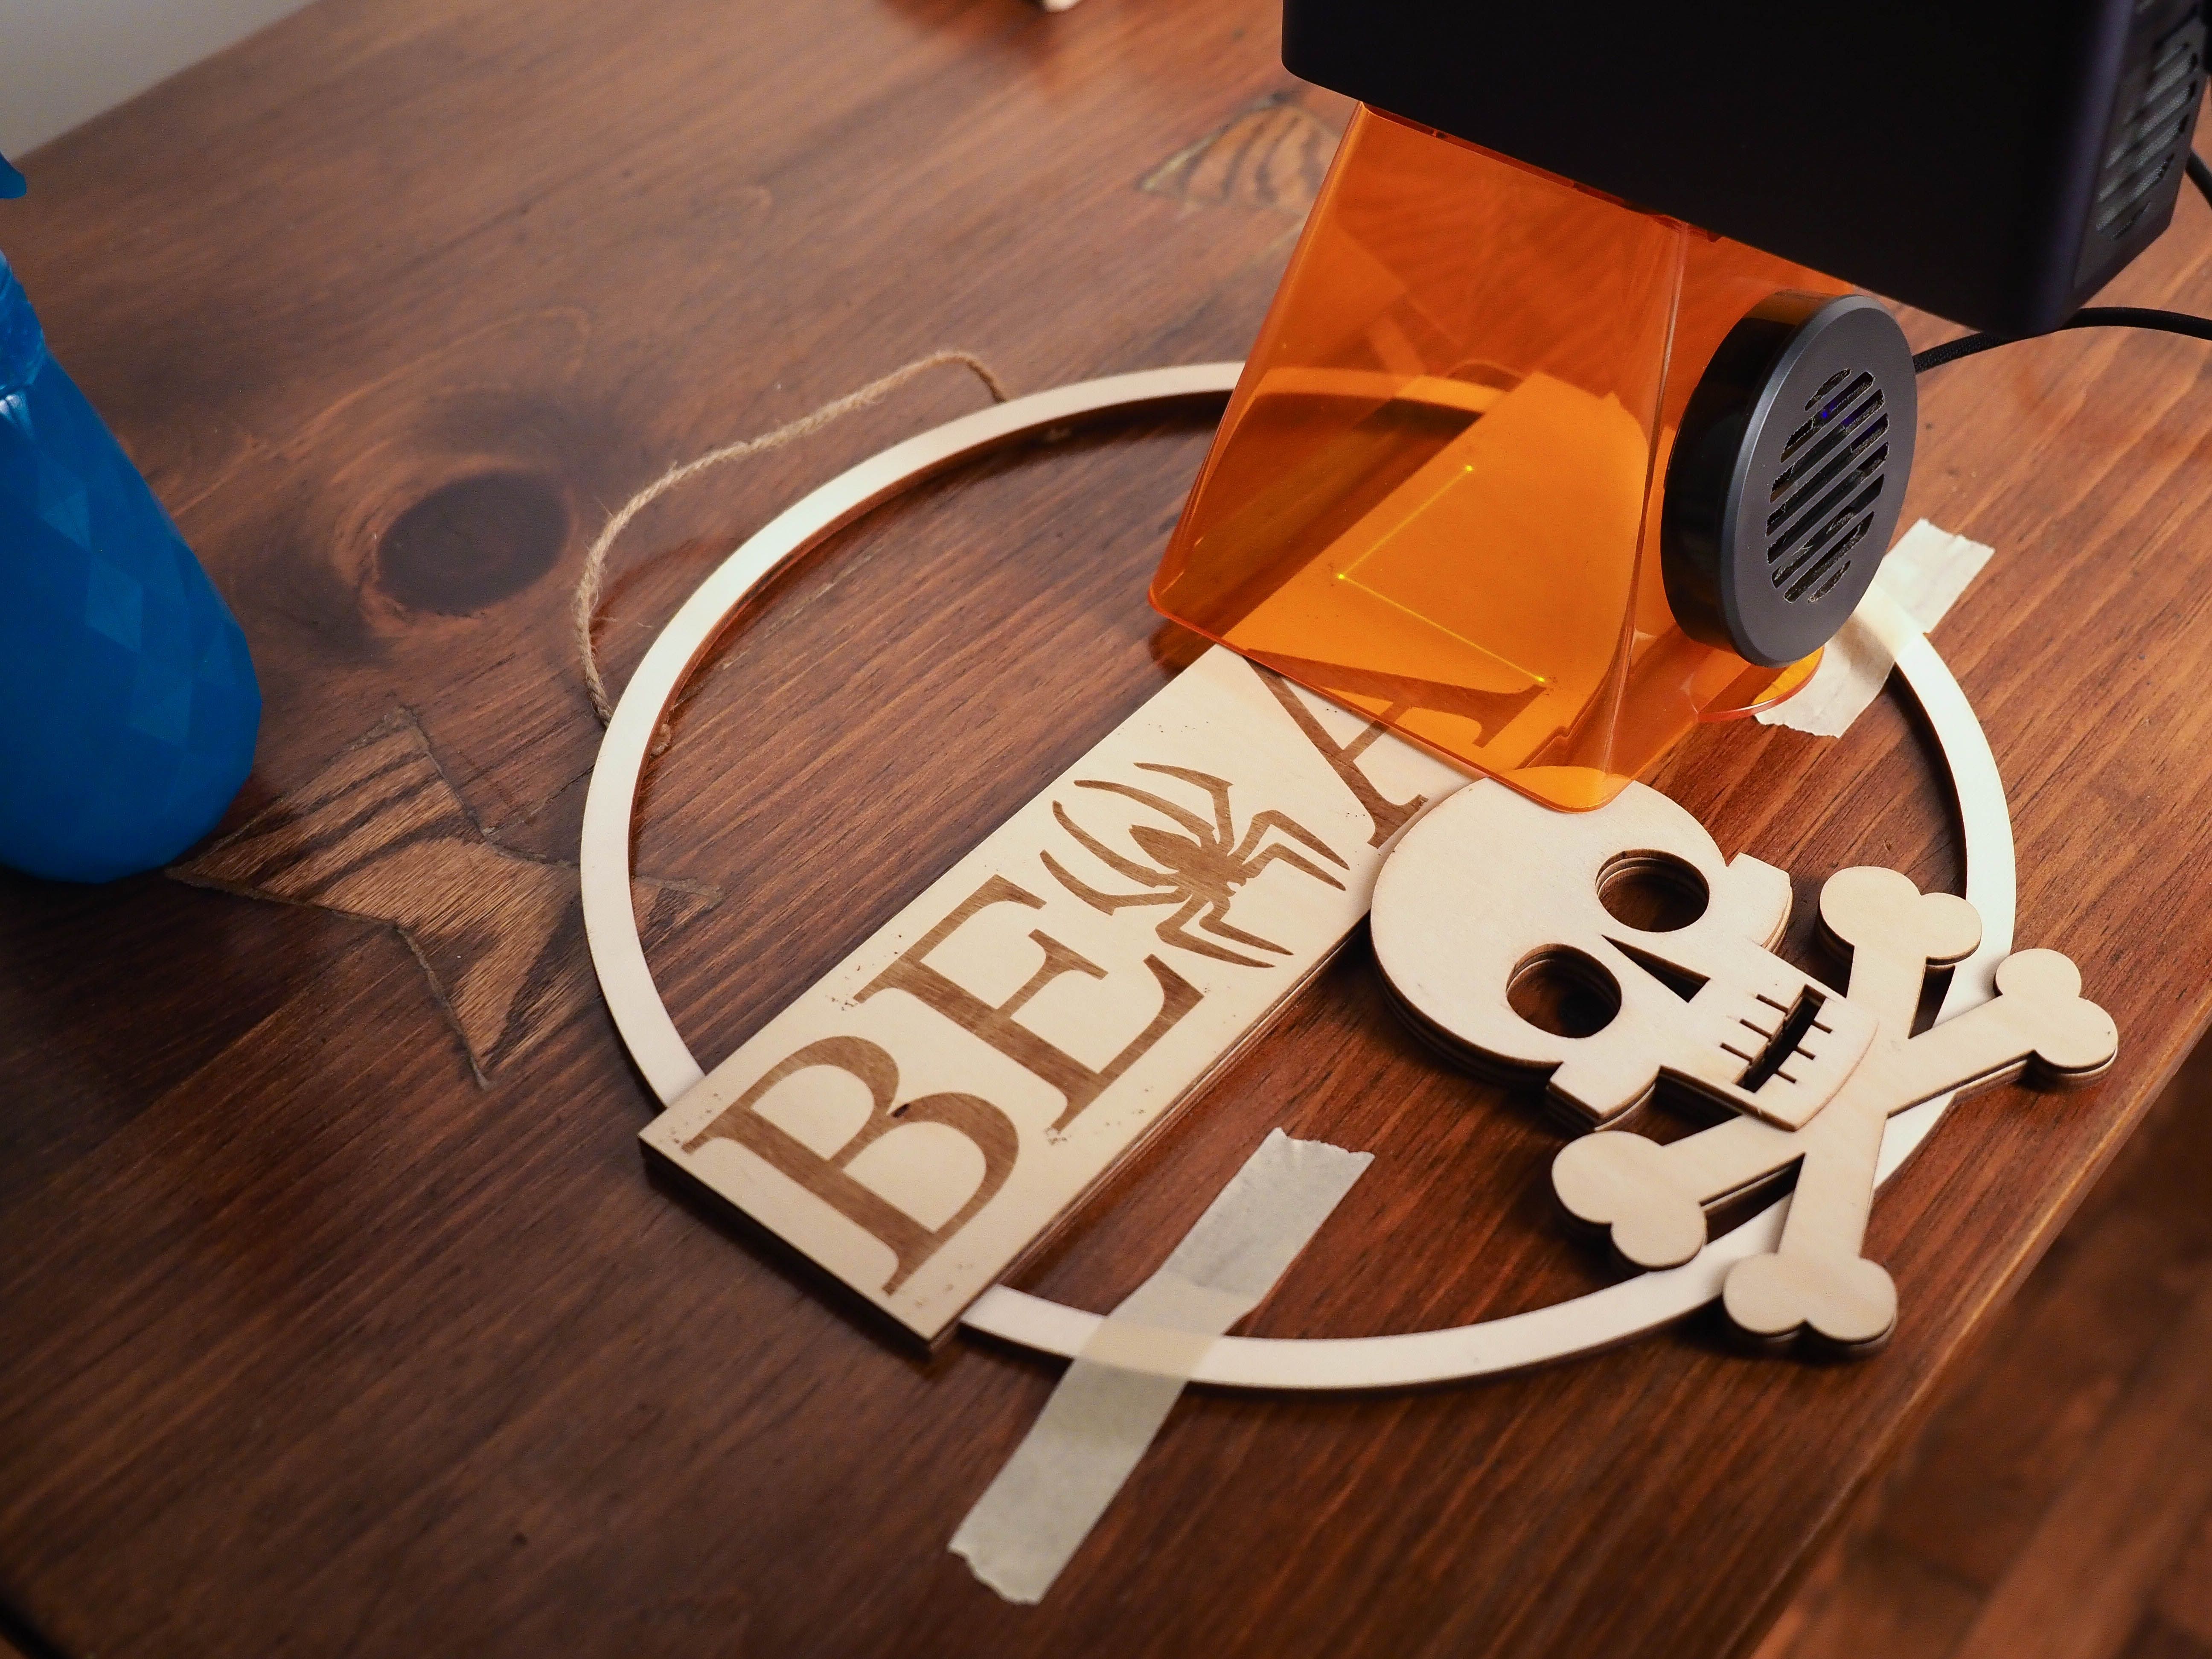
Once everything is prepped, it’s highly advised to begin a preview of each design.
This is especially crucial with the trolley mode, which sets the LaserPecker 2 into motion.
While the metal roller works fine, the secondary sliders don’t always work perfectly.
So you’ll ideally want smooth, level wooden surfaces to avoid accidental deviation during the trolley’s operation.
Additionally, some wood finishes can present issues.
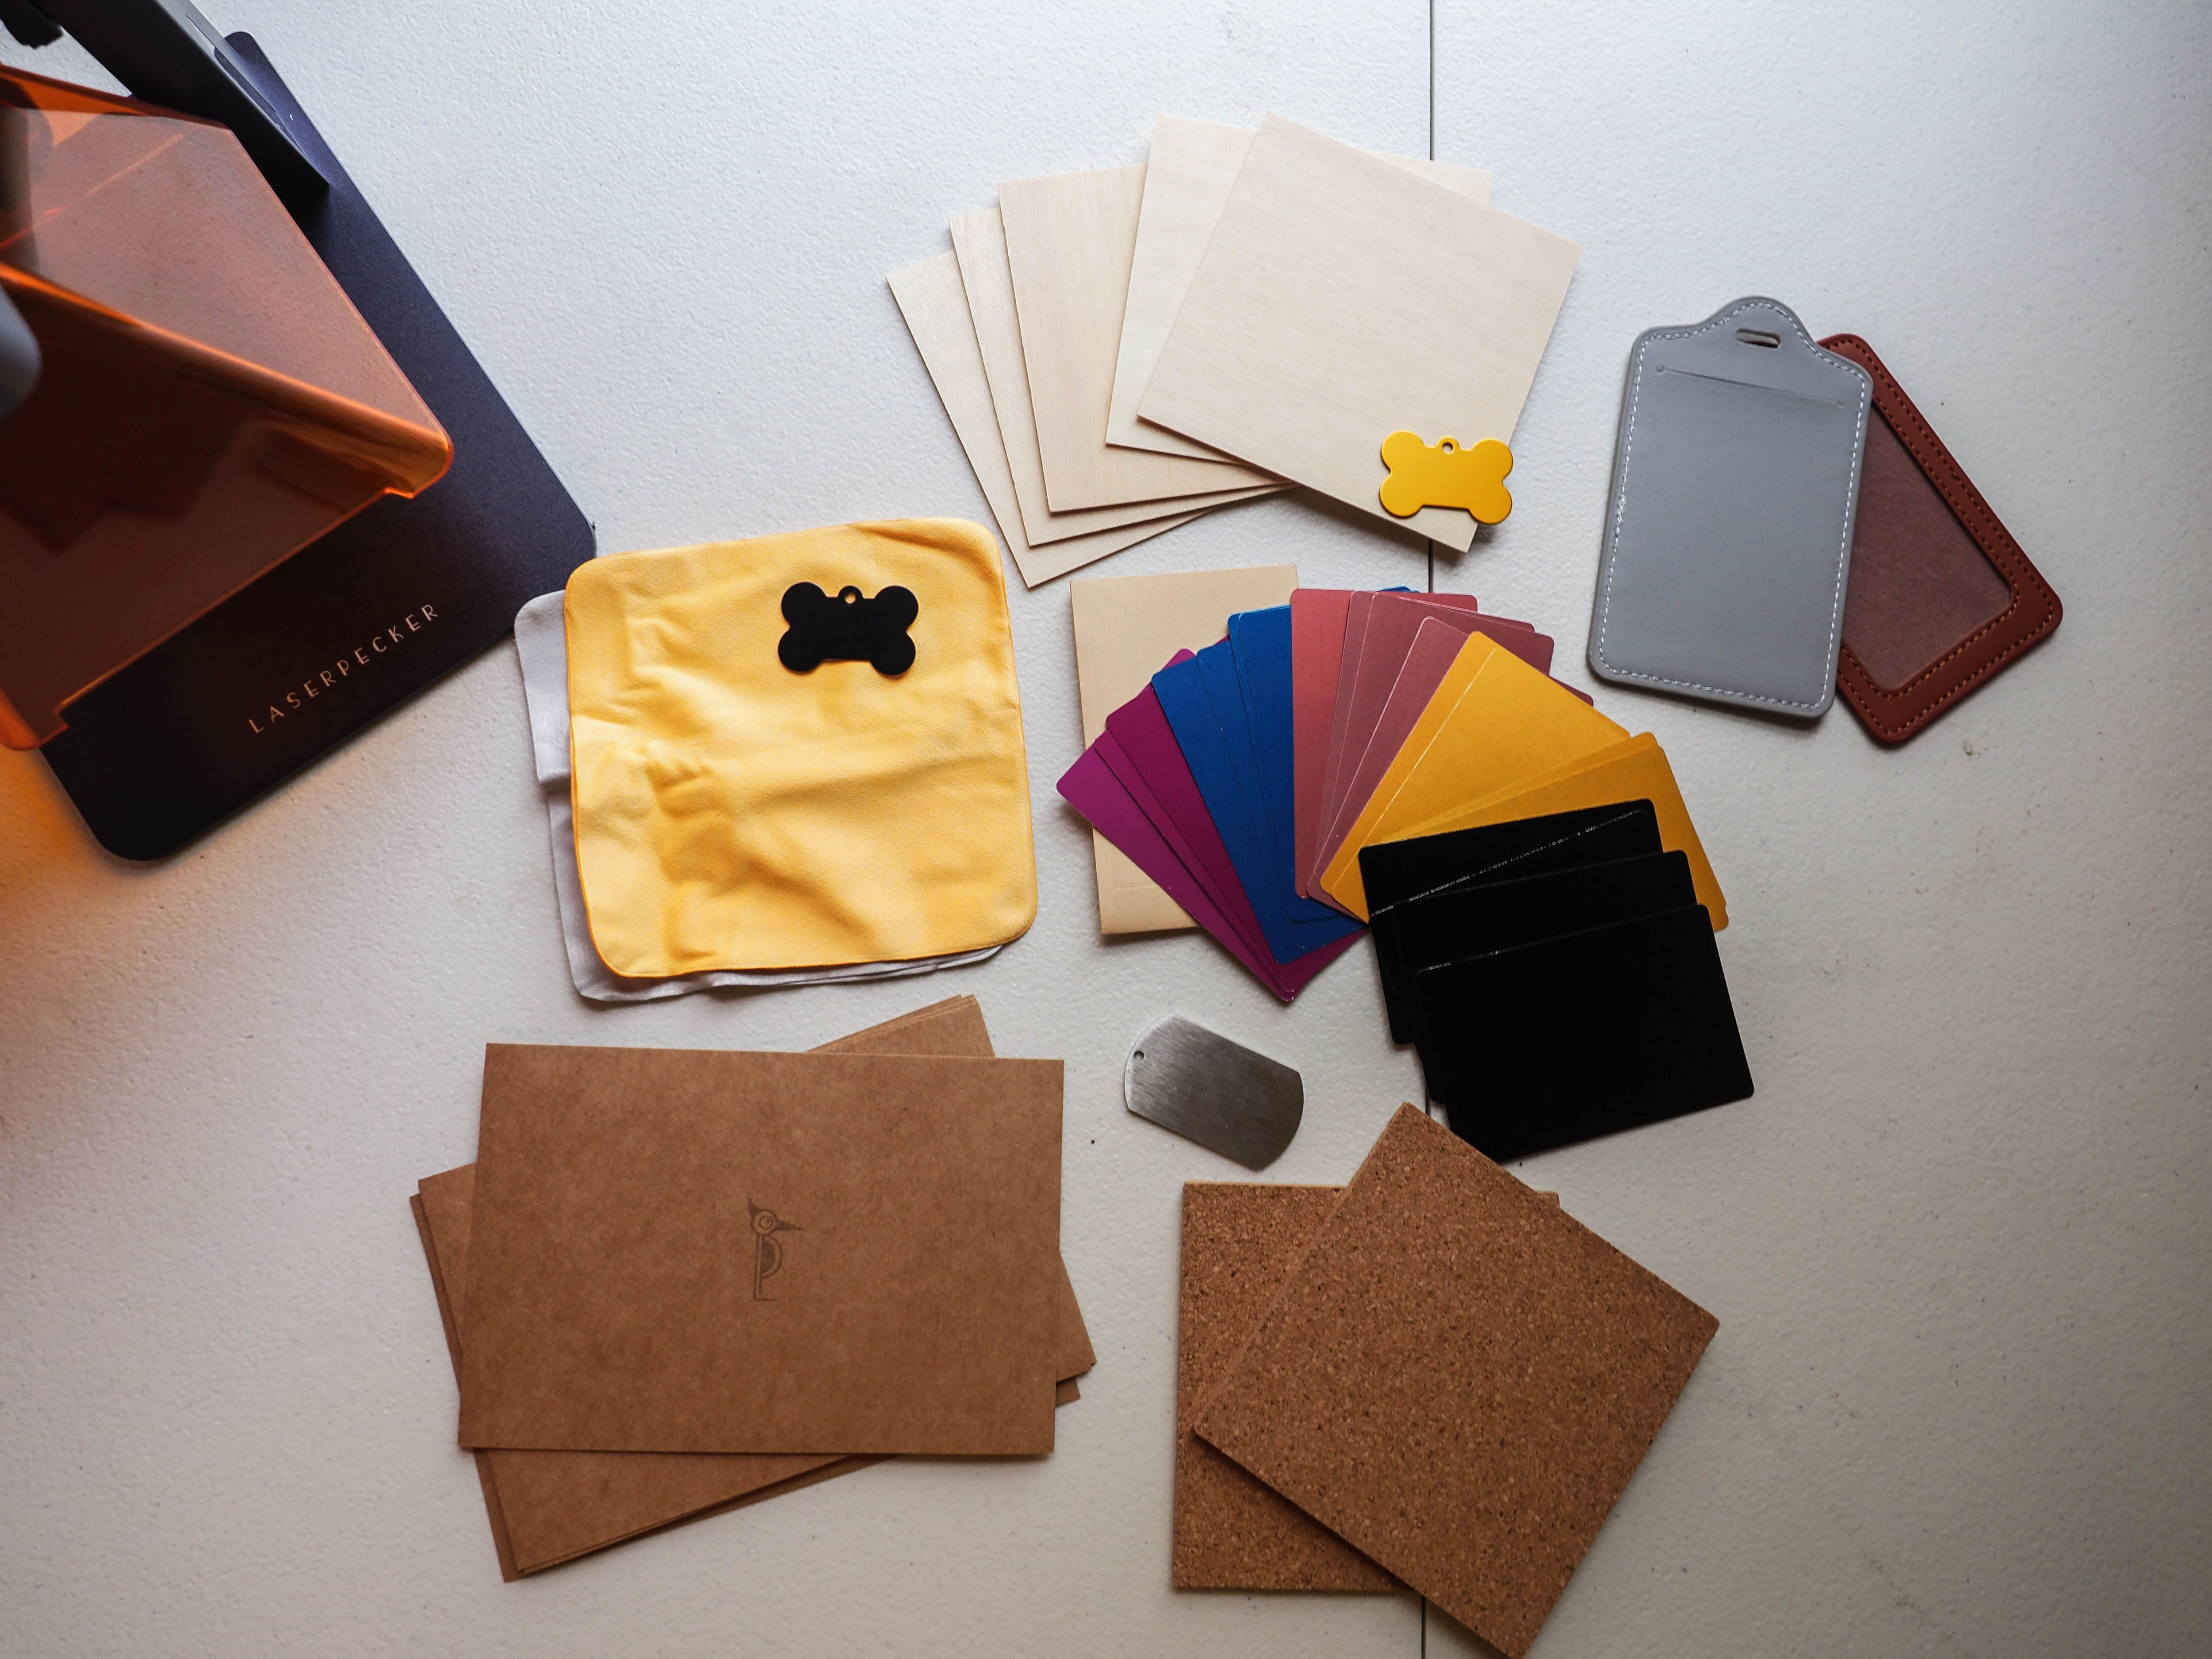
Rather than waste any materials, you’ll want to compare what you have on hand beforehand.
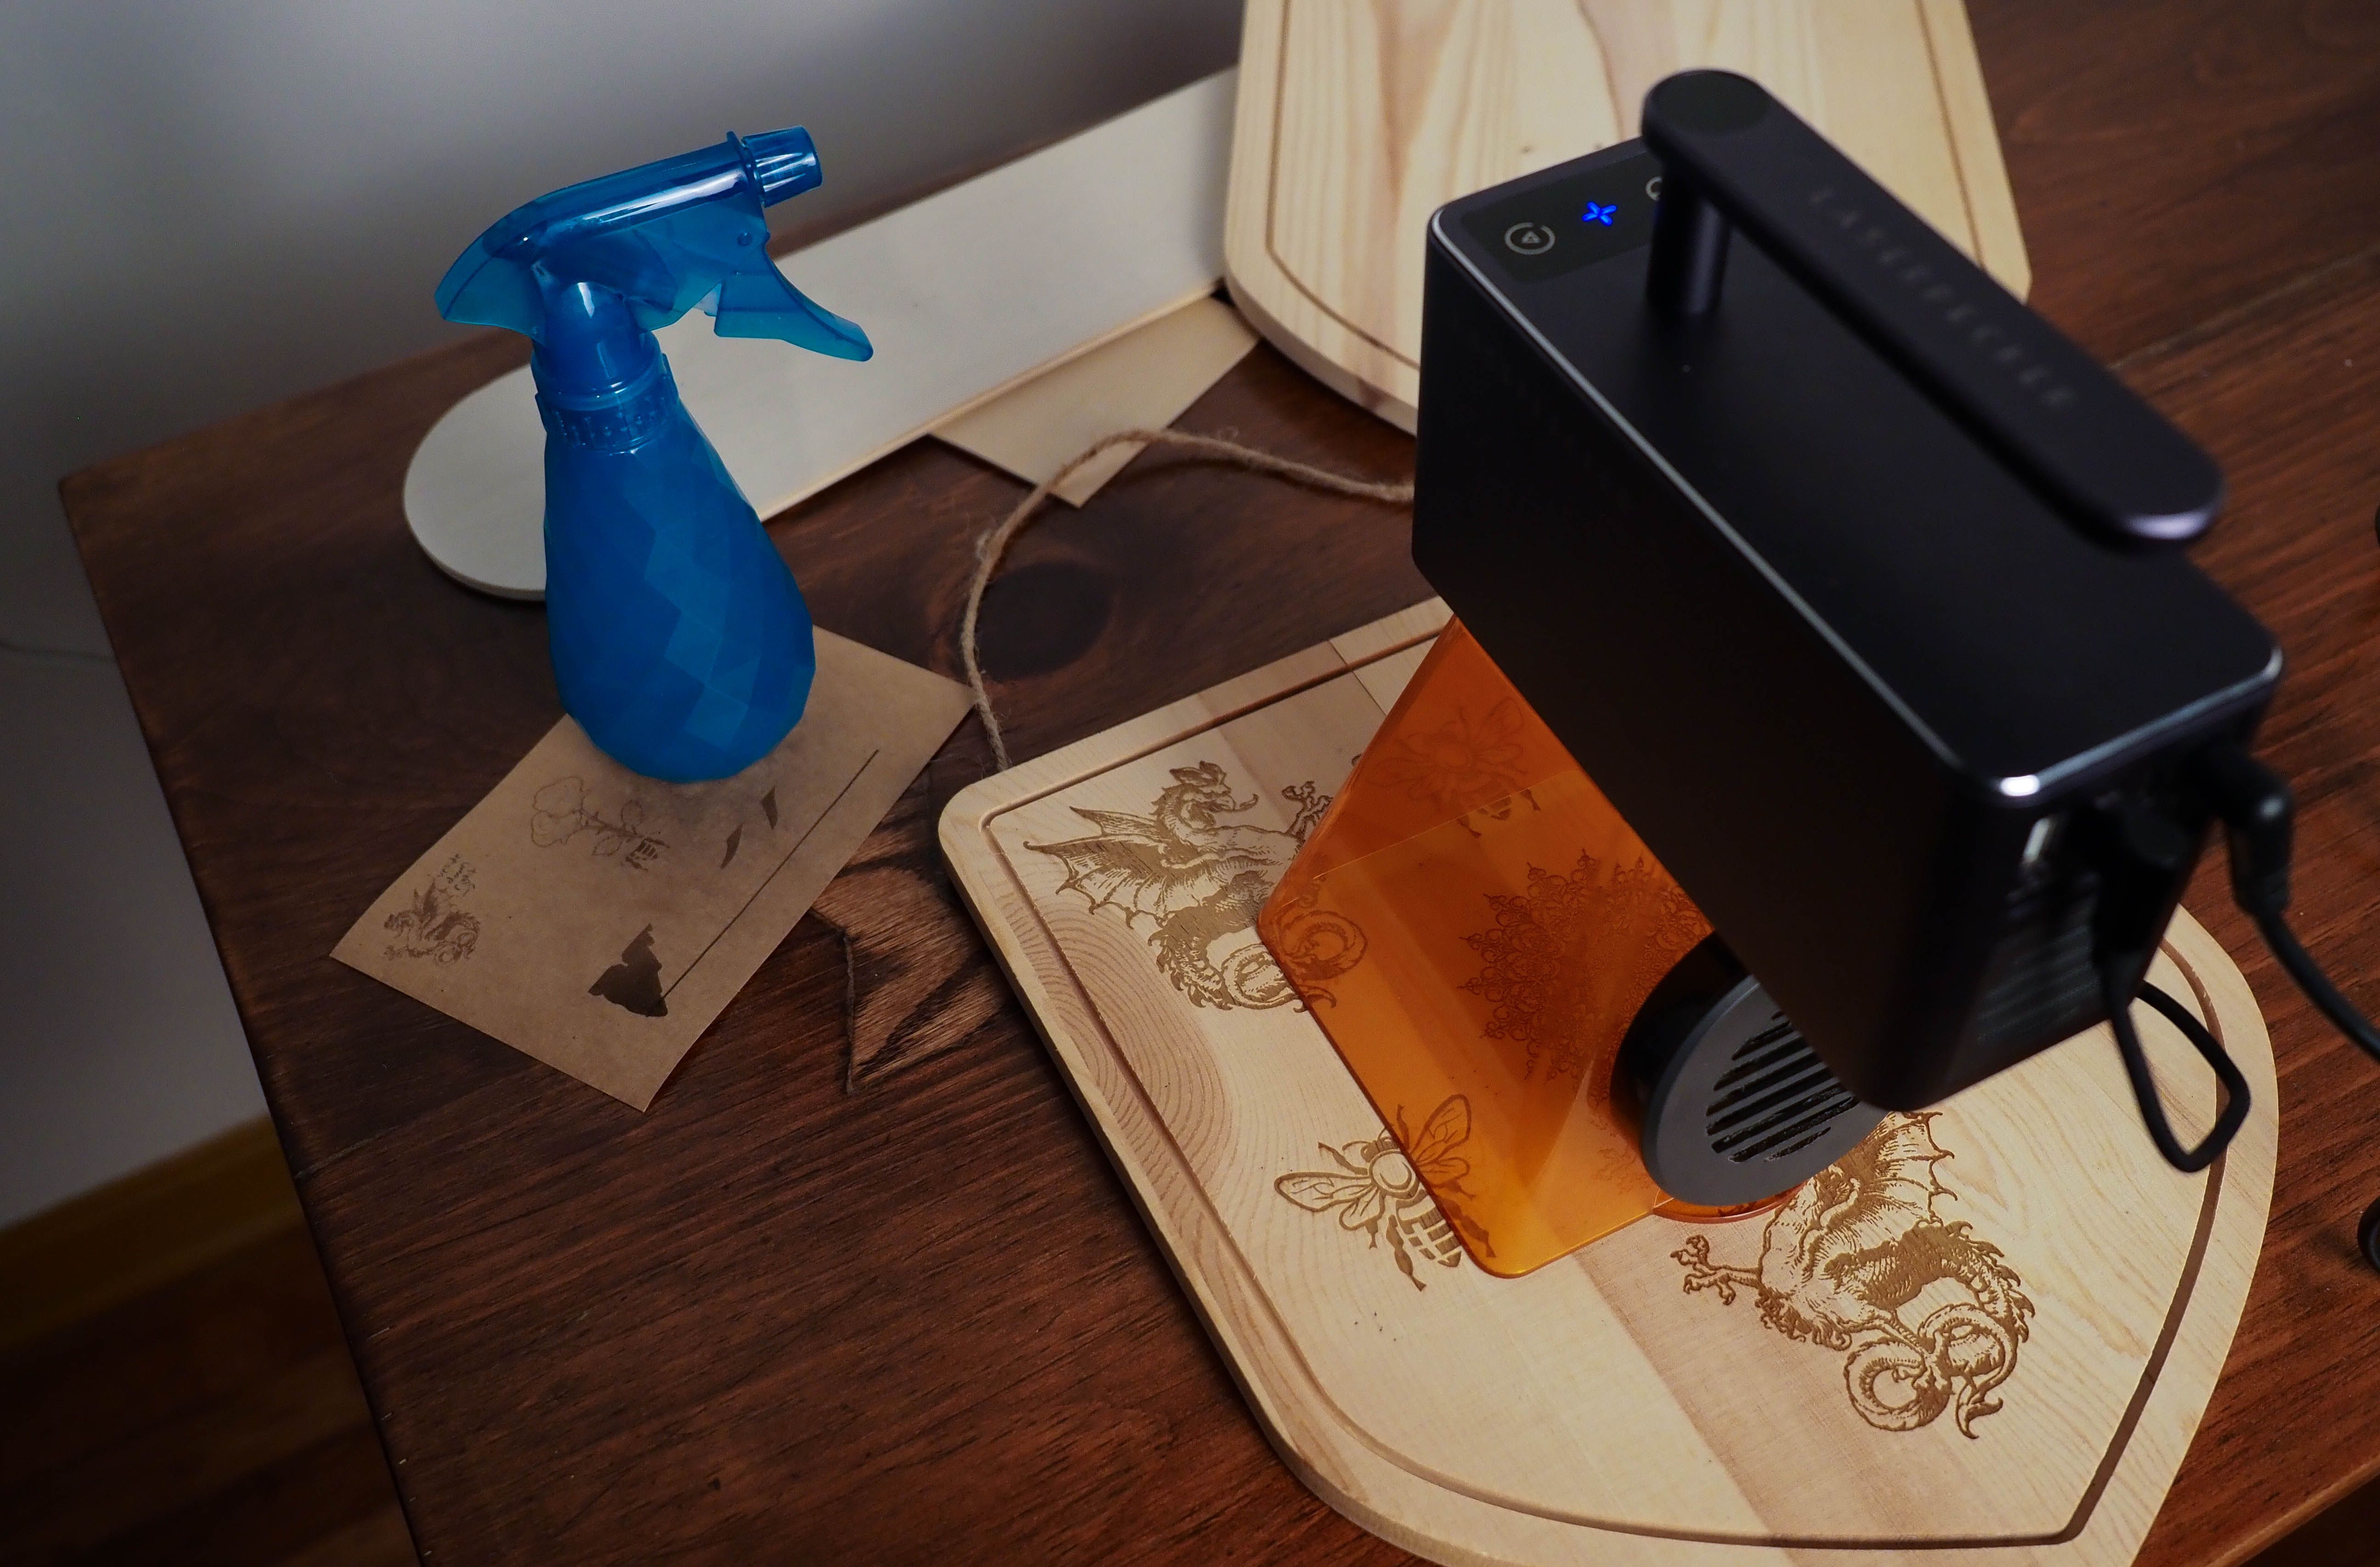
Beyond trolley and slab mode, you’ll also want to consider cylinder mode for things like glasses.
When working with highball glasses, masking via black tempera paint provided a simple way to engrave safely.
Lighter cylindrical objects work better, but effectively using the metal rollers can still require some trial and error.

Should You Use the LaserPecker 2 for Cutting?
Another consideration when cutting is the working area of the LaserPecker 2.
In that case, this can prove much more time-consuming versus doing so via a standard-sized laser engraver.
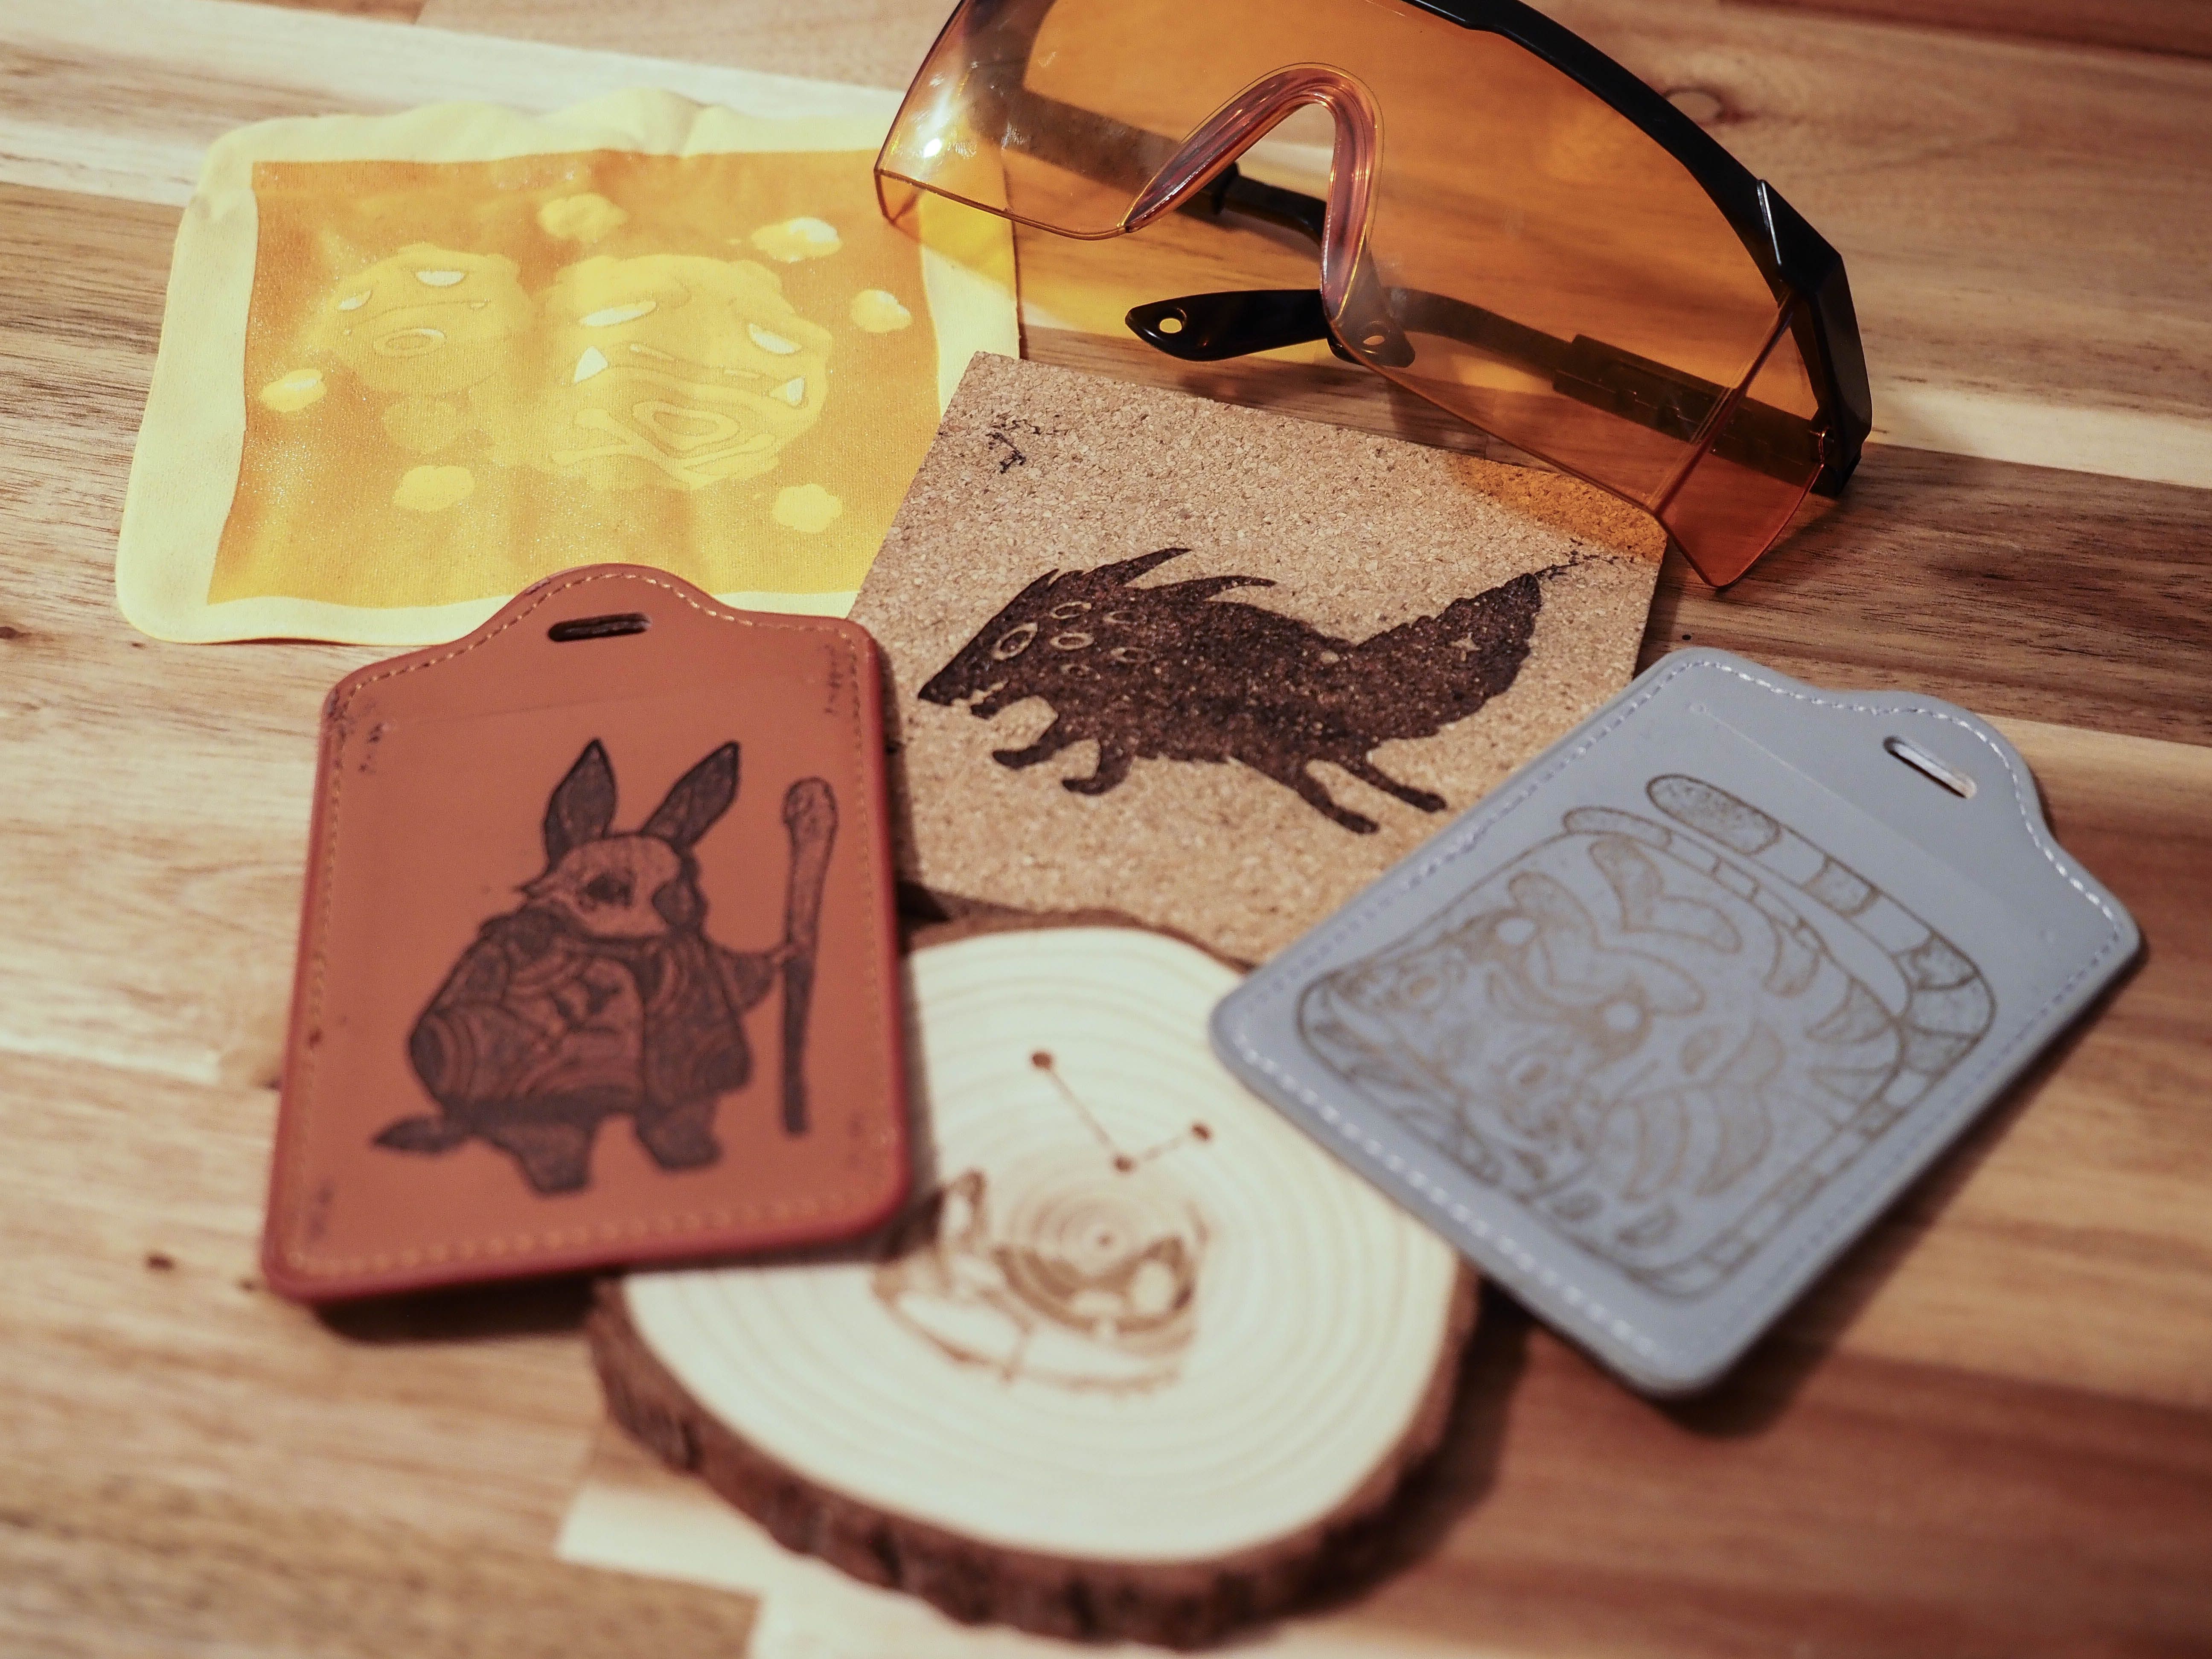
For those wanting to handle small-format engraving jobs quickly, the LaserPecker 2 is great.
Should You Buy the LaserPecker 2?
When purchasing the LaserPecker 2, it’s crucial that you weigh a few considerations.
Overall, the LaserPecker 2 works best at small-format engraving projects.
If you better work outside or on surfaces in situ, it’s perfect.