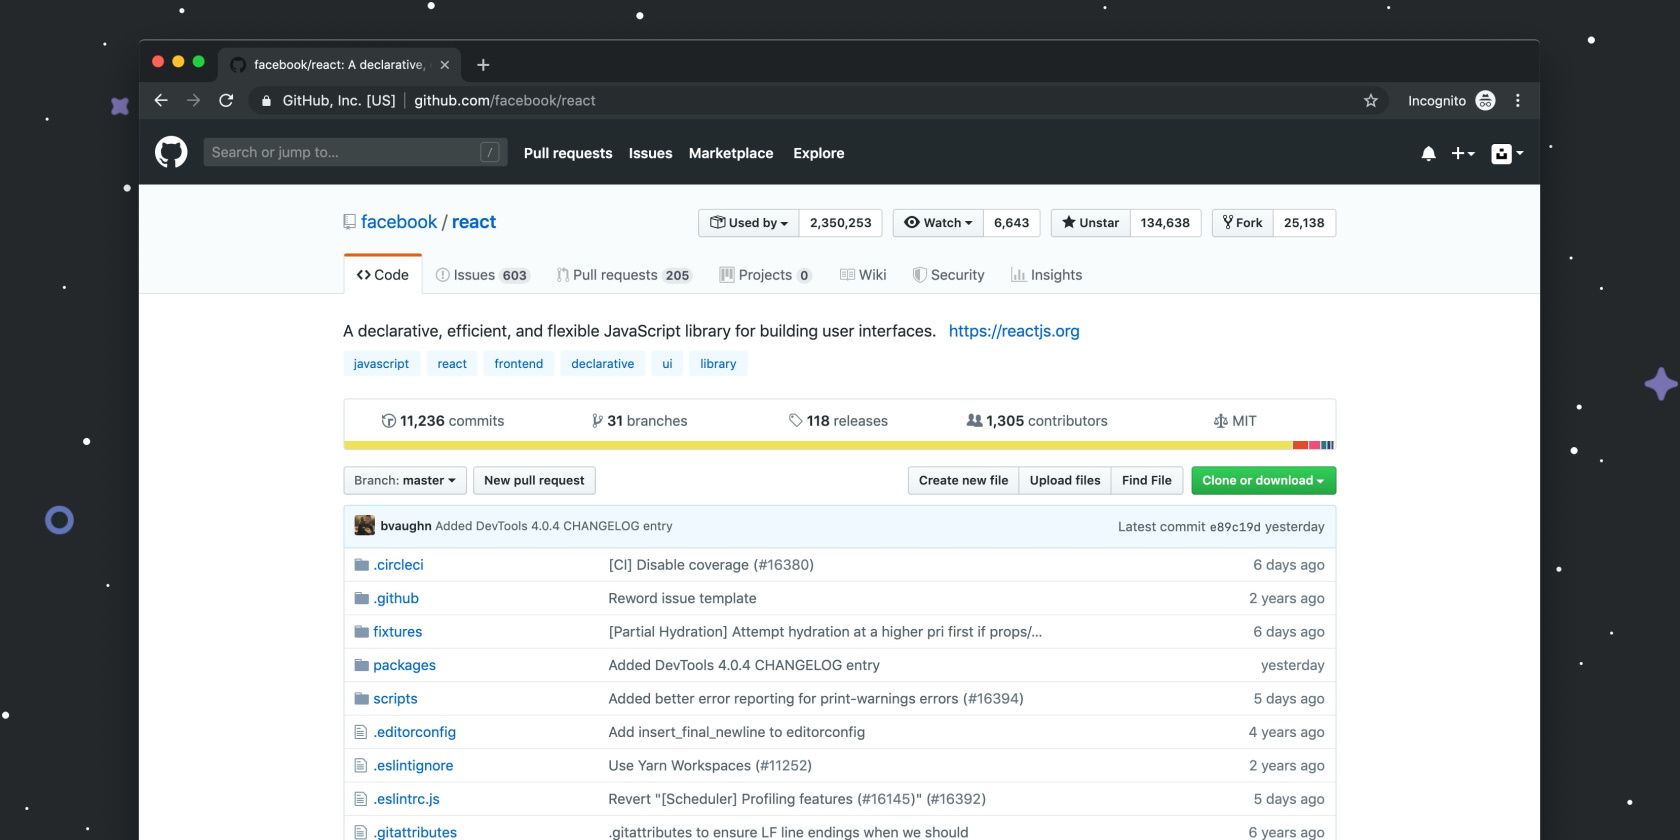
Why Host Your Own Git Service on Raspberry Pi Instead of Using GitHub?
If you don’t have these already running on your Raspberry Pi,install Docker and Docker Composenow.
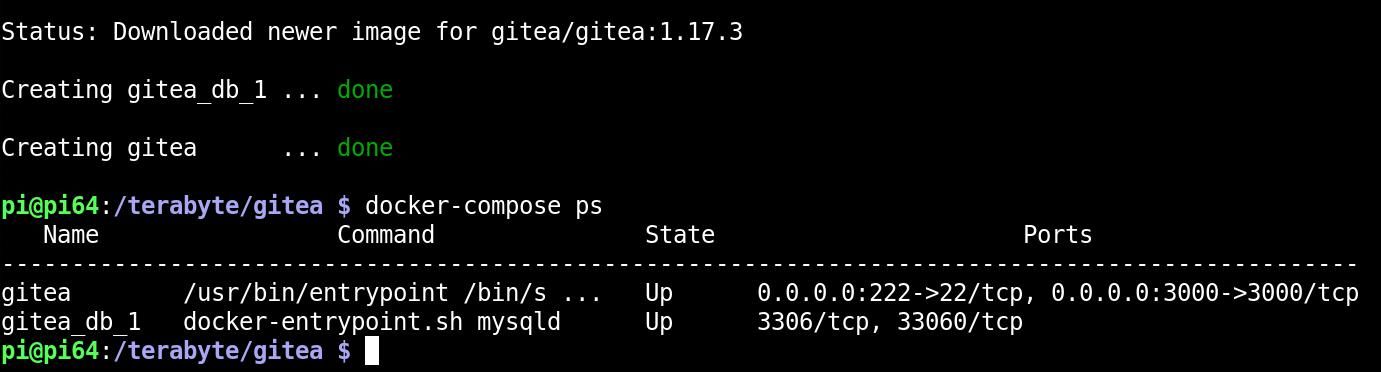
Enter:
…to bring up docker-compose in detached mode.
Docker-compose will pull multiple images for Gitea and Maria DB and set up containers.
Depending on your connection speed, this may take some time.
you’re free to now visit the initial configuration page for your Gitea site atyour.pi.local.ip.address:3000.
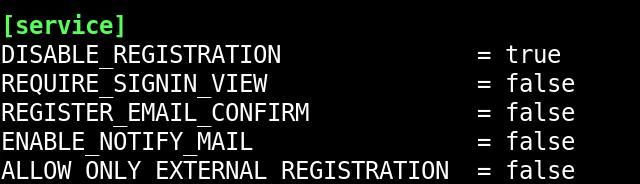
Don’t alter anything yet.
Then, from your registrar’s parameters page, find the ‘Advanced DNS’ options and add a newArecord.
Set theHostfield to “@“and the value field to your static IP address.
Set the TTL (Time to Lease) value as low as possible, then save.
Open your router admin page, and find a section titled eitherPort Forwarding,Port Mapping, orPort Management.
Create a new entry for HTTP requests.
A second open port is required for HTTPS requests.
Finally, you need a port open for SSH requests to your Git server.
You will be using Certbot to obtain security certificates and keys.
Certbot will fetch and install certificates and keys.
The base URL should be your domain name including “HTTPS://”.
When you’re done, hit the big blueInstall Giteabutton.

After you access, you’ll see that there are no repositories available.
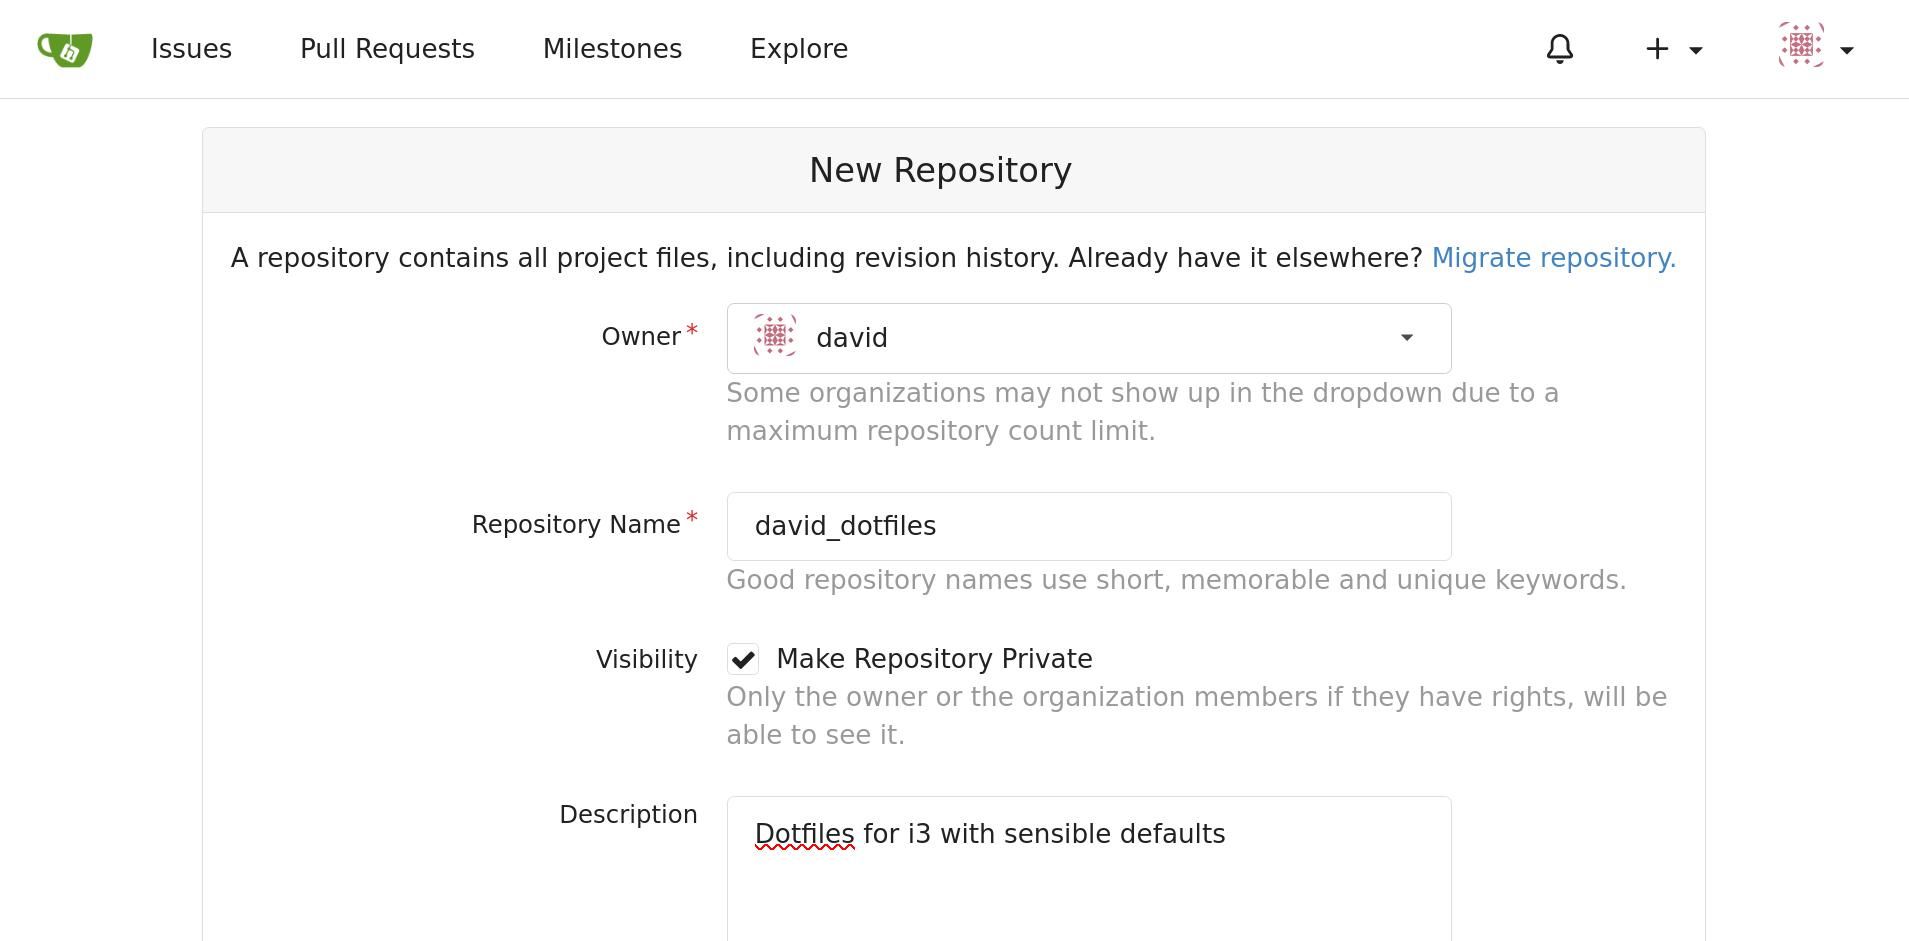
Create one by clicking on the+sign towards the right of the page, and give it a sensible name.
Check the box to initialize with a readme file, then clickCreate Repositoryto create your first repository!
you better add your local machine’s SSH key to Gitea first.
Click onAdd Key, and paste in the key you just copied.
you could now interact with your own Git repository on your own Git server on your own Raspberry Pi!
