Let’s jump right in.
Keep in mind that Google Photos' AI editing tools require a Google One subscription.
Google Photos added some brightness to the image, and it also looks a bit punchier.

Overall, I was happy with these edits.
Editing the Sky
Google Photos also uses AI to edit the sky in your images.
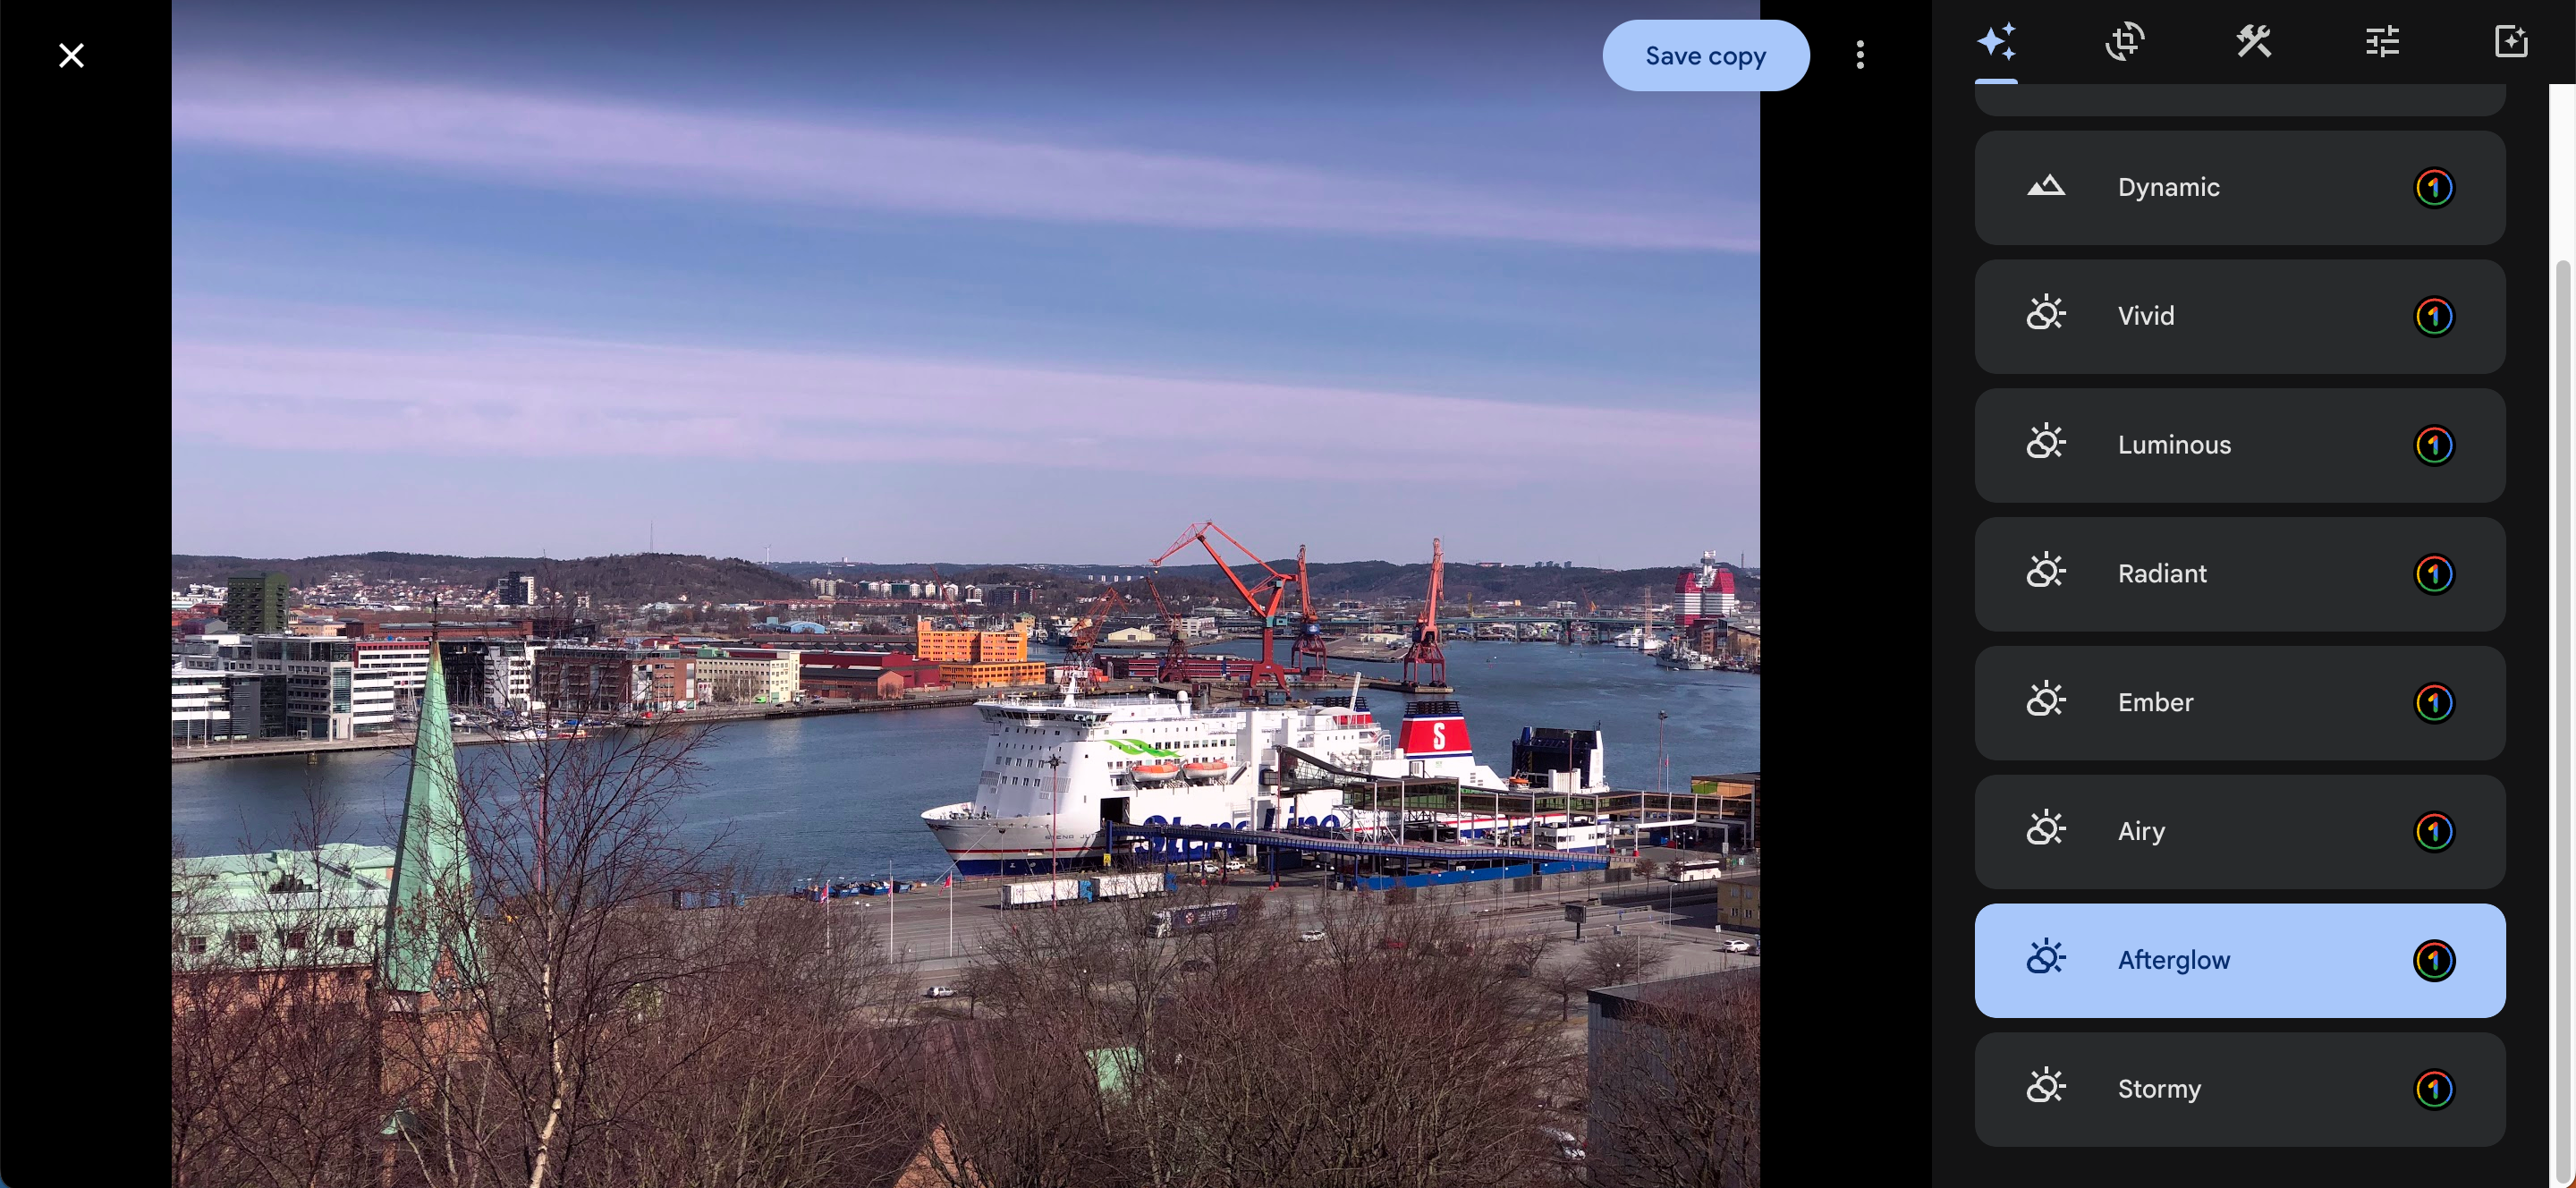
you could choose from seven presets:
I used the same picture to try out sky editing.

I actually quite liked how Google Photos desaturated and darkened parts of my image.
You still have to think about the colors in your pictures, though.
I tried Afterglow next, and the results weren’t so great.
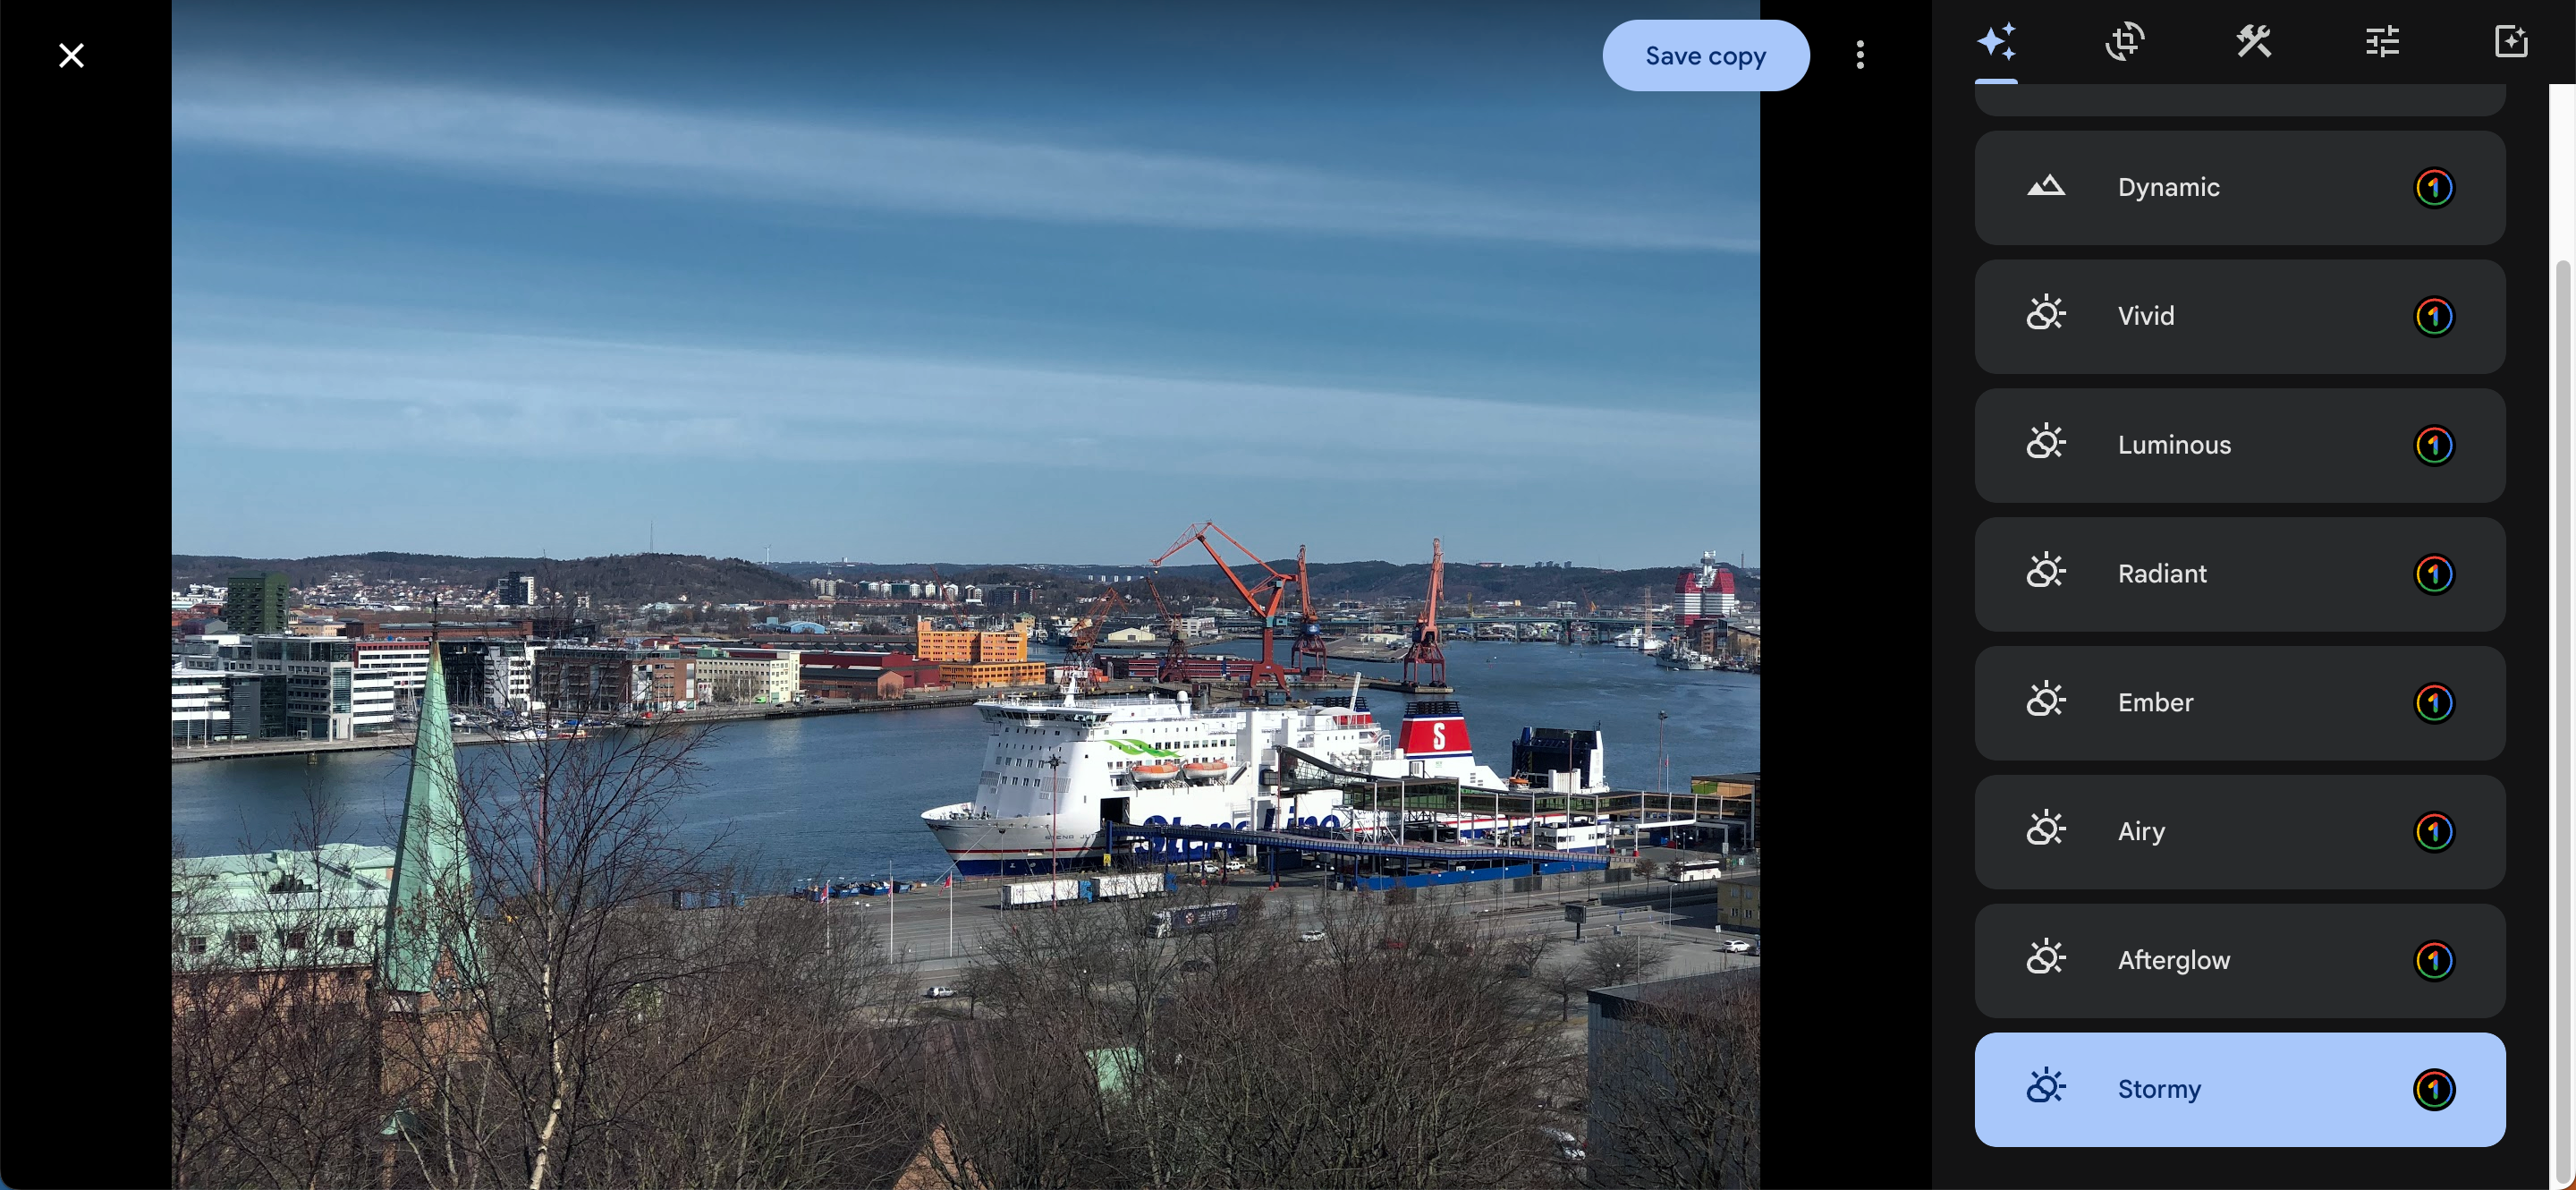
However, I believe this filter would work well if you want toimprove your nighttime sky photography.
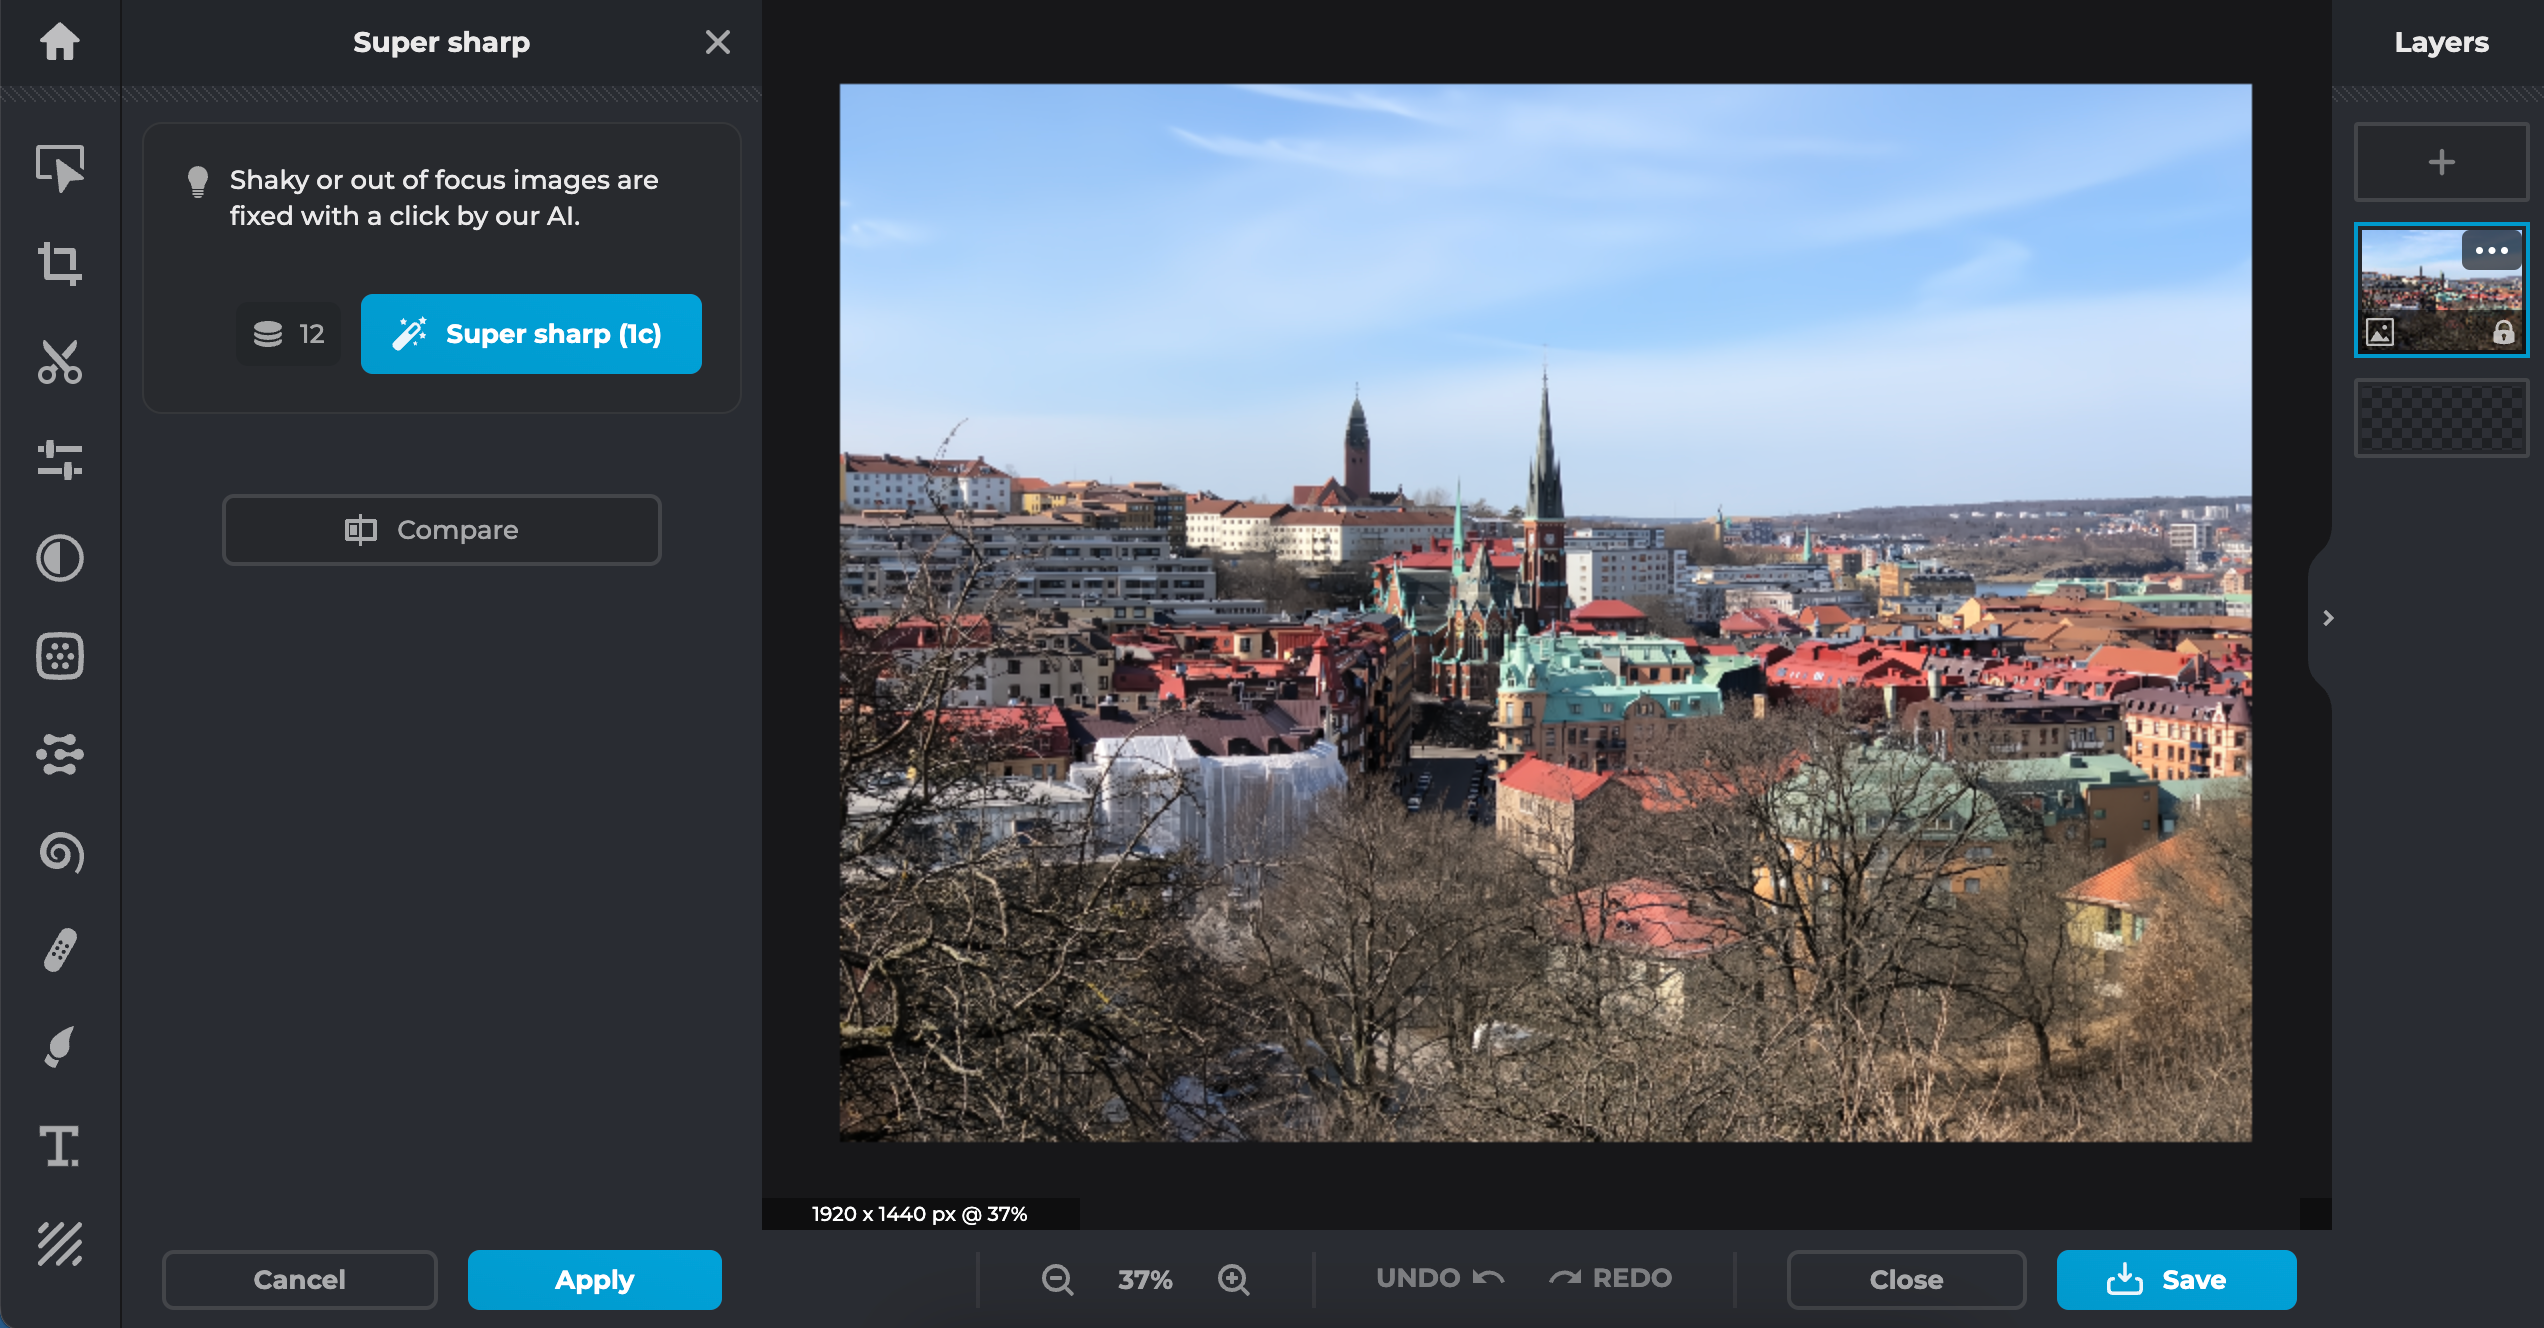
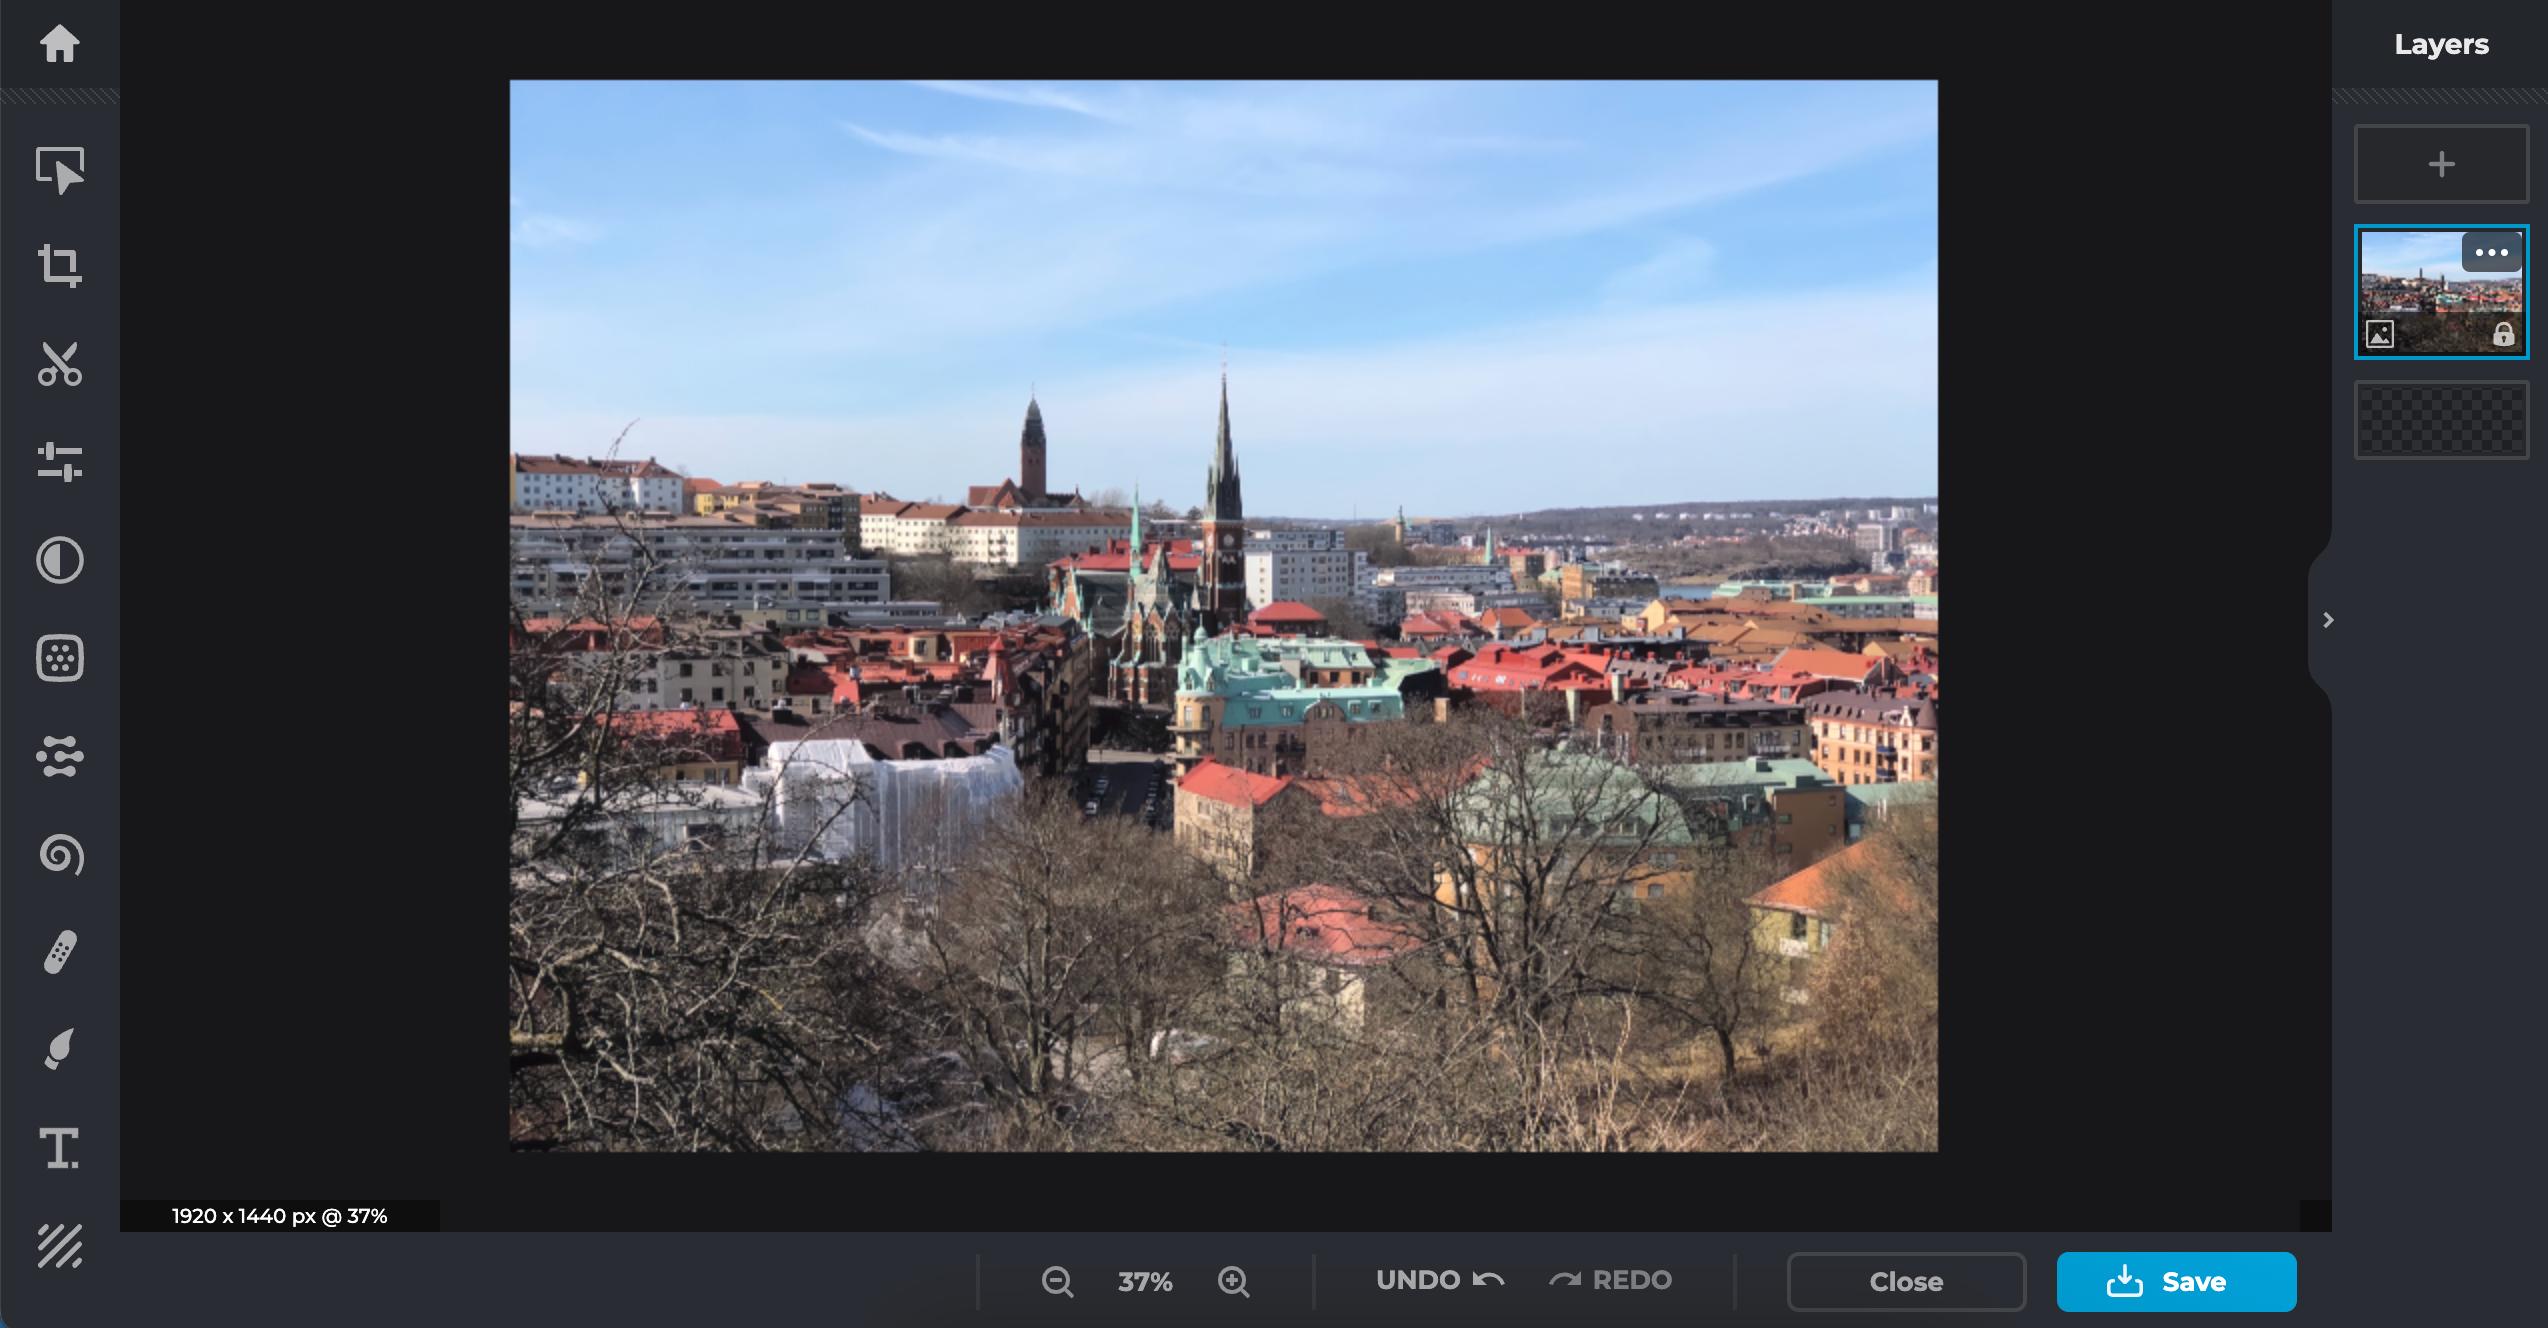
I tried three: Super Sharp, Noise Removal, and Generative Fill.
Here’s how each of them worked.
Noise Removal
You canremove noise from your pictures with Photoshopand several other tools.
If you don’t know how to manually do this, consider starting with Pixlr’s Noise Removal feature.
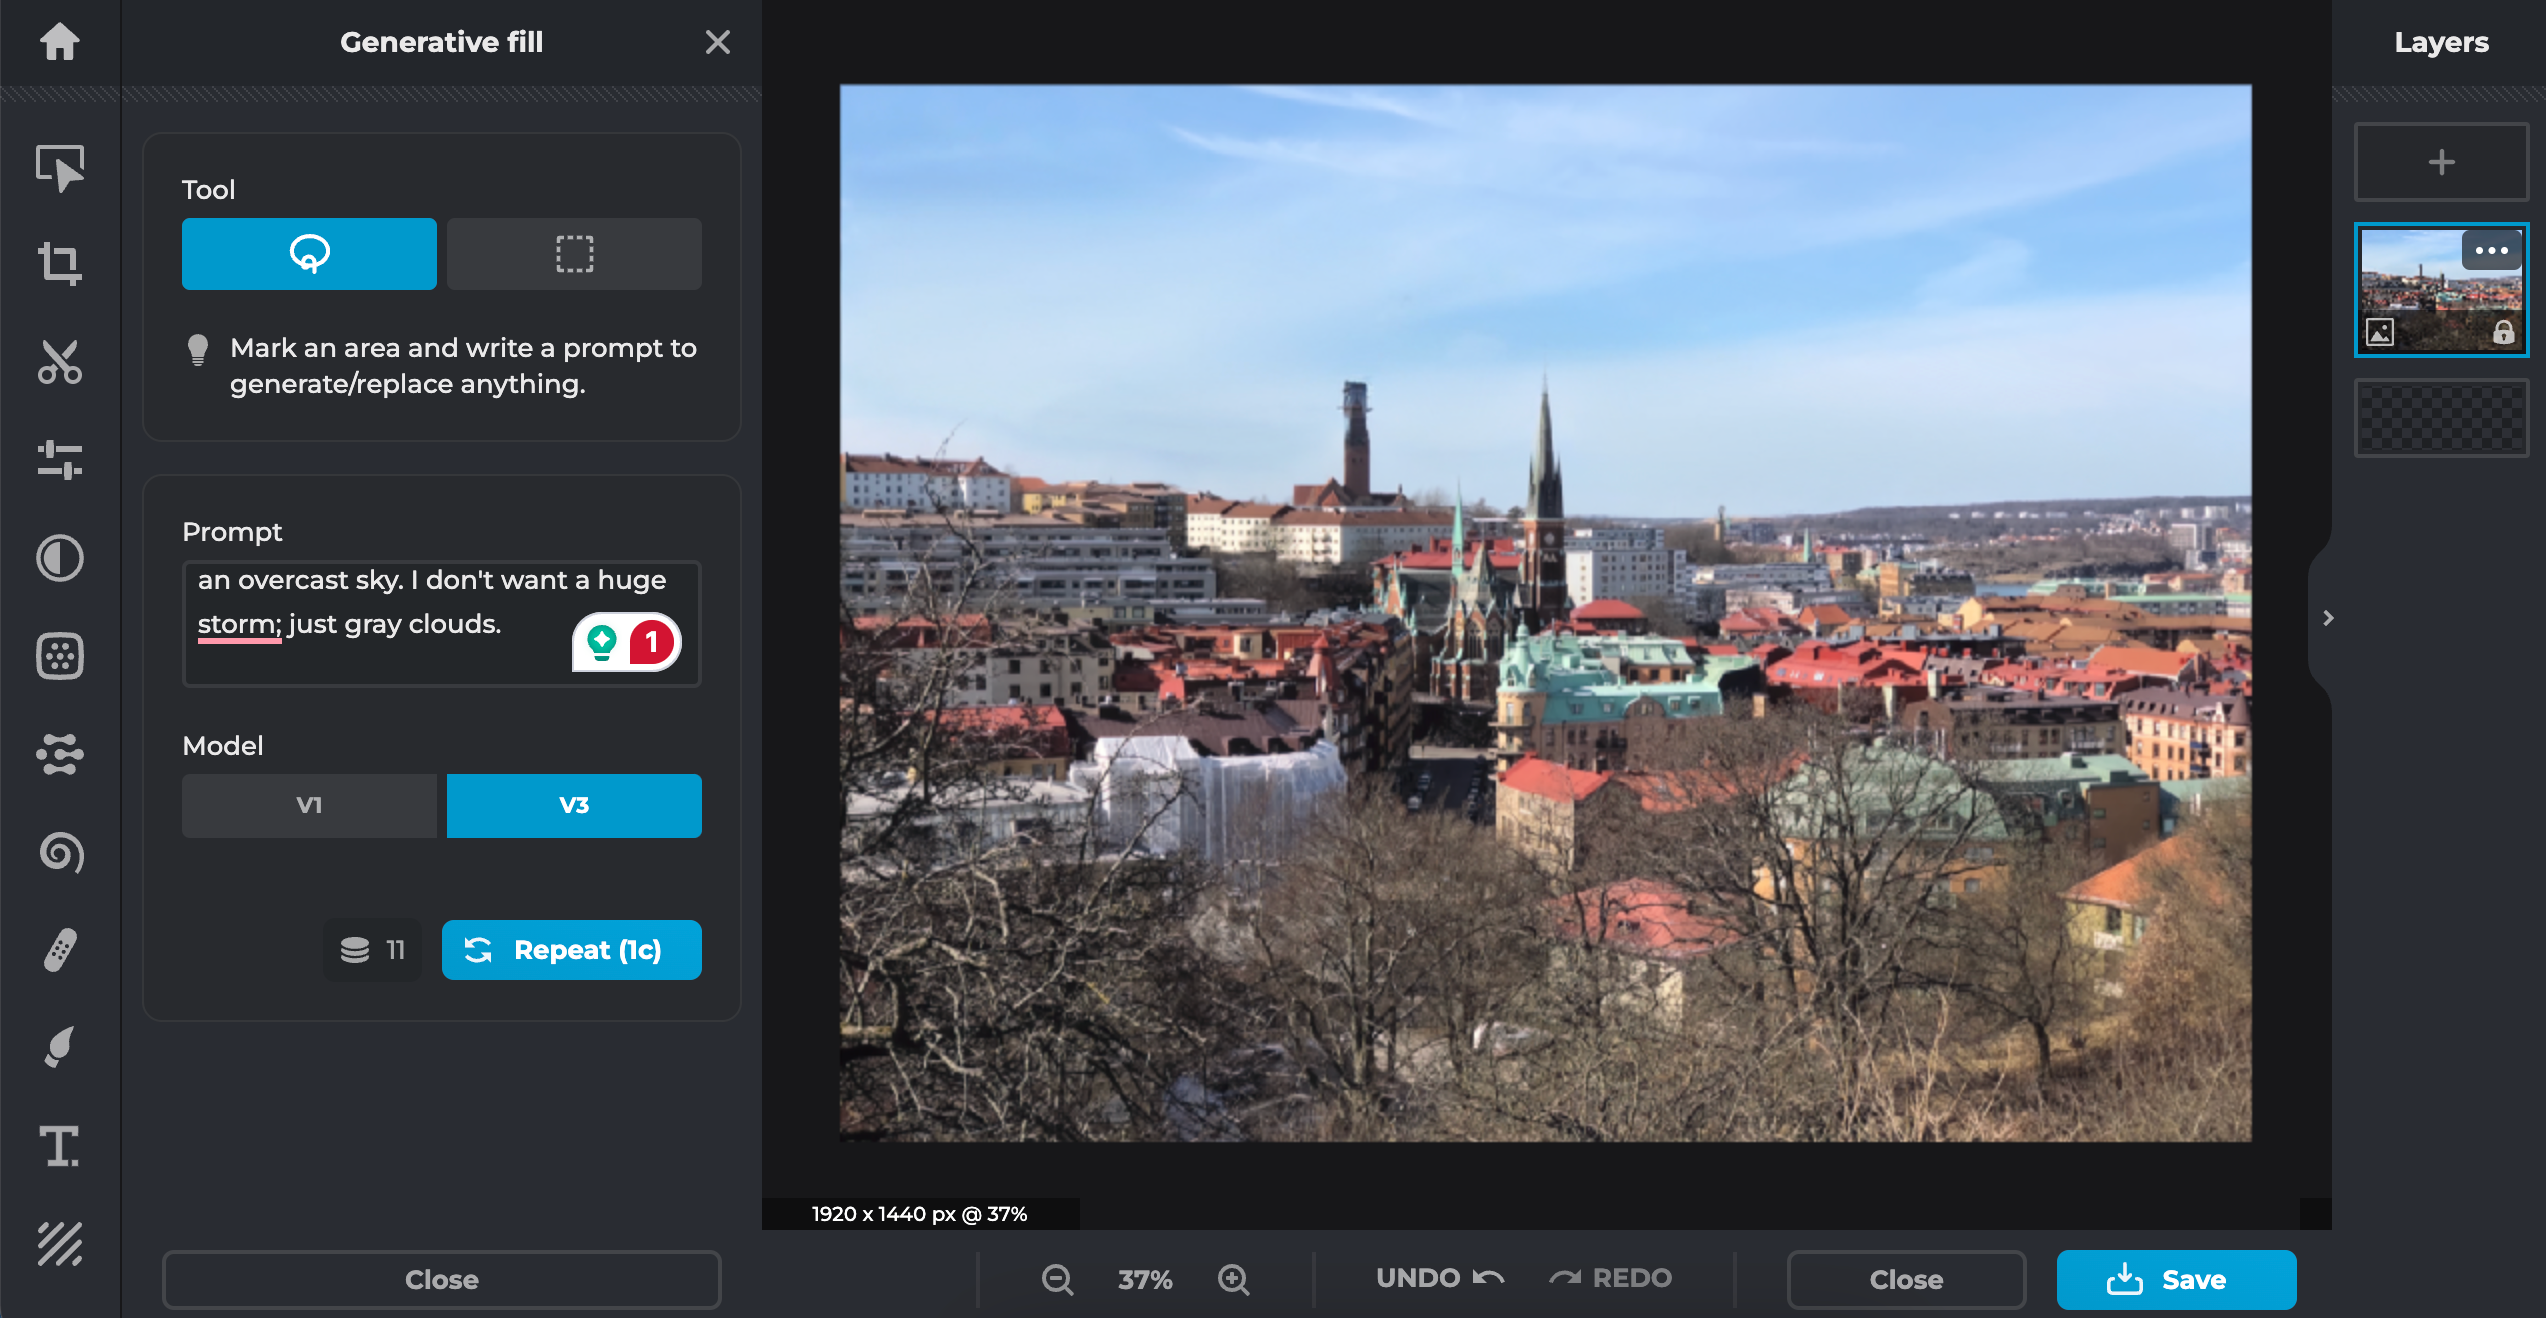
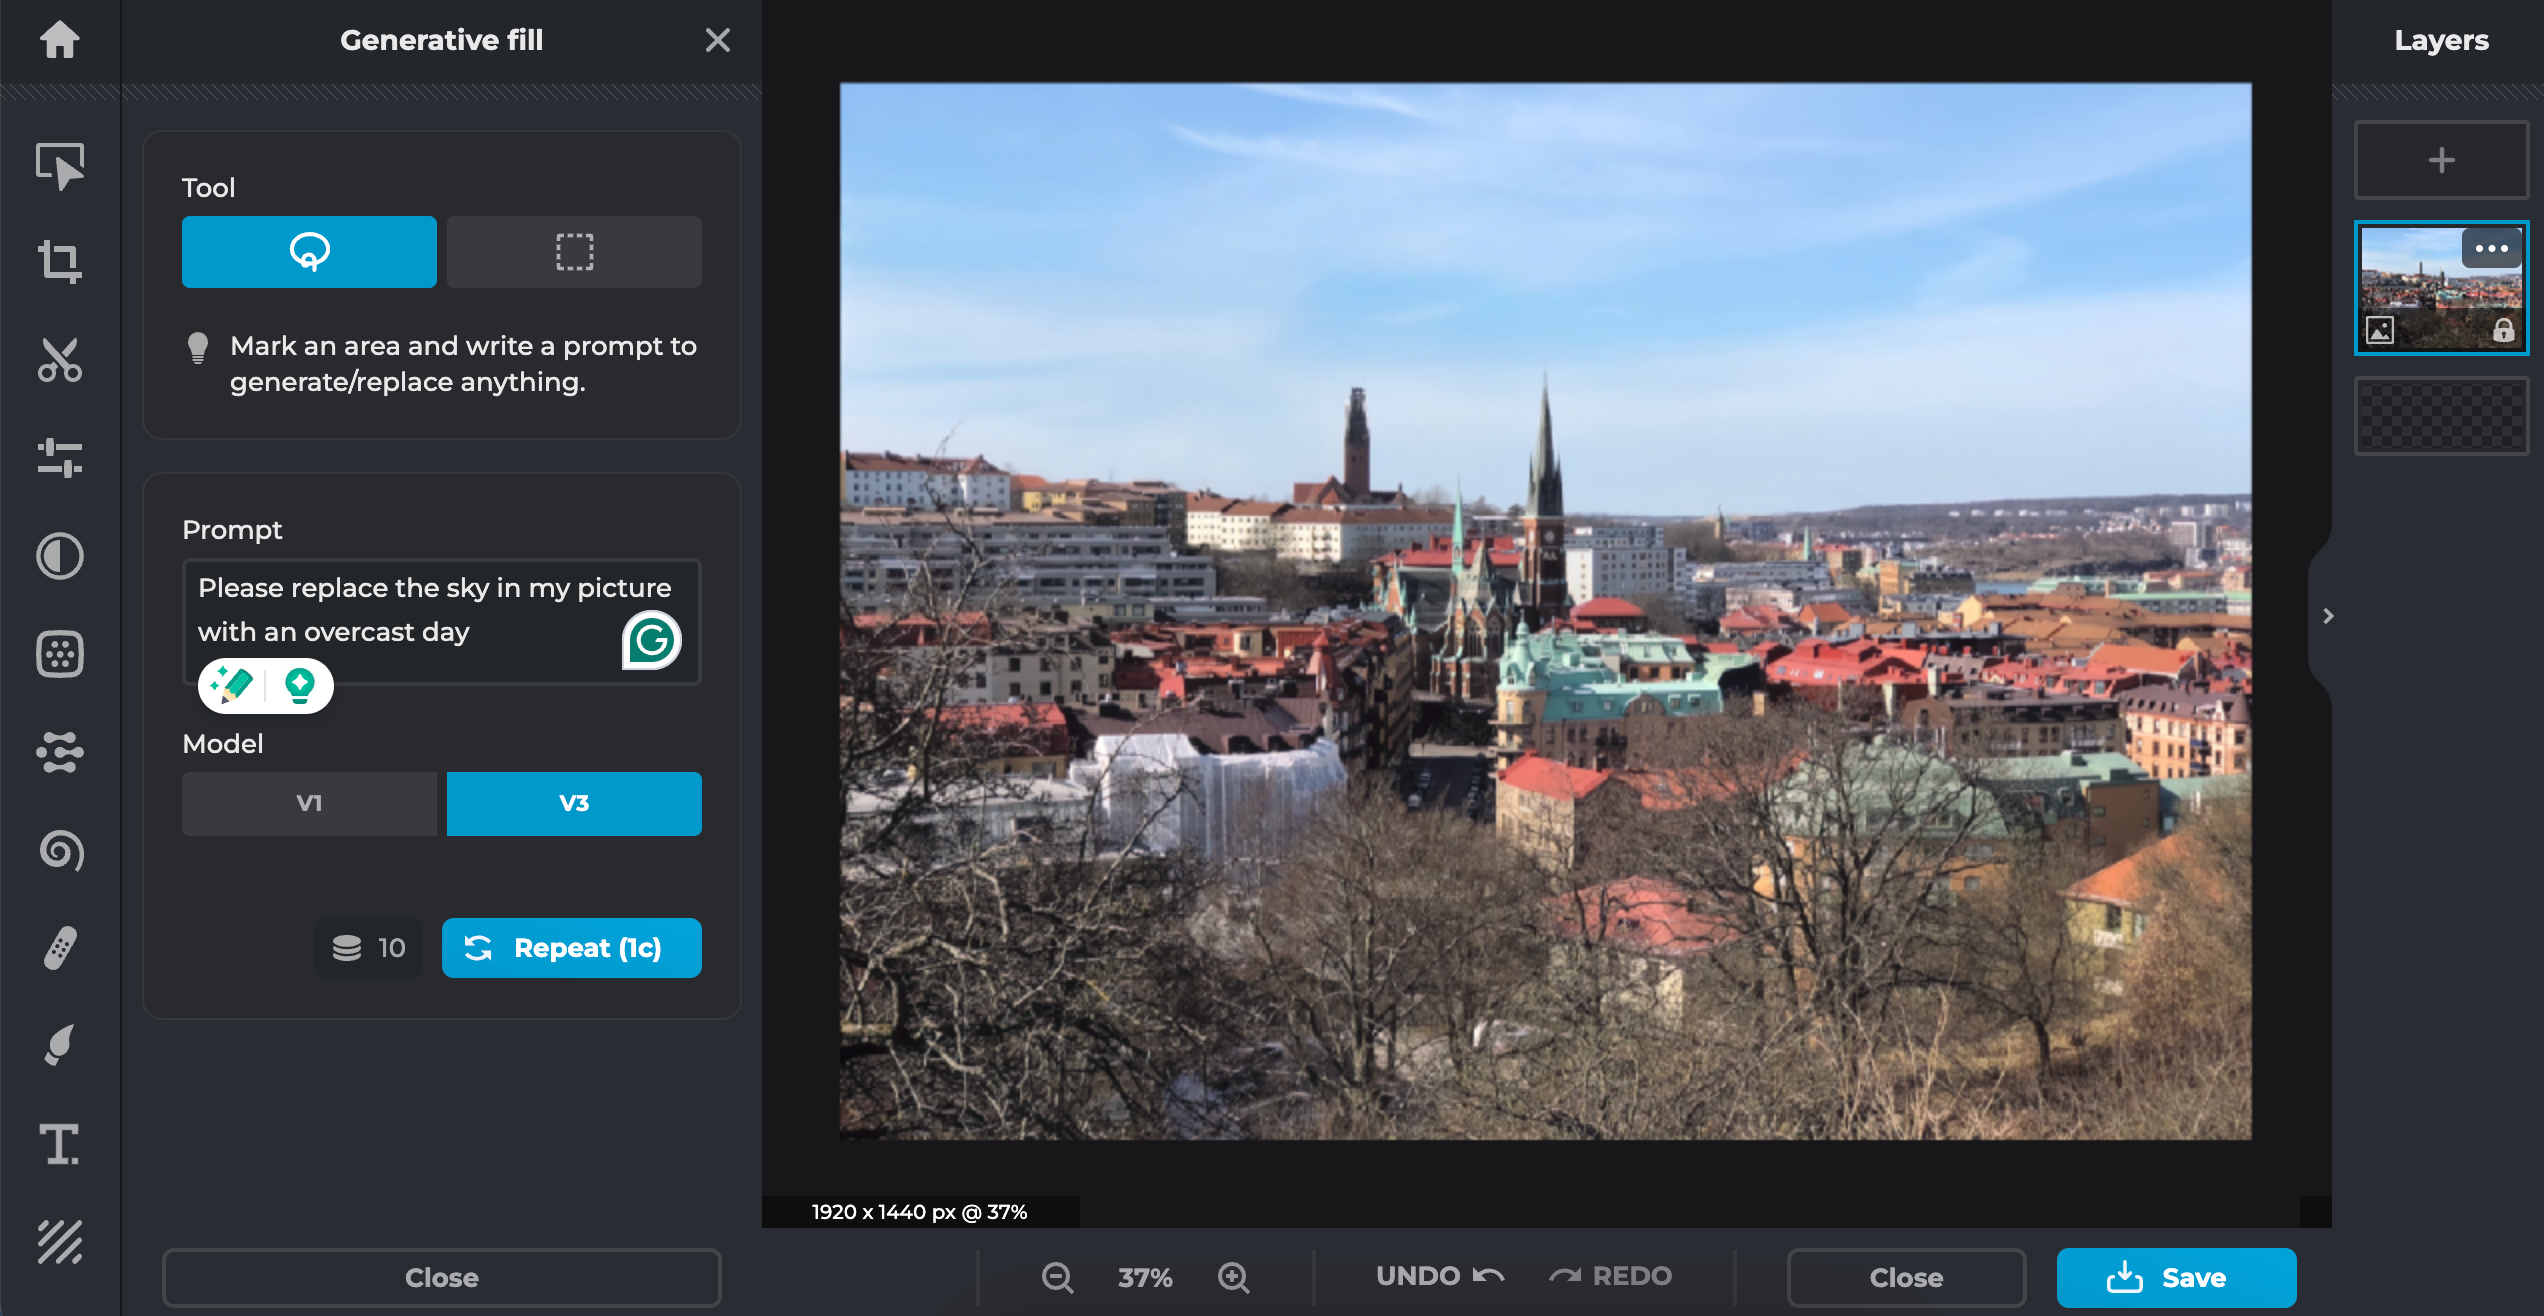
I don’t want a huge storm; just gray clouds.

That didn’t quite work as planned… Adobe Express has a much better generative fill tool, so I’d recommend using that.
I also gave the otherFirefly AI features in Adobe Expressa spin if you’re interested in using the app.
Unlike the other apps we’ve discussed so far, you have to download an app for Luminar Neo.
After doing that, I tried out AI Enhance, GenExpand, and Relight.
AI Enhance
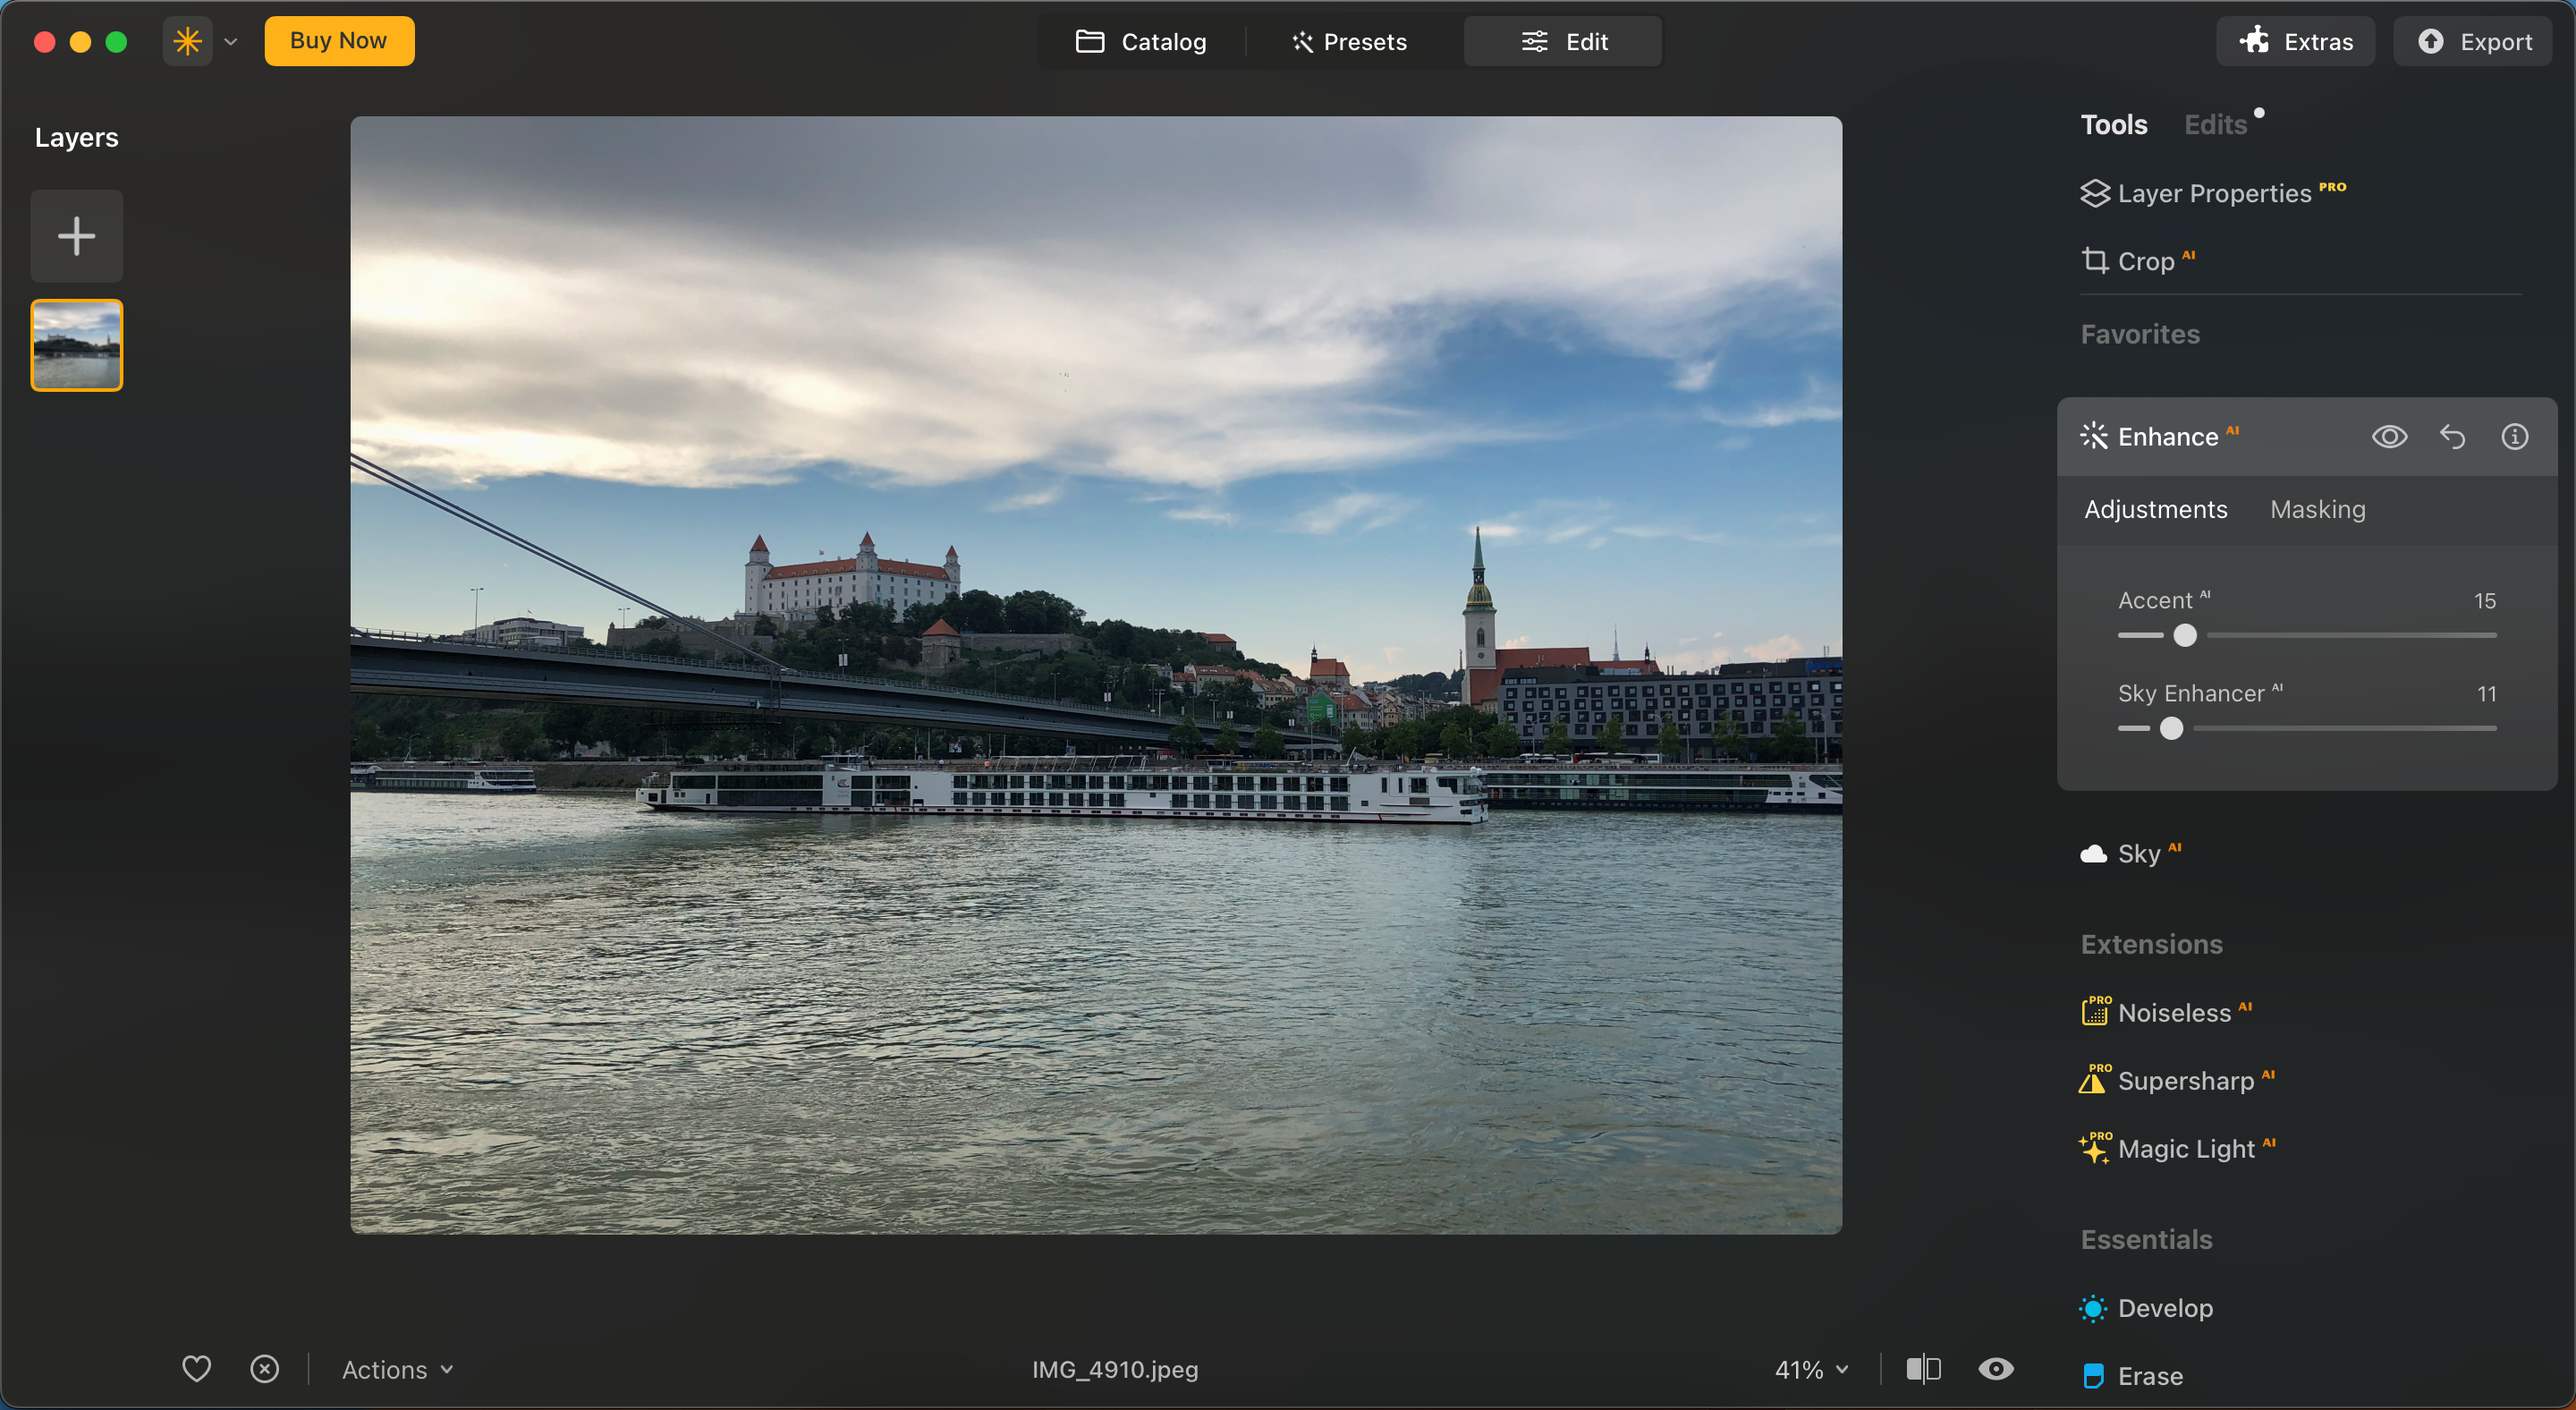
First, I tried the AI Enhance feature in Luminar Neo.
Here’s the original image:
Luminar Neo lets you choose how strong you want the enhancements to be.
it’s possible for you to also determine how much you want to change the sky.
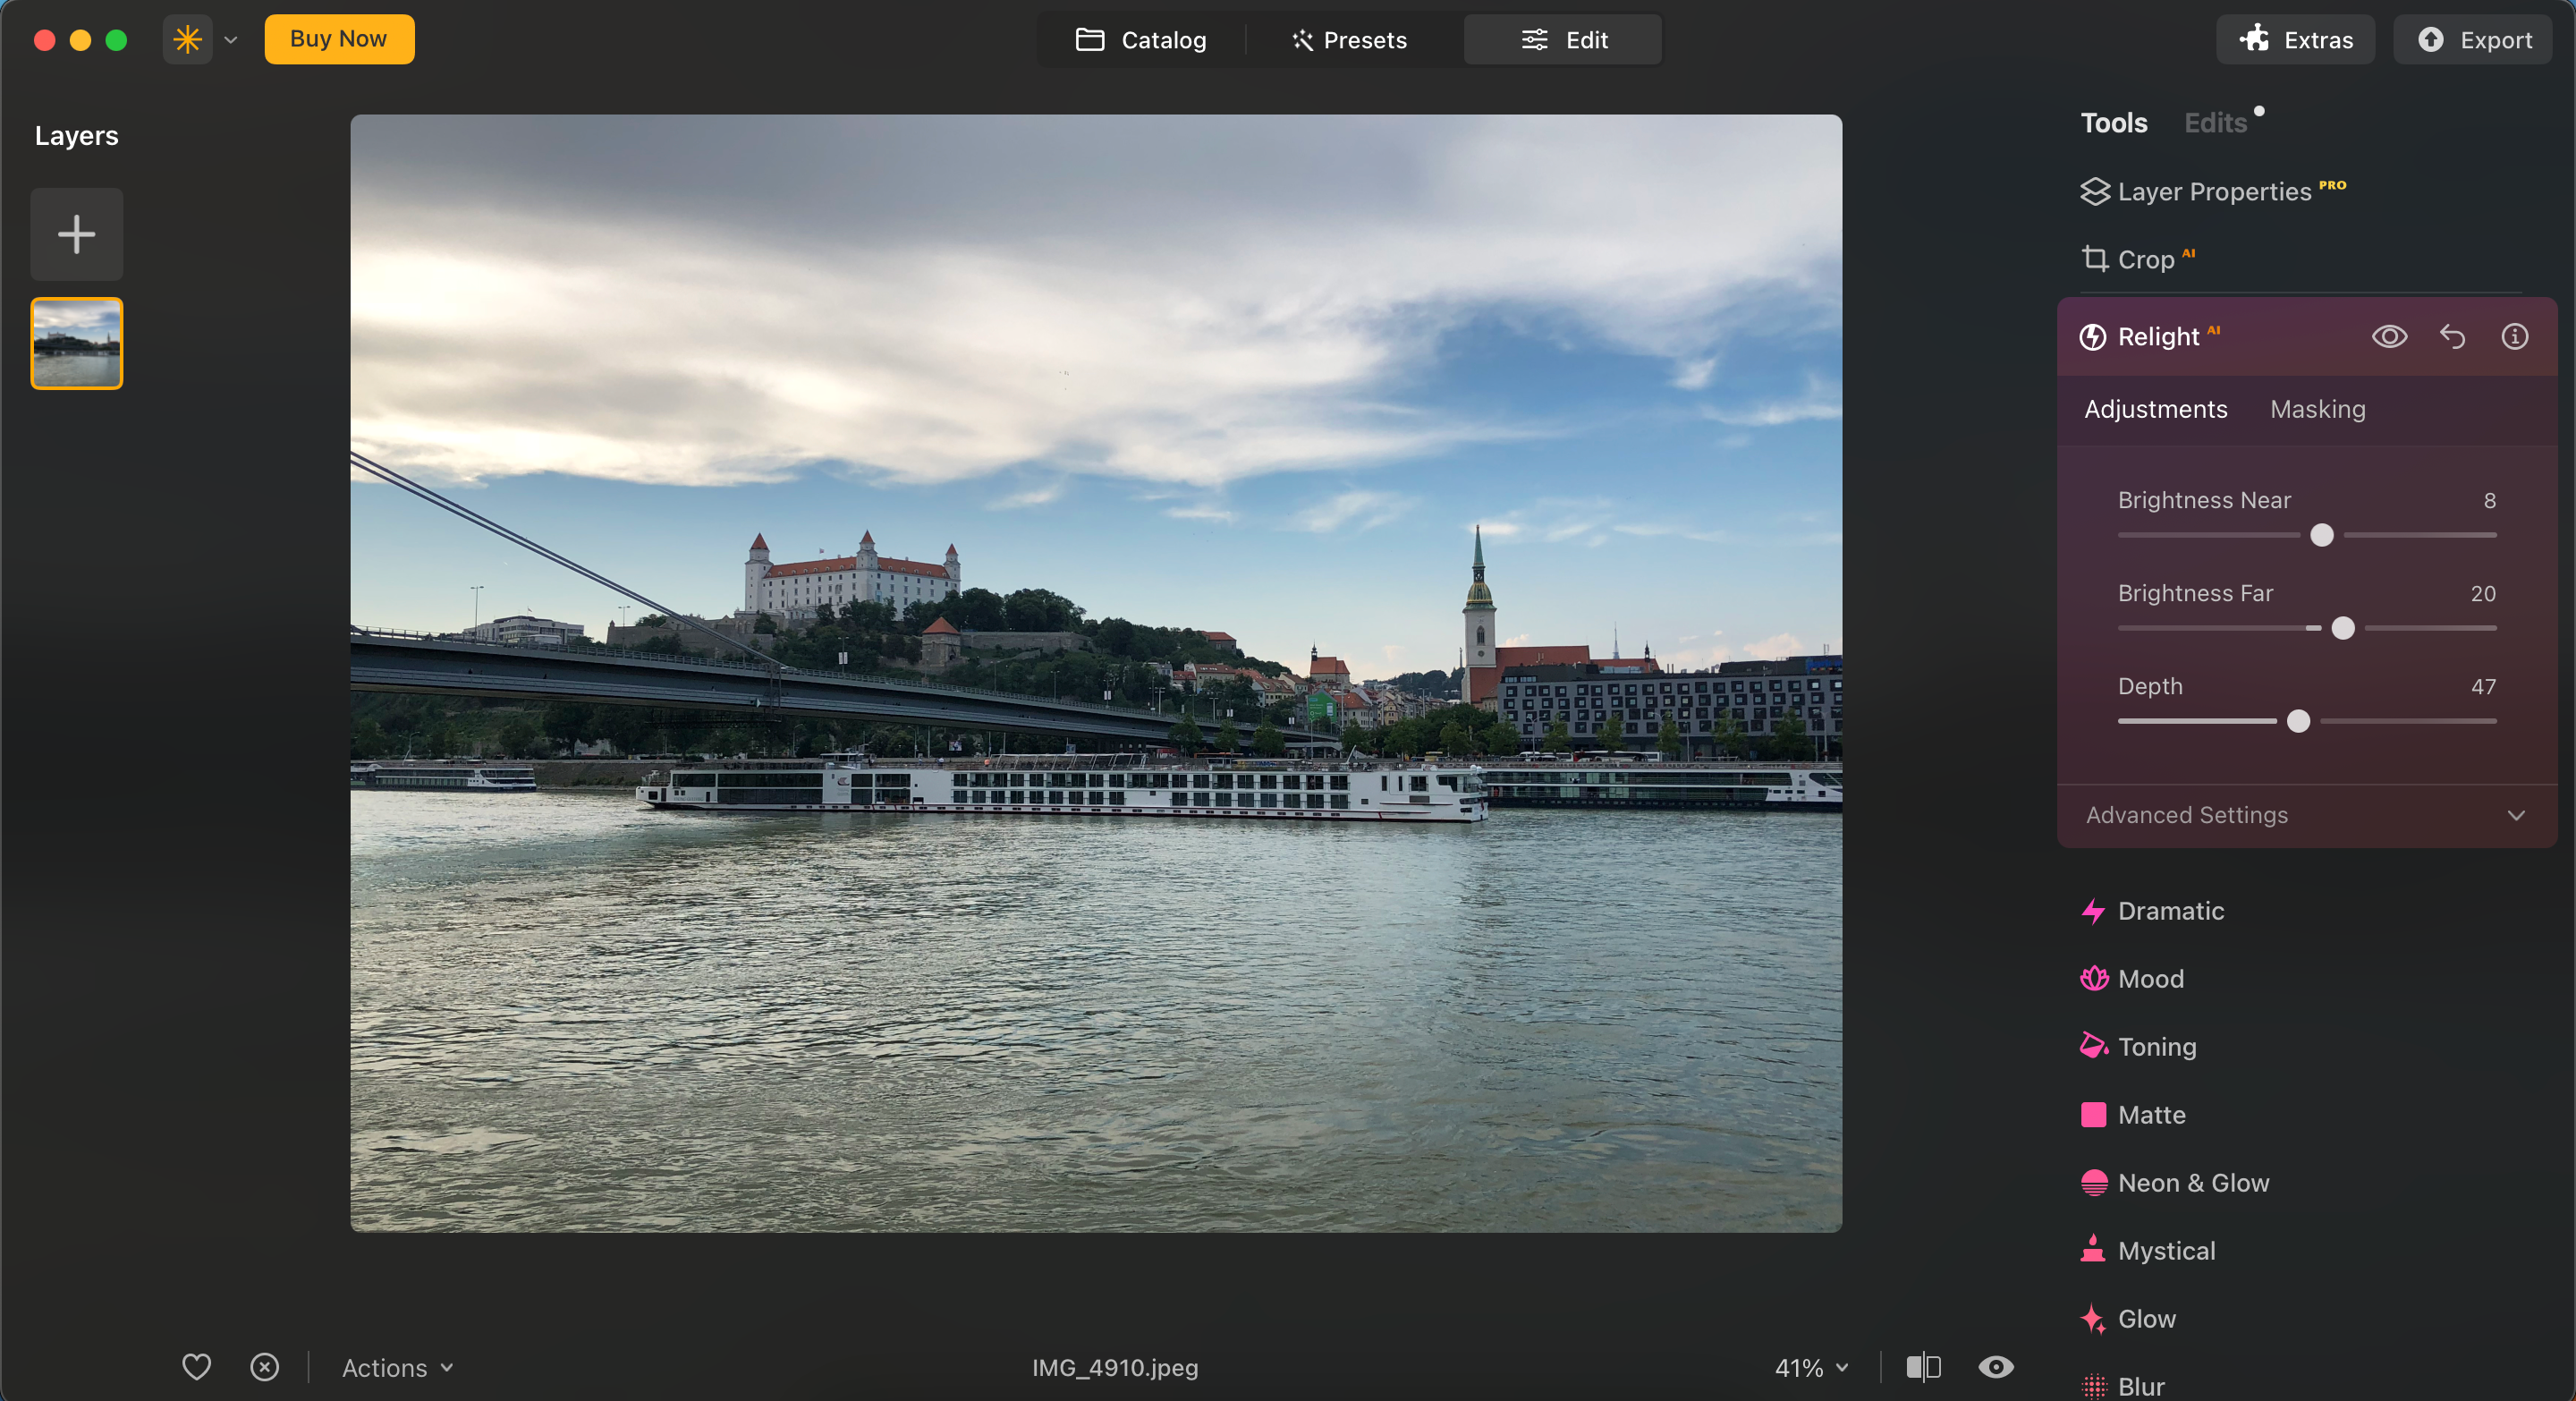
This time, I felt like I had more control.
I made a few slight changes to this picture, focusing mainly on Brightness Far.
Nonetheless, it’s a helpful feature.
Most of the changes to my image involved brightening.
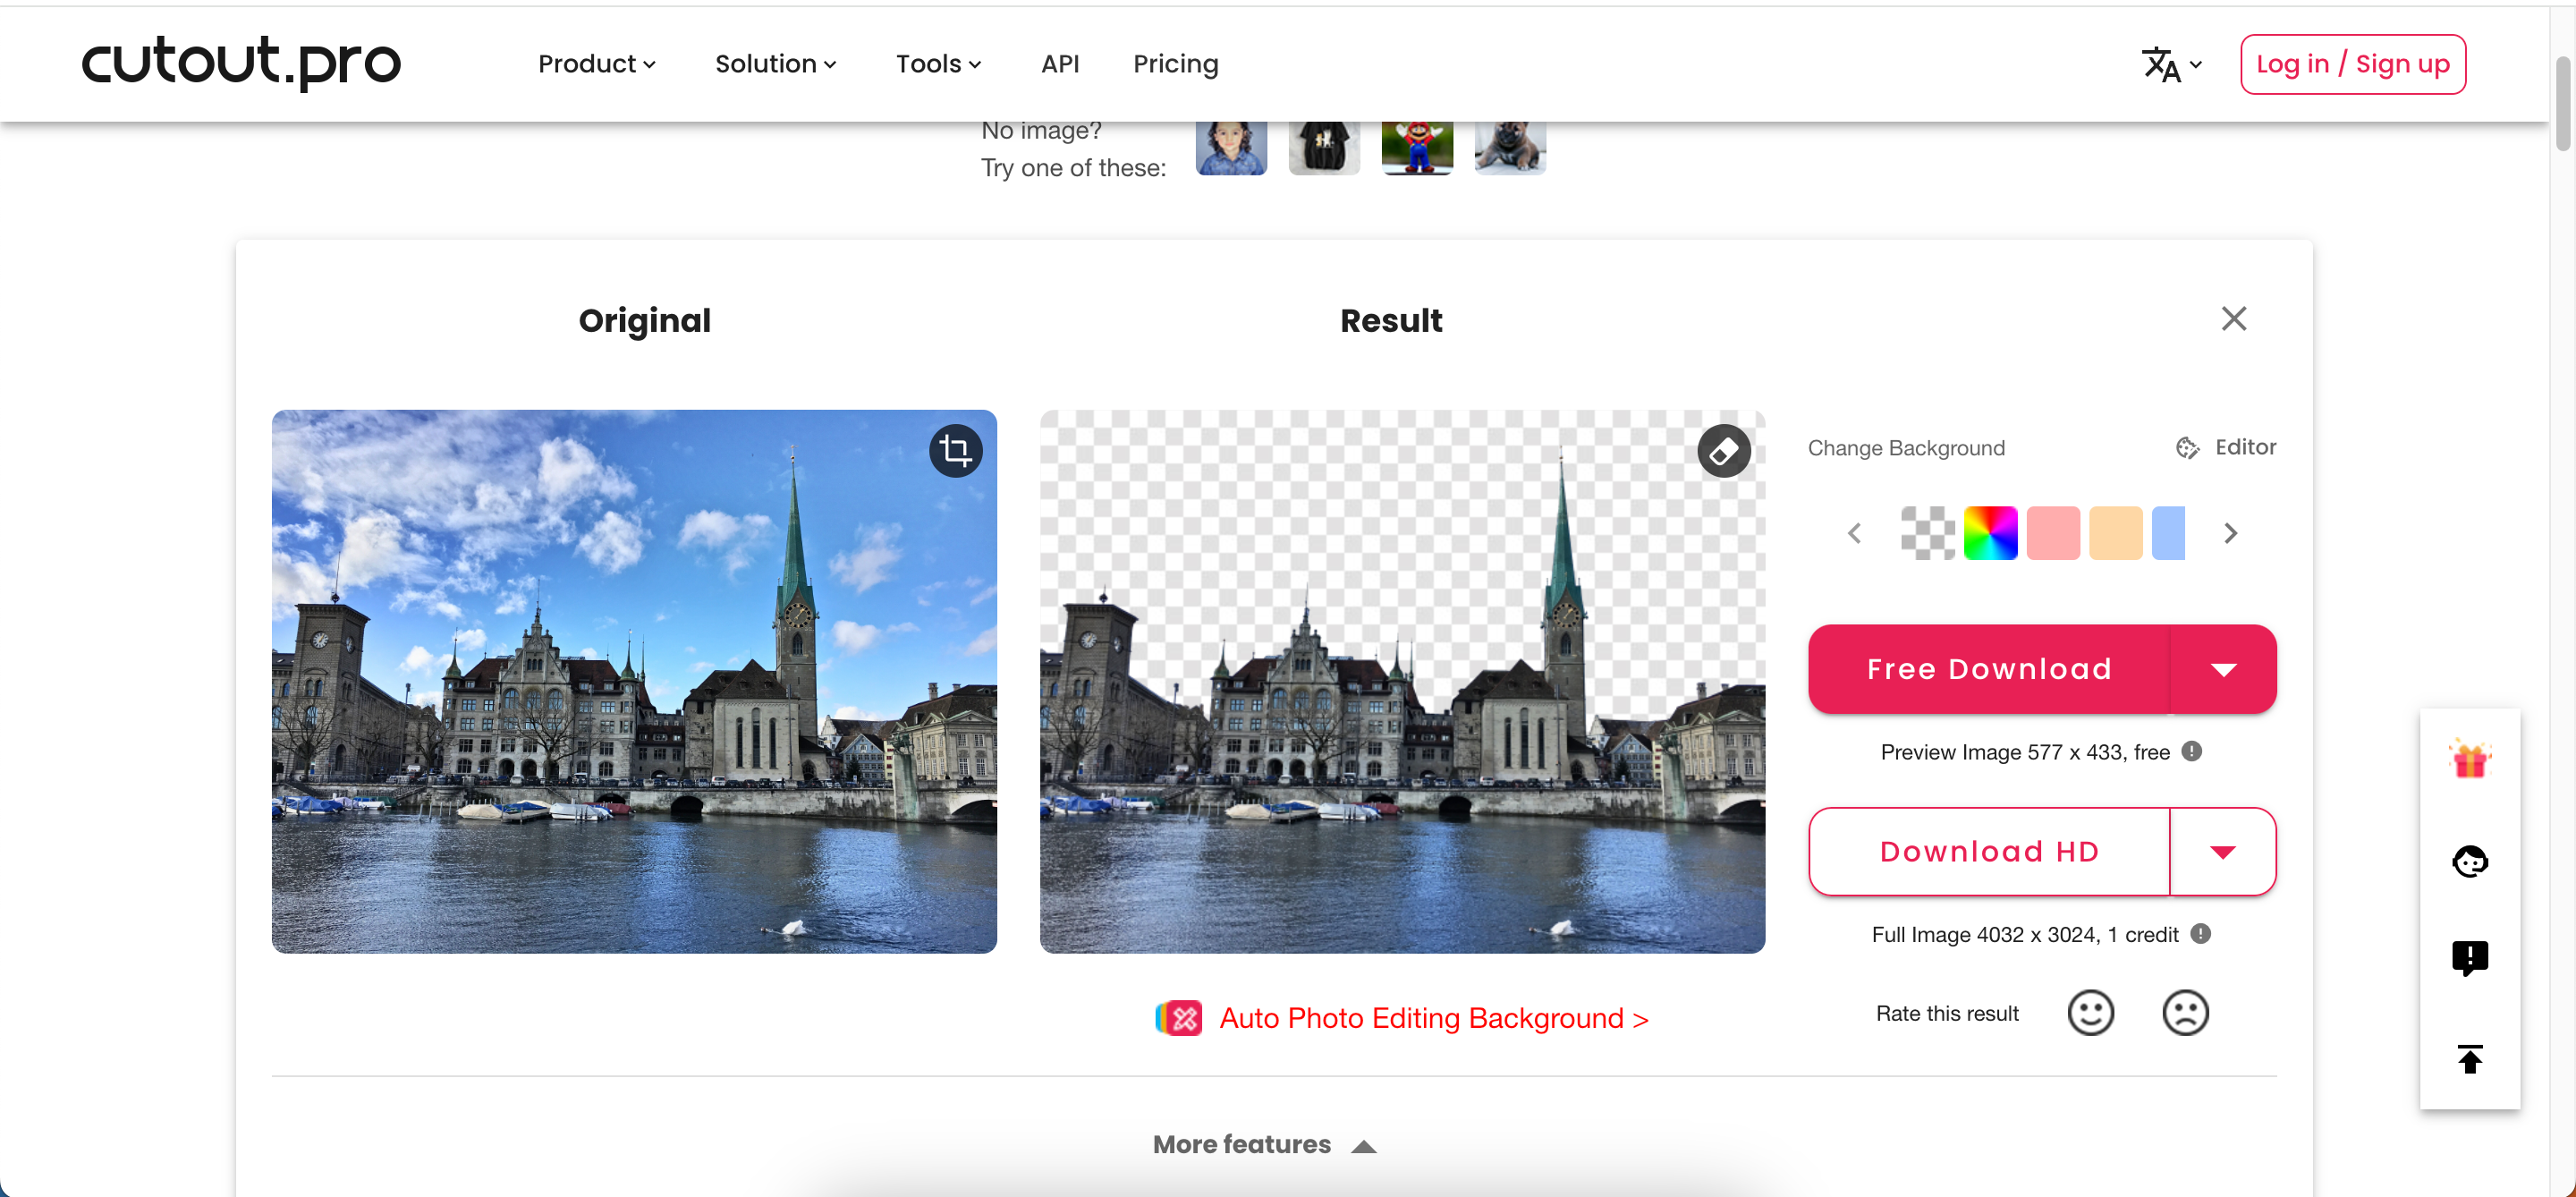
it’s possible for you to download your picture in JPEG and PNG.
I was pretty satisfied with the result, so I would definitely recommend CutOut Pro for background removal purposes.
Many are free, and even the paid versions often have free trials.
Give each of these tools a try and see what it’s possible for you to come up with.