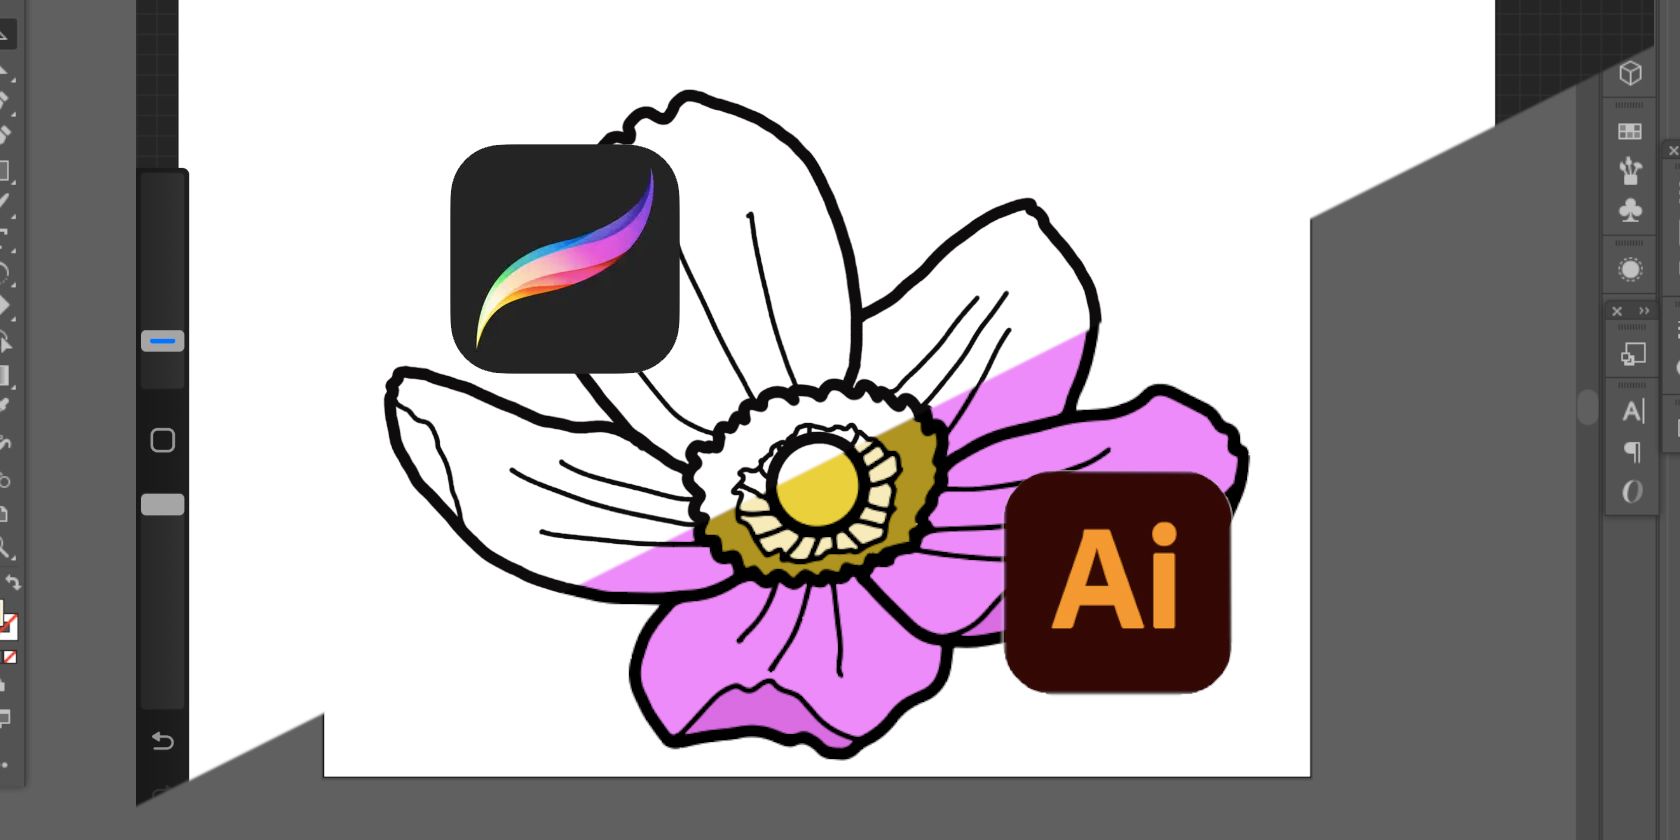
Here, we’ll show you how to vectorize and colorize your Procreate work using Illustrator.
Can You Create Vectors in Procreate?
The short answer is no, you cannot natively create vectors in Procreate.
It is a raster-based program that uses pixels rather than mathematical equations like vector graphics.
You might already knowthe differences between raster and vector images, so youll understand why Procreate cant create vectors.
While Procreate itself doesnt offer vector brushes, Adobe Fresco is a tablet software that does.
See our comparison ofraster vs. pixel vs. live brushes in Adobe Frescoto see its different brush options.
You’ll also need to get anAdobe Illustratorsubscription, which varies in price depending on the package.
The brush shouldn’t have opacity or texture as those pixels will be difficult to vectorize later.
The Monoline brush is a great option for clean and simple line work.
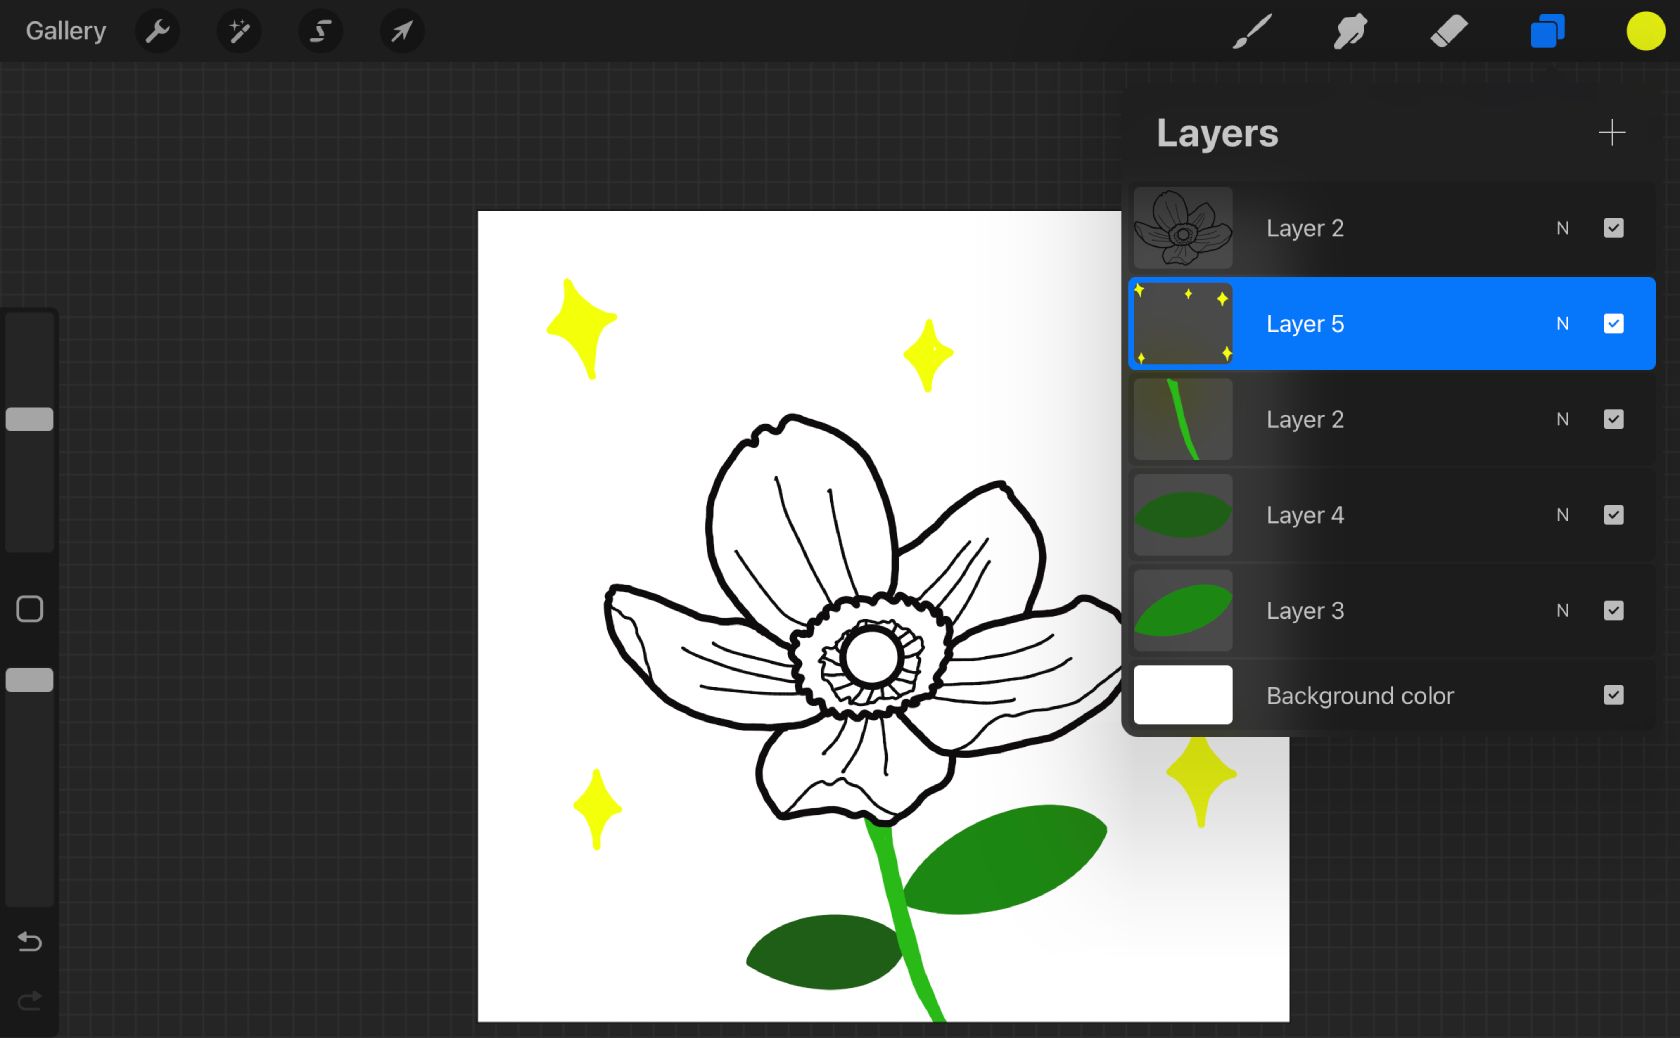
Drawing in black will be easier when transferring to Adobe Illustrator to vectorize.
Keep the black line work on a separate layer from all color layers.
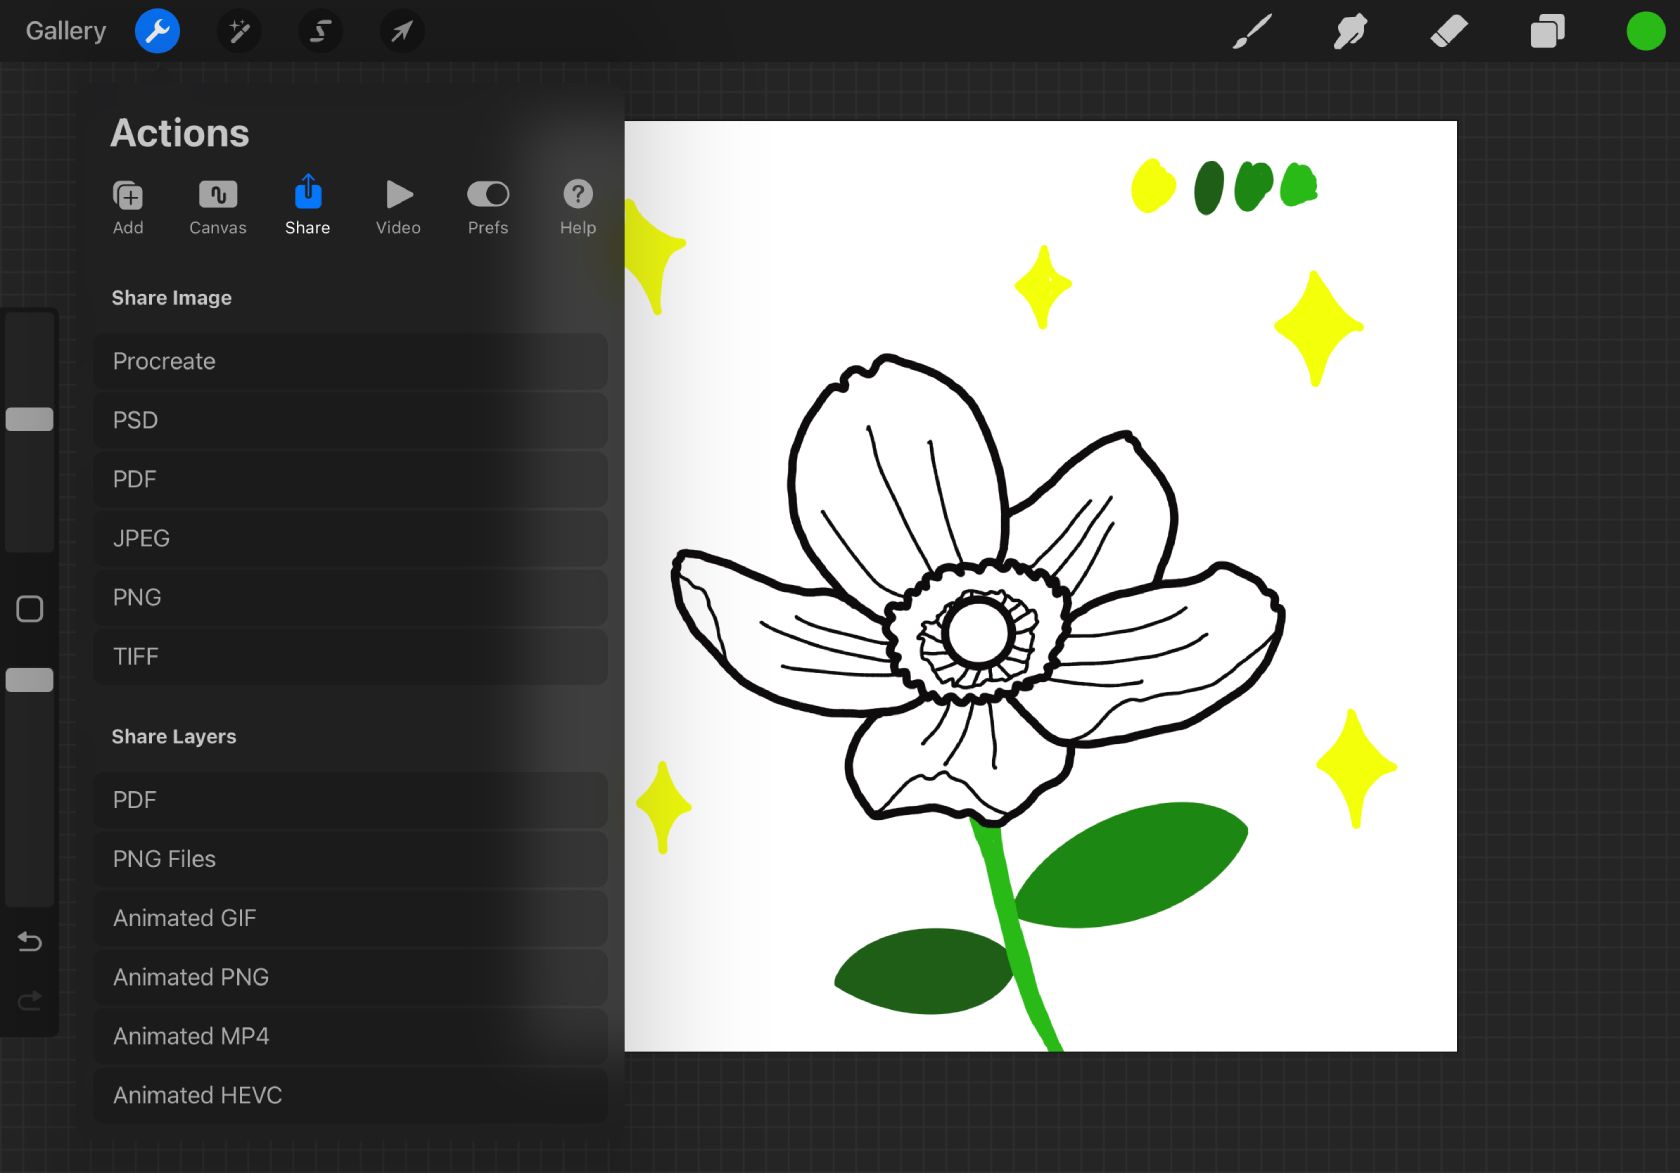
There aremany uses for PNG files.
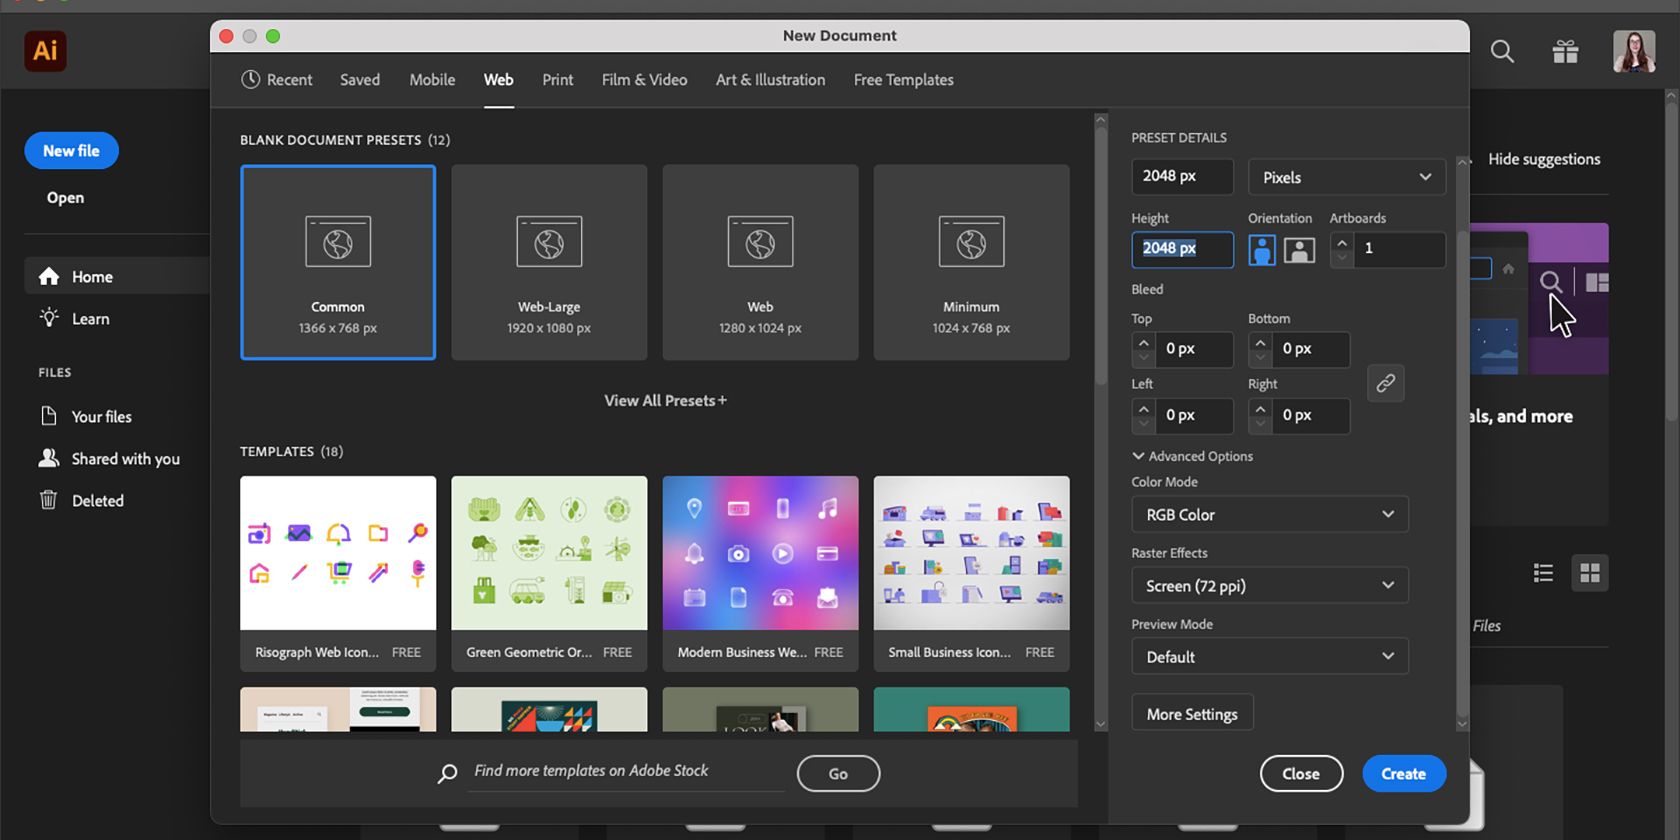
Open a new file in Adobe Illustrator.
Choose your color spacekeeping in mind thedifferent use cases for CMYK and RGB colorsand selectCreate.
Locate your file or files on your system and drag them onto your new Illustrator document.
This ensures all files open on the same artboard and not separately in Illustrator.
If the images become over-pixelated, the tracing will follow the pixelation rather than the original line work.

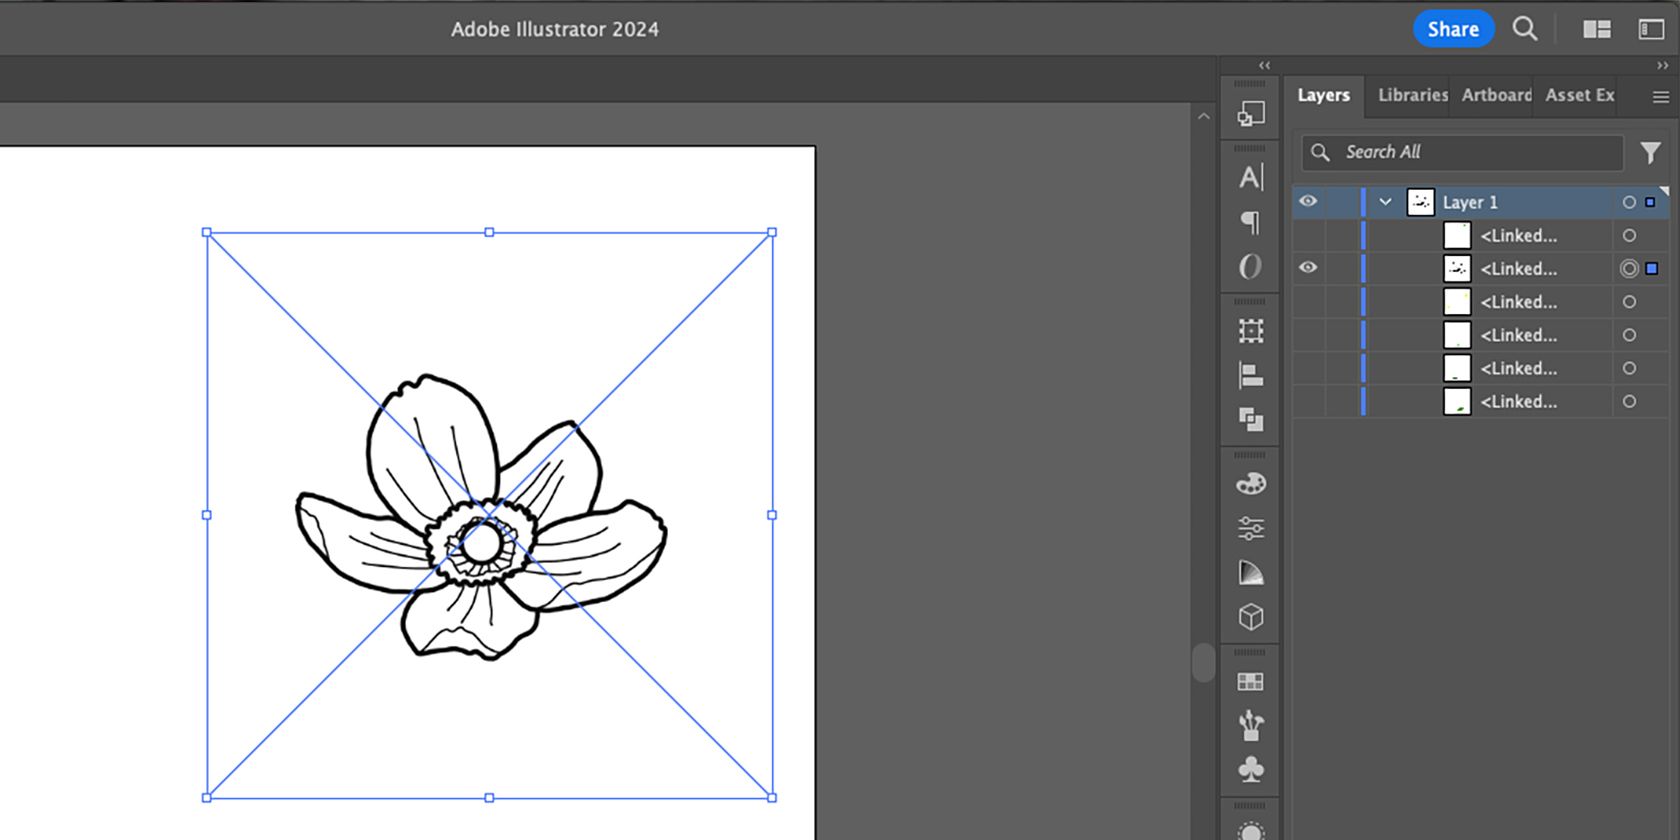
Theyre currently hidden above and below one another, perfectly aligned.
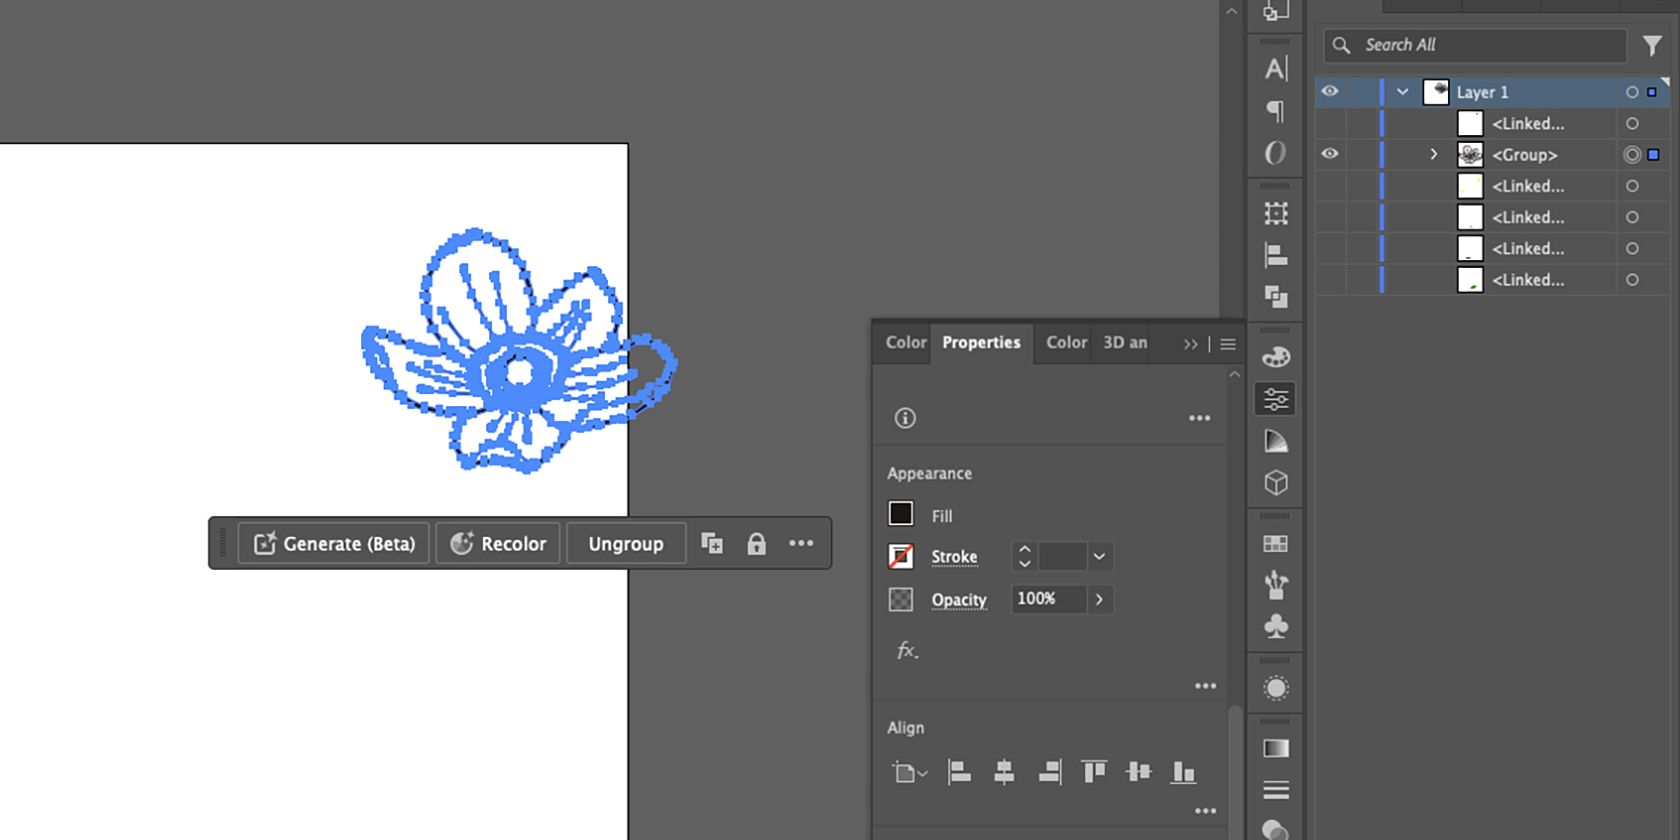
With theSelectiontool (V), select your current image.
Then you might use the Image Trace function to vectorize this layer.

SelectImage Tracefrom the pop-up when your image is selected.
Then, for more detail, open Image Trace from the Properties panel by selectingWindow>Image Trace.
Move theColorslider down to2for better accuracy.
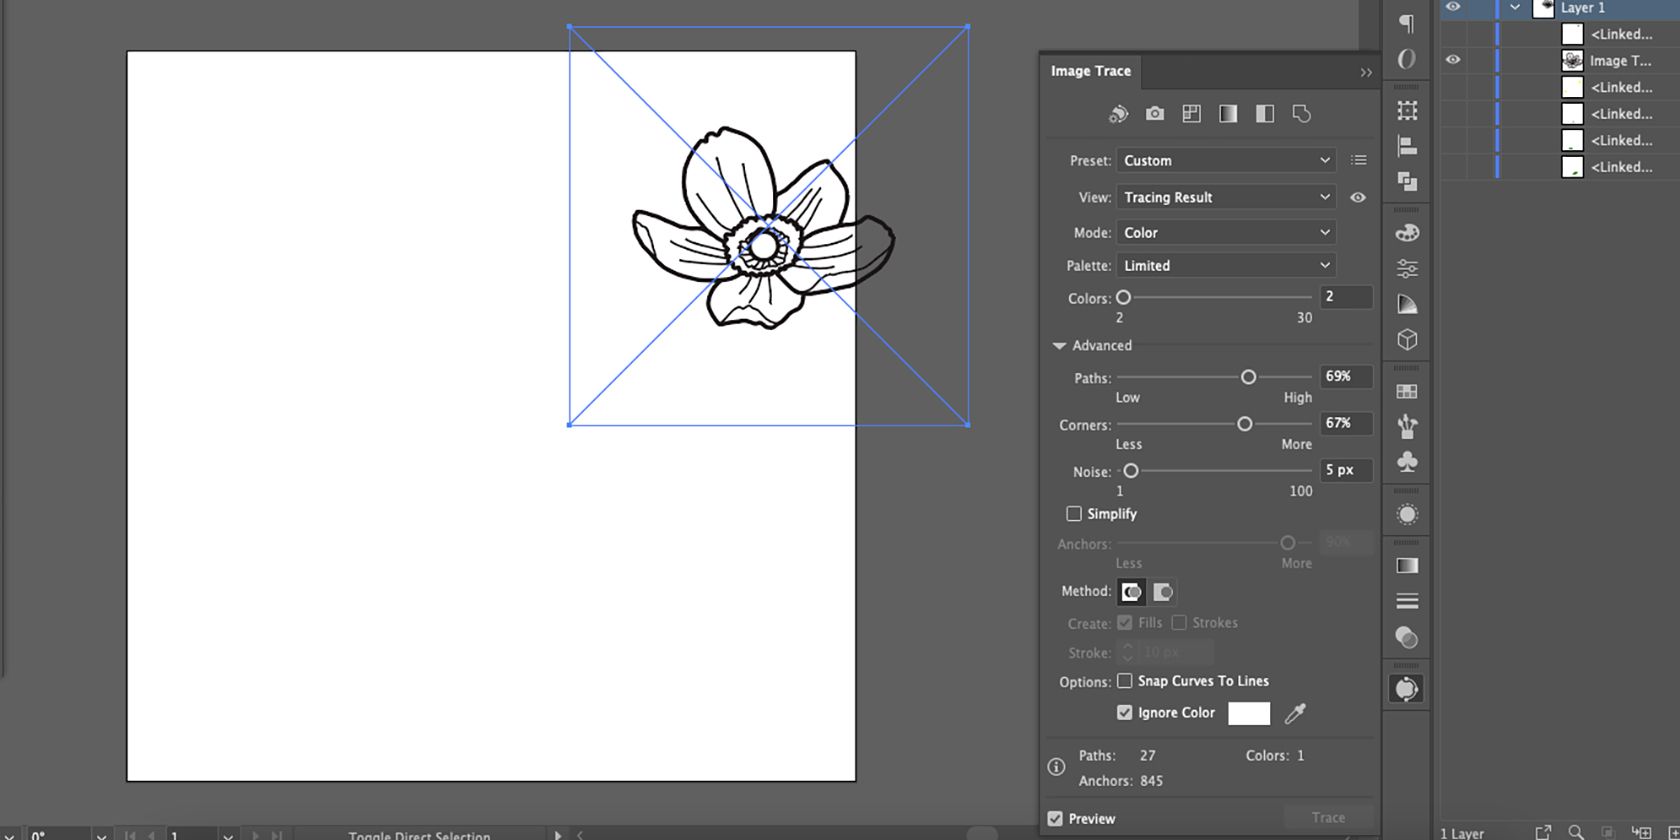
Tick theIgnore Colorbox to ignore the white background color, turning it transparent in your vector result.
Open theAdvancedsettings in Image Trace and experiment with thePaths,Corners, andNoisesliders for more refined artwork.
Apply Image Trace to all of your layers in the same way.
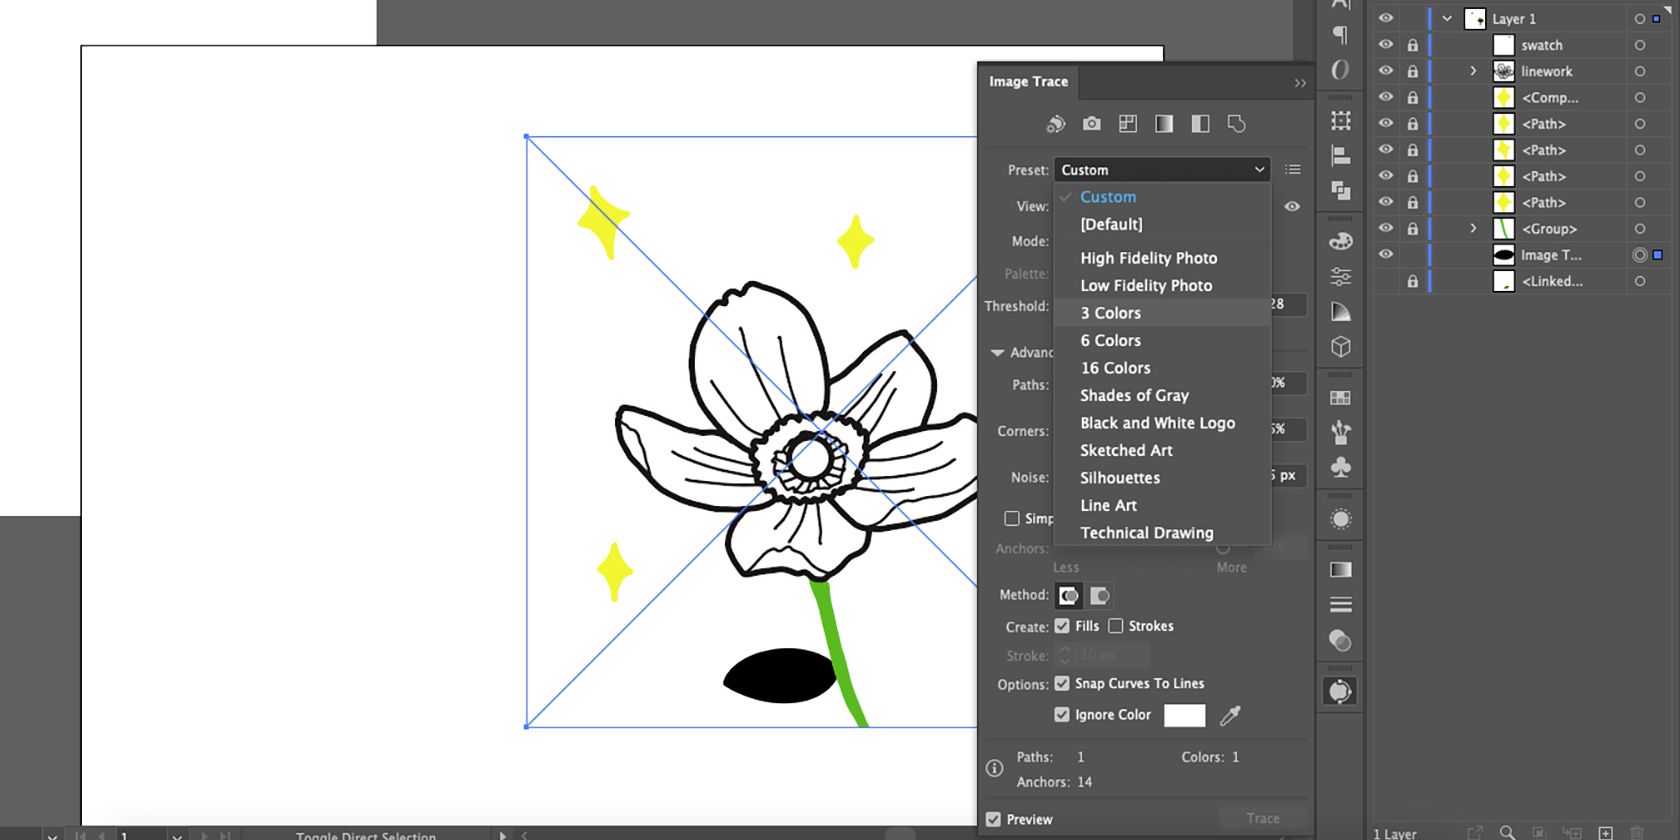
Color layers will default to being traced black until you choose the3 Colorspreset.
Expanding your traced image will remove the larger selection area from the line art.
snag the traced art and go toProperties>Quick Actions>Expand.
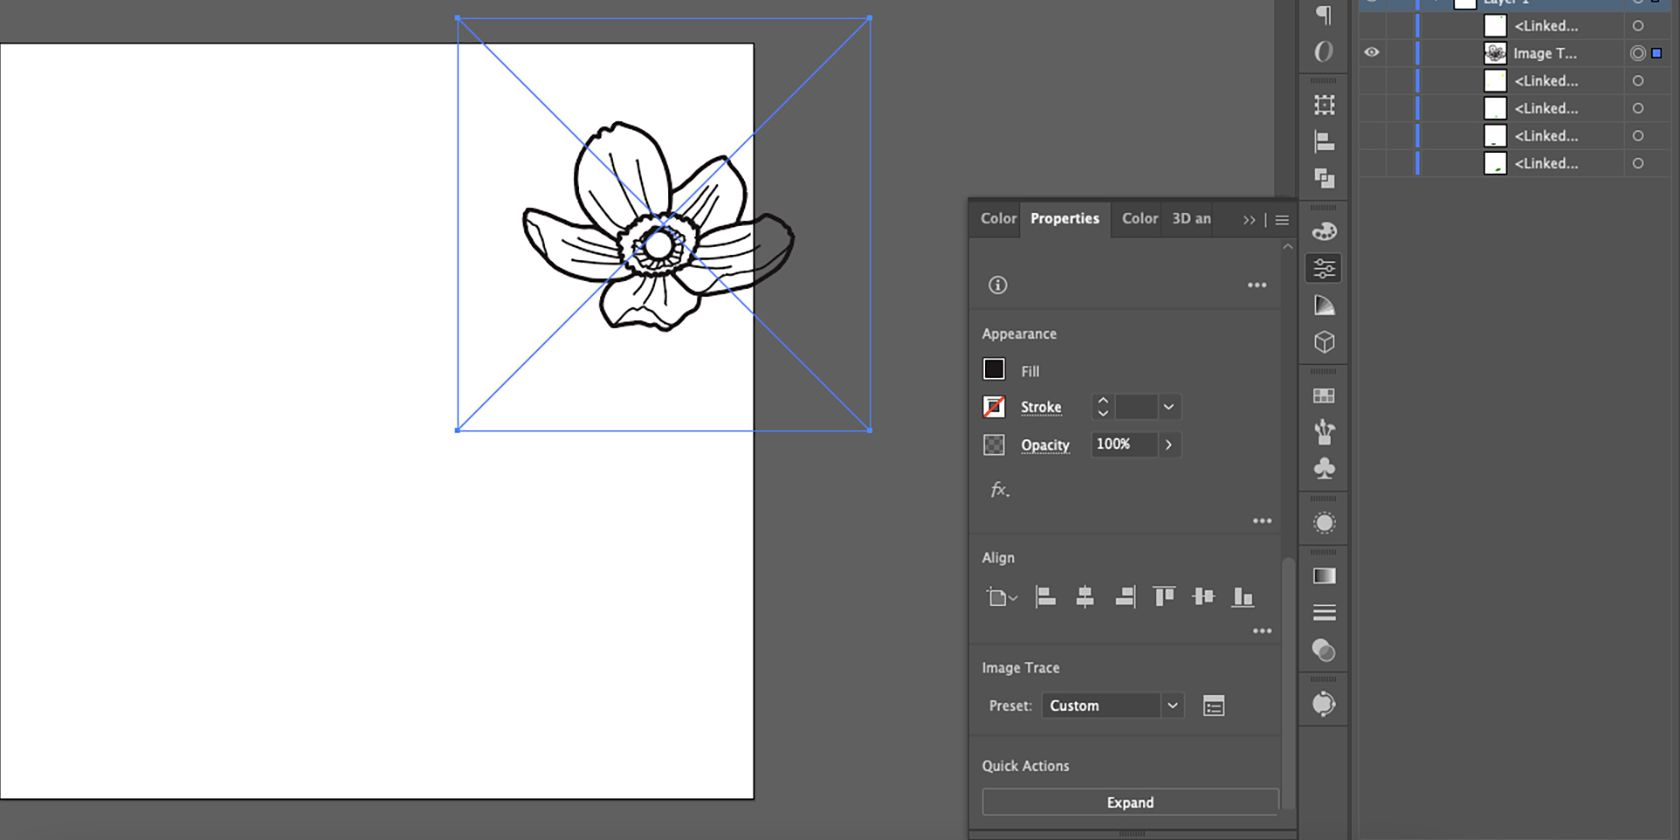
This leaves you with vectorized art with a transparent background.
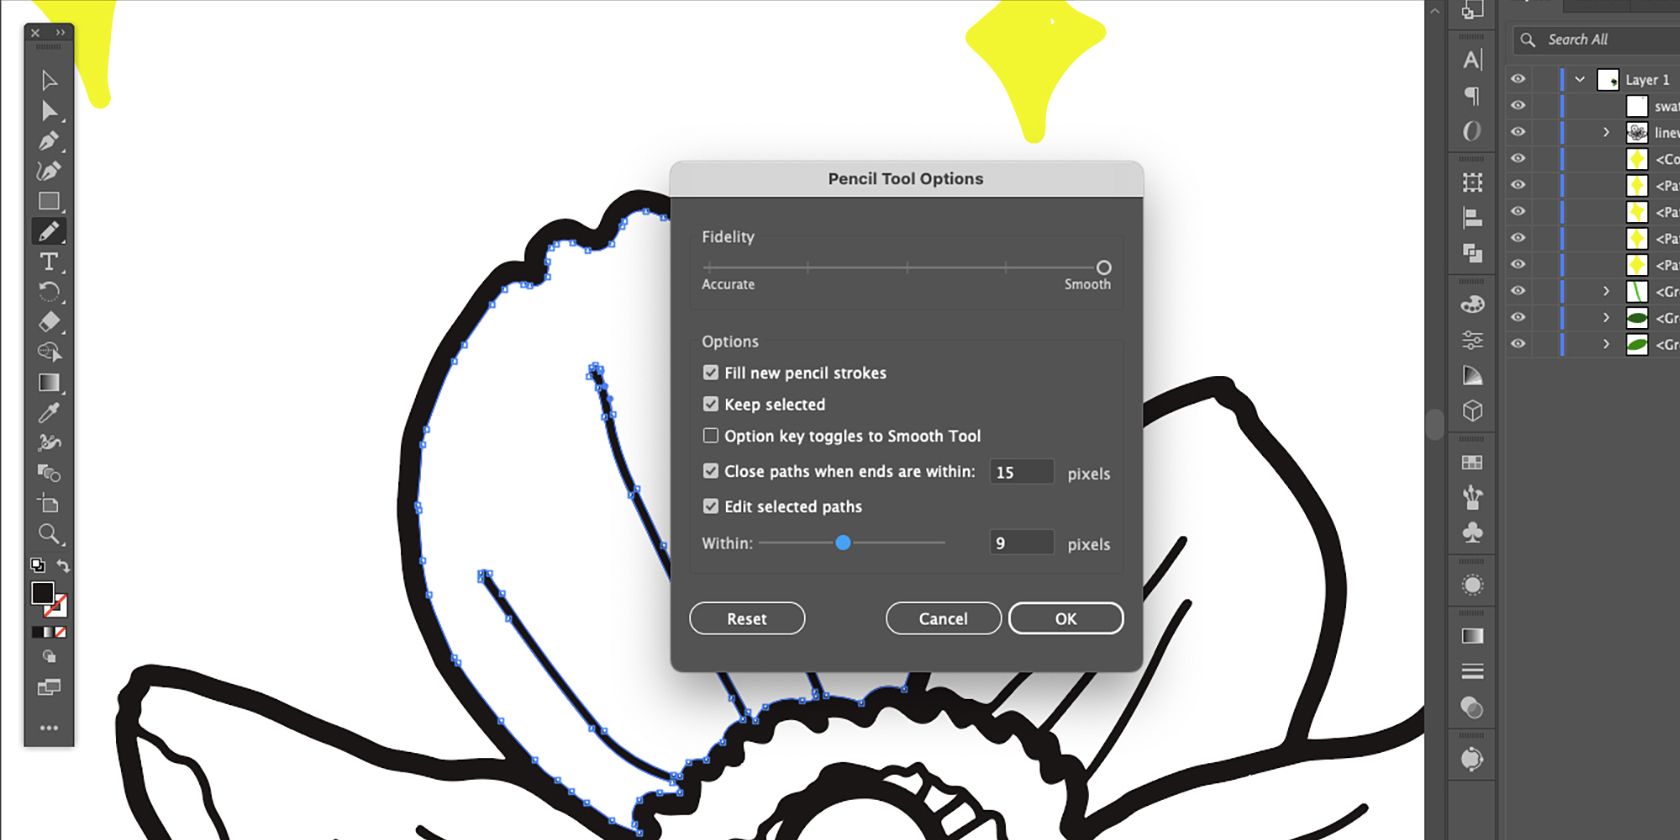
you’ve got the option to fix or edit your line work using the Pencil tool.
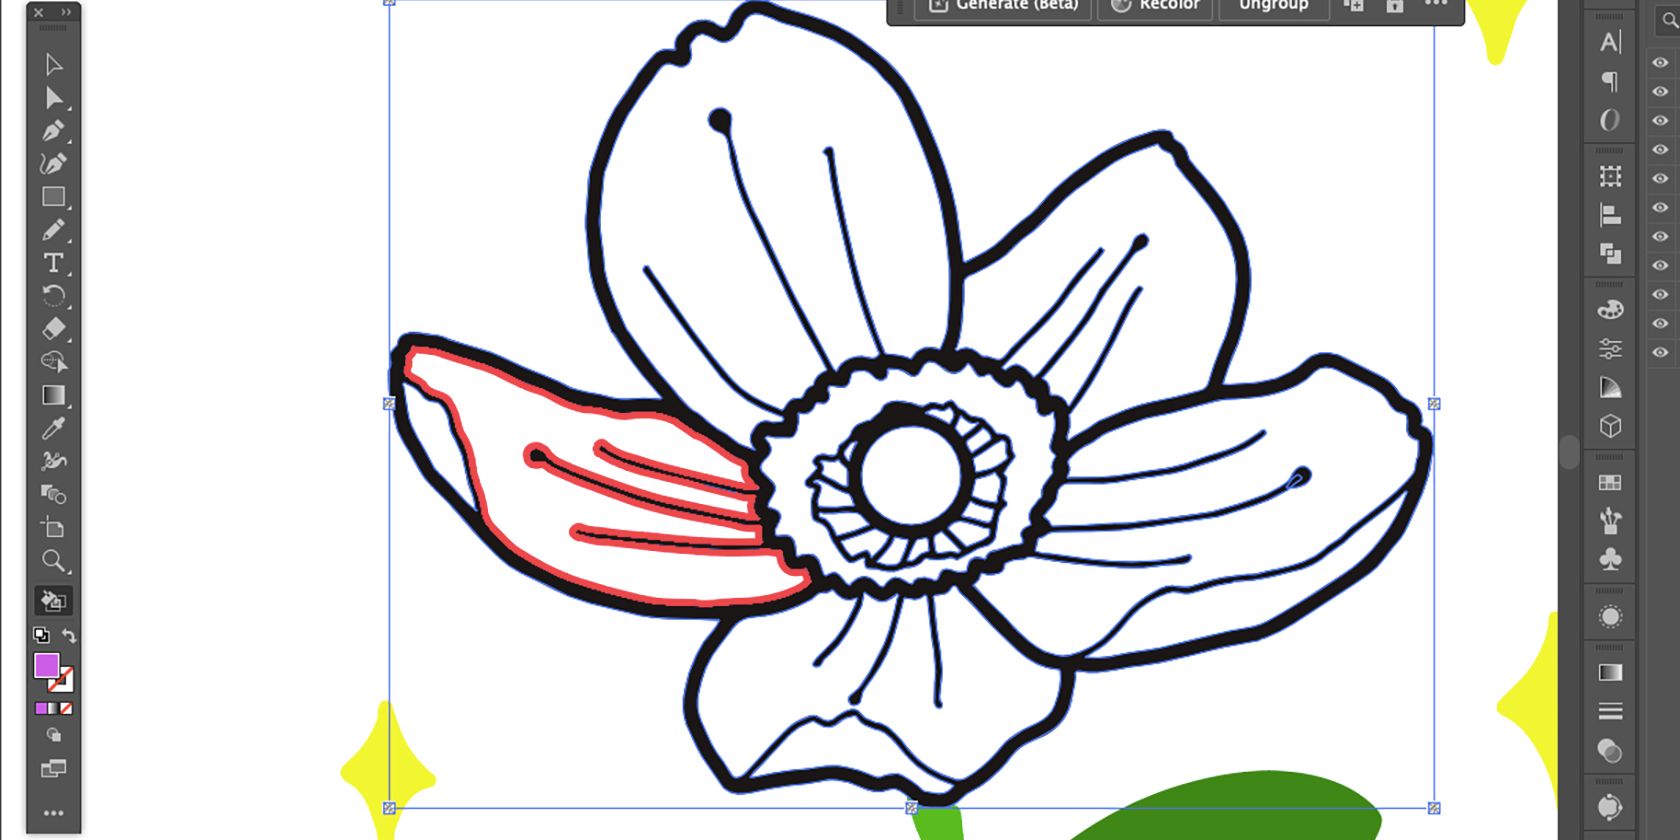
Using theDirect Selectiontool (A), select part of your line work.
Switch to thePenciltool (N), then double-snag the Pencil tool icon on the toolbar.
Check the box forFill new pencil strokes, then selectOK.
This setting allows you to add to your drawing.
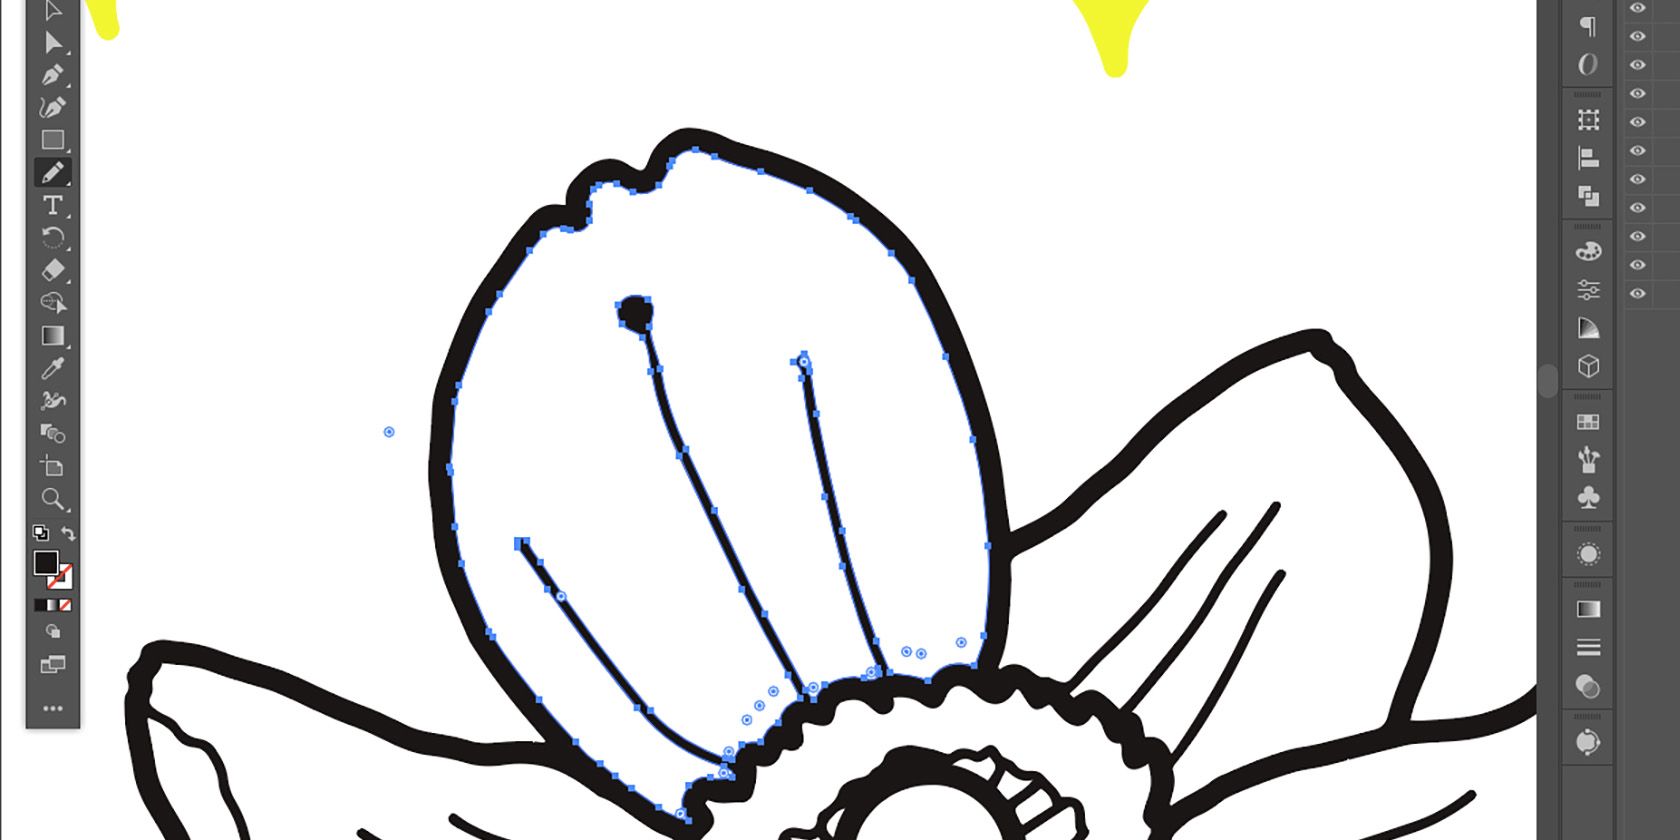
Using the Pencil tool, draw from one anchor point and join the pencil back to another anchor point.
Then draw from one anchor point into your line work, connecting to another anchor point.
The shape you draw will be removed from the path.
Go toEdit>Edit Colors>Convert to RGBorConvert to CMYK.
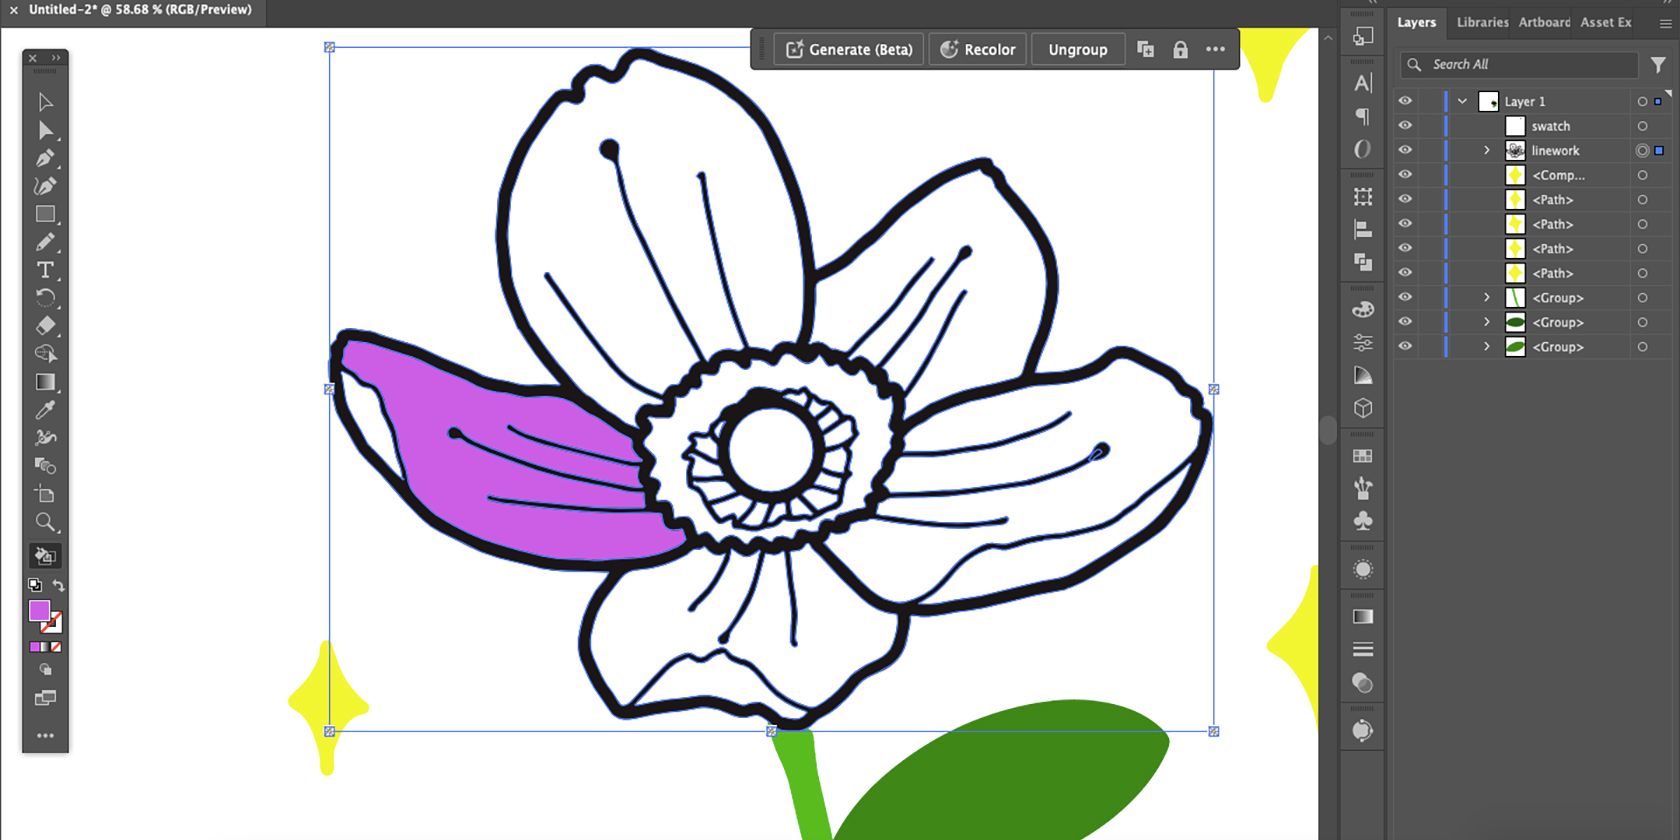
To add color, the vector needs to be turned into a Live Paint object.
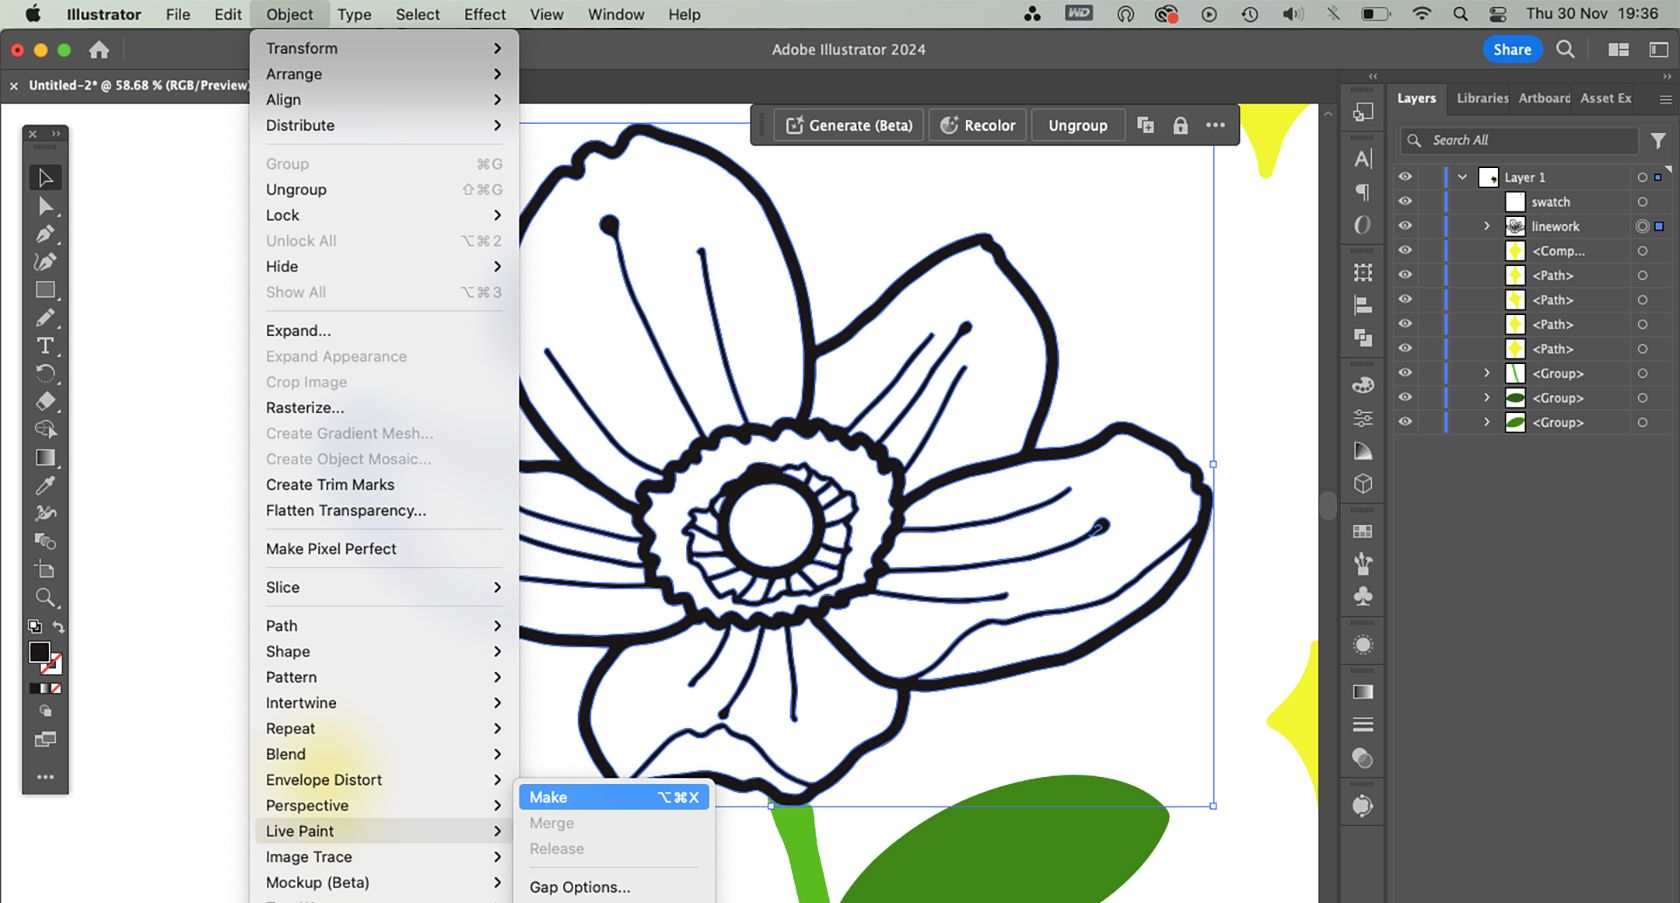
Select (V) the line work then go toObject>Live Paint>Make.
PressKor choose theLive PaintBucketicon on the toolbar.
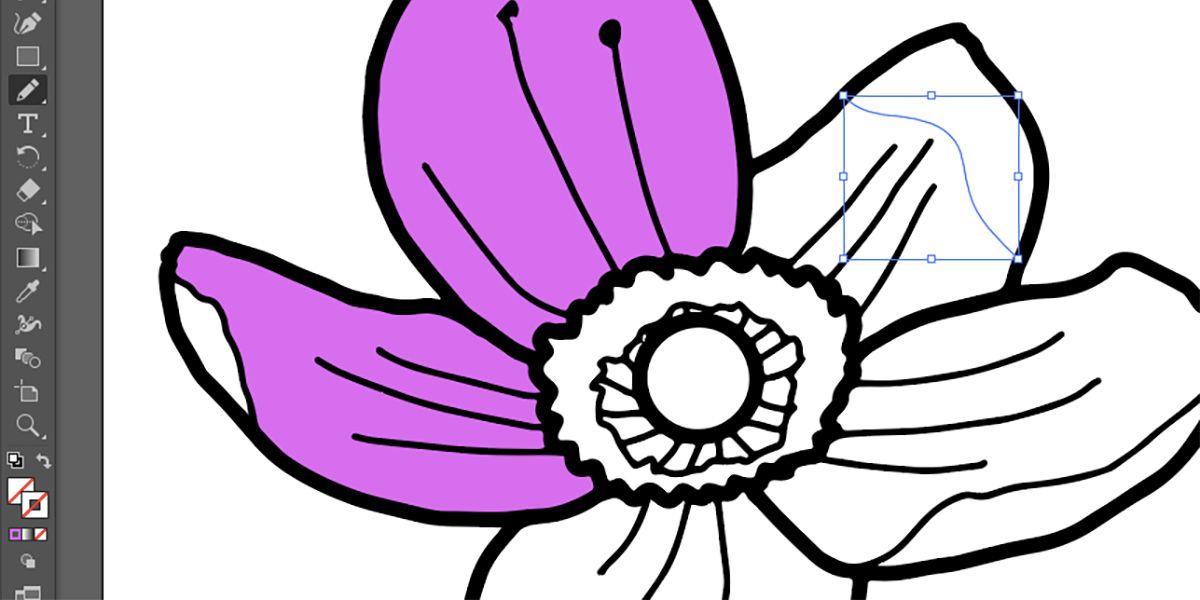
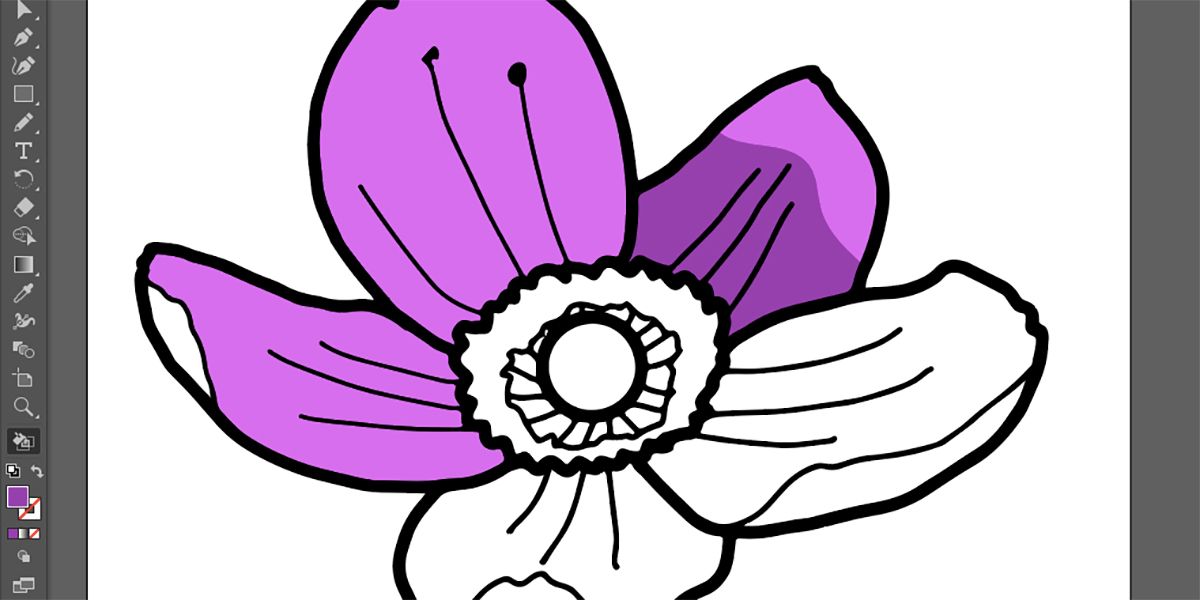
Select it with theLive Paint Buckettool to add color.
pick the line, then set theStrokeand theFillto transparent.
you’re able to do this as many times as you need.
To recolor your vector, you could also useAdobe Illustrator’s vector recolor toolpowered by Adobe Firefly.
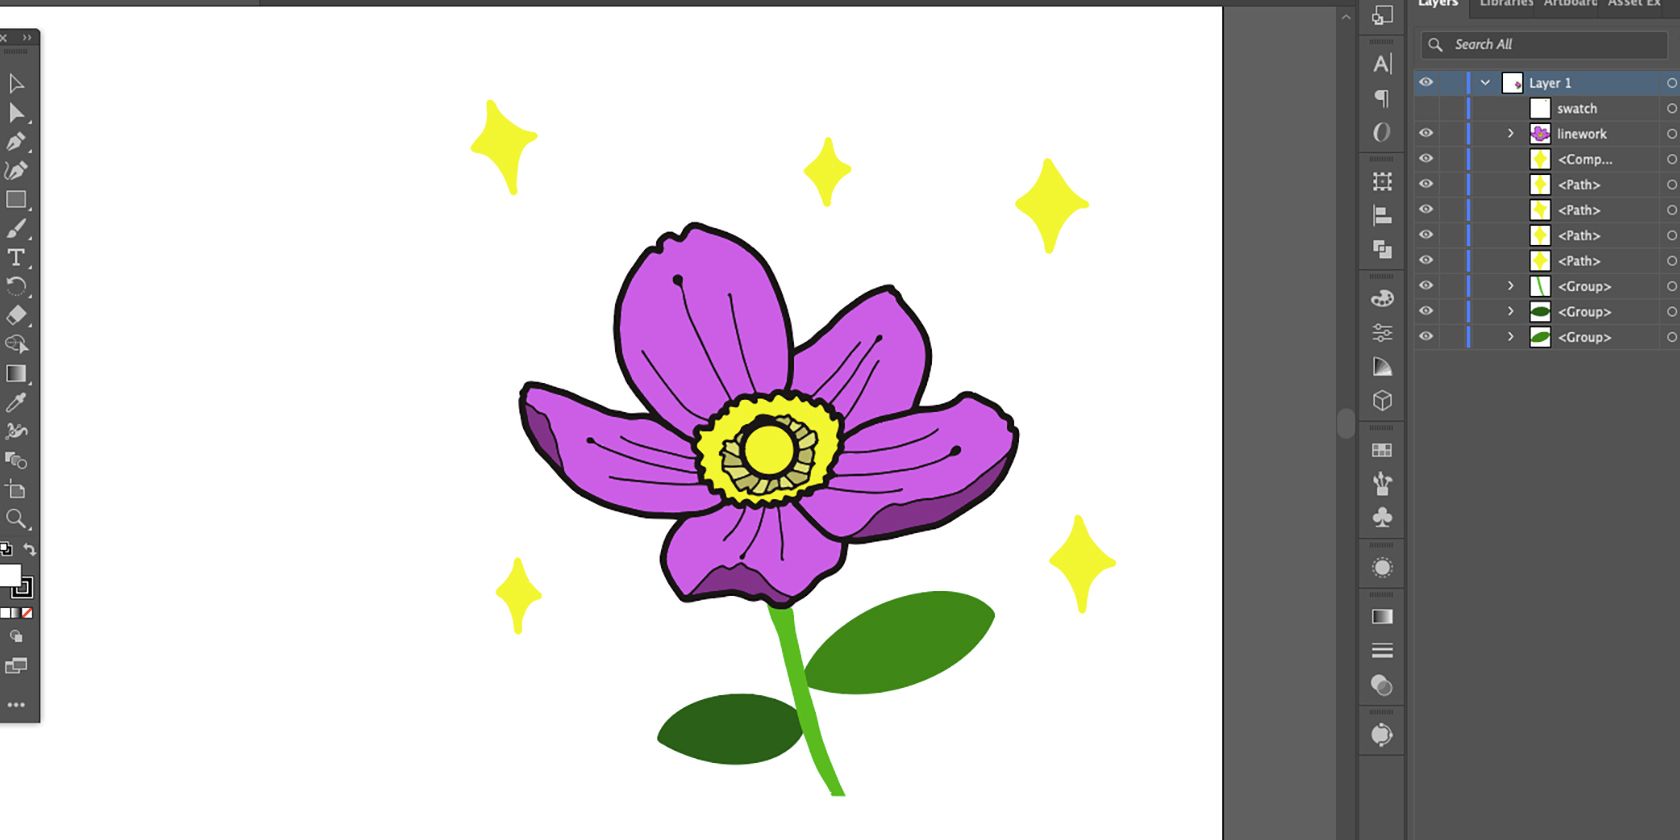
Once you’ve edited the line work and added color however you want, your vector drawing is complete.
While PNG files have transparent backgrounds, theyre not good for saving vectors.
Hereshow to save different file types in Illustratorif you need help.