Tailored for the SBC, Raspberry Pi OS is the most popular option.
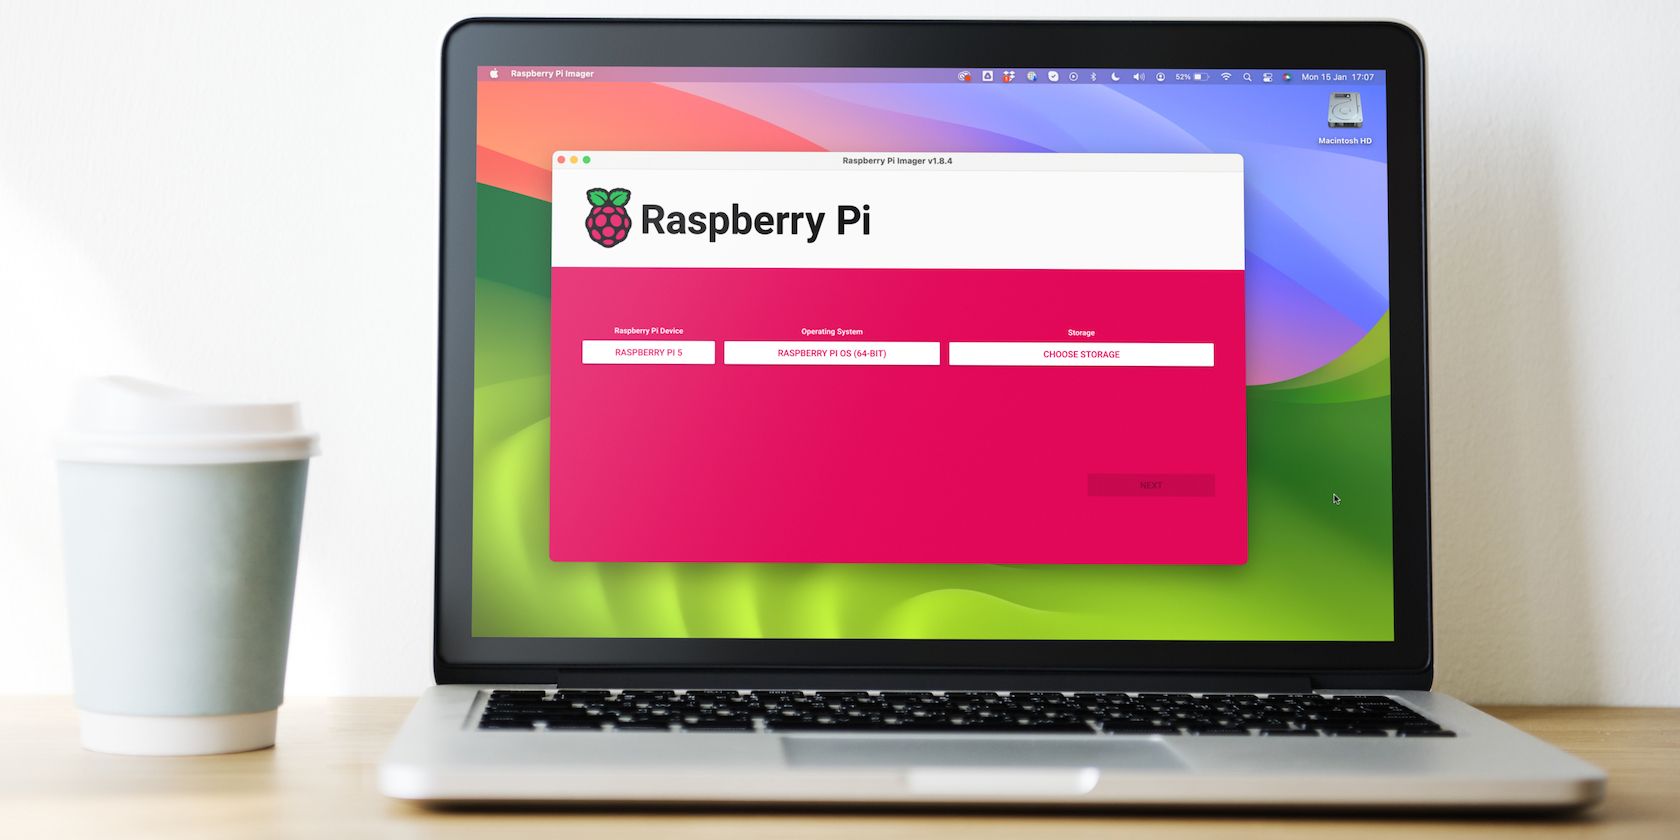
The official Raspberry Pi Imager tool makes it easy to set up the OS and offers advanced controls.
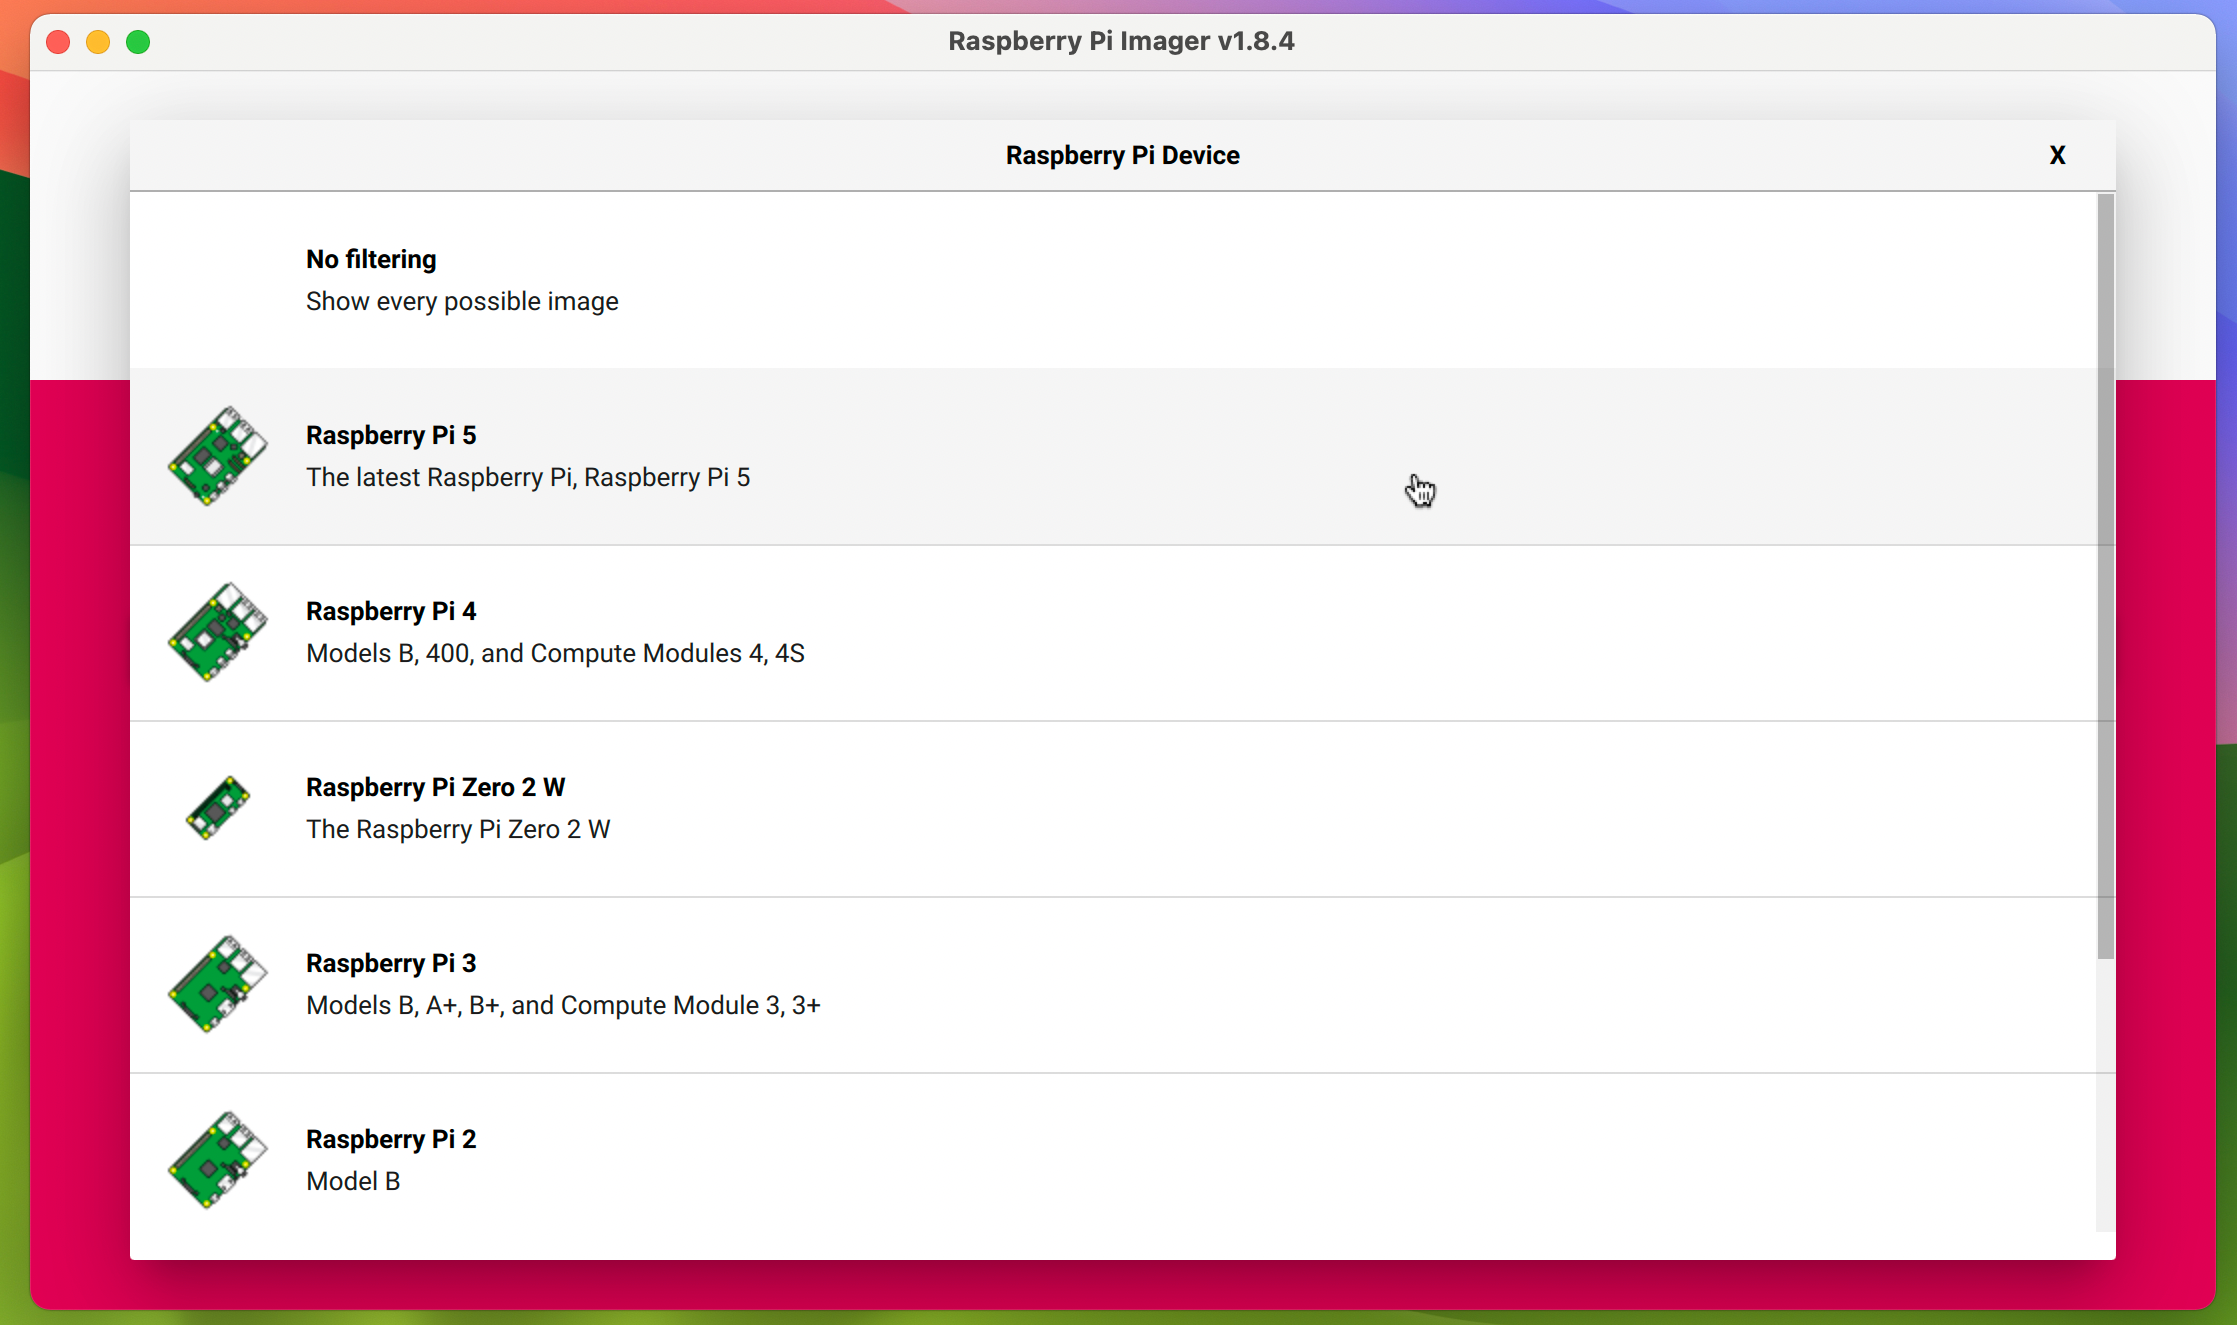
In this case, select theNo filteringoption in theChoose Devicemenu.
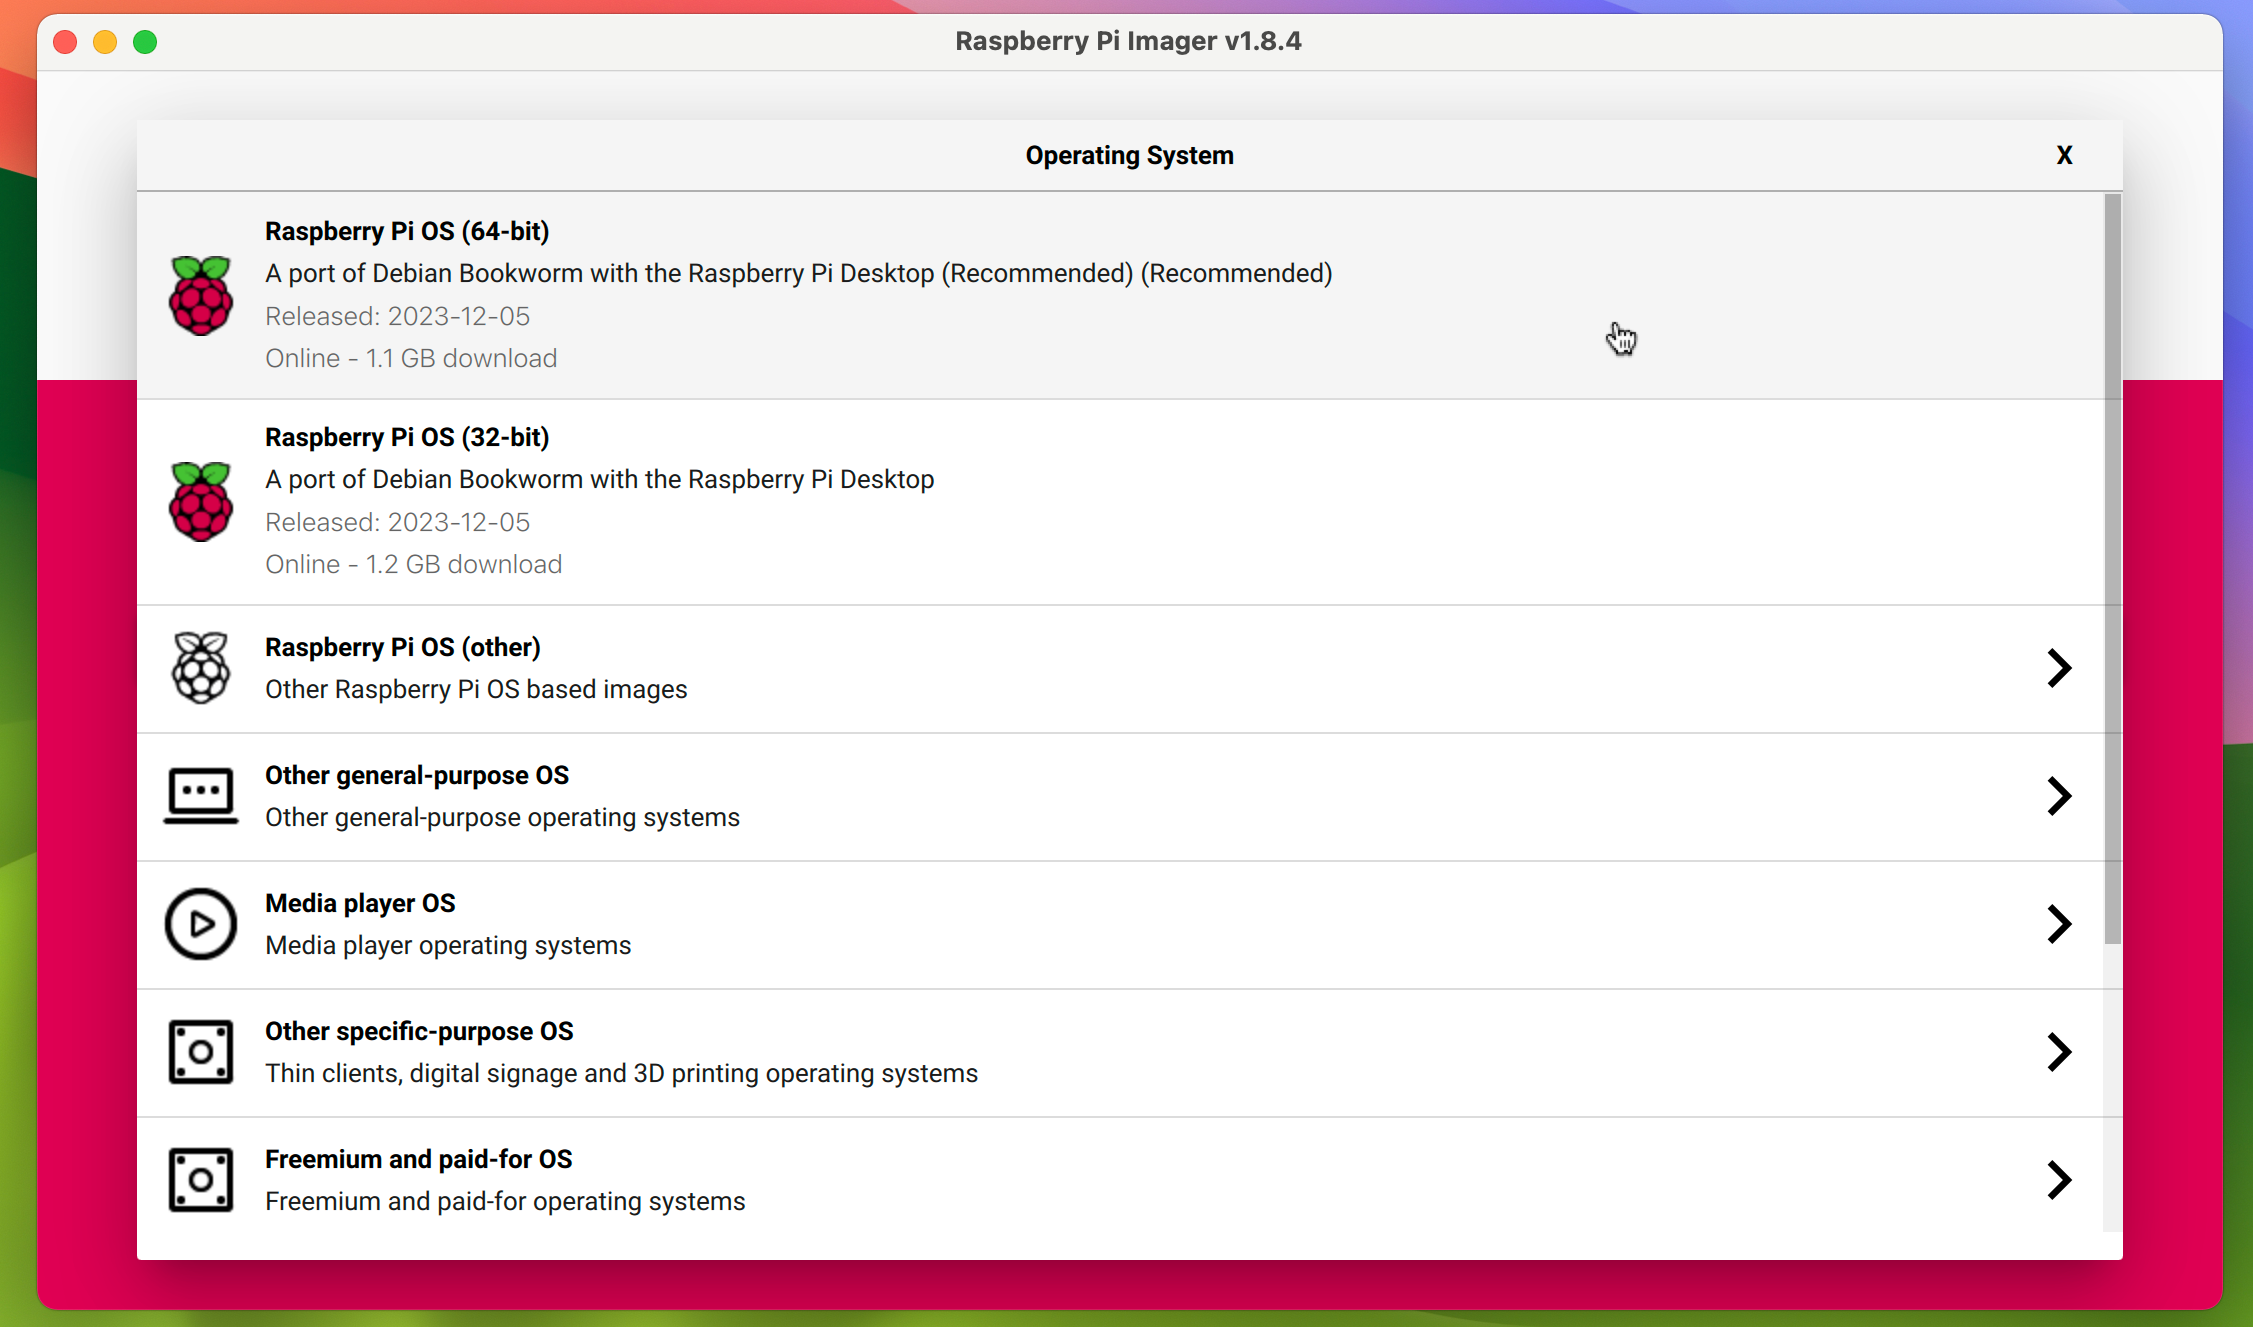
Note that there are pros and cons to the 64-bit and 32-bit versions of Raspberry Pi OS.
It may also be required to run any applications requiring the arm64 port of Debian Linux.
Note that if you want to see the full range of operating systems, chooseNo filteringfrom theChoose Devicemenu.
Original screenshot by Phil King. Free to use, NAR
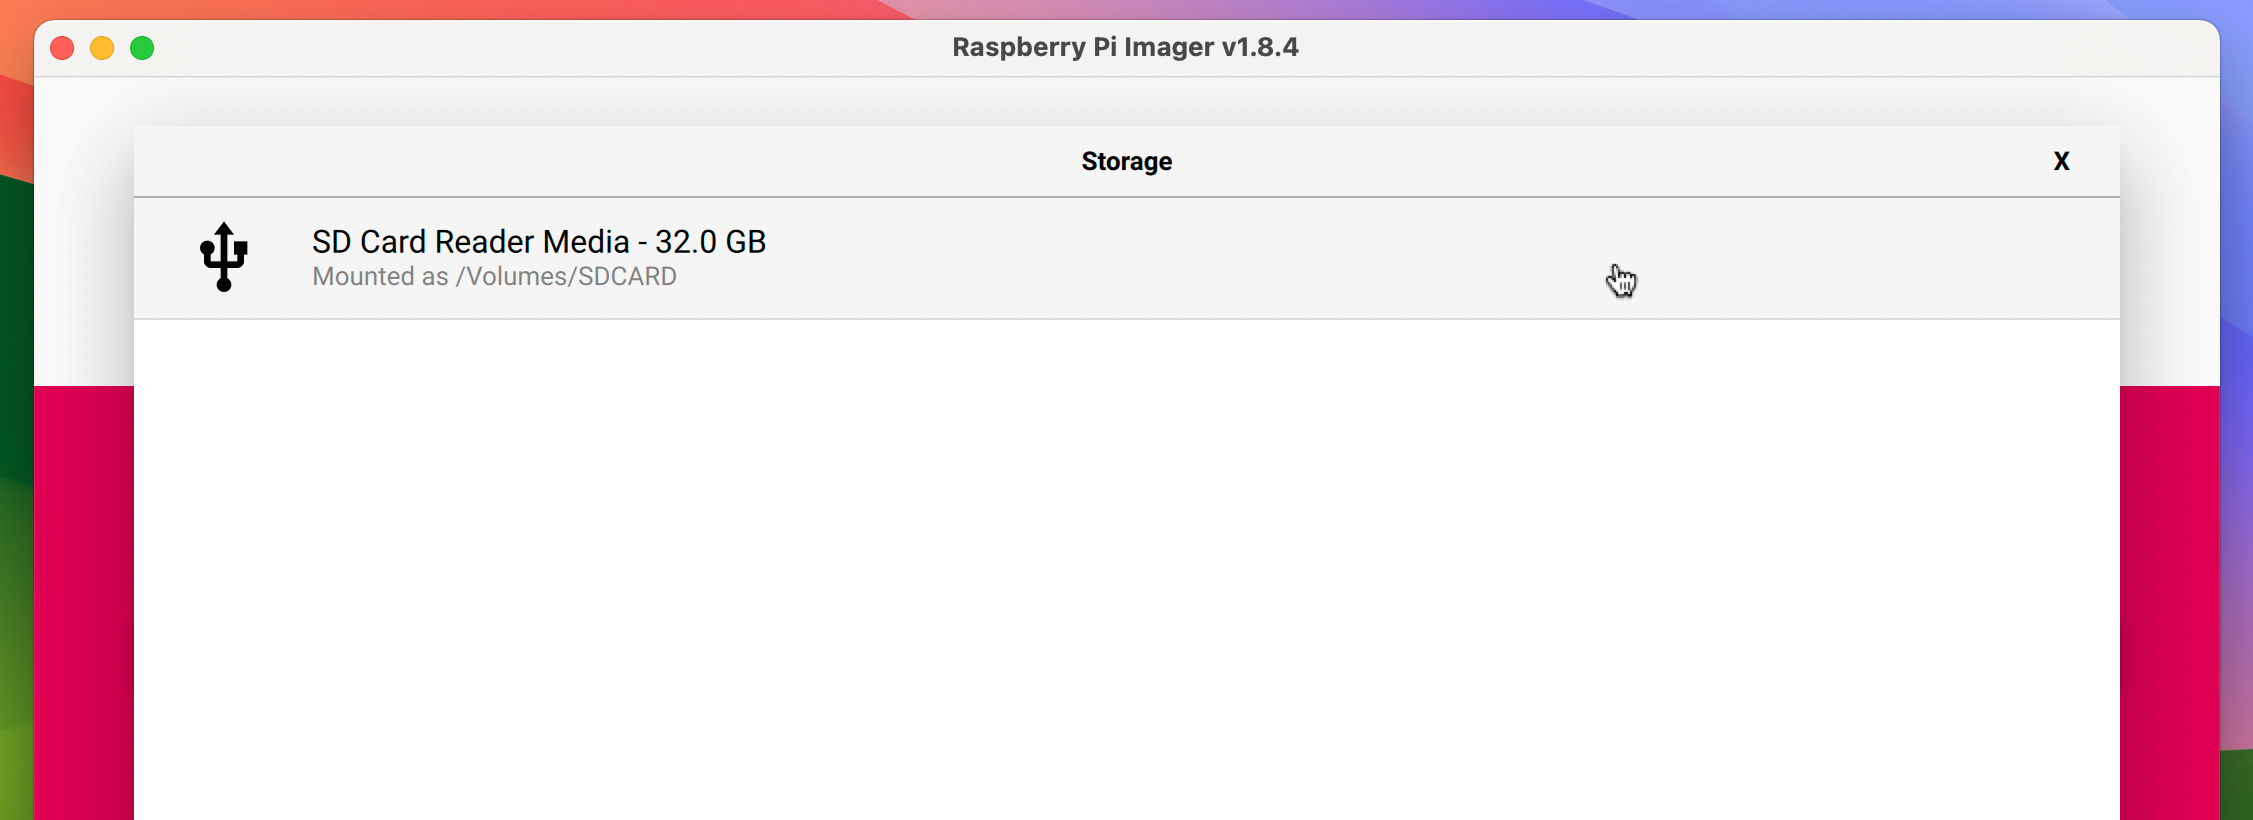
Attach the card to your setup, using a USB card adapter if needed.
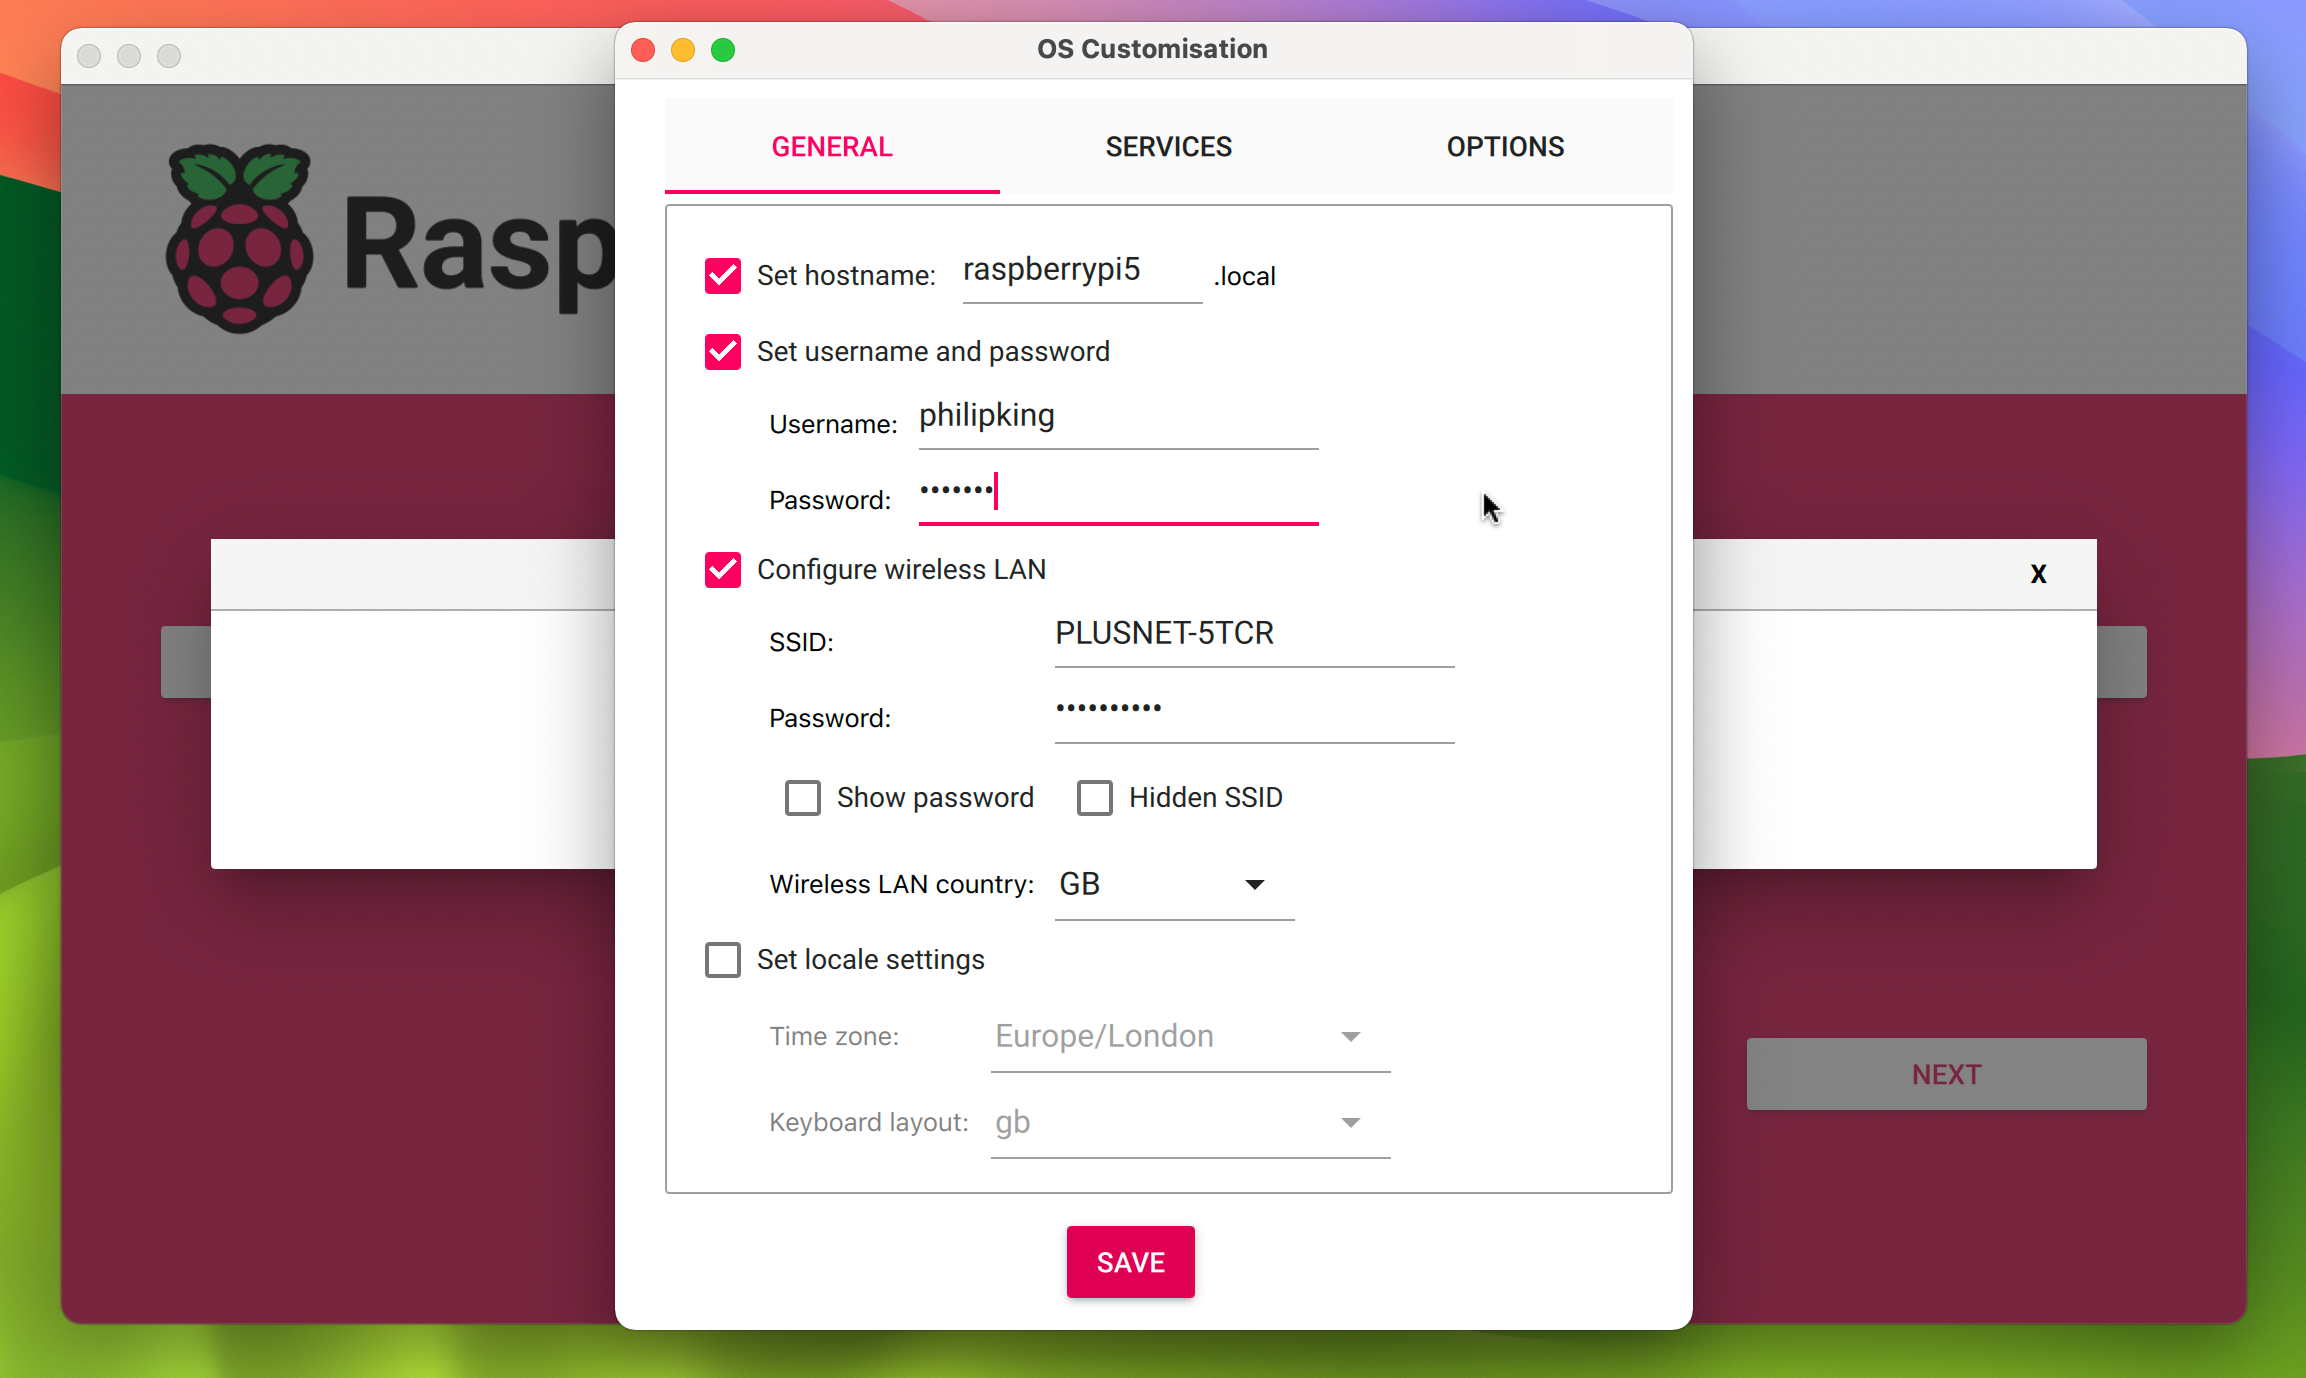
Either way, you will be taken to ImagersOS Customisationmenu.
In theGeneraltab, you’re able to set the Raspberry Pis hostname if you want.
You should definitely set a username and password to make it secure.
once you nail selected all the OS customization controls you want, clickSaveand thenYesto apply them.
Note that the advanced parameters will be stored for future installations using Imager.
From the prompt warning you that all data on the card will be erased, selectYesto continue.
You may then be prompted to drop your current computers password to proceed.
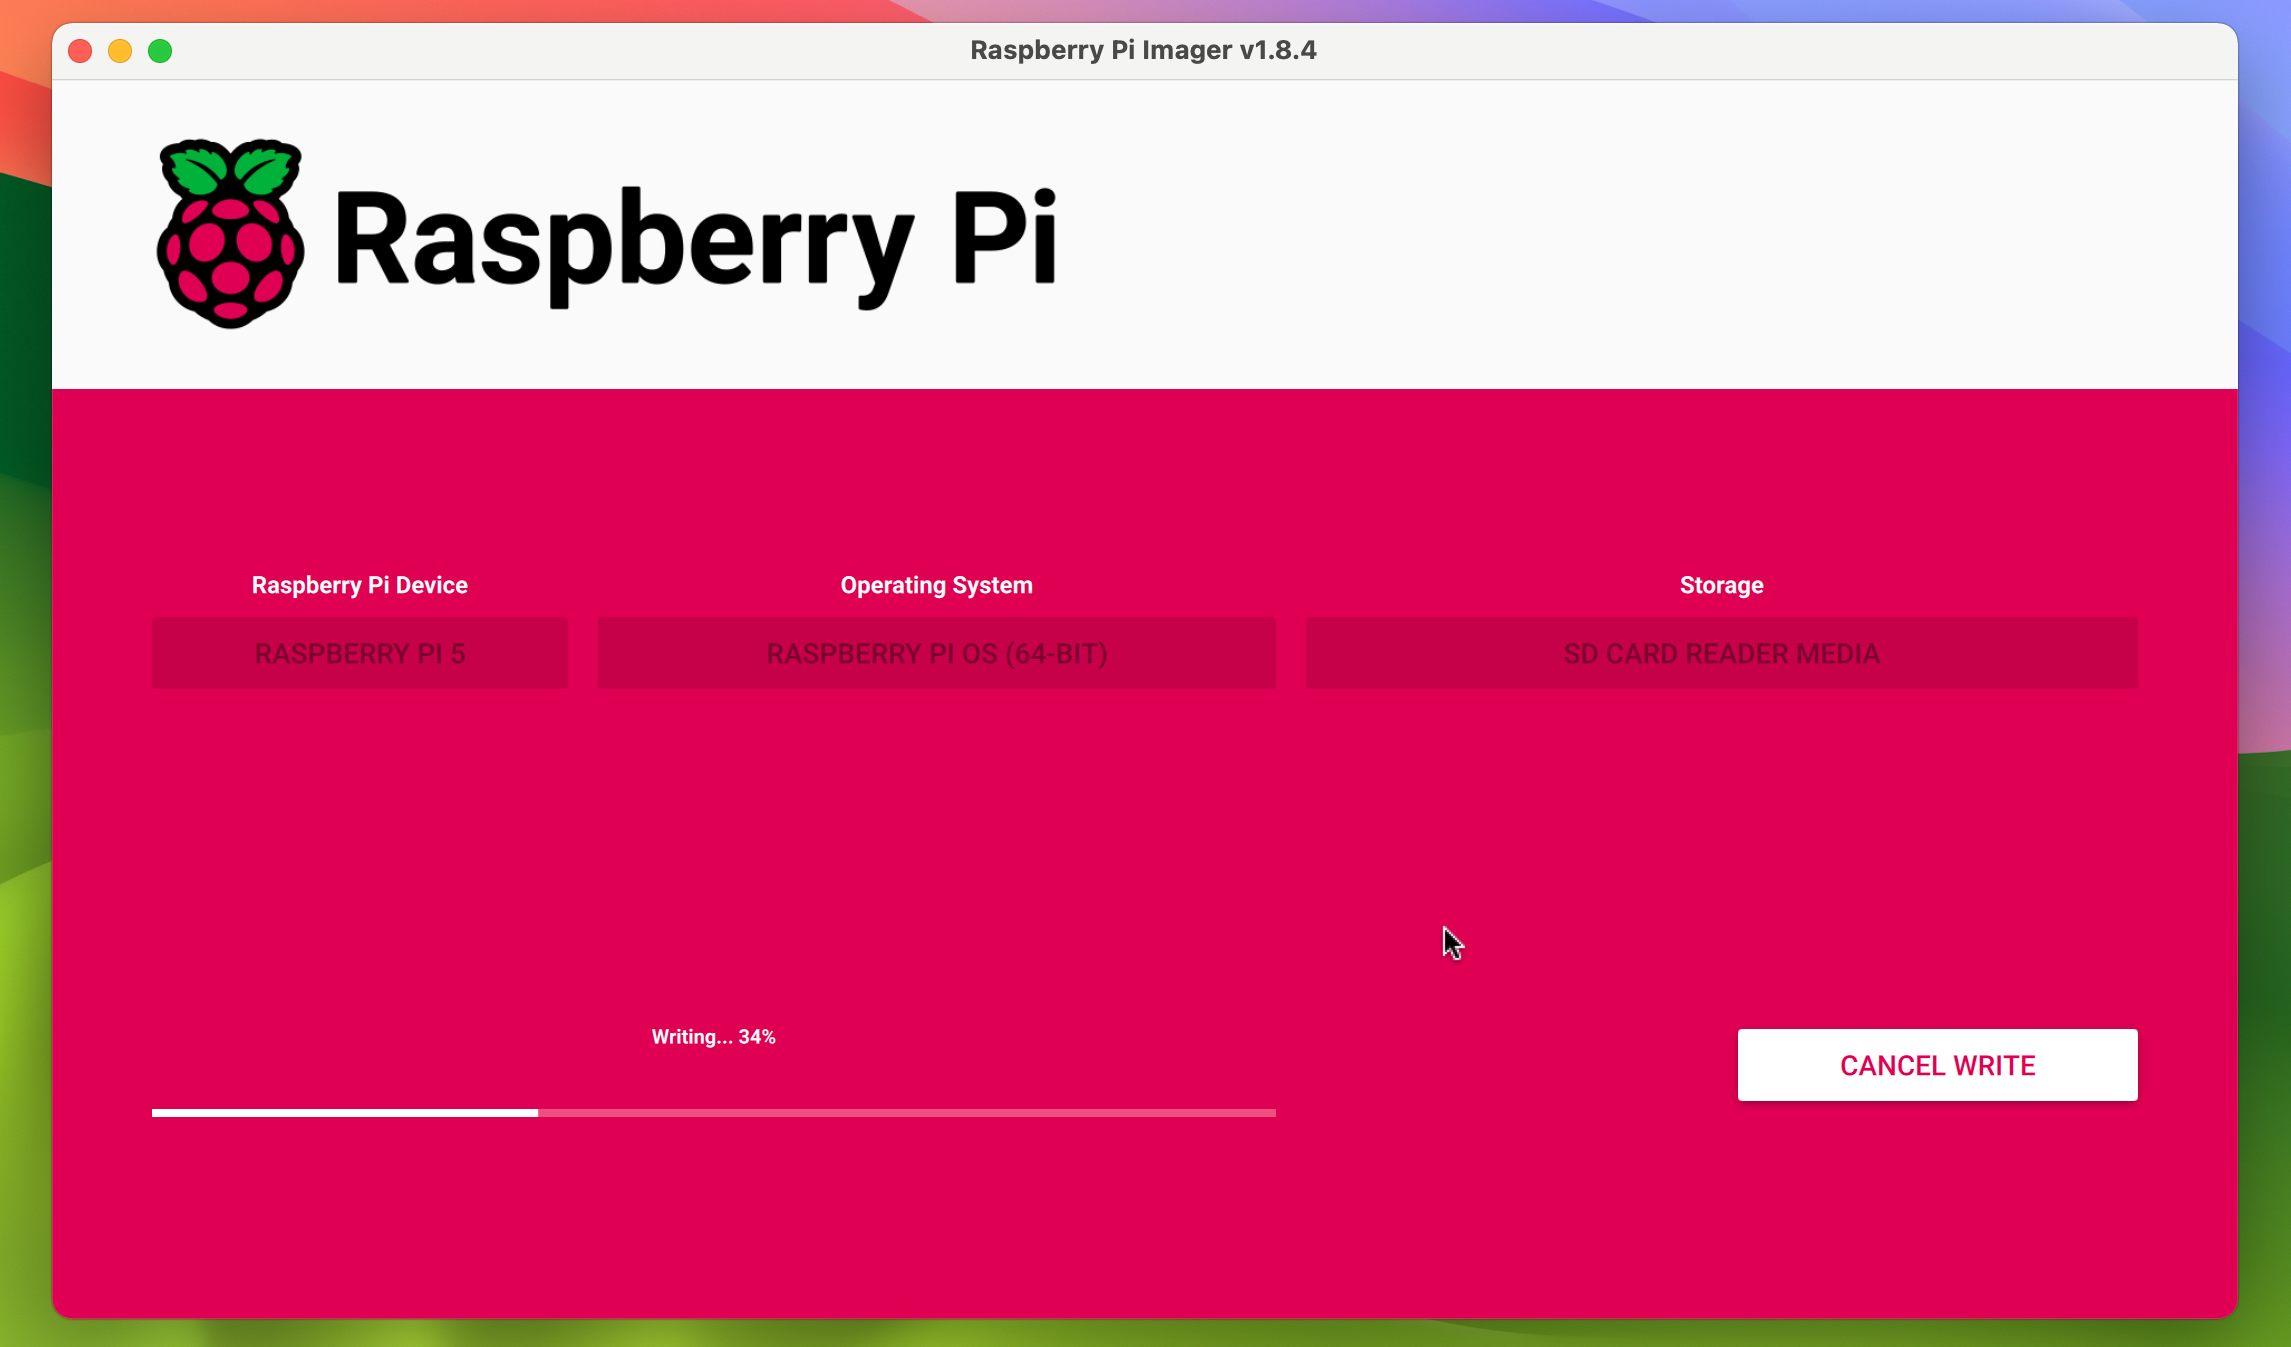
Imager will then start writing the OS to the microSD card, indicated by a progress bar.
This may take several minutes, after which Imager will proceed to verify the installation.
Once done, Imager will tell you whether it has been successful.
you’re free to eject the microSD card and remove it from the computer.

Original screenshot by Phil King. Free to use, NAR