Related
Hi there.
Post 4 of 5.
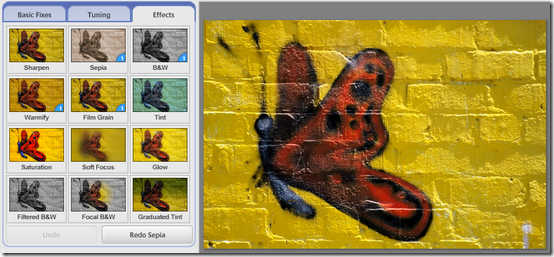
We were inEdit View, and had worked our way through theBasic FixesandTuningtabs.
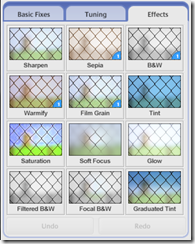
Now we need to take a look at the third tab,Effects.
The other two tabs focused on fixing things.
Making corrections and adjustments.
Now we mostly want to have some fun.
Find an image, grab a coffee, change toEdit View, and click theEffectstab.
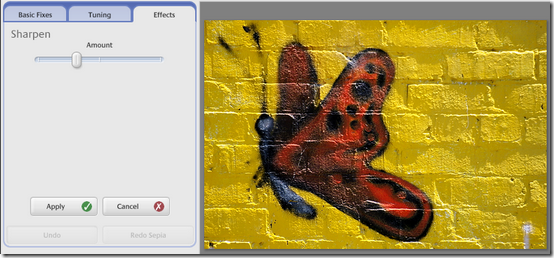
Sharpen
Most of these tools work in a similar way.
You choose the thumbnail, and either get a result, or some questions.
Sharpen only has one question.
Drag the slider to the right to sharpen the image, or to the left to soften it.
Note that over-sharpening images is a common problem, so take it easy.
you could’t actually fix a blurry image with this tool.
You just think you’re free to.
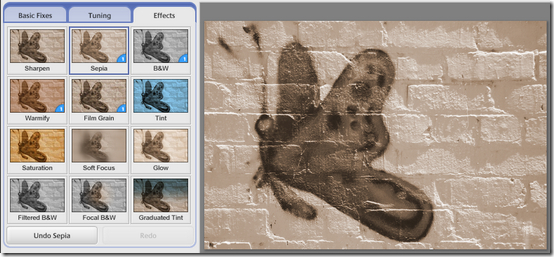
You just get an old-fashioned image in multiple shades of warm brown.
For some images this looks really stunning.
Click theUndoif you don’t like the result.
Note that you could undo multiple effects if necessary.
Weirdly enough, it’s possible for you to also apply effects multiple times.
Try clicking on theSepiathumbnail a few times.
B&W
Much the same, except we’re talking about shades of grey.
The butterfly is warm enough already.
Tint
Two steps to this.
Click in thePick Colourbox, and choose a colour from the resulting choices.
Then decide on theColour Preservation.
Slide to the left to remove all the original colour.
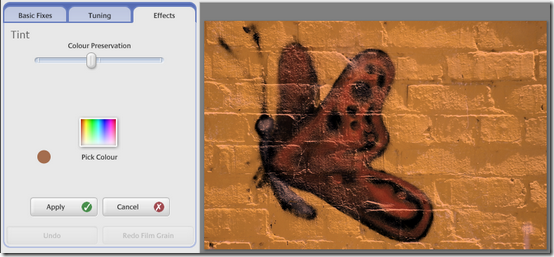
To the right to add most of it back.
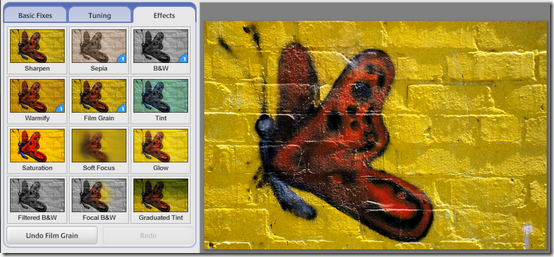
Saturation
Just one slider.
Drag it to the right to increase the intensity of all the colours in the image.
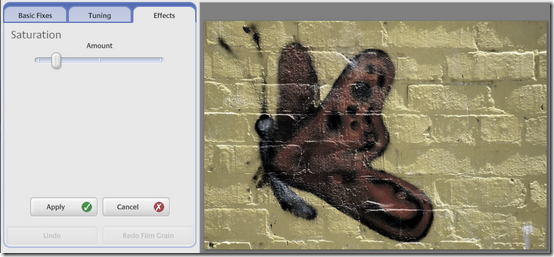
This picture has enough intensity already.
Dragging to the left pulls the image closer and closer to black and white.
Find somewhere you’re comfortable with.
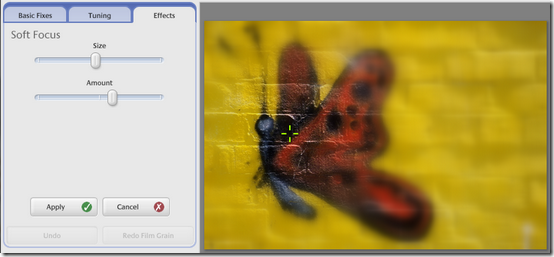
you could adjust the Sizeof the sharp area with the first slider, and theAmountof blur with the second.
you could adjust theIntensityand theRadiusof the glow.
Needless to say, there’s little point of trying it out on this image.
Mess with it a little.
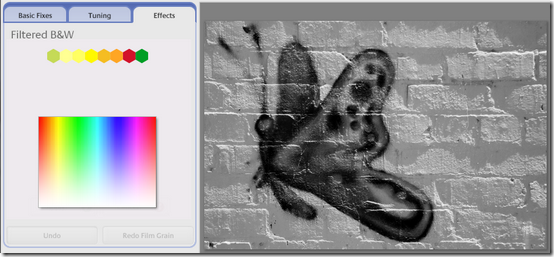
Focal B&W
Now it’s getting interesting.
you’re free to adjust theSizeof the colour area, and theSharpnessof the transition to B&W.

Graduated Tint.
Graduated Tint applies a tint of the colour you choose to the top of the image.
So why would you want to do this?
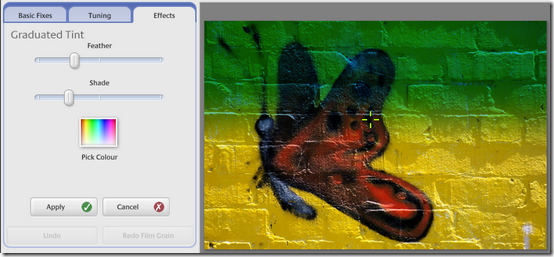
Skies mostly, actually.
you’ve got the option to darken a boring pale blue sky to make it more dramatic.
Onward
That’s it.
You now have control of all the tools.
I just have one more thing to talk about.
It’s easy, so keep your eye out for the post really soon.
