Here’s how to get started using it right away.
So, expect to make a few more adjustments for the best results.
You canfind out if your Mac uses Intel or Siliconin a few easy steps.
It’s not a good idea to modernize your macOS midway through a project.
Always check that your third-party plugins are compatible before doing so.
On the stereo output channel strip, click theMasteringeffects slot that appears at the bottom of the effects chain.
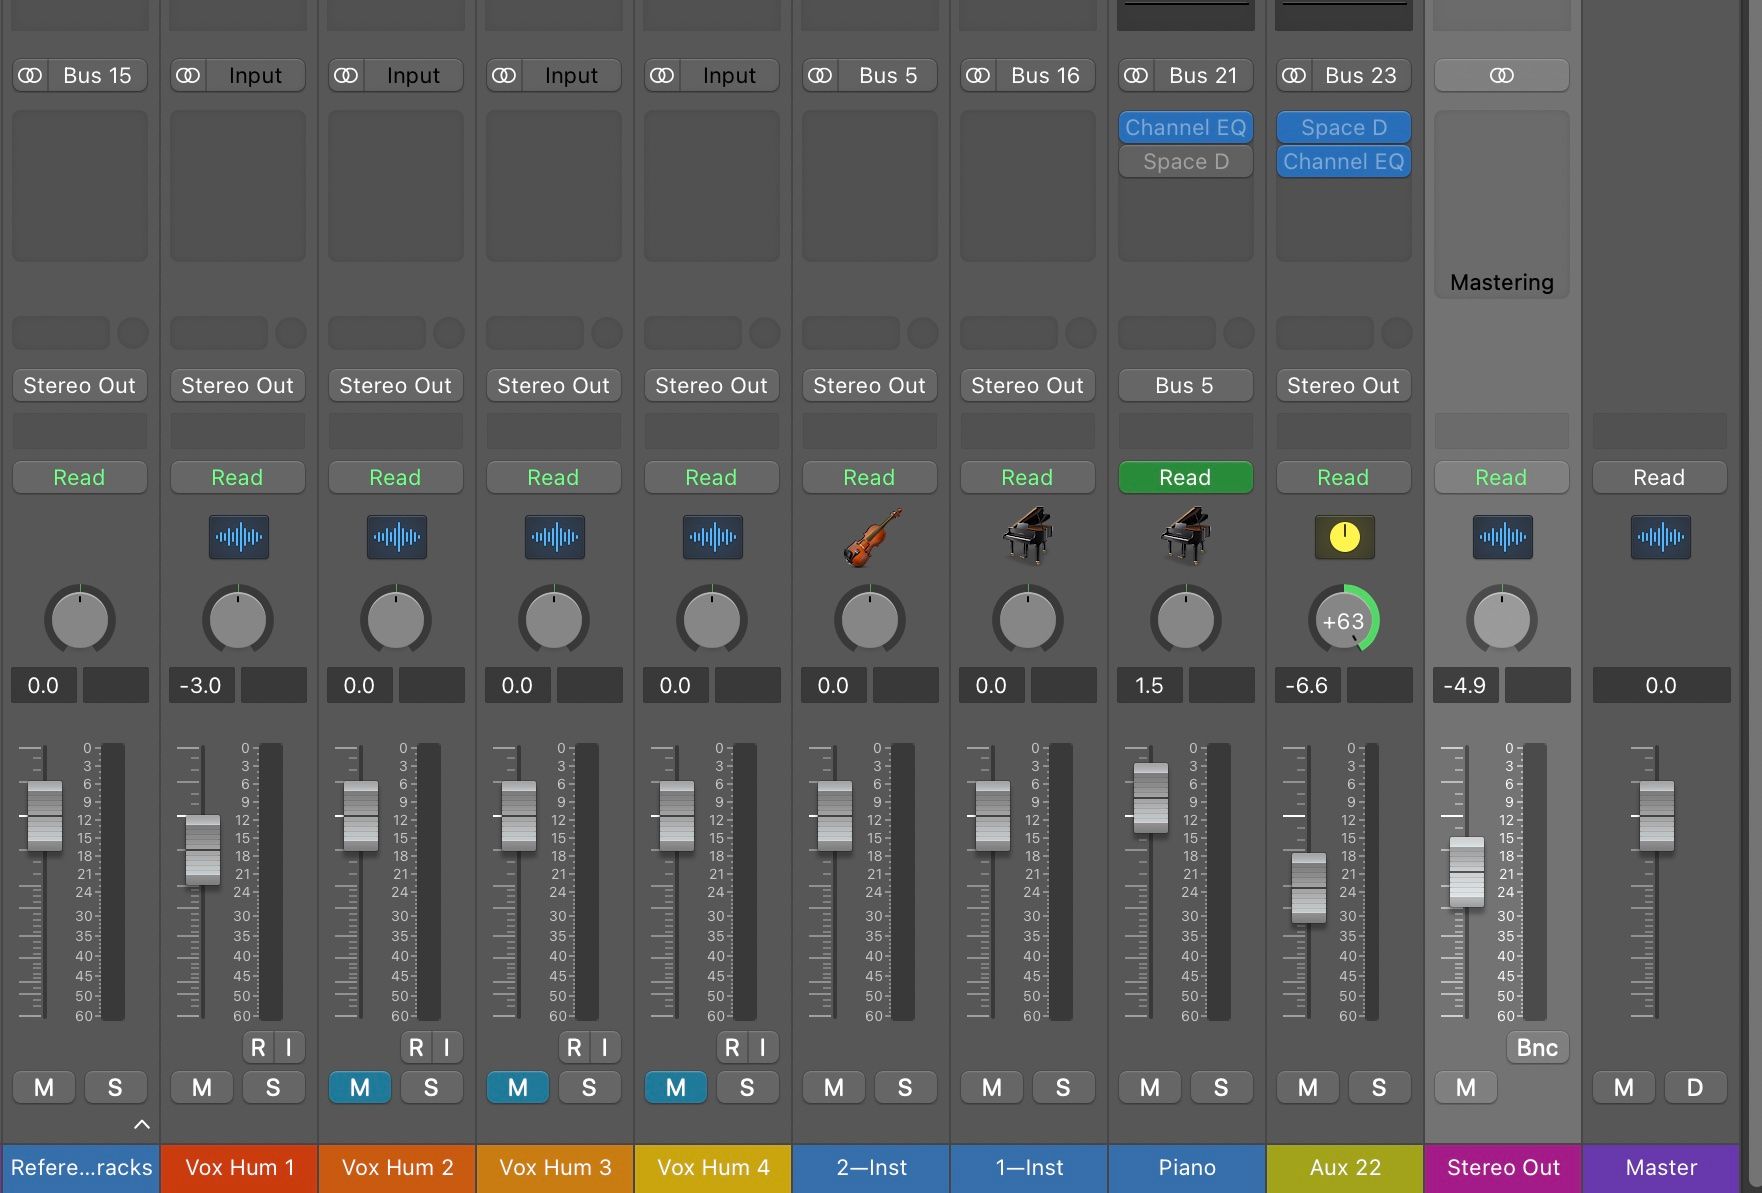
This will prompt an automatic analysis of the session and apply changes.
Alternatively, you might access it from the navigation menu by going toMix>Mastering Assistant.
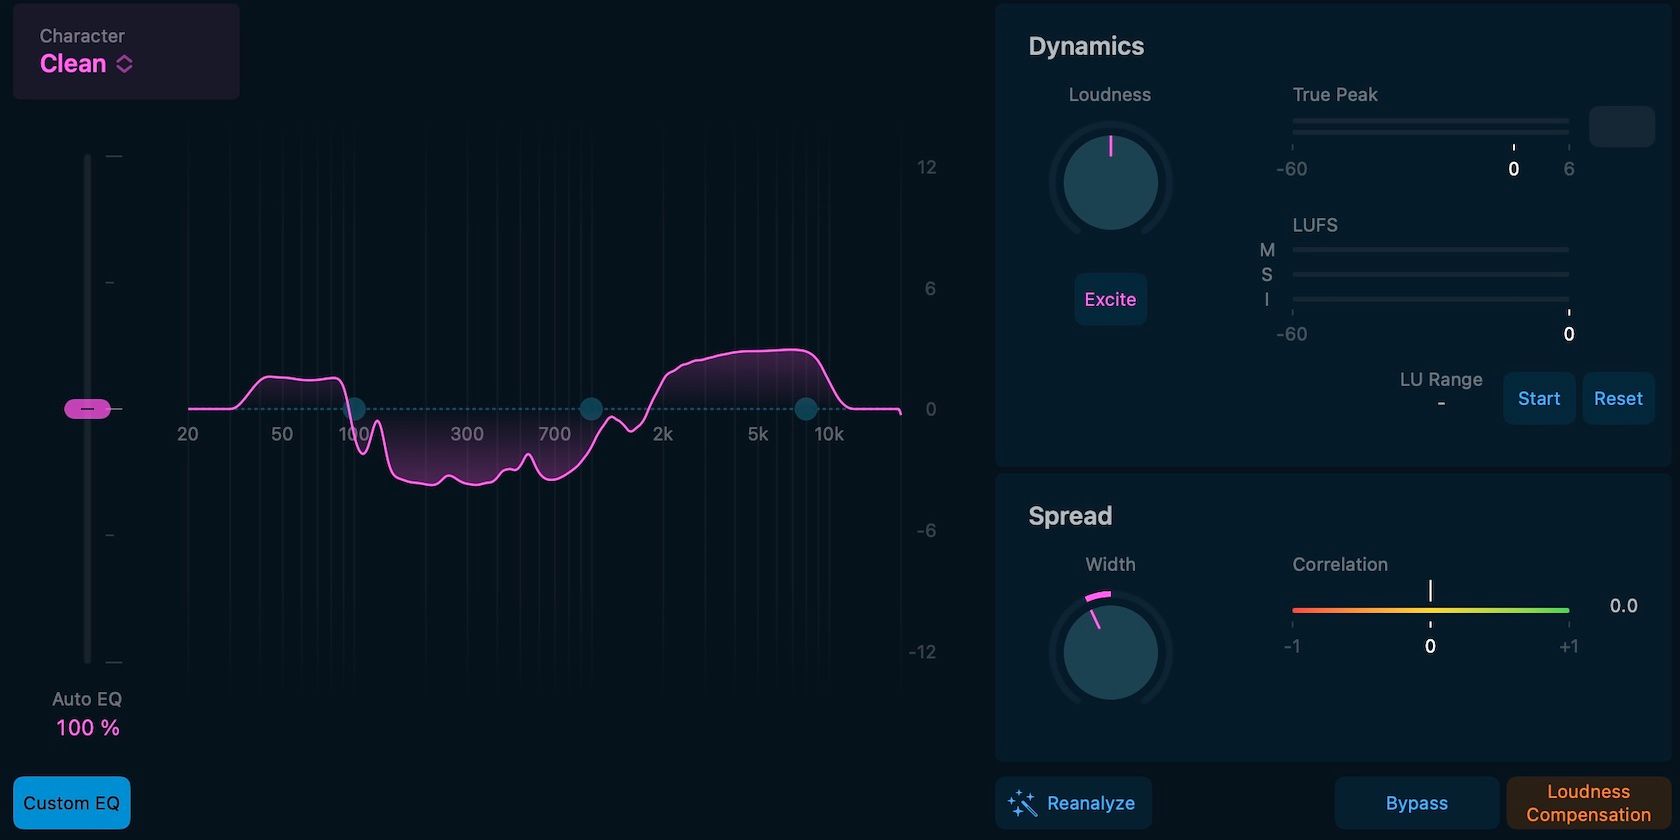
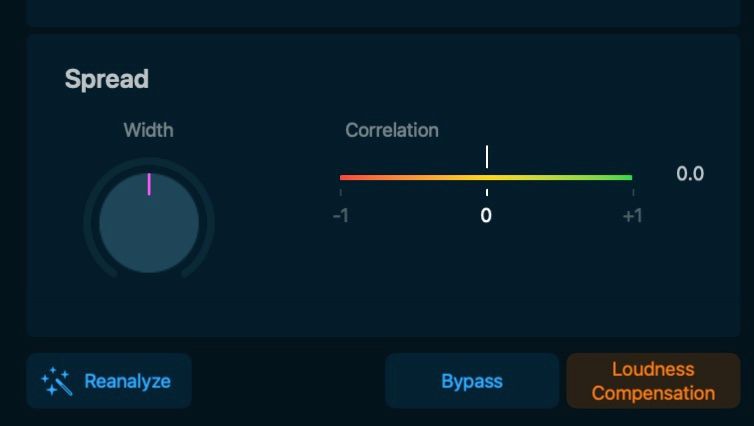
Mastering assistant has aBypassandLoudness Compensationbutton that can be used to compare the changes to the original.
Bypass lets you hear the original track without Mastering Assistant.
ClickCharacterin the top left corner and select from Clean, Valve, Punch or Transparent.
But for many people, Mastering Assistant will be just the starting point for creating a good Master.
Here’s a quick overview of what you might change in each section.
Start by moving theAuto EQslider on the left to change the amount of automatic EQ applied to your mix.
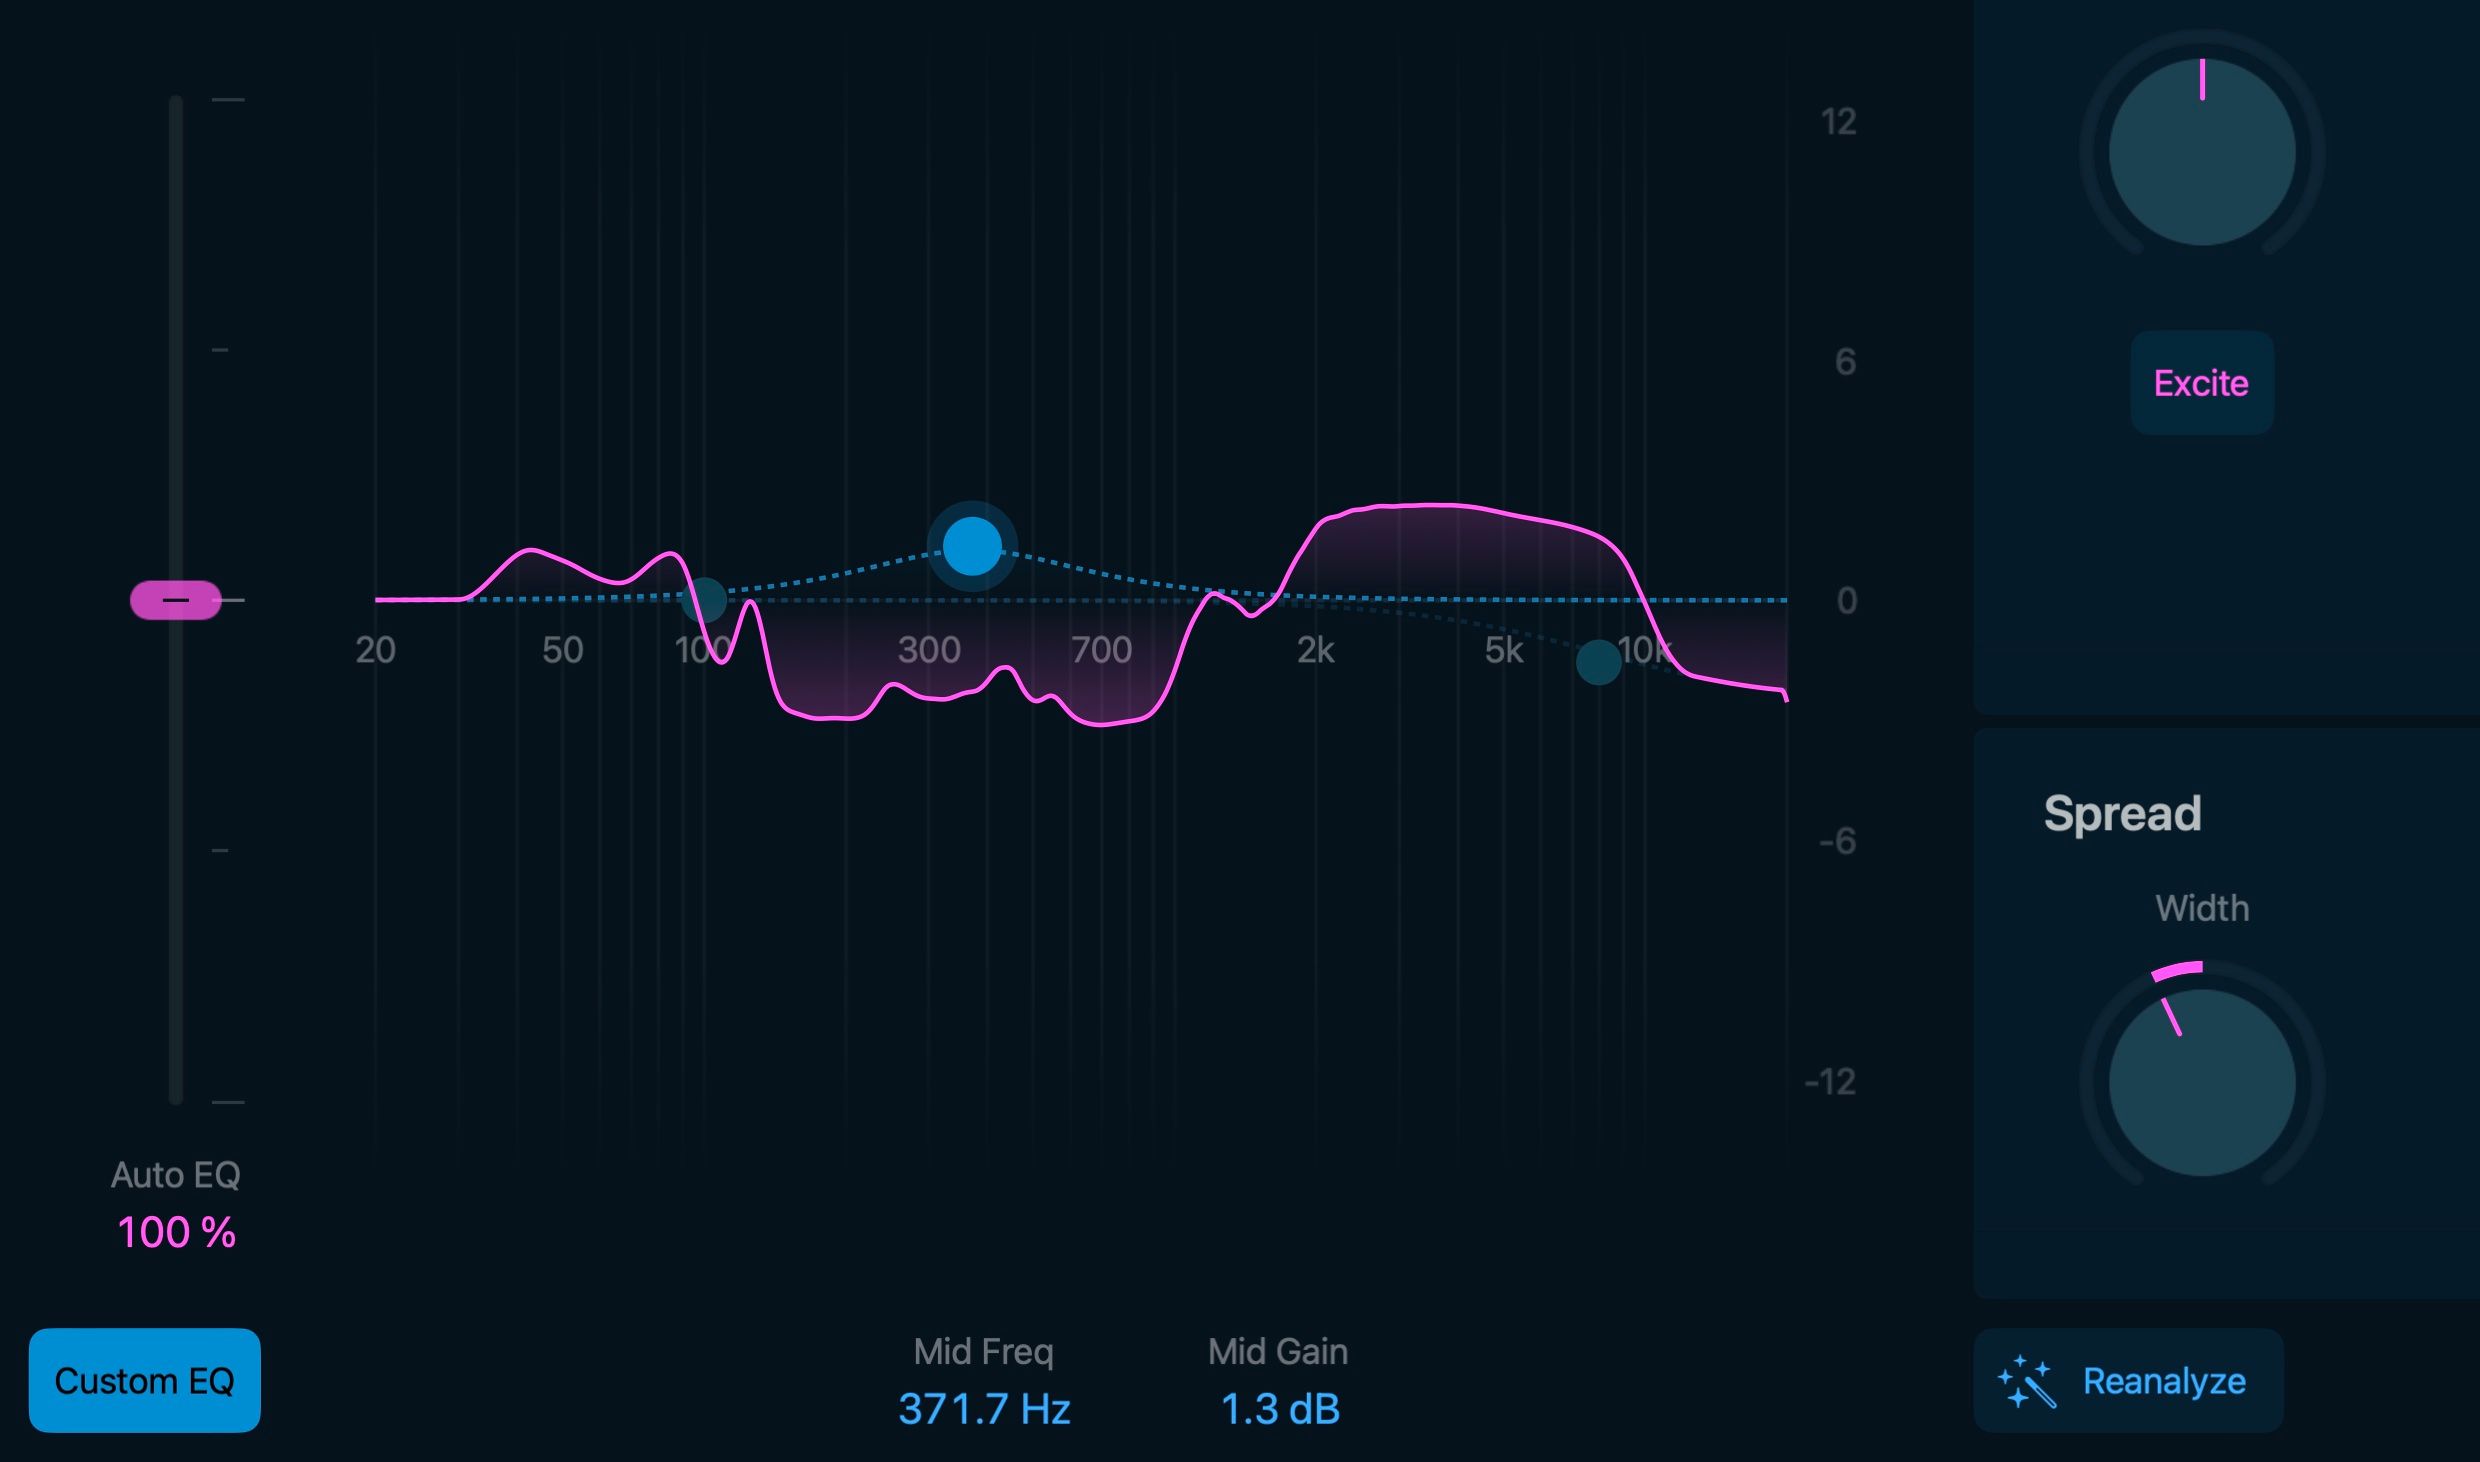
Next, click onCustom EQ.
This will reveal a blue dotted line with three control points.
Drag these around to adjust the frequency distribution.
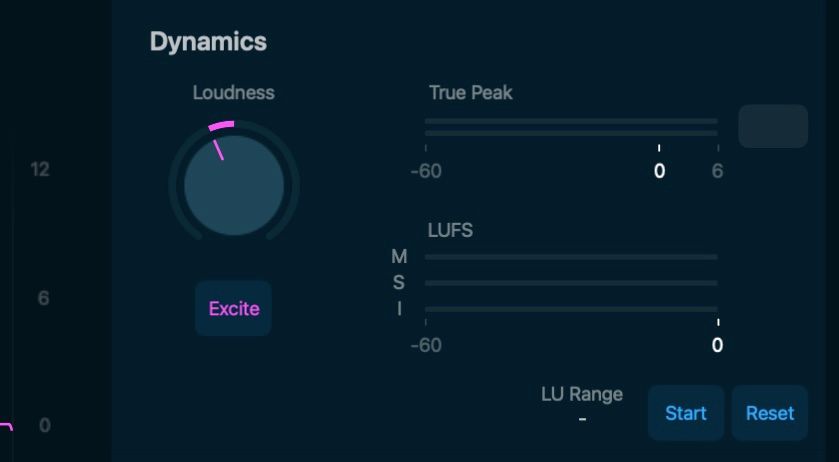
This ensures that the signal won’t clip.
Feel free to adjust theLoudnessknob if you don’t think your track is sounding good.
TheExcitebutton is also worth a go.
Hit the button and see what you think.
Stereo Width
Finally, you have theWidthknob.
This controls the stereo spread of your mix.
Set this to -1.00 to hear your track in mono.
Use it as a starting point, and tweak the options to get your mix sounding just right.
