Google Earth isnt just a cool navigation tool.
you’ve got the option to also use it for presentations that involve real-life locations.
The app already has a built-in feature just for that purpose.

Heres a step-by-step guide on how to create such presentations on Google Earth.
Get Google Earth and Drive
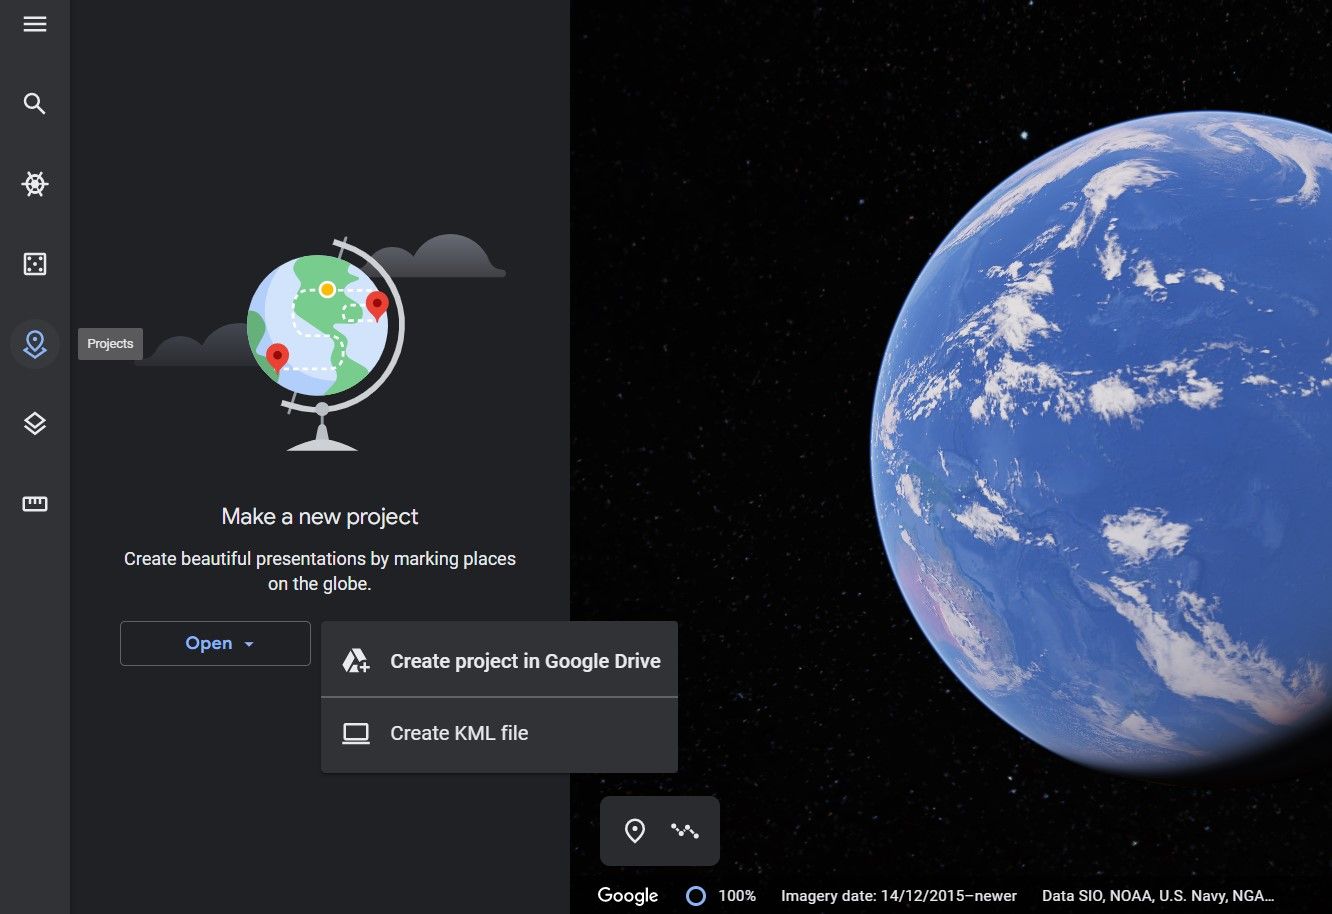
you might nowuse Google Earth on any web client, not just Chrome.
From there, hit theLaunch Earthbutton to sign in with your Google account.
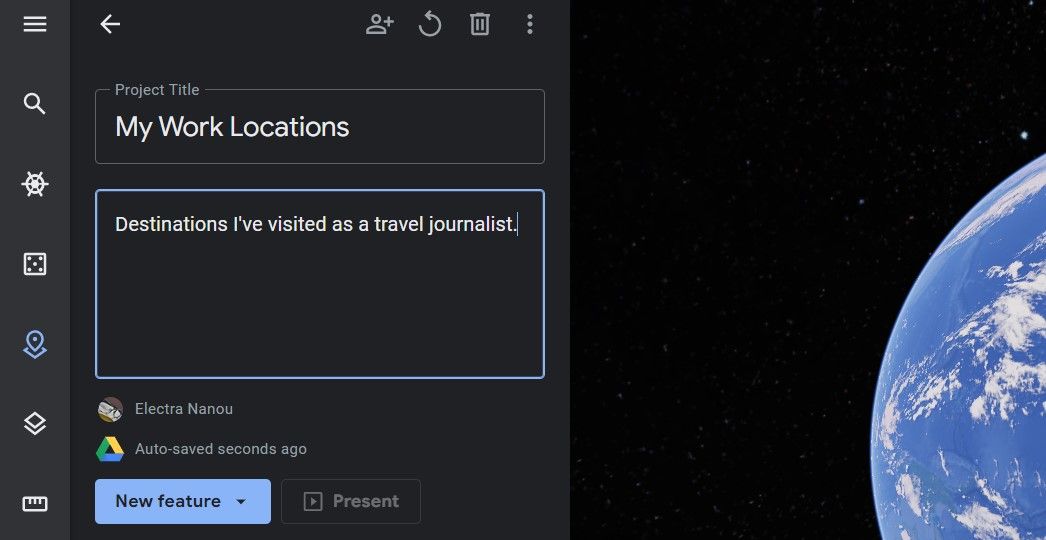
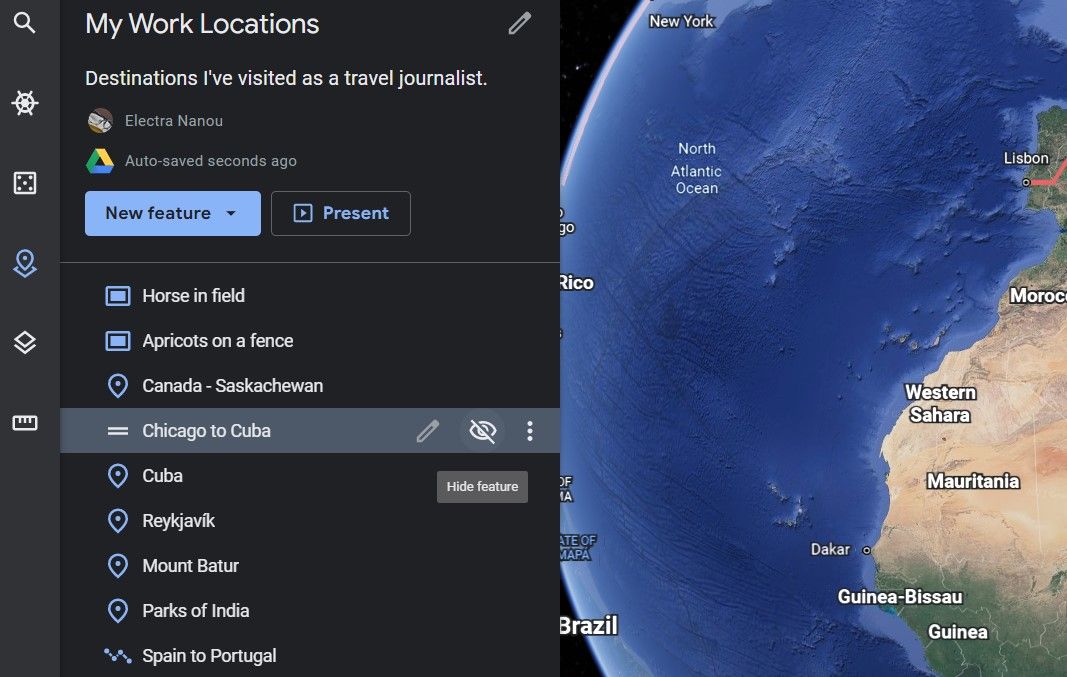
If nothing else, they can help you remember the purpose or details of each project.
On your dashboard, you have a few more options above your title and description.
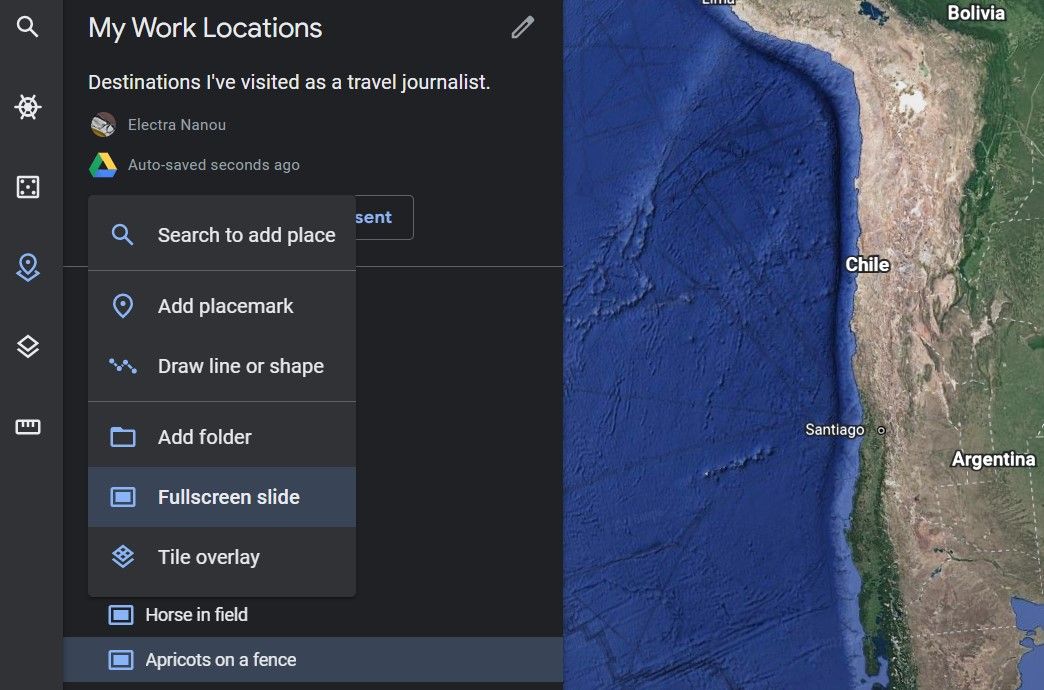
To pin locations of interest, it’s possible for you to either useSearch to add placeorAdd placemark.
The latter is especially good if the location you want is too obscure for Google to find.
Your own placemarks are blank from the start.
A third option is to zoom in on a location, enterStreet View, and clickCapture this view.

you’re able to then add the place to your project after editing its details.
Use this toget Google Earths satellite view of your houseor a landmark from your travels worth sharing.
All three methods let you edit the locations you choose.
This includes:
When happy, just click theBackarrowGoogle automatically saves your project.
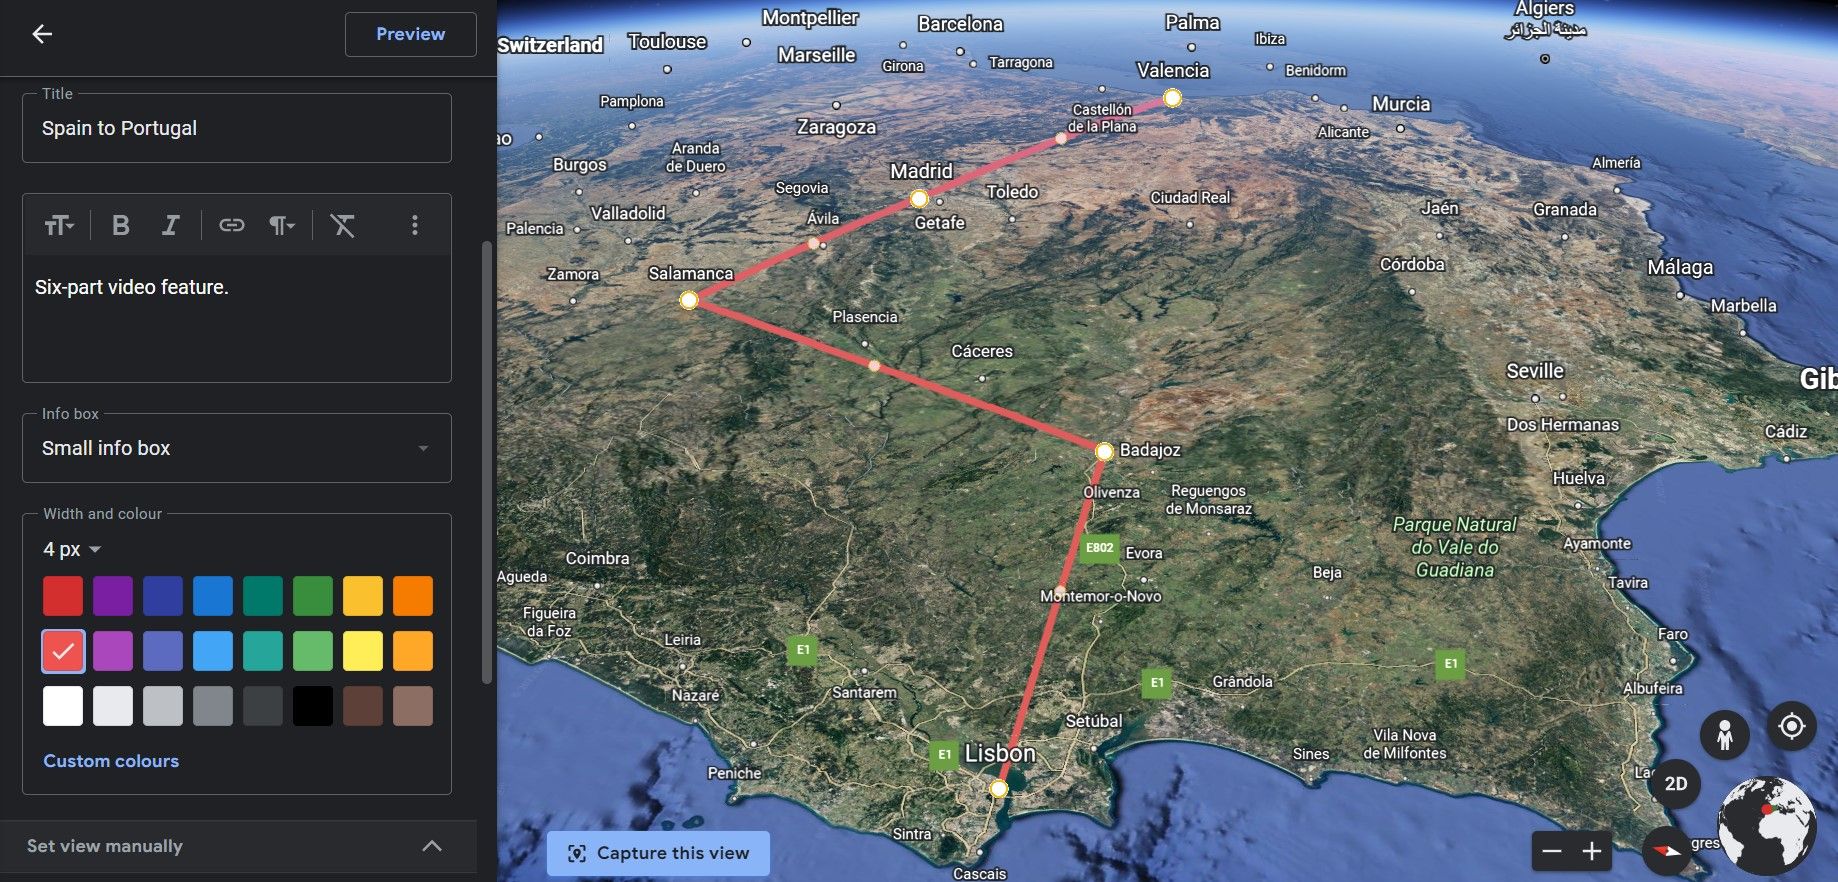
you could use Google Earths lines tool for this.
To do so, selectDraw line or shapefrom theNew featuremenu.
opt for places you want to mark, and lines will automatically appear between them.
HitEnterto save the shape you made and access its editor.
In theNew featuremenu, selectFullscreen slide.
Add several of these visuals throughout the presentation to enrich the experience.
This is especially useful for morecreative projects on Google Earth, like teaching or planning a book.
If you want to skip an item when presenting, click theHide featureicon next to it.
To bring it back, use the same icon.
Present Your Project
With everything in order, hit thePresentbutton.
There are also limits tohow often Google Earth is updated.
