Open up Automator by going to your Applications folder and then double click Automator to open it up.
Alternatively you could useSpotlightorQuicksilverto open up the app.
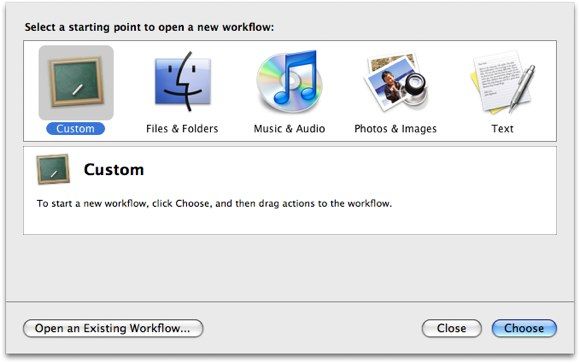
When Automator has loaded up you will be presented with a window similar to the one pictured below.

From here, selectCustomand ht theChoosebutton to begin creating your workflow.
First, search forGet Specified Finder Itemsor clickFiles & Foldersunder Library and then pick the action from there.
When you have found it, drag and drop it to the right to add it to the workflow.

Leave the field empty for now.
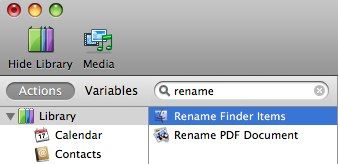
Next, search forrenamein the search field at the top of the app.
When you have found it, drag and drop it to the workflow.
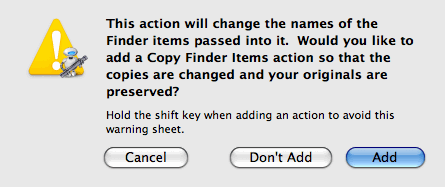
Click onAddto add the action.
Choose a suitable destination for it – a new folder on the desktop should be perfect.
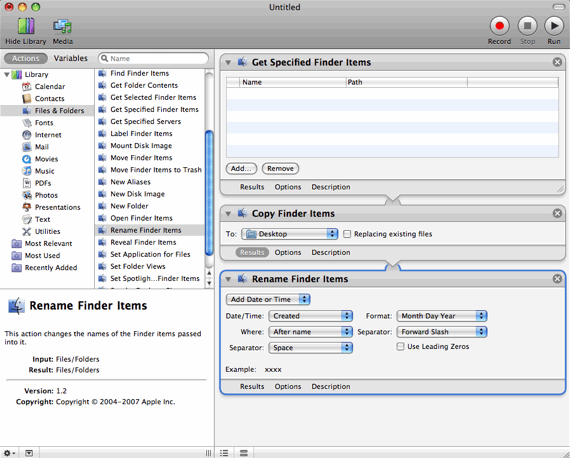
Your workflow should look like the one below.
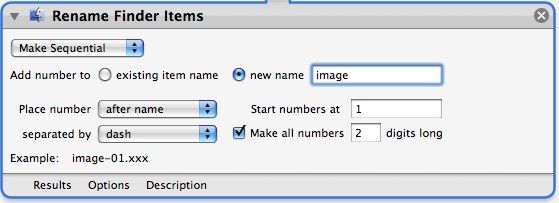
There is one last thing I am going to change and that is withinRename Finder Items.
I am going to changeAdd Date or TimetoMake Sequential.
Also changeAdd number totonew name, set this to whatever you like, I have named itimage.
We are all done.
To rename your images, simpley drag them over the icon and release.
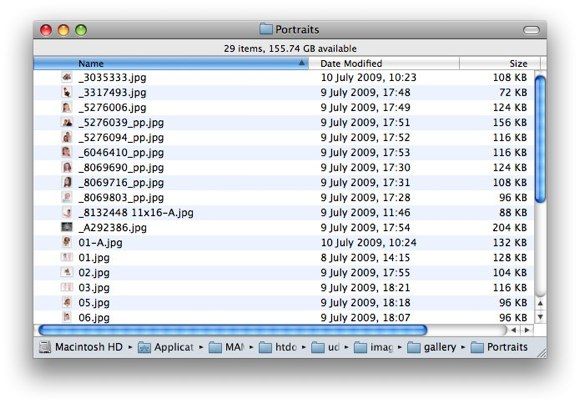
I went from this :
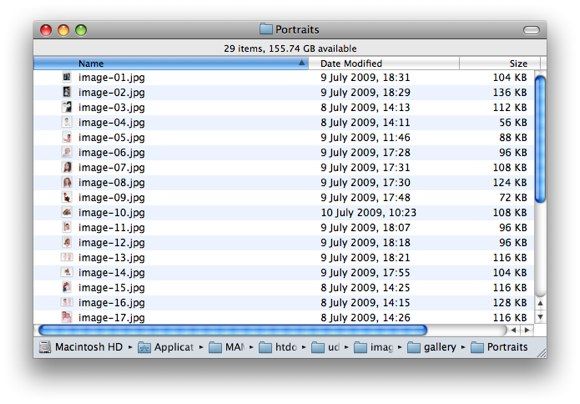
to this with a nice, simple workflow.
If you should probably change the tweaks in the workflow, fire up the “system” in Automator.
There is a bulk rename utility for Mac OS X calledNameChangerthat is similar to what we have just done.