In the last decade, having a 5 MP camera would help you capture the best possible picture.
Here’s how to upscale and restore your photos with GFPGAN.
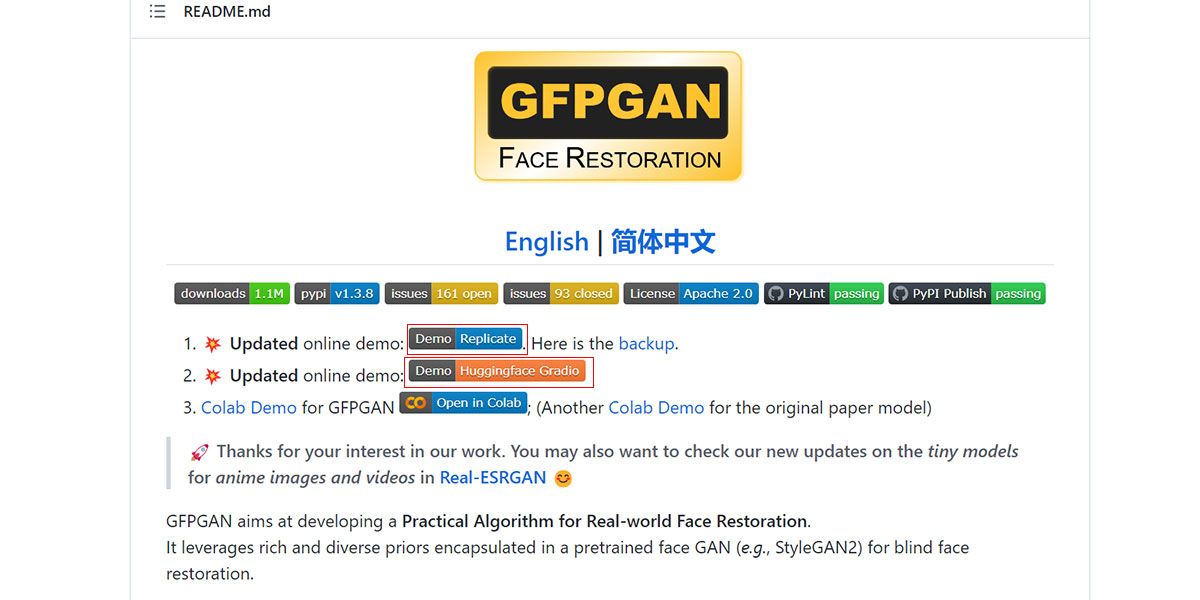
What Is GFPGAN?

GFPGAN (Generative Facial Prior Generative Adversarial data pipe) is an open-source app available for free use onGitHub.
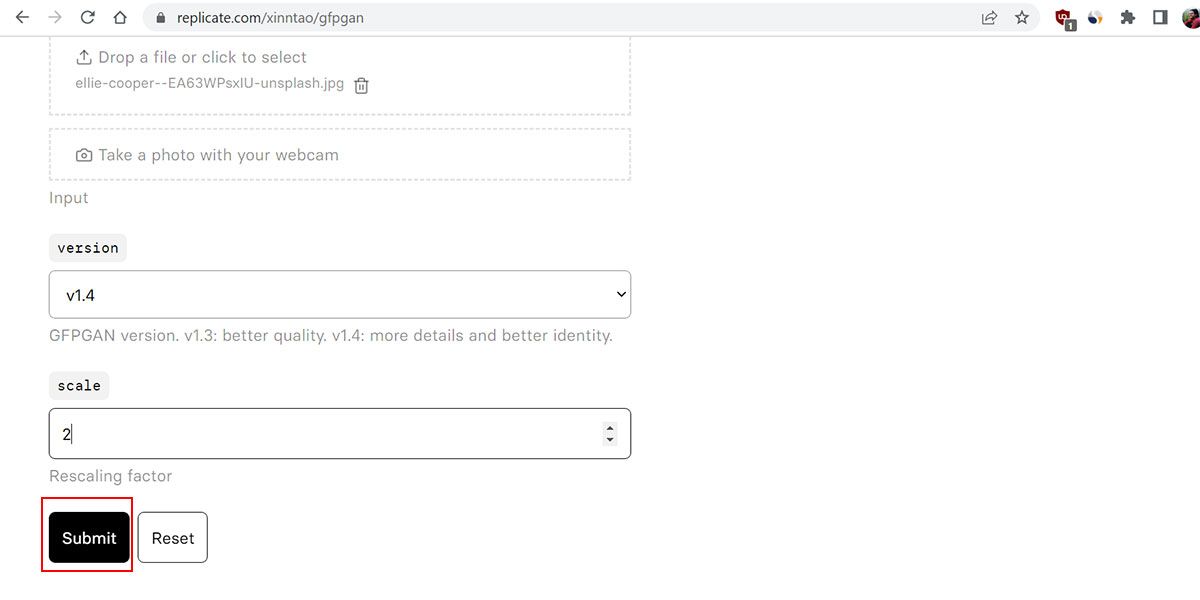
you could either download the code or use one of the online versions to upscale your image.
The software uses a pre-trained GAN model.
Here’s how to do it.
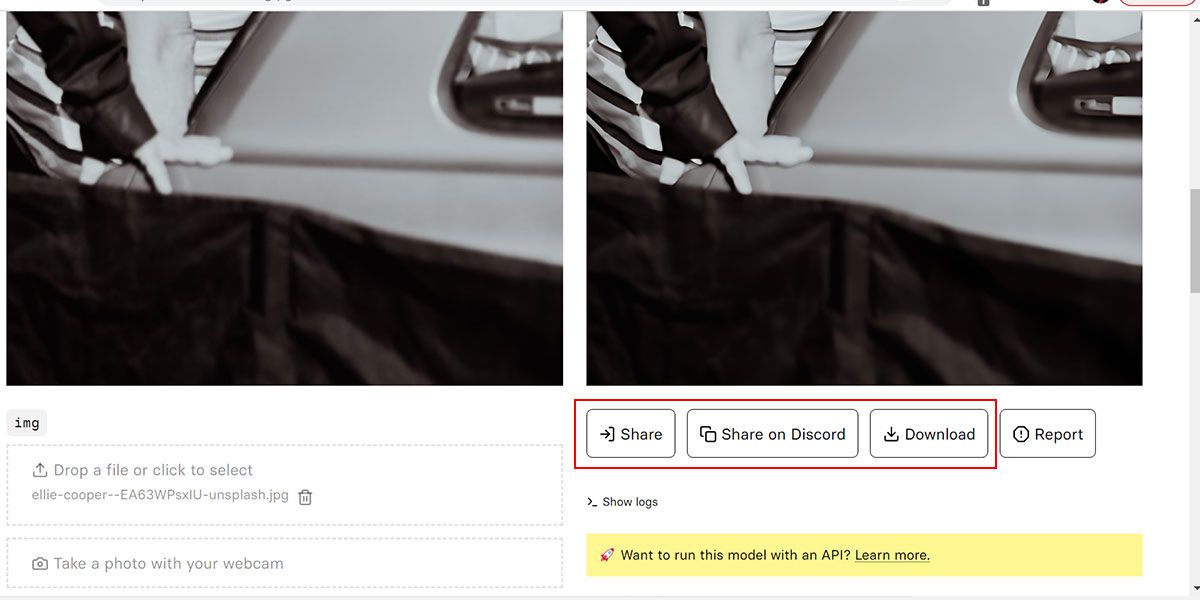
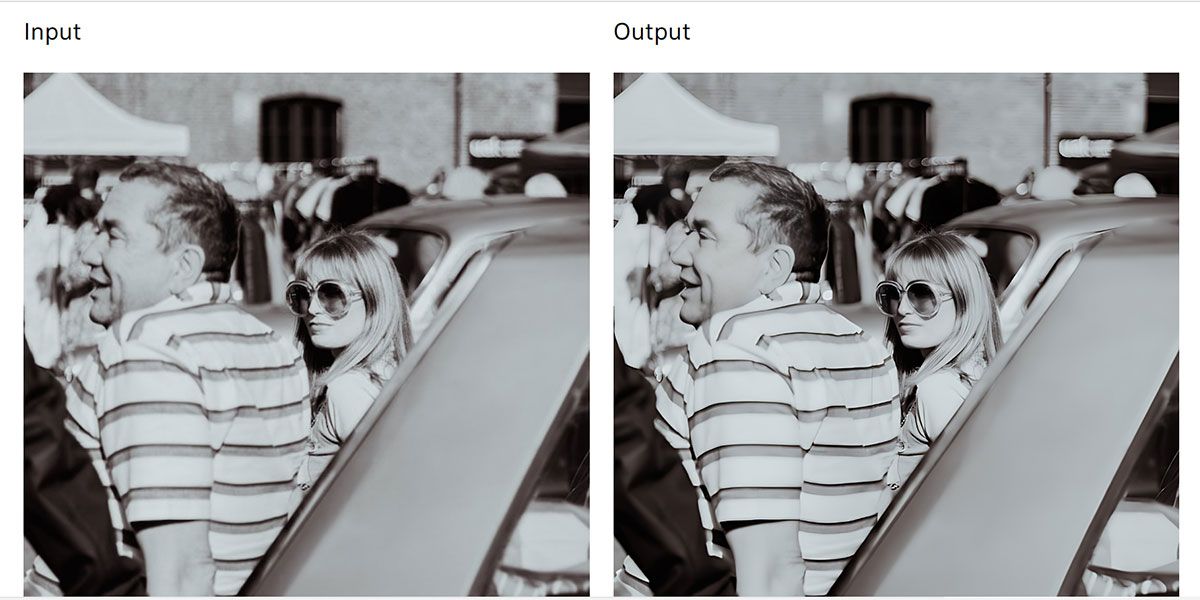
You have successfully upscaled and restored your image using the GFPGAN algorithm.
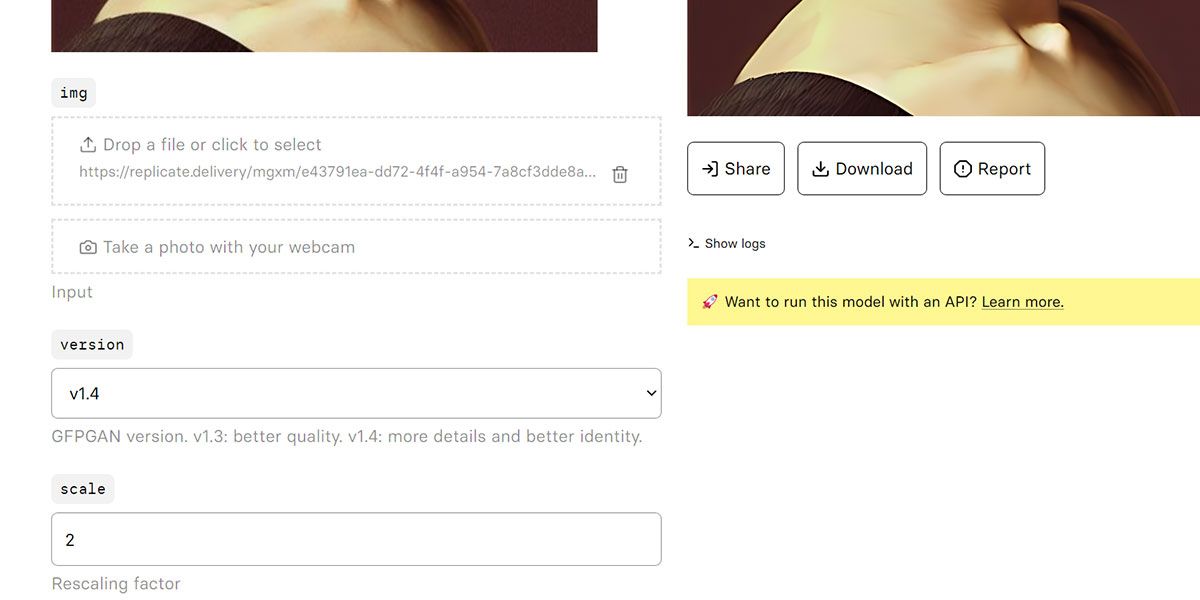
you could tweak the versions and scaling factor to avail different results.
For instance, the image-upscaling algorithm makes guesses while adding the extra pixels.
Therefore, there is a chance that the person might look entirely different from the original.
However, the algorithm is so seamless that identity loss rarely happens.
Also, GFPGAN is precisely made for face restoration.
In some cases, an object might look overly edited or smooth.
This makes the image look unnatural.
Currently, GFPGAN is yet to reach its maximum potential.
Therefore, you will find the upscaled images aren’t that sharp.
And the photos look overly smooth.
You cansharpen the image using Photoshopto achieve better results.
Lastly, the tool has a limited amount of processing power.
Therefore, you might find it troublesome to enhance a large file.
But an old low-resolution image won’t have a large file size.
The Differences in the GFPGAN Versions
The GFPGAN algorithm has various versions you could use.
The latest one is naturally better, but it’s not always constructive in some use cases.
Version 1
The first version of GFPGAN is impressive.
It generates an output closely similar to the input image.
In addition, it has a colorization feature that automatically colors your black-and-white image.
However, it can have a hard time regenerating damaged images.
Version 1.2
The second version, or Version 1.2, is an upgraded algorithm.
It will make your images very high-definition.
The only shortcoming of this version is its best quality.
The upscaled image looks overly shiny and unnatural because of the beauty makeup feature.
reckon it’s the tool is implementing HDR technology for punchier images.
However, the feature works best for landscapes and can simultaneously make a facial image look like a painting.
So, you’ve got the option to use this version for photos with landscapes.
Version 1.3
Version 1.3 is better than the former two versions.
It reduces the overly shiny effect from Version 1.2 and makes the images look more natural.
Still, it provides the best results compared to previous versions.
Version 1.4
Version 1.4 is slightly updated from Version 1.3 for better results.
It can work with very low-quality images providing the best results.
In addition, this version can also remove damage from the photo naturally.
The tool is still in development, so it is possible to see better versions in the future.
Although it updates regularly, it’s possible for you to find the older versions on the GitHub website.
Some versions work better for specific tasks, whereas sometimes, all the results look identical.
