Here are six important parameters and features to check to make it utilize this fantastic feature.
DaVinci Resolve needs that direct link to your account so that ensure this process is completed accurately.
In the controls menu under theSystemtab, you will find theInternet Accountsmenu.
Here you might sign in to YouTube, Vimeo, Twitter, and Dropbox.
Signing in to each of these systems allows you to upload directly to them from Resolve.
This may become even more prevalent with the announcement ofDaVinci Resolve coming to iPad.
Is Your Copy Named and Saved in the Right Place?
When the video edit is complete and ready for export, its time to navigate to theDelivertab.
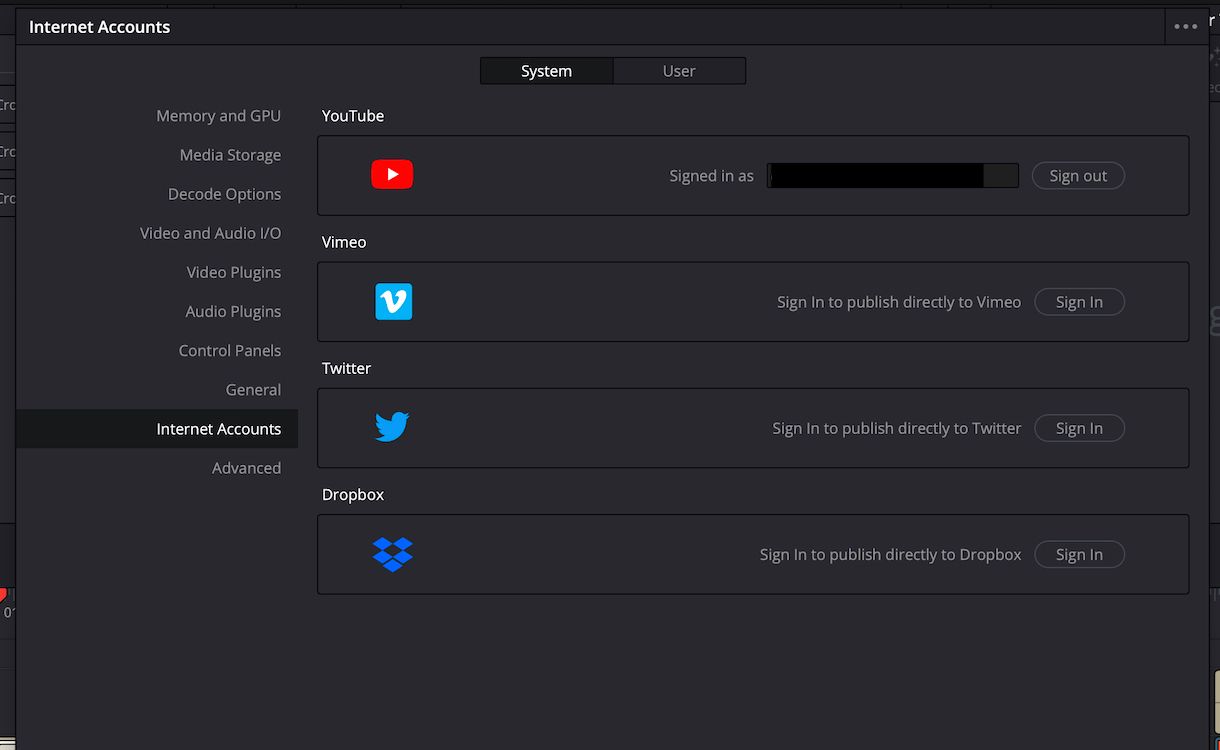
TheRender Settingssection has a number of output options, such as H.264 and ProRes.YouTubecan also be found here.
Alongside uploading your video to YouTube, Resolve will also spit out a file for you to store locally.
To facilitate this, the first two lines to fill are theFile NameandLocation.
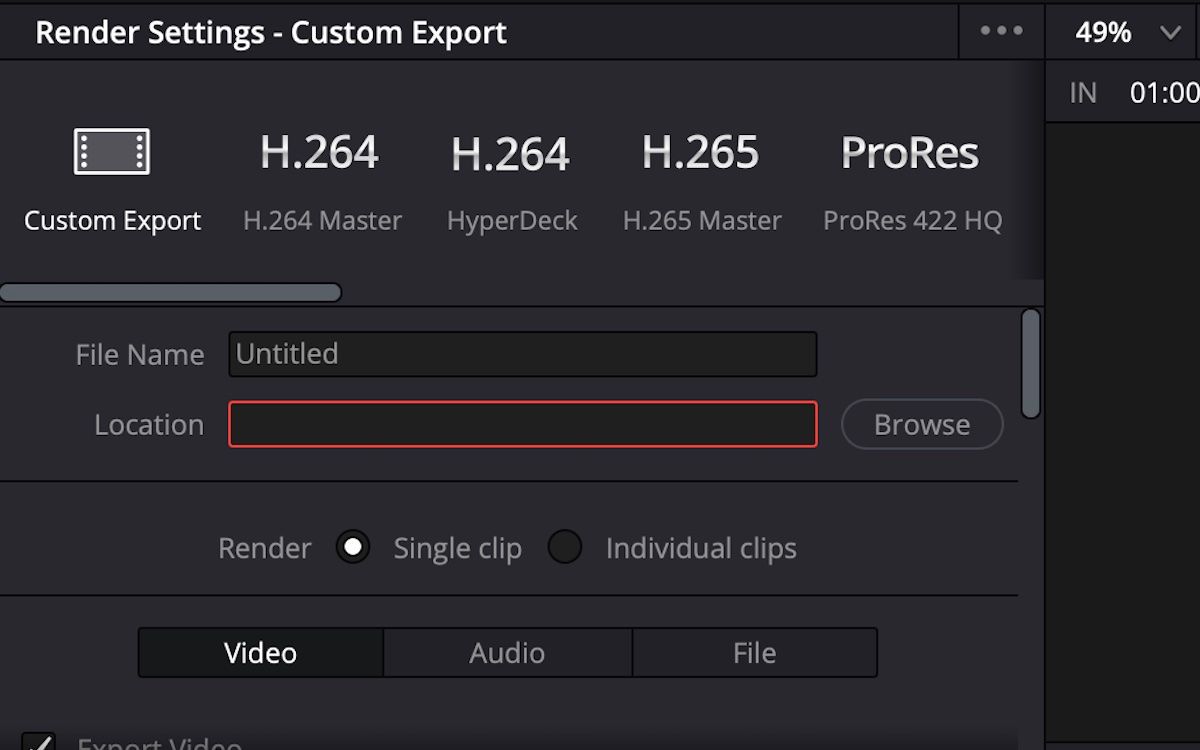
TheResolutionhas a number of options ranging from 720x480 NTSC to 3072x2048 VistaVision.
There is also a custom option just in case you oughta fit some other, more specific resolution requirements.
There are twoVideo Codecsto choose from; H.264 and H.265.
For YouTube, theAudio Codecis locked in with AAC and the target media has a little flexibility.
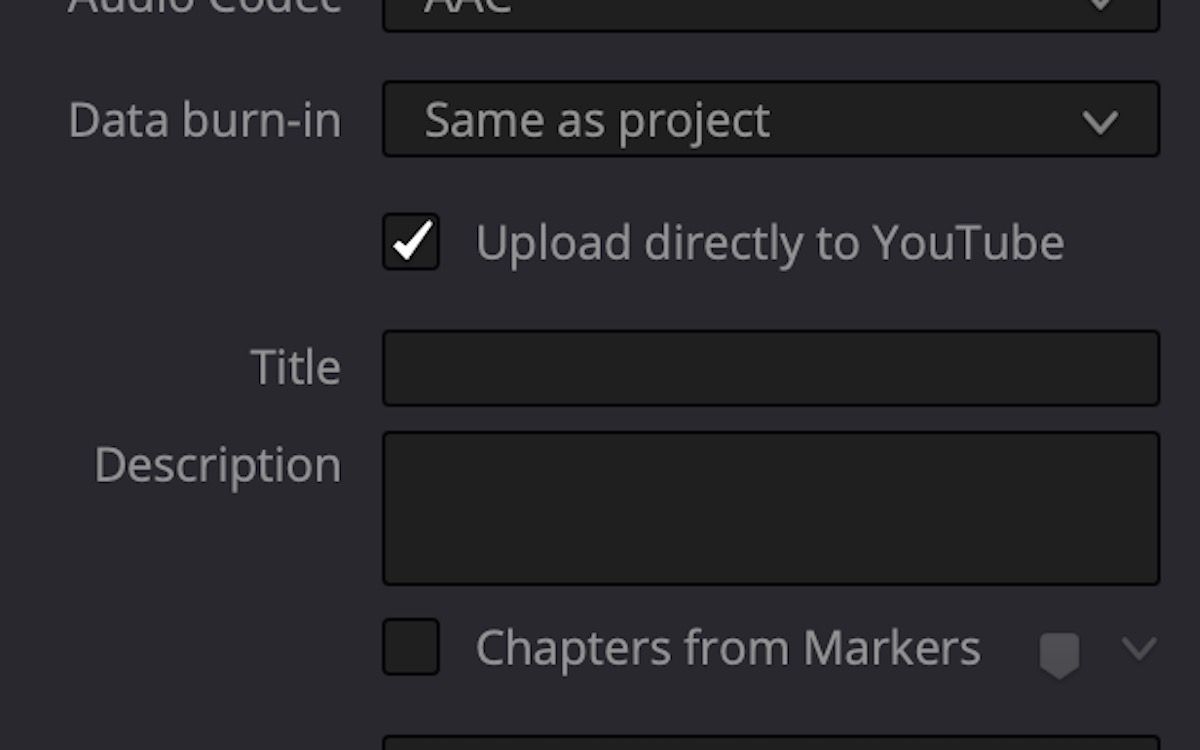
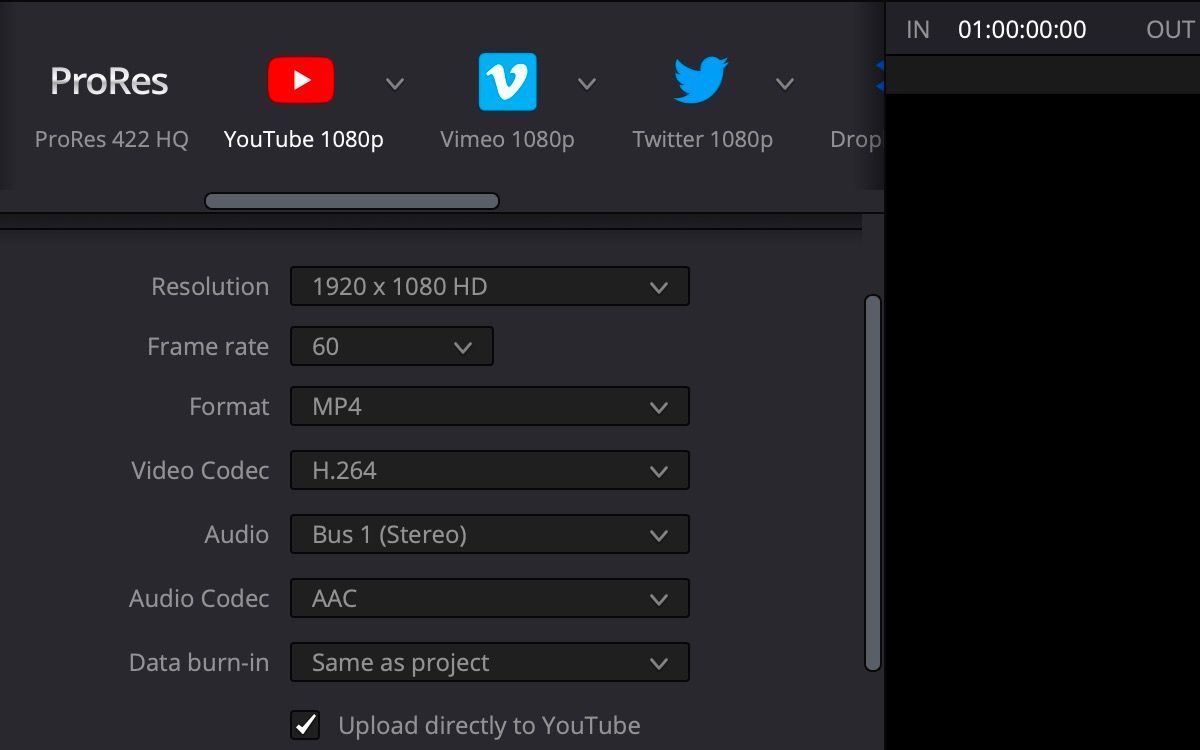
Directly below the video and audio controls, youll see theUpload directly to YouTubecheck box.
Here you’re free to also give your project aTitleandDescriptionfor YouTube.
It doesnt necessarily have to match the locally stored file name.
Without this little box being checked, the whole process falls apart.
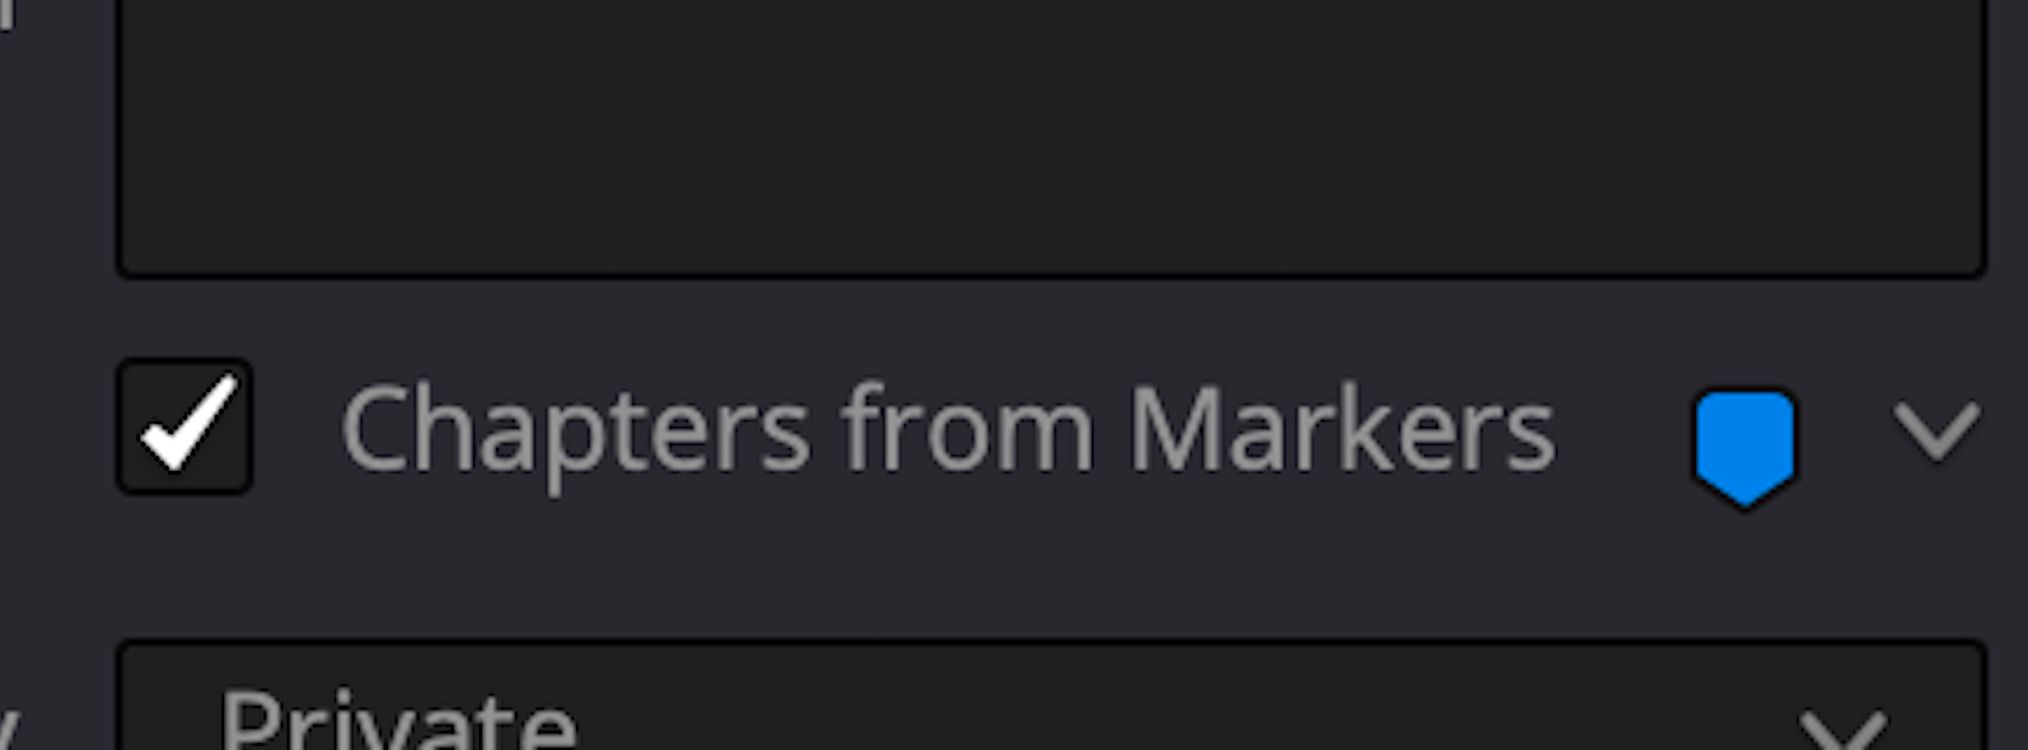
Create Chapters From Markers
It is very common to segment YouTube videos using chapters.
This allows viewers to skip ahead or jump back to specific video portions that they wish to view.
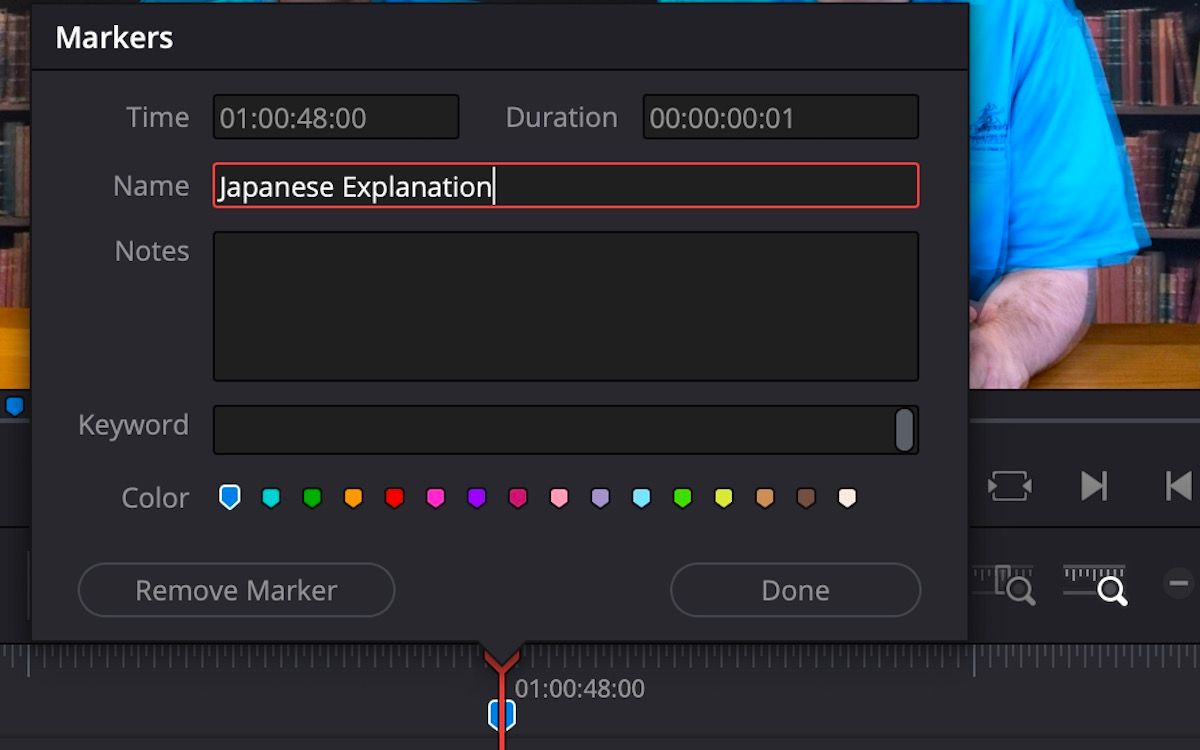
If you are new to the system, using flags and markers can seem like a tricky process.
Double-Check Your Visibility
Another important setting not to forget is privacy.
Below the Chapters from Markers option, there are two drop-down menus.
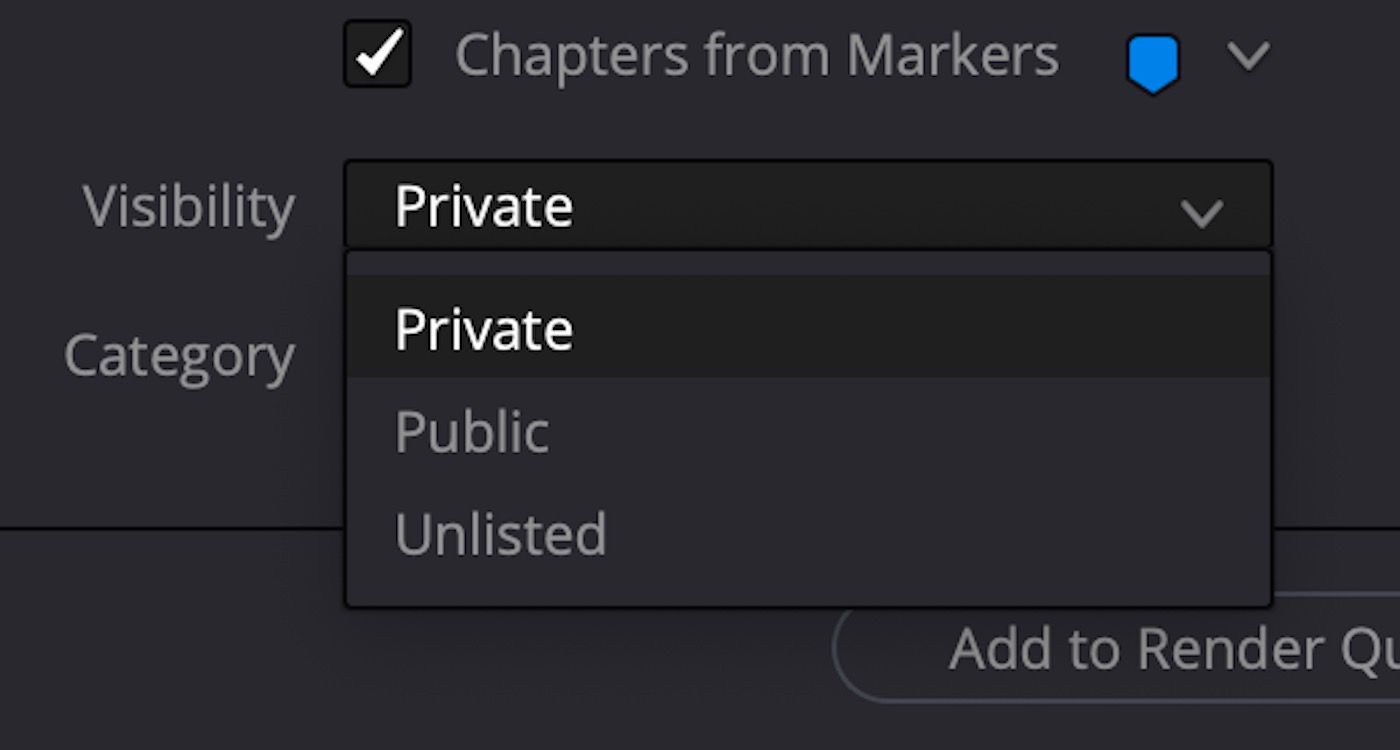
The first isVisibility, where you might set if your video will be private, public, or unlisted.
The second is the (optional) YouTubeCategorythat the video belongs to.
This is because the video file has to meet YouTube’s basic requirements.
The ability to upload directly to YouTube from Resolve reduces this risk of loss of quality.
It also saves time by completing the upload during the rendering process.
There isnt yet a way to organize your YouTube file system on Resolve.
