There are many reasons why you might want to complete an Xbox 360 teardown.
It’s not just repairs, though.
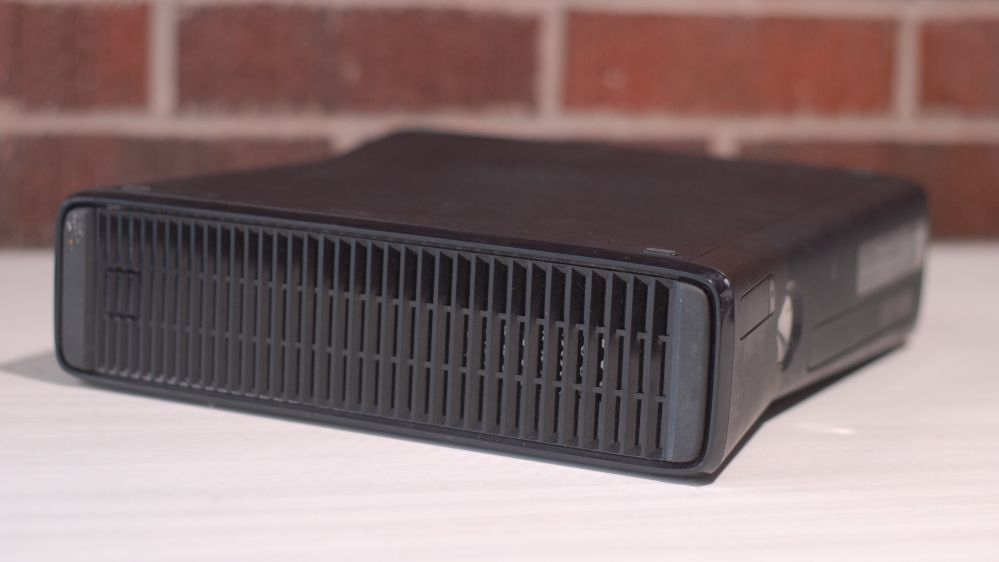
No matter the reason, disassembling your Xbox 360 is possible in just a few steps.
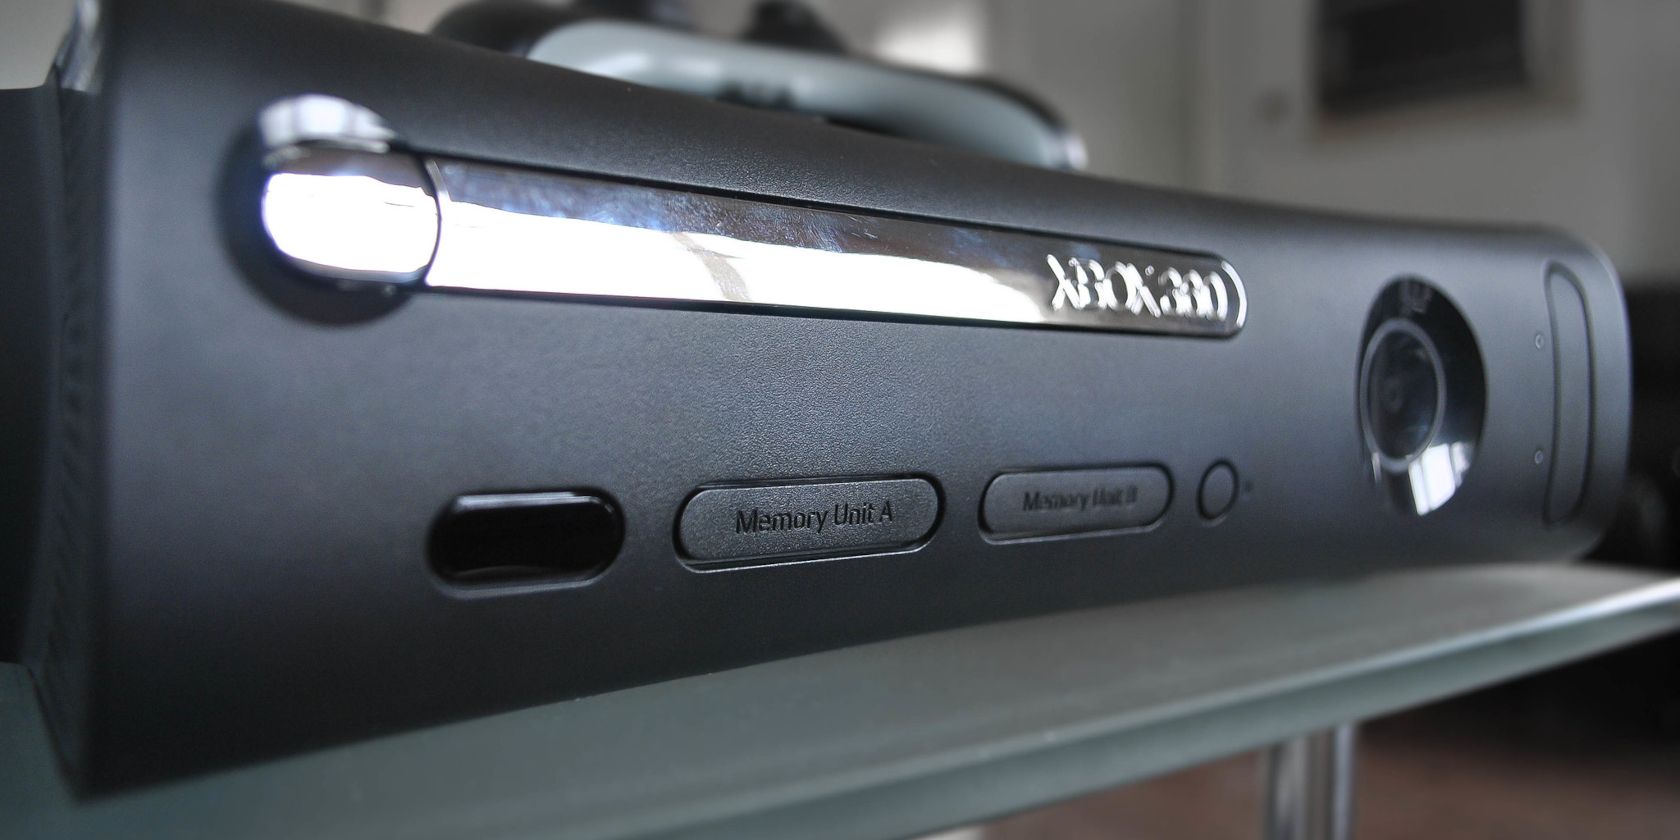
Image Credit: YuMaNuMa/Flickr/CC BY 2.0
Remember to ground yourself as you work by touching an unpainted metal surface within the Xbox 360.
This will reduce the likelihood of static electricity damaging the internal components.
Unlike many comparative consoles, accessing the inner workings of your Xbox 360 is somewhat difficult.
The process of opening your Xbox 360 will vary by model.
The Xbox 360, Xbox 360 S (Slim), and Xbox 360 E have notably different cases.
As a result, the locations of the brackets holding the case together differ.
In this article, we’ve disassembled an Xbox 360 S.
1.
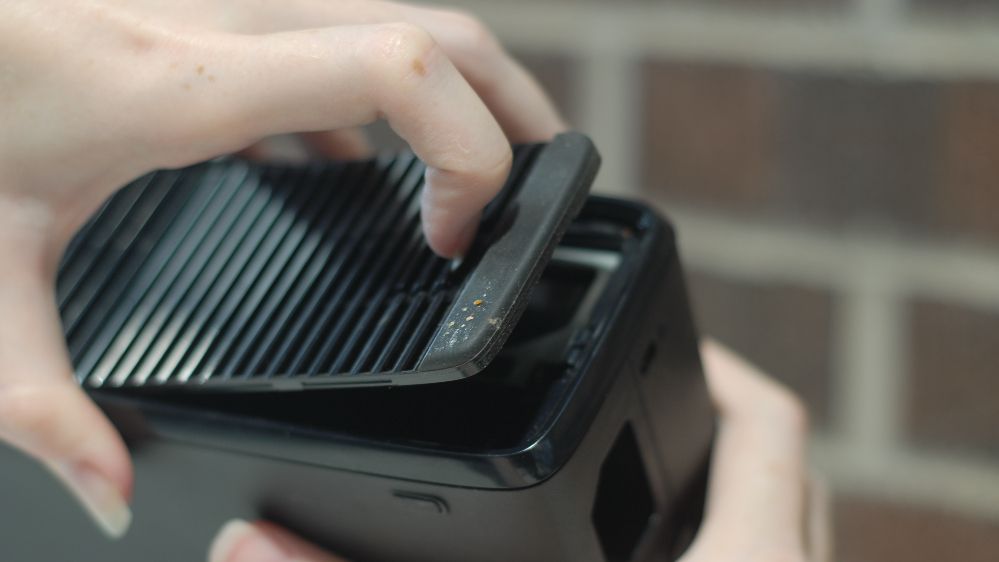
You’ll need to start by detaching the two side covers.
The bottom side cover has a latch that lets you click and release it.
Afterward, you’ll need to unclip the other side panel portion gently.
After you’ve removed the bottom side cover, you’ll need to remove the top side cover.
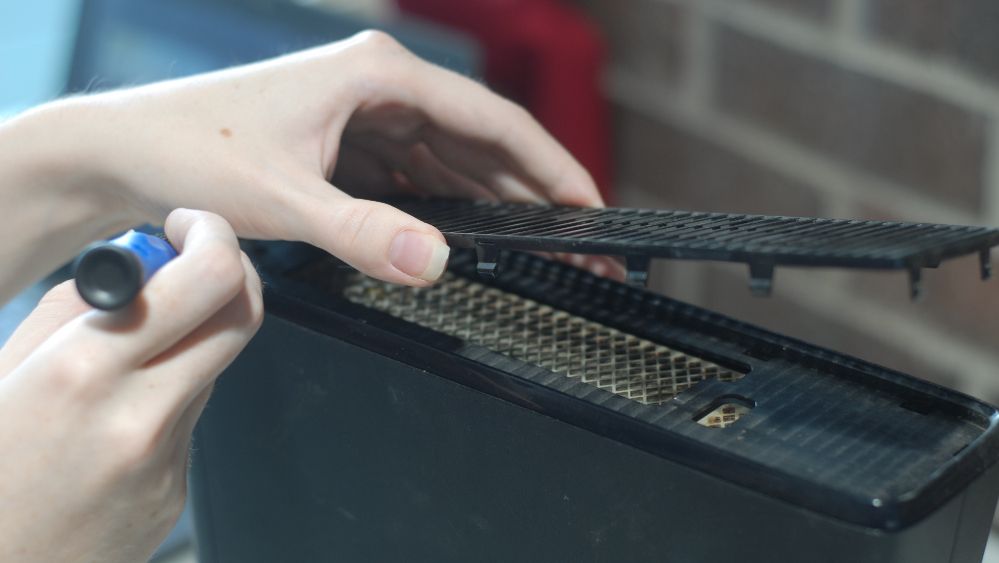
Unfortunately, these can be quite difficult to remove.

Angle the blade of the spudger upward until the clip holding the faceplate pops loose.
It’s hard not to feel like you’re breaking something during this step.
Ultimately, removing the two faceplates for the first time will require a bit of pressure.
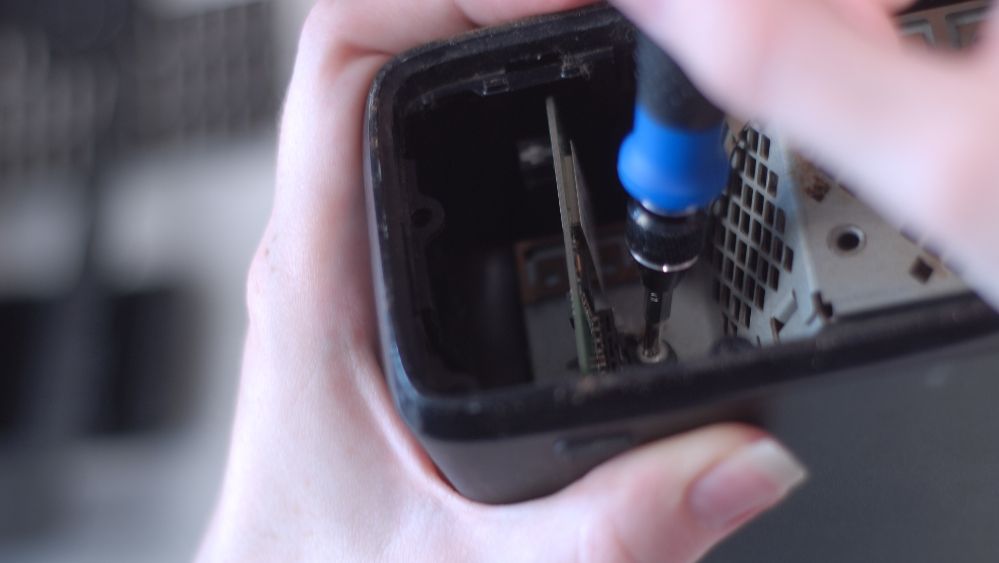
The Wi-Fi adapter is under the top faceplate, while the hard drive is under the bottom faceplate.
You’ll need to use your Torx T10 screwdriver to remove the Wi-Fi adapter.
Remove the screw, then gently pull the Wi-Fi adapter from its port and out of the chassis.
Set the hard drive and Wi-Fi adapter aside on a safe, clean surface.
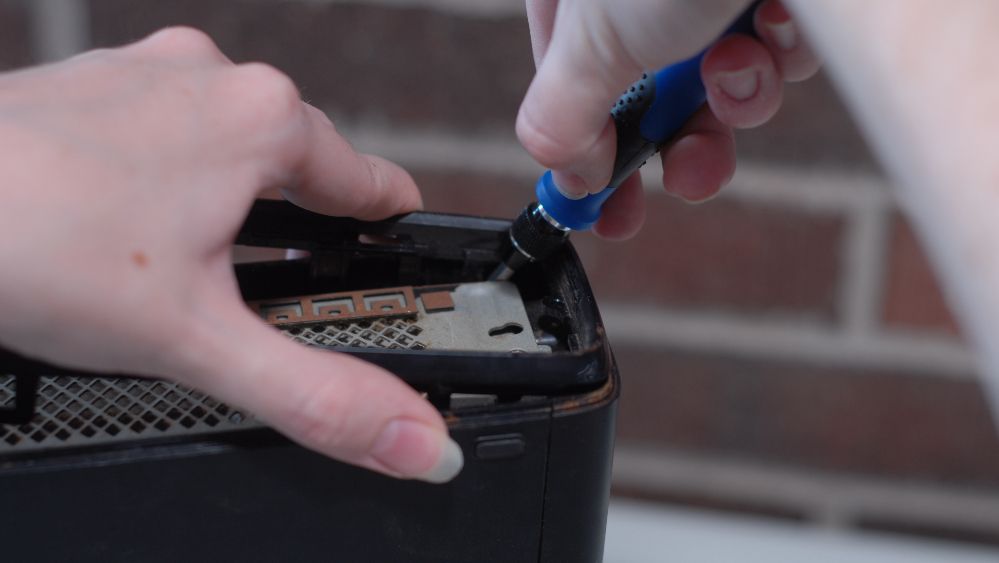
Use your spudger to apply pressure beneath the two clips holding the back frame in place.
You may need to hold the sides apart to prevent them from clipping back together.
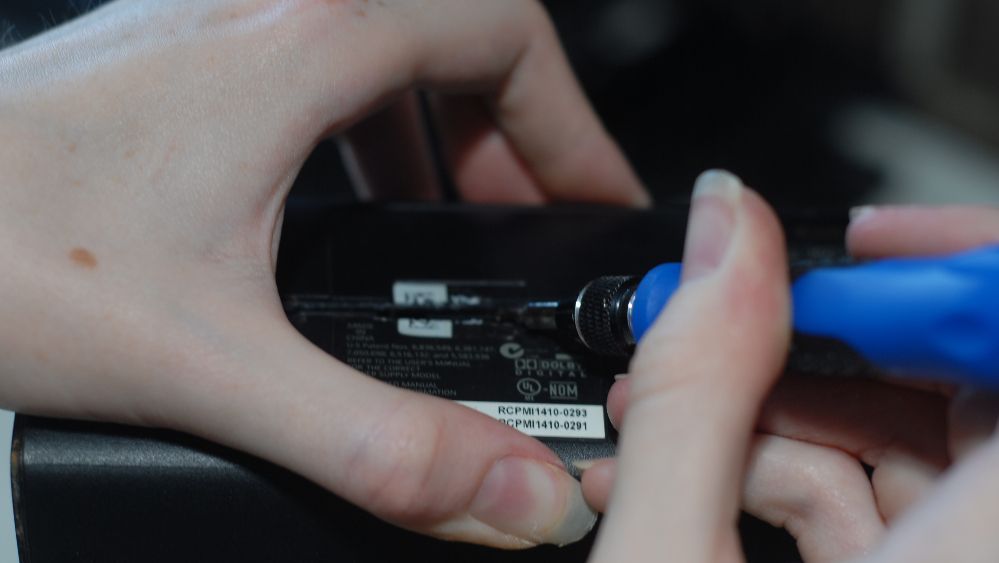
Remove all the screws with your T12 screwdriver and set them aside in a secure container.
It’s vital to verify that you remove the correct screwsin this case, the six pictured above.
Each screw is 2.5" long.
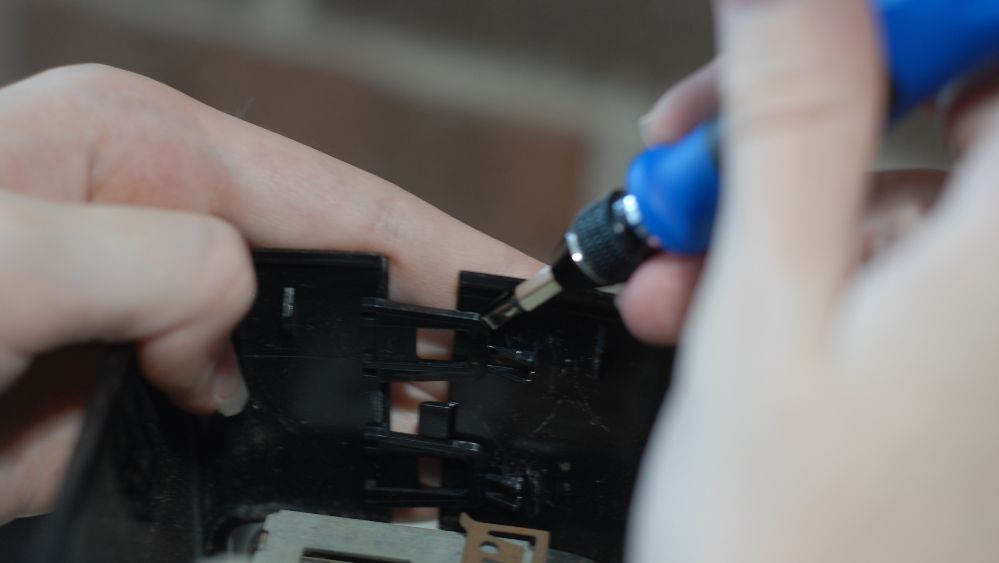
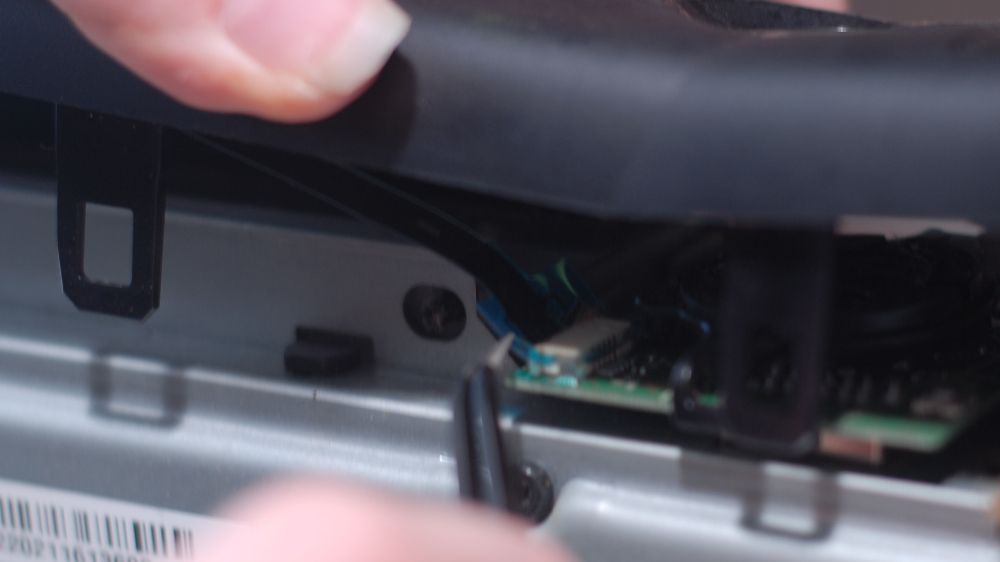
Pull Away the Front Panel
Finally, you’re ready to remove the front panel.
You’ll need to release two clips on each side of the front panel to allow it to release.
When it releases, flip your Xbox 360 again and release the clip under the top side panel.

Gently ease the front panel away from your Xbox 360, but don’t attempt to remove it completely.
The front panel is still connected to your Xbox by an important and delicate cable.
Take Precautions When Accessing Internal Components
Remember to be cautious as you work within your Xbox 360.
Your immediate access to the DVD drive, RF board, and motherboard means all components are at risk.
Avoid wearing static-prone garments made from fabrics like wool, fur, cotton, or silk.
Most importantly, research any repairs or modifications you intend to complete carefully.
While the proper methods might not be as easy as popular workarounds, they will provide fantastic results.
Most of the disassembly process involves removing the various plates that protect the inner components of the console.
