We’ll explain each method in detail below.
There are three main keyboard shortcuts, each of which helps you take a screenshot differently.
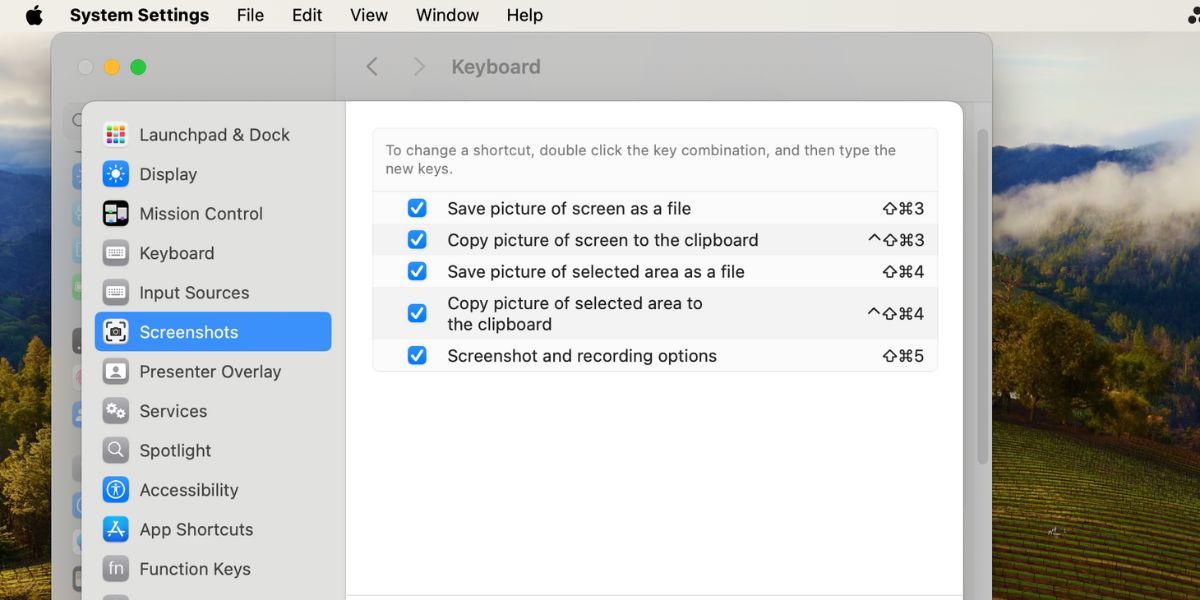
Before proceeding further, ensure you’ve enabled the keyboard shortcut feature first.
Hamlin Rozario/MakeUseOf
Go toSystem configs > Keyboard > Keyboard Shortcuts > Screenshots.
Check the list of boxes there and clickDone.
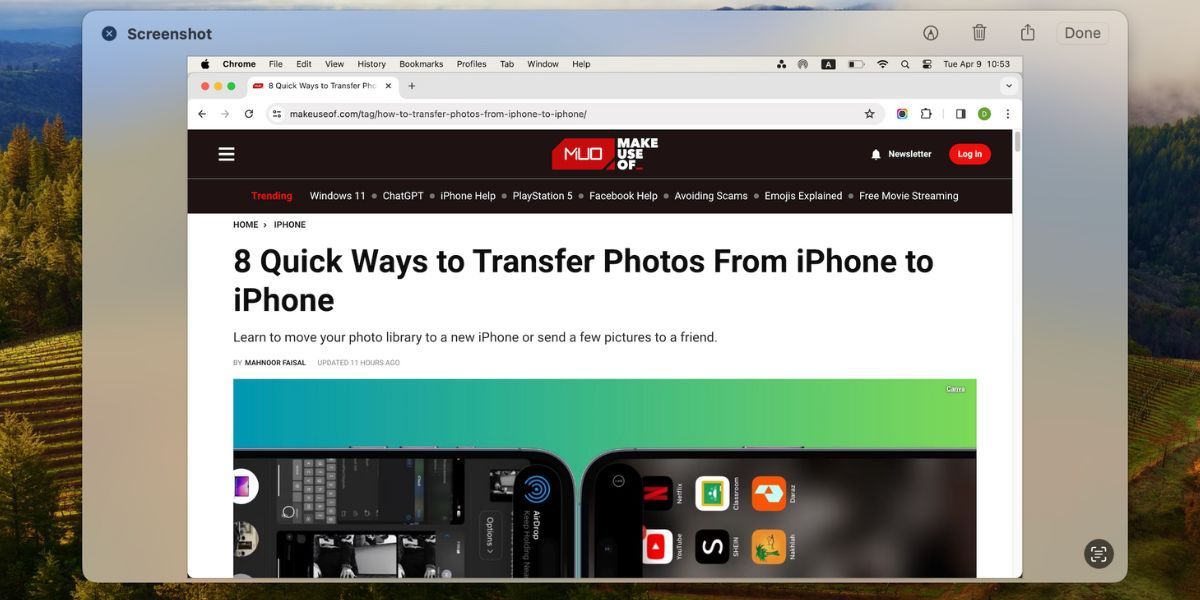
When you do that, you’ll see an image appear in the bottom-right corner of your screen.
you’re able to tap on the image to edit, annotate, or delete the screenshot.
you’re free to add text, sketches, shapes, and even your signature.
macOS saves the image as a PNG file by default.
However, if needed, you canset your Mac to save screenshots as JPG.
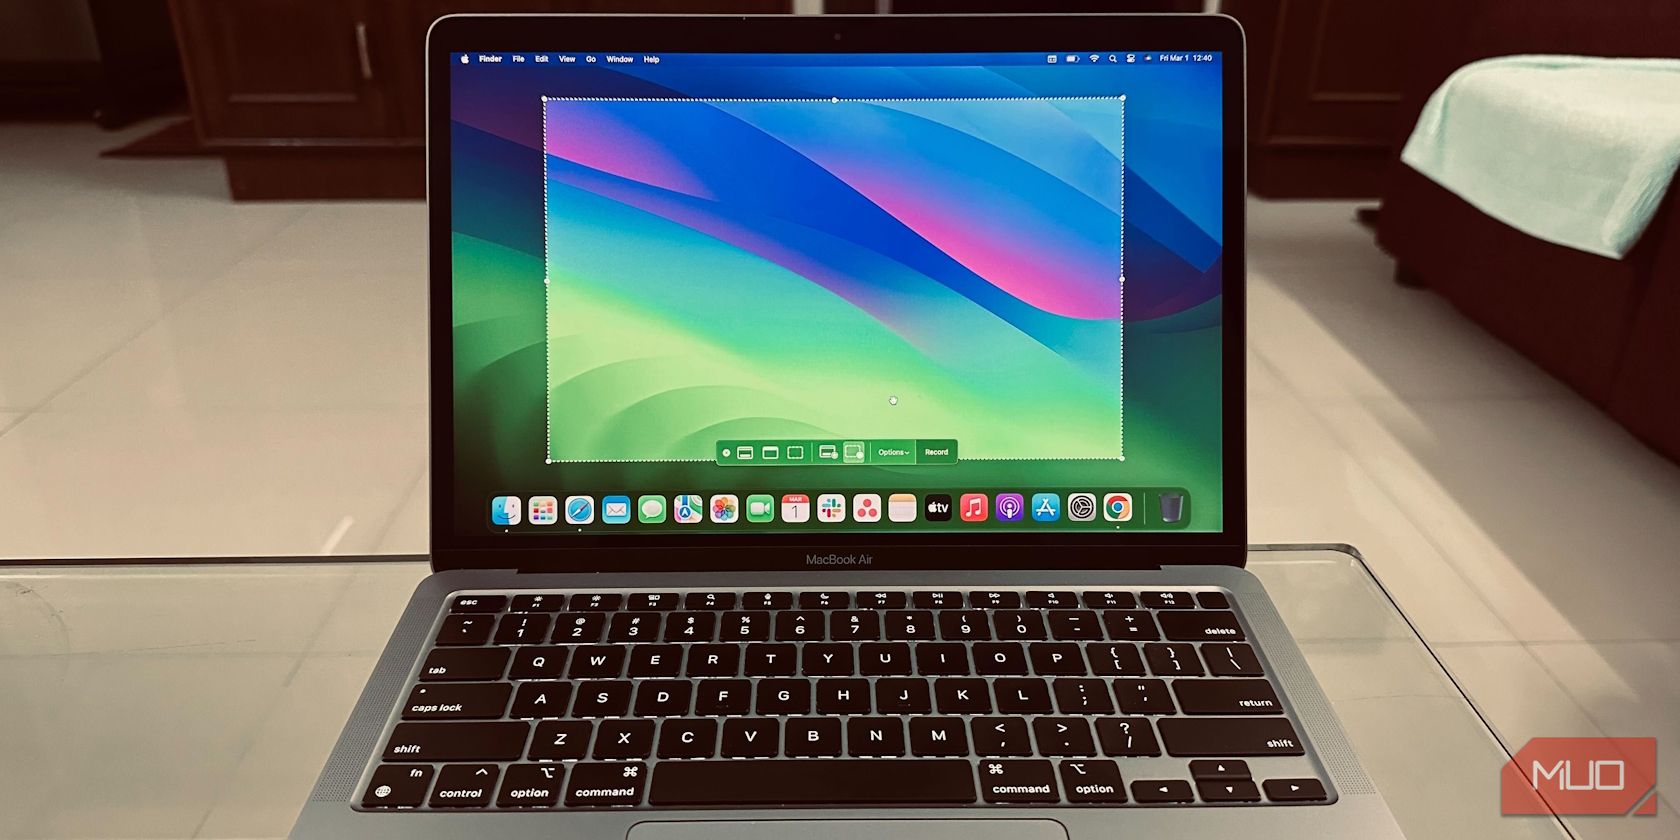
Notice that your cursor turns into a crosshair icon.
Simply click and drag it across the part of the screen you want to screenshot.

To resize your selection proportionally from the center, hold down theOptionkey.
And if you want to move the selection, hold downSpaceinstead.
Changed your mind about taking the screenshot?

Hit theEsckey to cancel the action.
And once you’re satisfied with the selection, release the trackpad or mouse.
Take a Screenshot of an App Window
Want to take a screenshot of an active app window?
First, hitCmd + Shift + 4.
Then hitSpace, and you’ll see the crosshair turn into a camera.
The active window appears highlighted, and if you hit the camera, you get a screenshot of it.
We’ll discuss this in the next section.
To access it, go toFinder > Applications > Utilities > Screenshot.
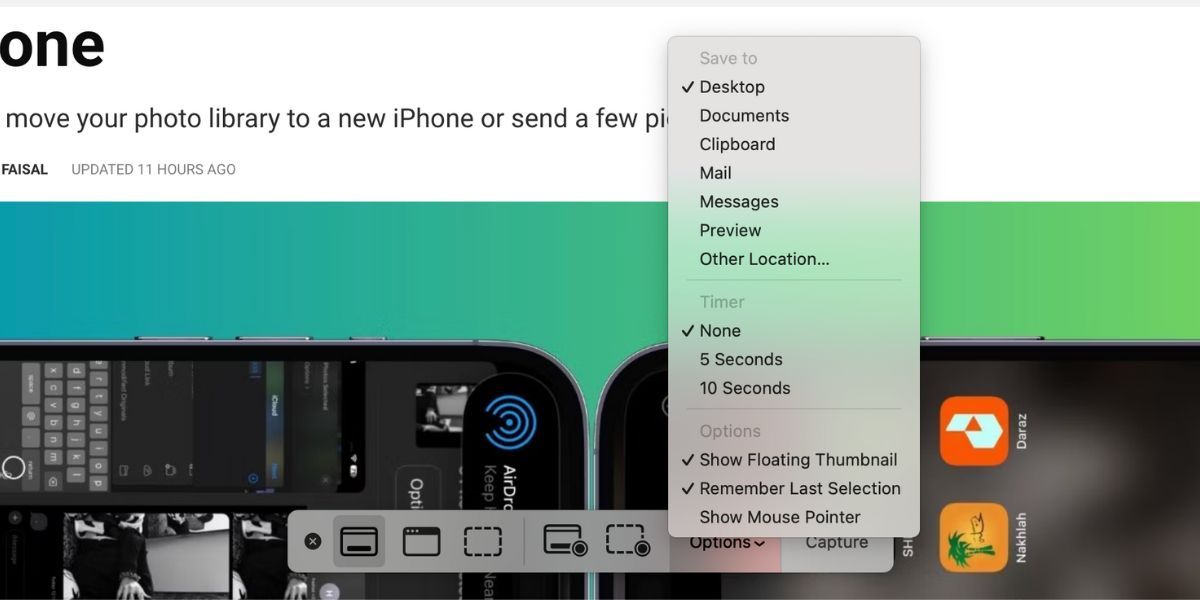
Alternatively, you’re able to use the shortcutCmd + Shift + 5to bring up the app.
To take a timed screenshot, clickOptionsand choose either5or10 seconds.
Then, clickCaptureto start the countdown timer.
The native Screenshot utility also serves as a simplescreen recorder app for your Mac.
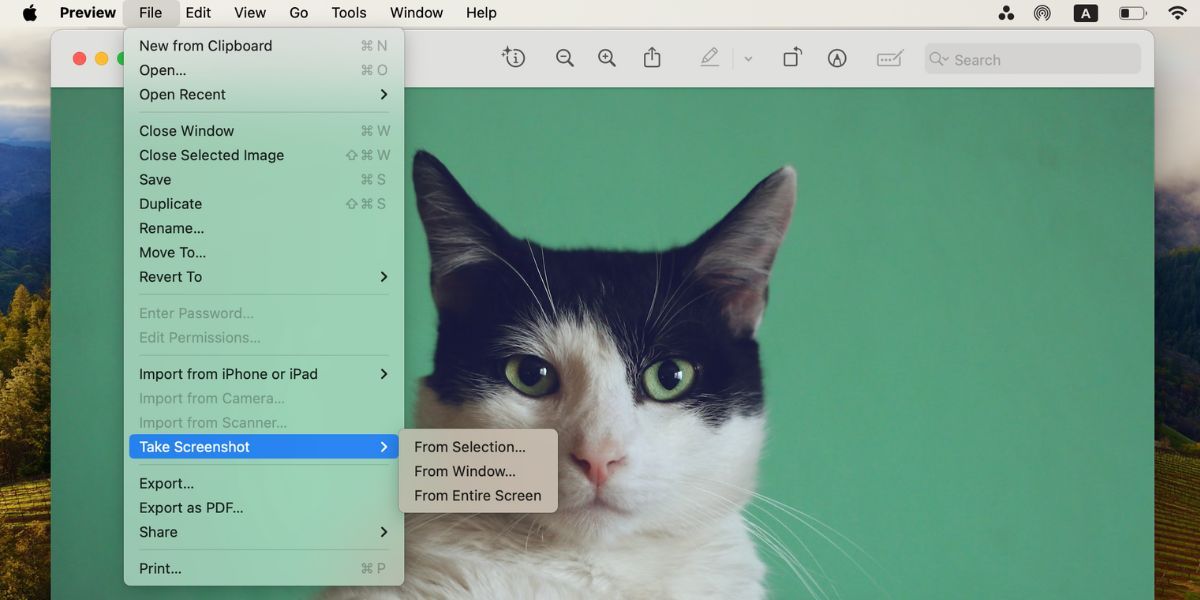
Of course, you’re free to also instantlyedit your screenshots in Previewbefore saving them.
To take a screenshot in Preview, go toFile > Take Screenshot.
Unfortunately, Preview doesn’t let you take timed screenshots.

you’re able to try one of these free third-party apps to take a screenshot on your Mac.
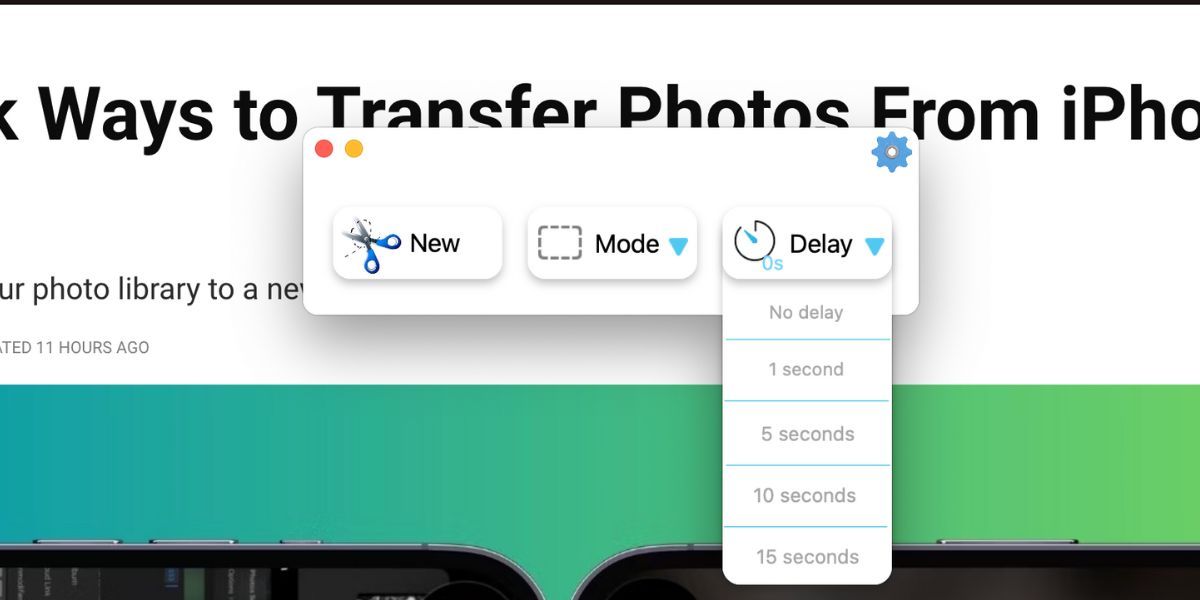
Snip My
Snip My has several timed screenshot options.
you could choose to have a screenshot delayed from 1 to 15 seconds.
The app lets you take a screenshot of multiple screens as well.
On the paid subscription, you might opt to take a circular screenshot, too.
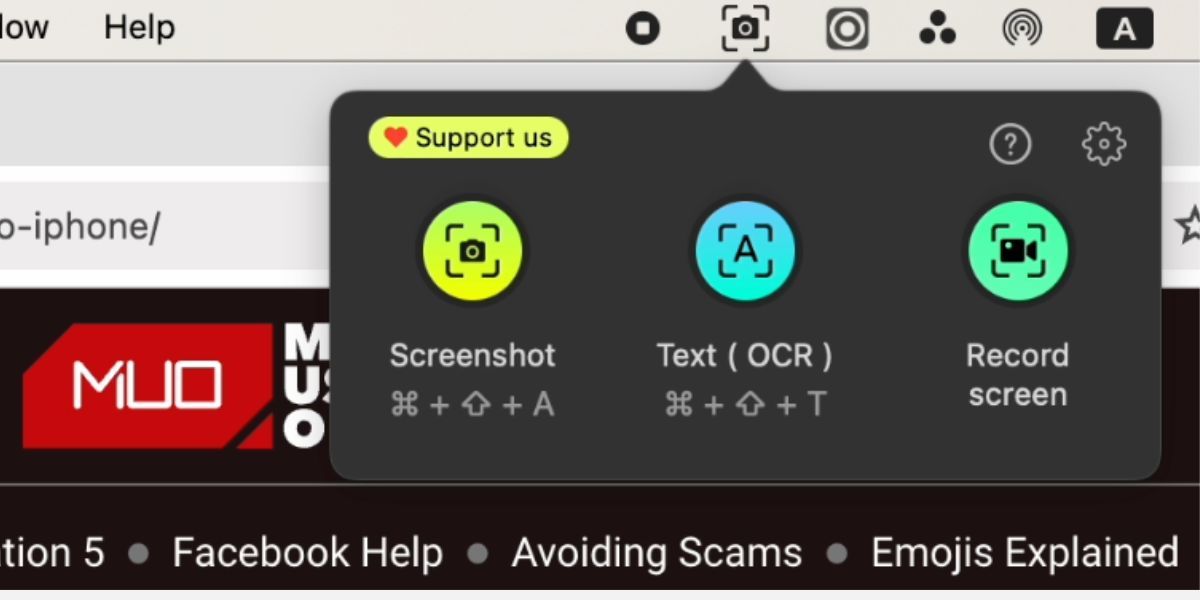
Download:iScreen Shoter(Free, premium version available)
3.
The best option depends on what exactly you want to take a screenshot of.
In rare cases, a screenshot may not capture all elements of the macOS user interface.
In those situations, the workaround would be toscreen record your Macand then take a screenshot from the video.
