Discover a couple of ways to use it and how to control where your screenshots end up.
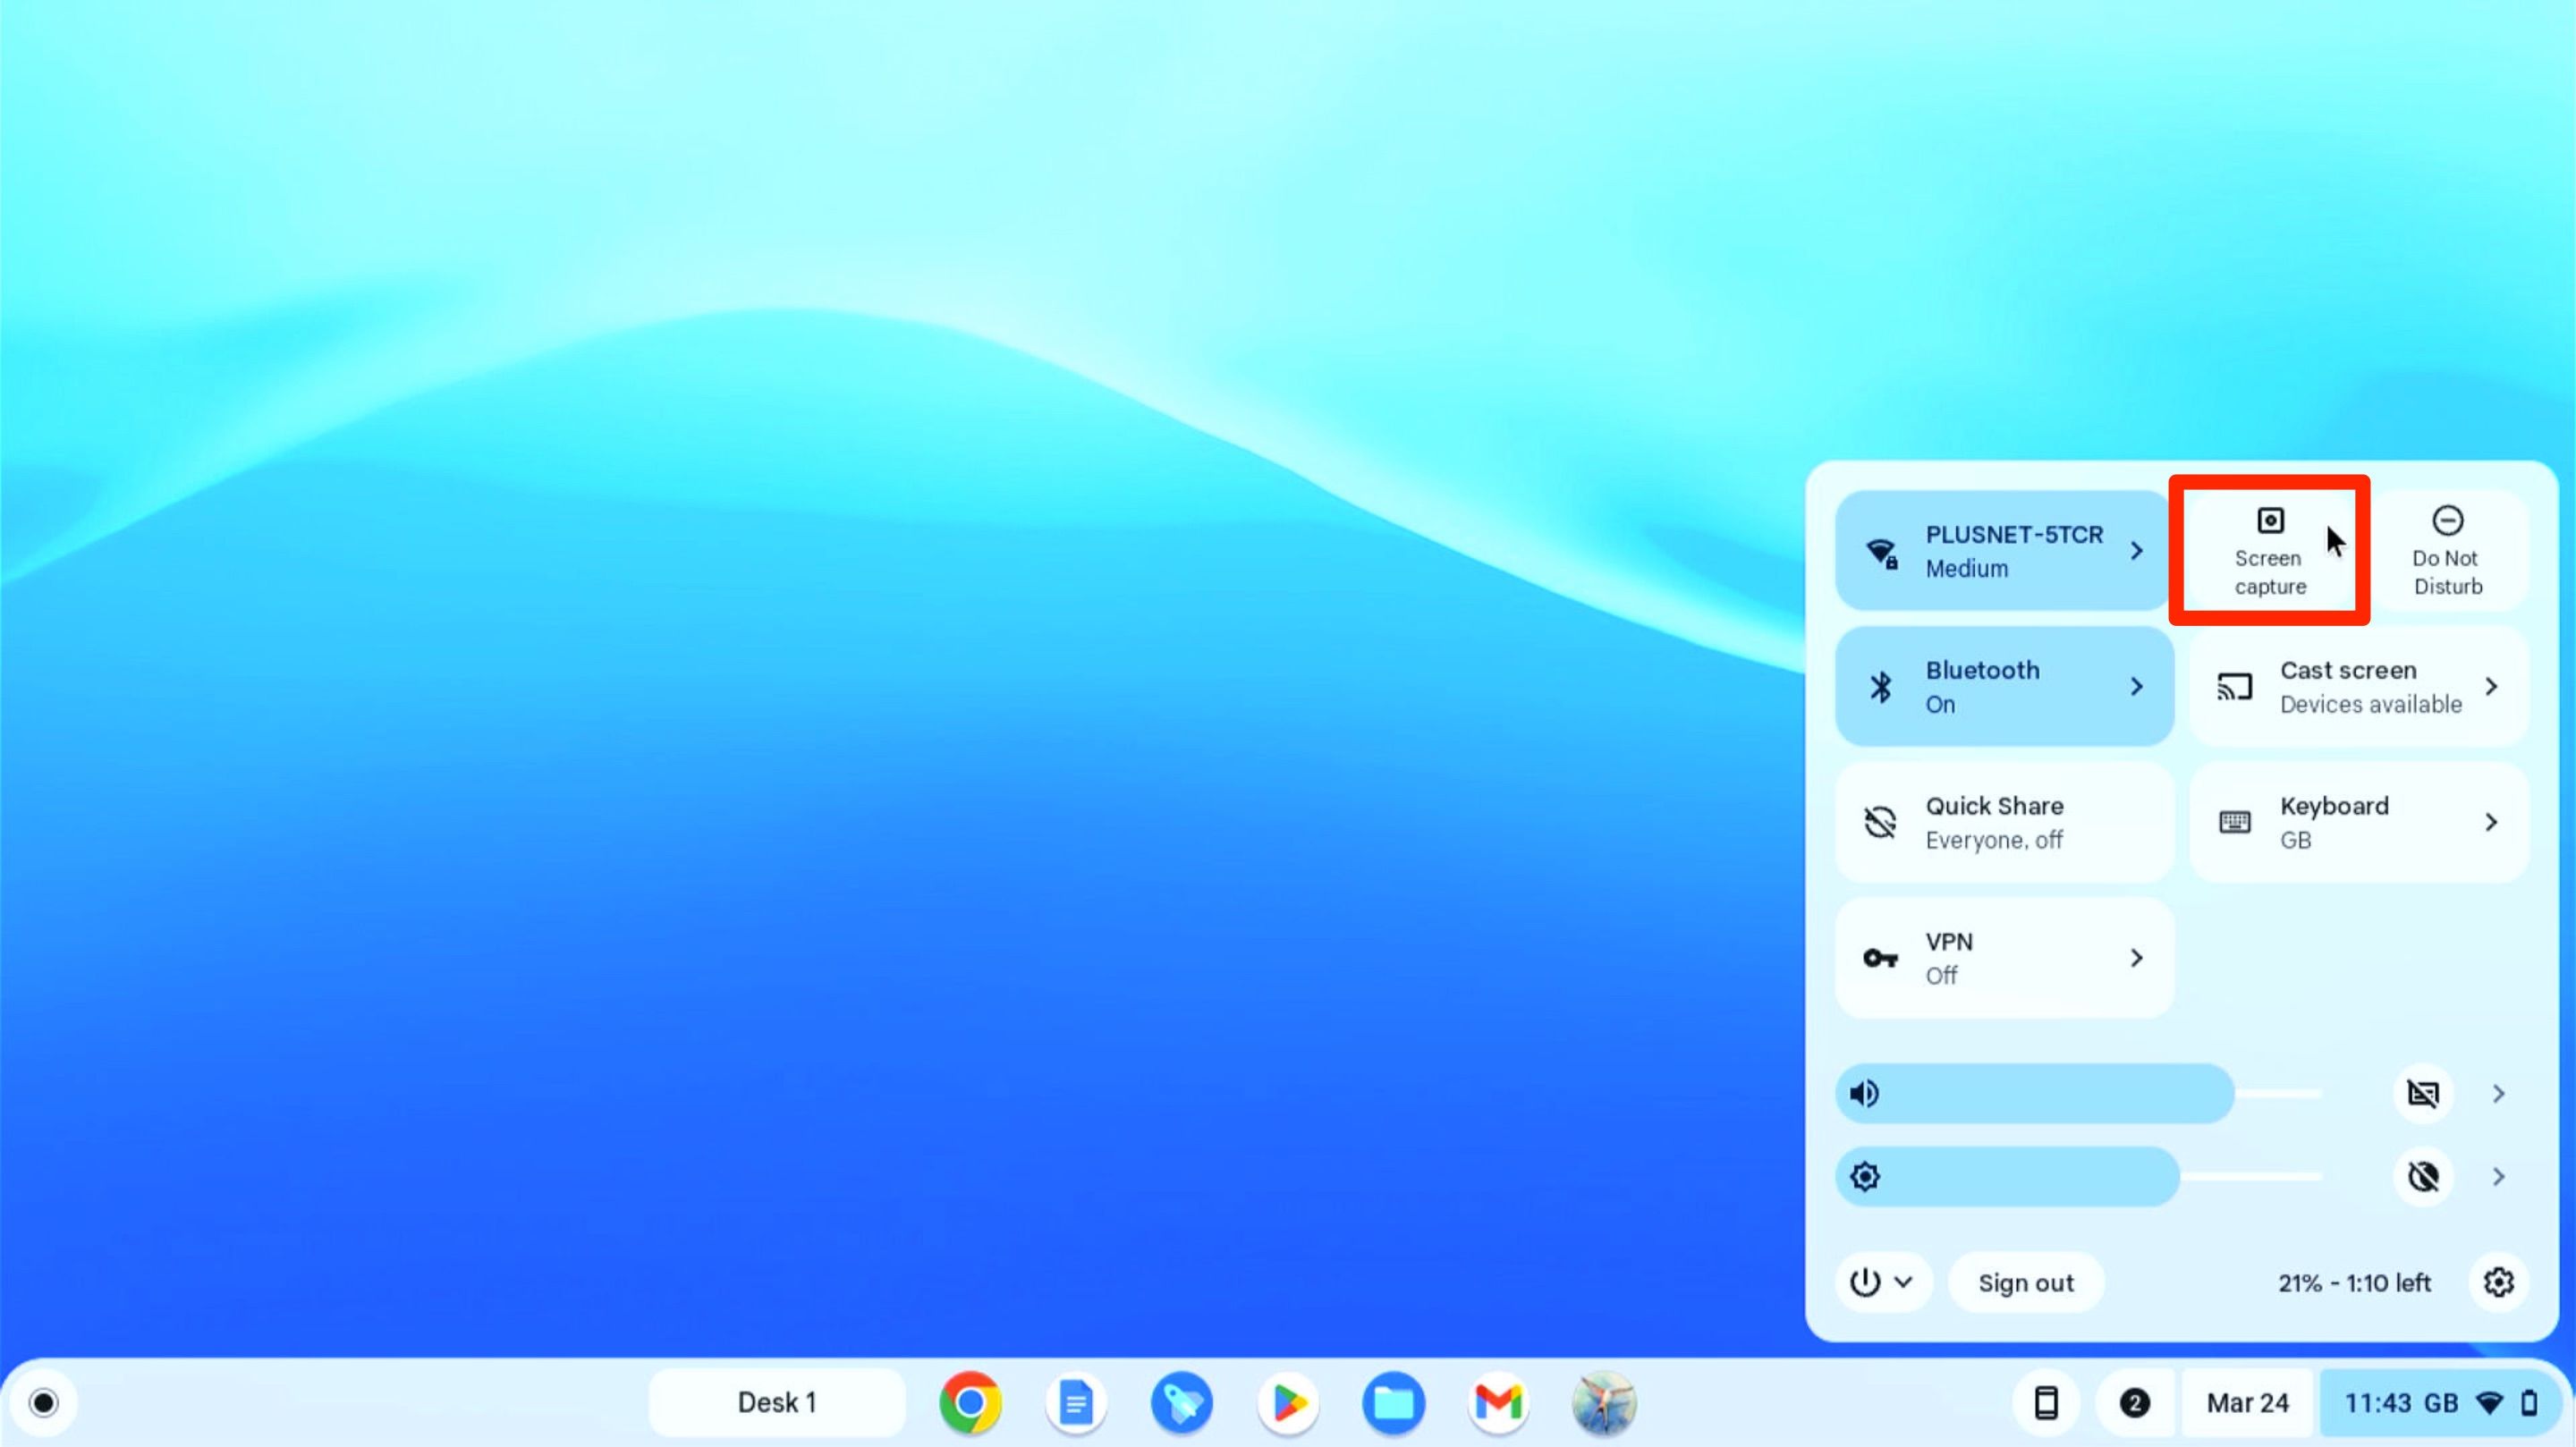
Then tap on theScreen captureoption to launch the screen snipping tool.
Keyboard Shortcut
An even quicker method is to use one ofChromeOS’s many keyboard shortcuts.
Miker Rivero / Microsoft / DALL-E / MakeUseOf
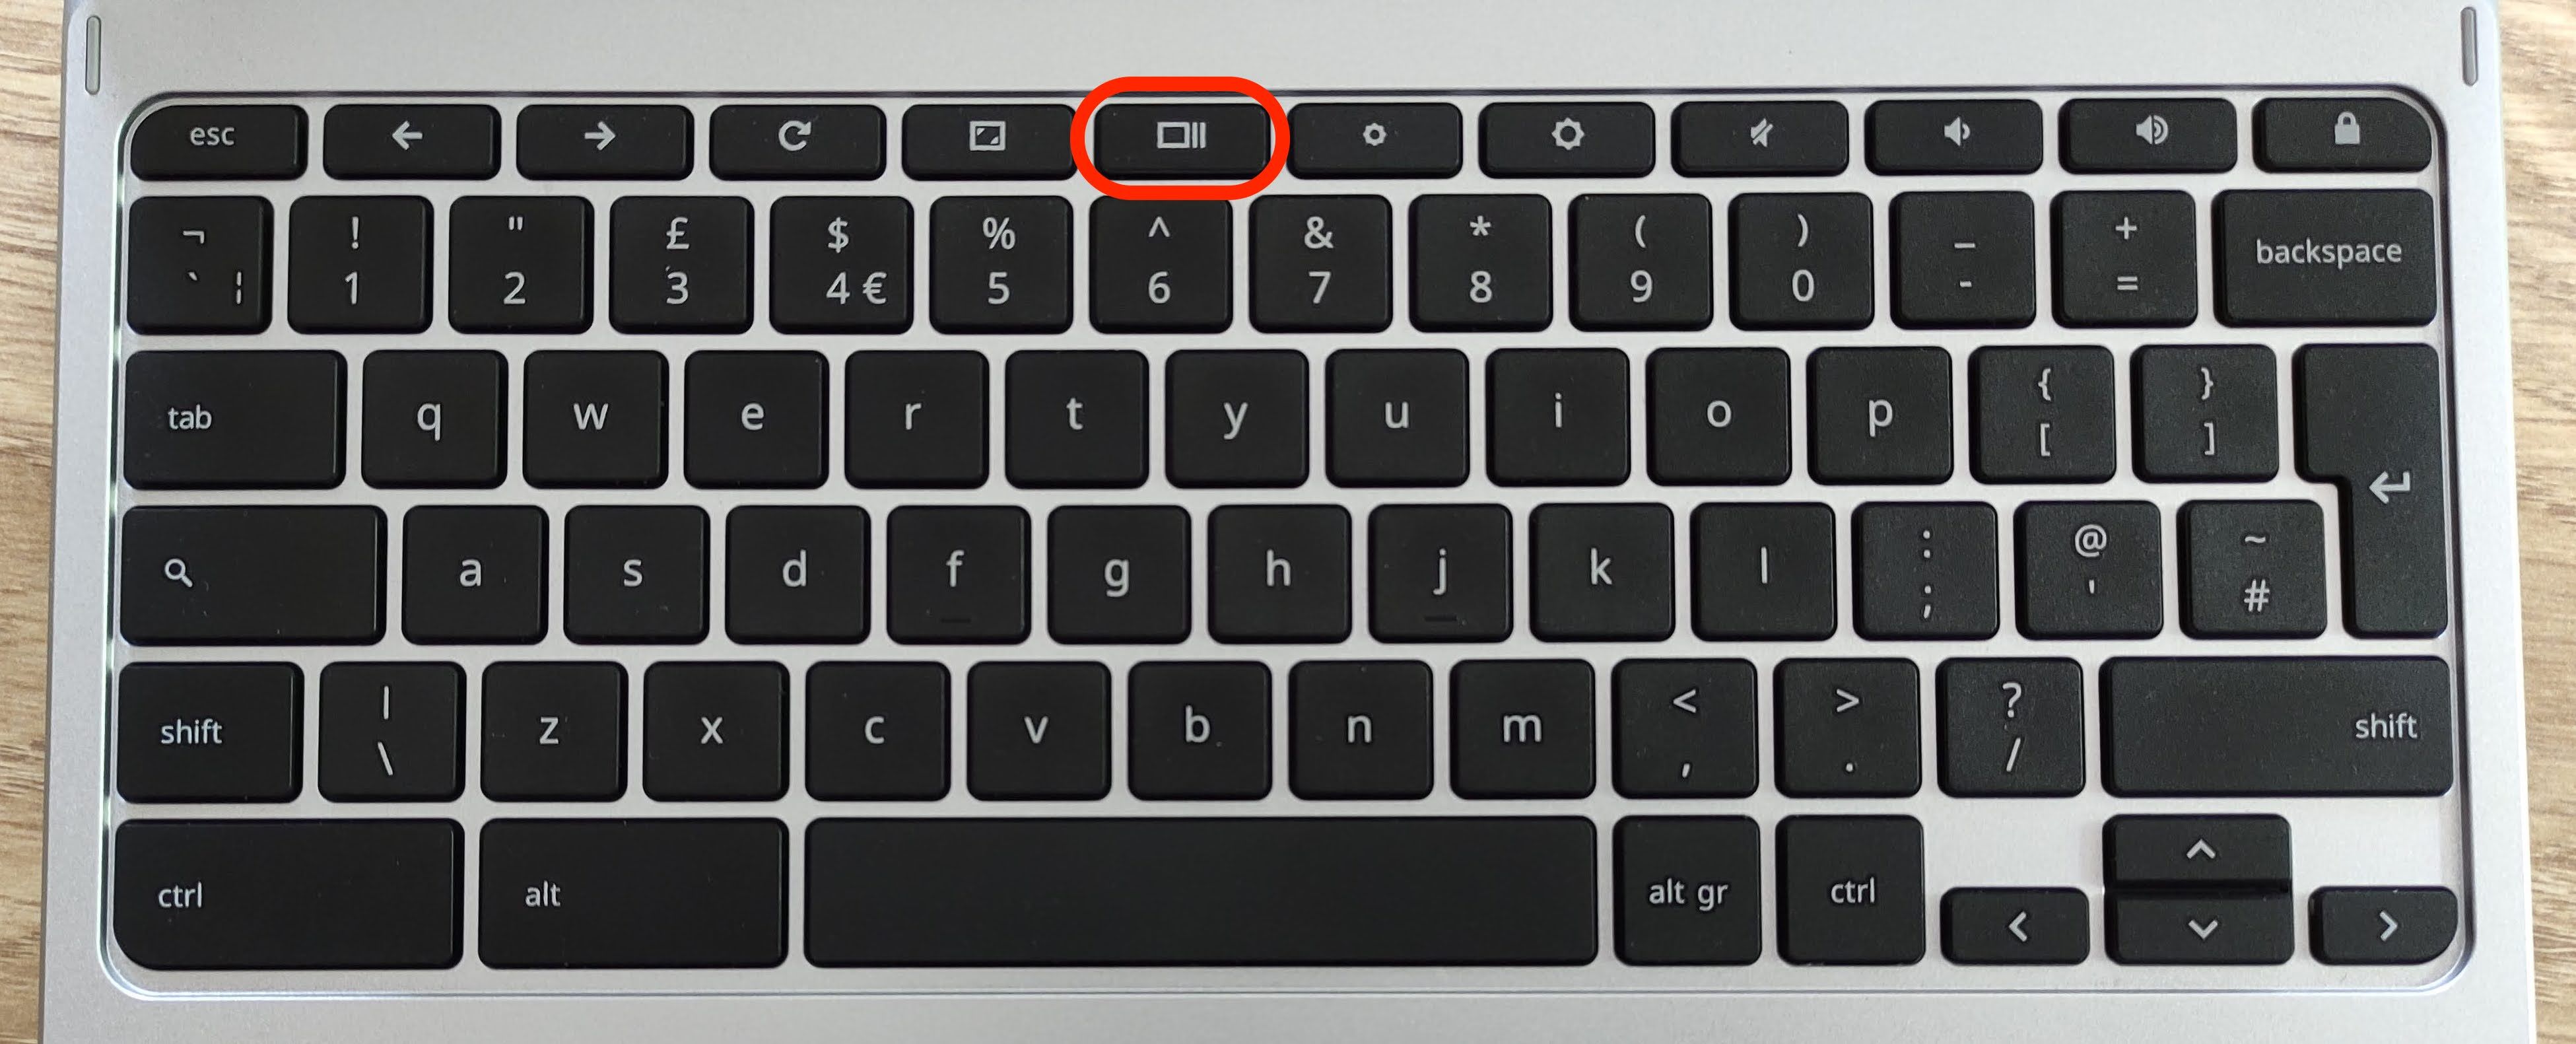
To kick off the snipping tool pressShift + Ctrl + Show Windows.
TheShow Windowskey is the one with a stack of rectangles on it, representing a bunch of windows.
you might still use this key in the same way, but you might need to pressfn + F5.
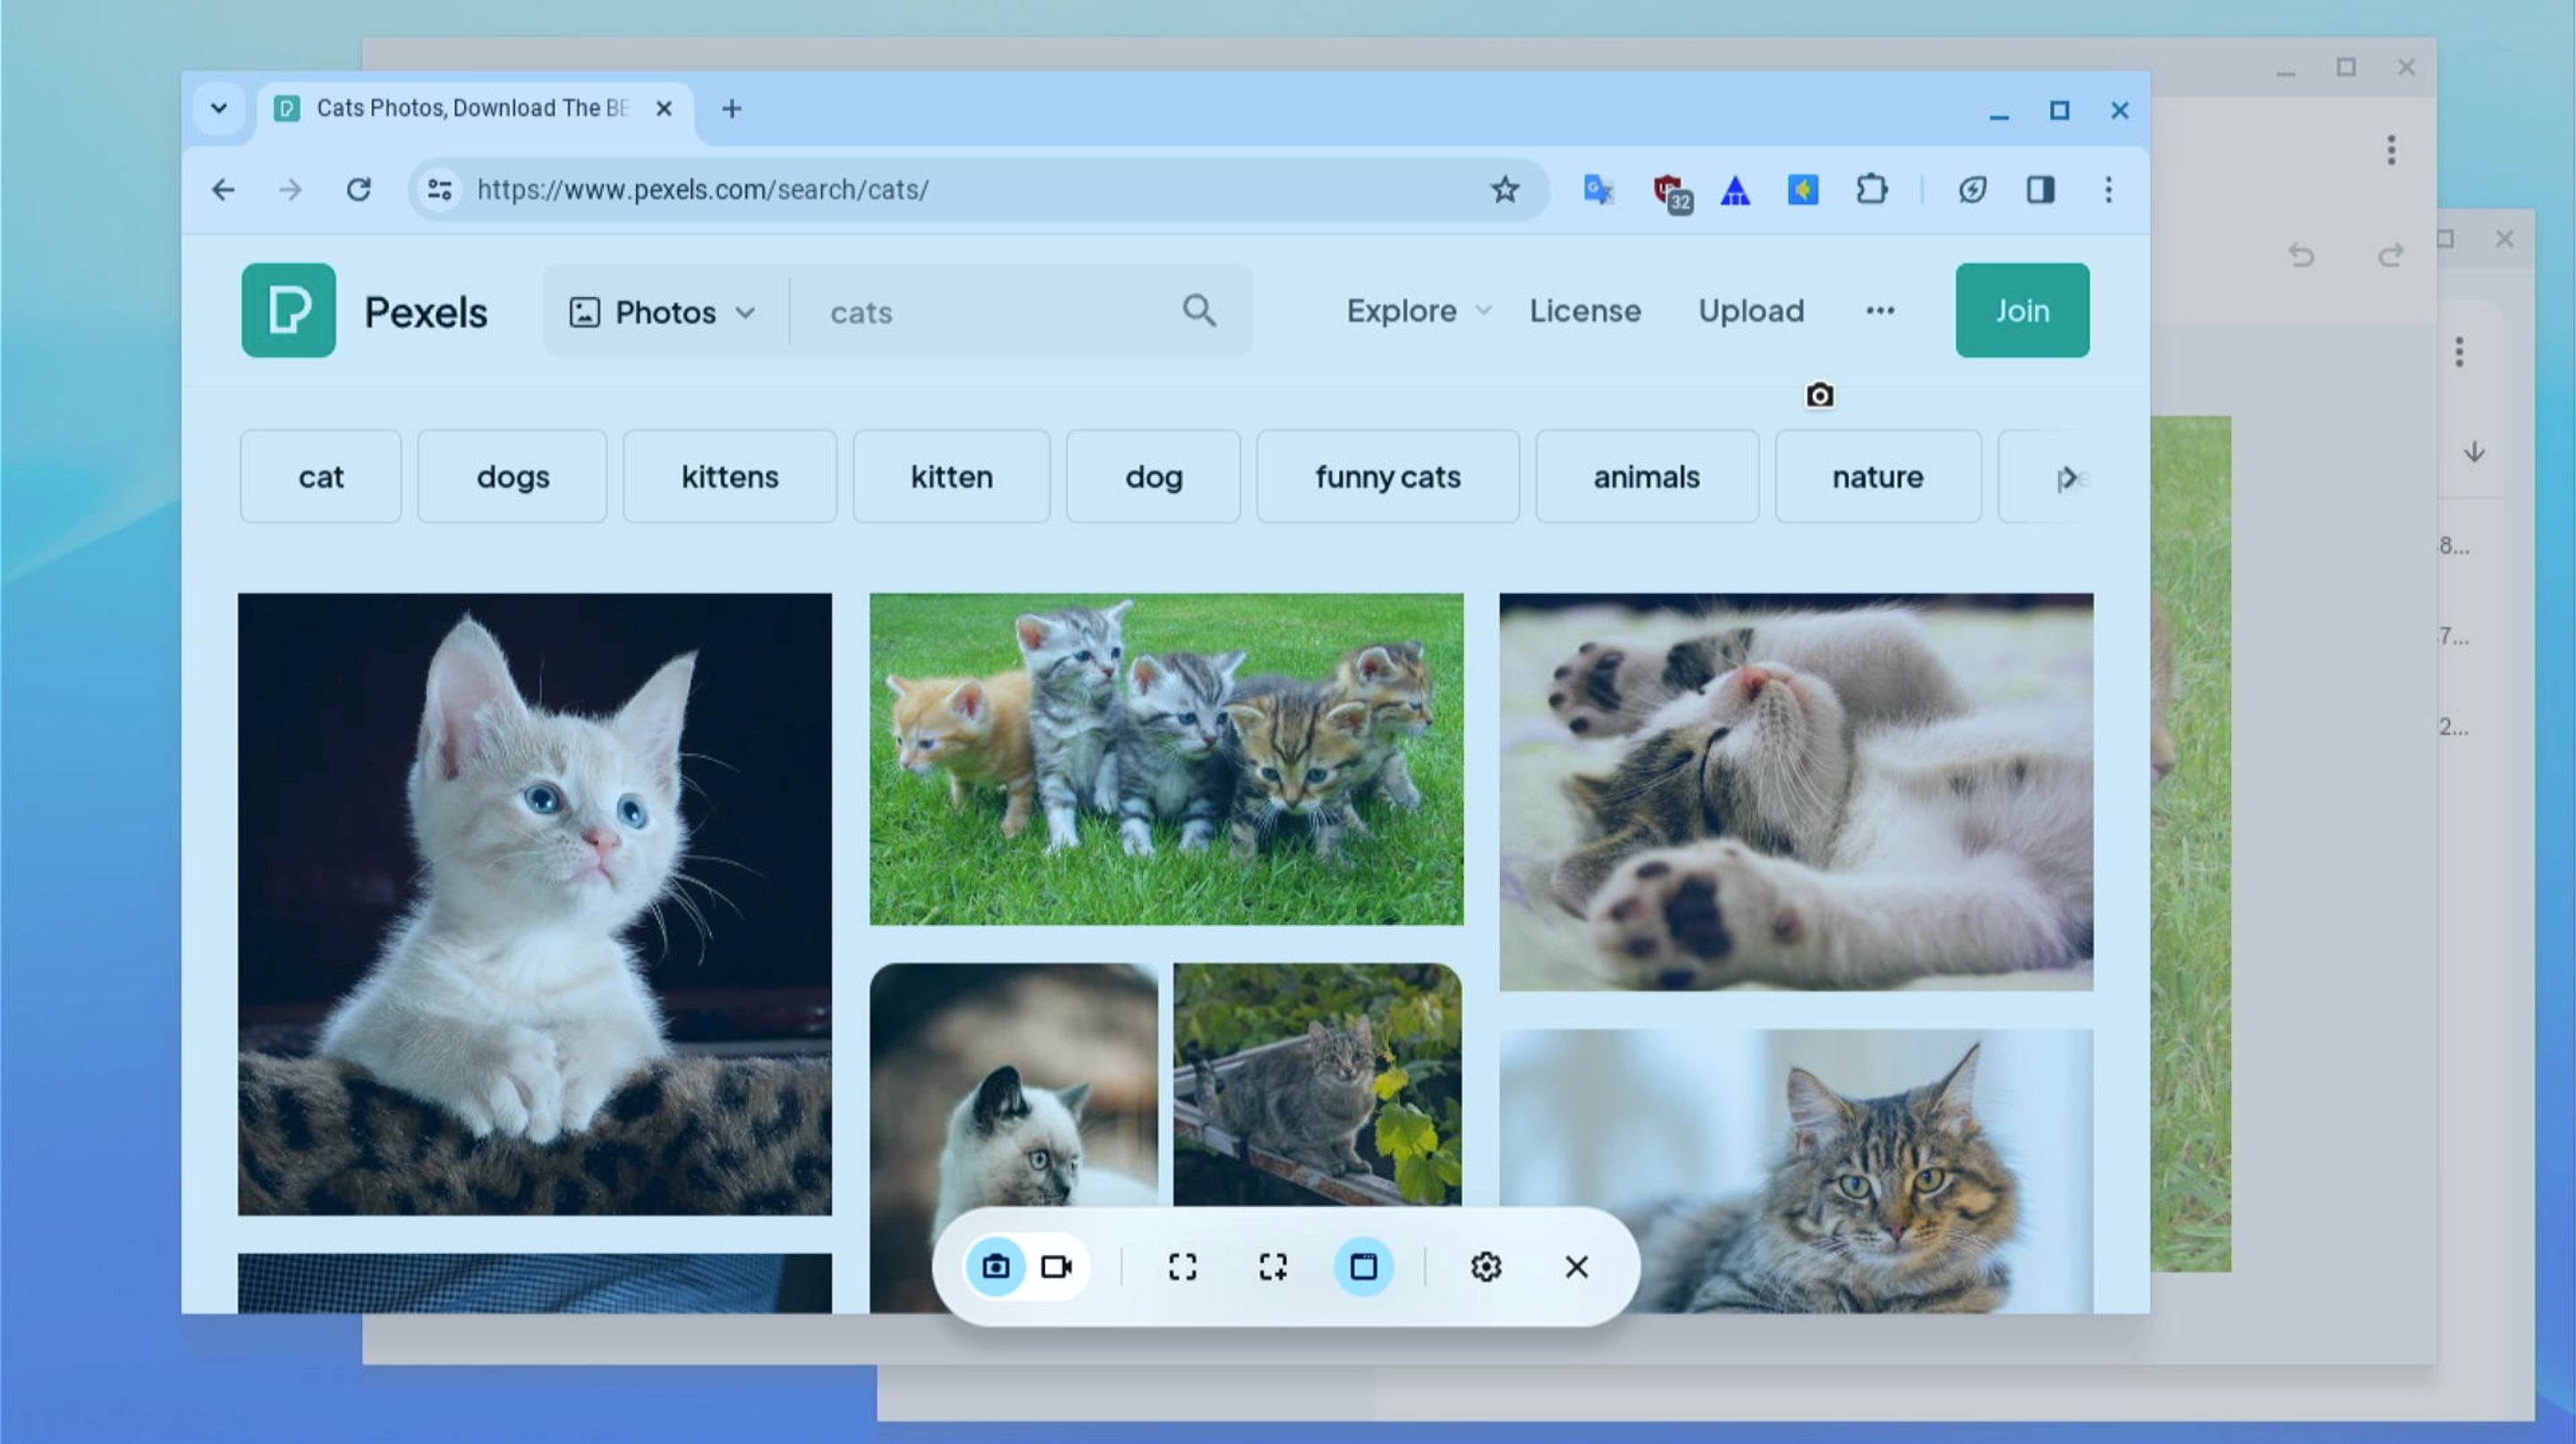
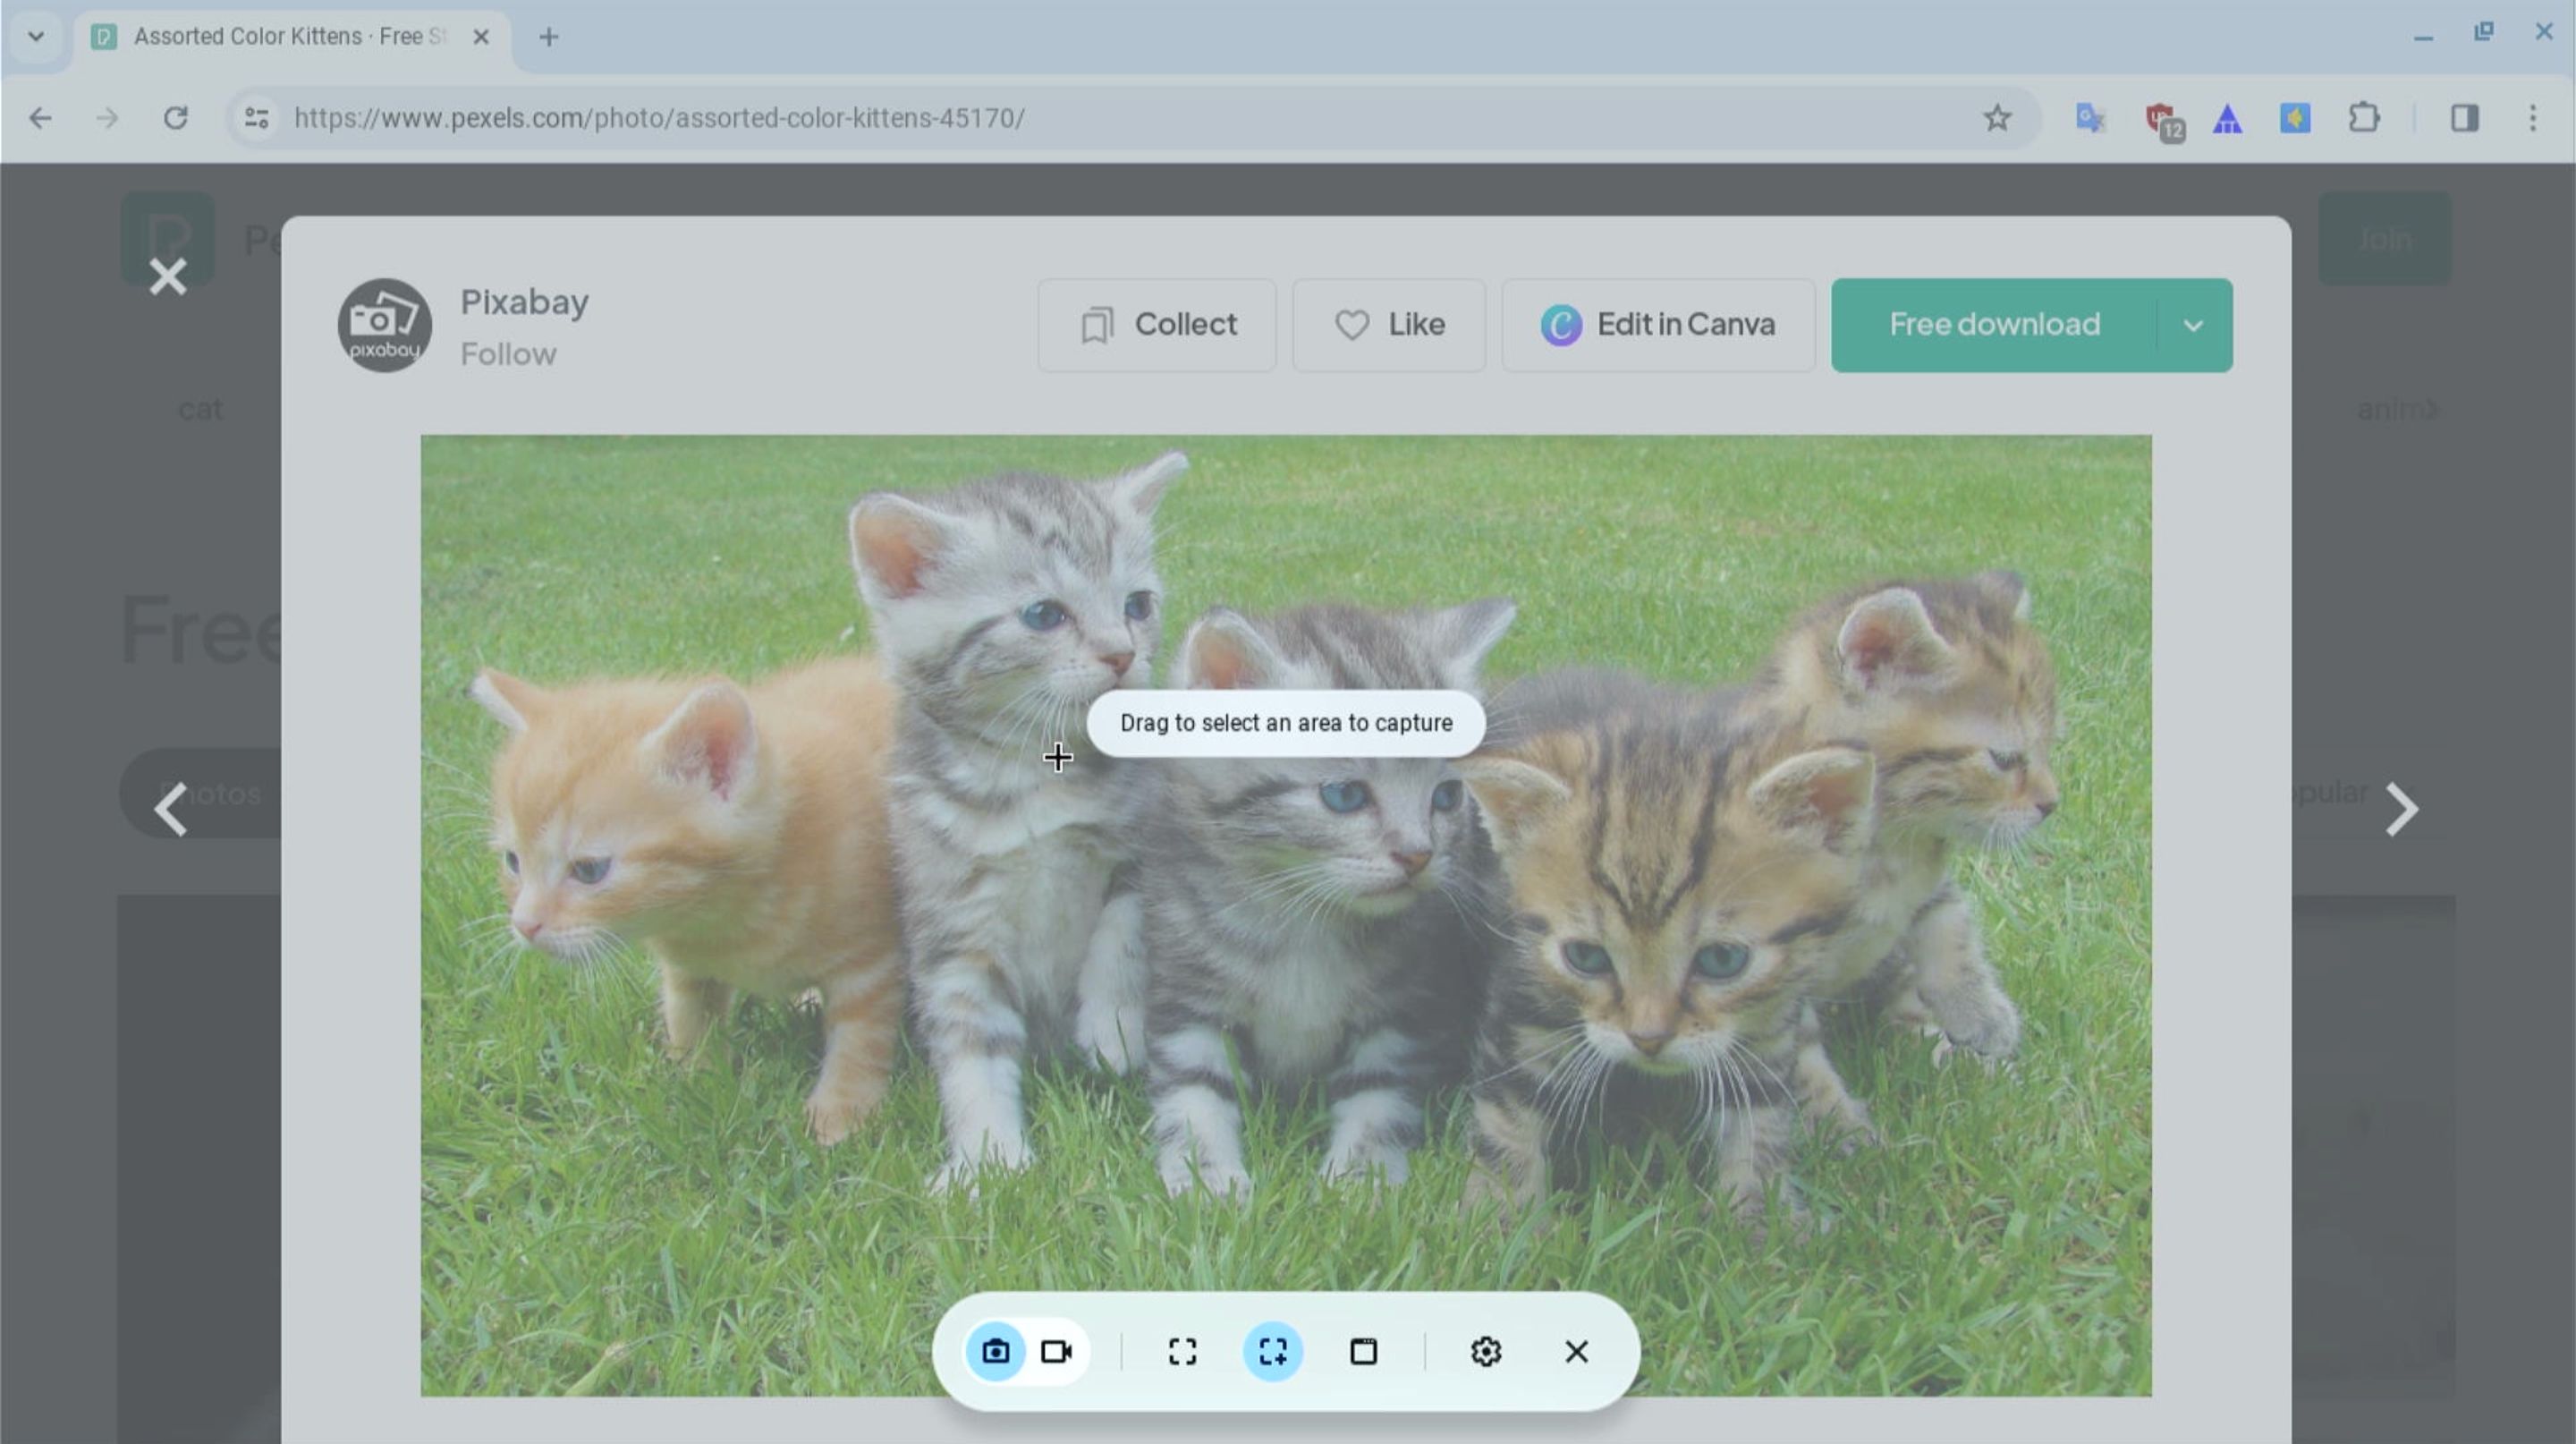
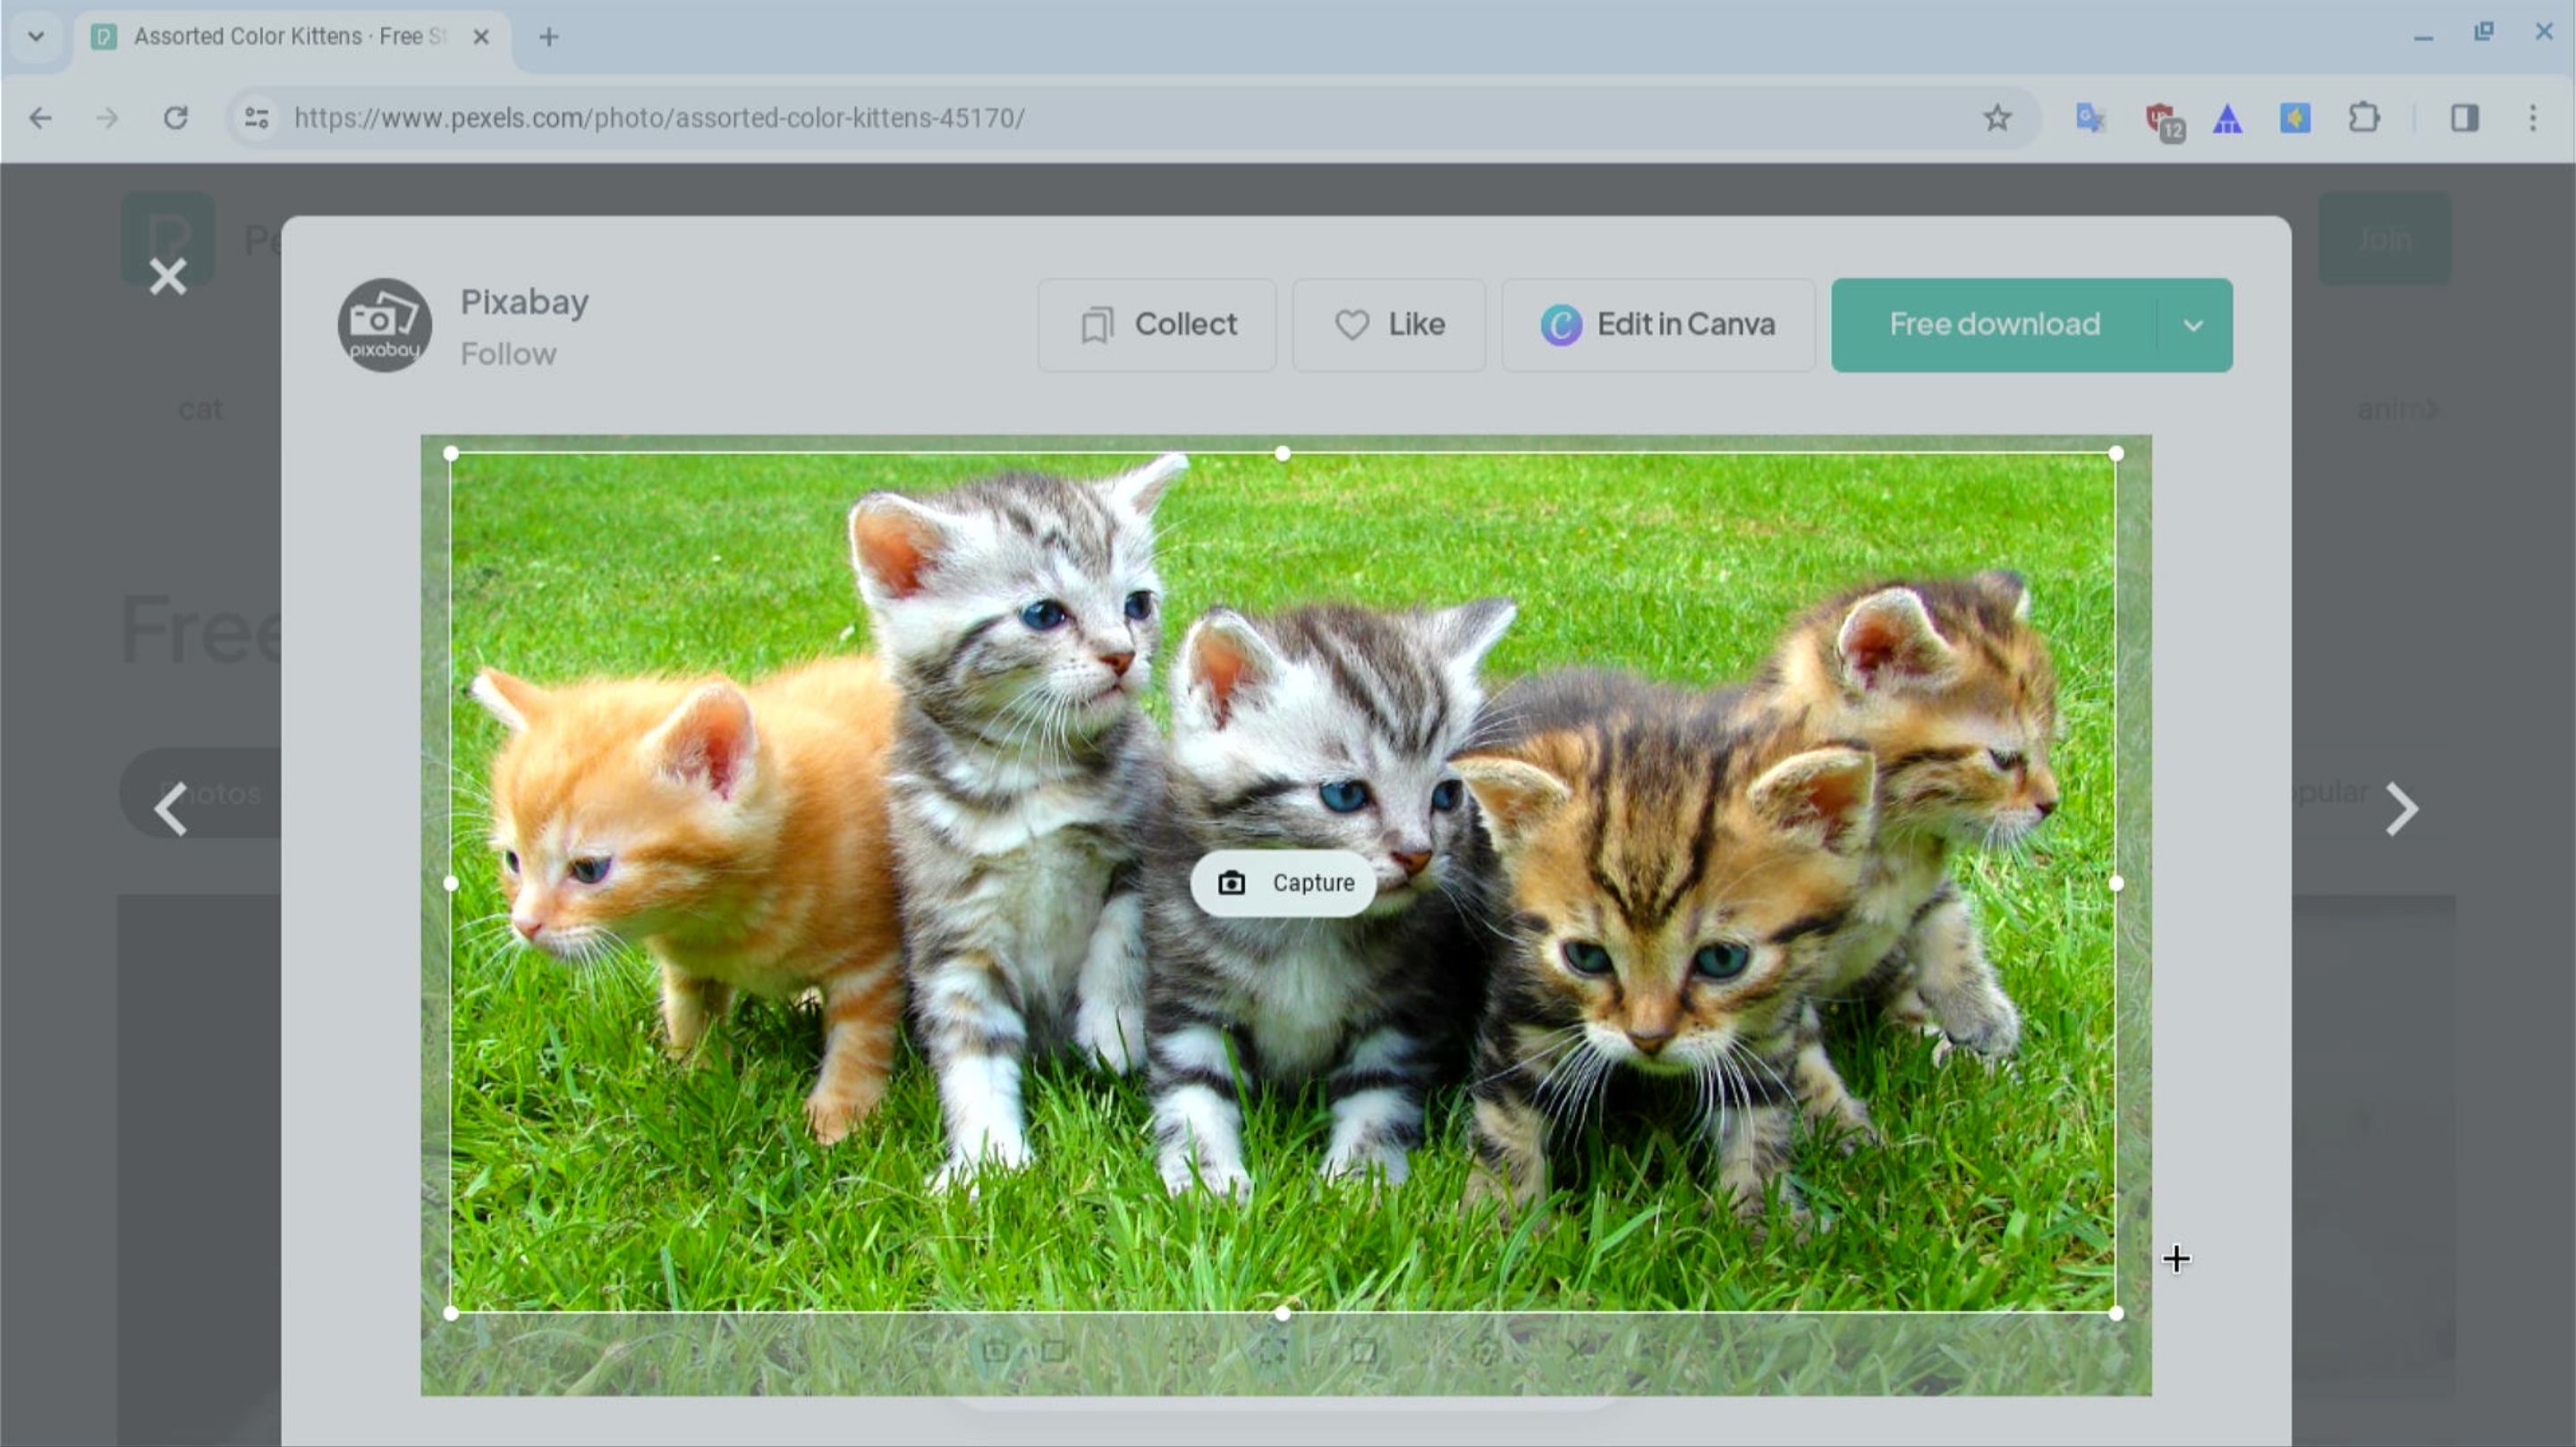
Click and drag the crosshair over the area of the screen that you want to grab.
When you’re happy, click theCaptureoption in the middle of the highlighted area.
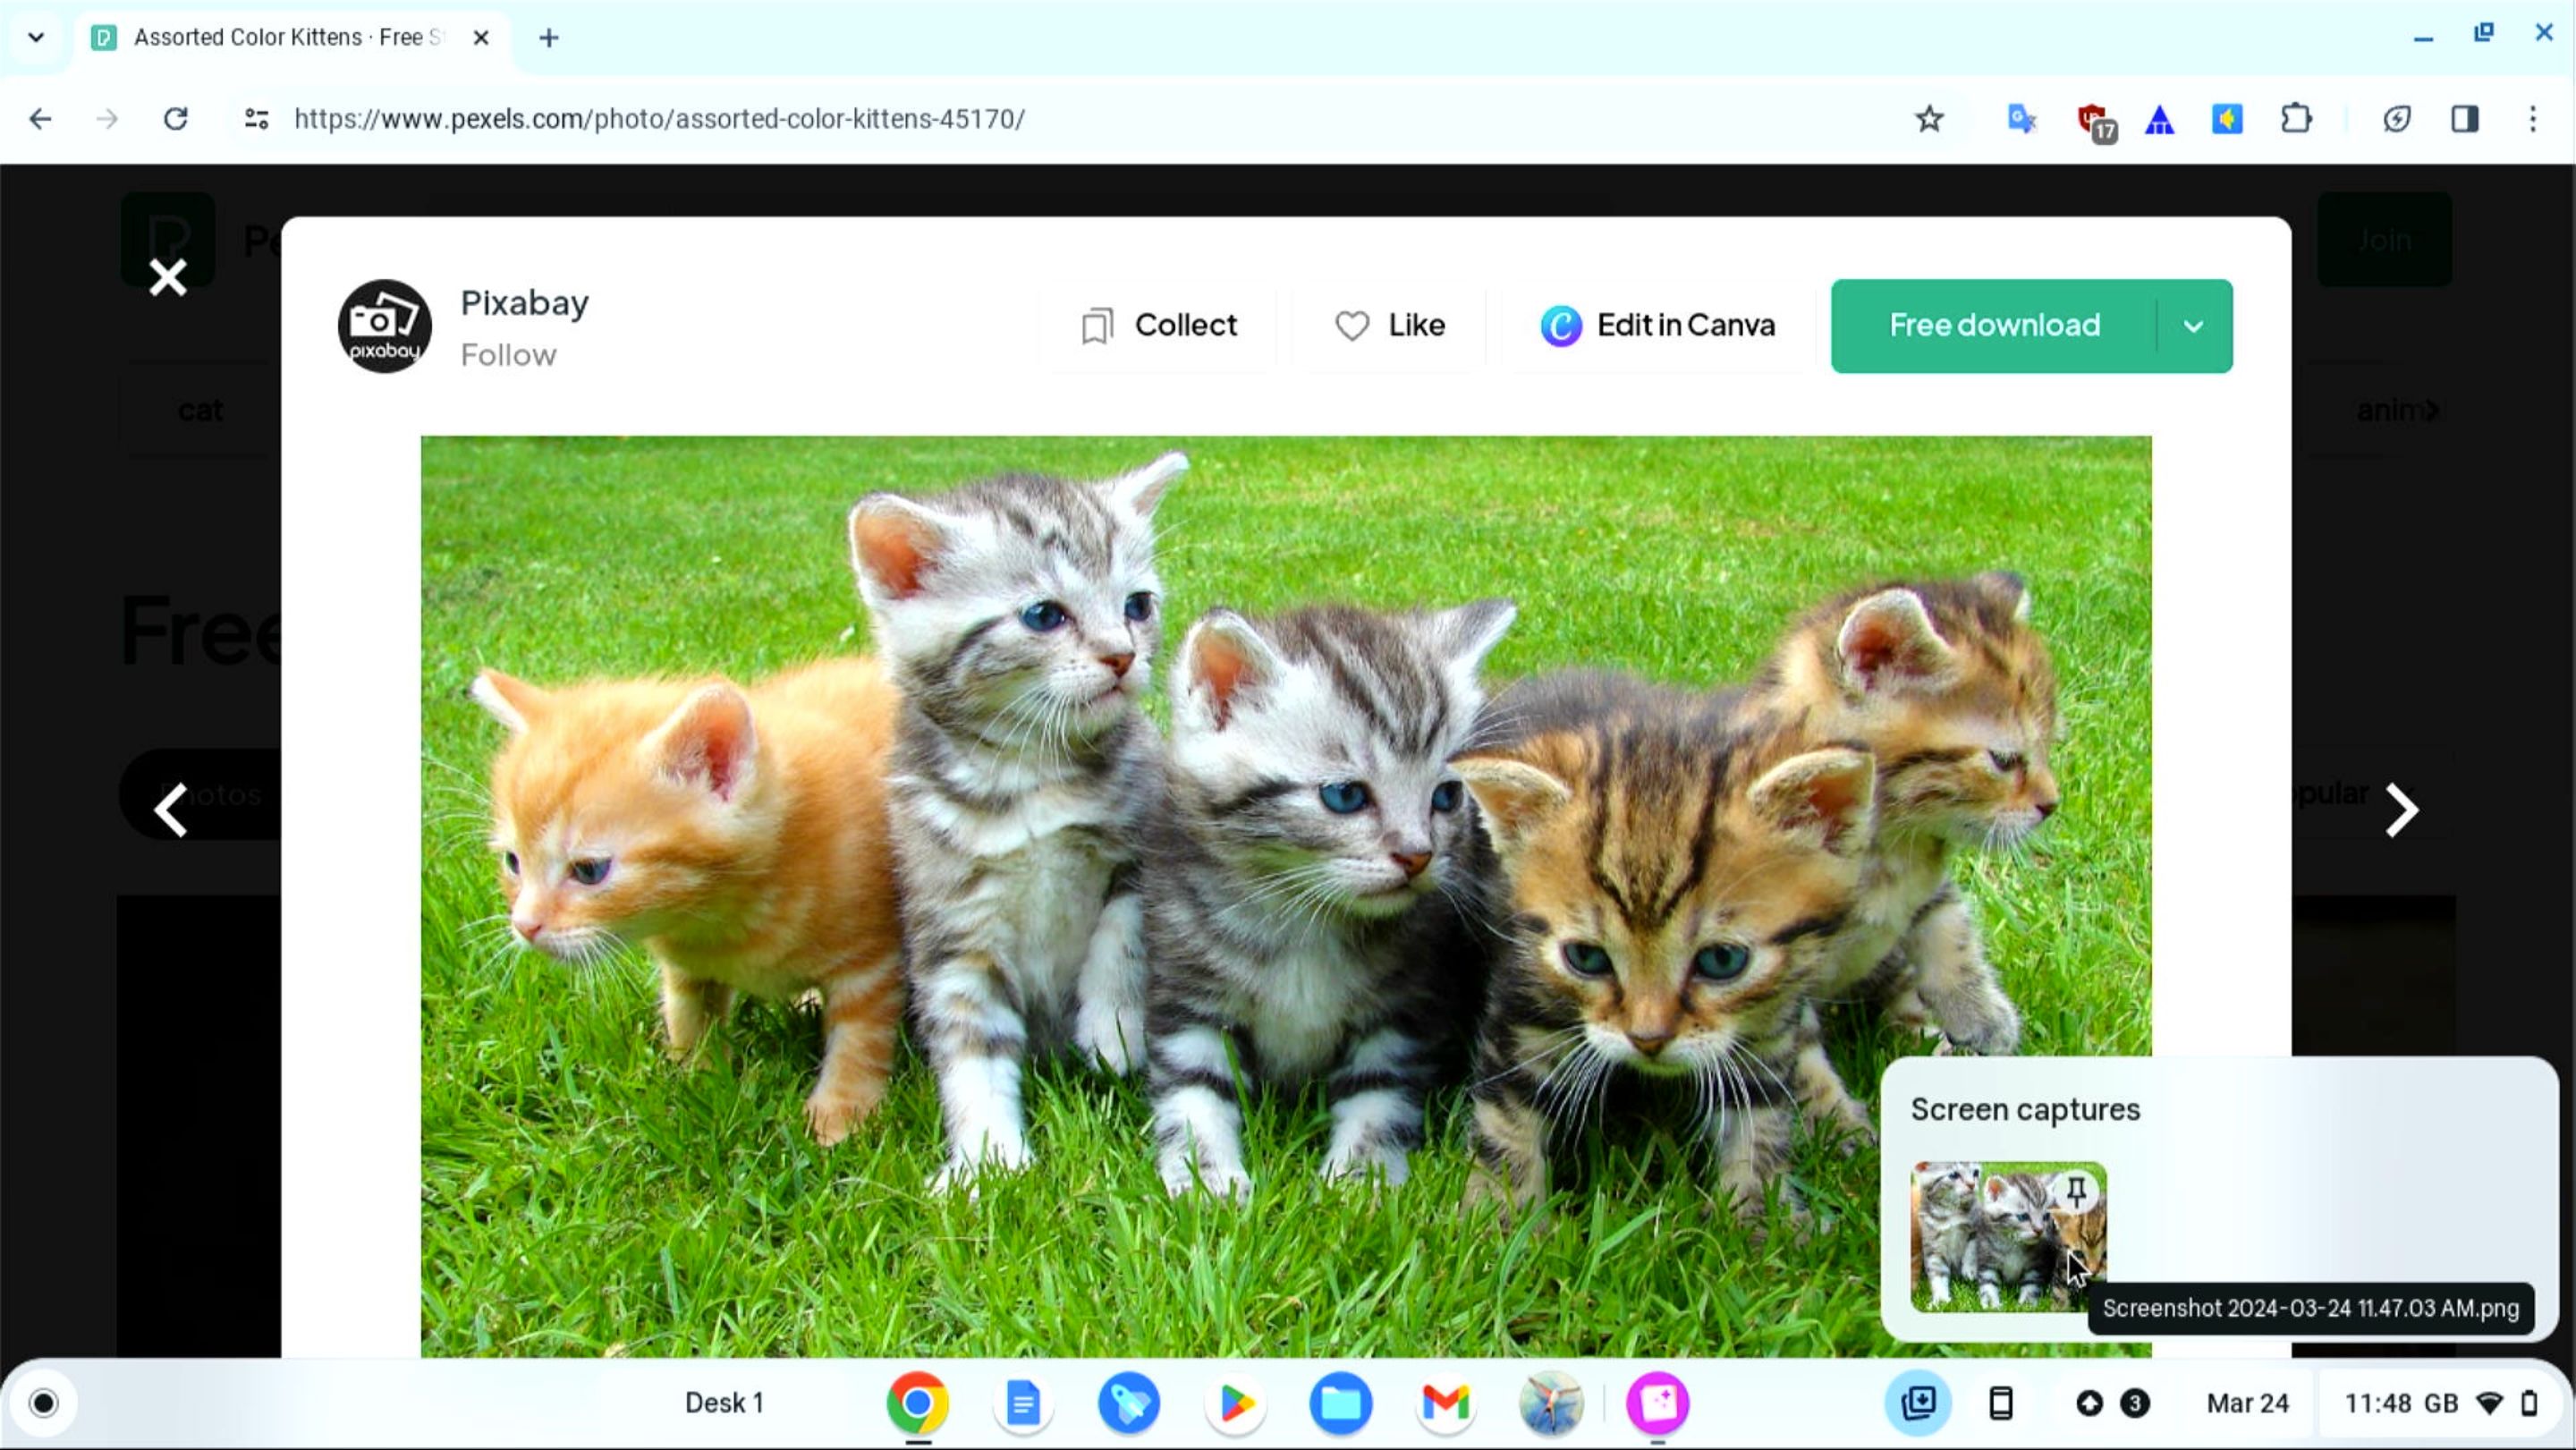
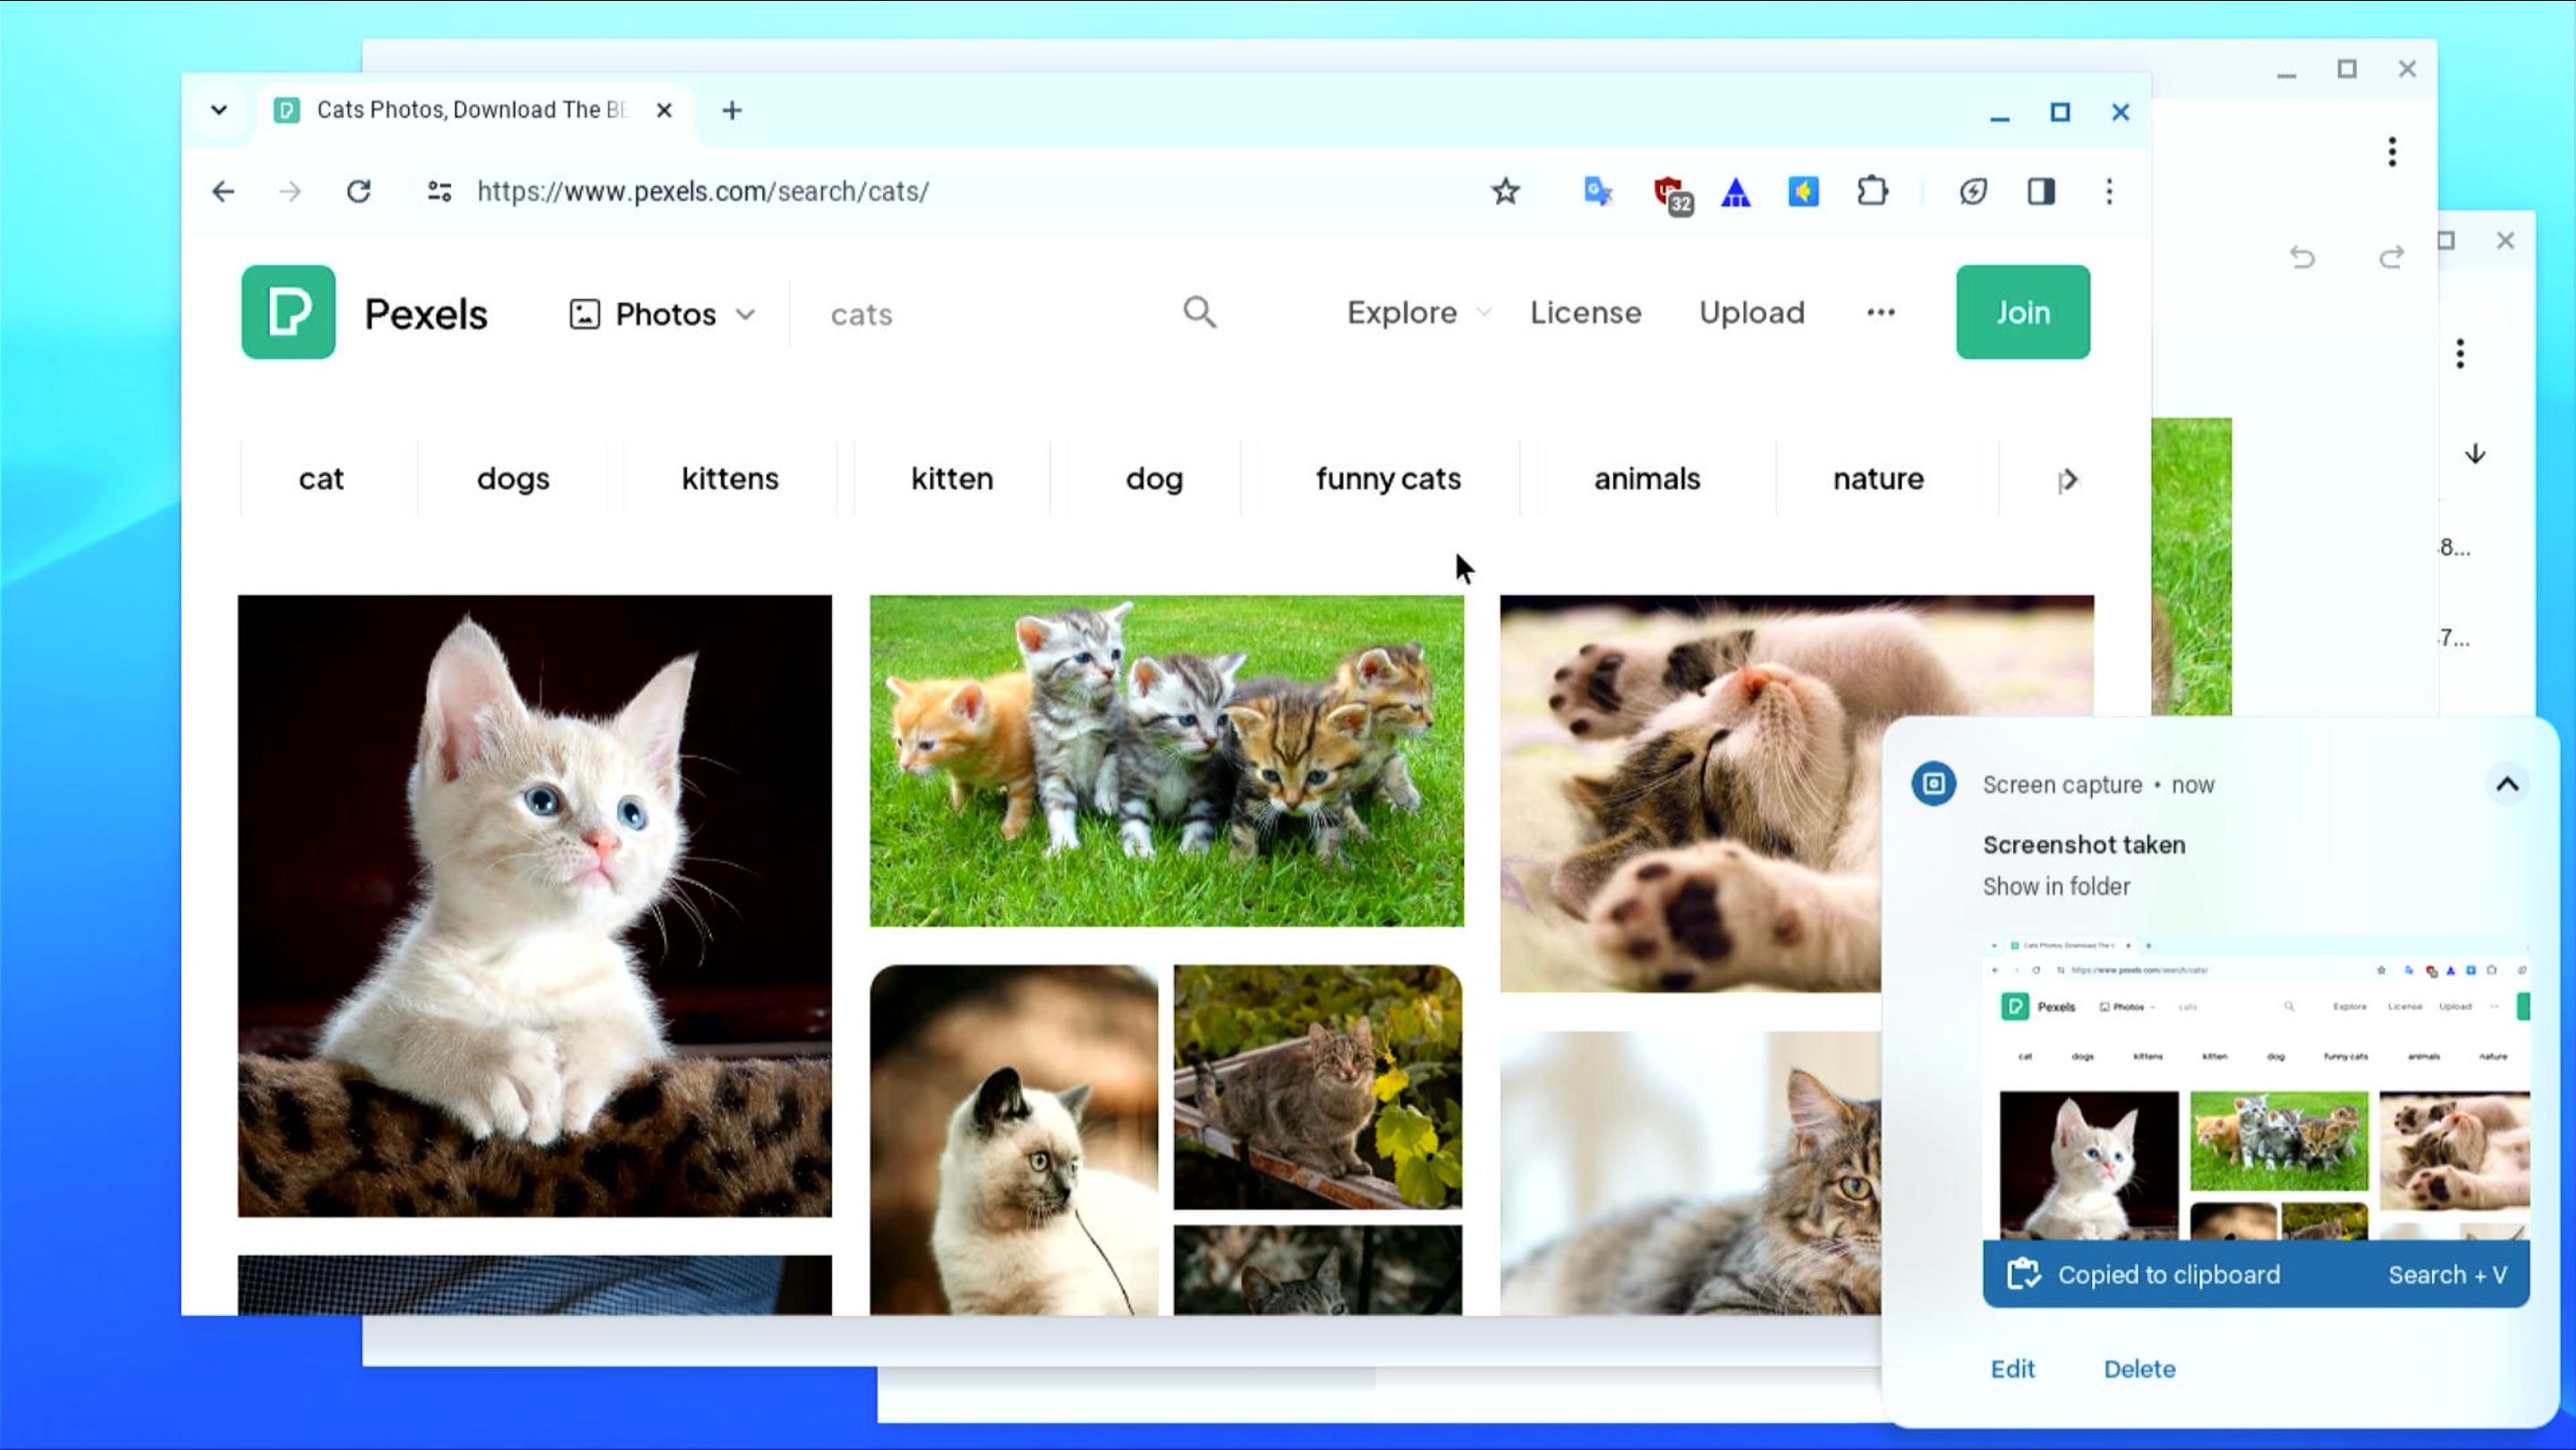
The snipped screenshot will appear in a preview window in the bottom right corner of the screen.
Double-punch the screenshot filename or preview the image to open it.
To do so, pressCtrl + Alt + Show Windowsfor the snipping tool on your Chromebook.
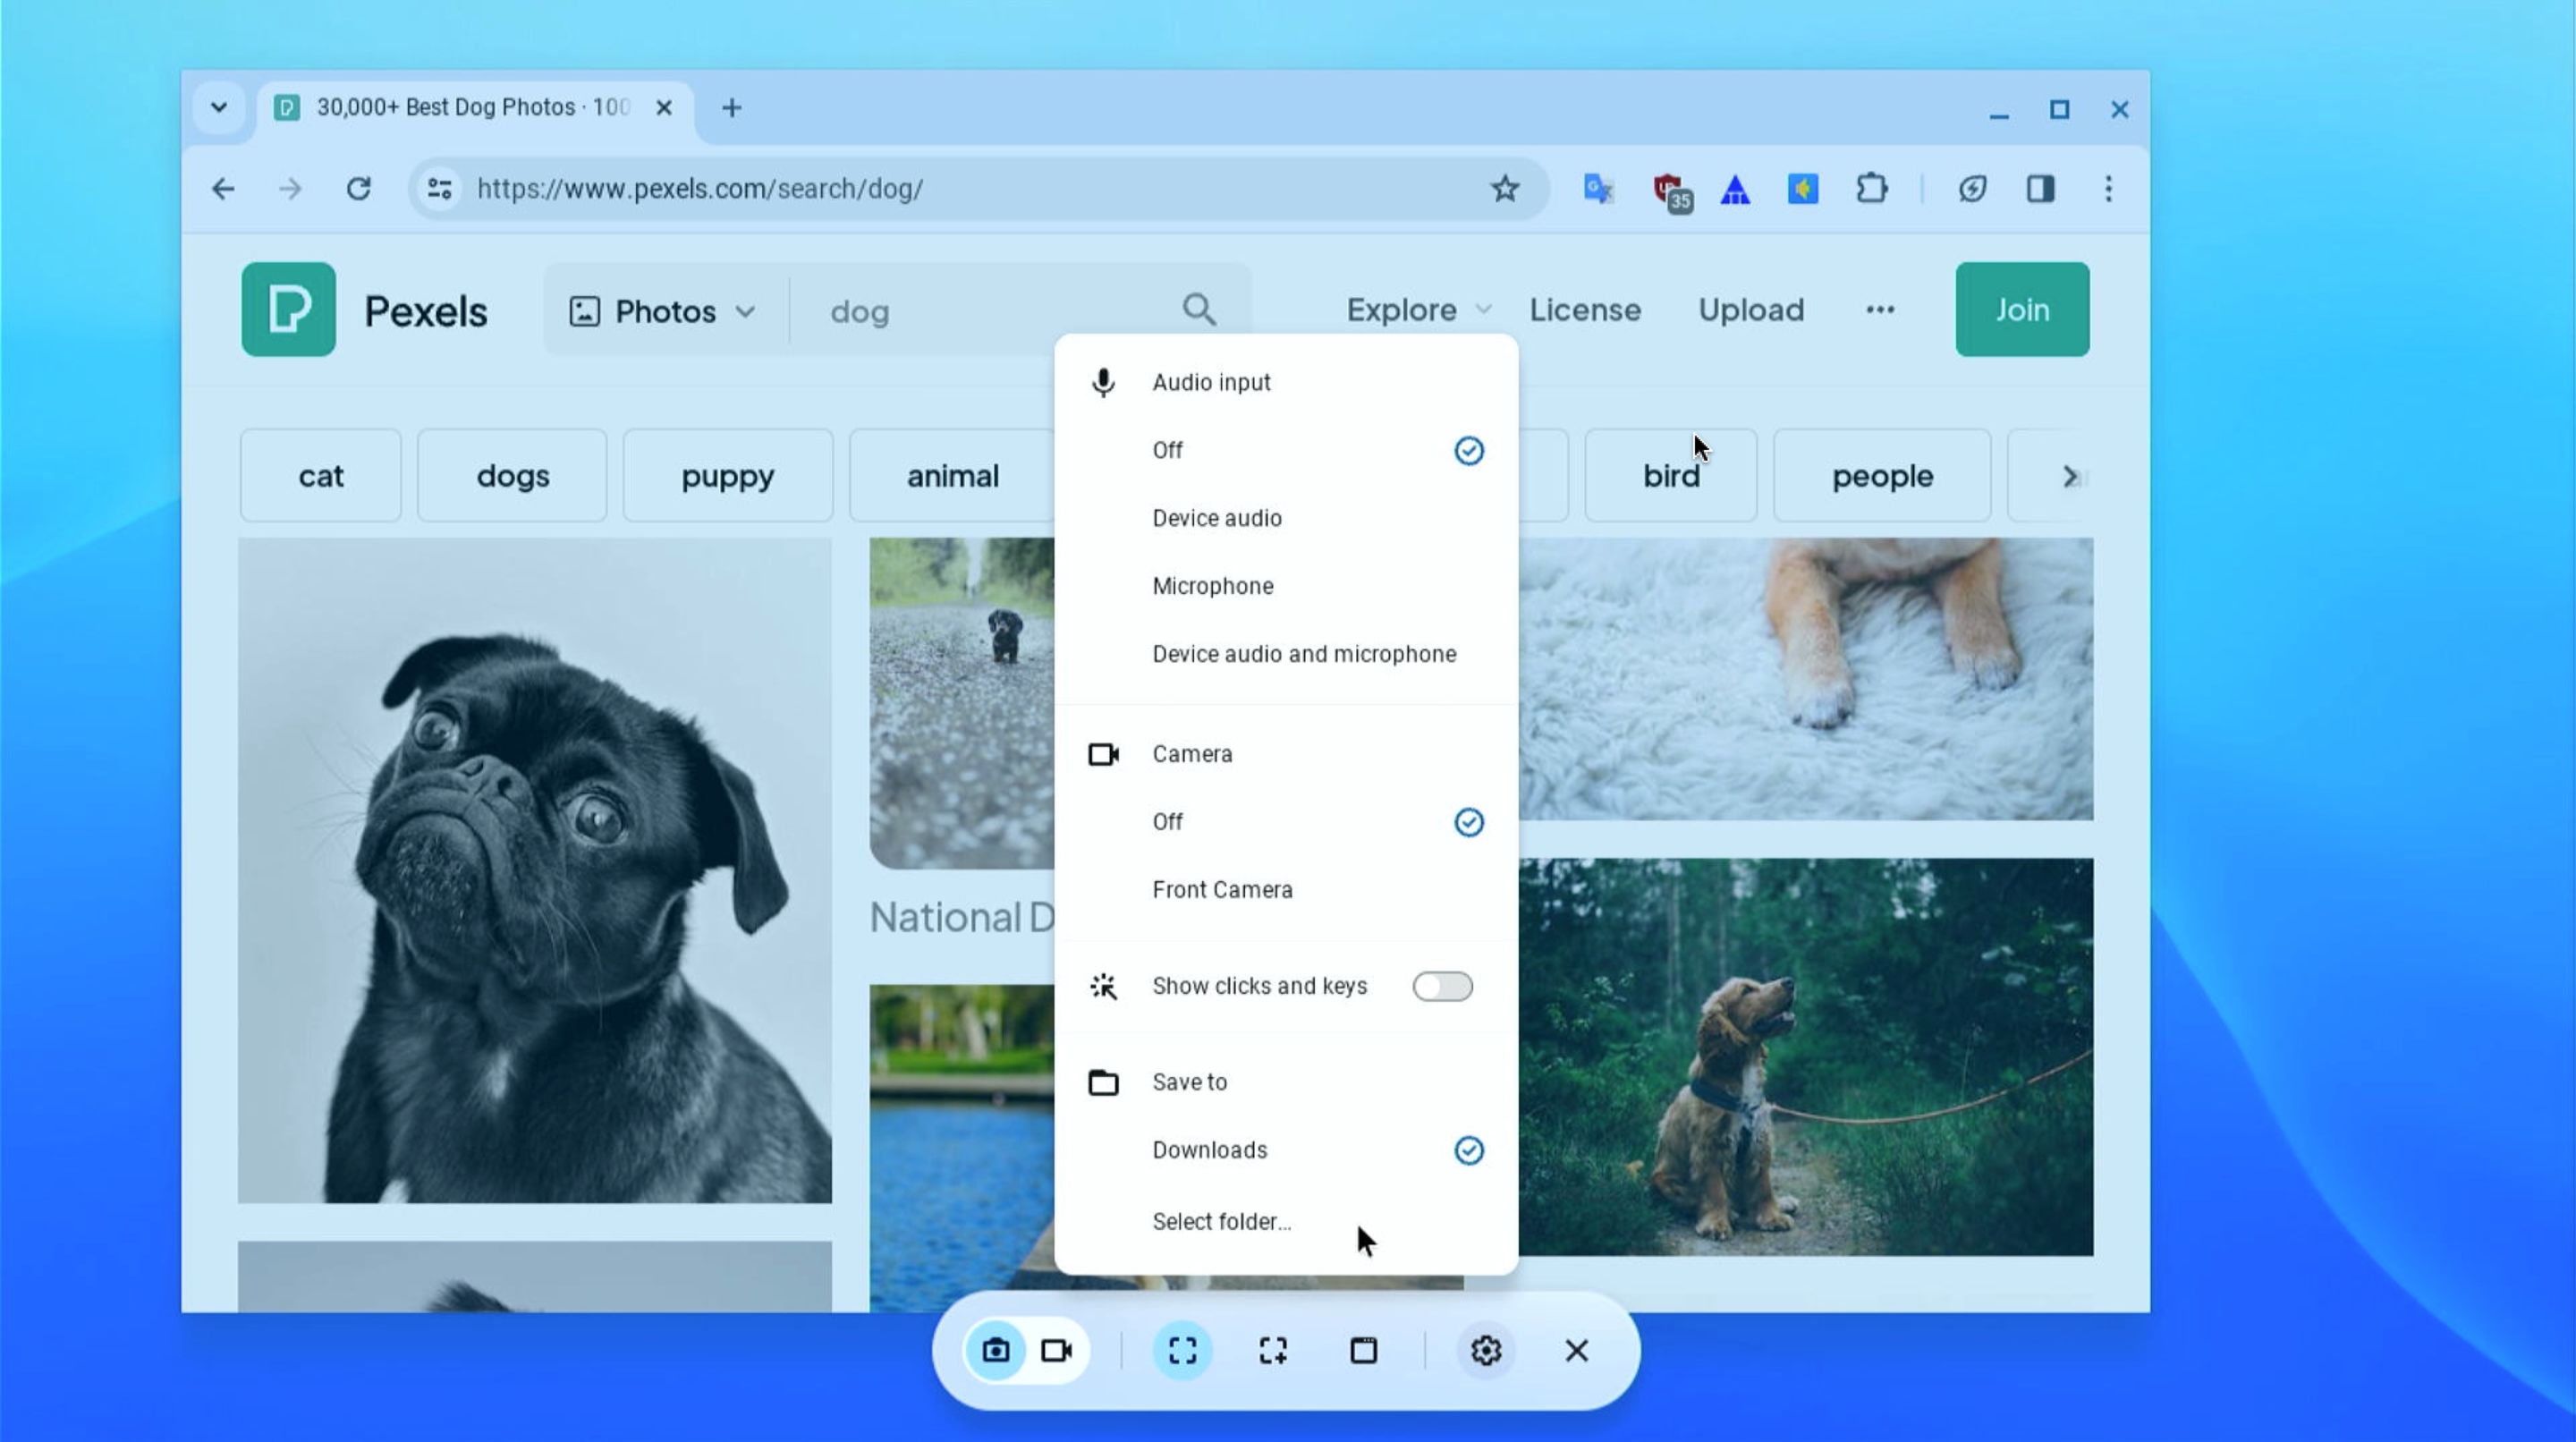
Its easy to change the folder where they are saved, however.
With the snipping tool open, click onSettings(cog icon) >Select folder.
Choose the folder you want; any screenshots you take from now on will be saved there.
Screenshots aresaved as PNG fileswith a timestamped name.
Getting practical with your new Chromebook unit is the best way to learn more about it.