Amazons Kindle Scribe is taking the popular e-book reader in a new direction.
Well show you how to set up and use your new Kindle Scribe.
On the left side, youll find a power button in the center of the gadget.
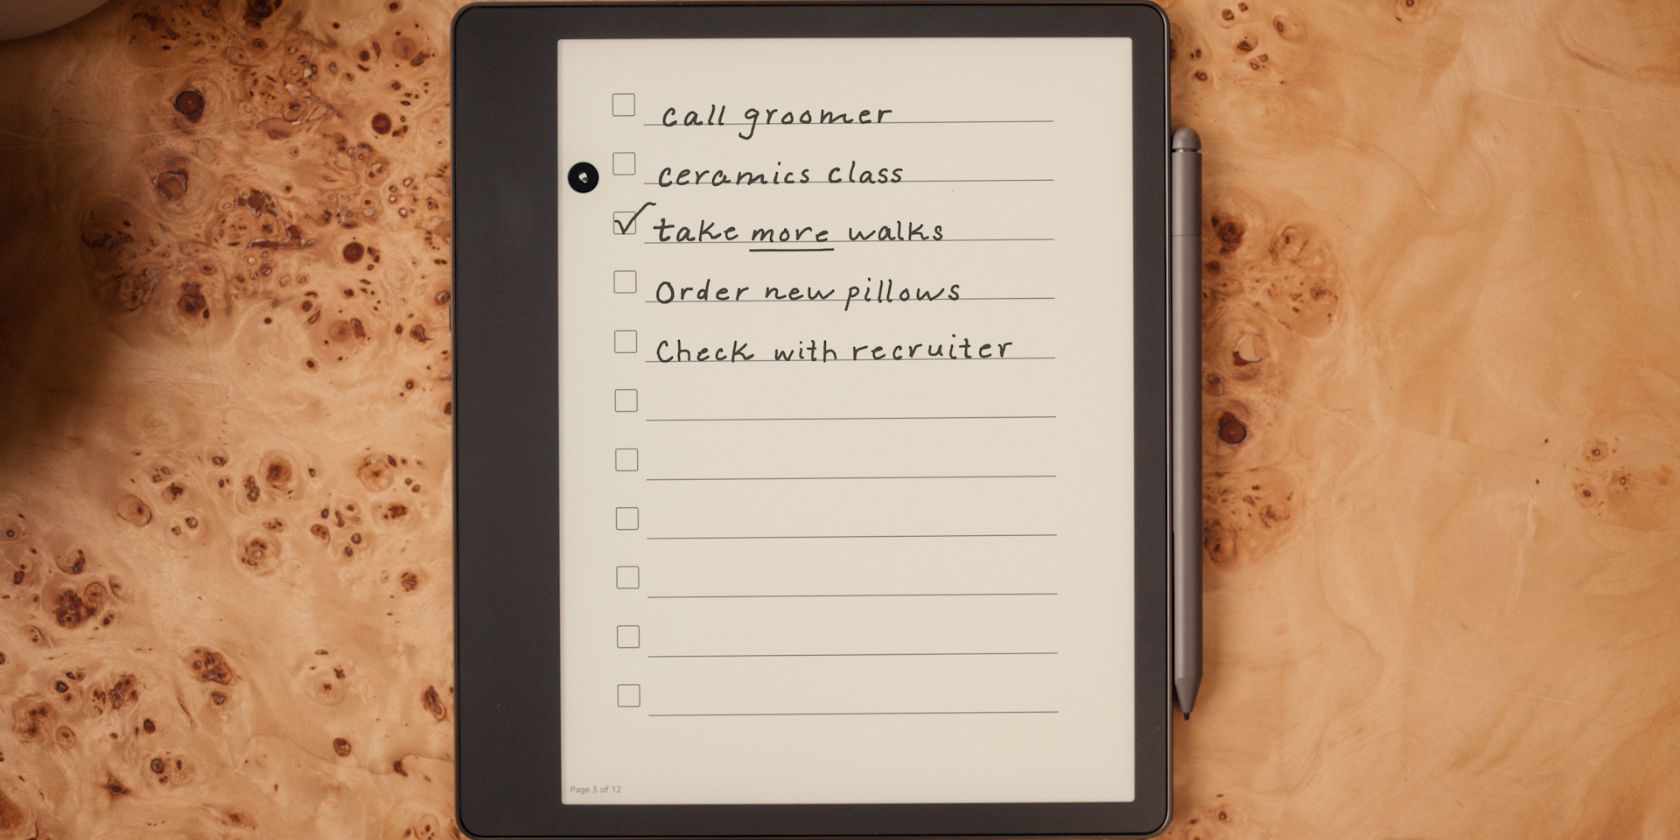
Image Credit:Amazon
Press that to put the gadget to sleep or wake it up.
To save even more battery, press the power button for 9 seconds until a power dialog appears.
Then youll need to tapScreen Off.
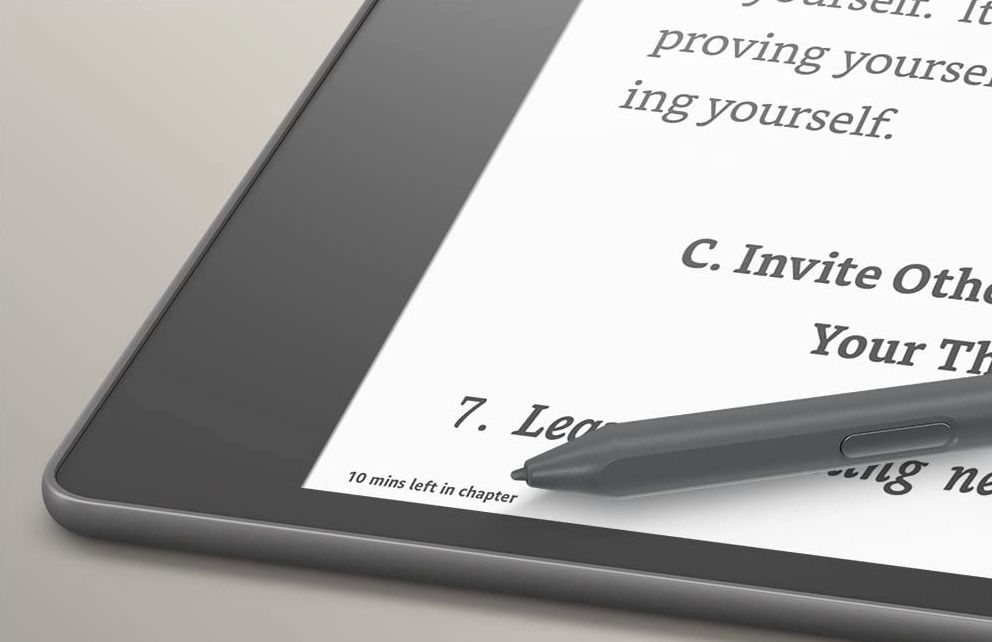
Image Credit:Amazon
Below that is a USB-C charging port.
Unlike other Kindles, like the Paperwhite Signature, there is no wireless charging capability.
First-Time Kindle Scribe Set Up
After unboxing your Kindle Scribe, youll need to set it up.
The process takes just a few minutes.
When purchasing the machine, you might select from two options.
The Basic Pen is standard with the equipment.
There is no setup required, and youll never have to charge it.
When not in use, it will magnetically attach to the side of the Kindle Scribe.
For a bit more, you’re able to upgrade to Premium Pen.
That model offers the same features as the basic model along with two exclusive features.
A dedicated eraser at the end of the stylus allows you to erase written content on the screen.
A shortcut button allows you to switch between a pen, a highlighter, and more.

But the good news is that the higher-end option is available to purchase later by itself.
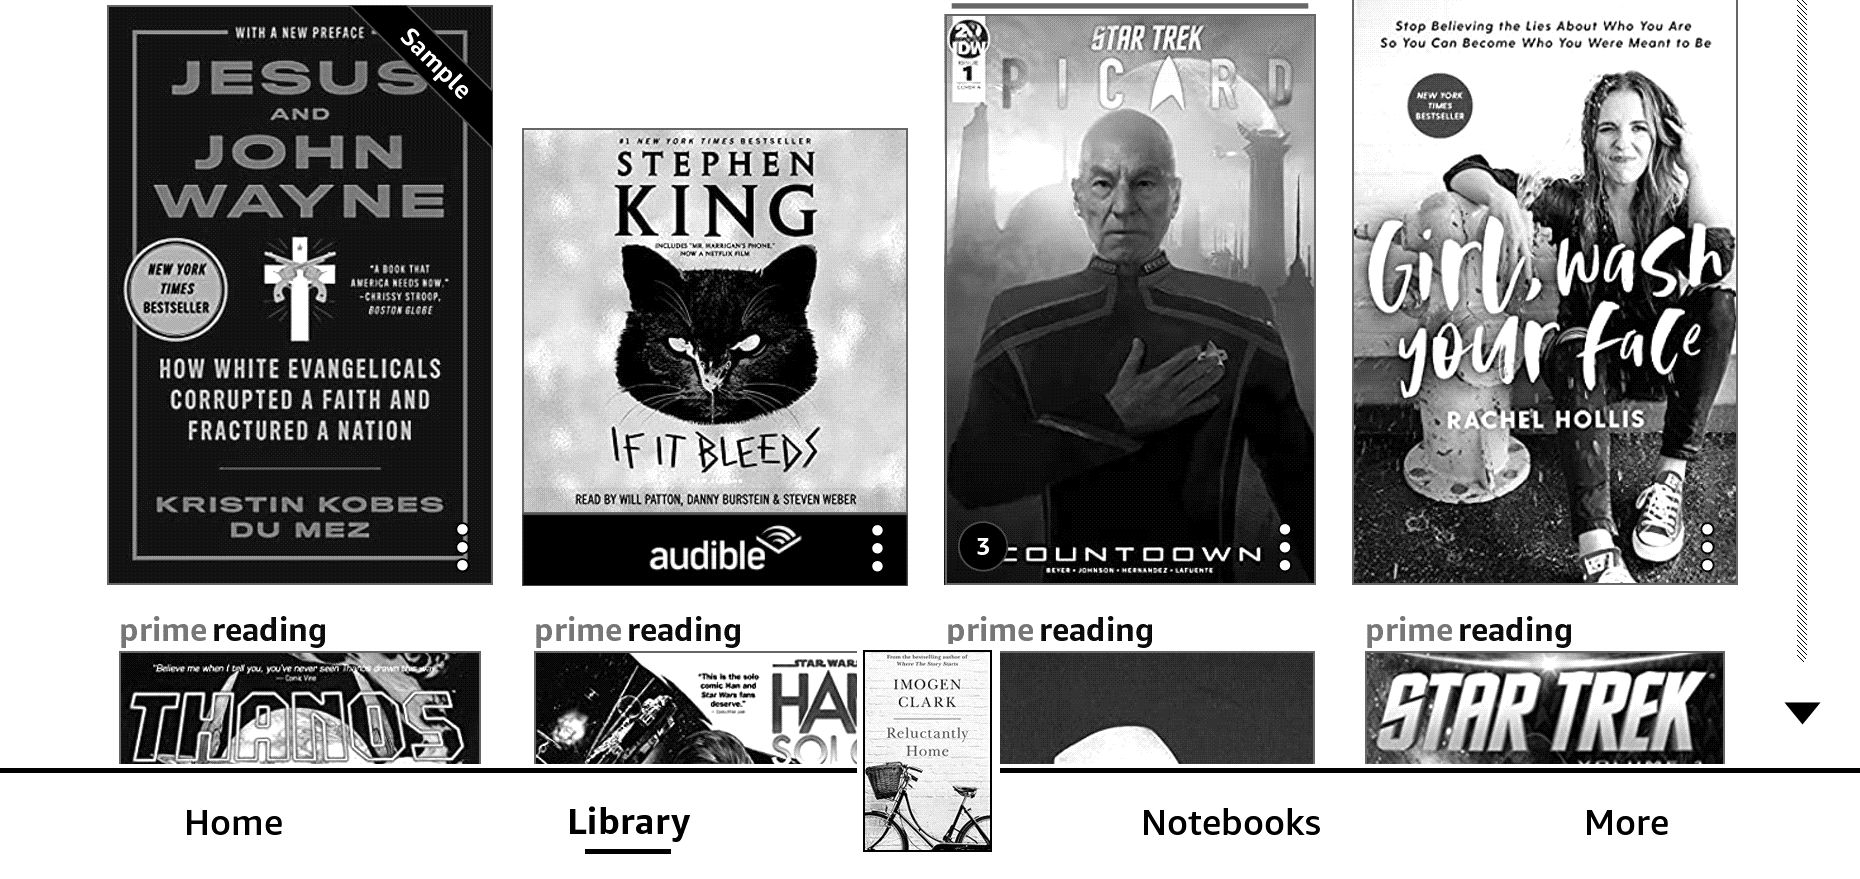
For all of your e-books, head to the Library section.
In the middle of the navigation bar is an icon of the last book or document you read.
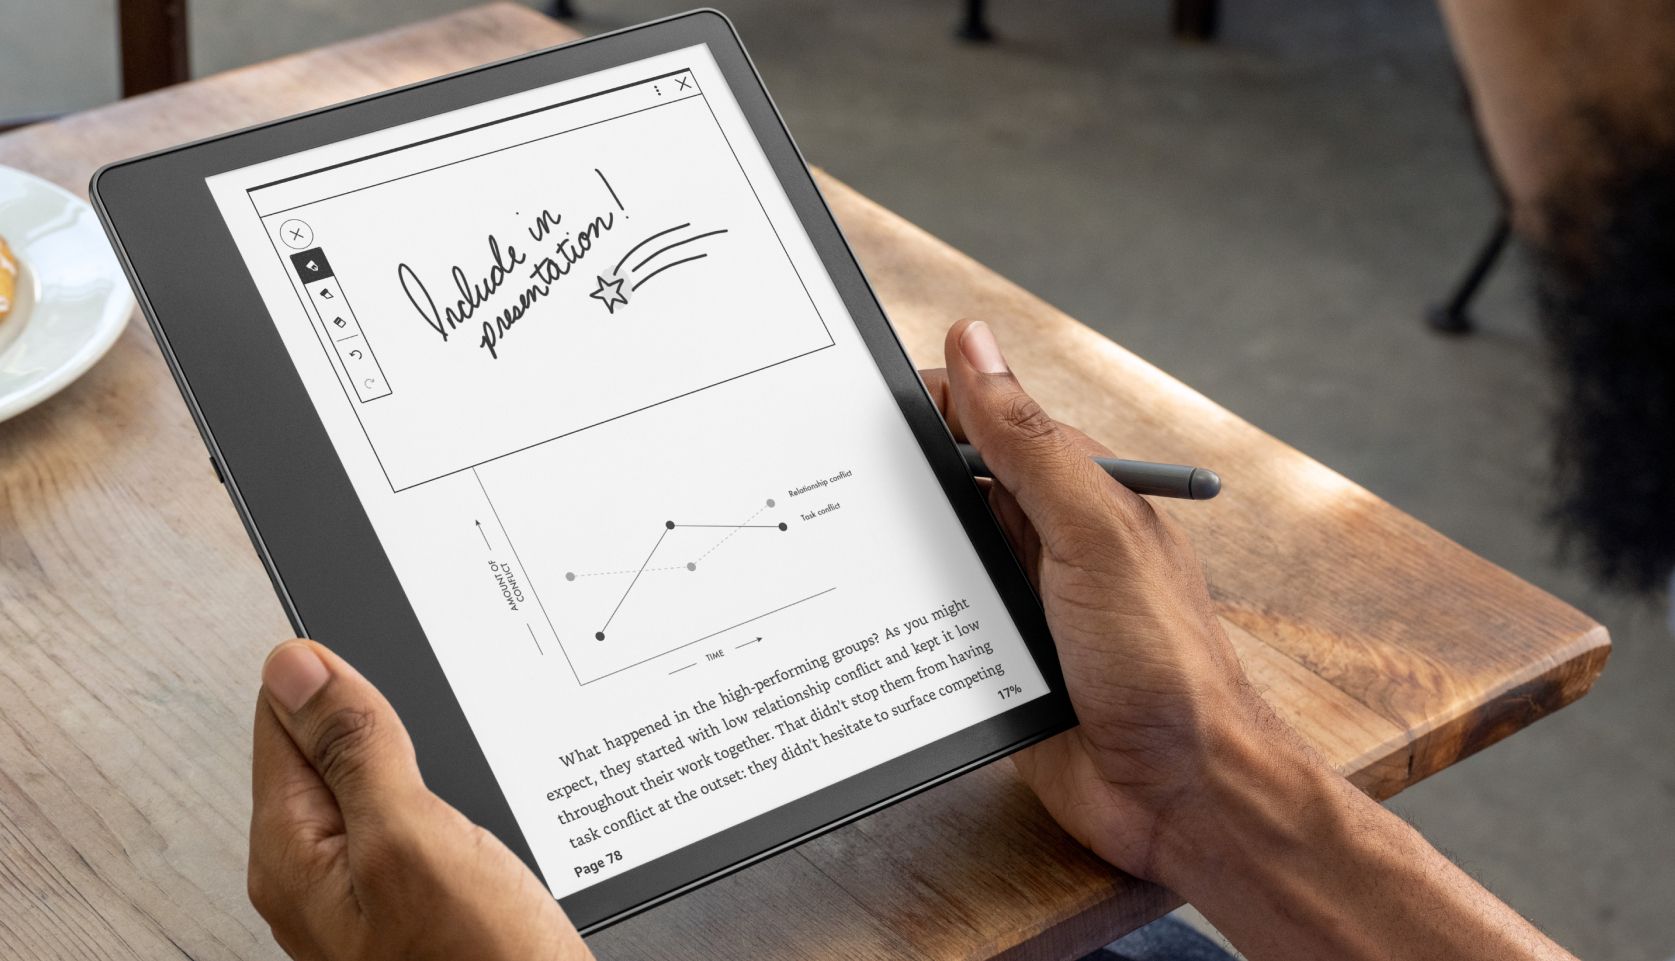
Image Credit:Amazon
Just select it for quick access back to that material.
Notebooks is the hub for all of your written notes.
you could create both Notebooks and folders for better organization.
The Quick controls menu is available to view anytime by swiping down from the top of the screen.
Some of the options include Airplane Mode, Bluetooth, Dark Mode, screen brightness, and screen warmth.
The warm light on the Kindle Scribe canhelp you sleep better if you read before bed.
There is even the option to pull up the complete tweaks menu.
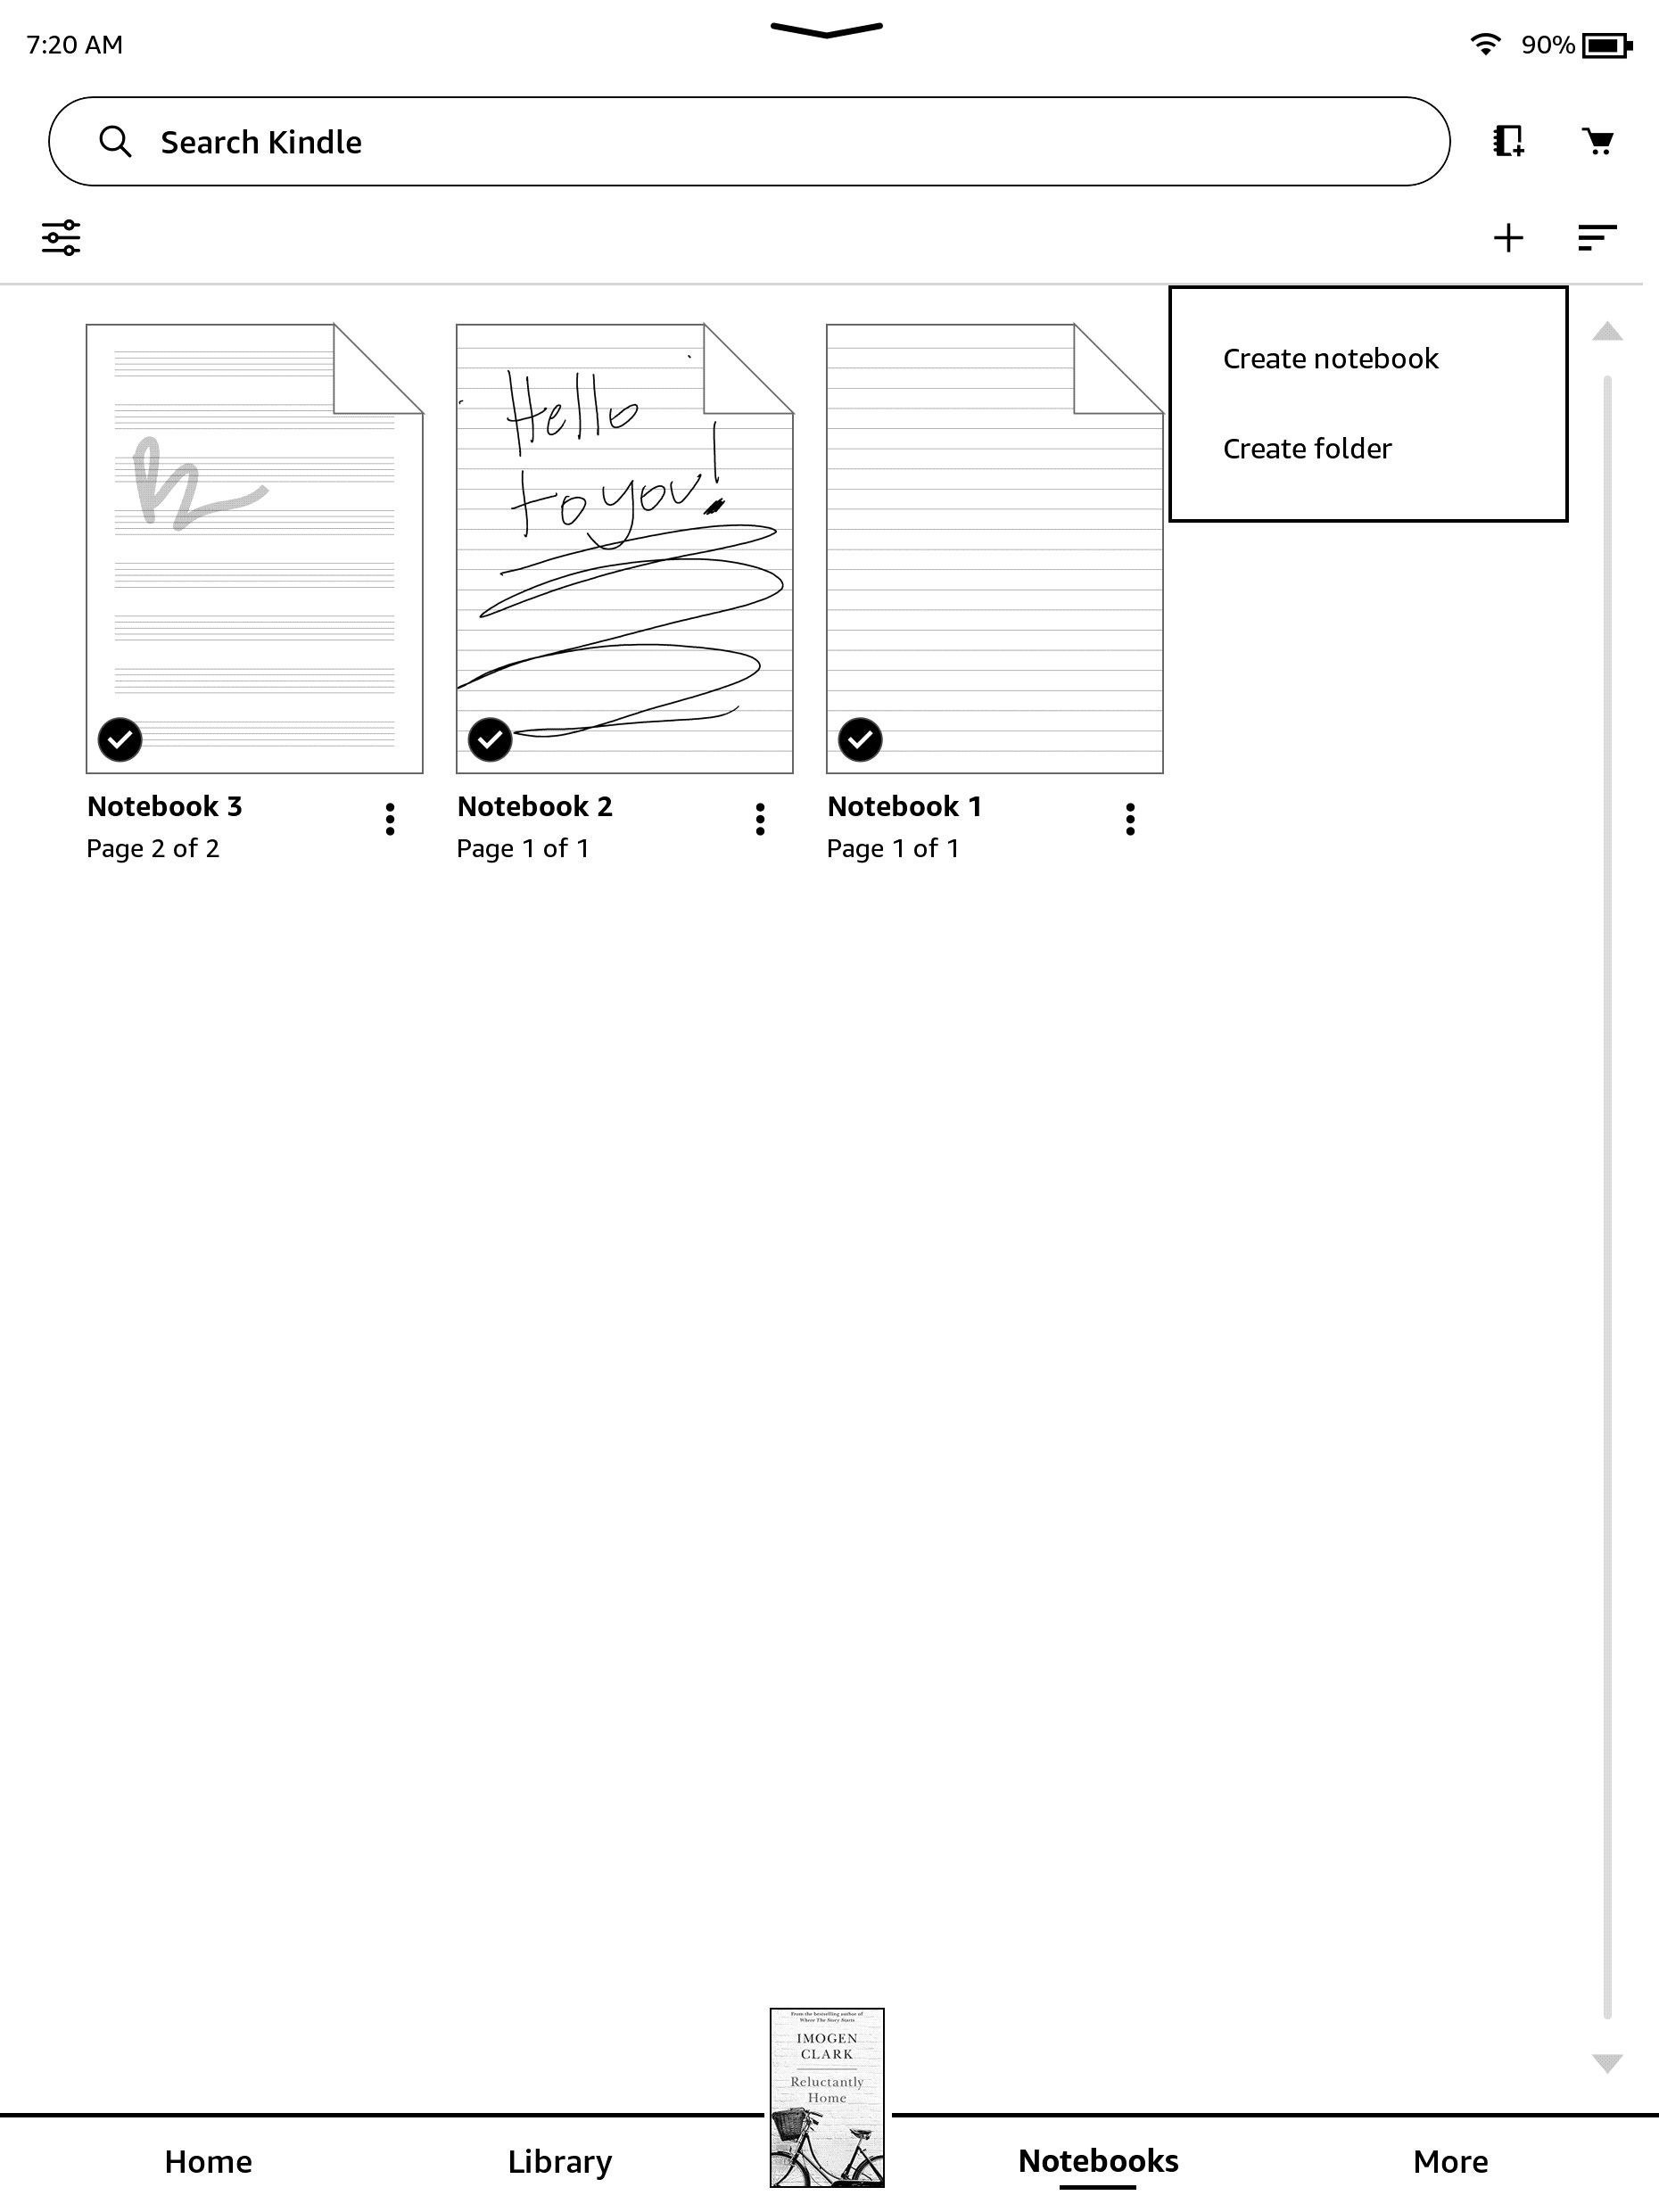
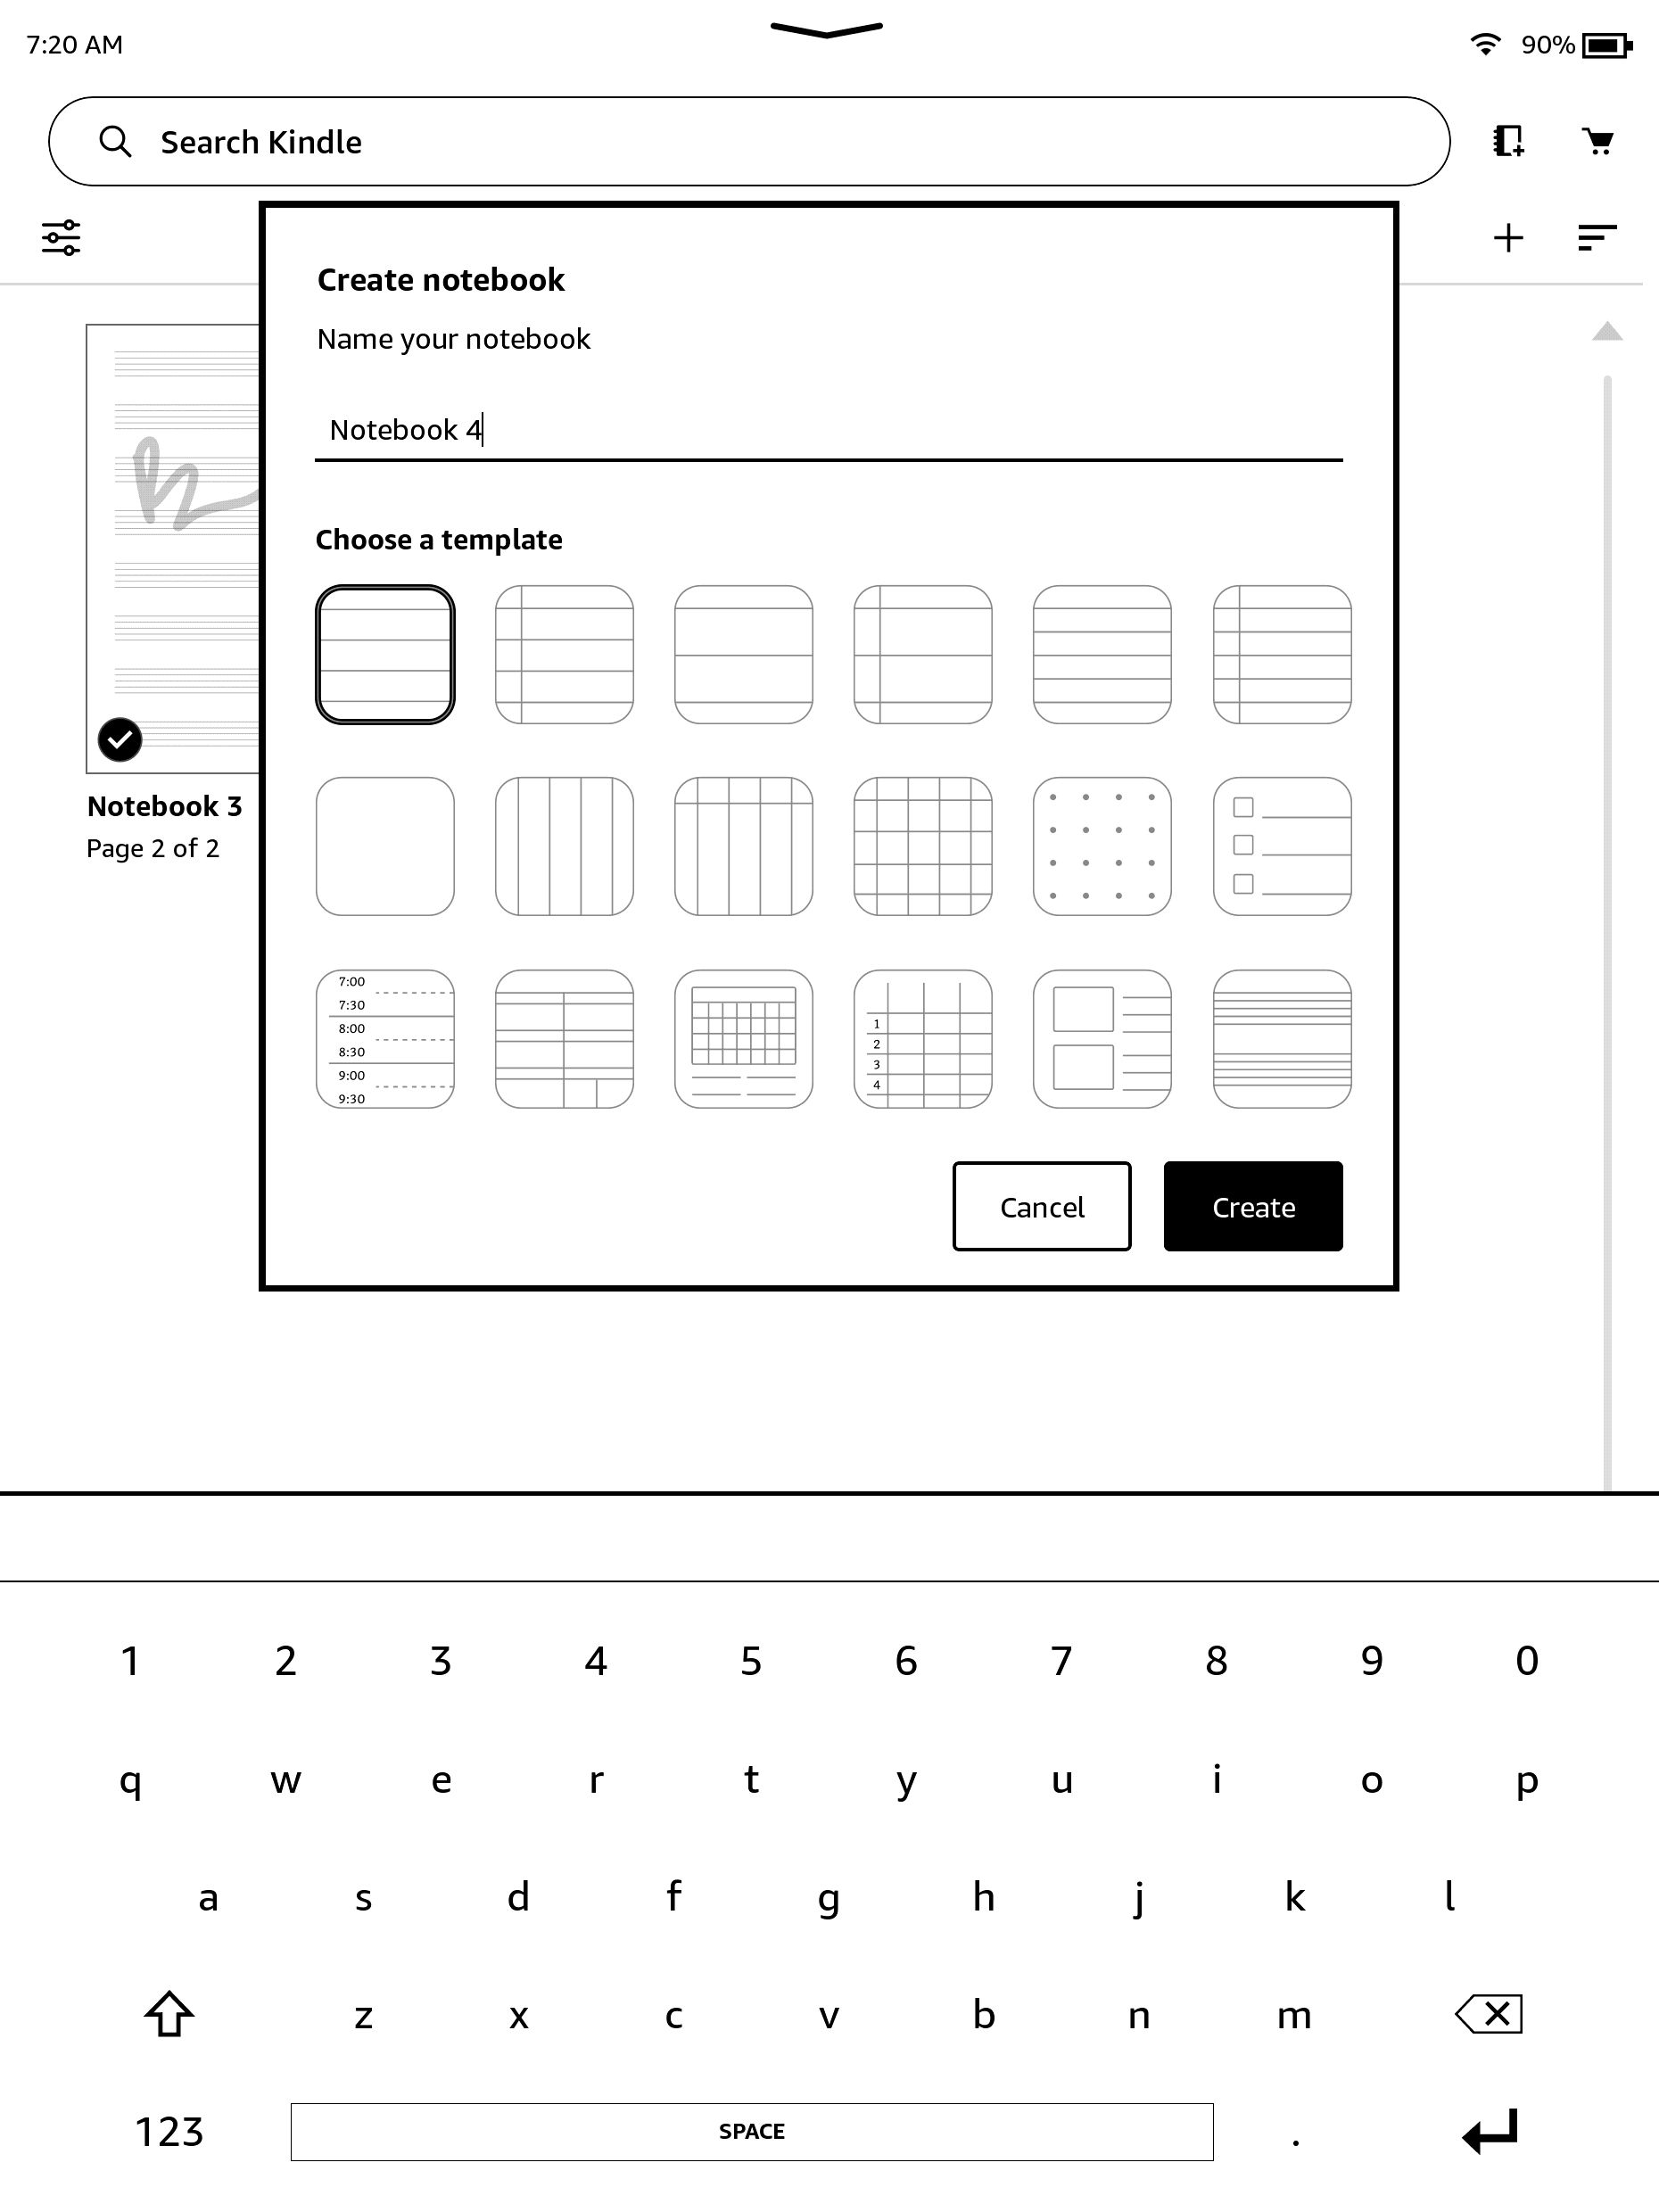
To begin, select Notebooks from the bottom navigation bar.
go for the+in the upper right corner and selectCreate notebook.
Next, youll name the Notebook and select from a wide variety of template options.
you’ve got the option to also select undo and redo options.
poke the bottom three dots to move the toolbar to the other side of the paper.
An upward-facing arrow on top of the toolbar will collapse it and only highlight the current tool.
Tap the upper part of the screen to see more Notebook options and information.
you might alter the page template and also share the results via email directly from the Kindle Scribe.
after you snag created a number of pages, you might organize them in folders.
In the same menu to create a notebook, select Create notebook.
Find out more about thaton Amazons site.
Along with a handwritten note, there is an option to key in a sticky note as well.
To see the note youve added, just choose the same icon on the page.
you’re able to also add notes to other documents as well.
