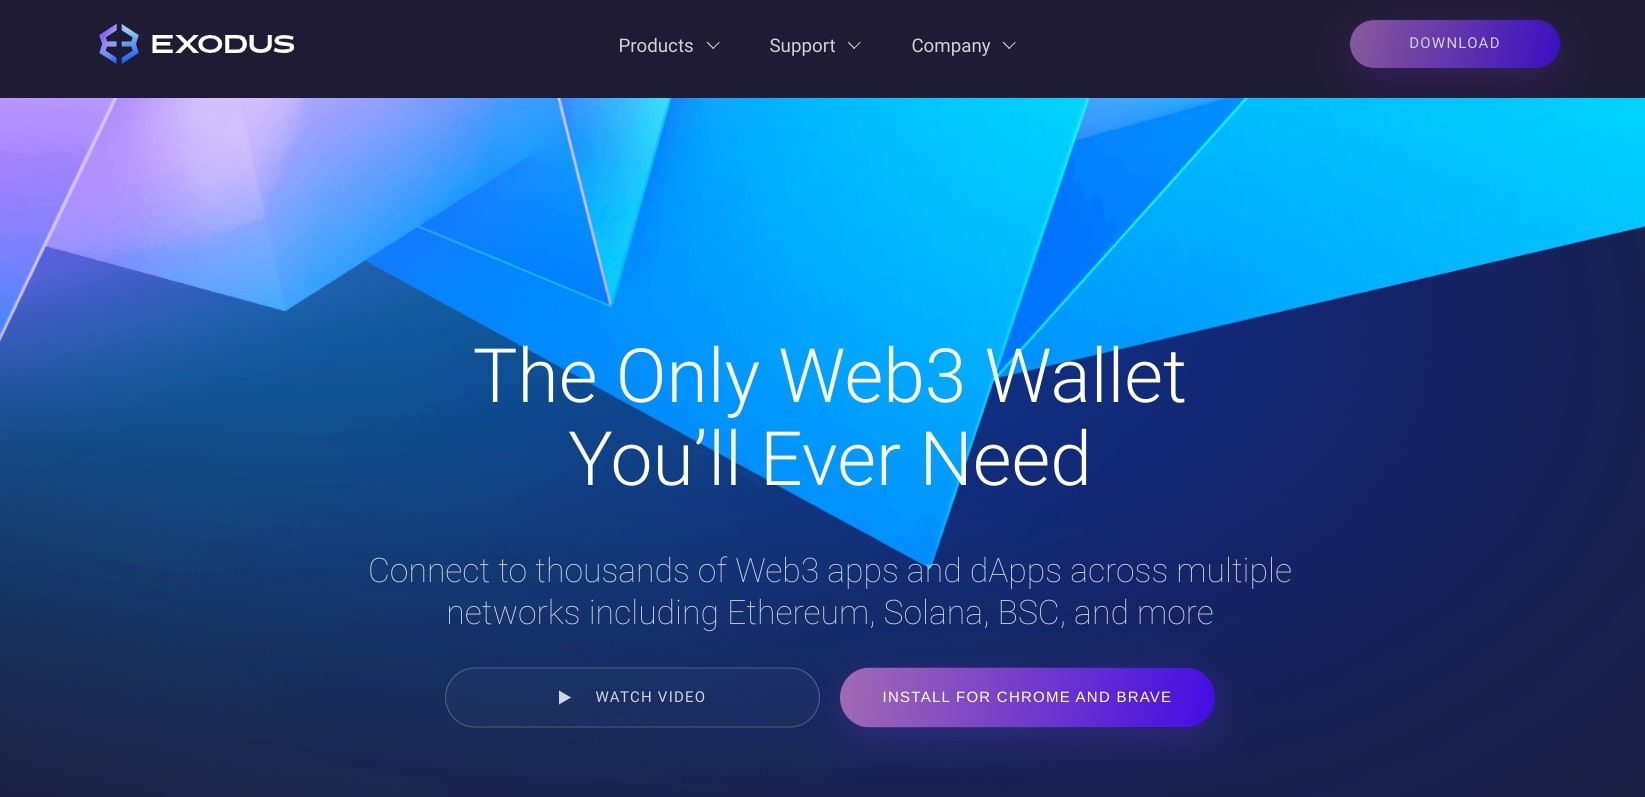
Web3 wallets are great for those who own crypto and NFTs and are useful in the DeFi space.
Exodus is a prime example of a Web3 wallet and also offers a highly-rated software crypto wallet.
But how do you set up an Exodus Web3 Wallet, and how is the Exodus Web3 Wallet used?
However, it still needs to be installed.
We’ll be downloading it using Google Chrome in this tutorial.
Click theAdd to Chromeoption and confirm in the popup window that you want to add the extension.
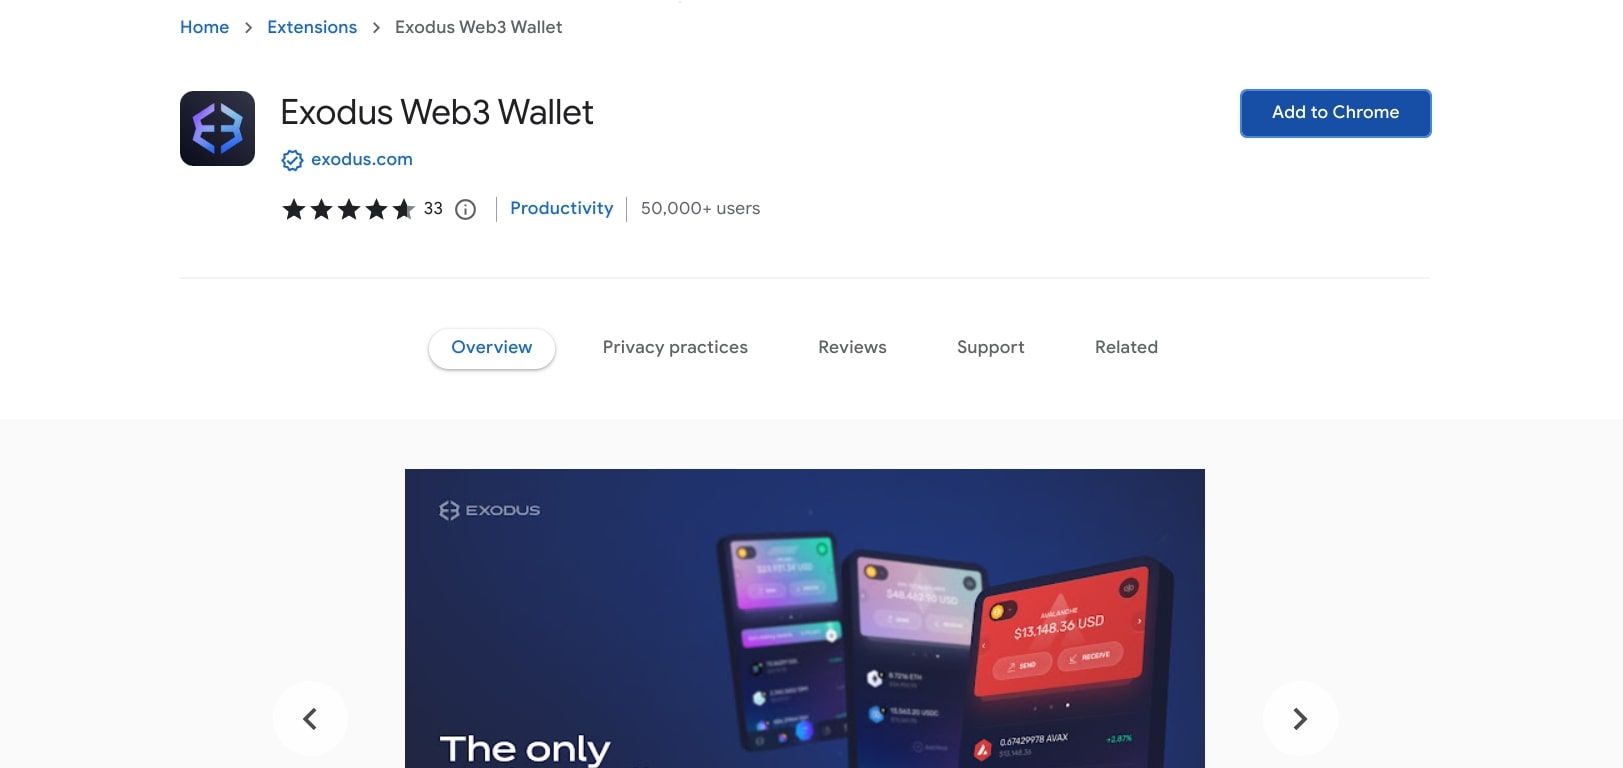
Download:Exodus Multichain Web3 Wallet forChrome and Brave(Free)
2.
This is where you start the setup process.
If you do, click theI Have a Walletoption to sign in.

Otherwise, press theCreate New Walletoption.
Now, you’ll need to create your own password.
double-check this password is strong and unique, with a mixture of numbers, symbols, and cases.
After you’ve entered and re-entered your password, you’ll be taken to the Exodus welcome page.
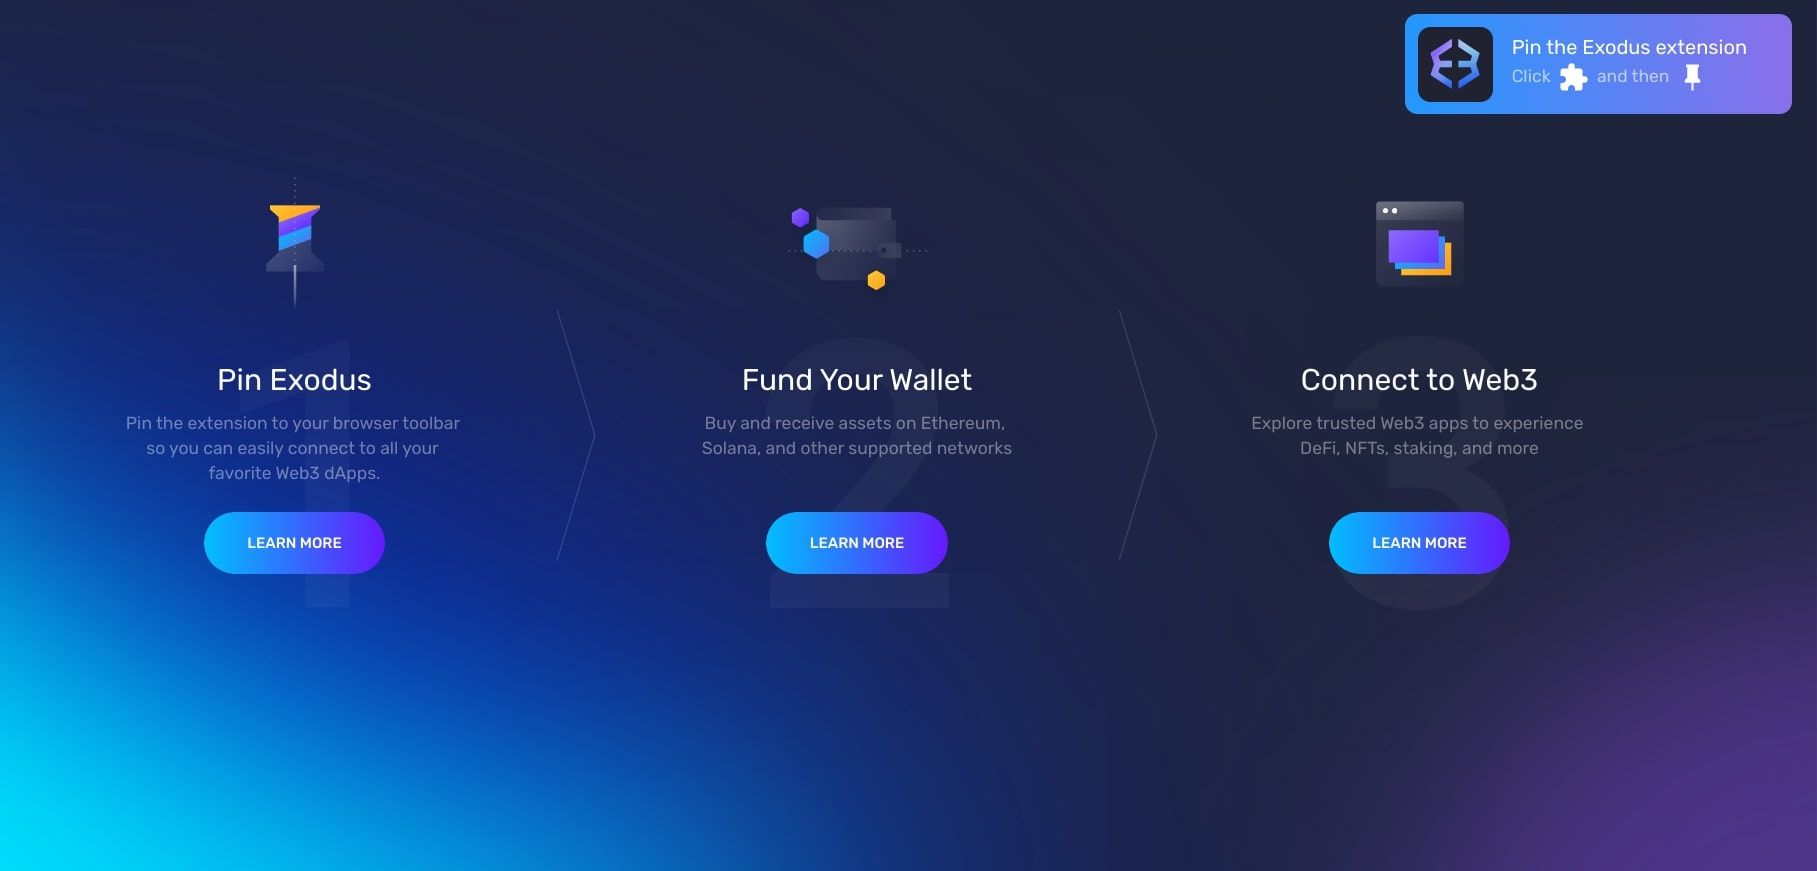
You’ll see a small blue Exodus icon next to your search bar.
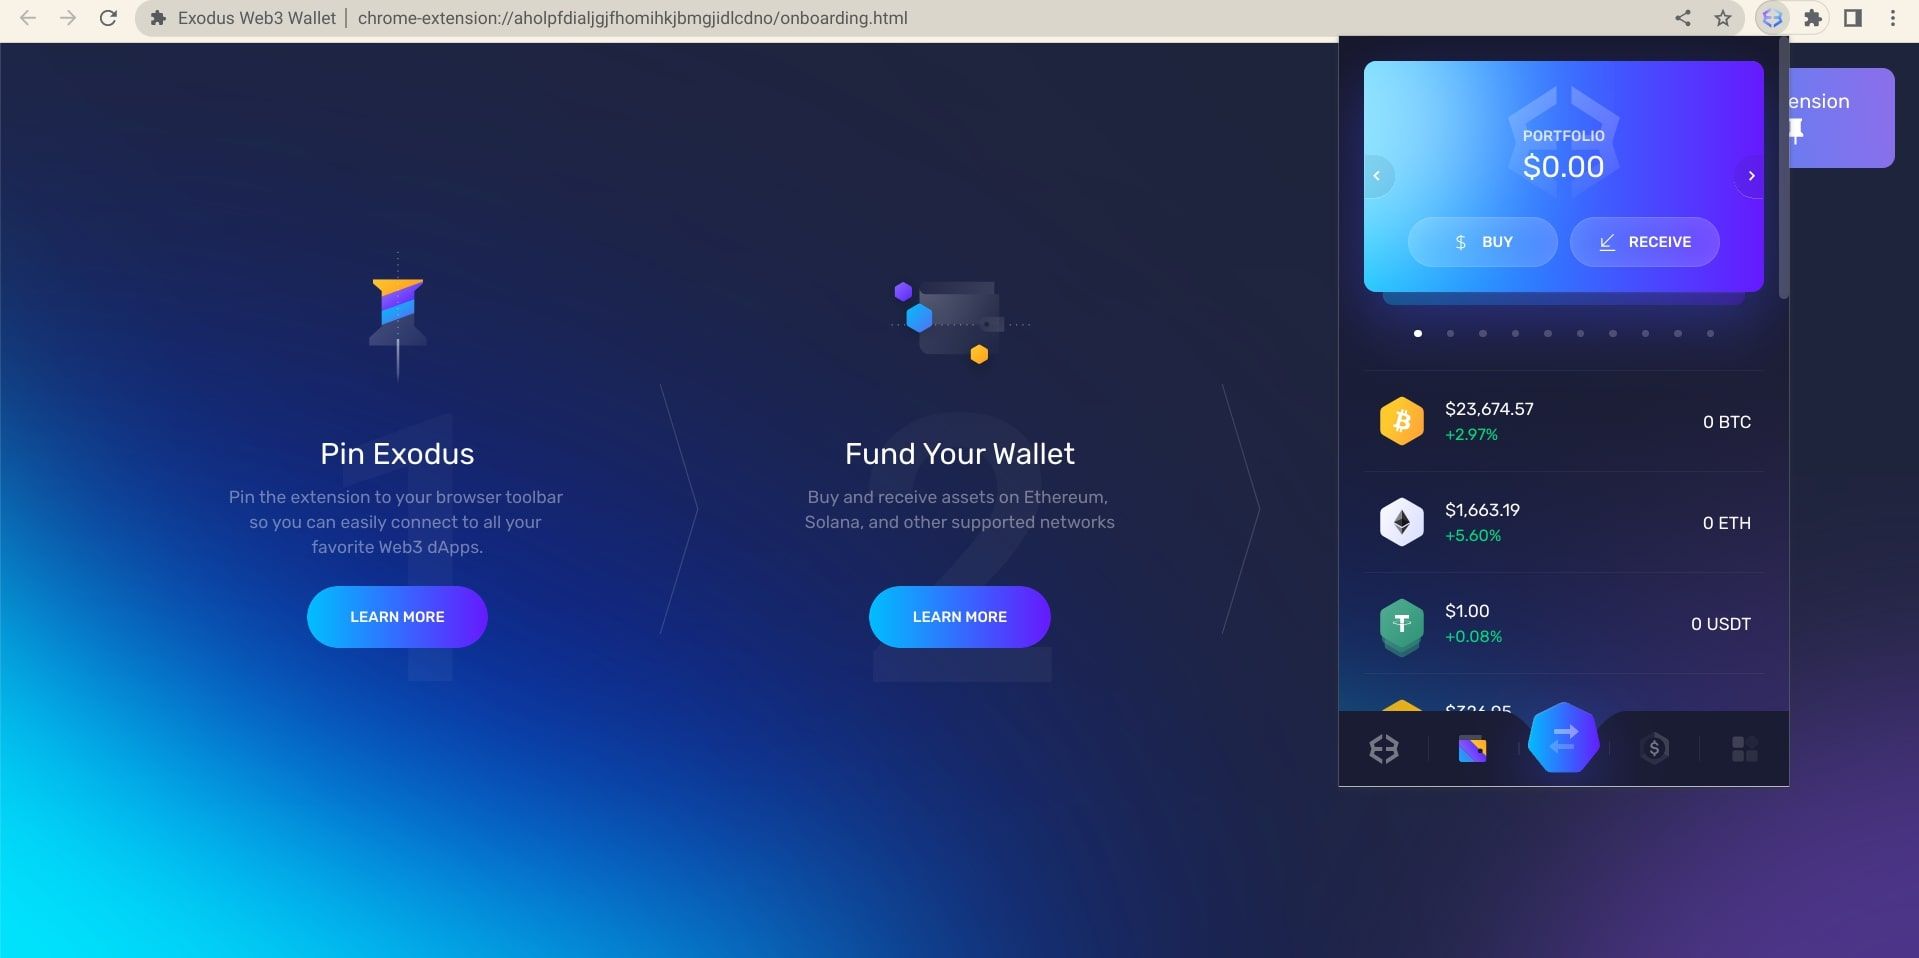
Exodus will provide you with some brief instructions on the next page, as shown above.
it’s possible for you to purchase funds directly through your Web3 wallet, either via Ramp or MoonPay.
To buy funds, you’ll need to head to the extension itself, as shown below.
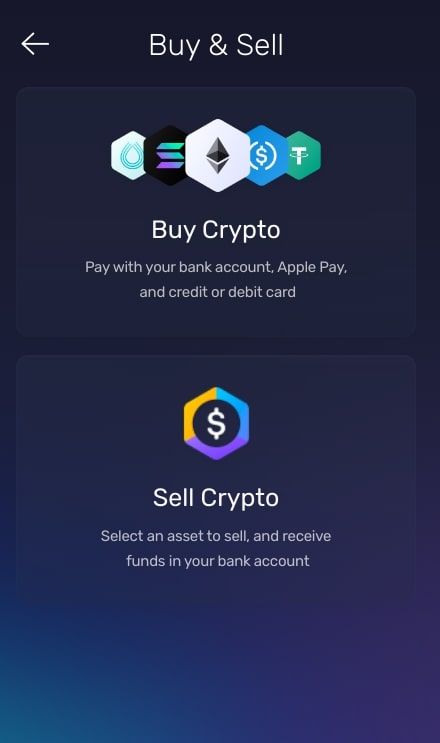
In this section, you’ve got the option to also buy or receive funds.
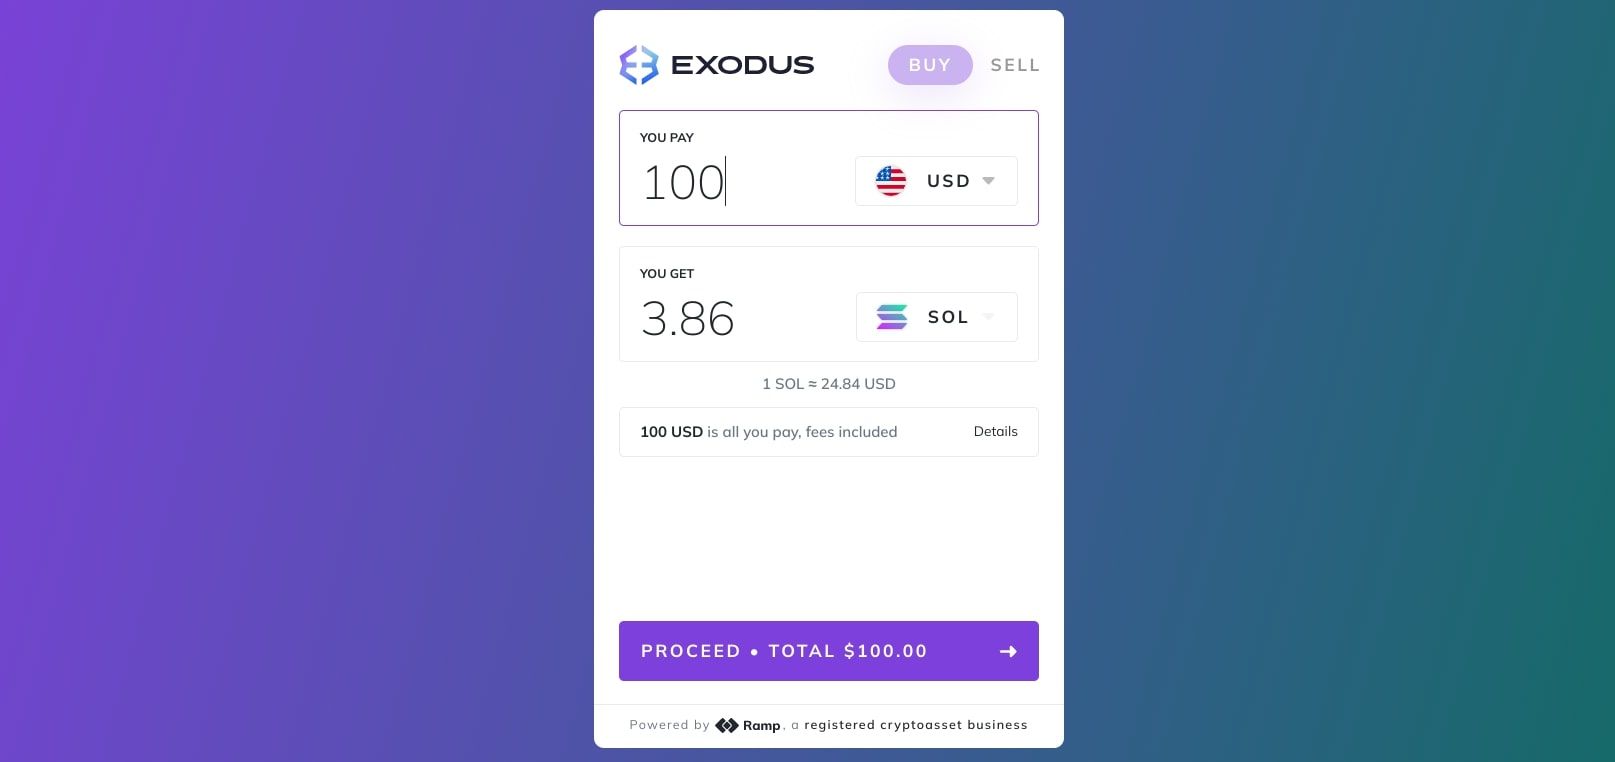
If you want to buy funds outright, choose the Buy option.
You’ll then be able to choose what kind of crypto you want to buy and how much.
Once you confirm this, you’ll be automatically taken to the Ramp purchase page, as shown below.

Alternatively, you’re able to receive funds to your Exodus Web3 wallet from another source.
You’ll then see a popup asking you to confirm your connection.
Simply clickConnect, and you’re good to go.
Exodus also offers an auto-connect option to automatically link your Web3 wallet to the sites you trust.
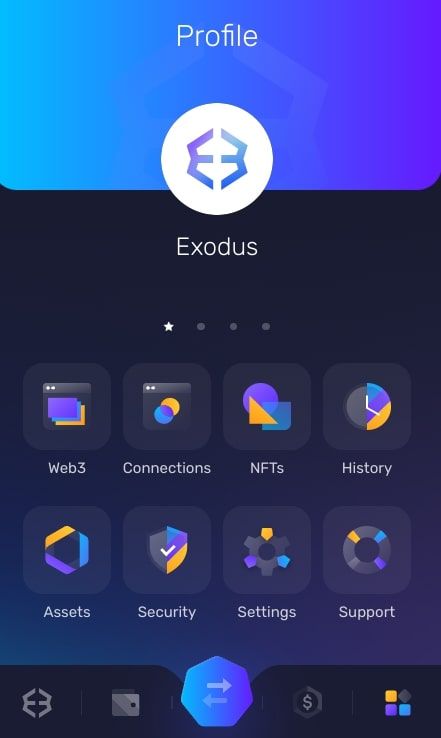
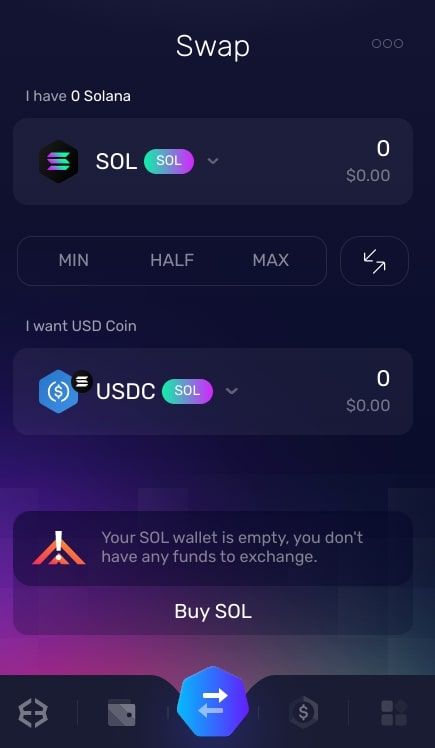
The hexagonal blue icon at the center of the extension window is the swap option.
Use this if you want toswap cryptofor your desired return asset.
The dollar sign icon also lets you buy and sell crypto.
The rightmost icon gives you a choice of numerous options so that you might navigate the extension quickly.
Choose from Web3, connections, NFTs, history, assets, security, prefs, and support.
You don’t have to provide copious amounts of information or wait for verification.