Creating routine backups of your data is common advice you hear on the internet.
But, let’s face it, very few of us care about creating multiple copies of work/important data.
We rely very much on that one single copy of the file stored on the disk.

However, problems arise when you encounter a system crash, corruption, or disk failure.
you could create backups of important files and folders, but doing them manually is a chore.
Well, Windows 11 (and some older versions) offer the File History feature which creates routine backups.
What Is the File History on Windows 11?
Microsoft introduced File History with Windows 8 to offer an option to create automated backups.
Check out our guide onHow to Enable or Disable File History in Windowsfor more information.
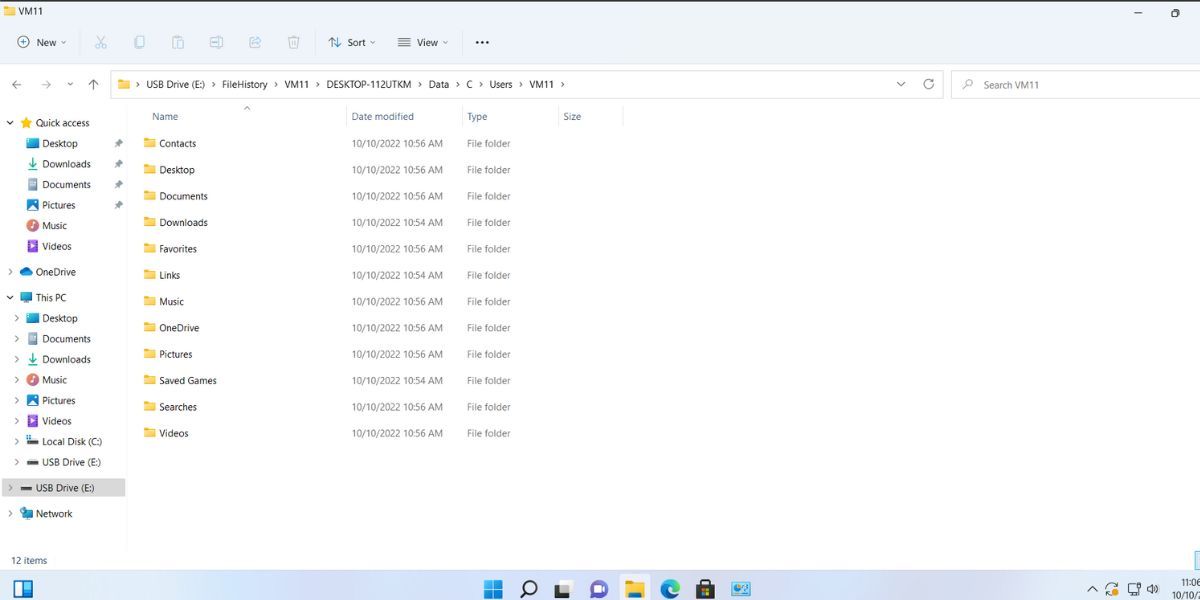
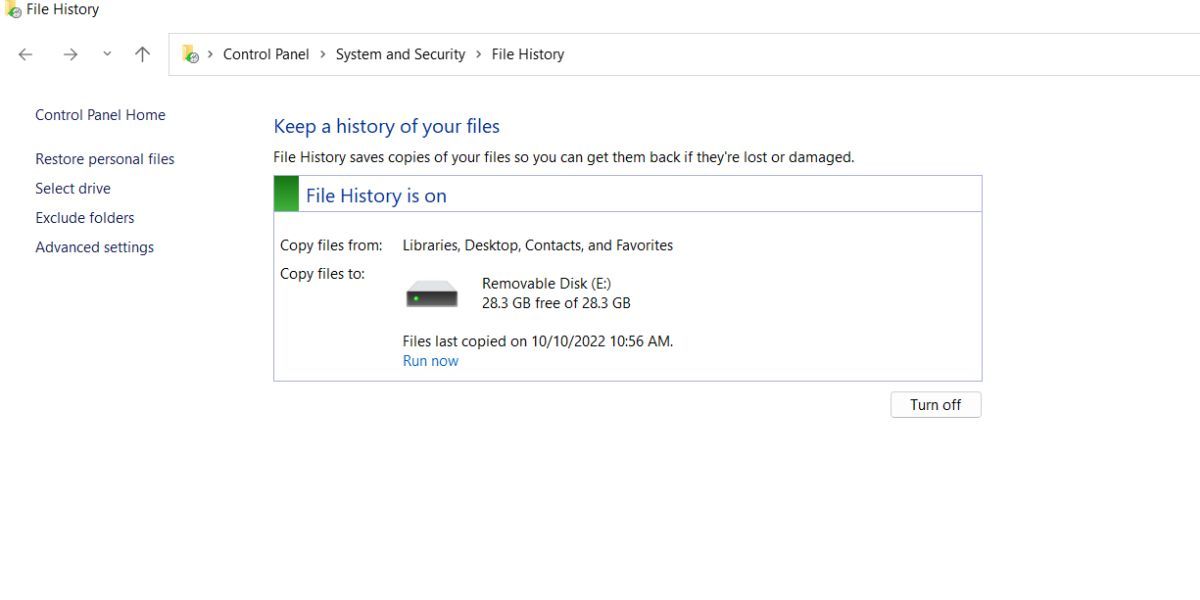
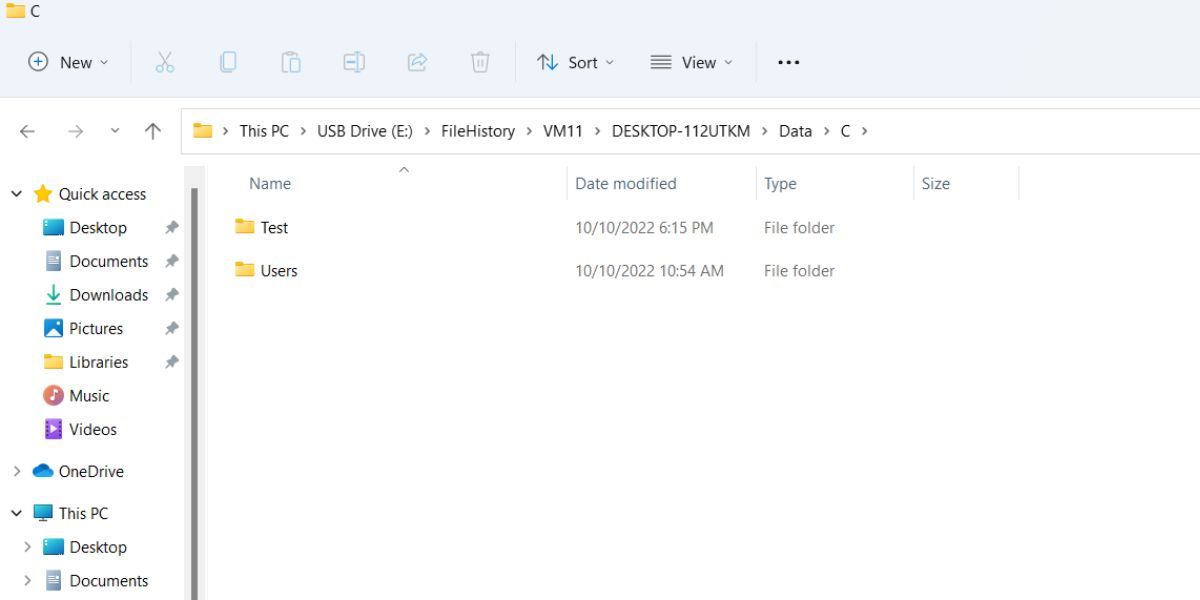
It will back up all the files stored in the Libraries, Desktop, Contact, and Favorites folders.
In addition, File History will also back up the Downloads, Saved Games, and One Drive folders.
Here’s how to do it.
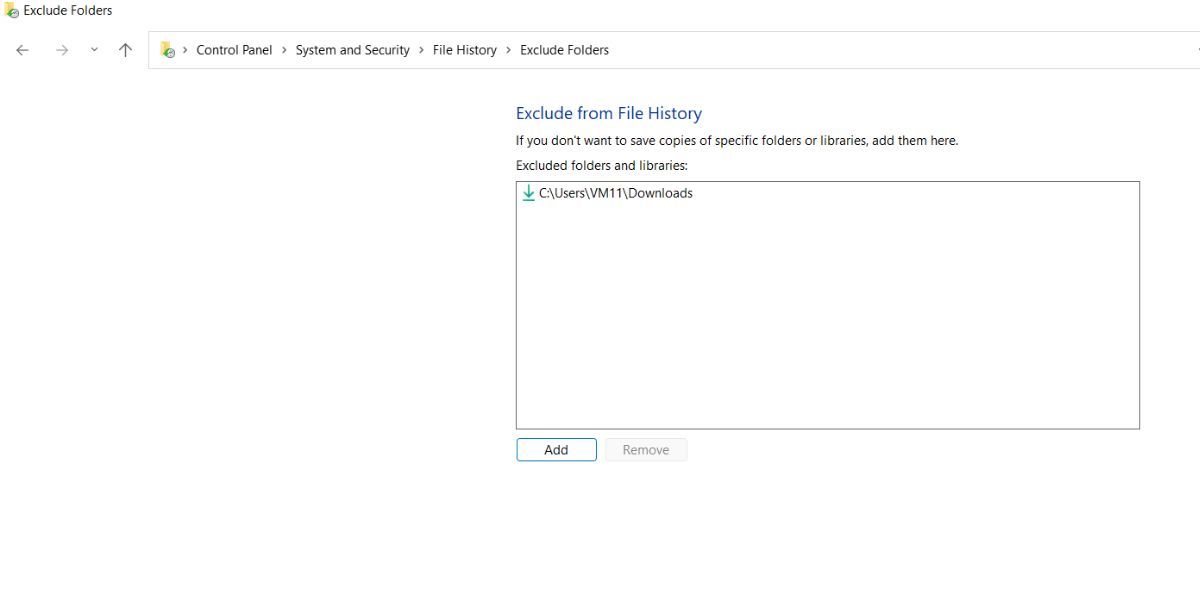
Remember that you’ve got the option to use only one drive to save File History contents.
Bigger folders like temporary downloads and videos can fill up disk space quickly if you use a USB drive.
So, it is best to remove those folders which hold no importance from the backup standpoint.

Well, both of these options indeed back up your data to some extent.
But they have their inherent flaws when it comes to automating backups.
Creating a system image requires fairly large storage space on disk.

Similarly, OneDrive backs up the data present in the OneDrive folder on disk.
You get a cloud backup, but it needs an internet connection to work.
Moreover, it doesn’t back up the data present in other disk locations which could be equally important.
So, you’re free to only access it from the control panel.
But it is a fairly simple method that you’re free to use to always create redundant backups.
Moreover, you’re free to add or remove folders and change storage devices when the need arrives.