It can also be referred to as a Repeater.
So let’s take my case for instance.
Without the extender at the edge of my doorway I was not able to make the signal more powerful.
He would see the online grid with one or no bars.
After installing the WRE54G he gets a full strength signal.
So like I said, I added a range extender FTW!
If not let’s check out the manual process.
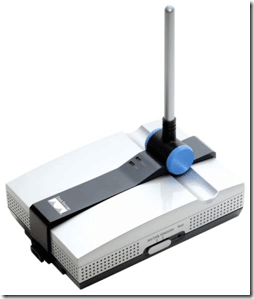
First of course you need a WRE54G.
To do this we will grab a paper clip or something similar to stick into the reset button.
This button is located in a small hole on the left side of the Extender.
Alright, now we have a new extender ready to be put to use.
Out of the box this machine is set to use 192.168.1.240 as an IP address.

Then connectan ethernet cabledirectly from your machine to the gadget.
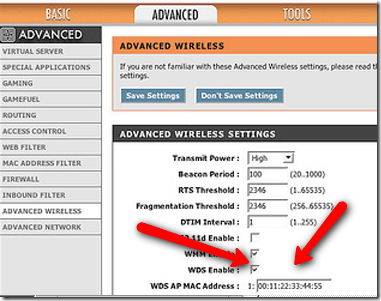
We will next need to configure your current router to use WDS Bridging.
This is what will allow the extender to extend the online grid.
Different routers have different locations and terminology, on my router it is called Bridging.
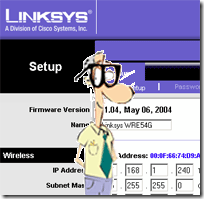
I needed to enter the MAC address of the extender which appears on a bar code under the gear.
Some devices will also require you to check a box to enable WDS.
An example is shown below:
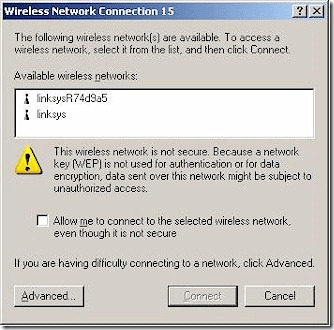
Next up we will need to connect to the rig using WiFi.
Obviously your MAC address will vary:
Alrighty!
Now we are almost there.
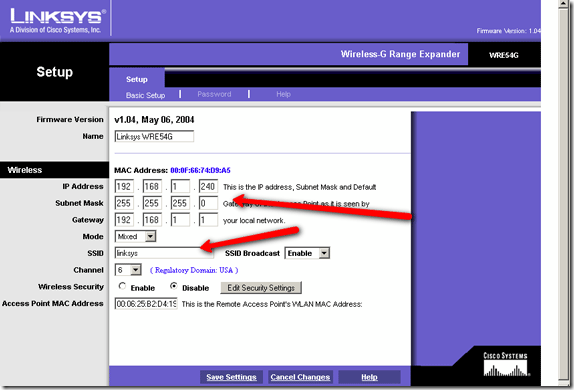
The default user needs to be left blank.
The default password is: admin.
Or if you want it as a separate connection, change the name to something else.
Don’t leave the default SSID.
you could also enable security and modify other configs in here.
Once you are done store your tweaks.
You have successfully extended your web link!
This shouldn’t be as hard as it was!
