To do it correctly, follow the steps below.
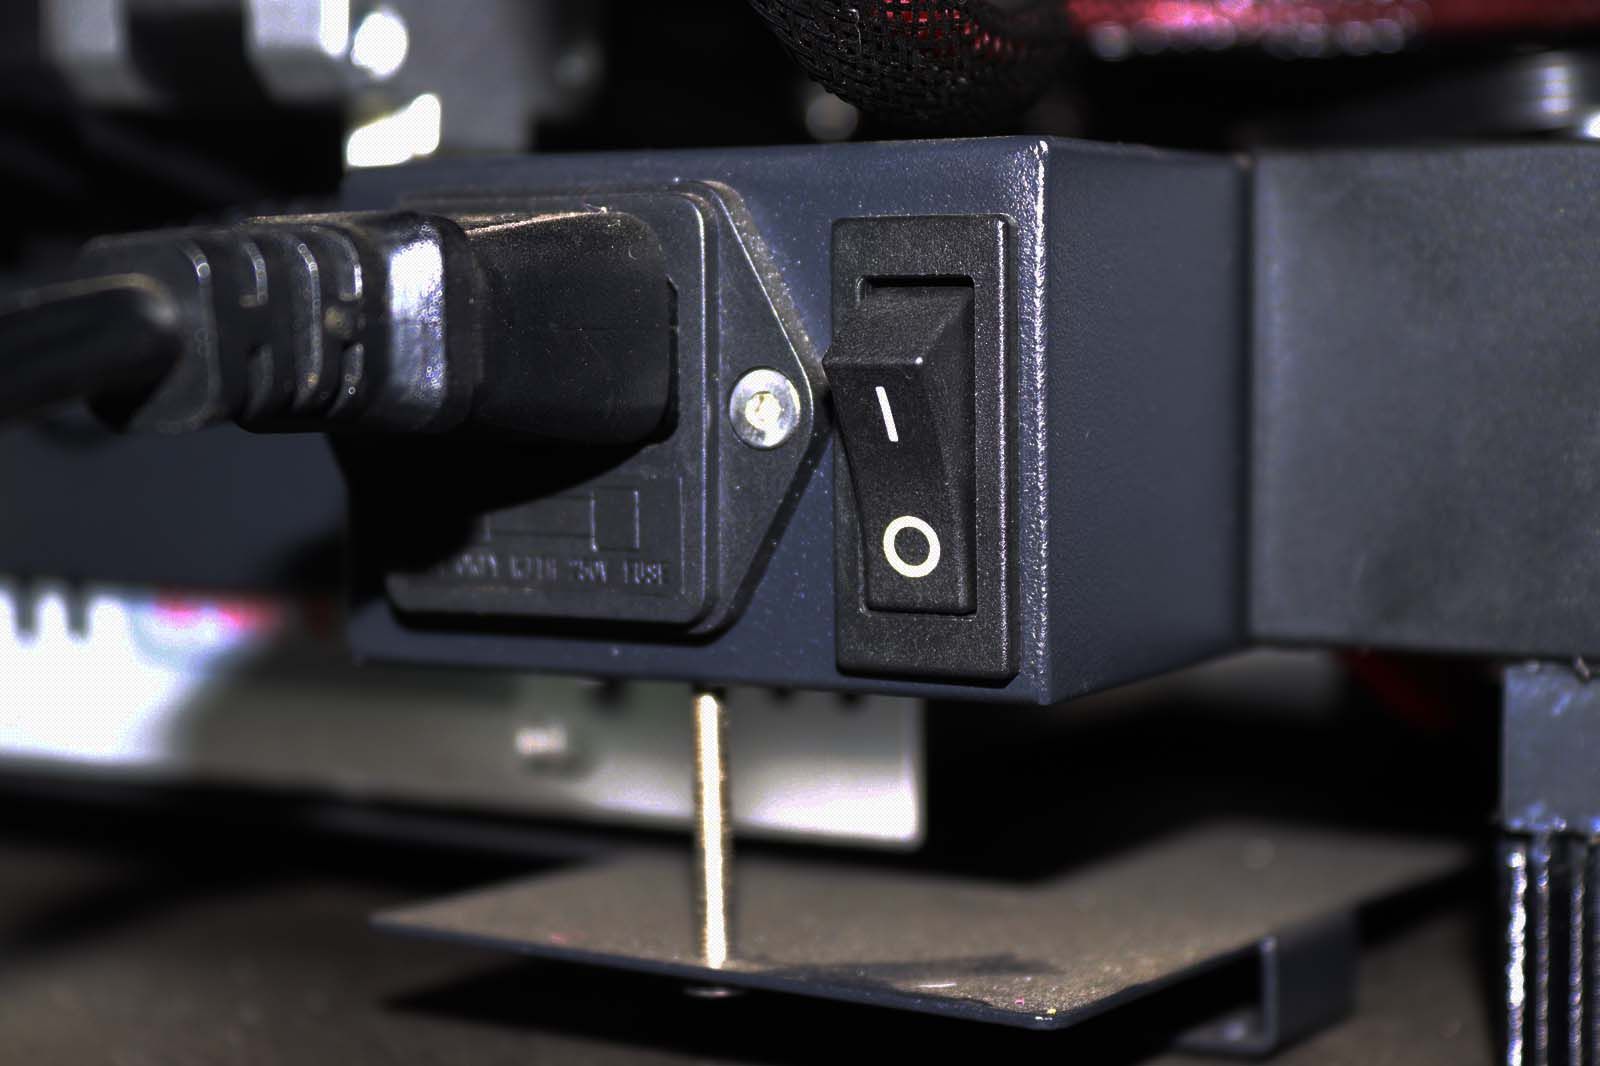
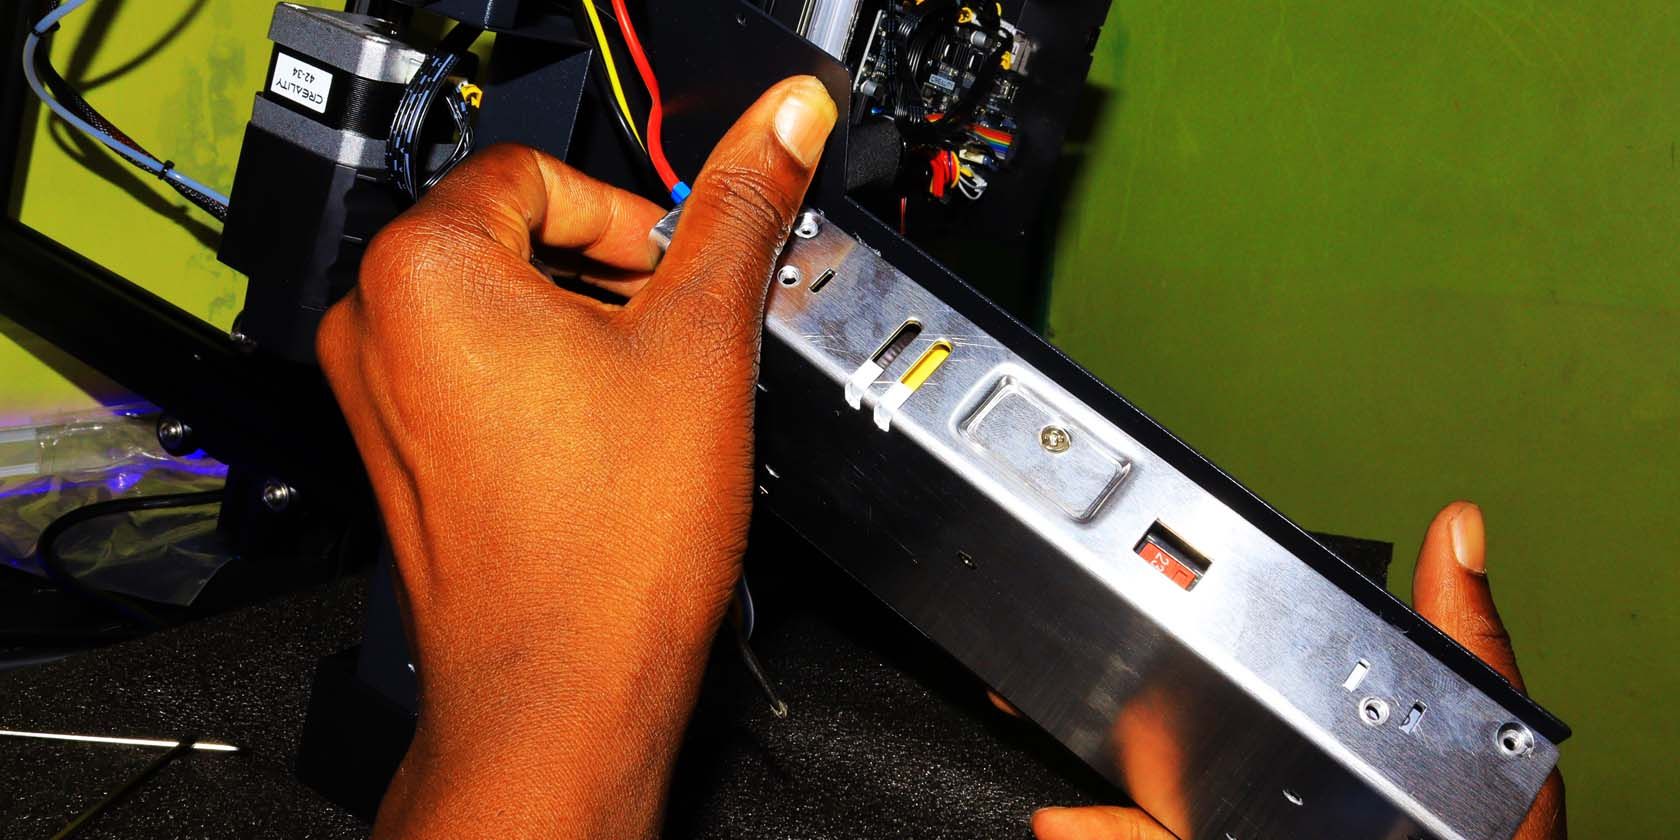
The power switch of the Ender 3 V2 is just near the place where you insert the power cord.
Next, safely unplug the power cord from the mains outlet.
You should also disconnect any other cables attached to the 3D printer.
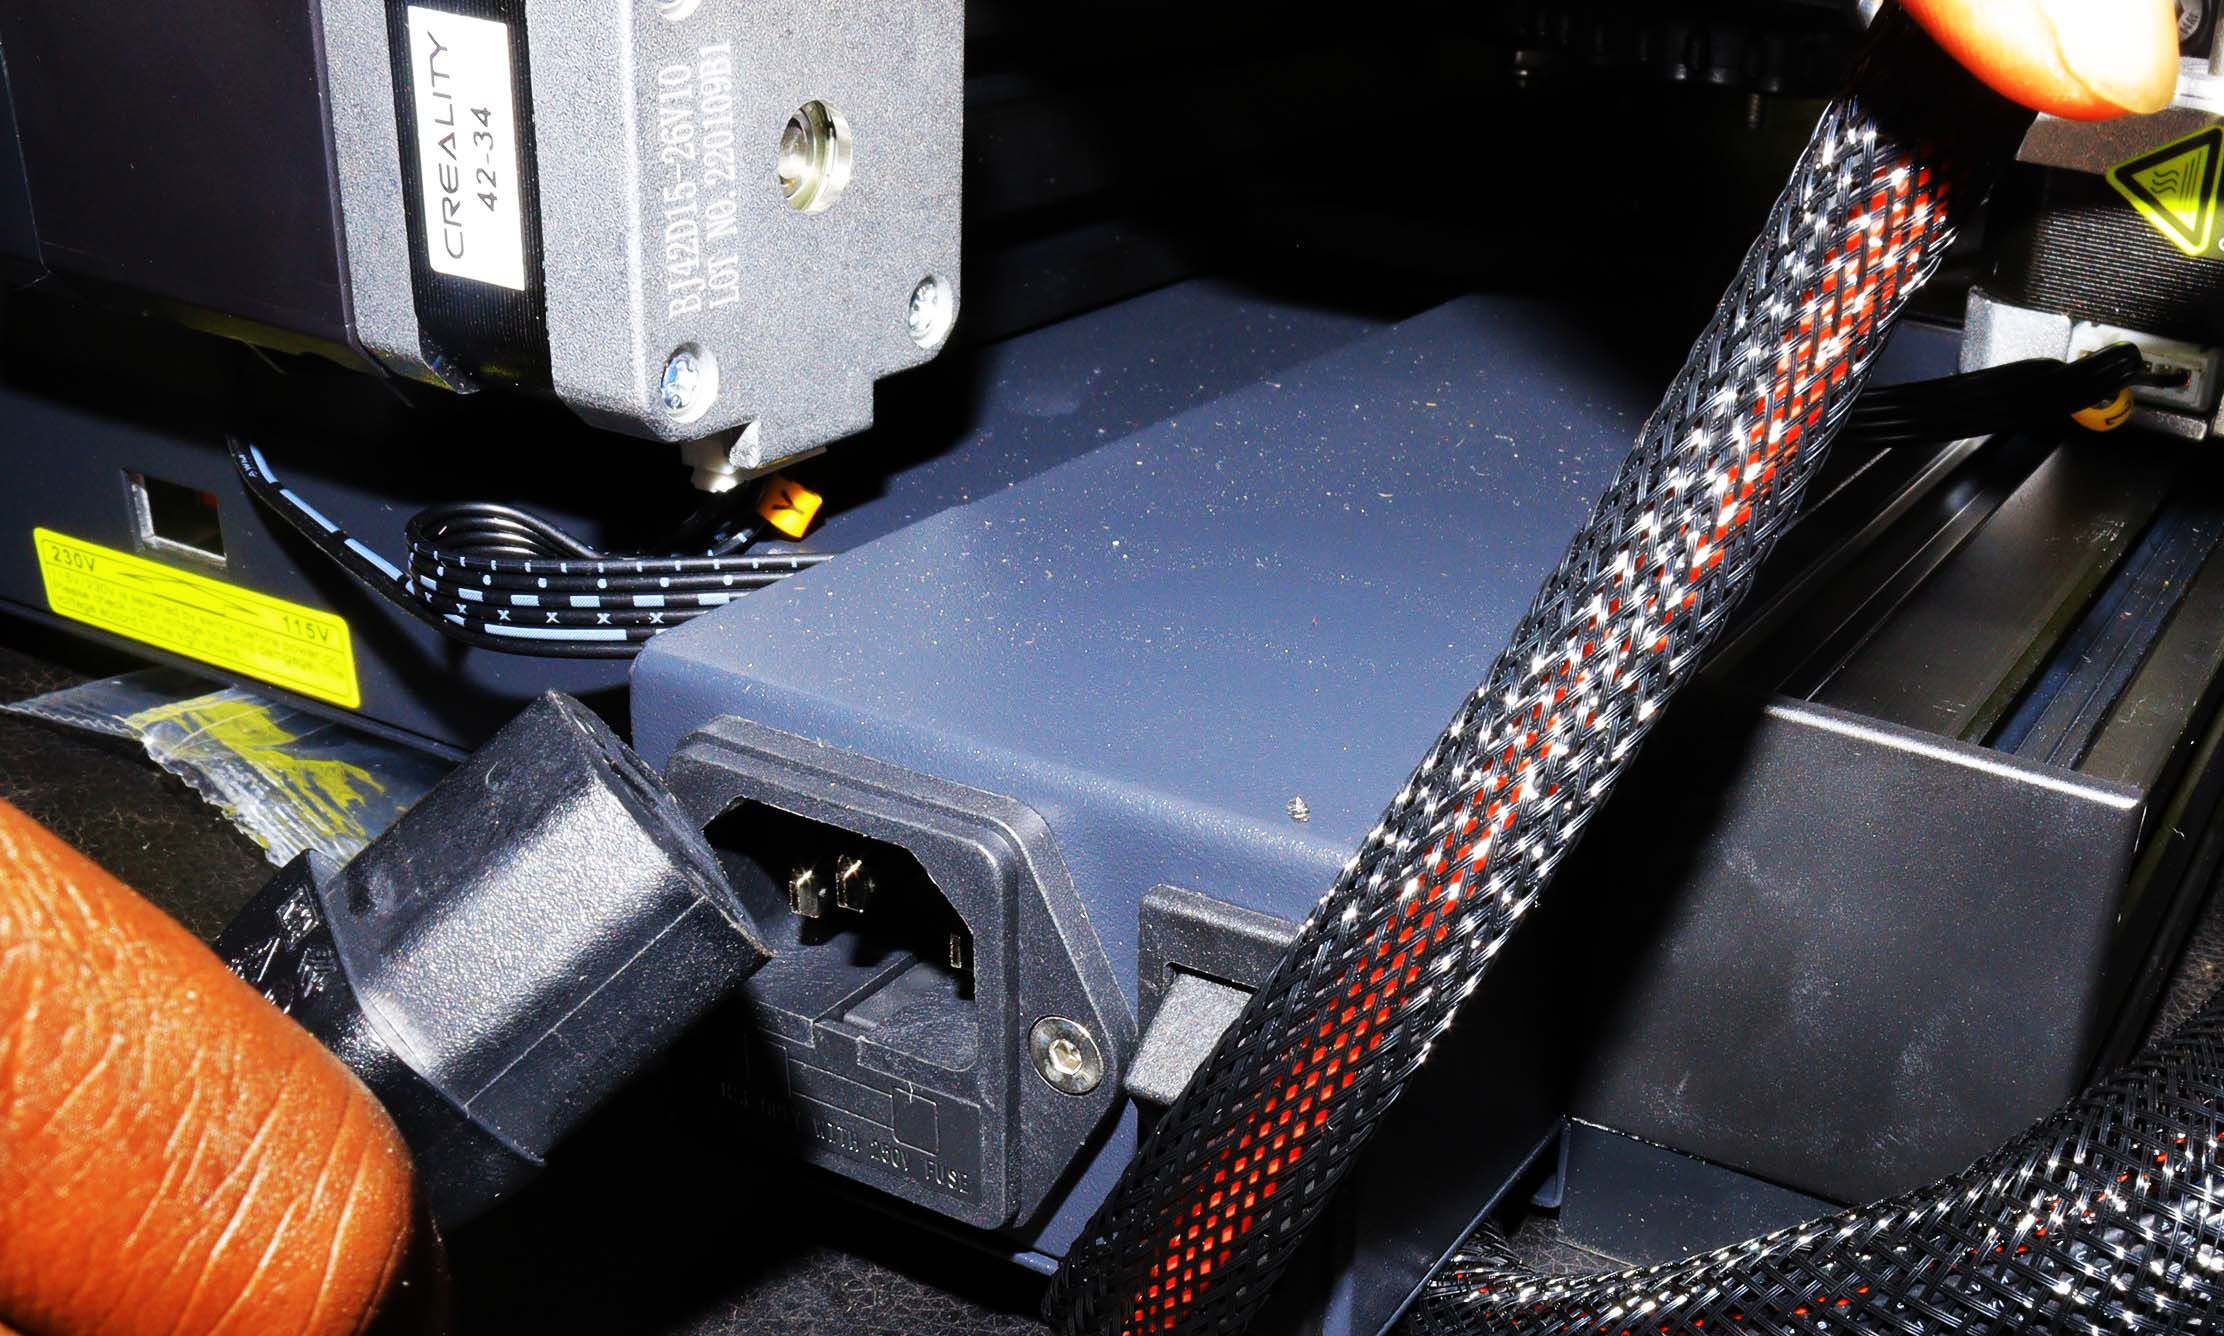
Ensure that you dont confuse the location of the power supply and the motherboard.
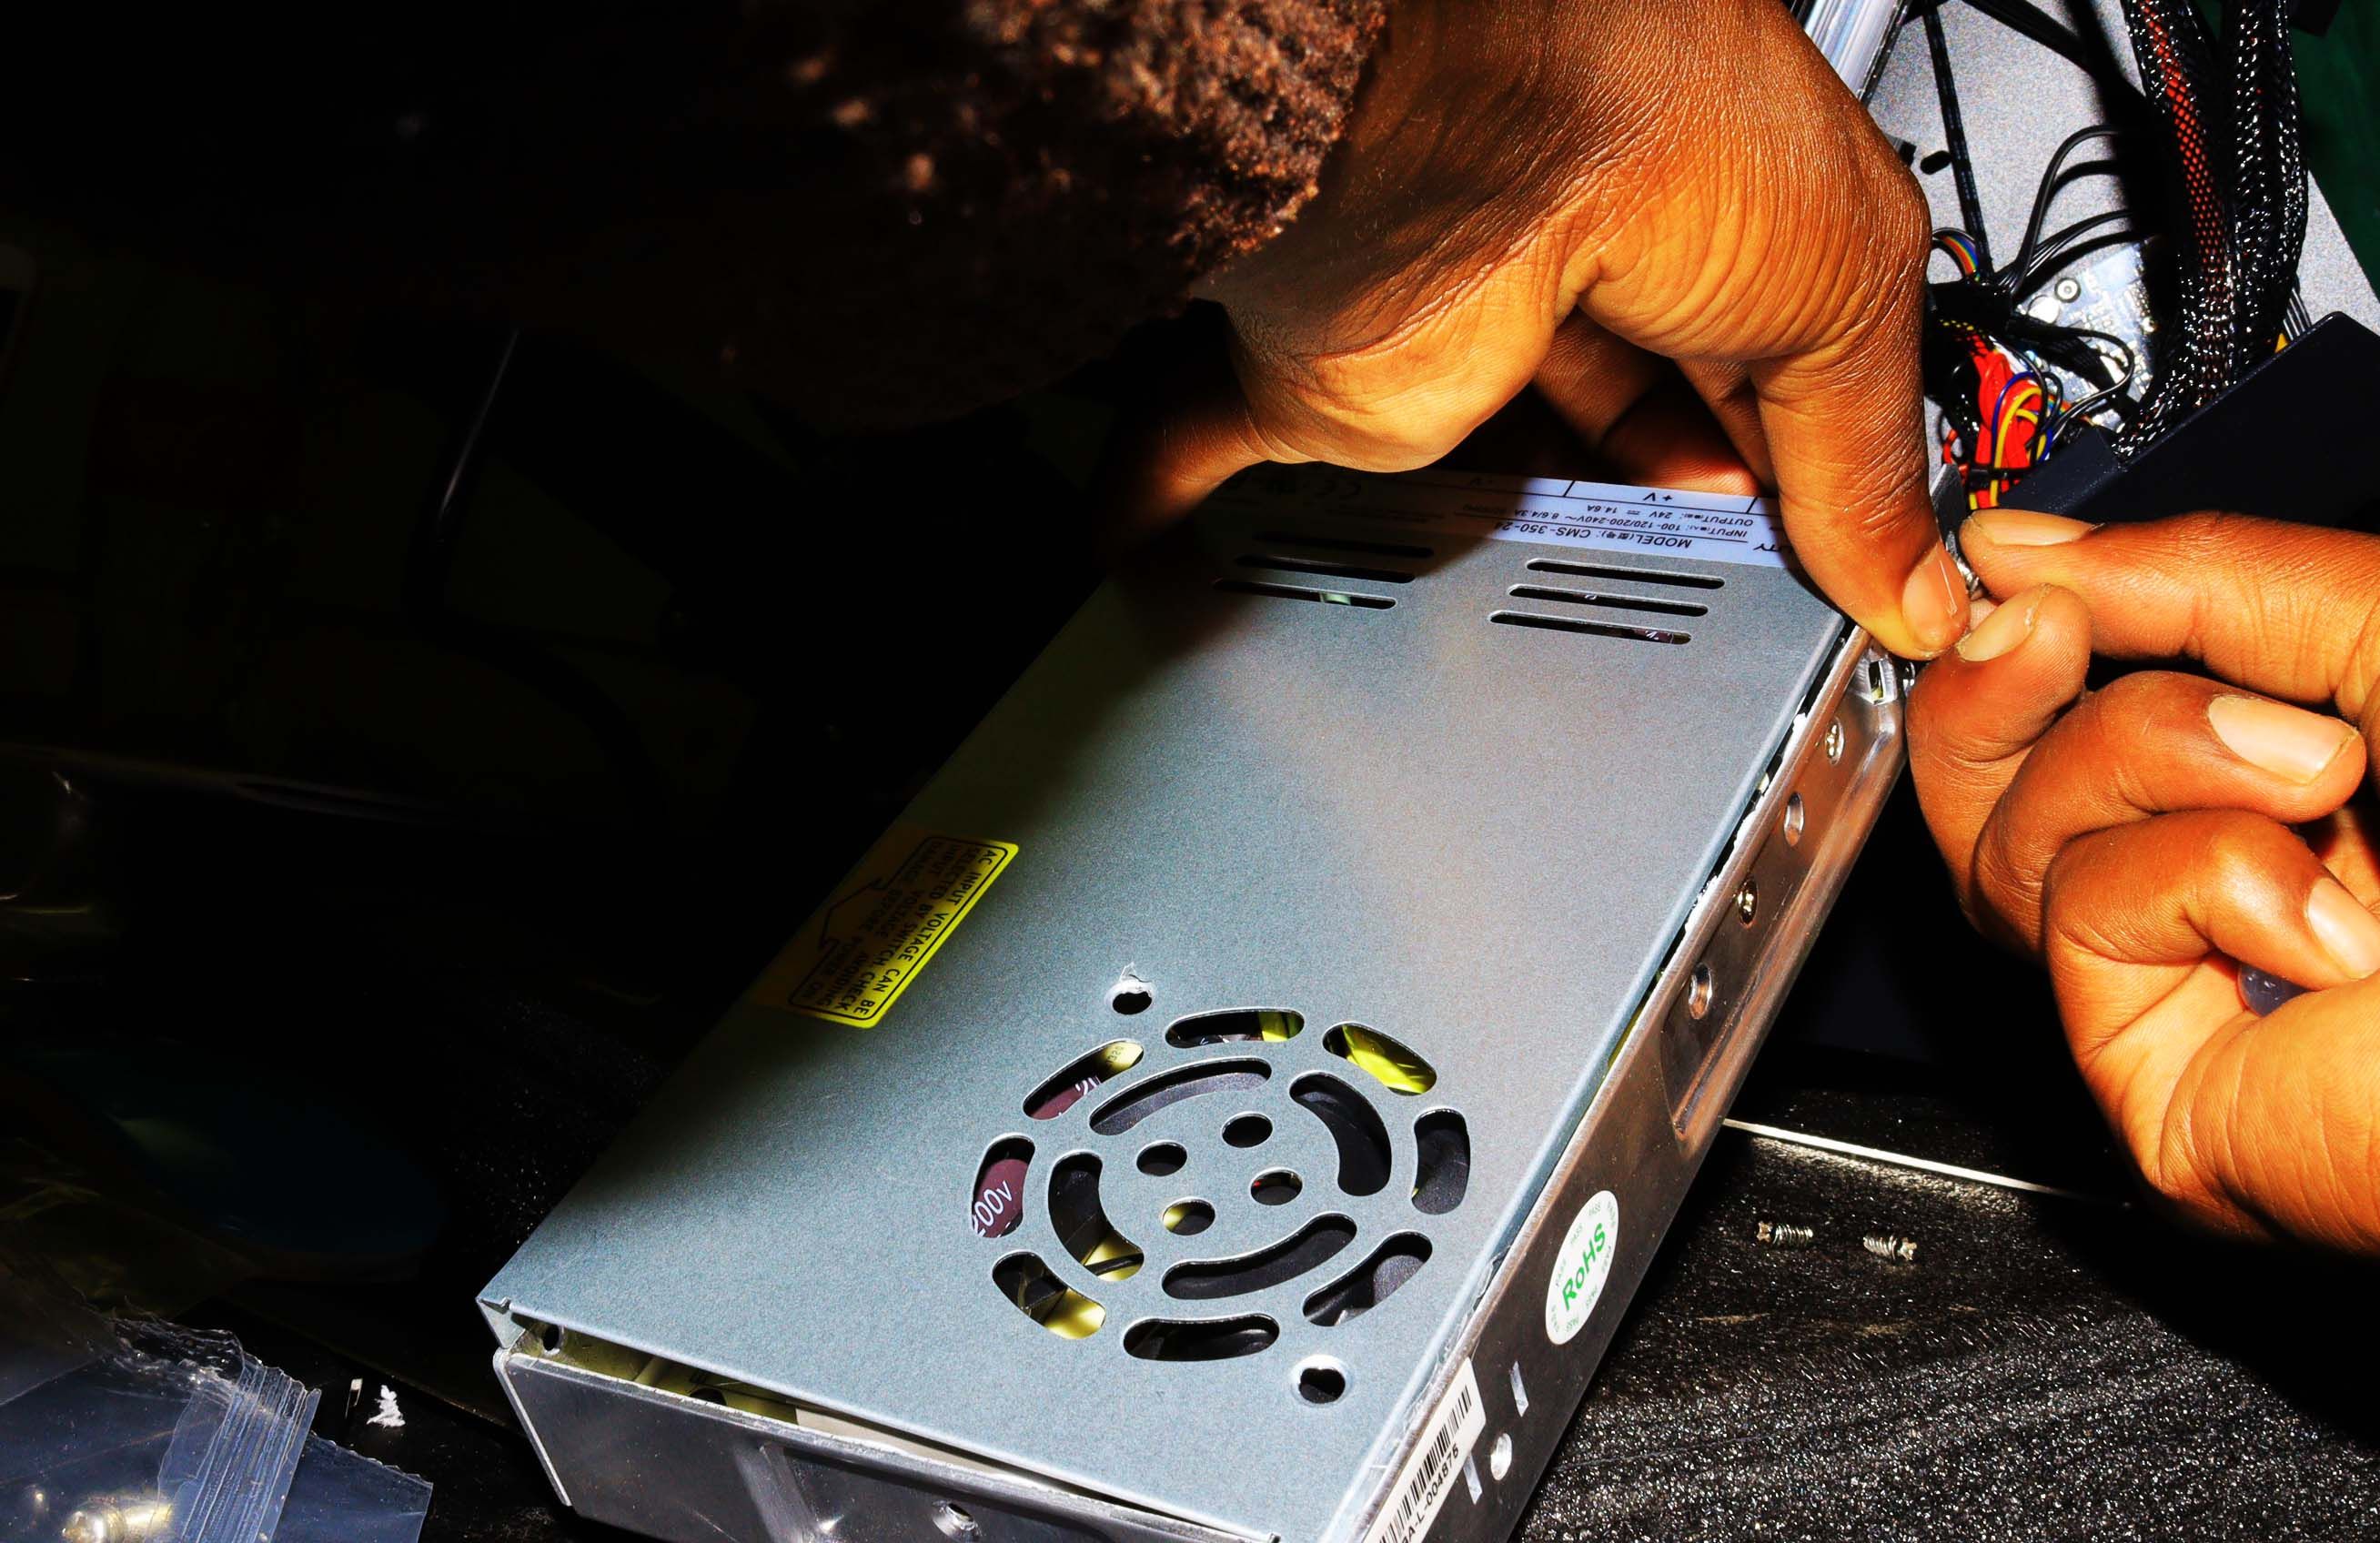
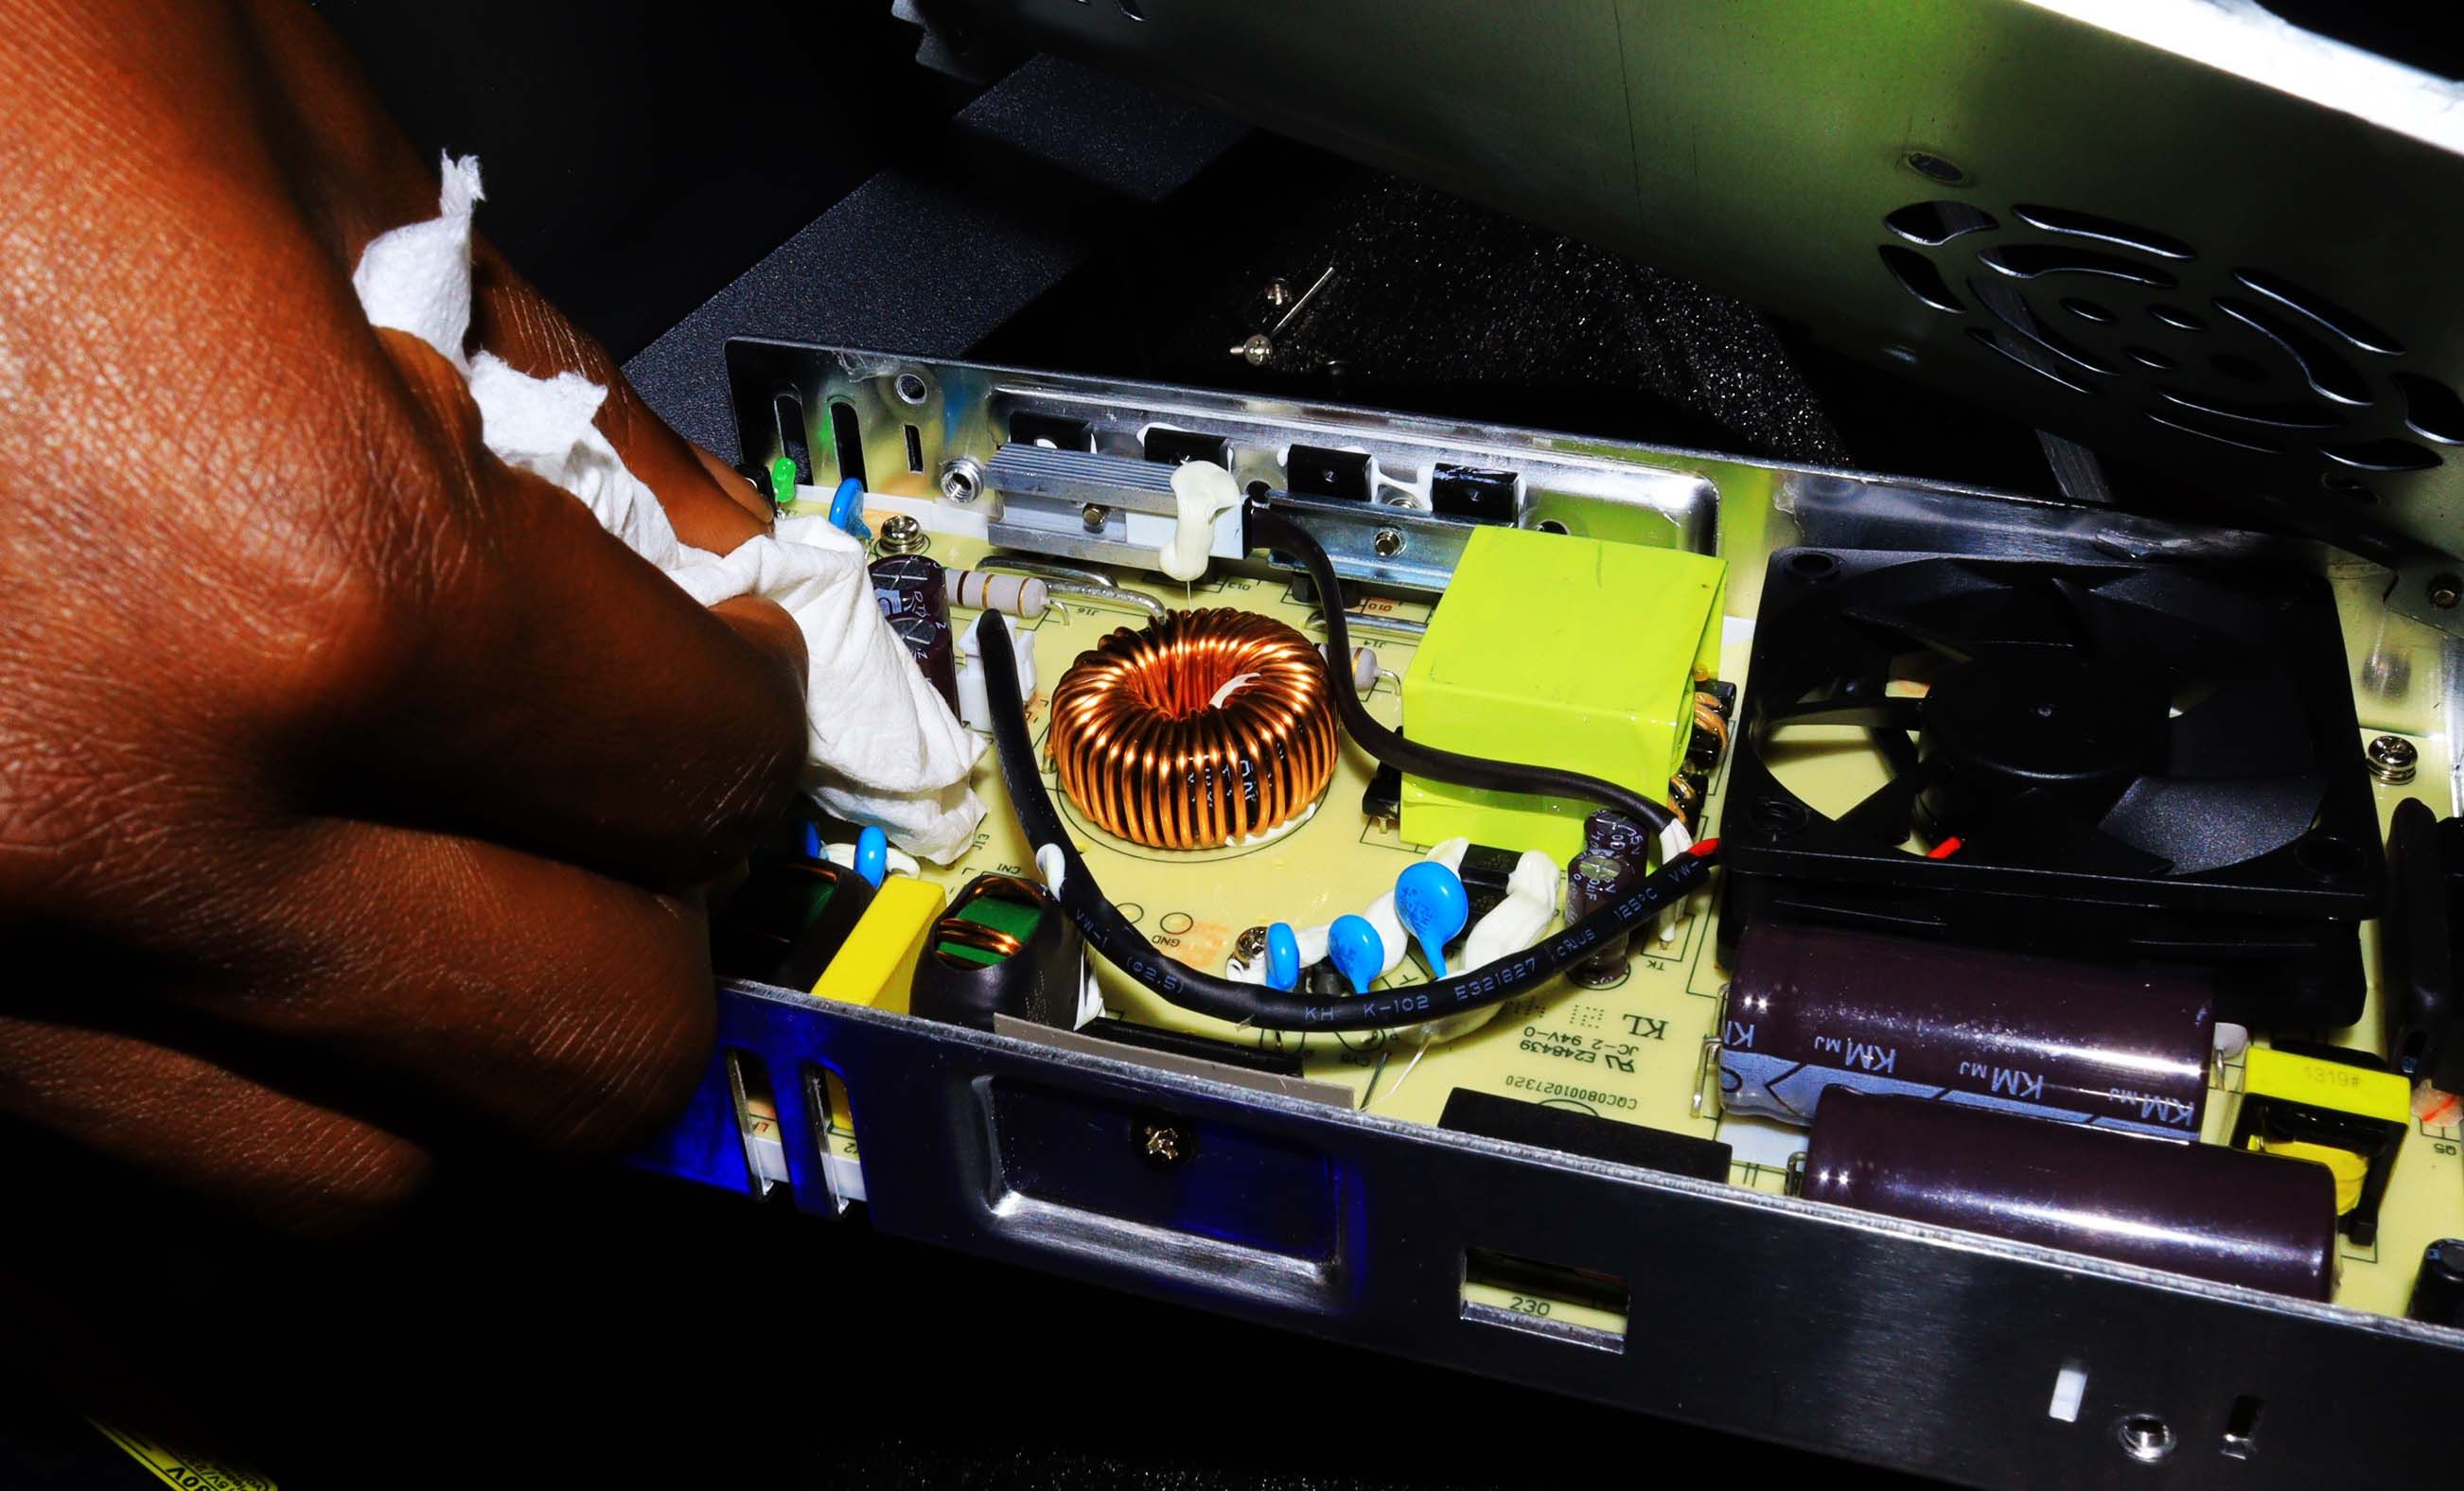
The power supply is near the voltage and power switches, and the fan is visible too.
To begin, you first need to find the screws holding the power supply in place.
you might find them on the sides of the power supply.
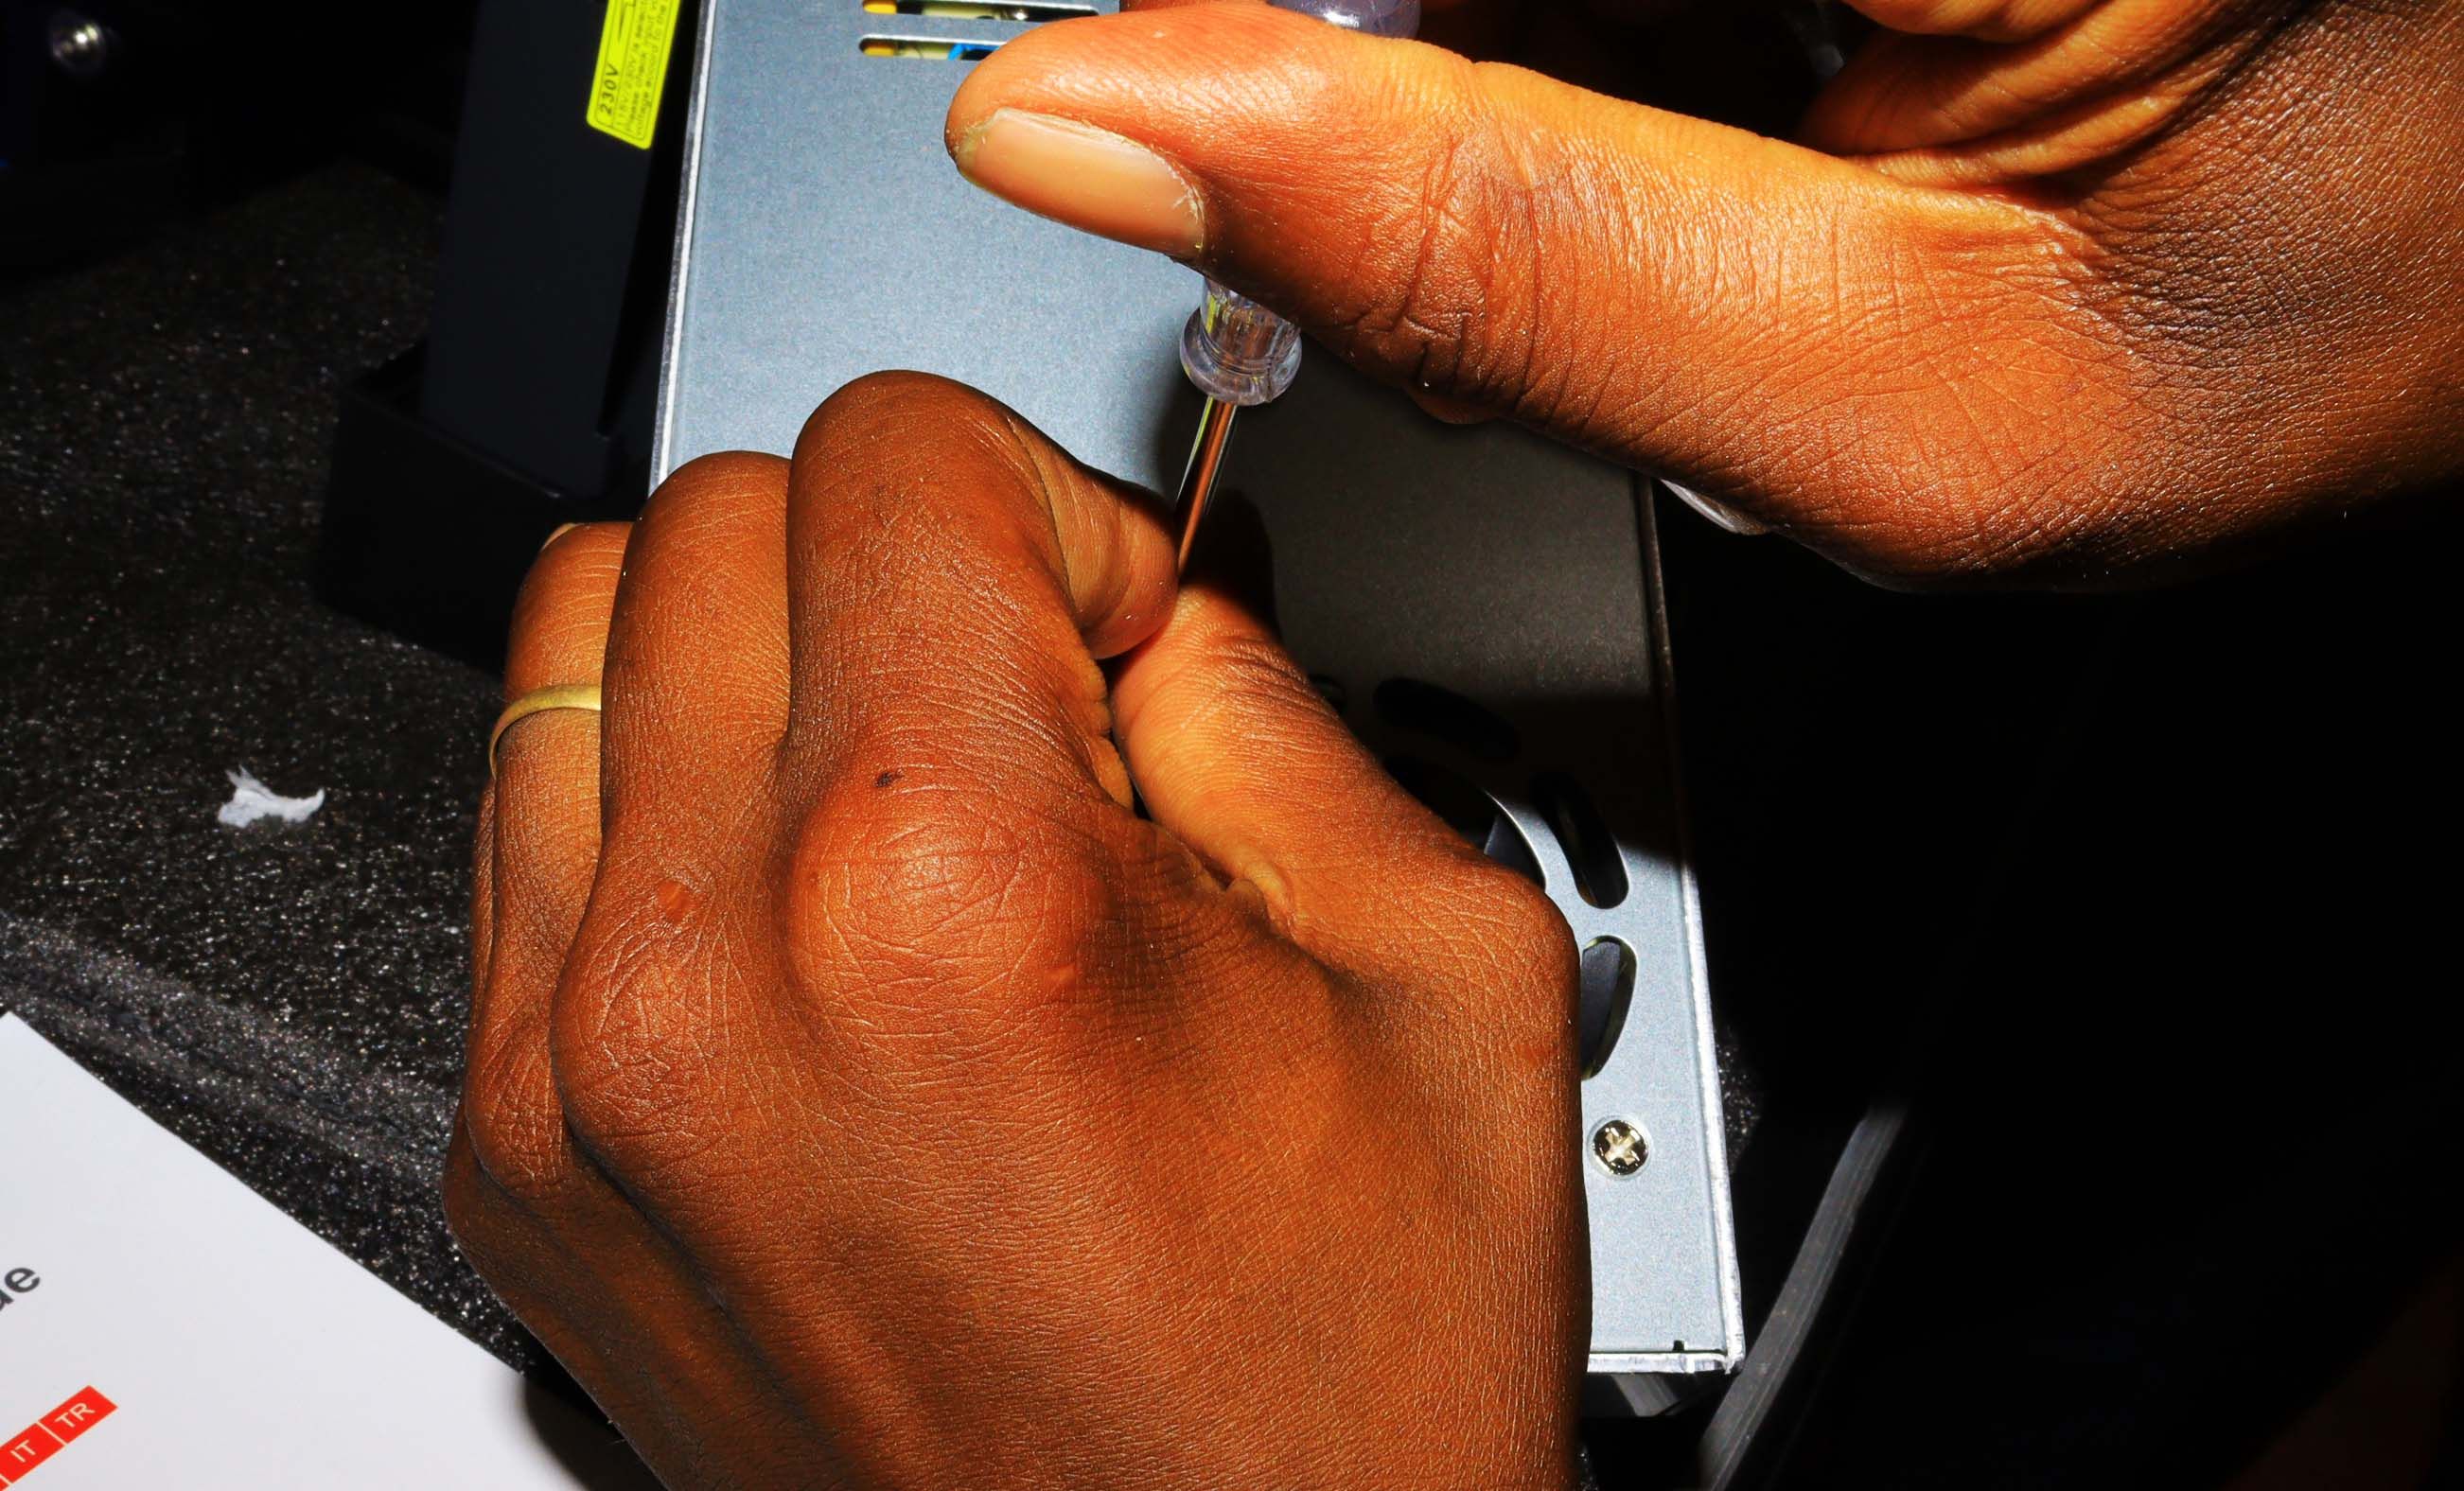
when you land found the screws, you will need to unscrew them.
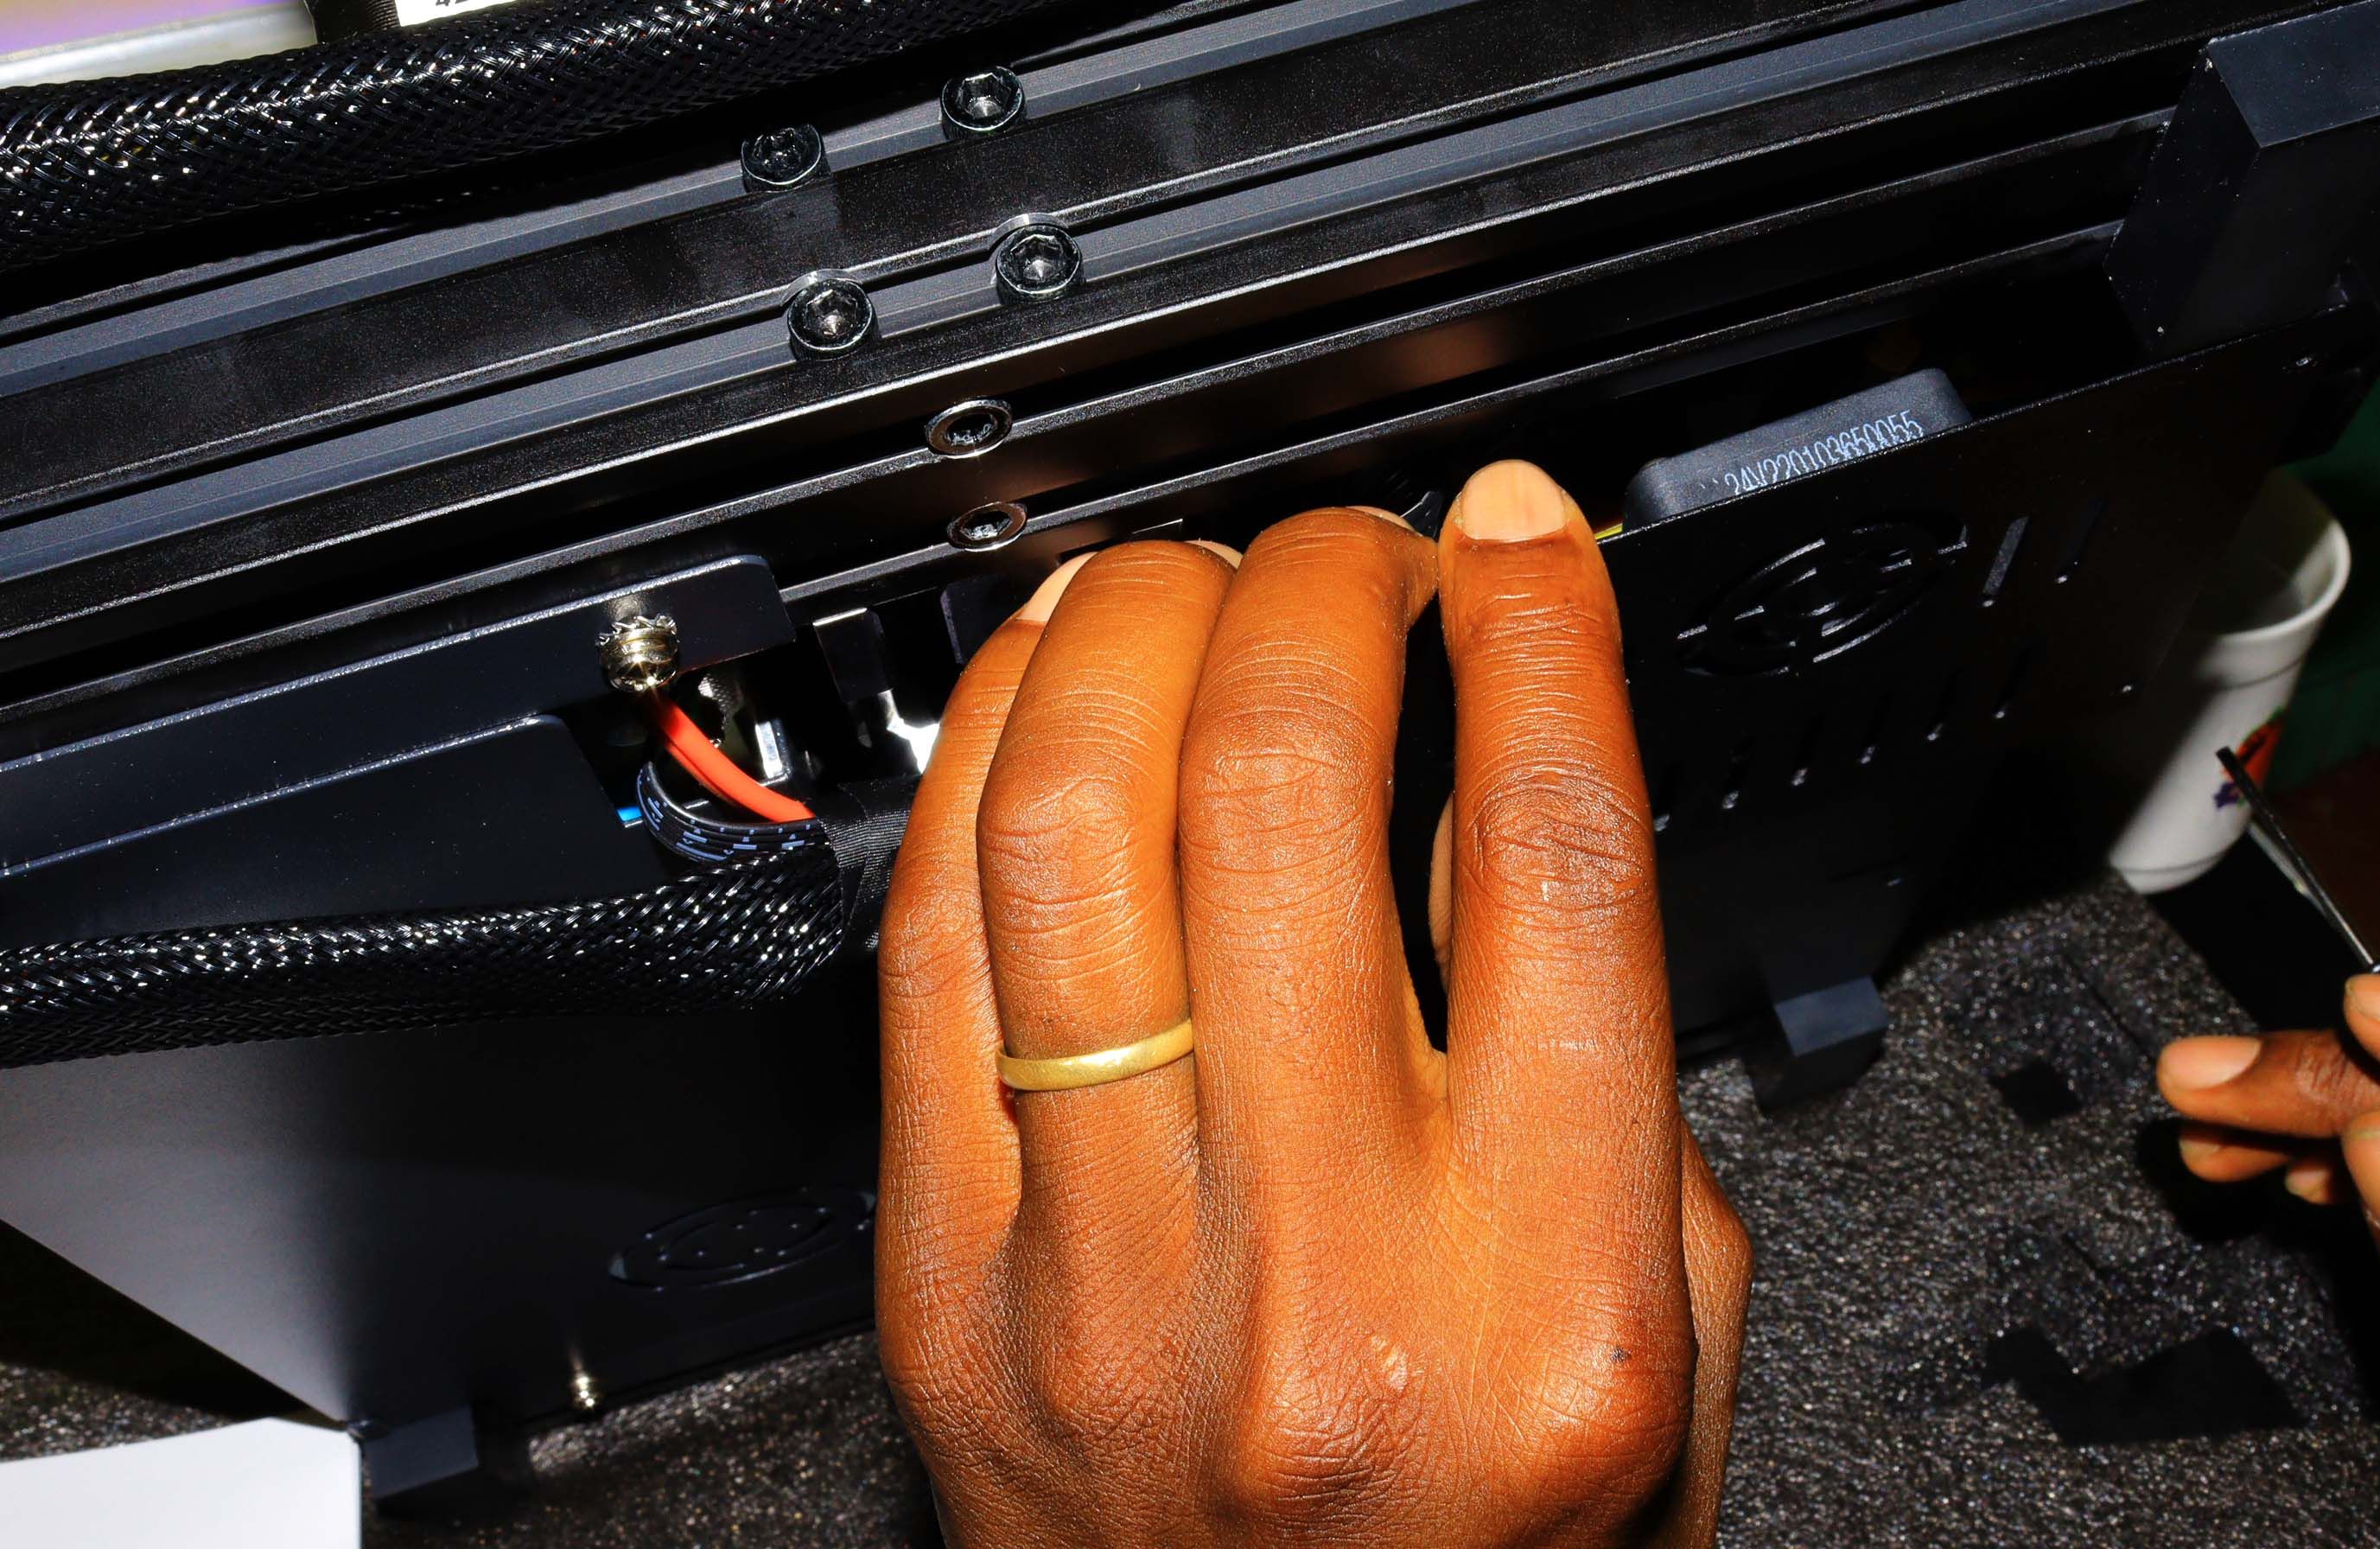
you’ve got the option to use a screwdriver to do this.
After removing the screws, lift the casing to expose the internal parts of the power supply.
If it works, you dont need to go ahead and do the replacement.
But if it’s still not working, you might proceed to the next step.
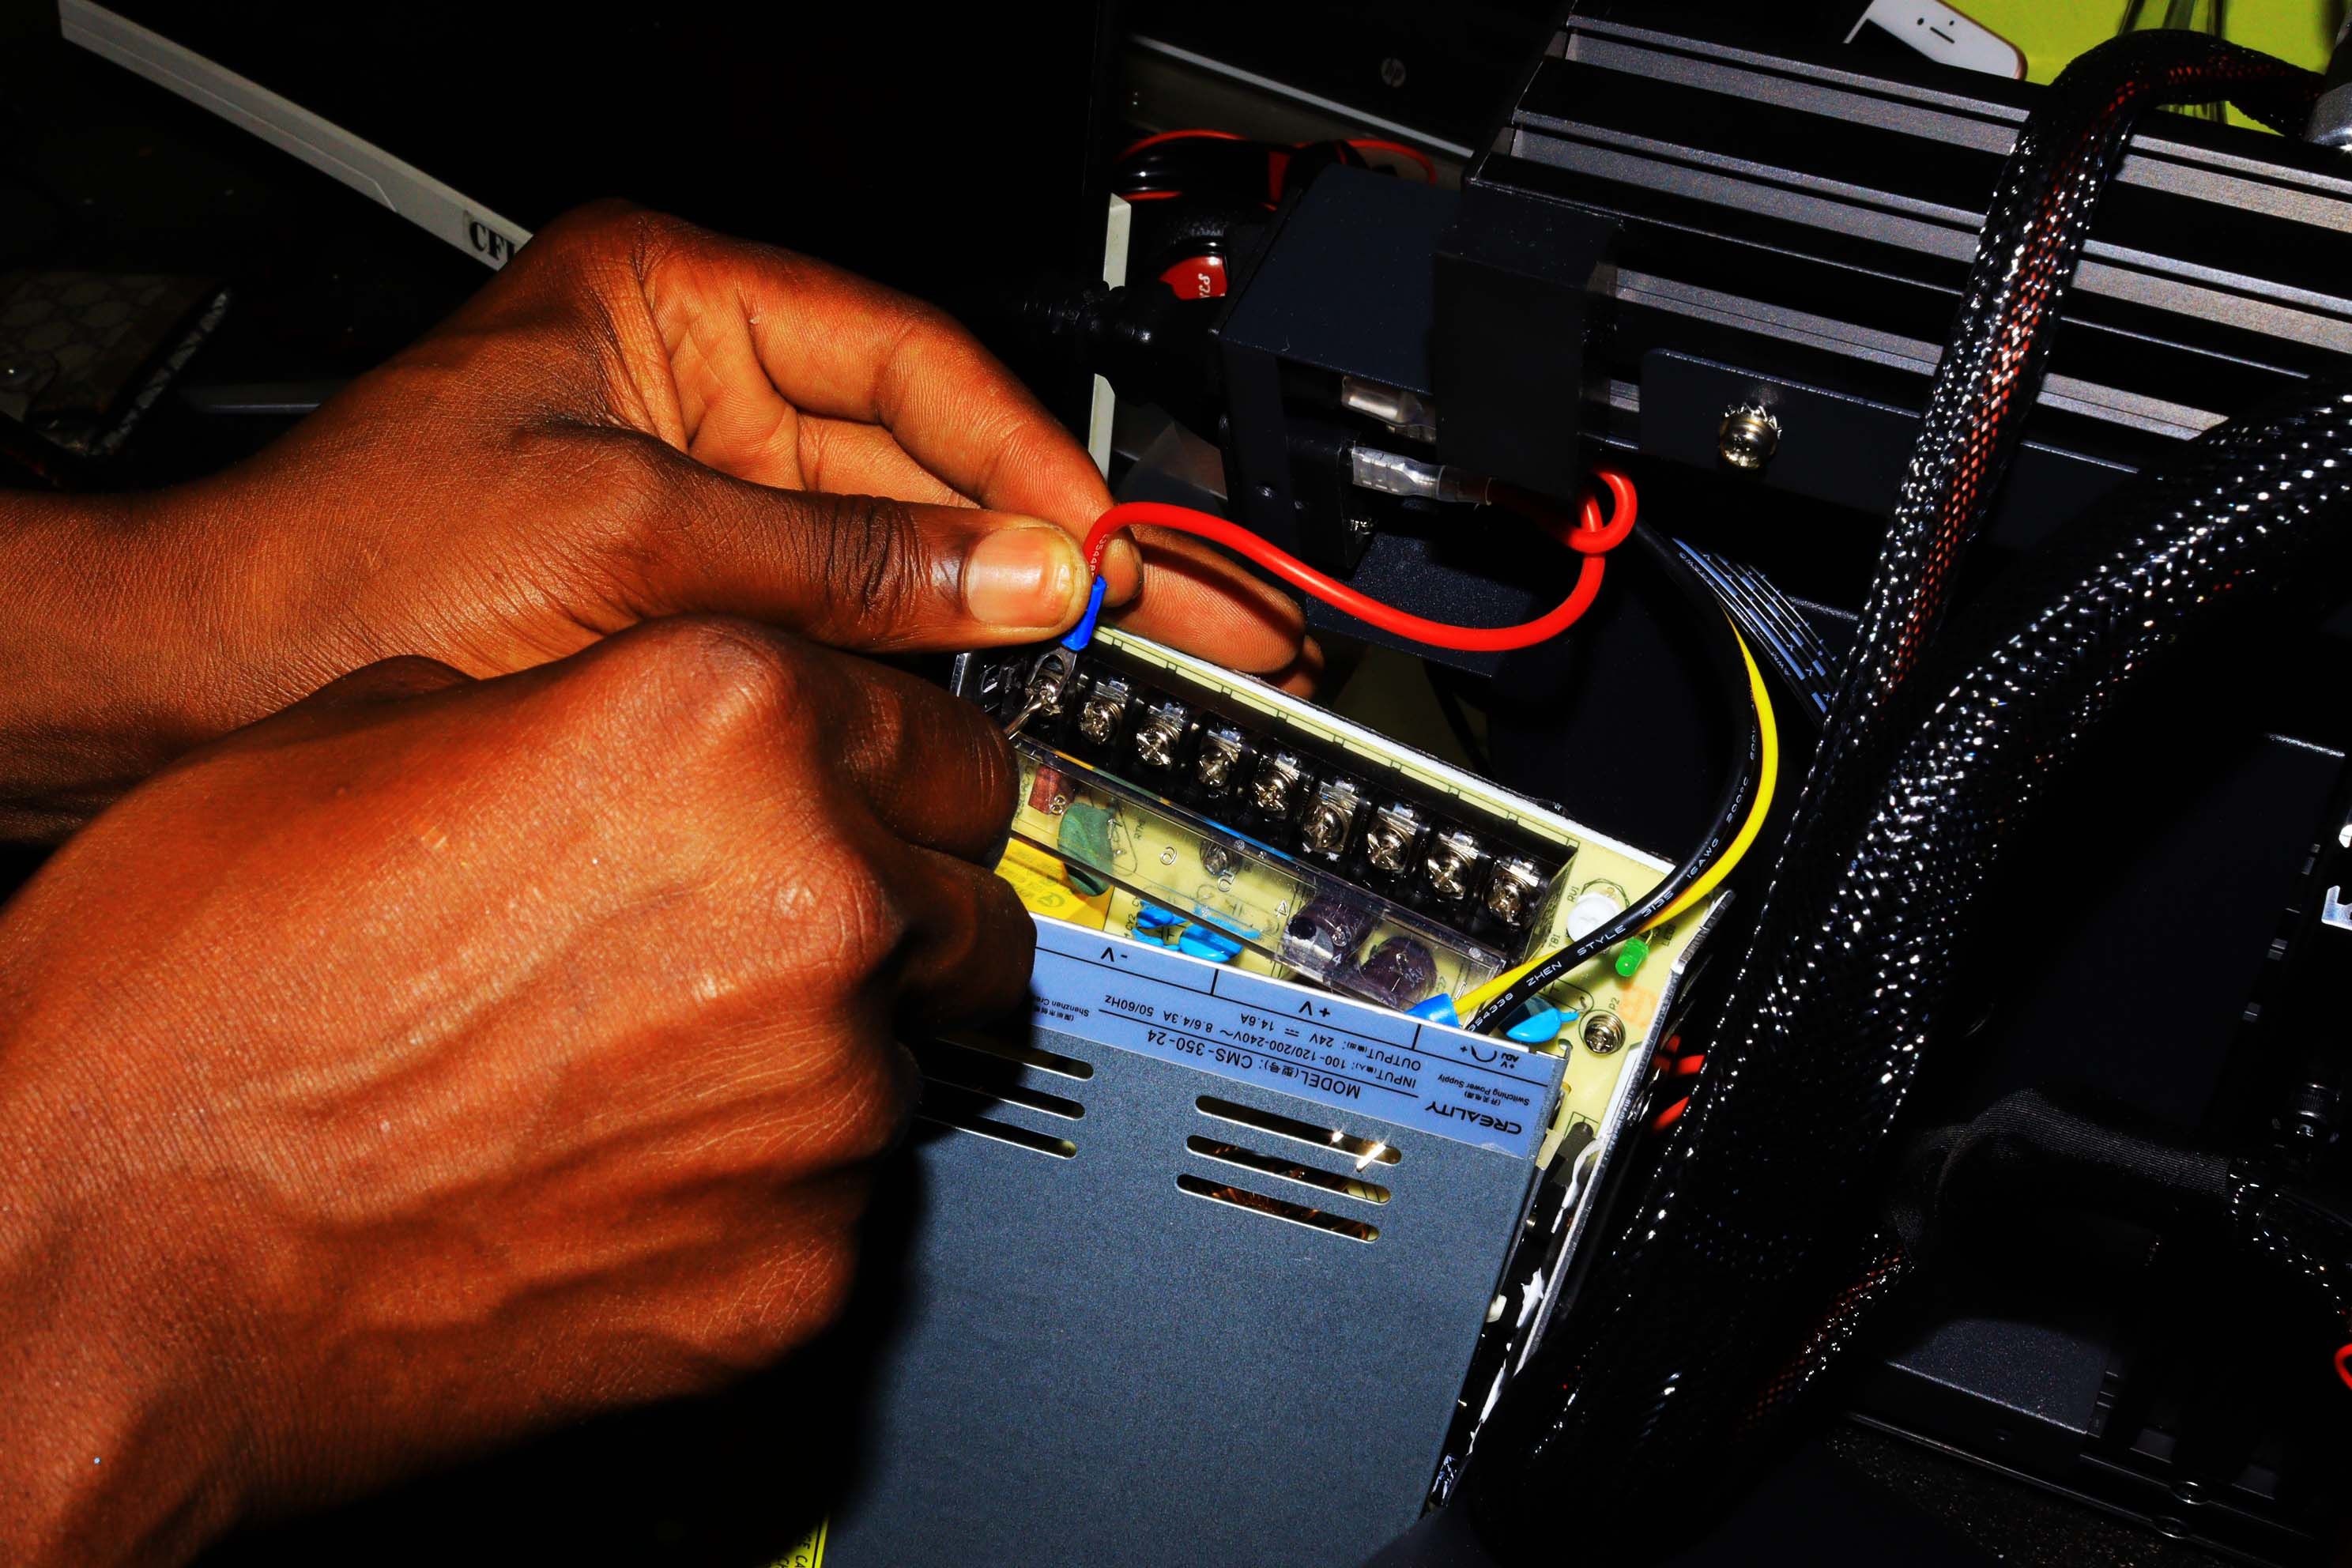
To remove those cables, get a screwdriver and start loosening the screws.
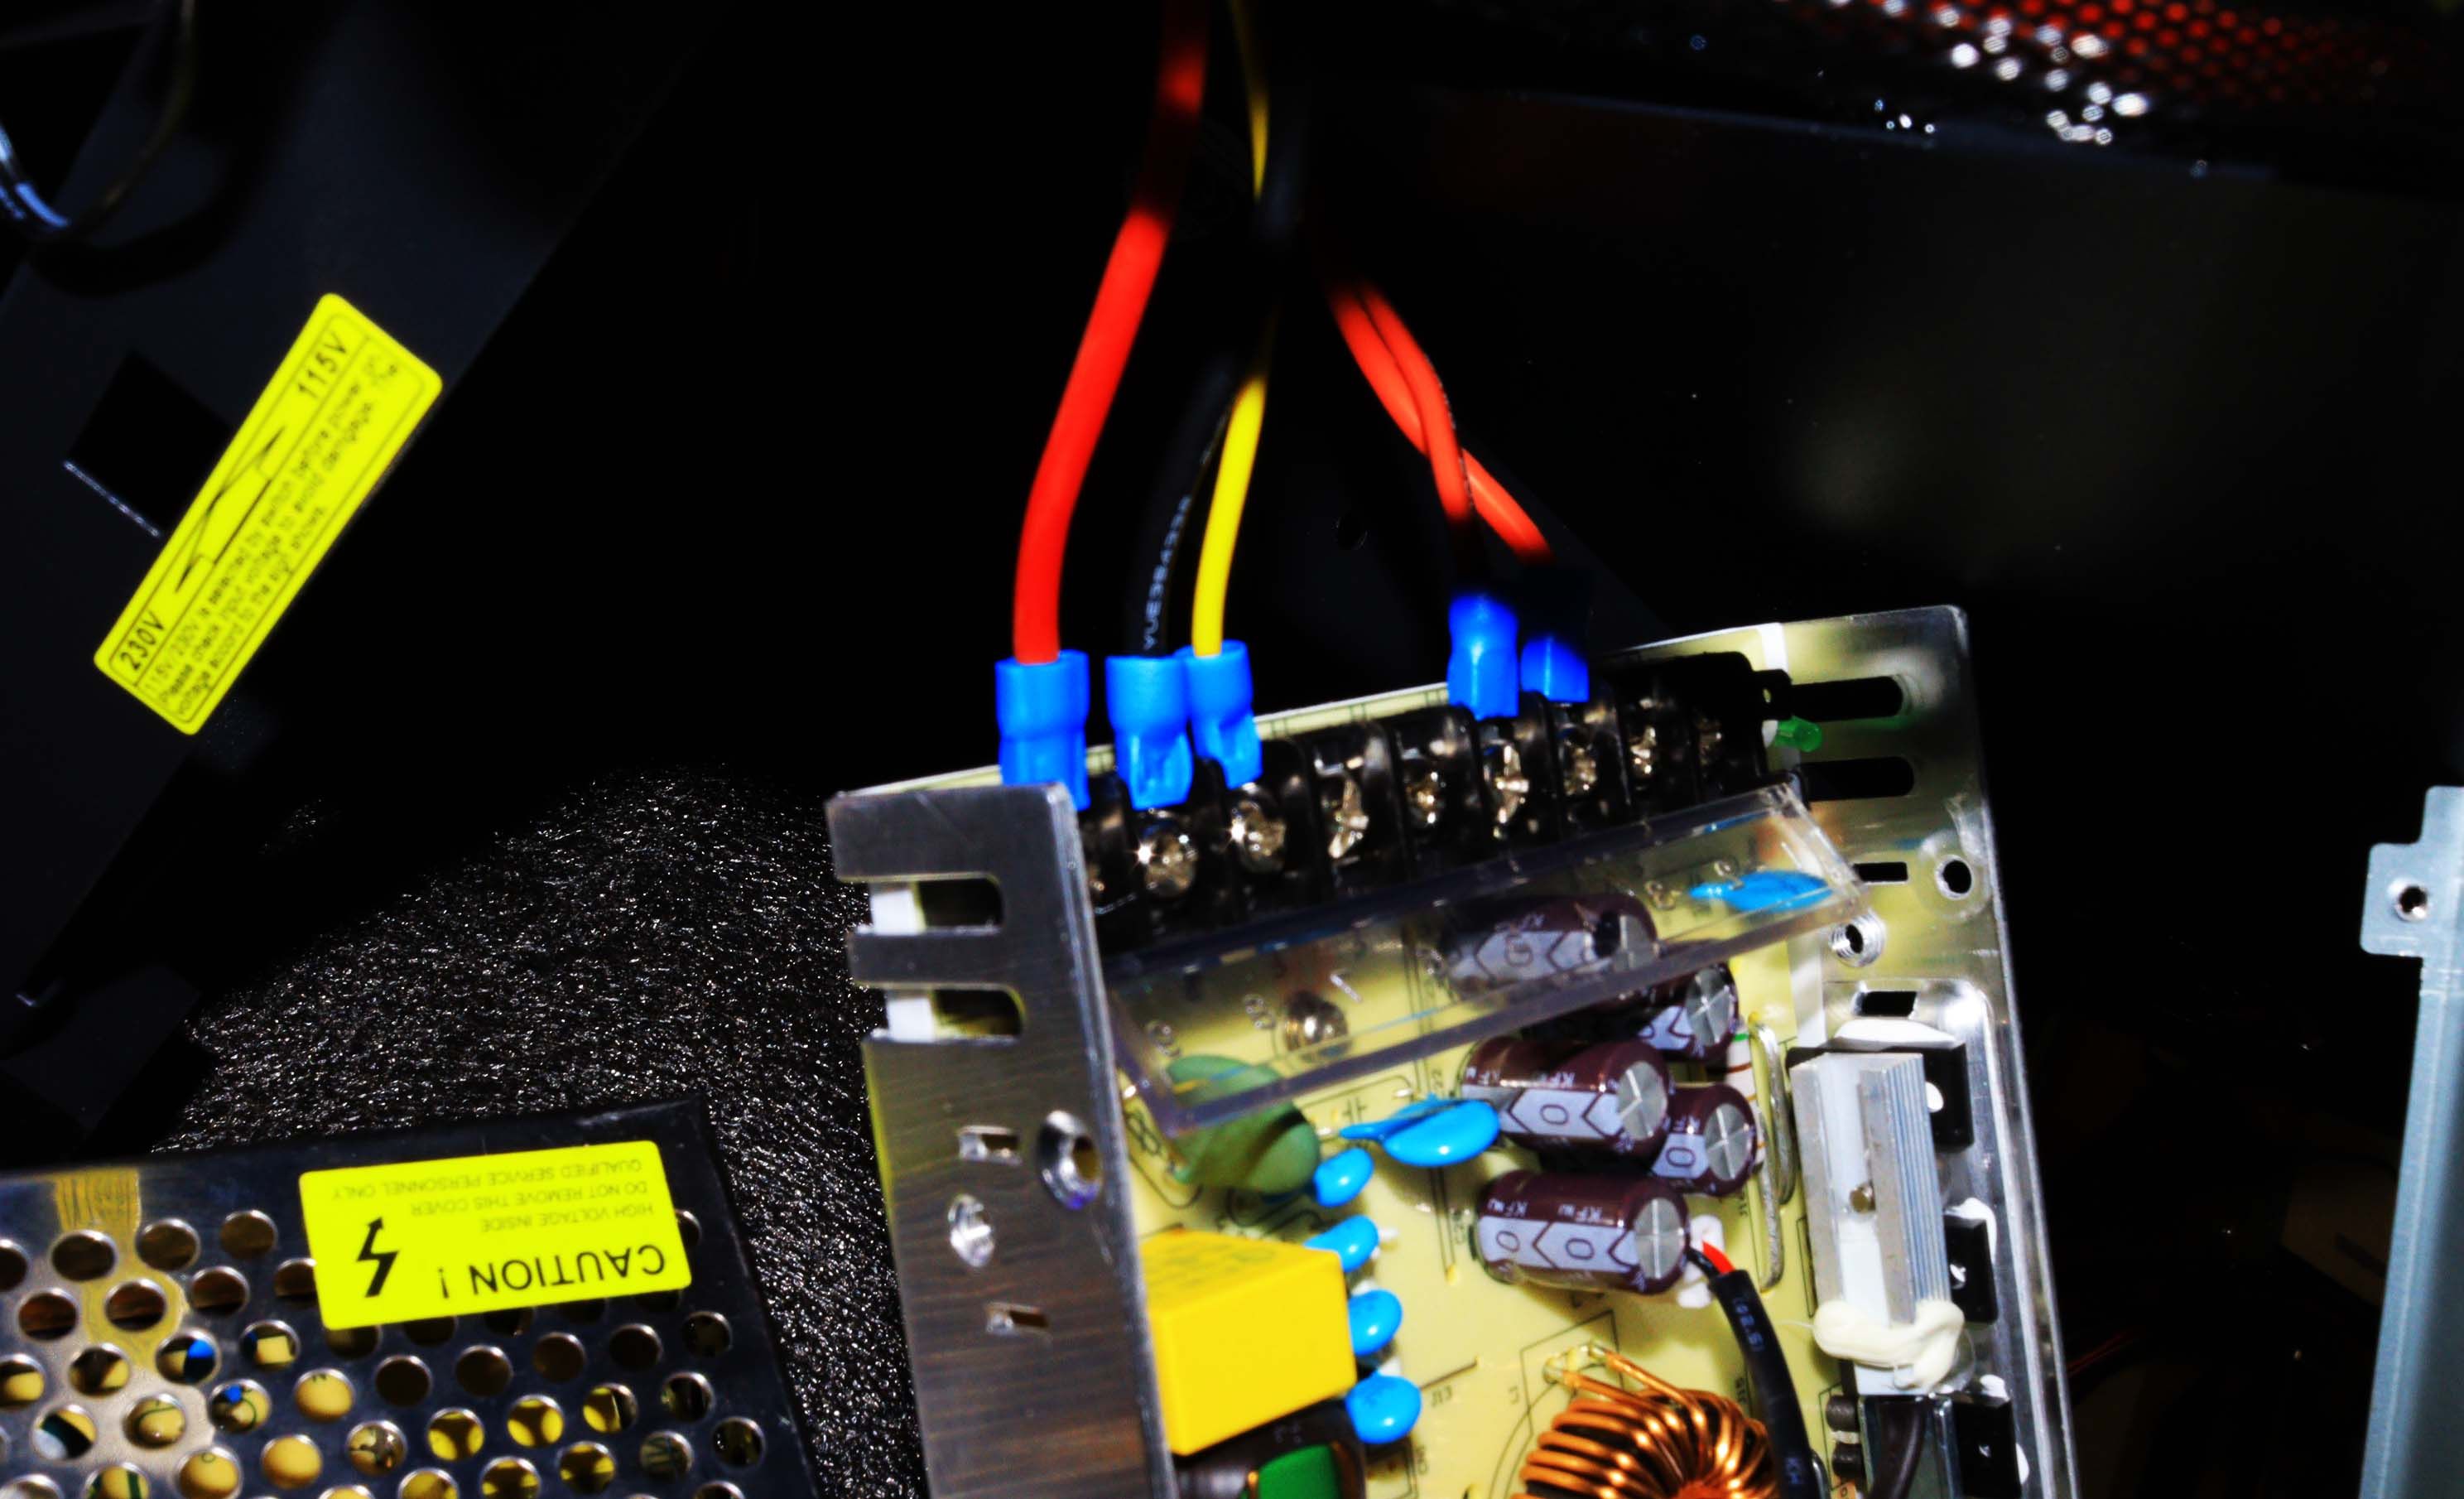
Next, connect the wires to the 3D printer.
Just be sure to secure them appropriately to avoid shorts and power outages.
When doing this, ensure that all the wires are correctly in place.