Luminar Neo makes it easy to remove backgrounds from objects using an extension called Background Removal AI.
If you buy Luminar Neo as a one-time purchase, thenBackground Removal AIcan be bought separately for $59.
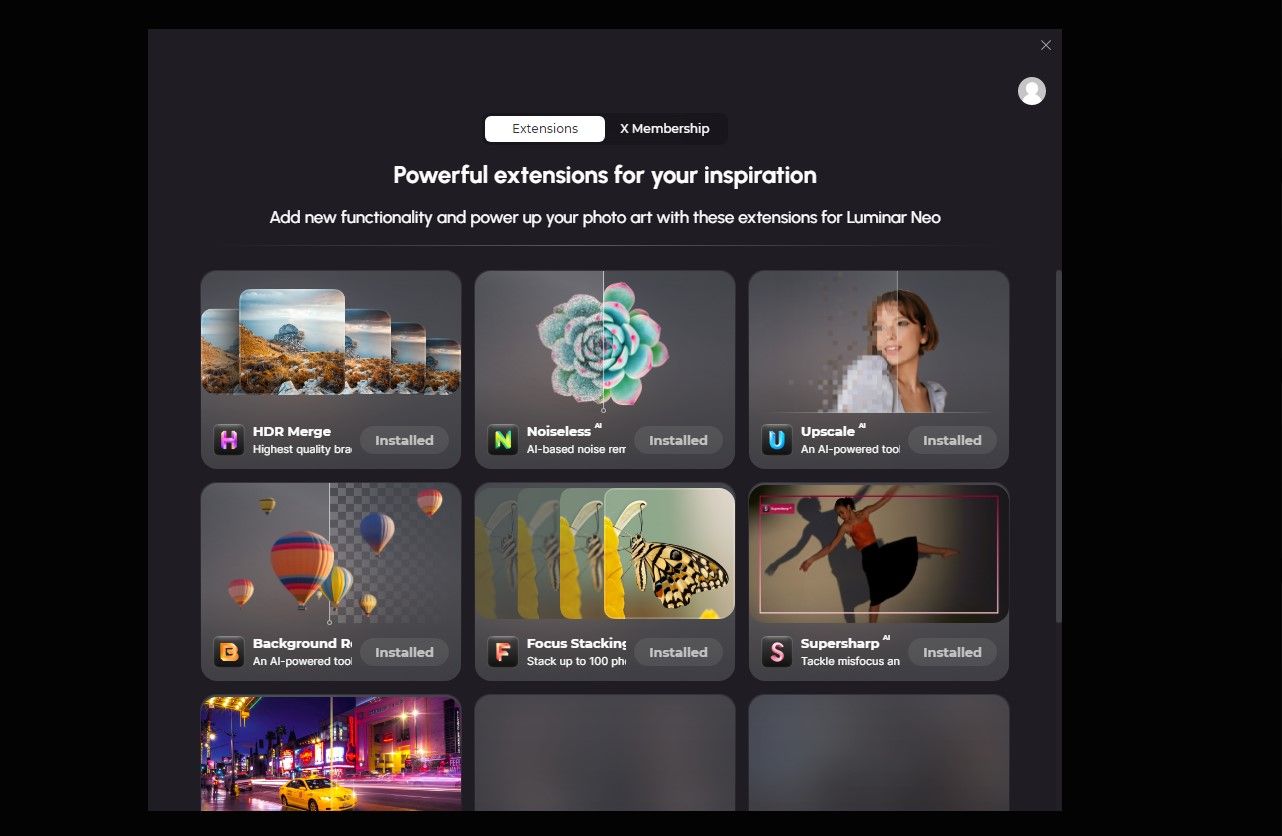
Any extensions that you own will be displayed in the pop-up menu.

Each extension will either say Buy, Install, or Installed.
Once installed, some of the extensions will be accessible from theCatalogmenu on the right-hand side.
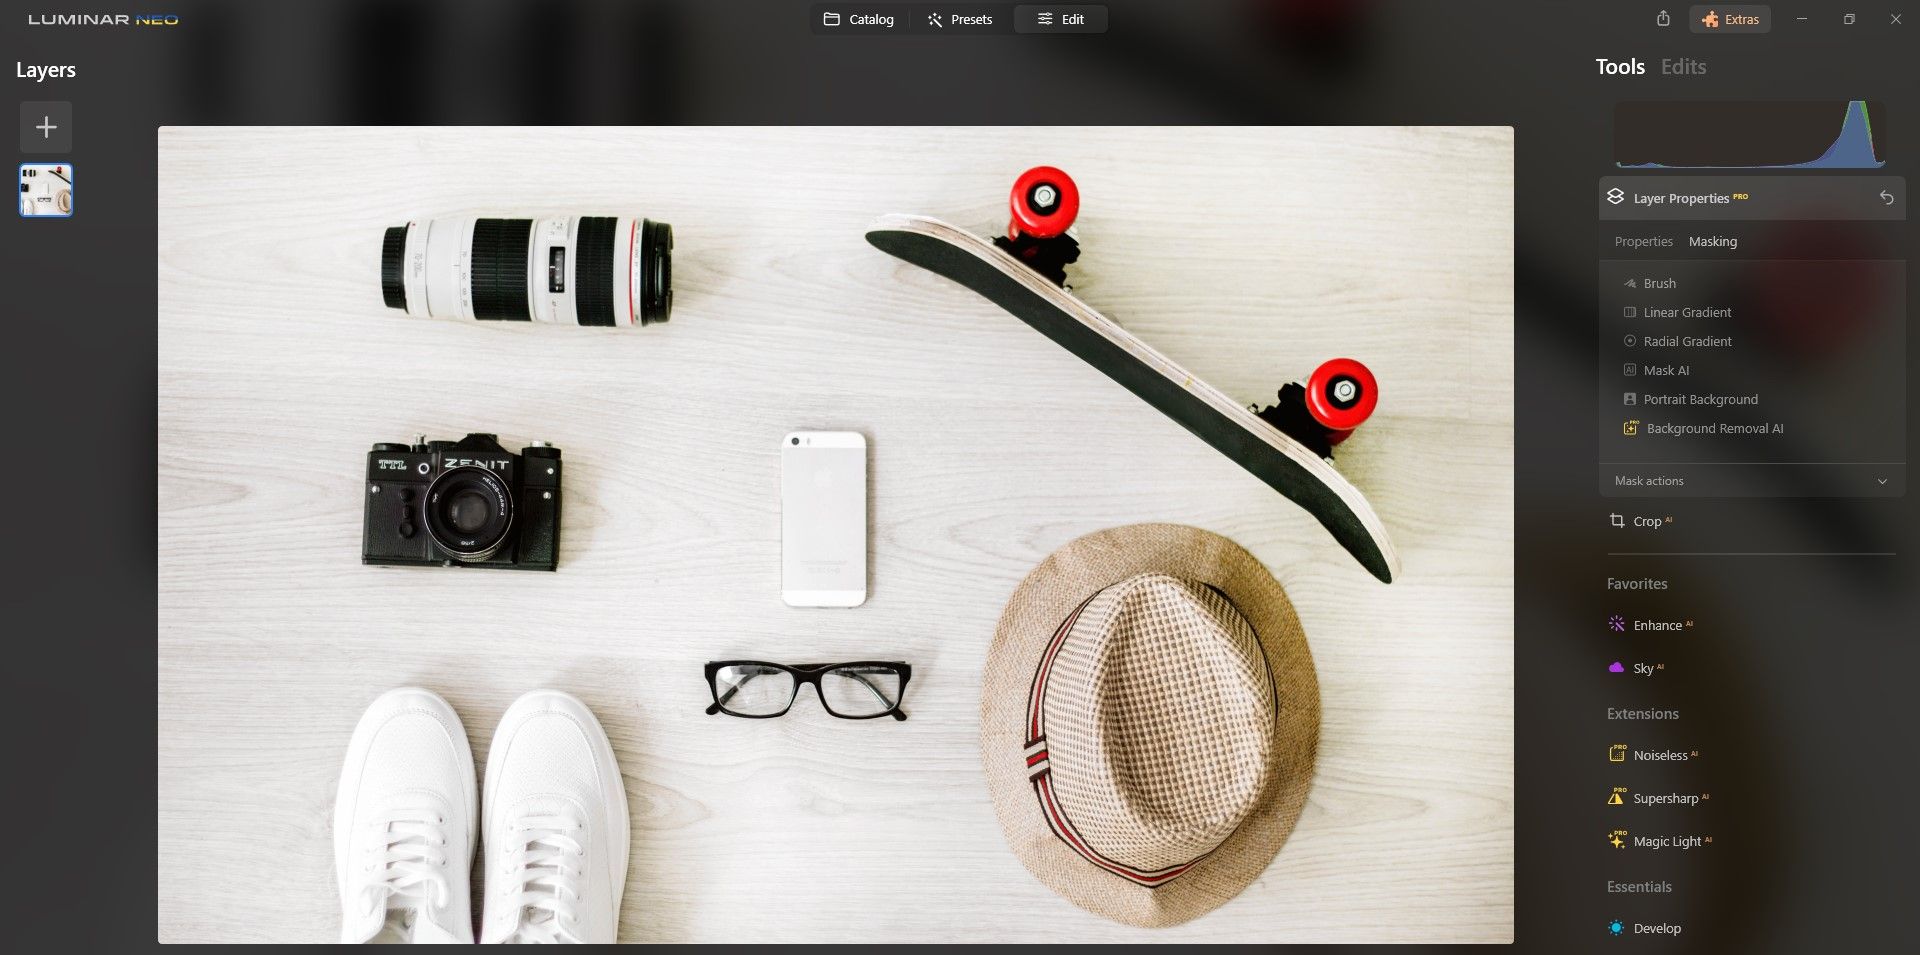
Background Removal AI is housed in theLayer Propertiespanel underMasking.
Background Removal AI should not be mistaken for the separatebackground removal tool for portraits in Luminar Neo.
As mentioned above, go toLayer Propertiesand then toMasking.
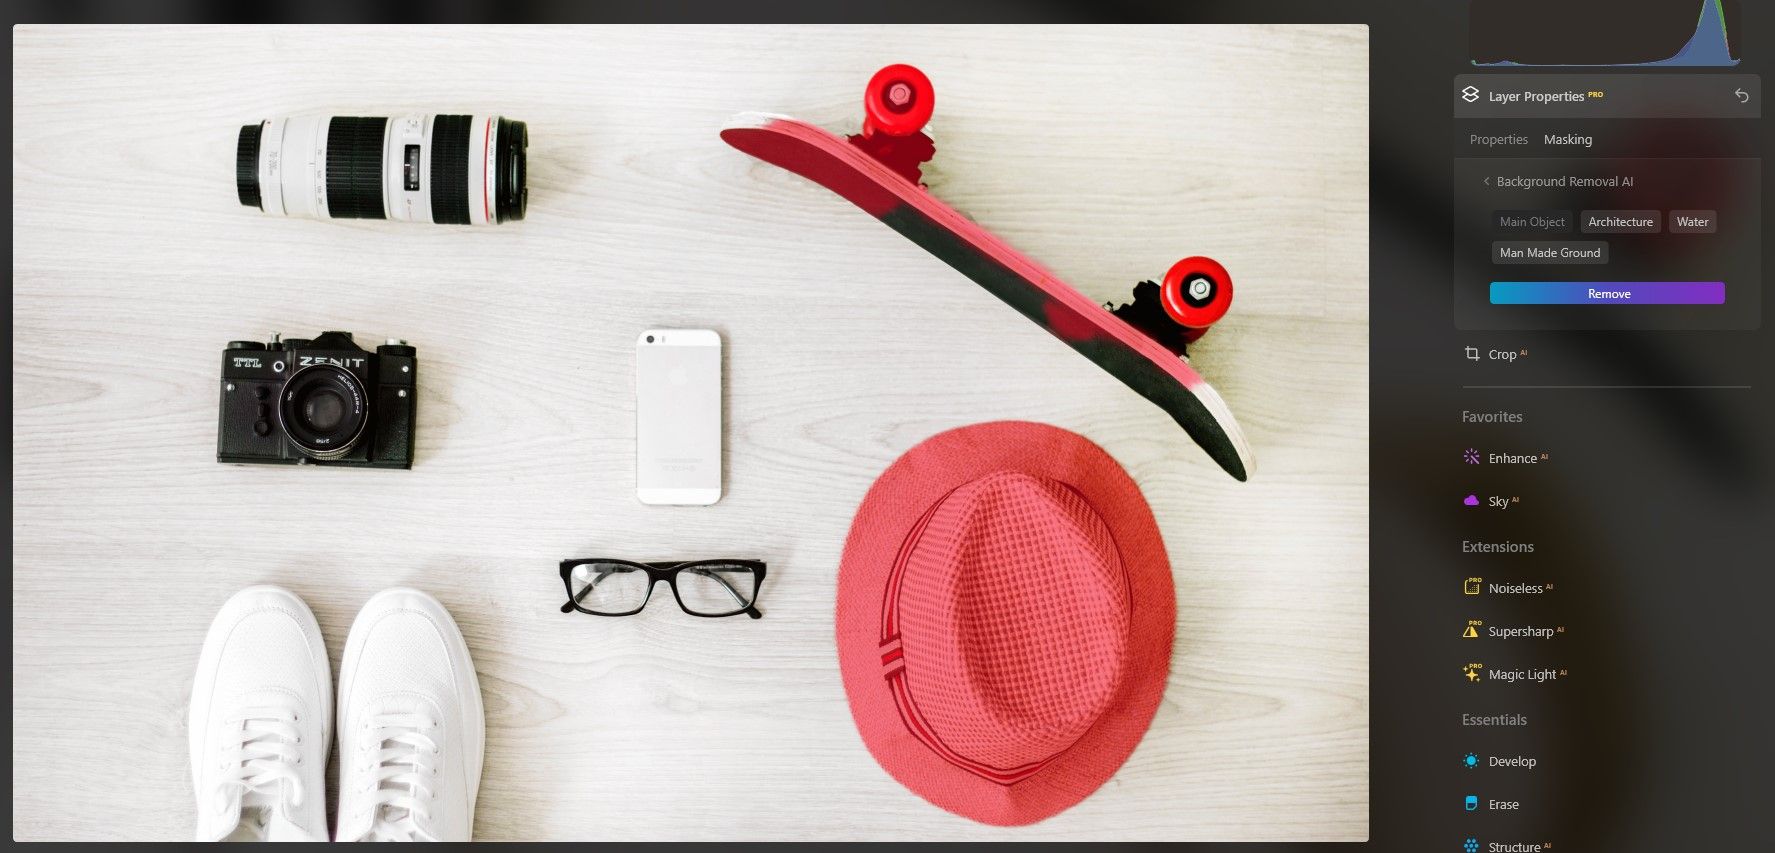
Then click onBackground Removal AIand wait for Luminar Neo to examine the image.
A series of floating dots and connected lines will fill the screen.
Luminar Neo has identified the hat and part of the skateboard as objects.
For the sake of this example, let’s say that we wanted to keep both.
Allow a few moments for Luminar Neo to process the request.
This time you’ll only see a text sayingRemoving.
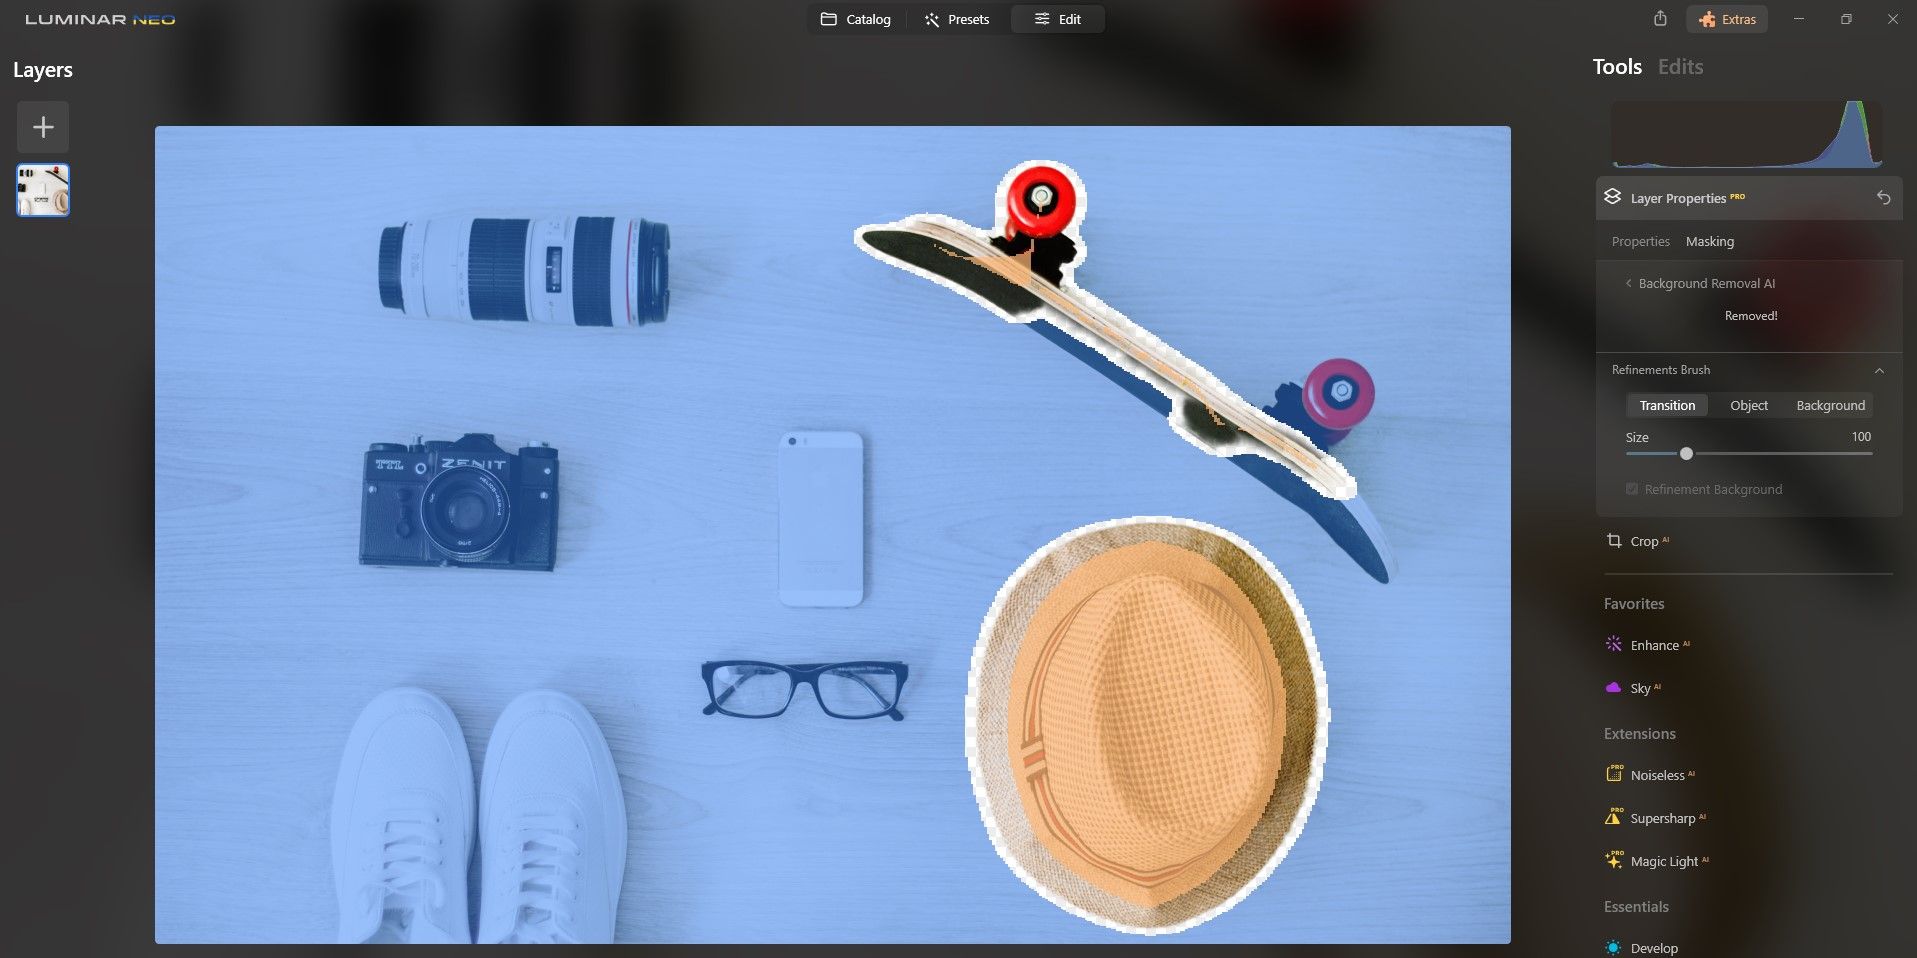
The background has been removed.
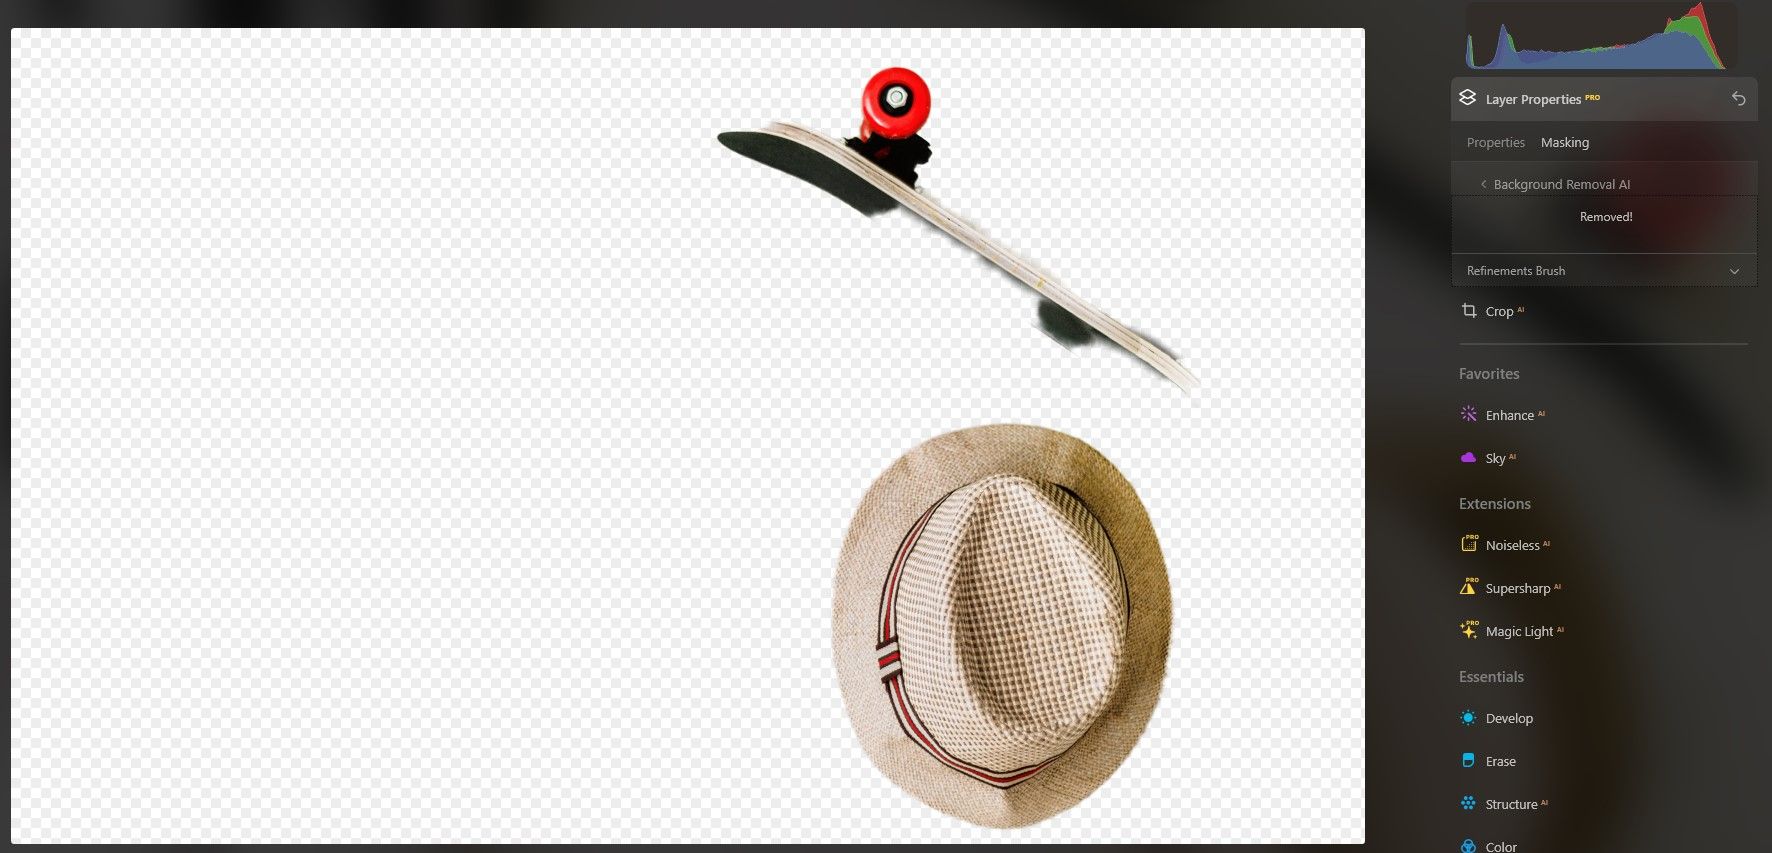
But you’ll notice in the below image that the selection isn’t perfect.
In cases like this, select theRefinements Brush.
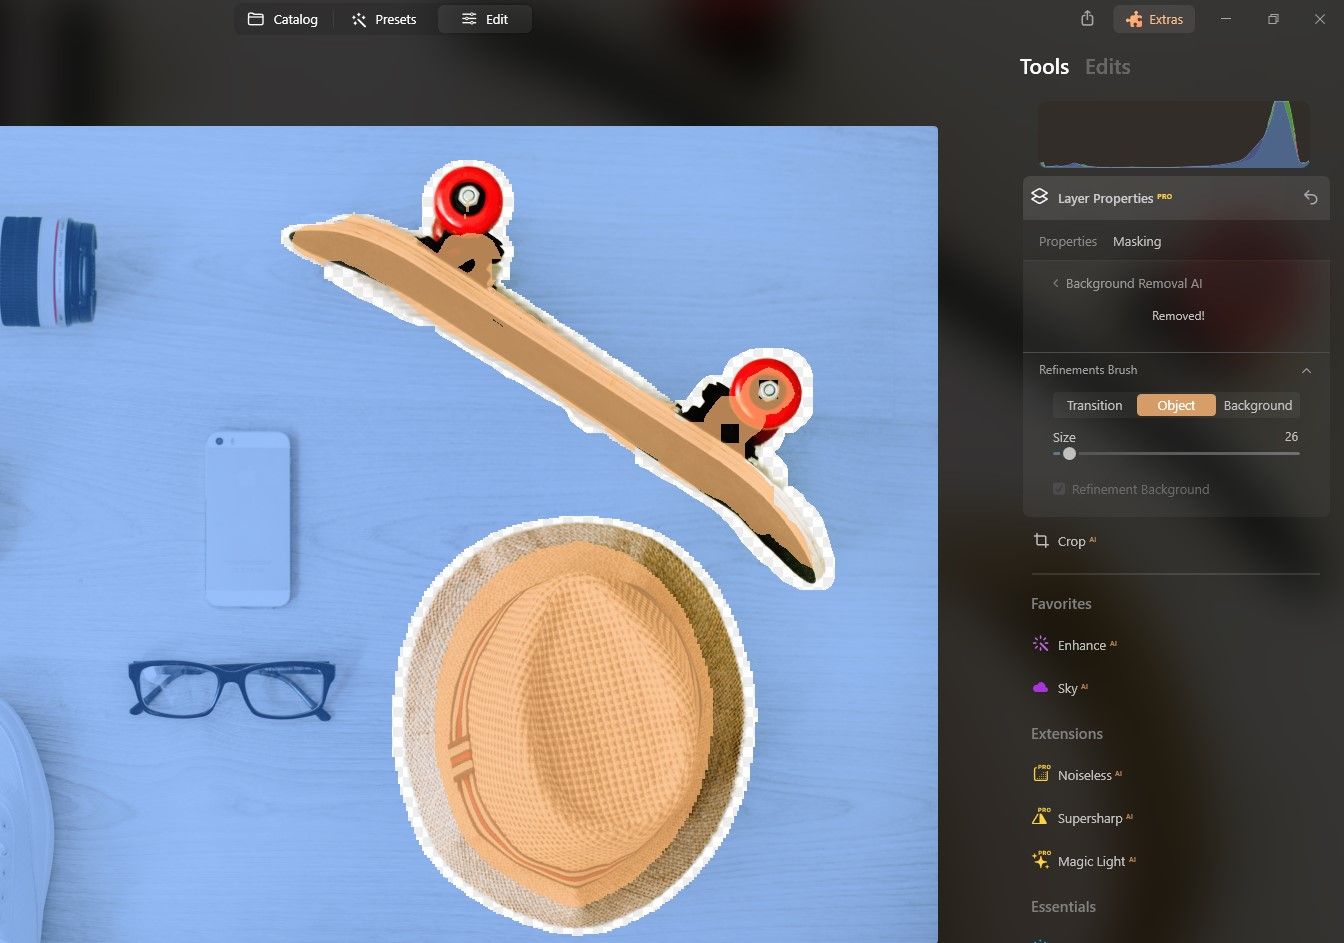
Luminar Neo will then divide the selections intoTransition,Object, andBackground.
In the above example, parts of the skateboard are missing.
We need to click onObjectand paint over the skateboard to pick the rest of it.
it’s possible for you to use theSizeslider to increase or decrease the brush size.
Once you’re happy with your selection, simply punch the Layer Properties toolbar.
Or you could export the image and replace the background with another one.
Give it a go and watch as this extension makes your editing workflow easier!

