NB:We do not encourage the unauthorized removal of watermarks from photos to falsely claim ownership.
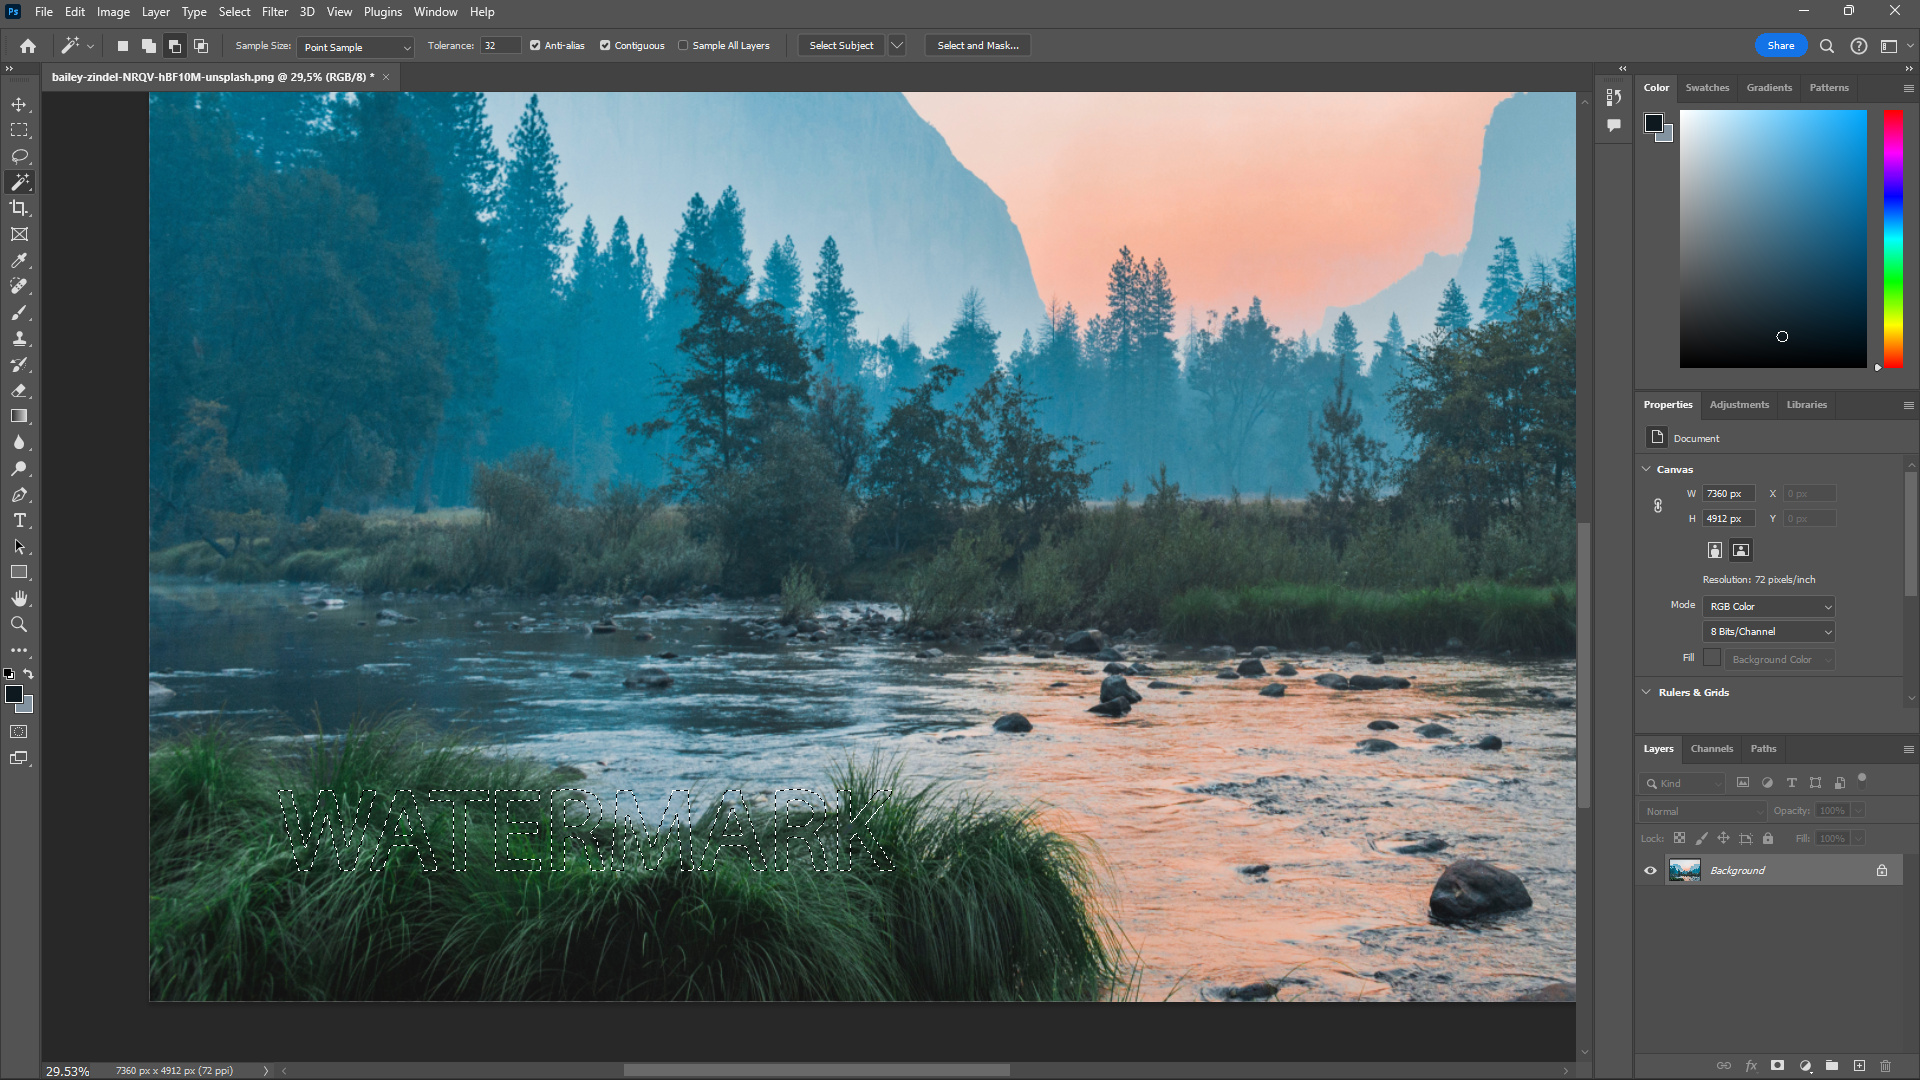
With your photo open, right-press the wand icon in the left panel and select theMagic Wandtool.
Hover your cursor over the watermark and left-click.

Nolen Jonker
It won’t be a perfect selection.
To fix this, go toSelect>Modify>Expand/Contract.
In the dialog box, choose how many pixels the selection needs to be expanded or contracted by.

I’ve shifted the selection up by 5px, but yours may differ.
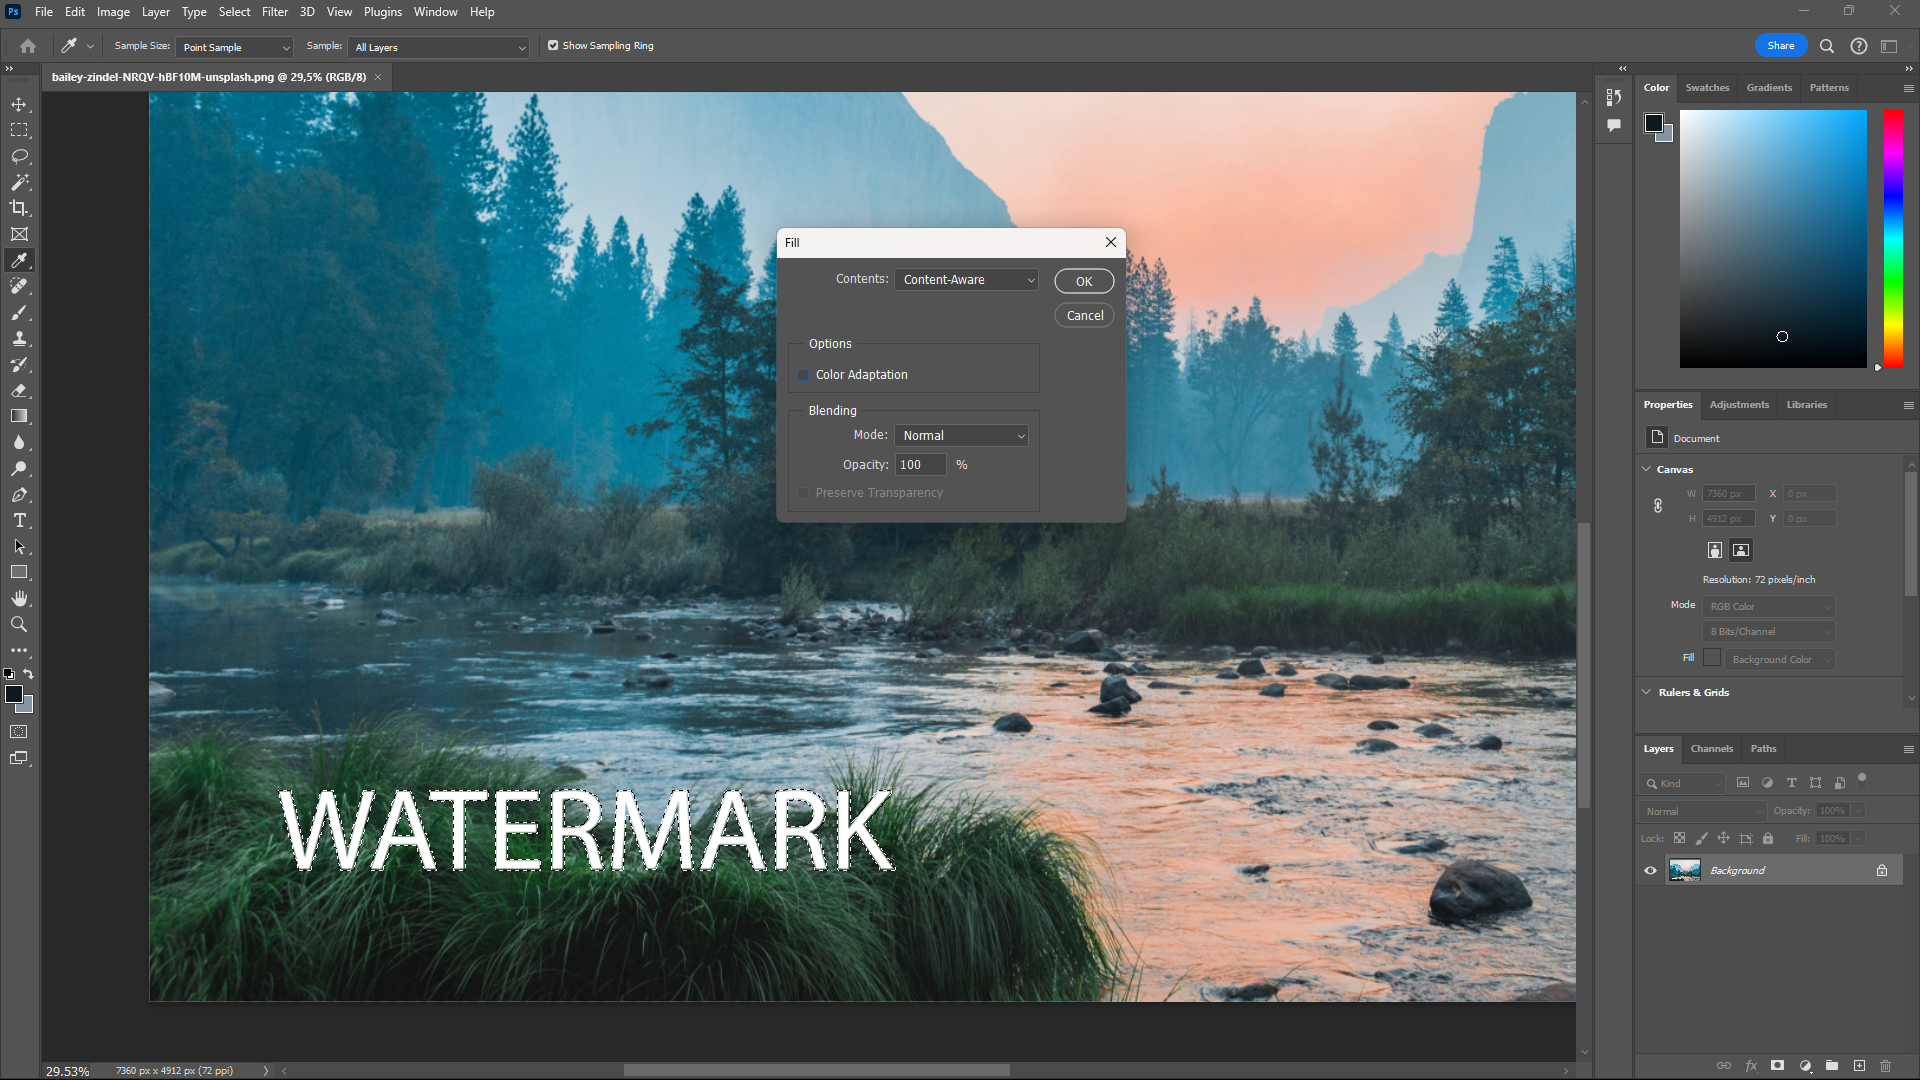
Go toEdit>Fill.
This opens a new box, and in theContentsdropdown, chooseContent-Aware.
![]()
verify to uncheck theColor Adaptationbox.
After hittingOK, your watermark should almost entirely disappear.
If some remnants of the watermark remain,use Photoshop’s Clone Stamp toolto fix the imperfections.

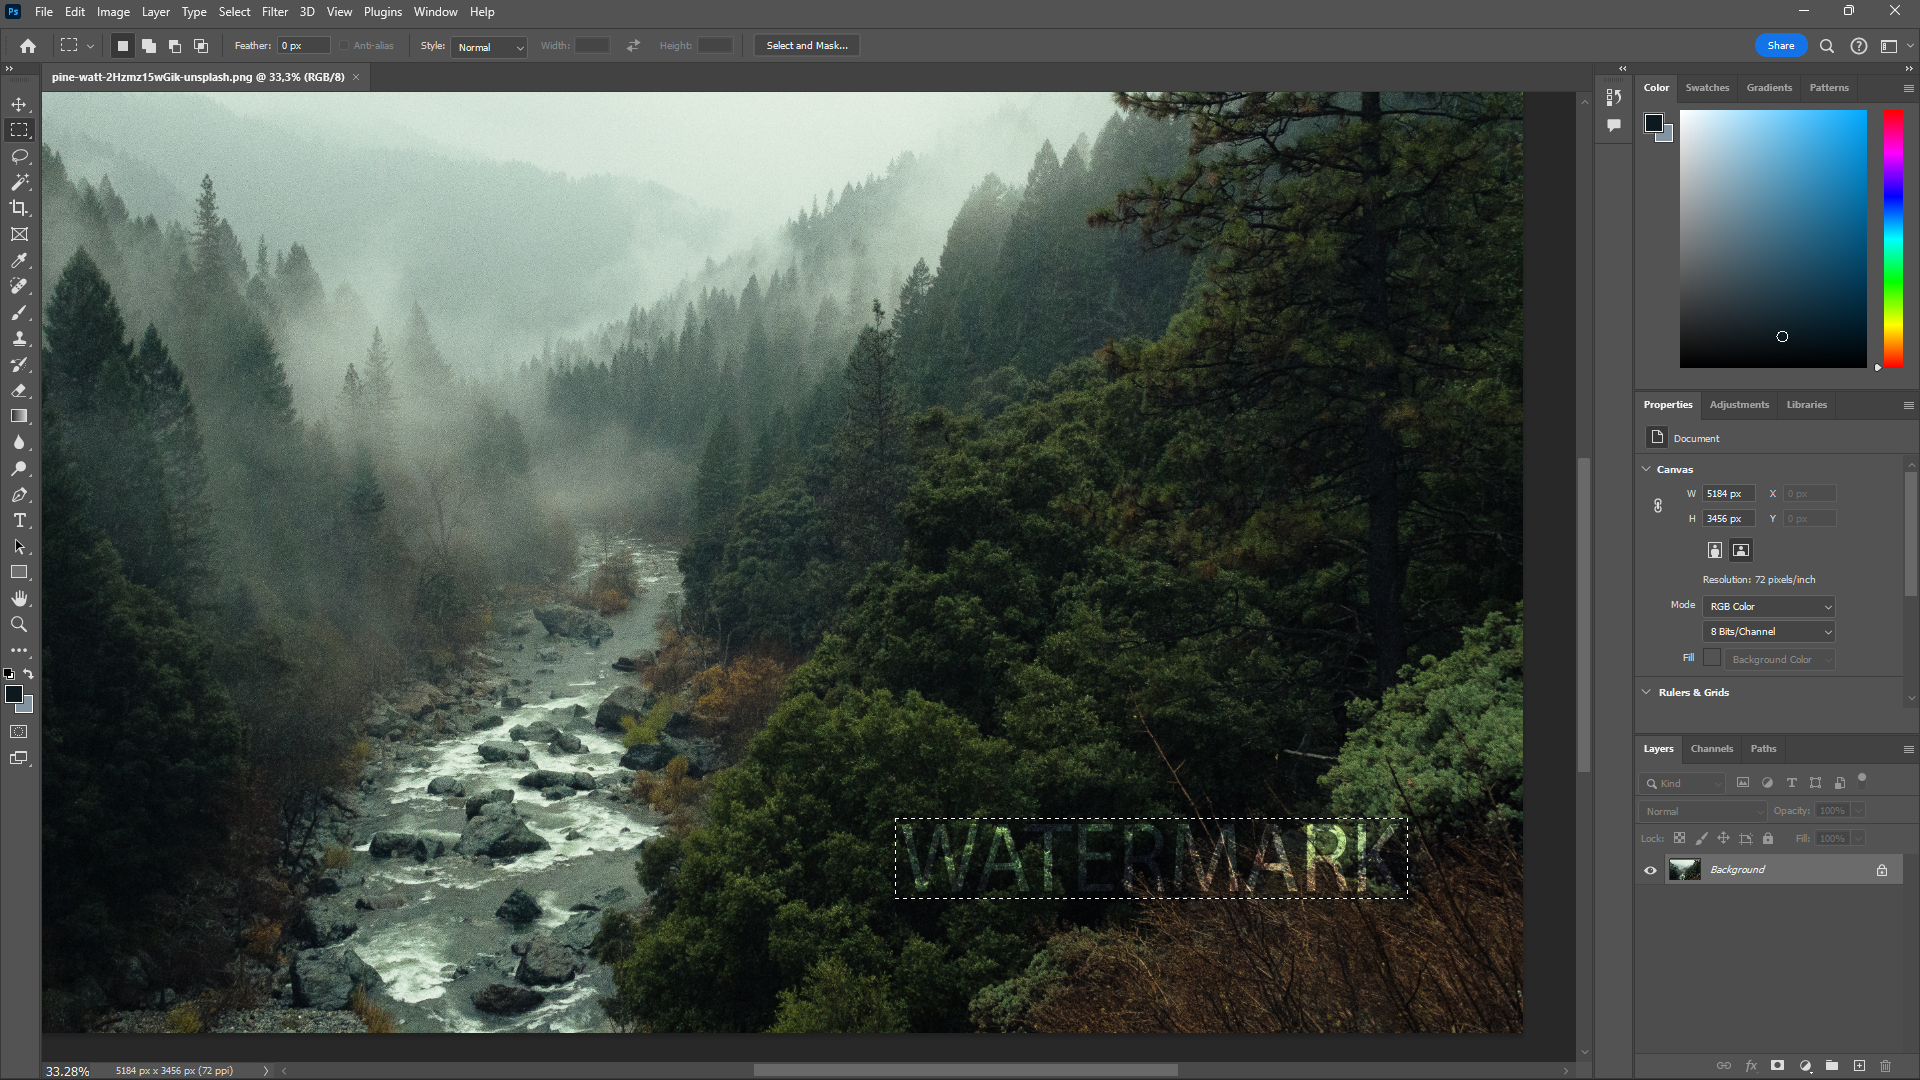
TheRectangular Marqueetool worked perfectly fine for my selection, but choose yours according to the shape of your watermark.
Now, all you better do is use Generative Fill.
You might already see the tool in the pop-up bar after making your selection.
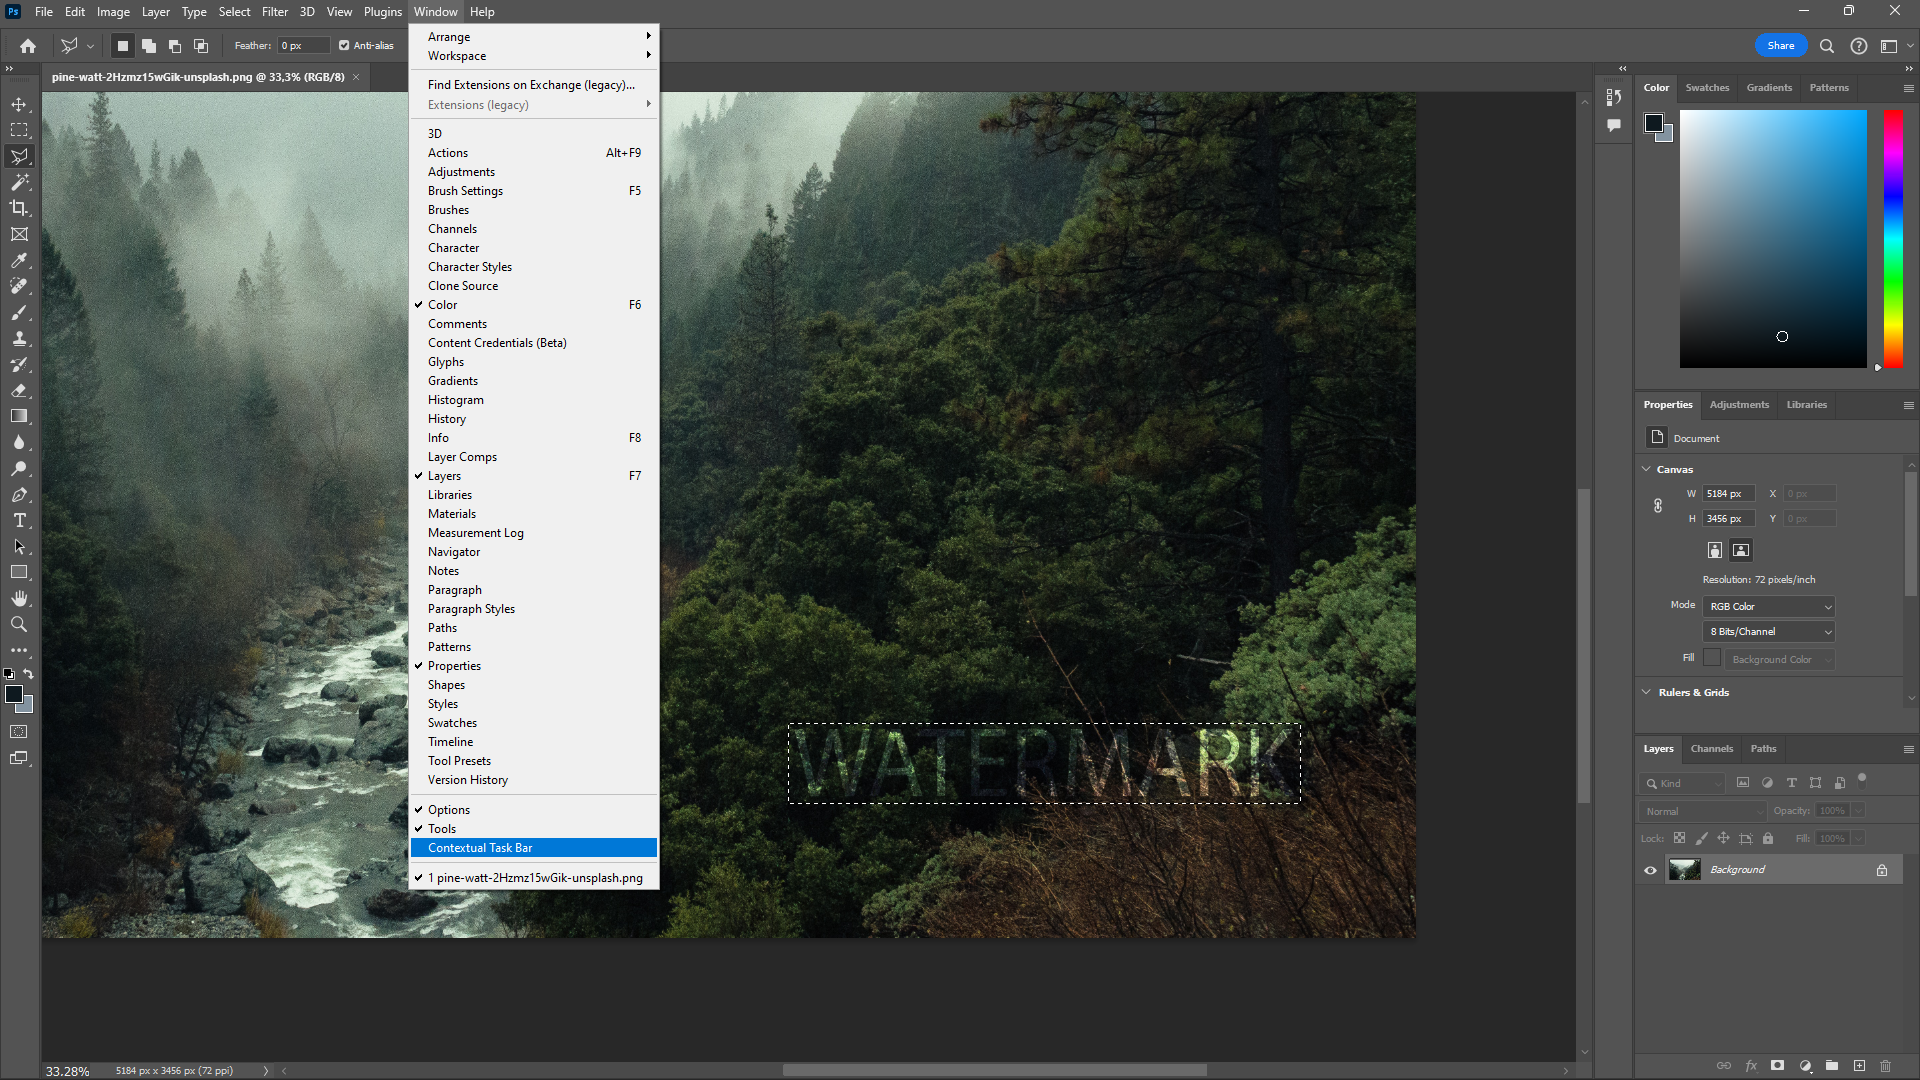
If not, openWindowat the top and tickContextual Task Barat the bottom of the options.
After the bar pops up, selectGenerative Fill.
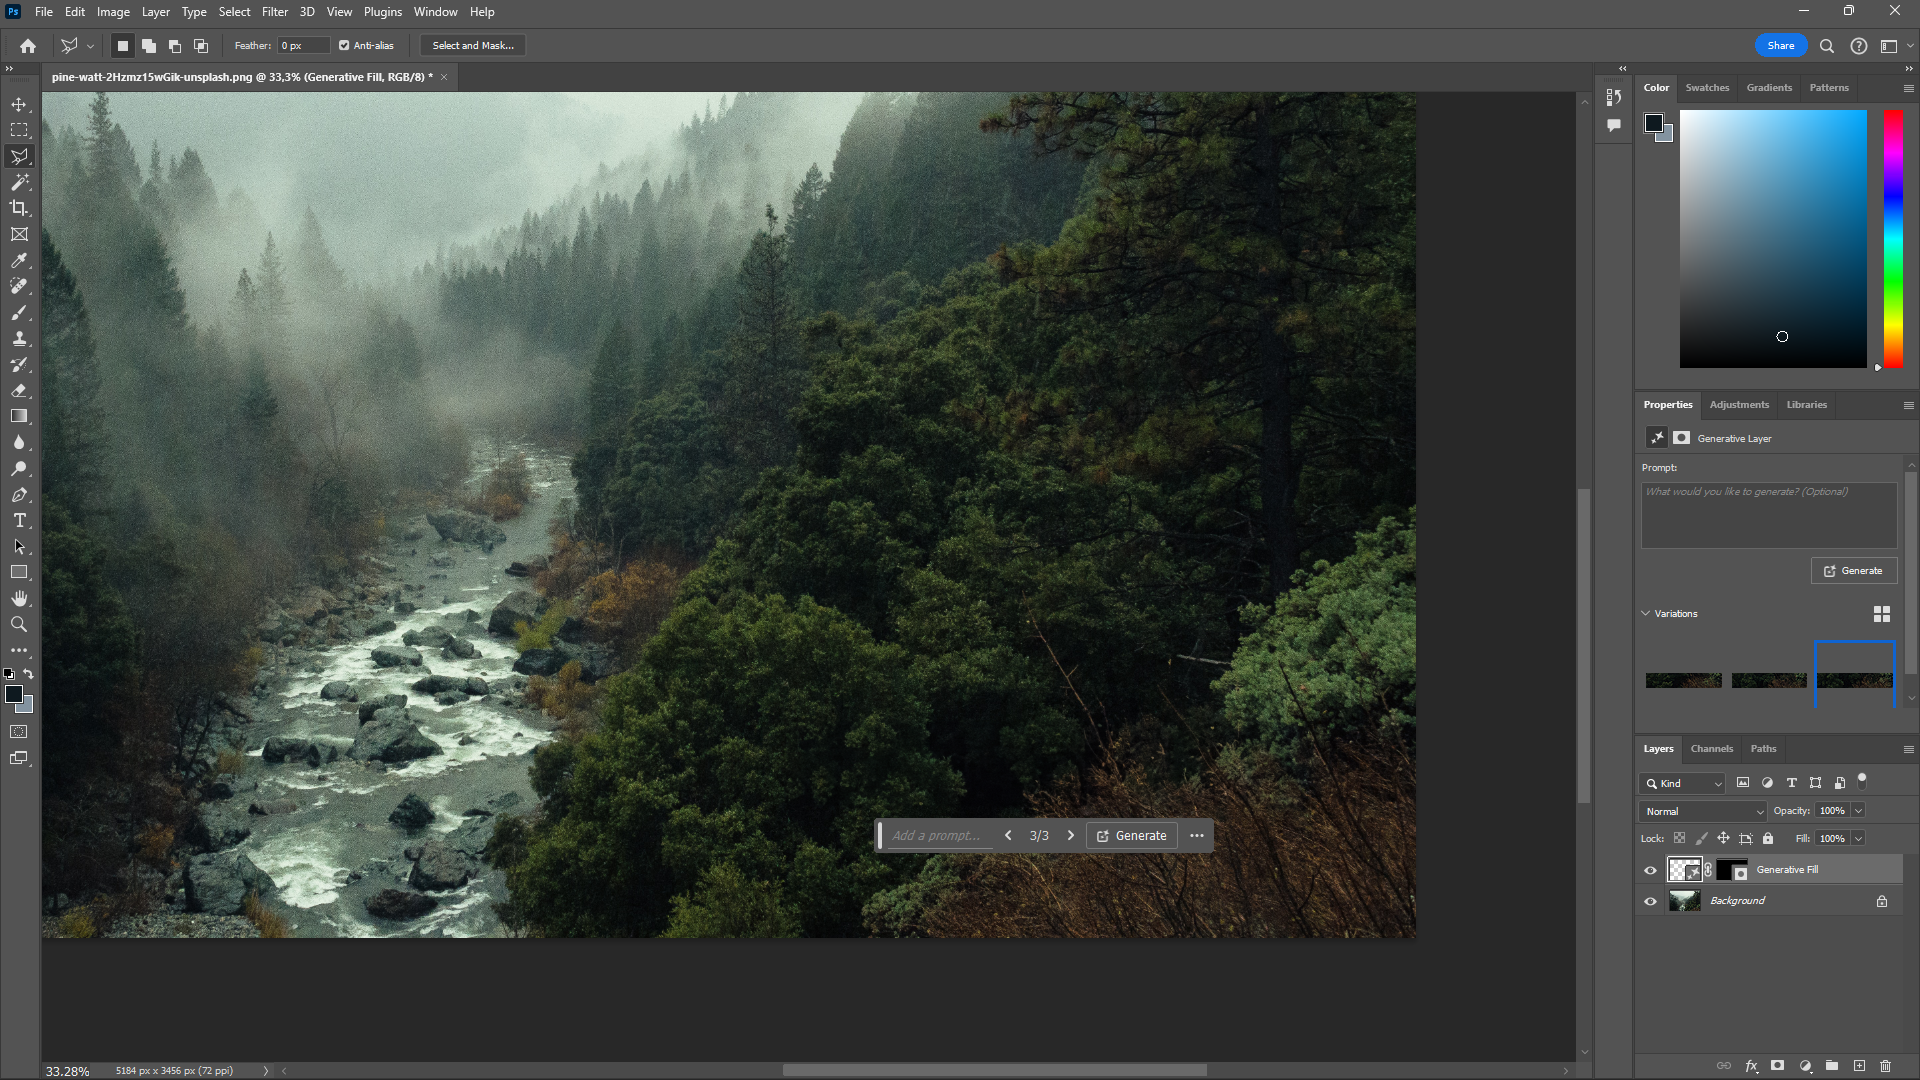
No need to punch in anything in the text box, just hitGenerate.
The tool will generate three variations which you could find under Properties on the right.
grab the best one, export the photo, and you’re done!
Download:Adobe Photoshop forMac and Windows(From $22.99/month, free trial available)
2.
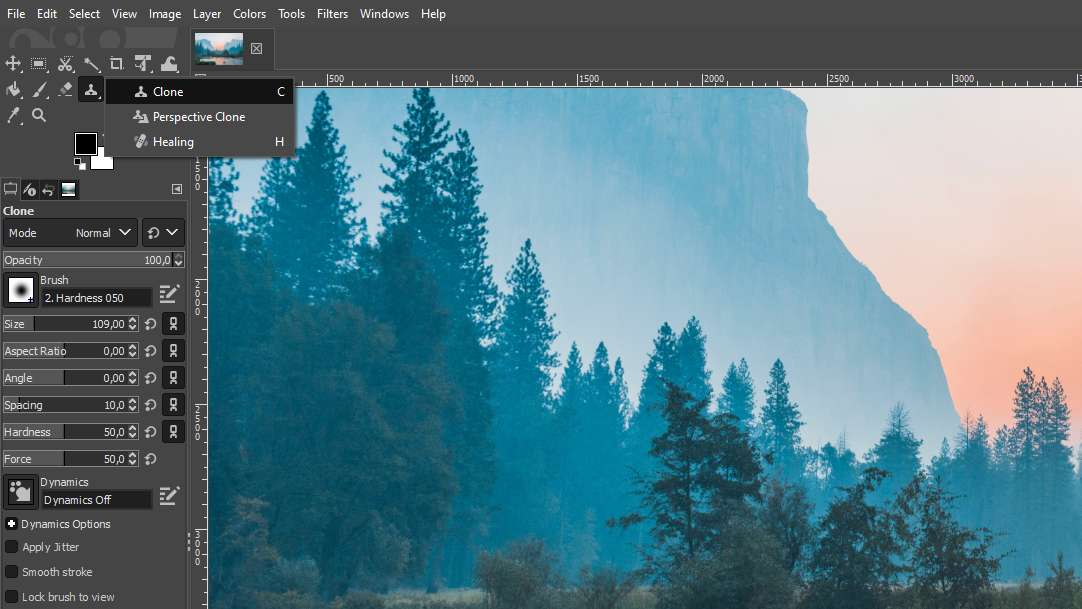
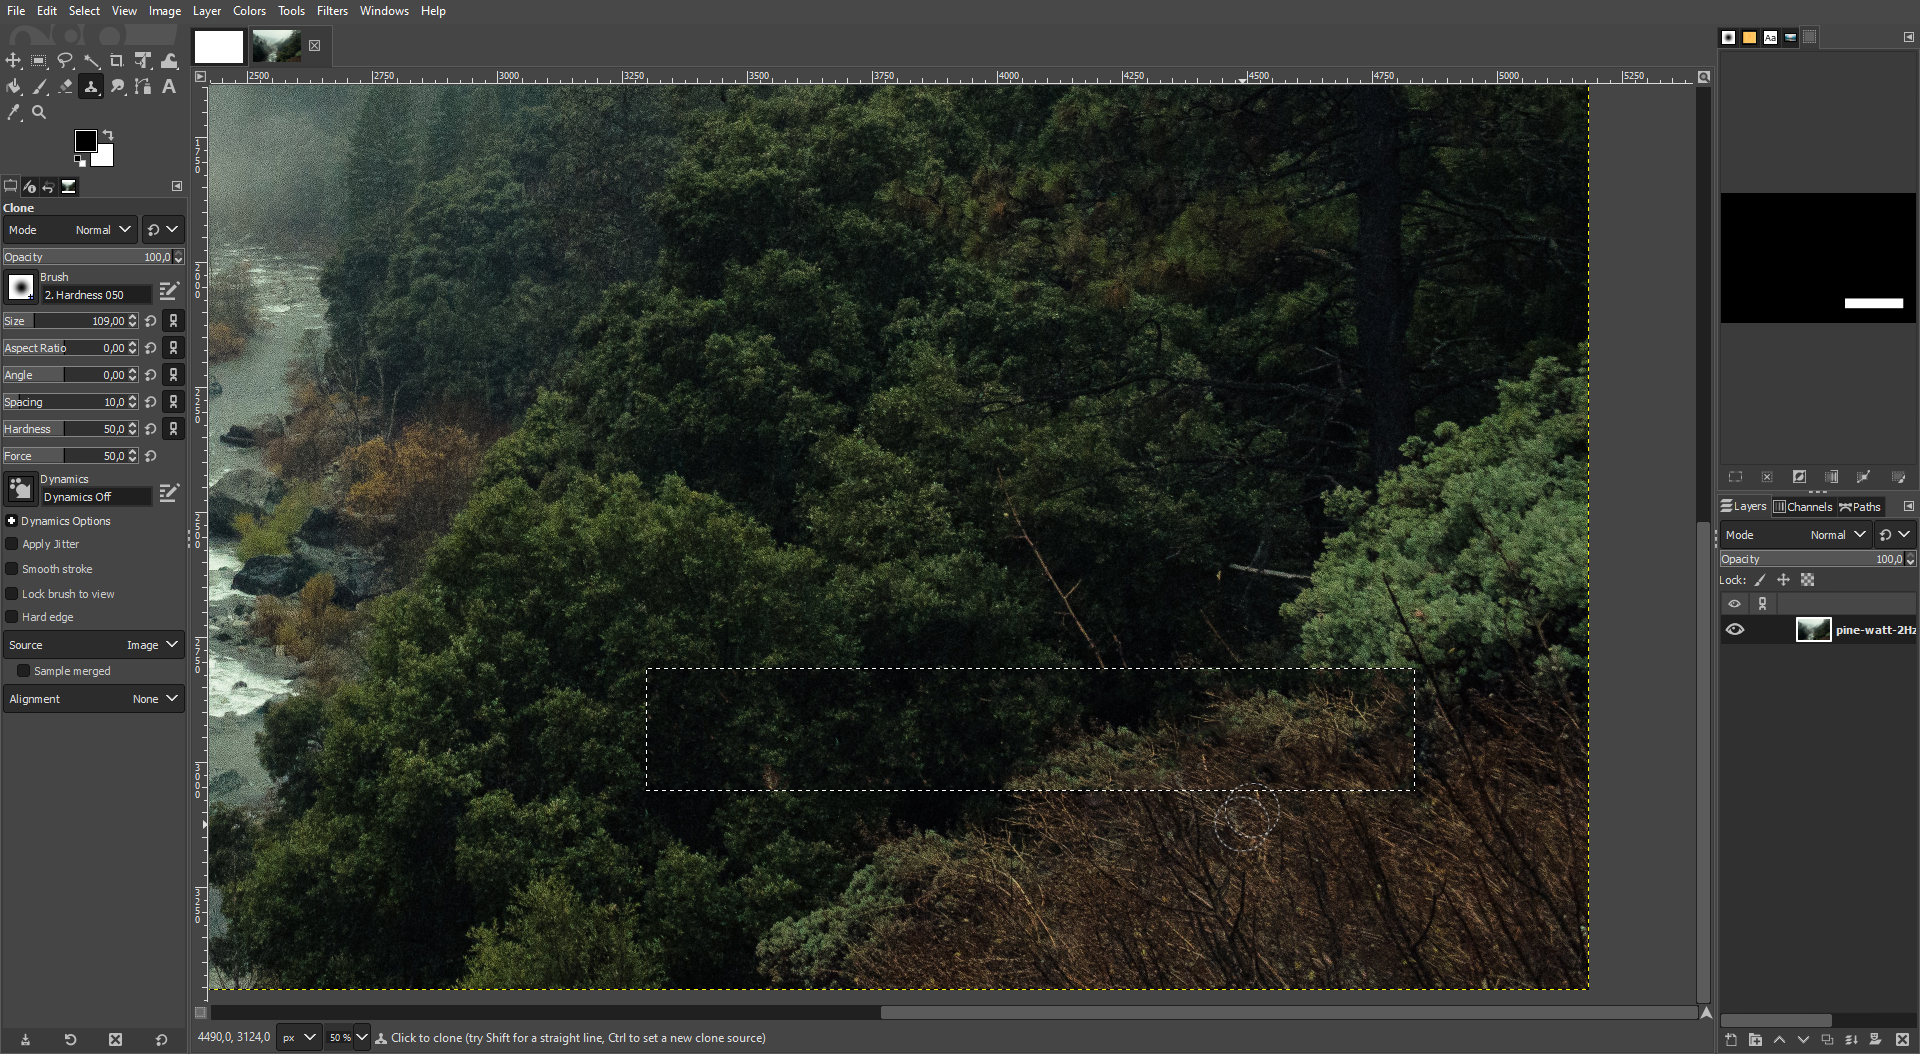
Open your image in GIMP, right-choose the stamp icon in the top left, and selectClone.
This tool works similarly to Photoshop’s Clone Stamp tool by sampling a part of the image.
First, ensure you set theSizeof the Clone tool on the left panel.
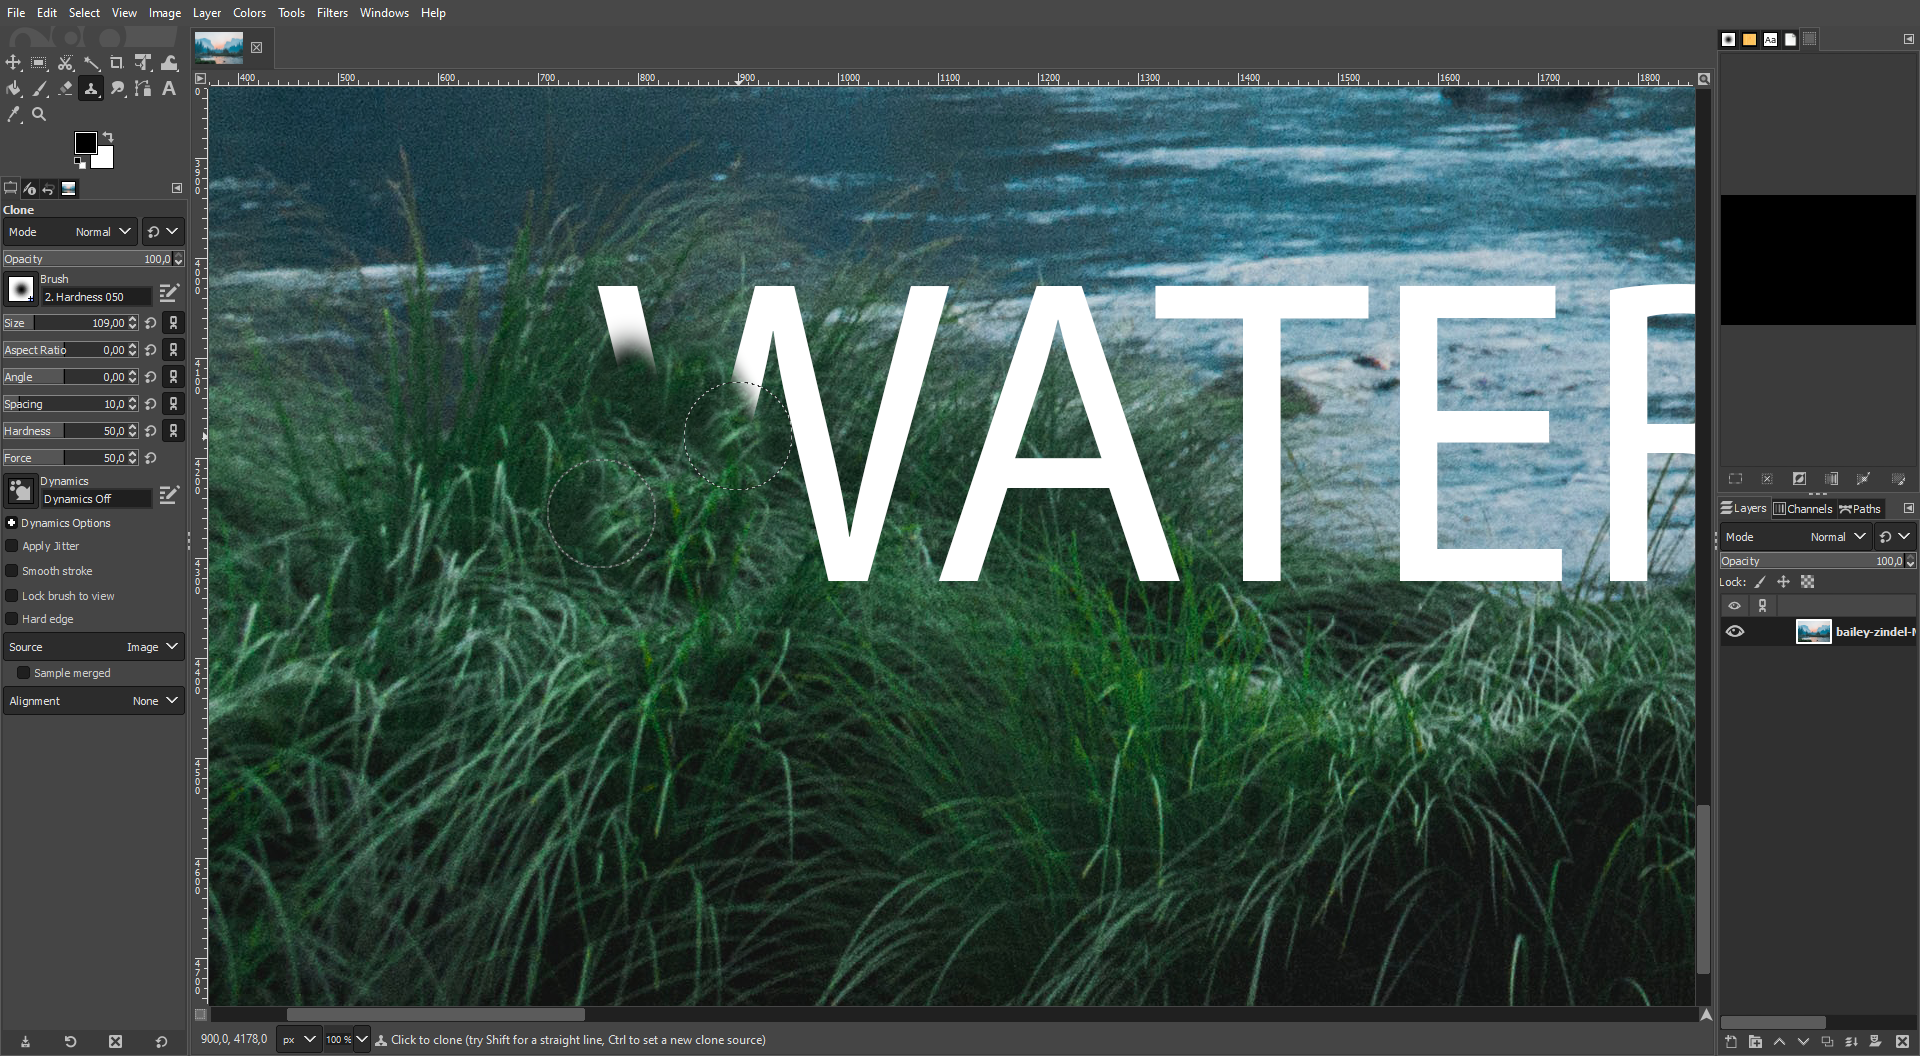
you could also hold down the mouse button to brush over it.
It’s time-consuming but allows you to be incredibly precise.
Toinstall a GIMP plugin, copy the extracted files into GIMP’s plugin folder.
Restart GIMP and load up your picture.
Right-choose either the second or third icons in the left panel to access them.
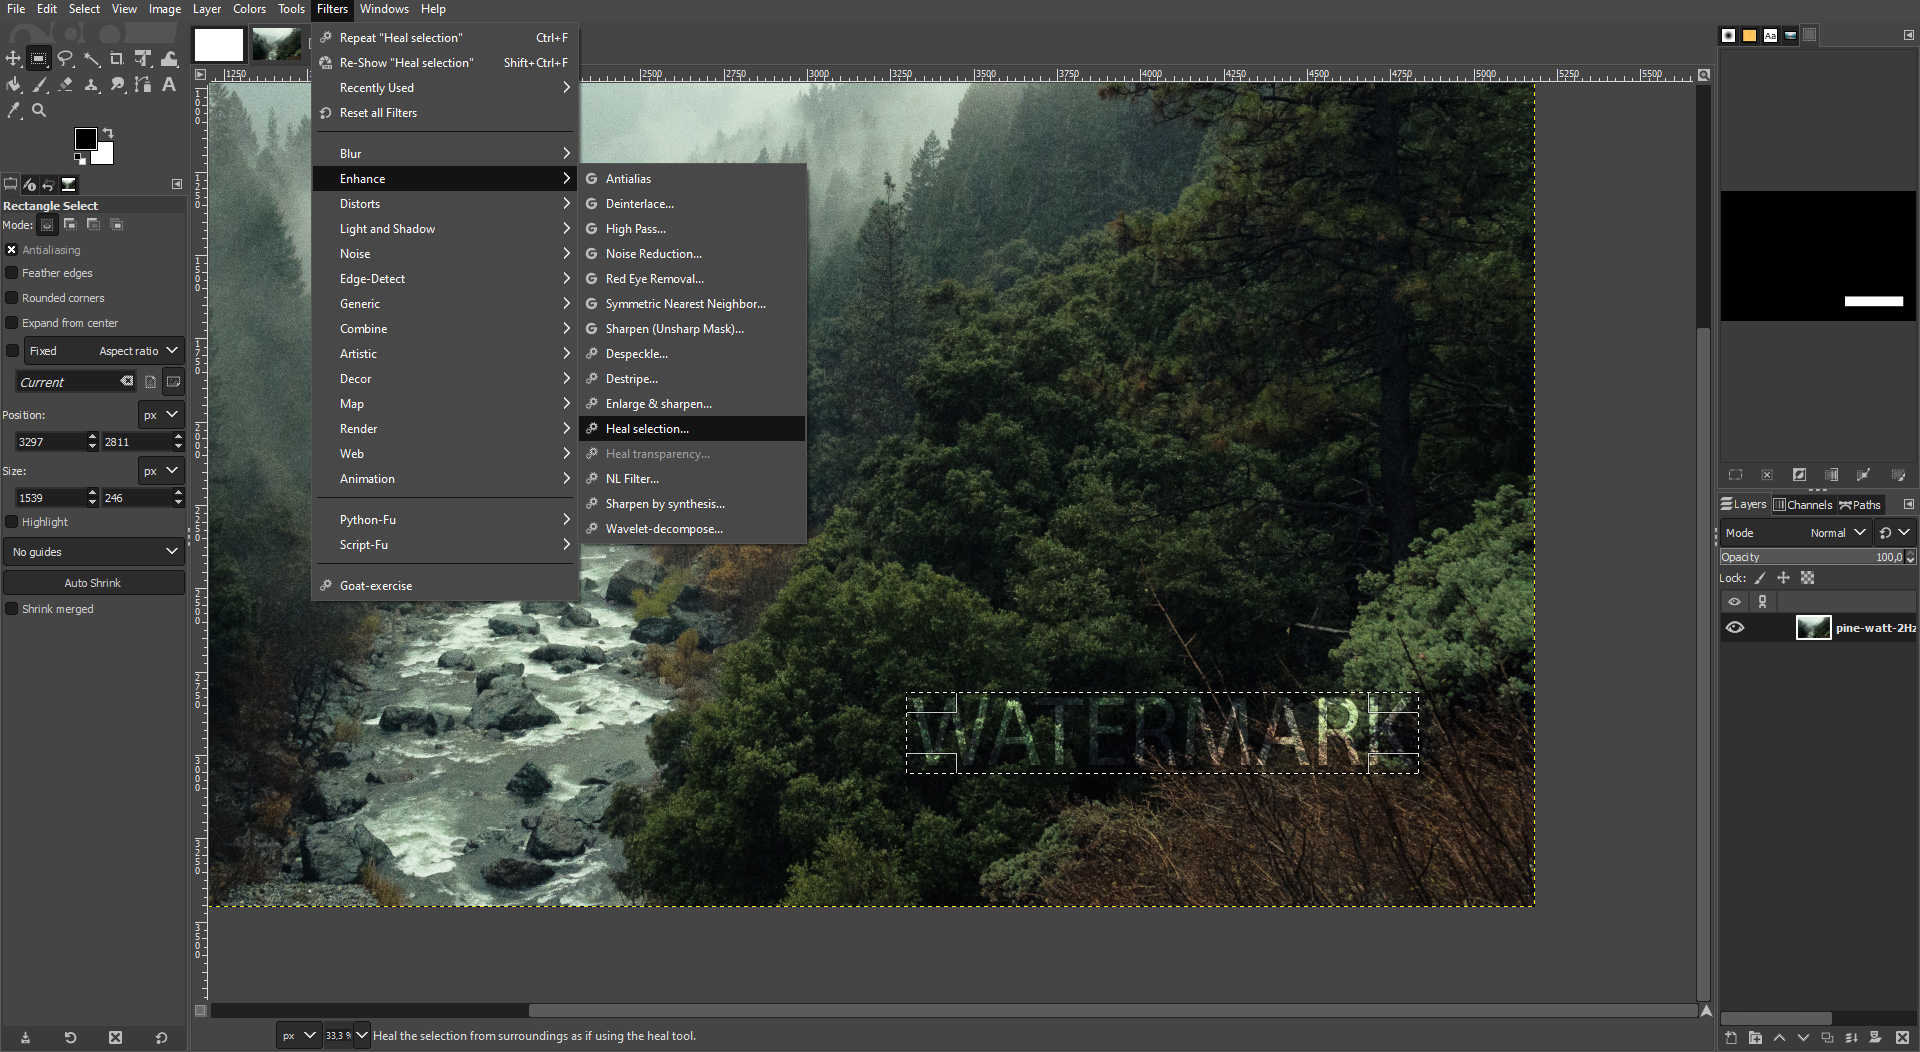
after you grab your selection, go toFilters>Enhance>Heal selection.
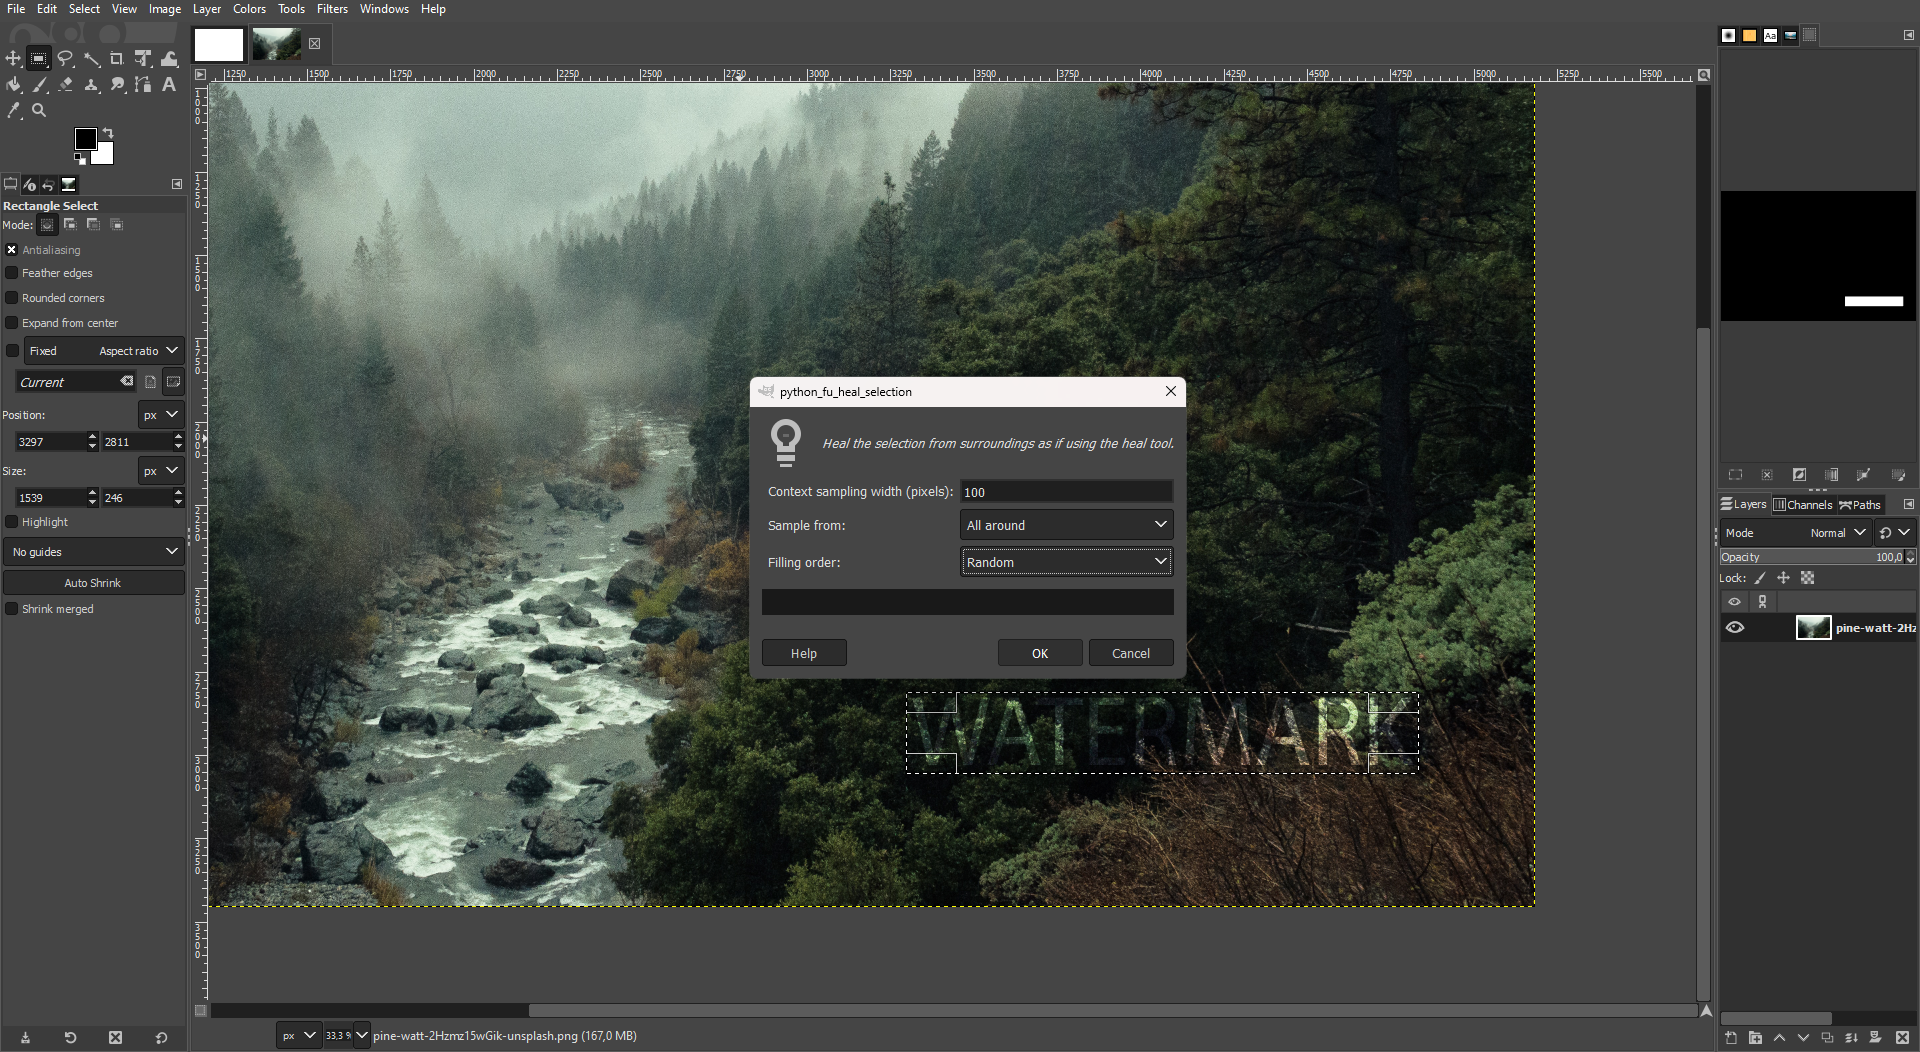
Change the options if necessary and hitOK.
Once complete (it can take a minute), use theClonetool to sample and cover any remaining blots.
Download:GIMP forMac, Windows, and Linux(Free)
3.
Since it’s free, your options are a bit limited.
Once again, you better use the slow and steady Clone Stamp tool.
Go toPixlr Expressand upload your image.
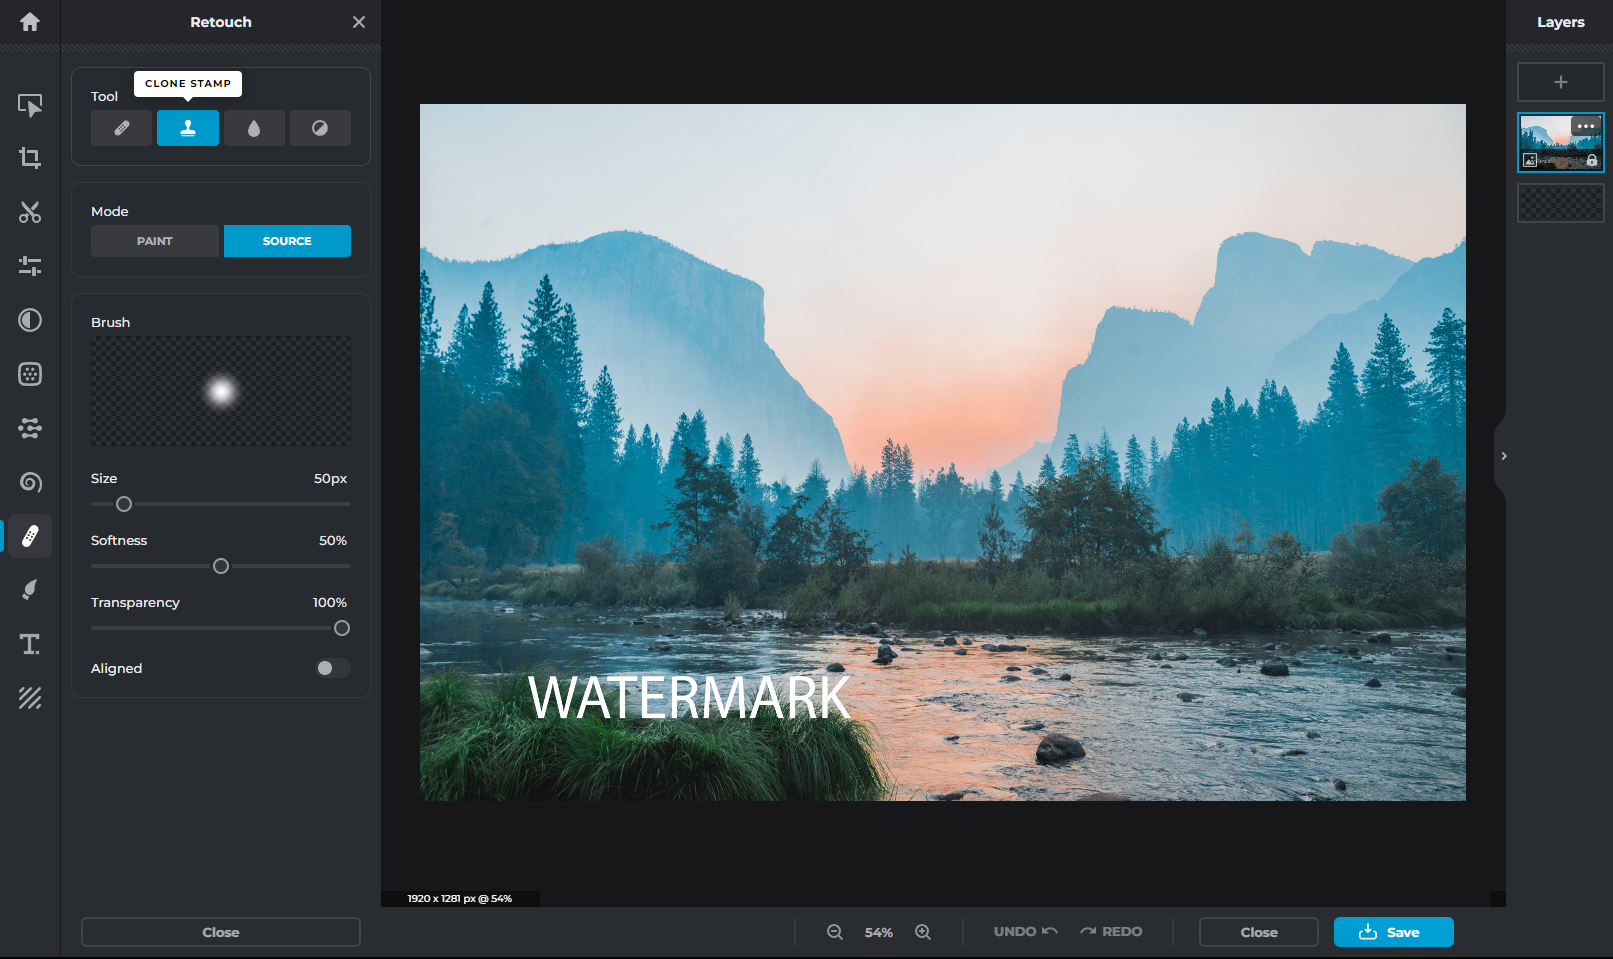
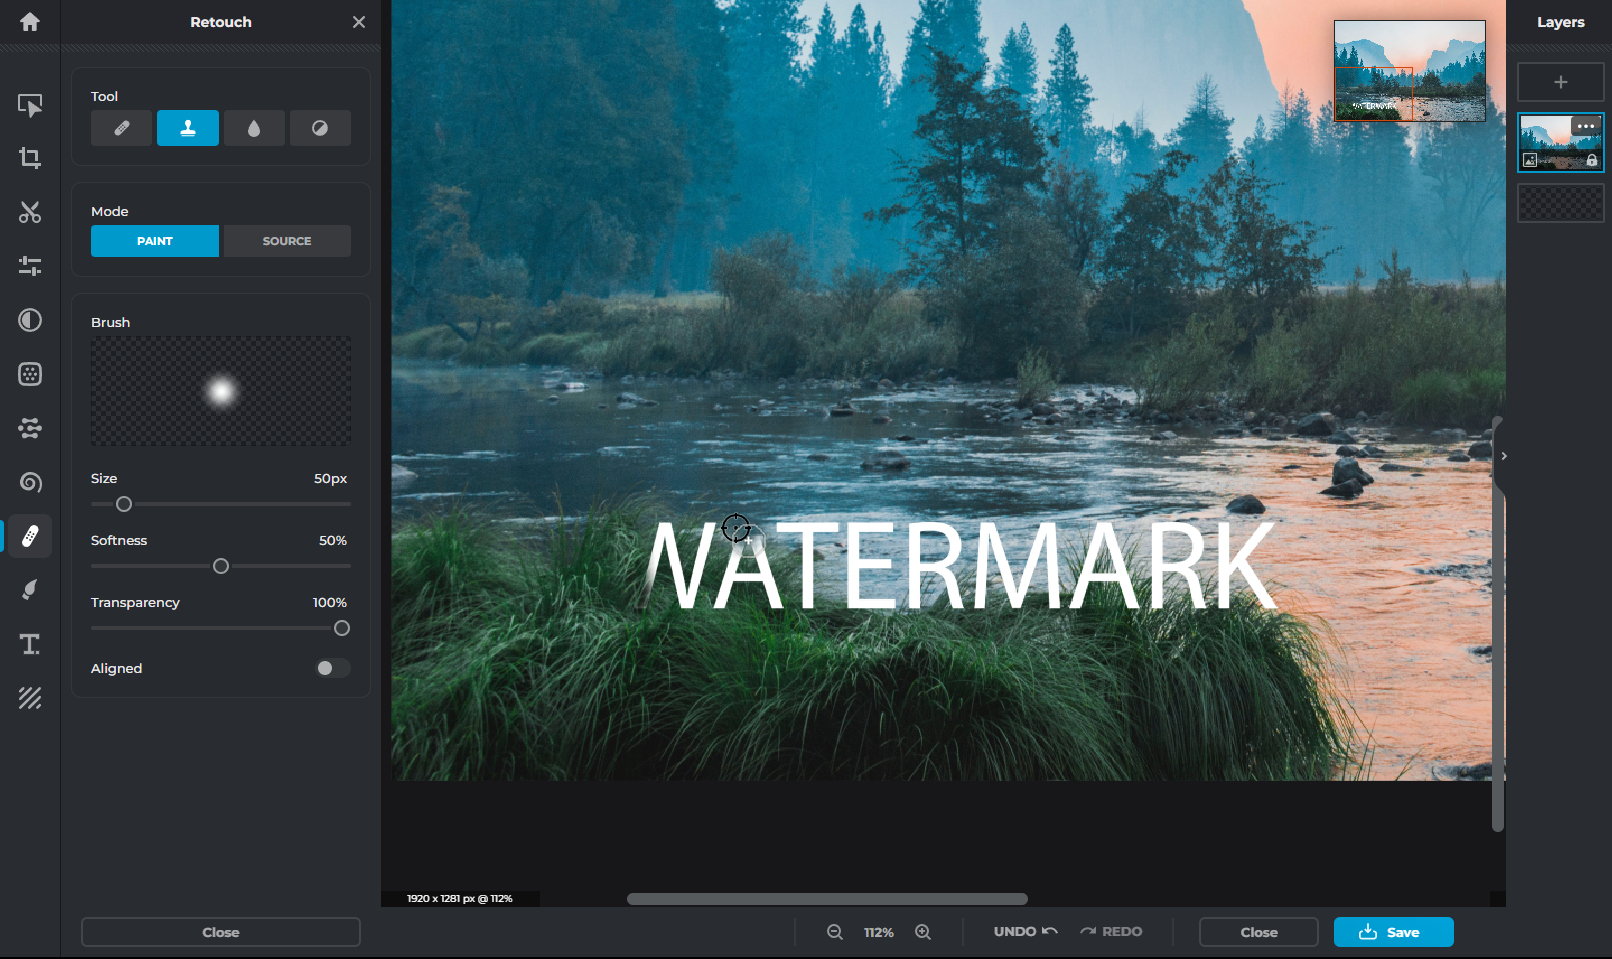
Navigate to theRetouchtab on the left panel and select theClone Stamp(stamp icon).
SelectSourcein theModesection and click or brush over the area that you want to sample.
it’s possible for you to adjust the parameters in theBrushsection for more precision.
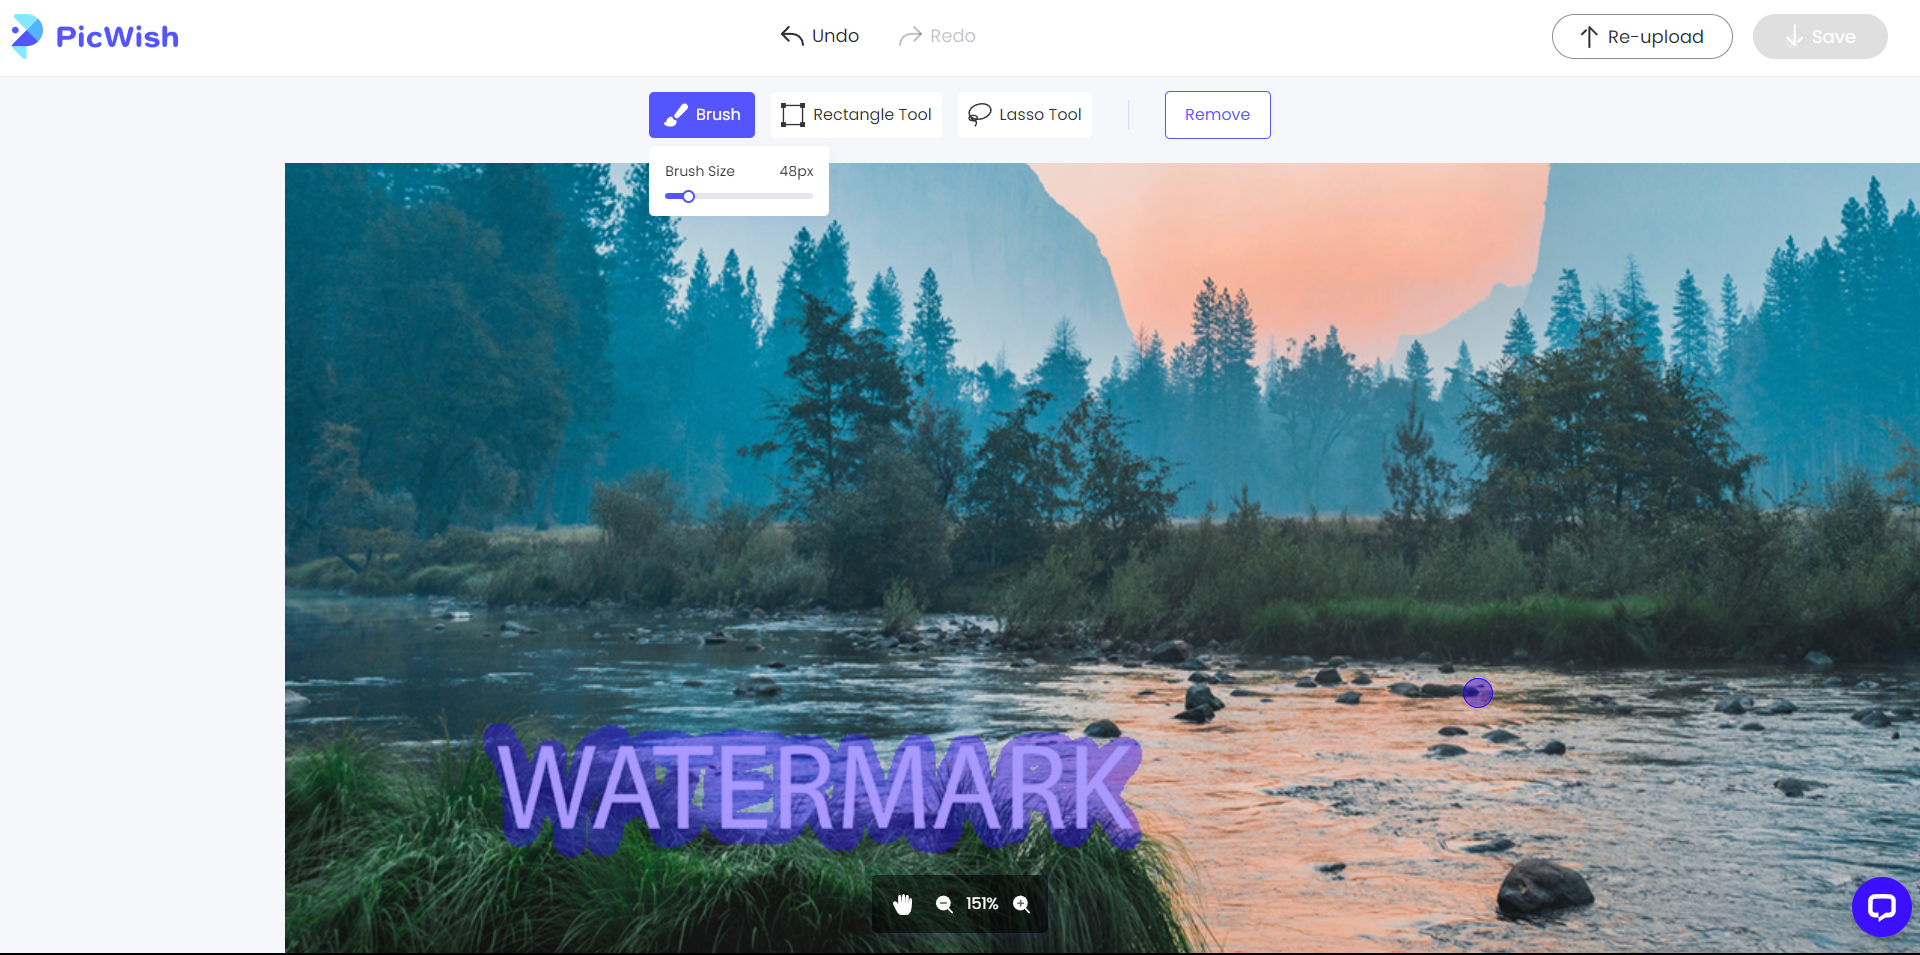
Its Objects Removal API works best for getting rid of watermarks.
Zoom in and out with your scroll wheel and use theHandicon to move the image around if necessary.
Once done, clickRemoveat the top and wait for it to process.
To download a high-res image, you’ll need to get a subscription.
Above are the results… not too bad.
initiate the Picsart app and tap theCreatebutton (plus icon) at the bottom.
Scroll down toAI Toolsand tapAI Replace.
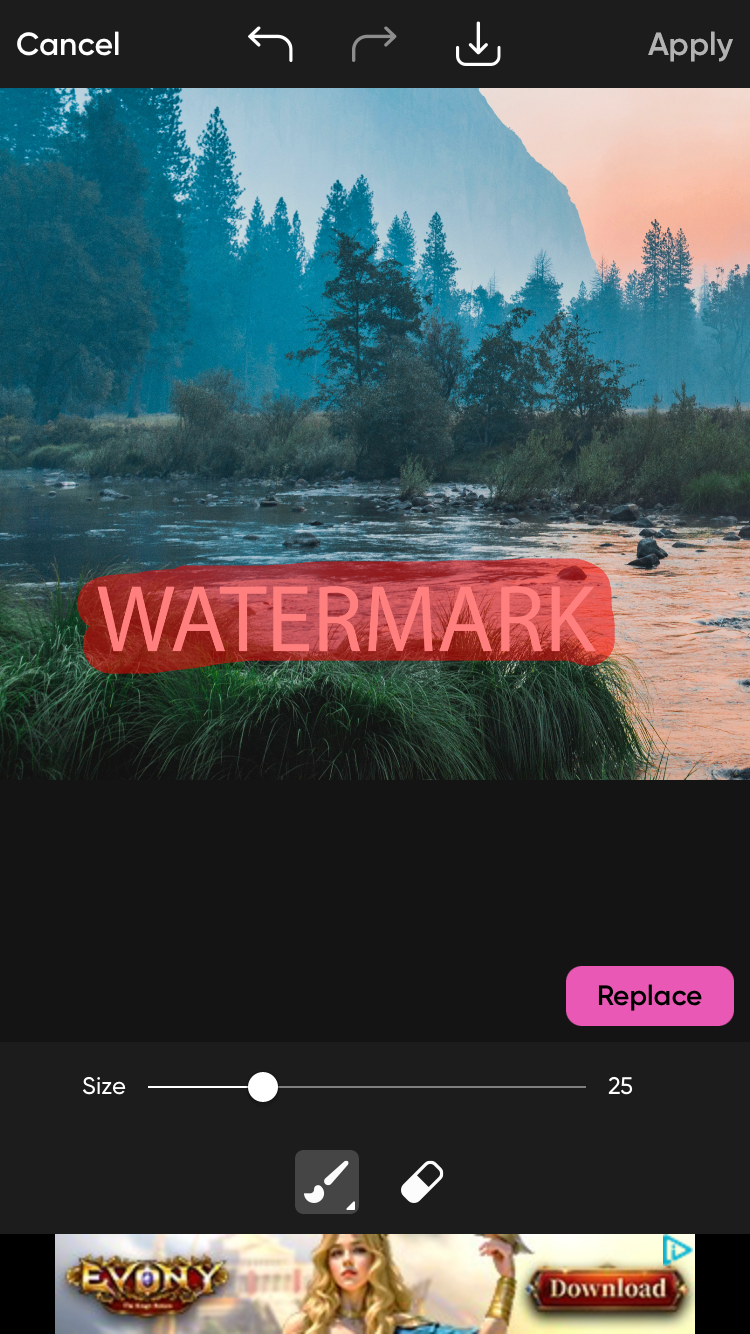
Select your image and, once in the editor, start brushing over the watermark with your finger.
you’re free to zoom in and out by pinching the screen and also adjust the brush size.
Once done, tapReplace.
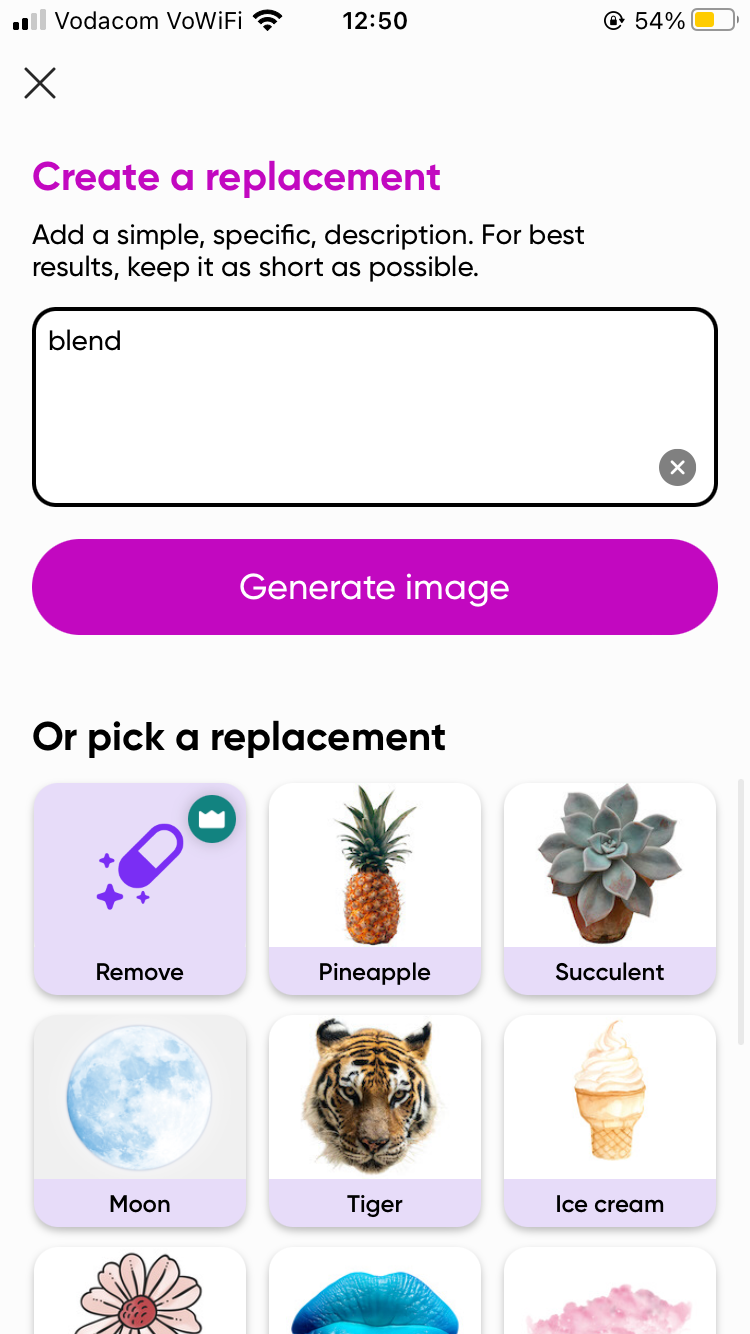
There is aRemoveoption, but that requires a subscription.
Or, simply jot down “remove” or “blend” into the prompt text box.

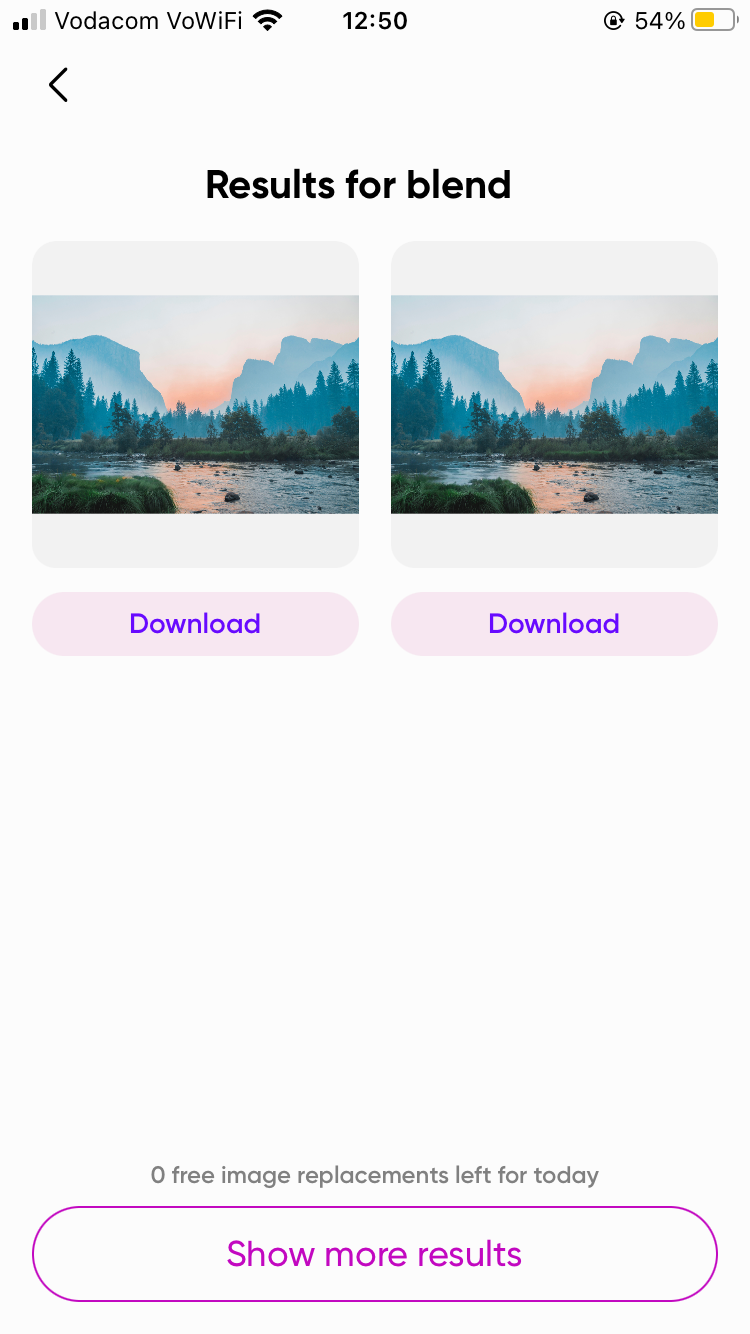
Once you’ve settled on a prompt, hitGenerate image, and Picsart will give you multiple variations.
TapDownloadto download the image directly to your camera roll, or tap on the image to continue editing it.
Photoshop will give you the cleanest results, closely followed by GIMP.
Opt for Pixlr Express or PicWish for no-download convenience, and Picsart for the best results on mobile.