A feature like this is perfect for recording simple audio or voiceovers.
Understanding how audio inputs and outputs work can be confusing at first.
But it only takes a few turns recording audio before the process becomes intuitive.
Here’s how to record audio in DaVinci Resolve 18.
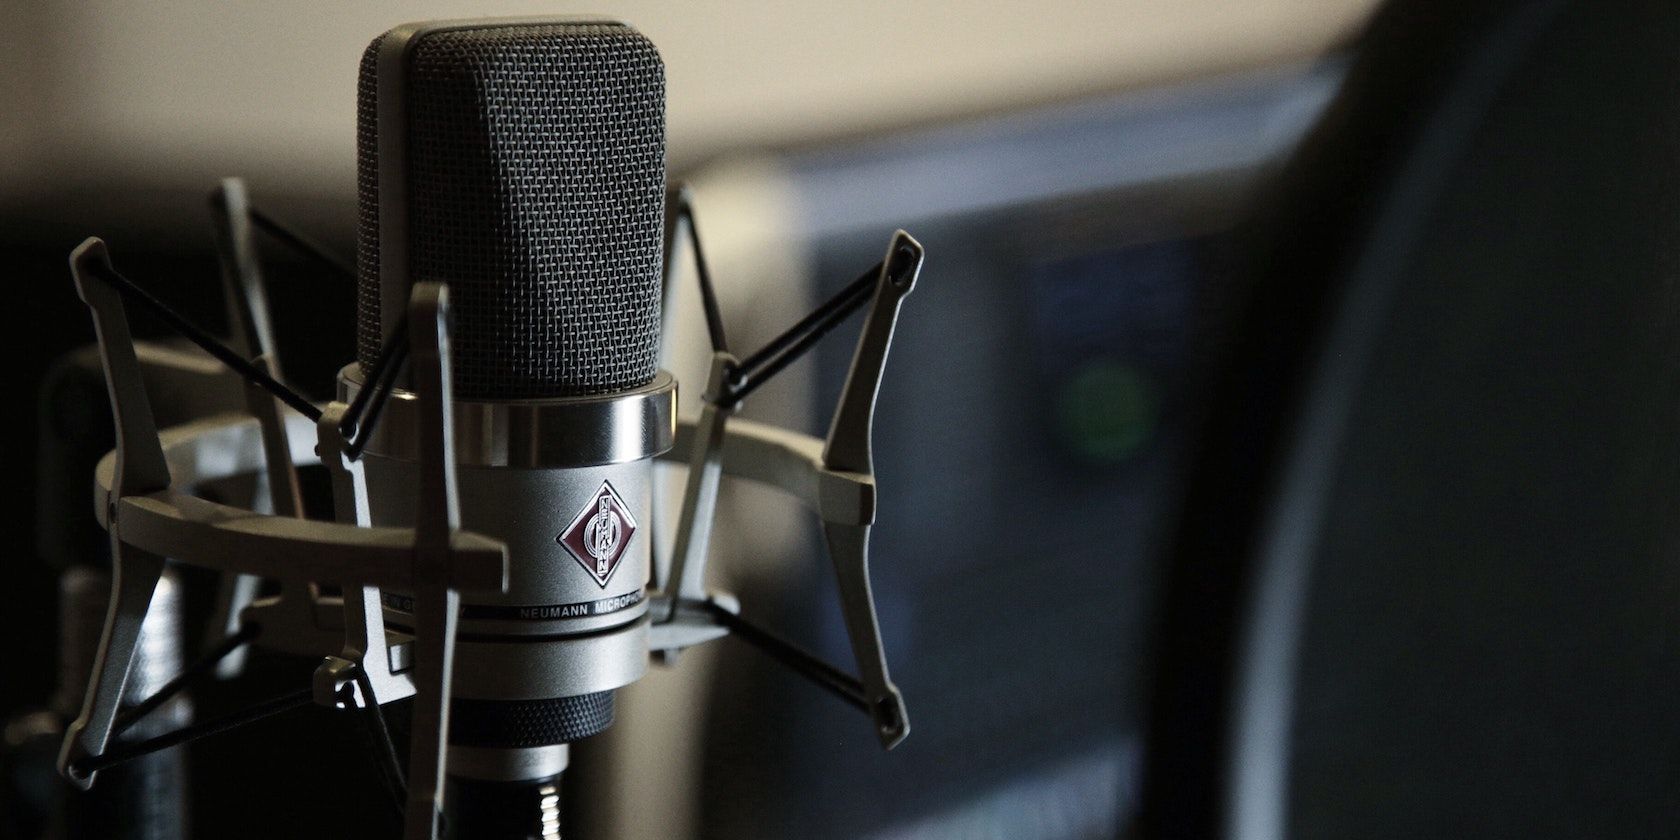
Capturing good-quality audio is essential to producing professional videos.
Thanks to the popularity of podcasting, there are plenty of affordable desktop mics available on the market.
For the simplest solution, requiring no extra audio gear, look for a USB microphone.
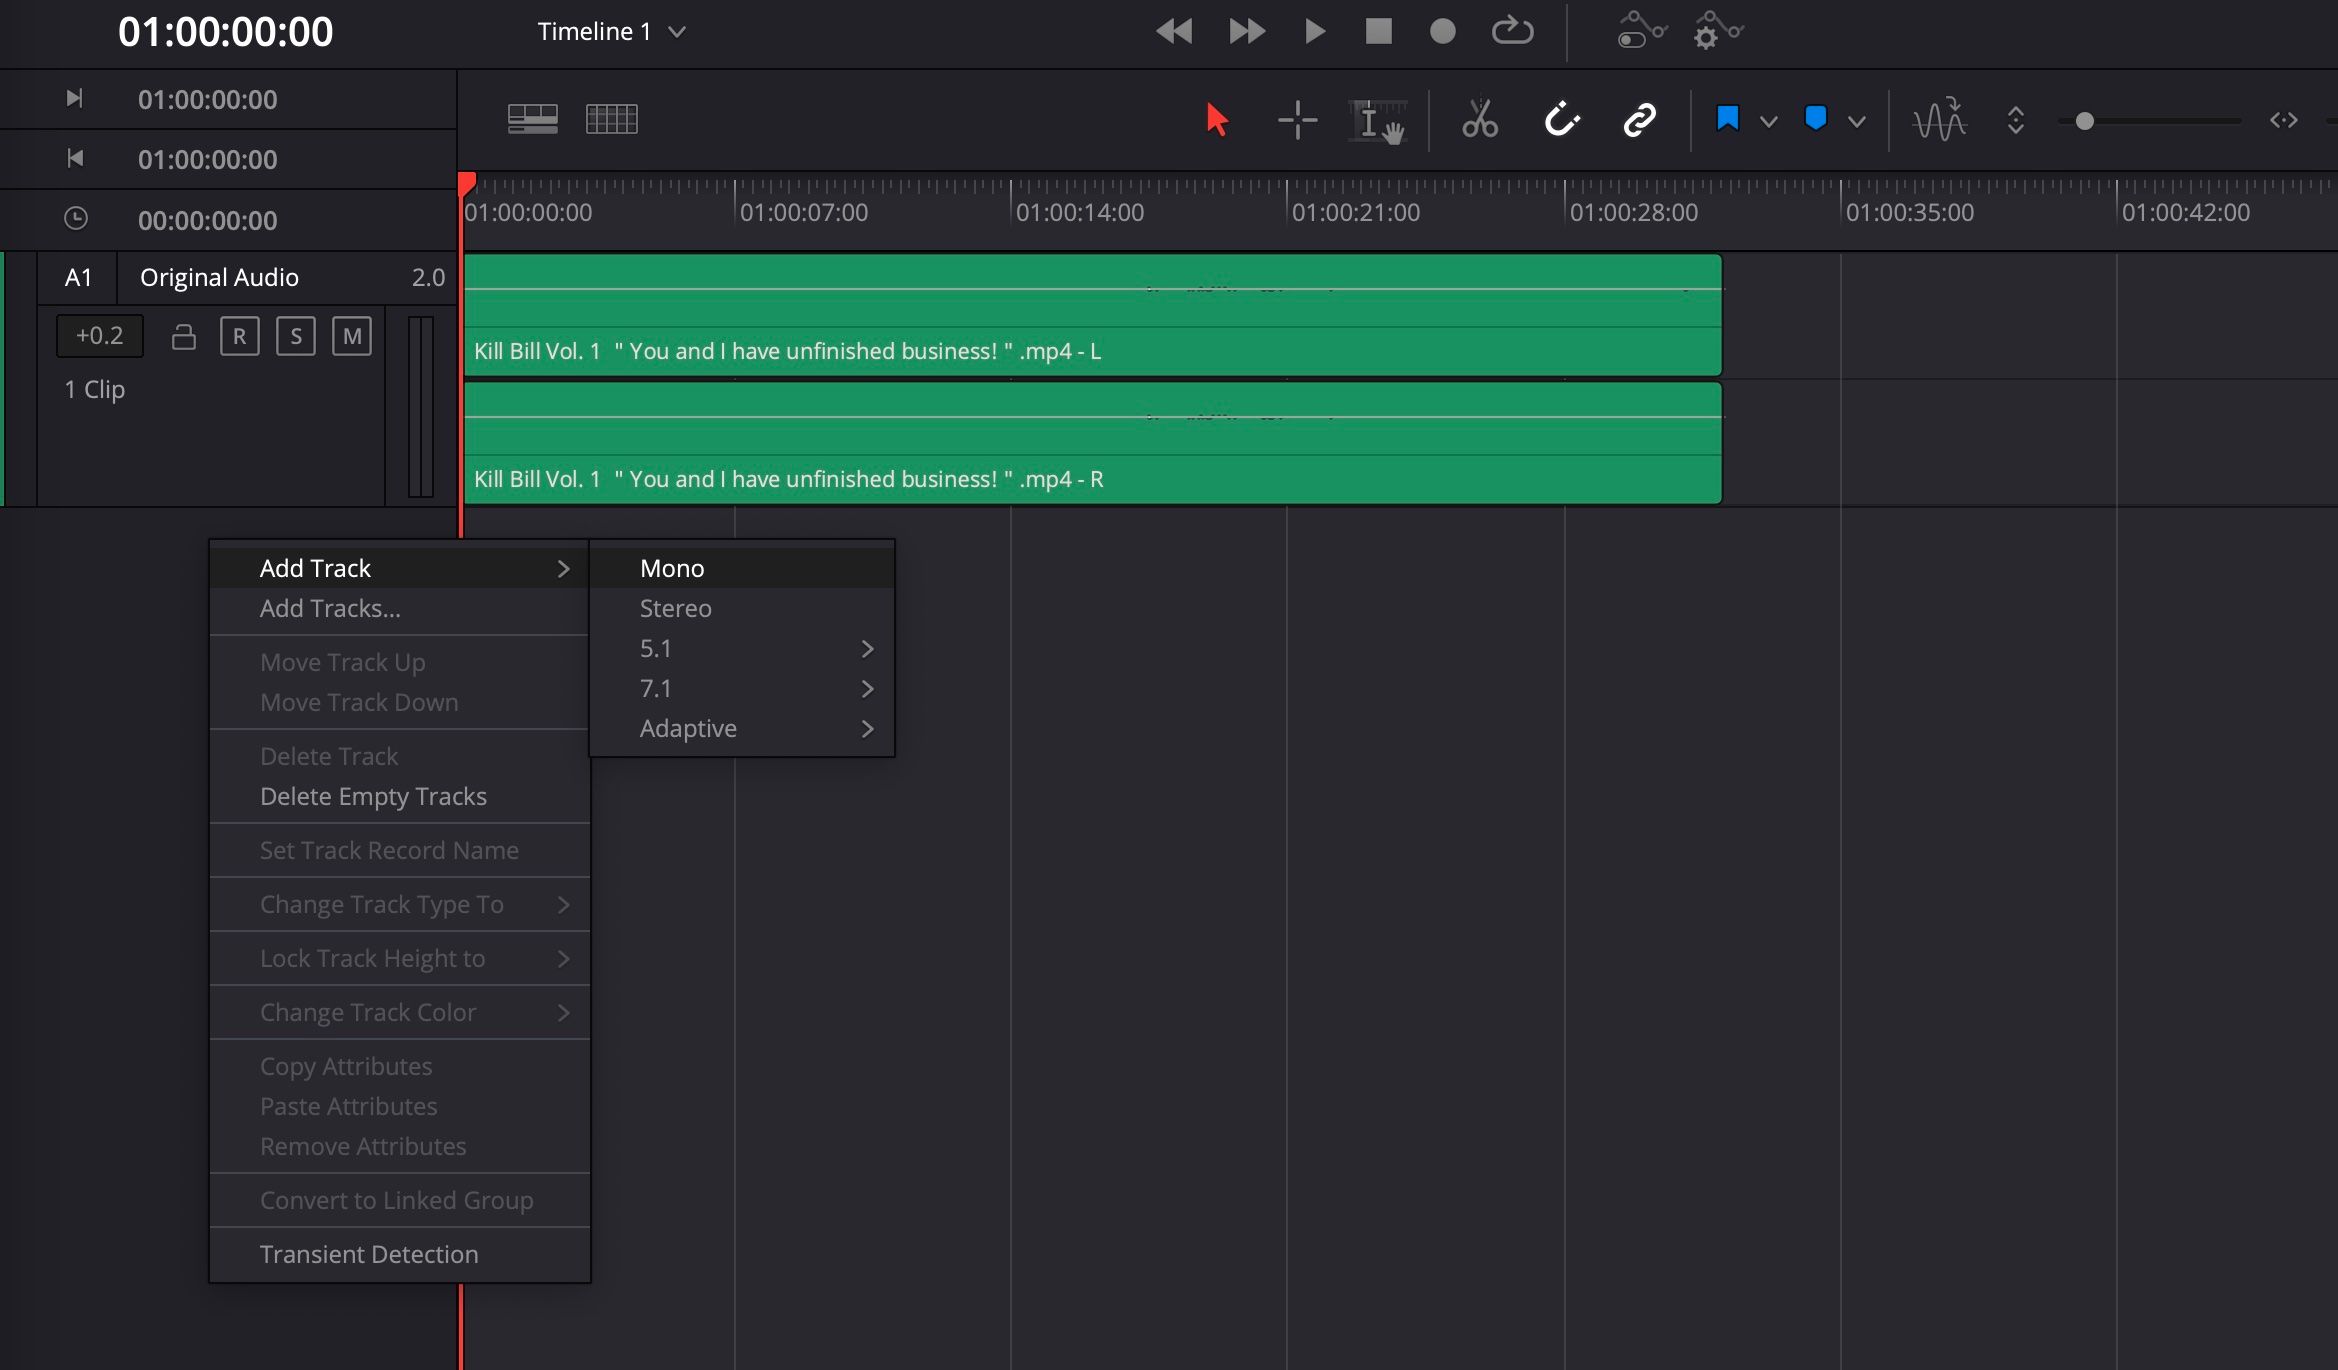
If you have a stereo microphone, selectStereoinstead.
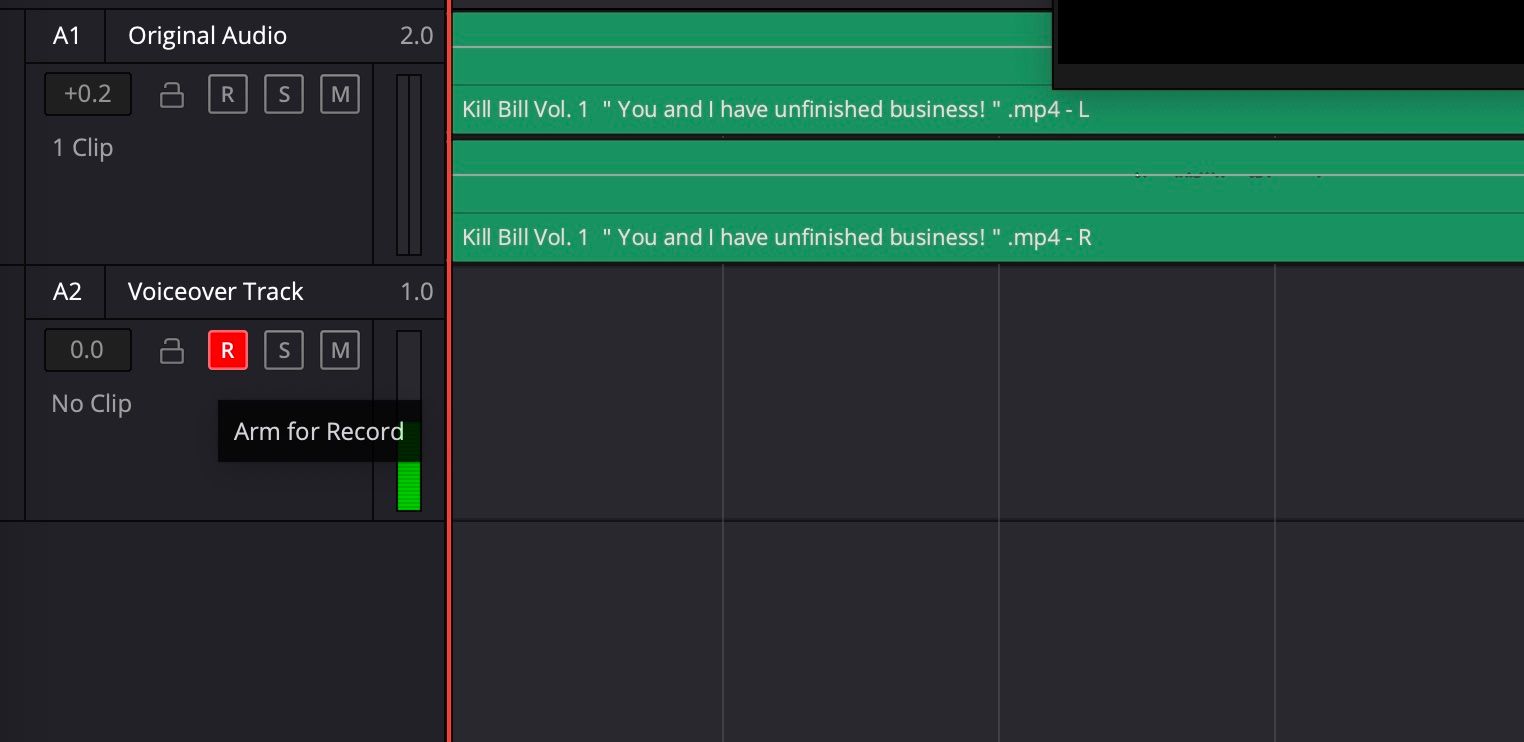
This is a good time to change the name of the audio track.
Simply double-tap on the title of the audio track and enter a new name.
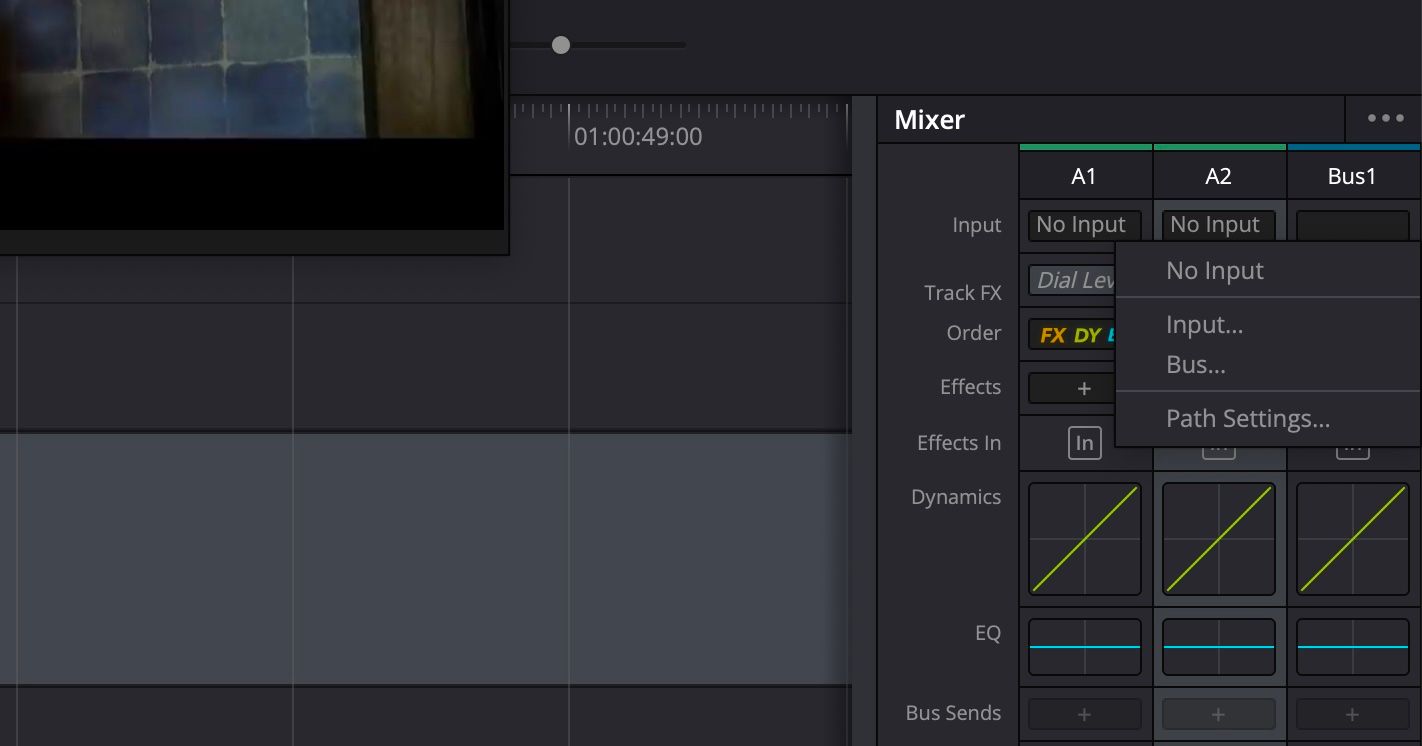
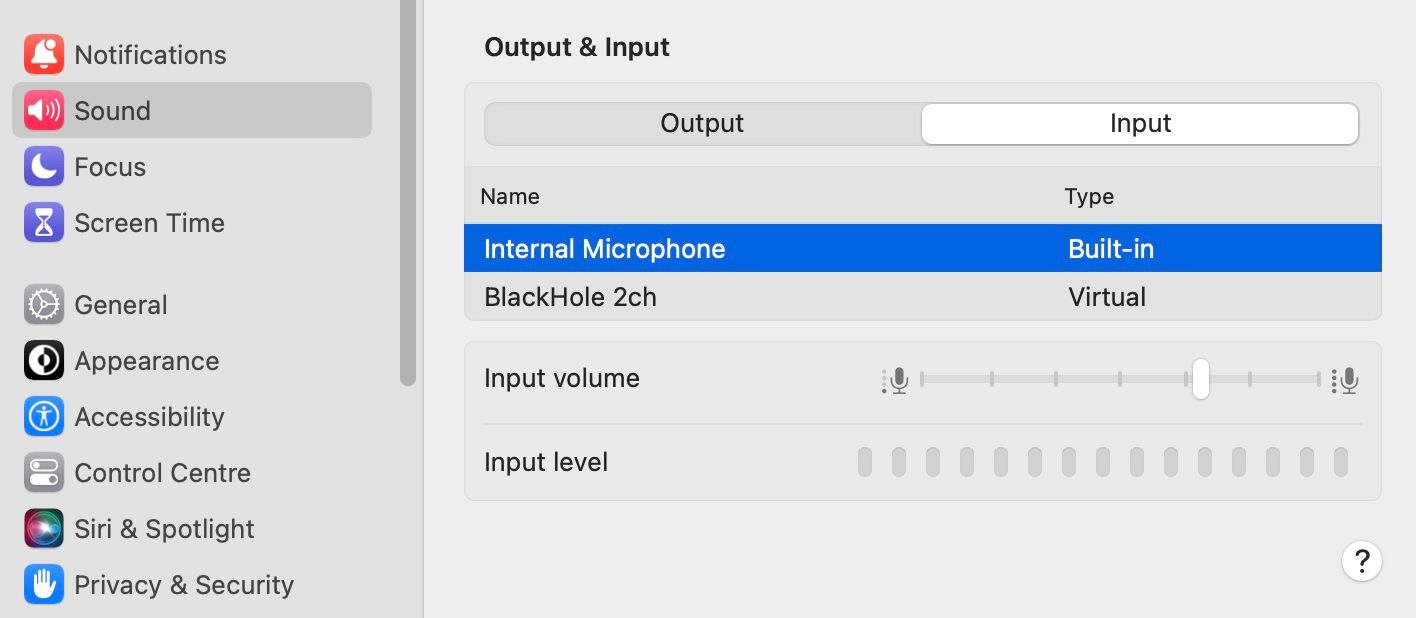
Select an Audio Input
Next, set up your microphone and confirm that it is connected to your setup.
Once that is done, look for the audioMixerpanel in DaVinci Resolve.
By default, it should be on the right-hand side of your screen.
In the mixer, there is a channel strip for each audio track in your session.
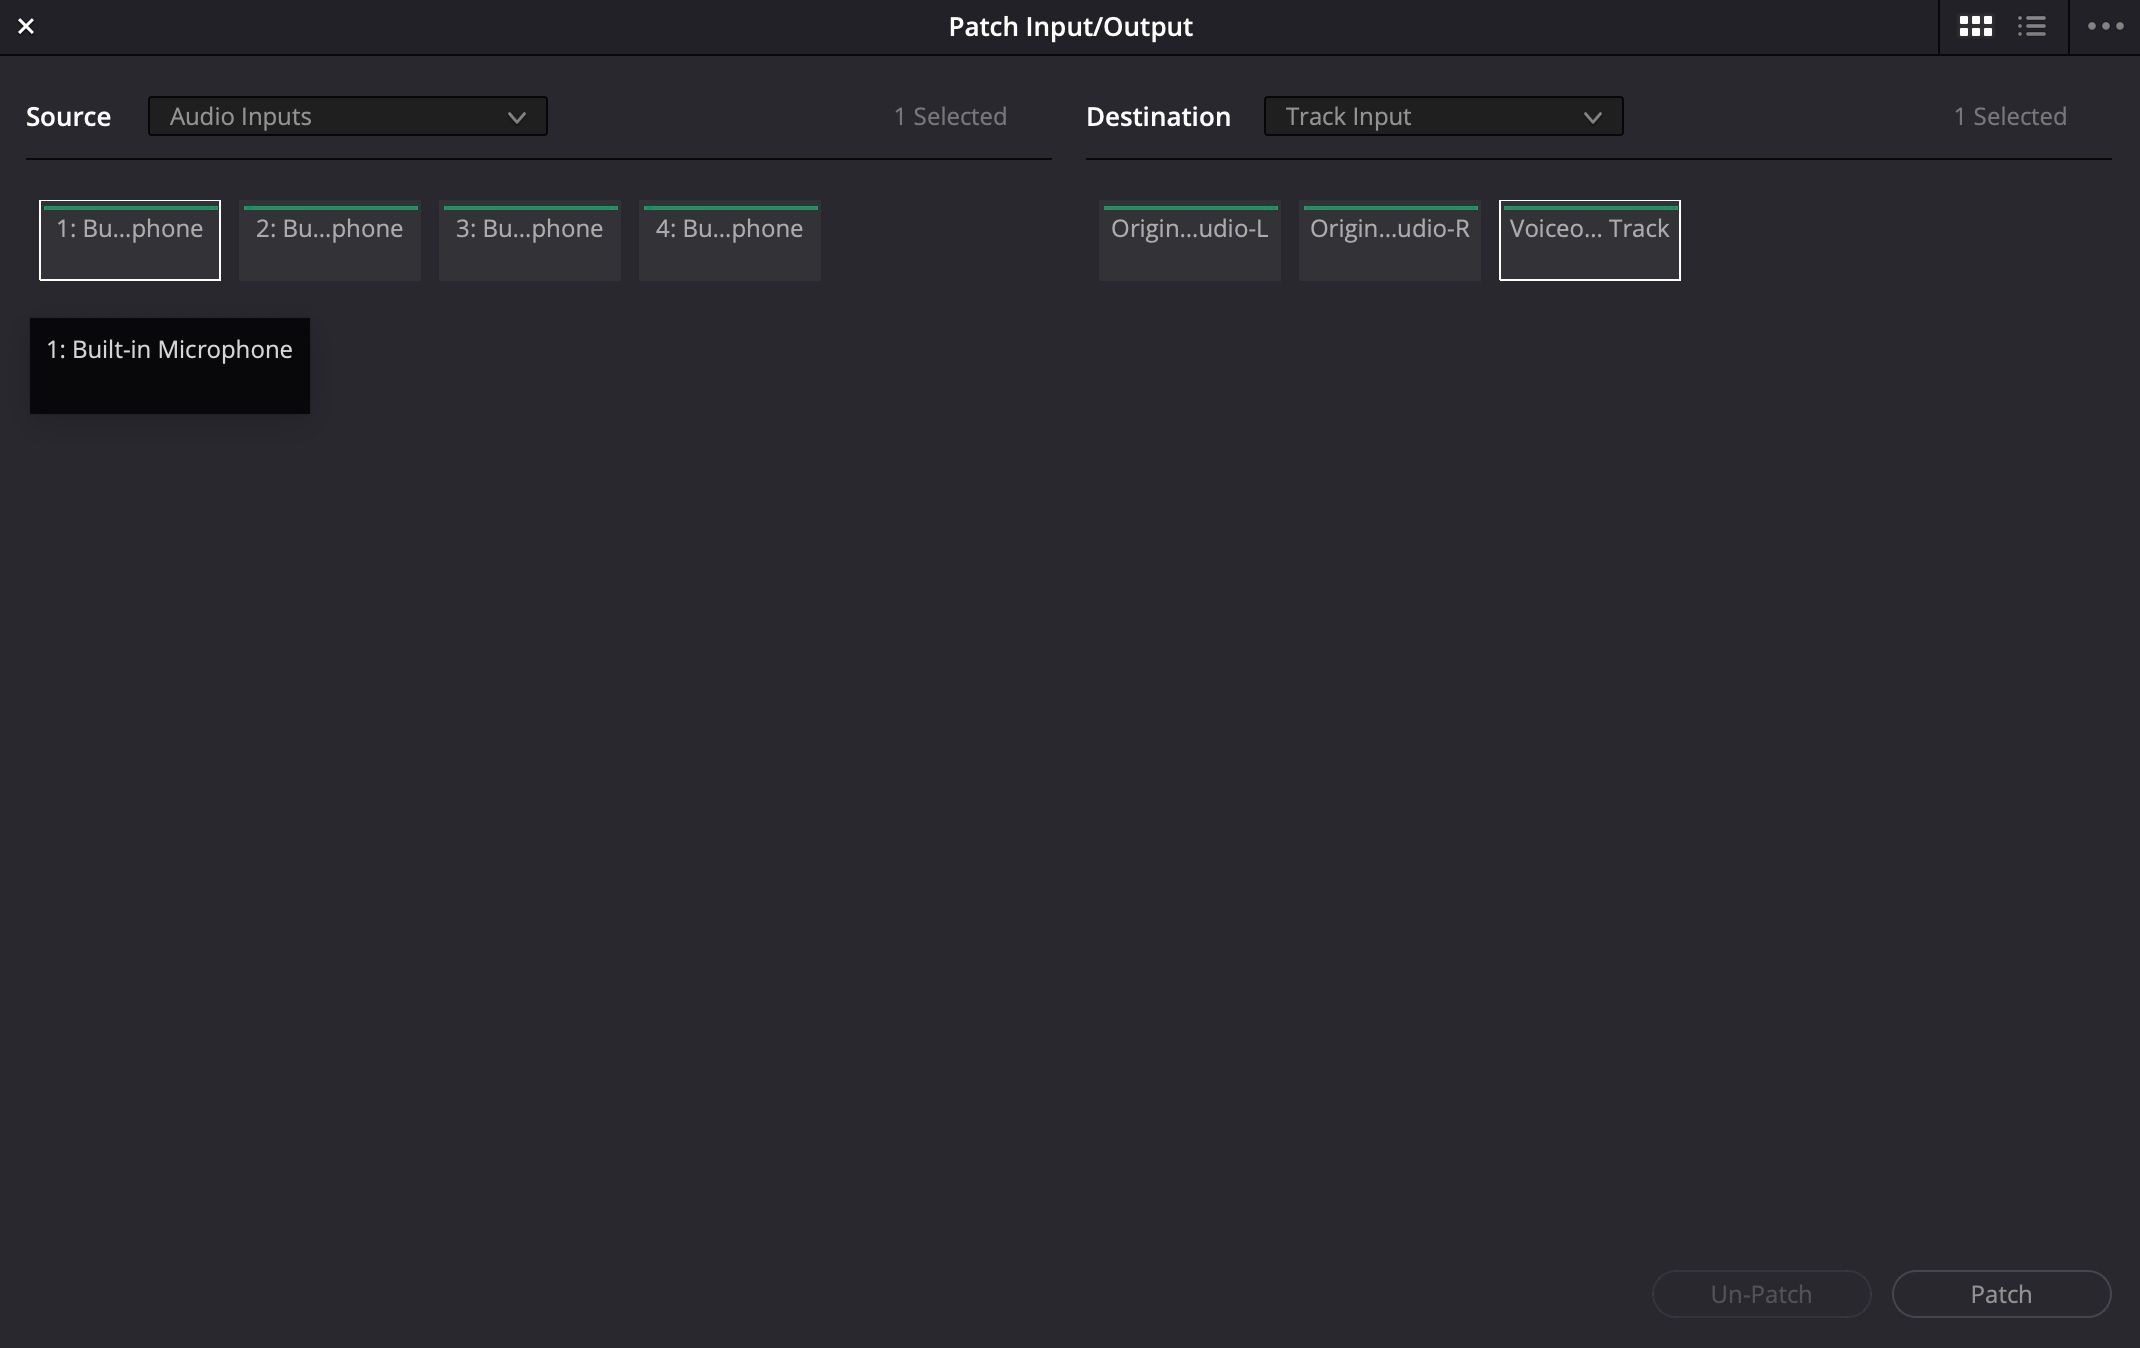
Look for the name of your microphone under Source and confirm that it is selected.
In this example, we selected theBuilt-in Microphonefrom our computer.
double-check to press thePatchbutton, then exit the window.
you could do this by pressing theRbutton on the track header.
Doing this will also let you see if your microphone is working.
This signal is also displayed in the mixer with more precise markings from 0 dB to -50 dB.
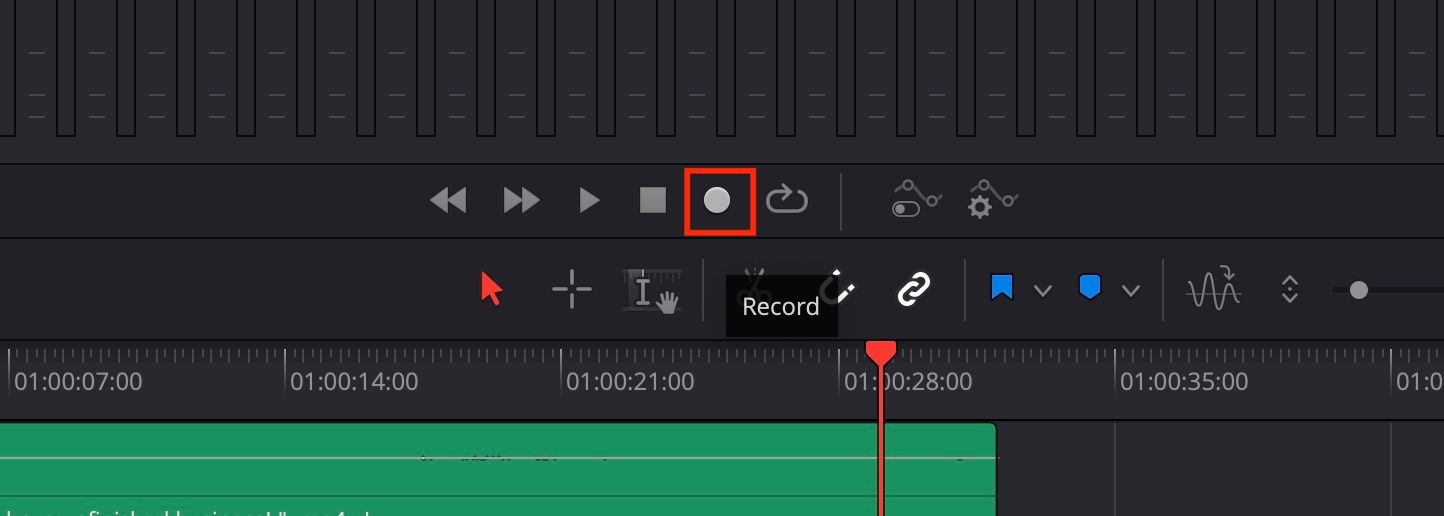
Record Your Audio
With the microphone set up and working, it’s time to hit record.
To stop the recording, press the spacebar on your keyboard.
Check out our handytips for achieving studio-quality vocals at hometo help improve your recordings.
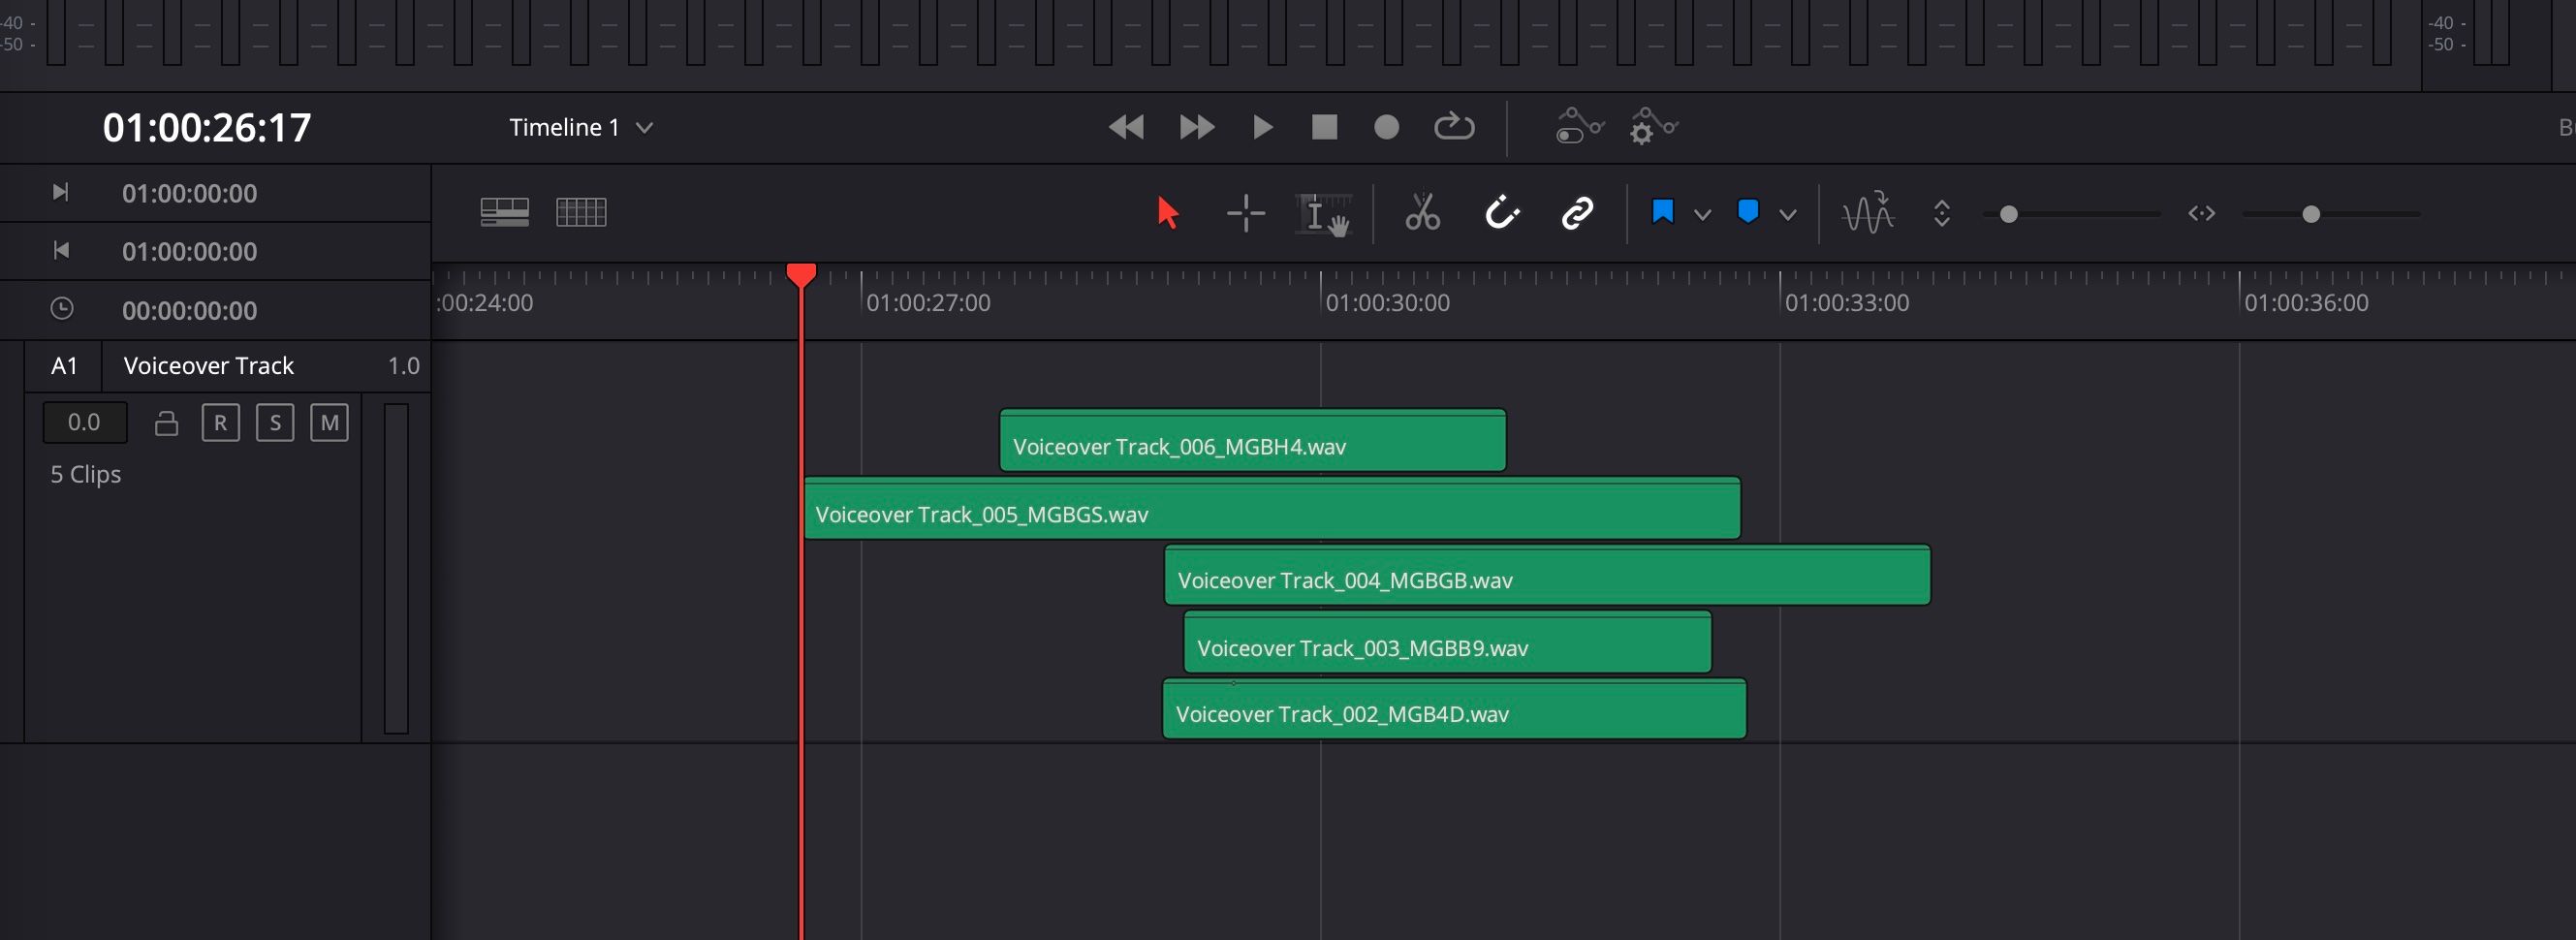
you’re able to view these layers by going toView>Show Audio Track Layers.
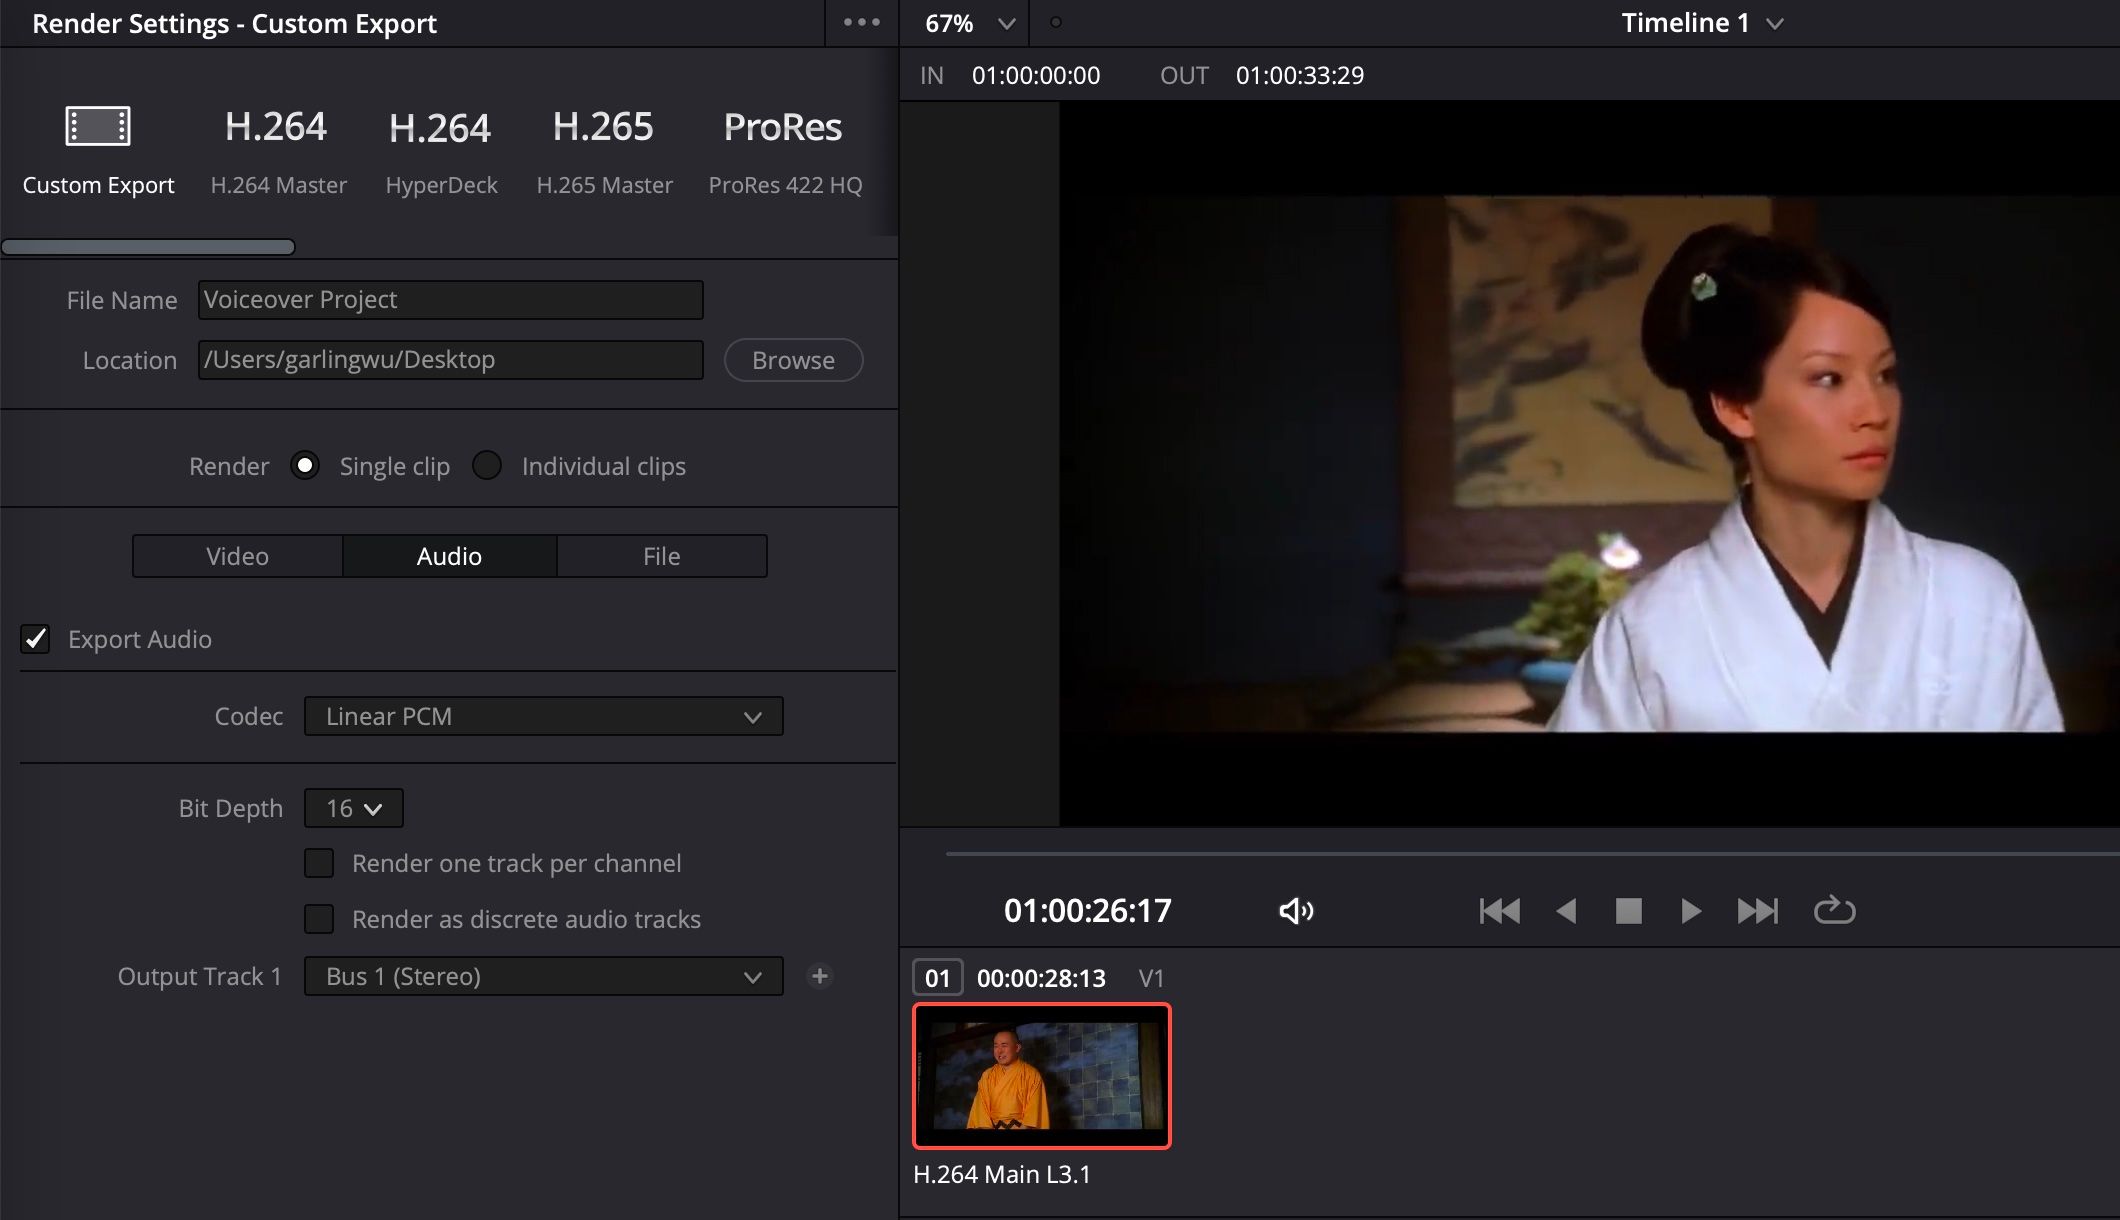
To the left of the screen are the export prefs.
Here you’ve got the option to tap on theAudiobutton to change the audio export controls.
confirm that theExport Audiocheckbox is ticked and adjust the codec and bit depth to suit your needs.
you’re free to use it to add temp tracks while you’re still drafting your video.

