Related
Not all MP3s are created equal.
The quality of some MP3s are good, others are barely audible.
The quick fix is adjusting the equalizer.
But there are situations where repeated re-adjusting is annoying.
You need a permanent fix.
The tools in the garage
I also have quite a few imperfect songs.

They are more than qualified to enhance and improve the quality of MP3s.
kindly note that even the best audio tools out there have their limitations.
Nobody can enhance Bon Jovi’s song and turn it into Celine Dion’s.
With that in mind, let’s get started.
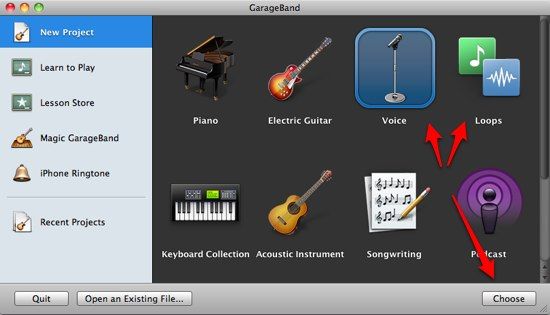
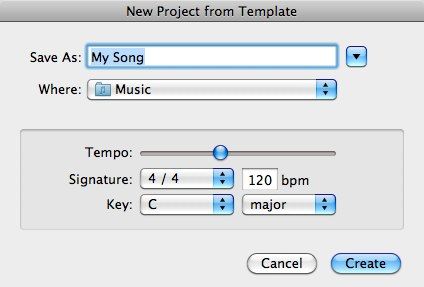
Open GarageBand and start a new project.
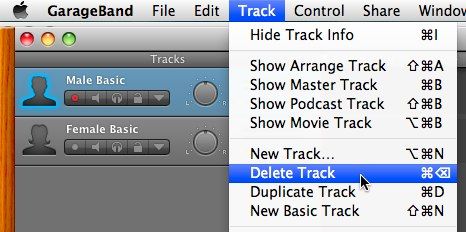
We are going to delete all the tracks anyway.
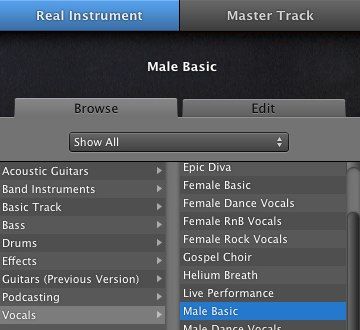
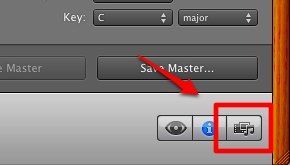
Then launch the media web client by clicking its button at the bottom right corner of GarageBand.
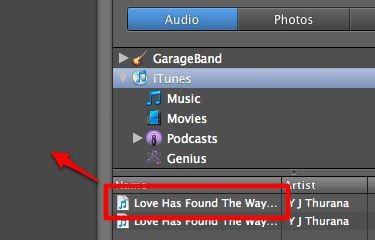
Browse for the song that you want to edit.
Or for faster results, use the search feature.
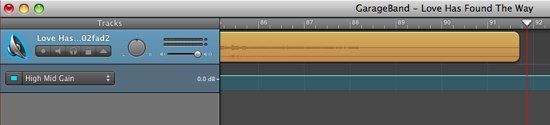
Then drag and drop the song to the main pane of GarageBand window.
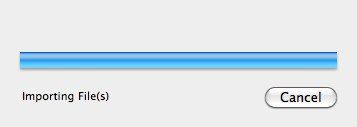
The song will be imported into GarageBand.
yo notice “Importing File(s)”.
it’s possible for you to also cut, edit and join songs together to create new songs.
But that is beyond our scope here.
Start fixin'!
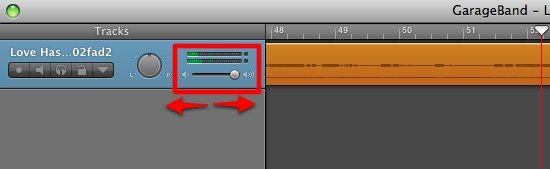
The most basic editing that you’re free to do is manipulating the song’s volume.
you’re able to decrease the volume if the song’s too loud or the other way around.
Always look at the peak meter for guidance.
Keep the lights below the red zone.
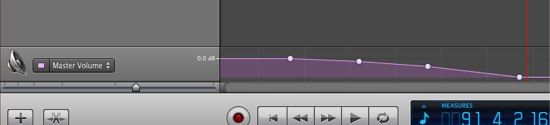
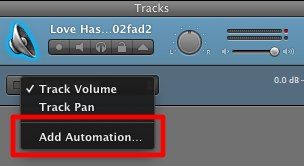
Then bring up the automation pane.
You have two basic control here: Volume and Pan.
you’re free to adjust these components in any specific part of the song.
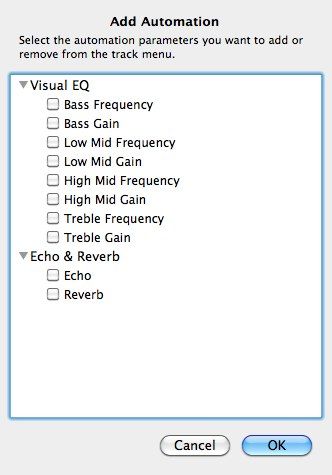
Click “Add Automation” to get more controls to adjust.
Check to the box(es) that you need.
The ones that you need will appear in the automation list.
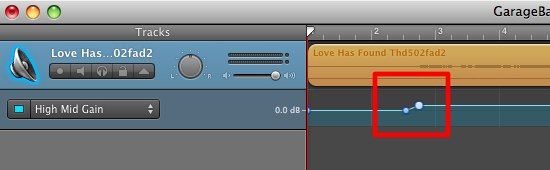
Choose one of them to start adjusting.
snag the control line to create a starting point and another one for the end point.
you’ve got the option to adjust the position of the points at the levels that you need.
it’s possible for you to achieve many stunning results by combining several controls.
Just as a rough guide, human vocals are somewhere in the mid-range frequency.
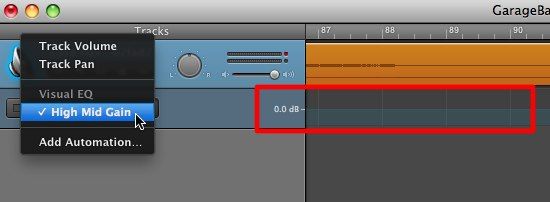
You would want to meddle with mid level gain to increase the singer’s volume.
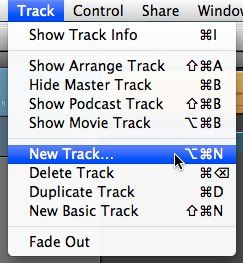
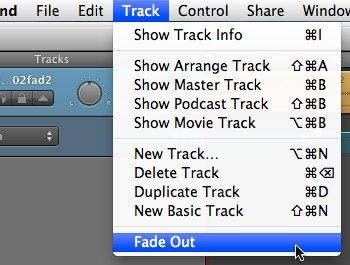
It’s available through the “Track” menu.
This effect will lower the level of the Master Volume at the end of the song.
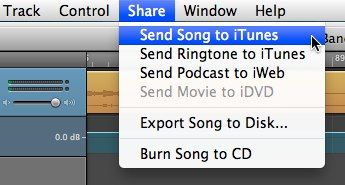
Go to the “Share > Send Song to iTunes” menu.
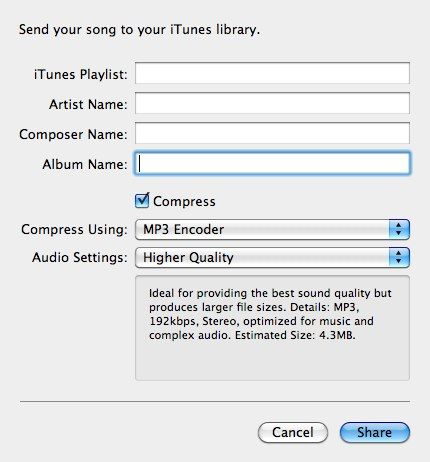
A Song Info window will pop out with fields to be filled.
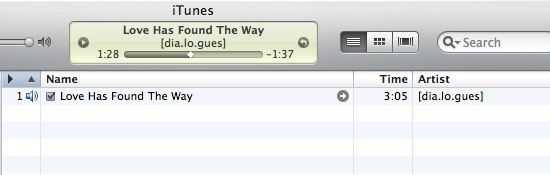
The song will be converted and added to iTunes with the project name as the title.
Then it will appear in iTunes and is ready to be played.
Rinse and repeat to improve the quality of MP3s.