Let’s take a look at how to play emulated games on the Steam Deck using EmuDeck.
Should You Use EmuDeck to Emulate Games on Steam Deck?
The first decision you’ll need to make is which emulator to use.
James Bruce / MakeUseOf
For this guide, we chose EmuDeck.
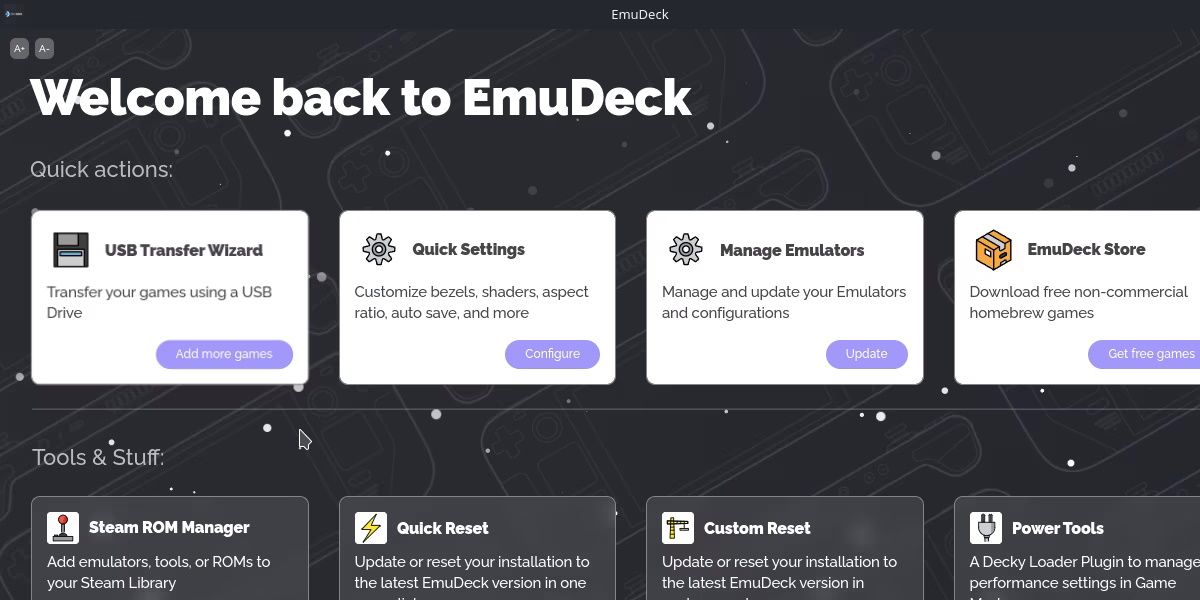
For most users, this is an easy option because of the convenience of the platform.
EmuDeck manages the installation and folder structure for emulators.
There are a number ofemulators you’re able to use with the Steam Deck.
But EmuDeck goes a step further and manages updates and third-party tool integration.
Are there any downsides to EmuDeck?
The main downside is that you’ll likely get many more emulators installed than you plan on using.
Thankfully, these can be uninstalled and trimmed down after initial setup.
If you prefer to install emulators individually, you’ll find most of them on the Discover store.
If you like the sound of EmuDeck, we’ll cover the next steps involved in setting it up.
Before we go any further, check that you’re comfortableusing the Steam Deck as a desktop unit.
To get started, switch to Desktop Mode by holding the power button down and selectingSwitch to Desktop.
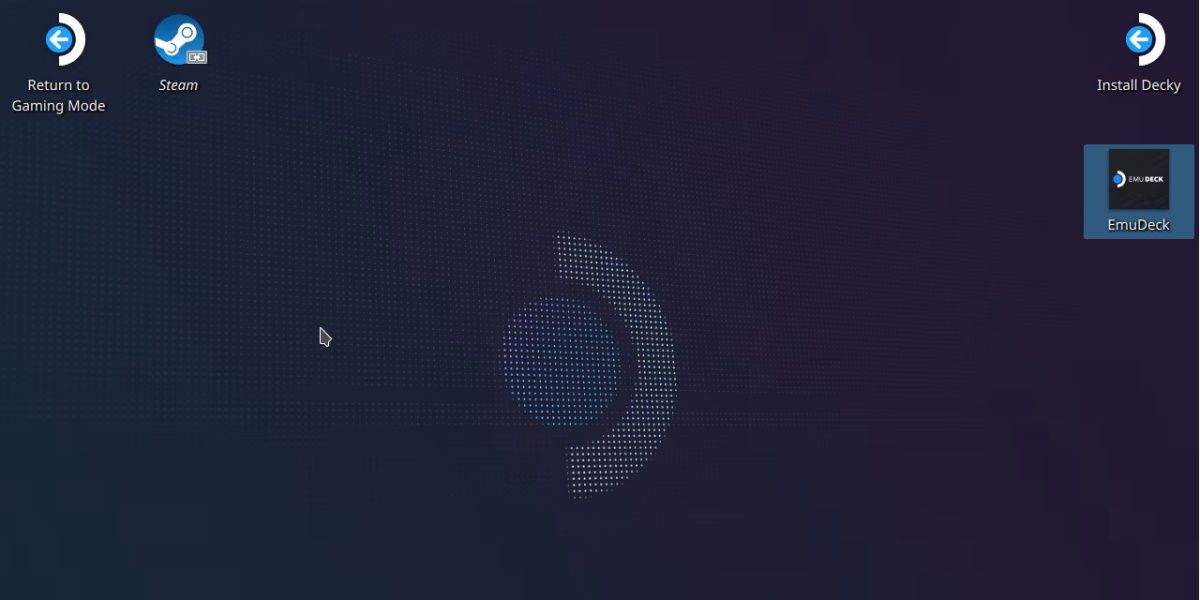
This install package will need to be placed on your Steam Deck’s desktop before you run it.
You’ll find this file in yourDownloadsfolder unless saved elsewhere.
Drag and drop this file onto the desktop.
It’s important to do this because the script will not run otherwise.
Several new windows may open during this process as the script downloads and installs core files.
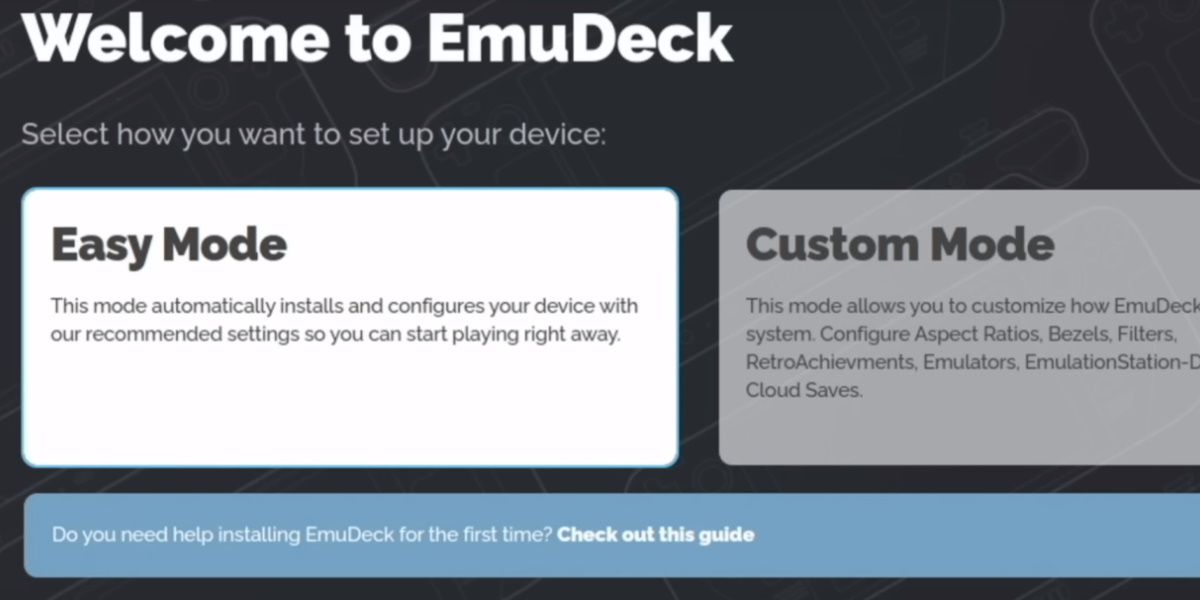
Eventually, you’ll be given two options: to install inEasy ModeorCustom Mode.
We’ll choose easy mode, as it’s the most straightforward.
The rest of the options are fairly self-explanatory.
You’ll have the option to choose between installing EmuDeck on your internal storage or an SD card.

You’ll also be provided a list of emulators you wish to install.
After you’ve chosen your emulators, the installation process is done.
You now have all of your emulators ready and pre-configured for the Steam Deck’s hardware and control layout.
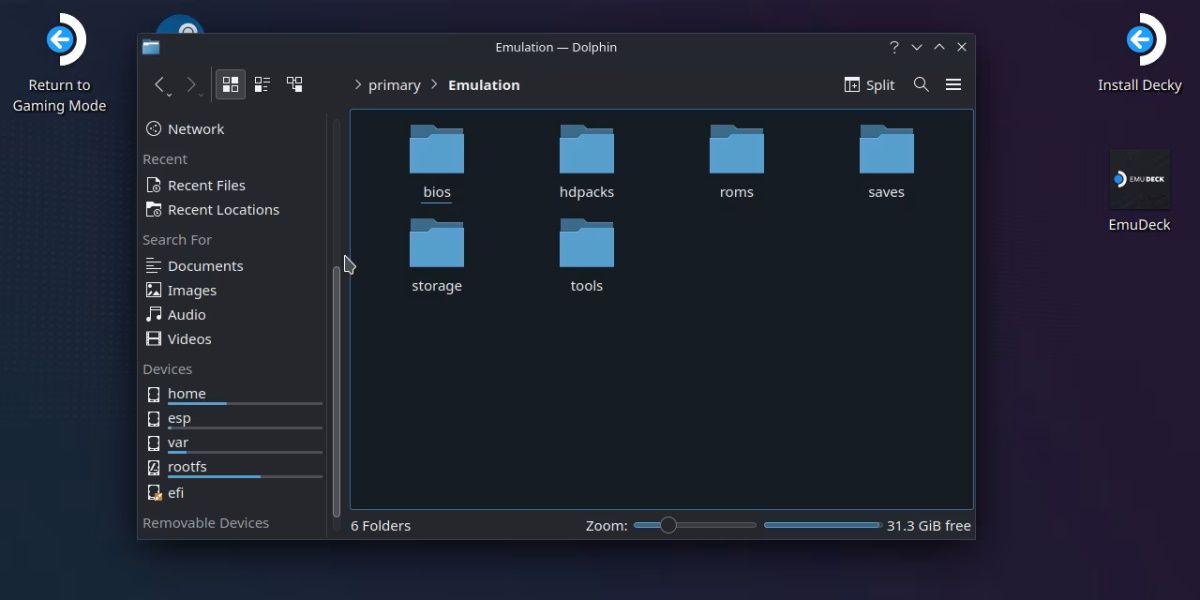
EmuDeck is configured so that all emulators share this common folder.
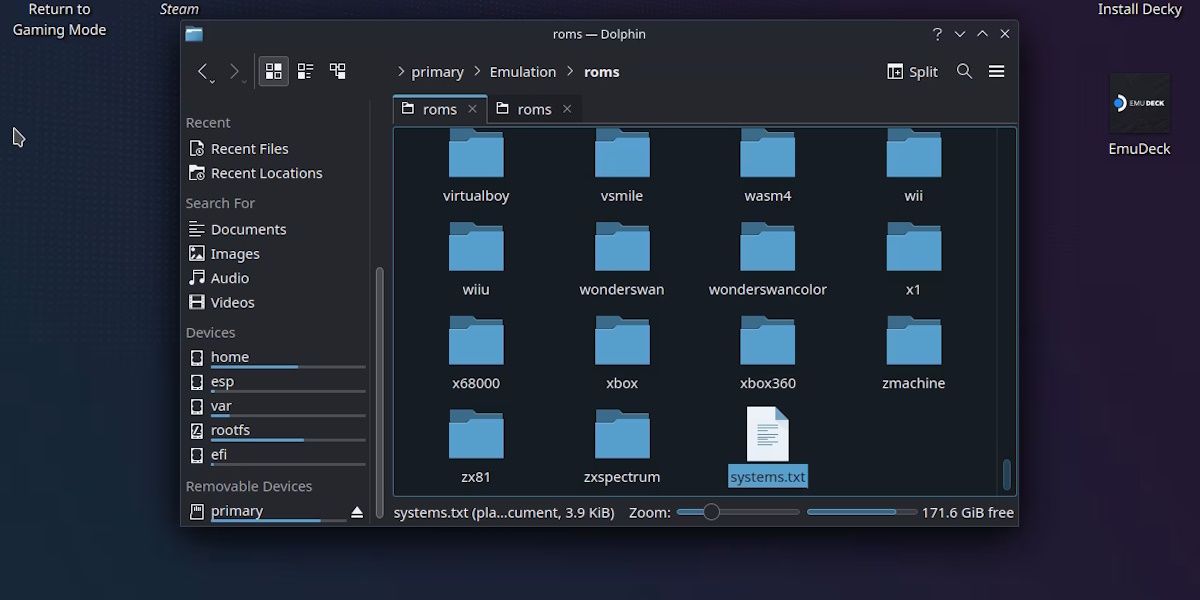
For example, theromsfolder contains folders representing every single console that can be emulated.
you could check which folder is for which console by opening thesystems.txtfile down the bottom.
Additionally, there is asysteminfo.txtfile within each of the folders that contains information on supported ROM file types.
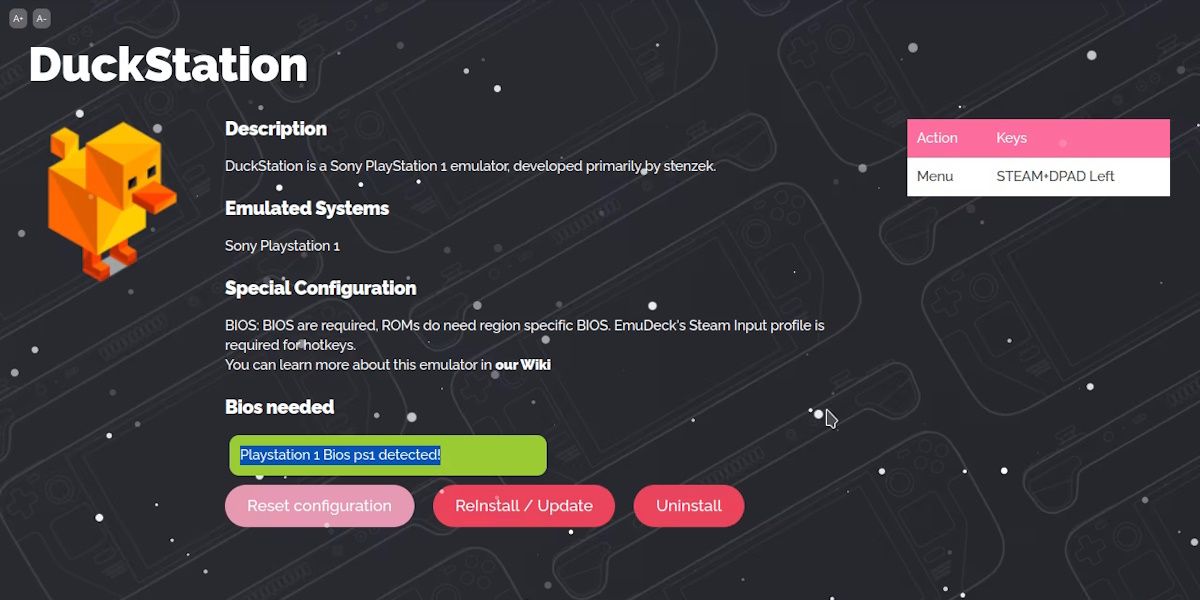
BIOS files can also all go into the samebiosfolder and be read by whatever emulator happens to need them.
Keep in mind that the Steam Deck has no native feature for transferring files from other devices.
With that, you have everything it’s crucial that you get the emulation going.
There’s still one more step to completing the Steam Deck emulation experience, though.
Add Emulators to Your Steam Deck’s Gaming Mode
So now you have a bunch of emulators installed.
But you don’t really want to launch into desktop mode every time you want to play them.
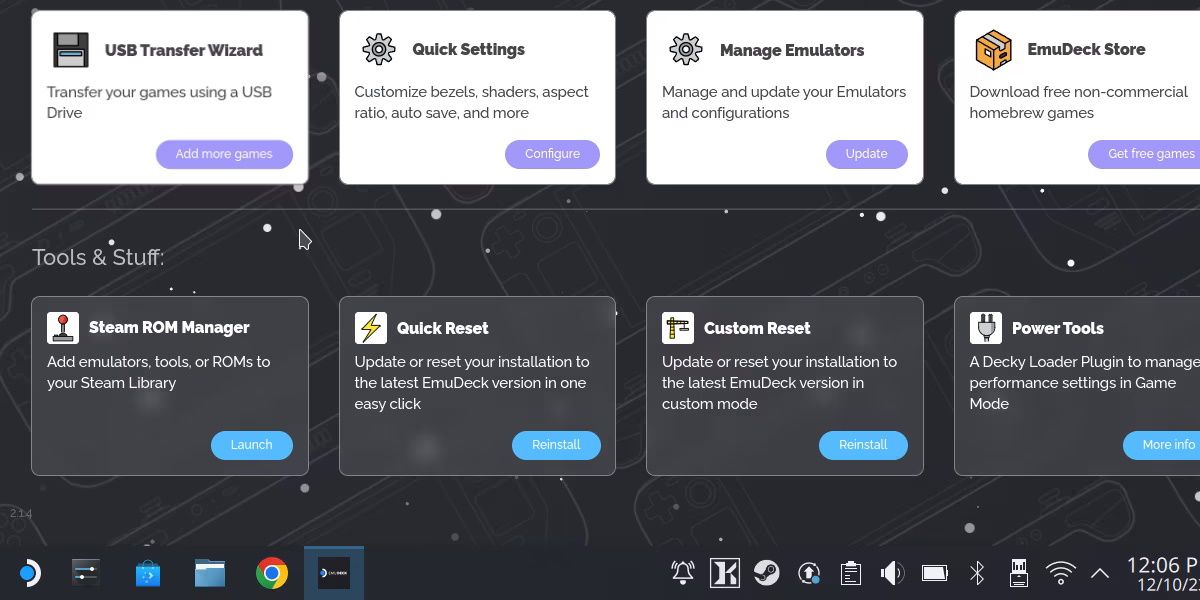
EmuDeck has its own solution to this problem.
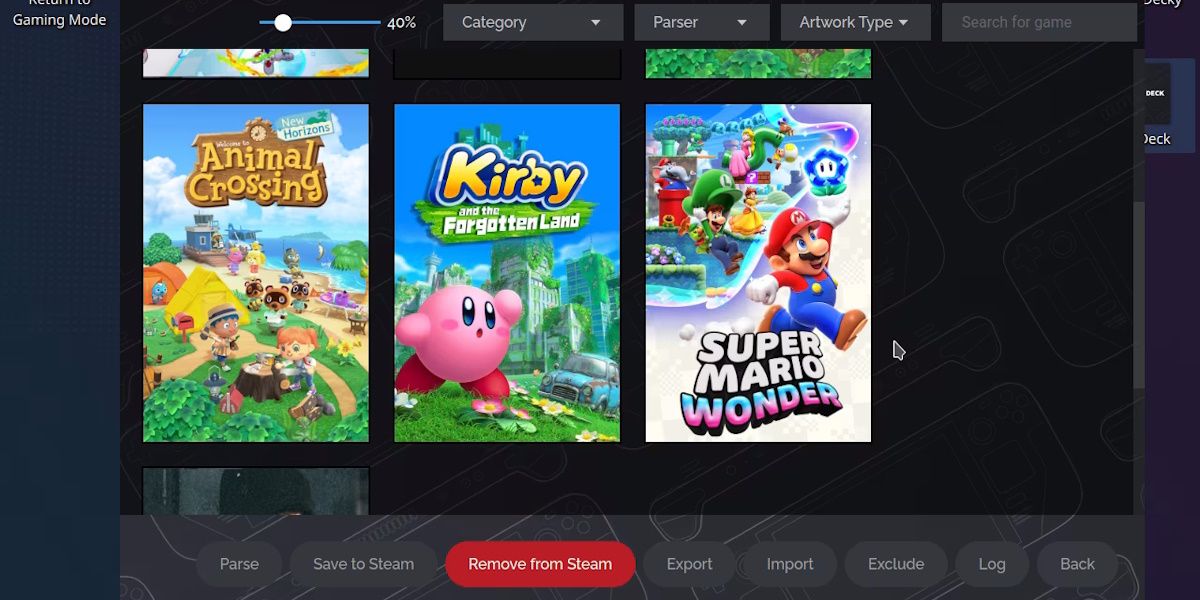
Specifically, it will scan your emulation library and add individual games as shortcuts.
This means you will need to already have your ROMs copied over before this option will do anything.
Once you do, it’s as easy as hittingPreviewand thenParse.
Next time you launch into gaming mode, you’ll find all of your shortcuts underNon-Steam Games.
If you launch a shortcut and an emulator pops up instead, don’t worry.
It may take a few seconds to redirect from the emulator to the game.
While that may seem like a hassle, a big benefit of EmuDeck is that it’s set-and-forget.
If you manage to get it working, it will stay working.
The platform lets you enjoy emulating games on your Steam Deck in a user-friendly way.
