If you’re an artist, you know the importance of taking professional-looking photos of your artwork.
Be it for promoting your work on social media or selling on your websiteyou need high-quality images.
The success of your art business can depend on it.
But not all artists are professional photographers or have a budget for hiring one.
If you’re in this situation, you’re in the right place.
We will show you how to take amazing pictures of your artwork with basic gear.
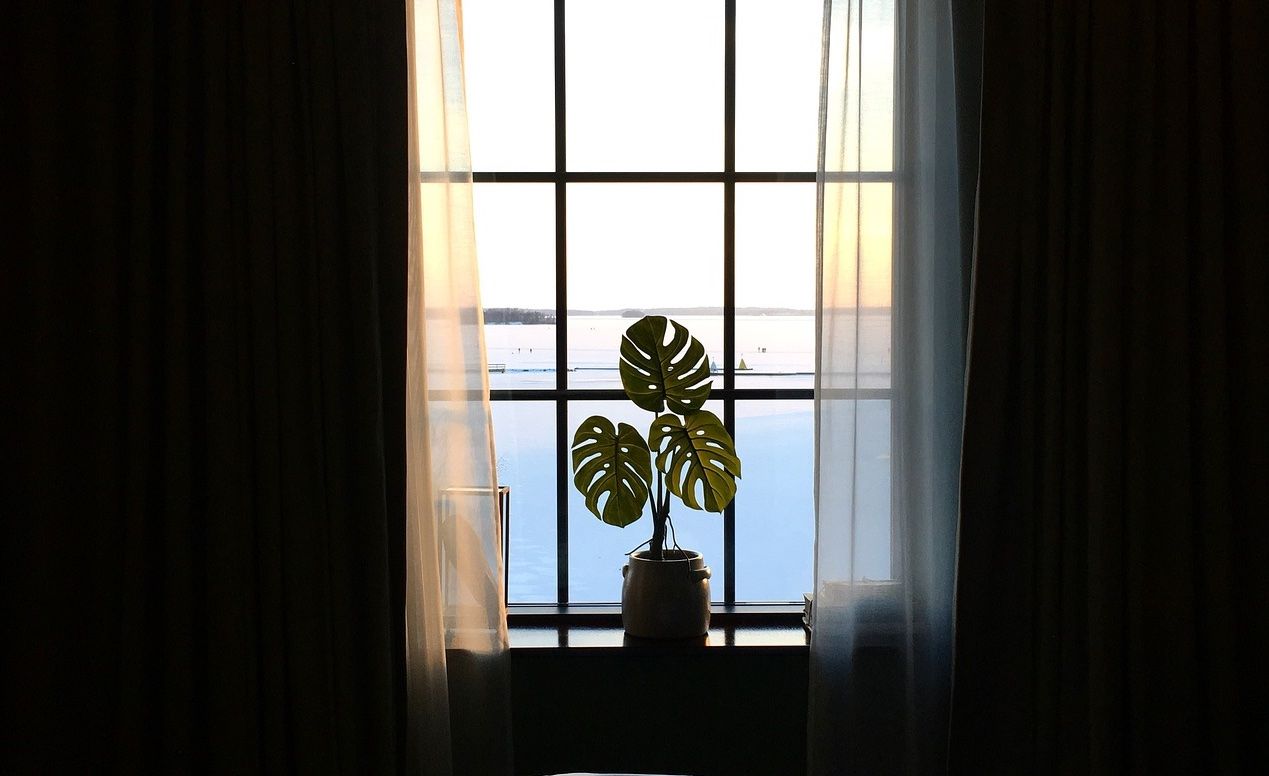
Image Credit: Vassia Atanassova/Wikimedia Commons
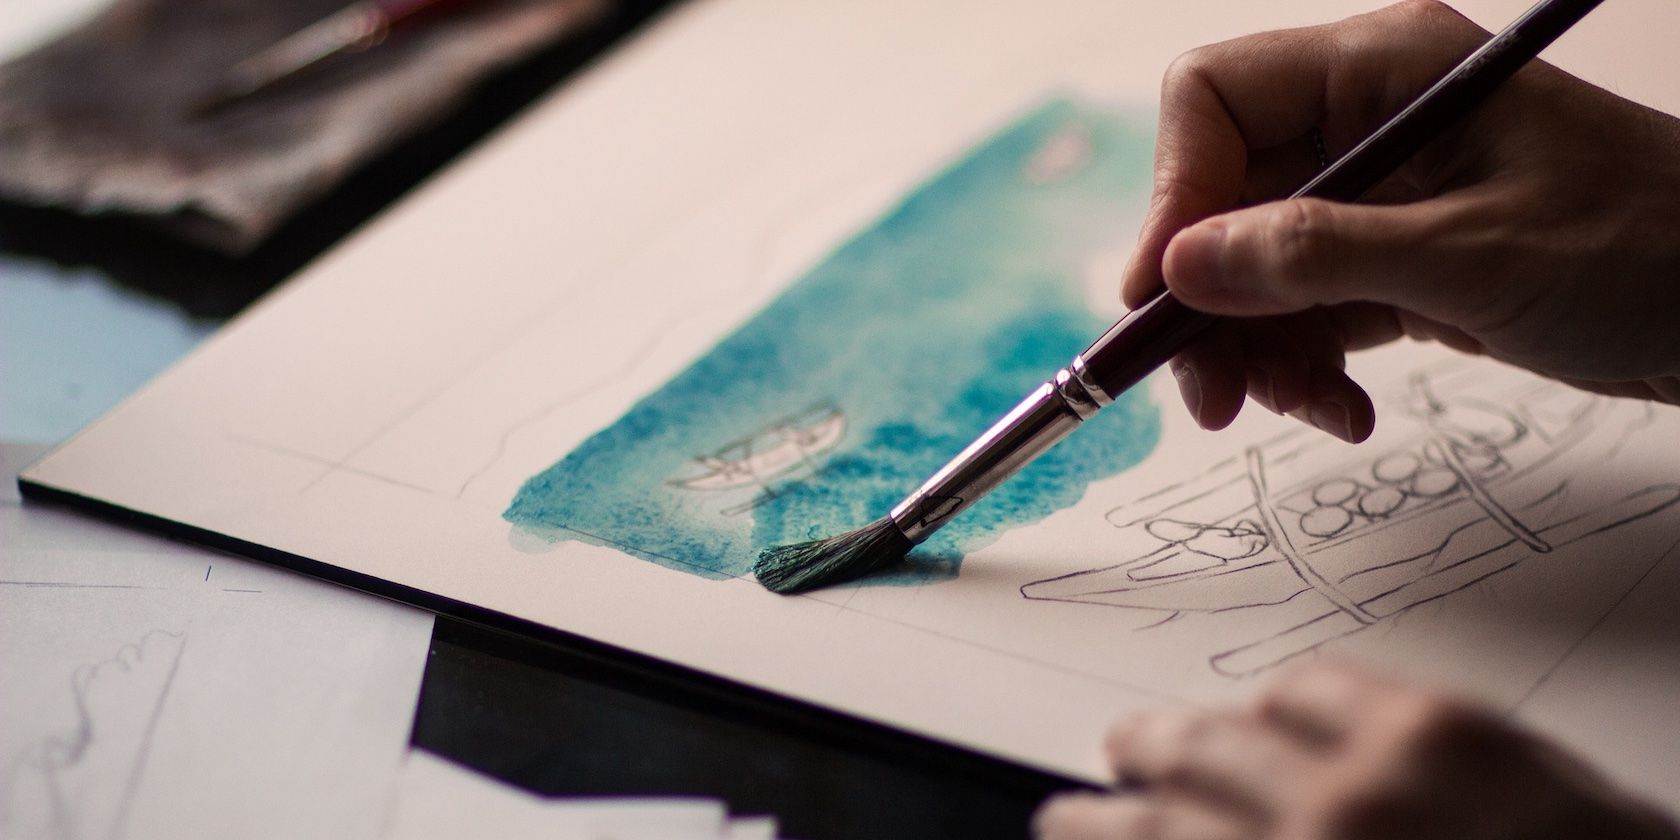
Use Diffused Natural Light
The free and abundant sunlight is enough to take beautifully lit images.
But knowing how to check for the quality of light is essential.
You want to avoid harsh, bright light that can make the colors look washed out.
On the other hand, going for soft, even light, can make the colors look more saturated.
Cloudy days are your best bet for getting perfectly diffused light.
But you don’t have to check the weather and plan your shoot.

Using a reflector to fill in the shadows will give your artwork a clean look.
A reflector is made of white material to bounce the light back on the subject.
A5-in-1 reflectoris an inexpensive accessory that is worth buying.
you could also use it as a diffuser if you don’t have white curtains.
If you want something quick, you could use a whiteboard or a white bedsheet.
A foam board from your local craft store is an excellent option.
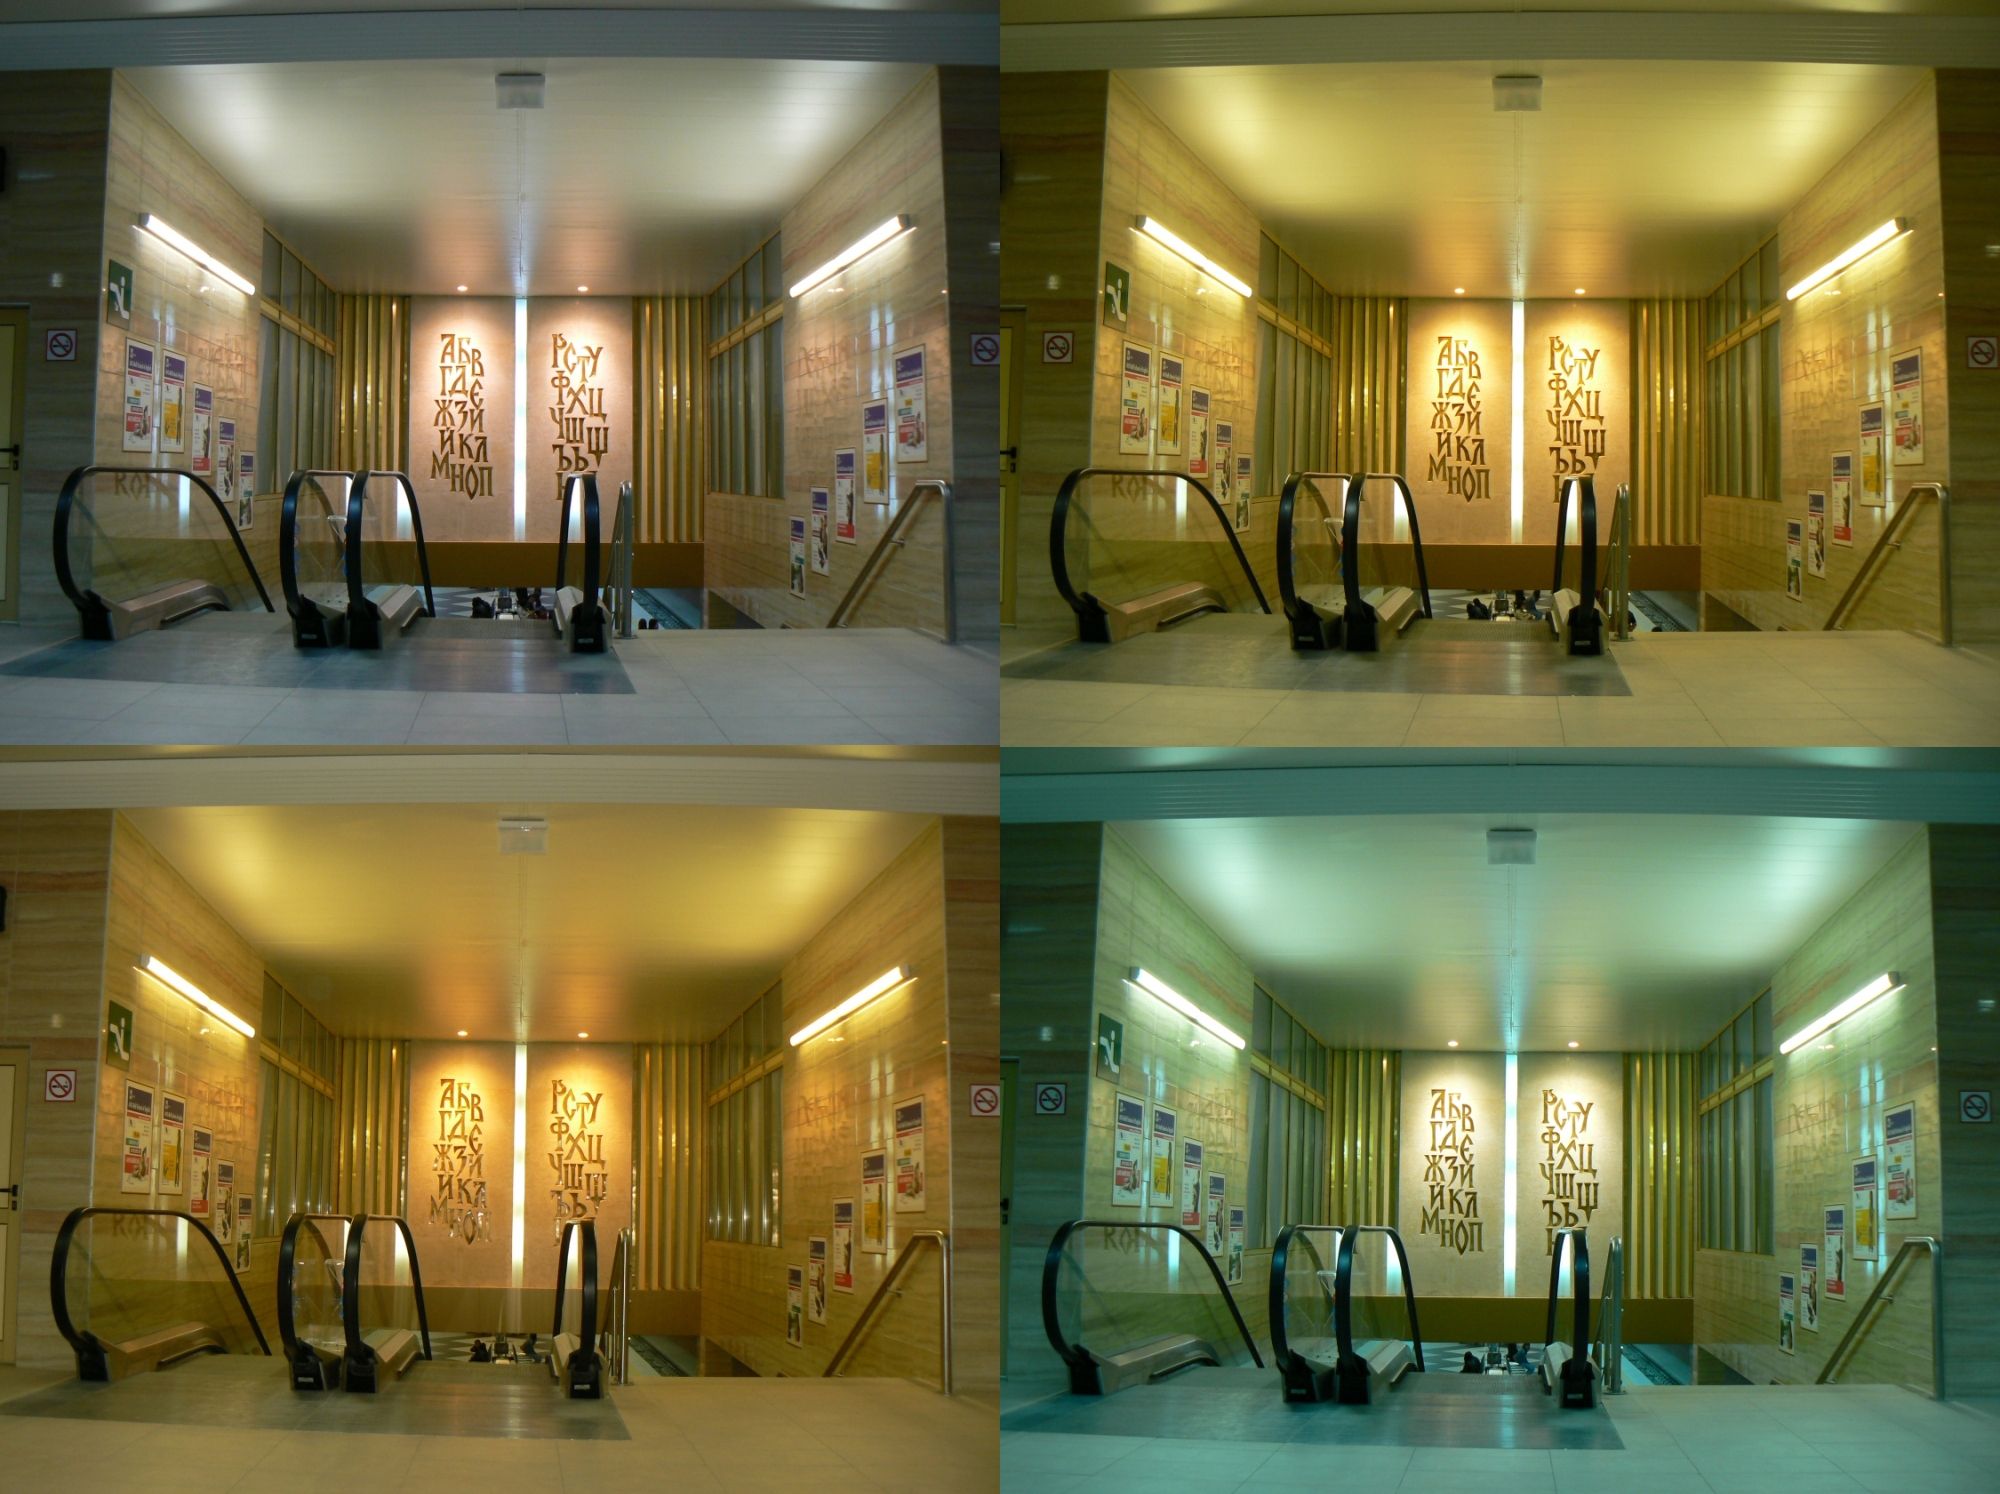
Image Credit: Vassia Atanassova/Wikimedia Commons
And you could use a couple of spring clamps to prop it upright.
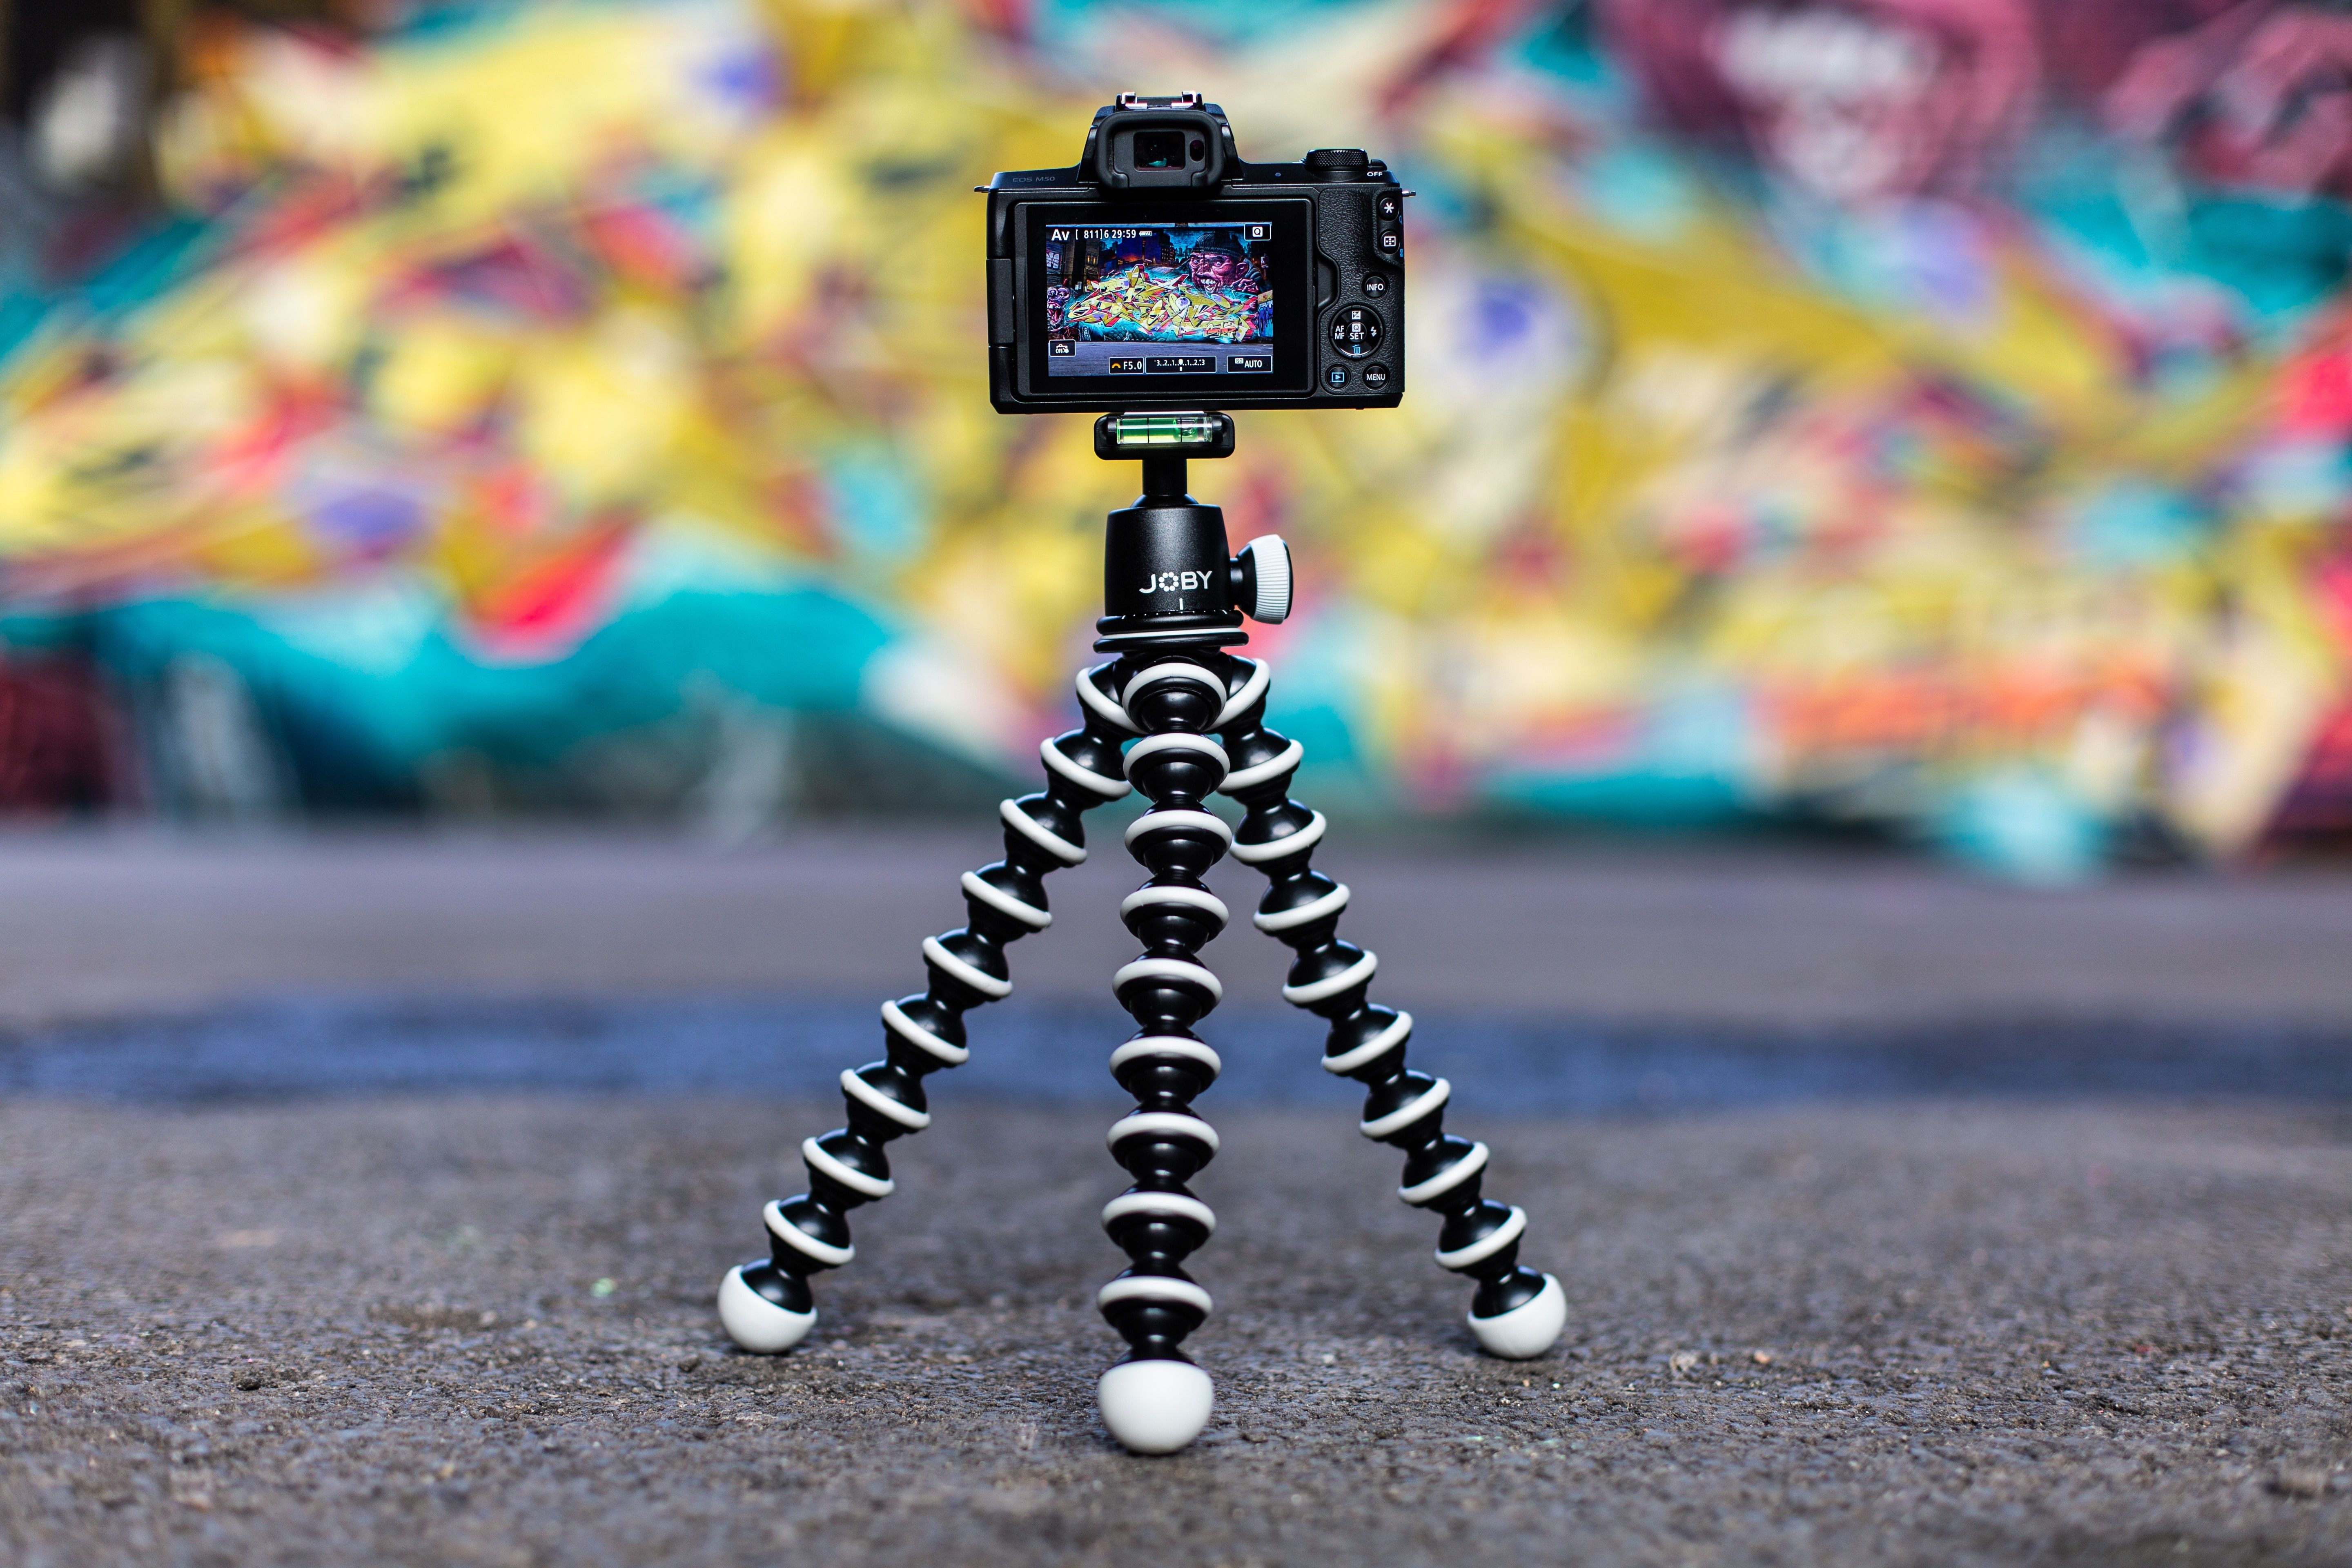
In low-light situations, you must use a slow shutter speed to let more light into your camera.
Shooting handheld with a low shutter speed is a recipe for disaster.
Your artwork will end up all blurry.
A tripod can hold your camera steady while using a slow shutter speed.
It also allows you to keep the perspective horizontal if you photograph your art from a top-down angle.
You need one with a 90-degree arm for horizontal shots.
Tripods have a spirit level to keep your camera precisely horizontal or vertical.
Having artificial lighting at hand can give you the flexibility to photograph anytime you want.
Plus, it is affordable and easy to learn.
If you’re new to artificial lighting, see ourstudio lighting guide for beginners.
What you need is continuous lighting as a beginner.
you might buy an entire kit with lights and softboxes.
you’re free to use two lights on either side of the artwork.
Or, use one light and a reflector on the other side as a fill.
you could also go the DIY route but check that you’re using daylight bulbs with temperatures around 5600K.
And don’t forget the diffuser.
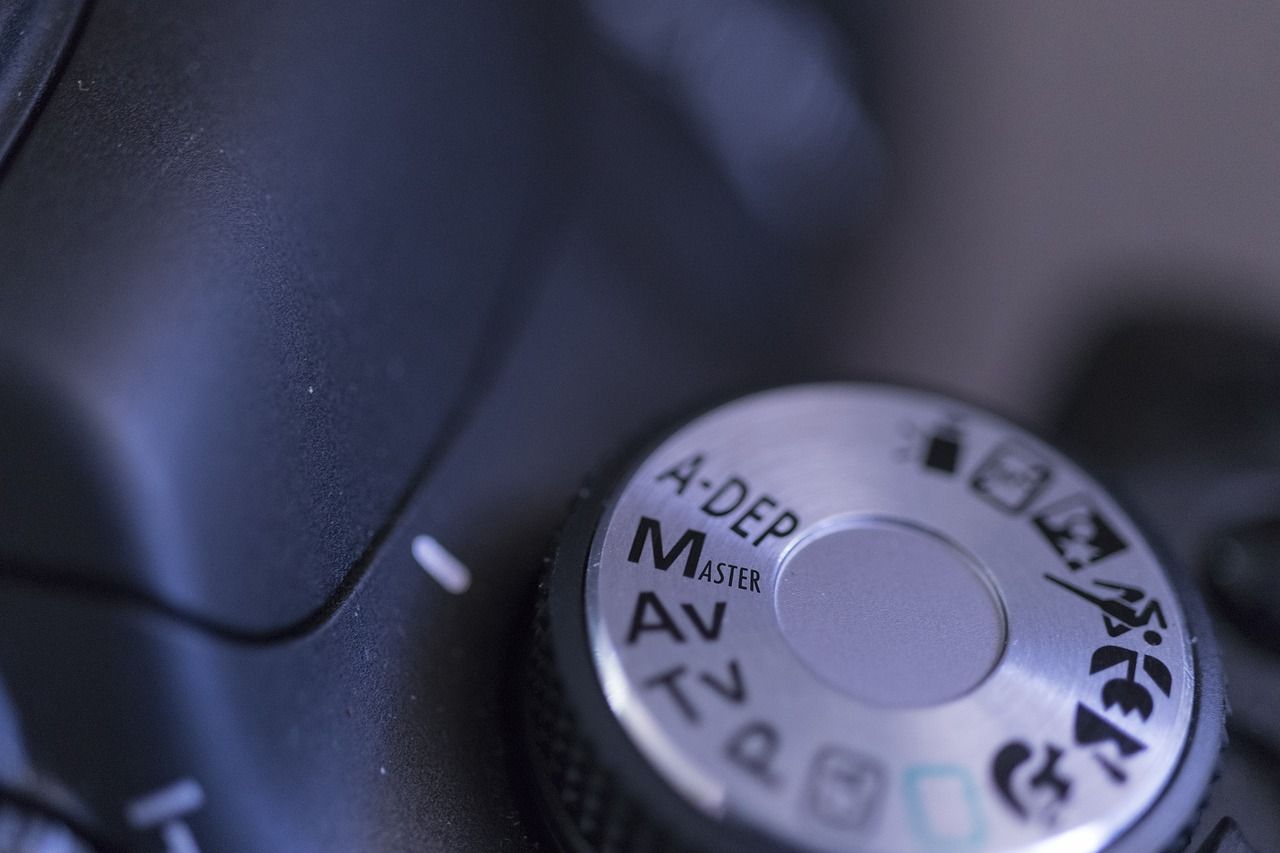
With a larger f-number, say over f/8, you will get most of your art in sharp focus.
It is also essential to keep your ISO low, so there is no noise in your photos.
Of course, if you’re a confident photographer, you might shoot in manual mode too.
Check Your White Balance
When it comes to photographing your artwork, keeping the colors accurate is crucial.
With a wrong white balance, the photos of your artwork can look different.
The whites can have a yellowish or bluish tinge, and overall your art may not look right.
it’s possible for you to leave your camera in auto white balance, which will work fine.
Butshoot your images in RAW.
With JPEG images, you might’t do much if your white balance is off.
Shooting with artificial light can also helpyour white balance will be consistent.
Remember to turn off all other lights if you’re using natural light.
Compose Creatively
Just like your art, you have to use the composition basics to get your pictures right.
Include elements in your composition for visual interest.
Accessorize your art with things like flowers, leaves, stones, and feathers.
Place your art against different backgrounds like wood, rock, and other materials.
Flat-lays are surefire techniques that work well for most situations, but try something different with your art photo.
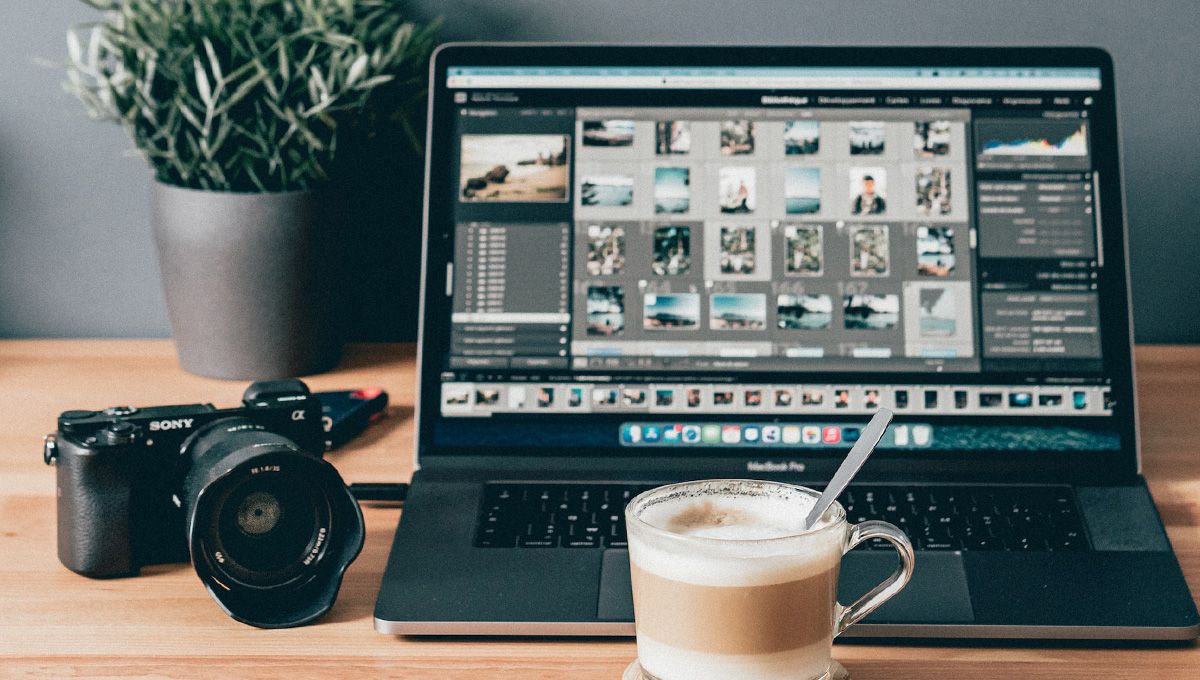
Edit Your Photos
This is a step you cannot skip.
You have to edit your photos to make them look professional.
As an artist, this should be easy for you.
Start by adjusting the perspectivekeep the lines horizontal or vertical.
Next, look for lens distortion and correct it.
Then, tweak highlights and shadows and increase the luminance and saturation.
You don’t have to spend hours editing your photos.
Instead,add a simple preset in Lightroom, and you’re good to go.
you’ve got the option to also use free software like Gimp.
You already have the basics covered because photography is still an art form.
You know the essential lighting and compositional rules.
All you better learn is some camera parameters and artificial lighting techniques.
Use our tips to portray your art realistically in photos.
With professional photos, your art business is sure to boom.
