What Is Audio Mastering?
Out of all the stages of music production, mastering is the most subtle.
Mastering is simplified if you’ve made a high-quality mixdown.

Image Credit: Dylan McLeod/Unsplash
Errors that can be fixed in your mix should be fixed there; not in your master.
Before you rush into placing a bunch of plugins, listen through the entirety of your track.
If you have reference tracks to compare it to, listen to them too.

This will help you make informed decisions on what mastering plugins to use and how.
While the beginning and end of your audio file may already be relatively obvious, mastering requires exact precision.
To do so, create a track from your Master channel strip, and enable automation.

Then, automate the volume of the beginning and end of your track.
If you’re unsure how to do so, look intohow to use automation in your DAW.
Try and follow the tempo and style of your track so you don’t cause any off-putting sonic interruptions.
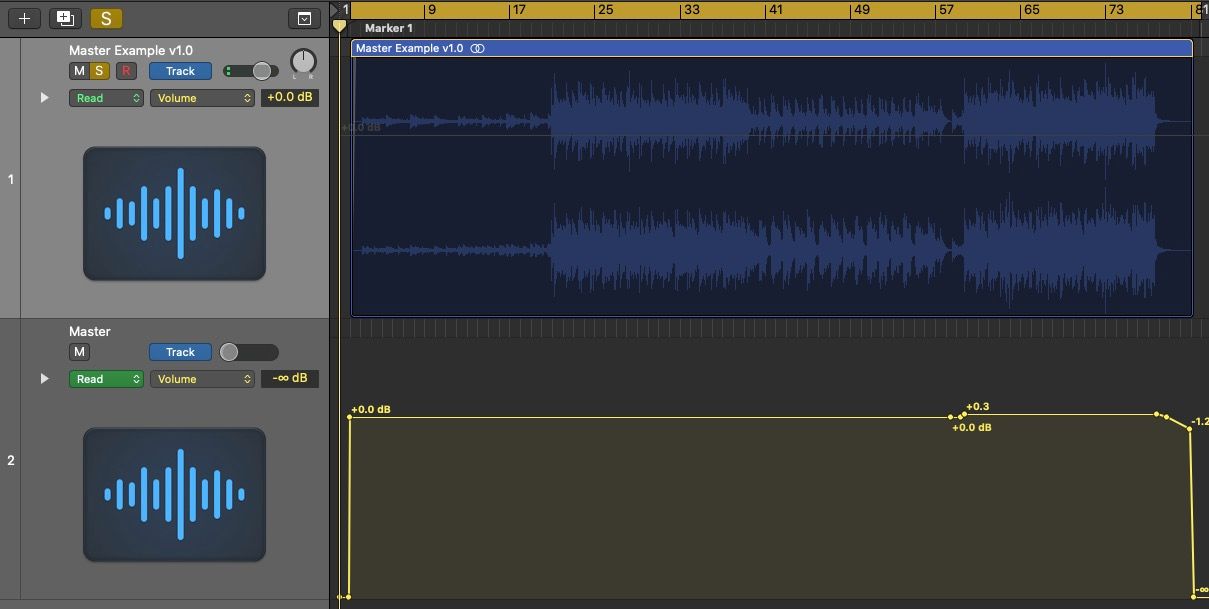
Beginnings and endings are memorable, so have a go at get these areas just right.
Look intohow to use EQs and filtersif you want to brush up on this area.
Different EQ plugins specialize in boosting/cutting different frequency ranges when mastering.
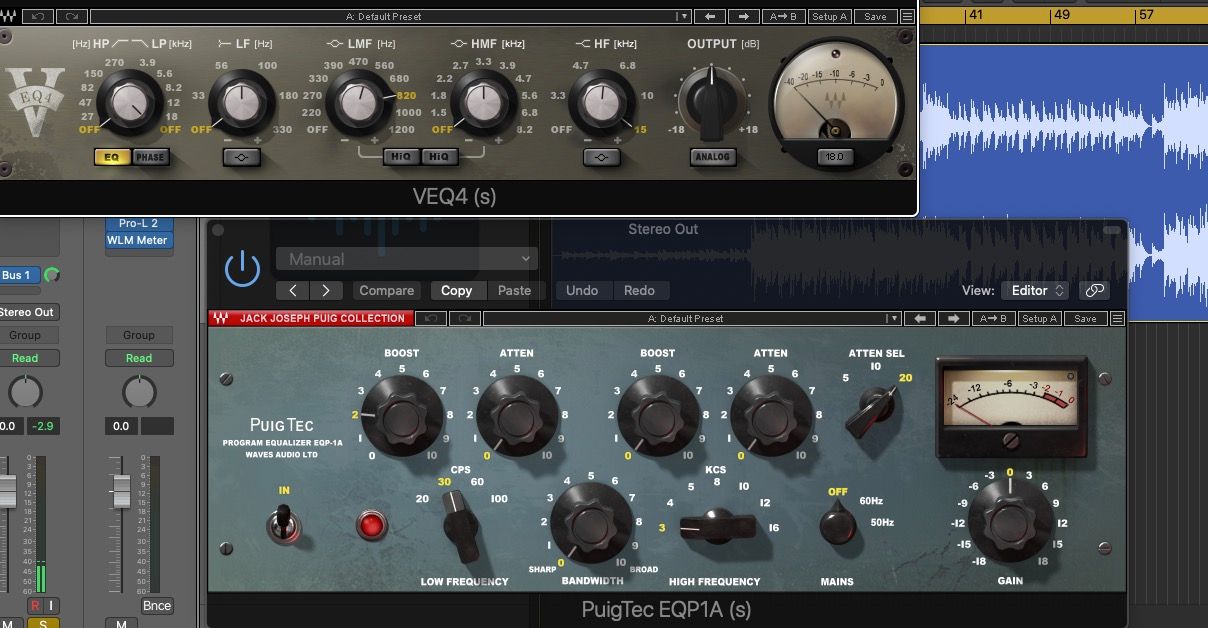
The key is experimentation.
Try a 0.5-2.5 dB boost around 30-40 Hz to add more presence to your kick drums.
Conversely, you may find too much booming/harsh presence in a certain frequency range.
Try an exaggerated cut before trying to find the middle ground between too much and too little subtractive EQ.
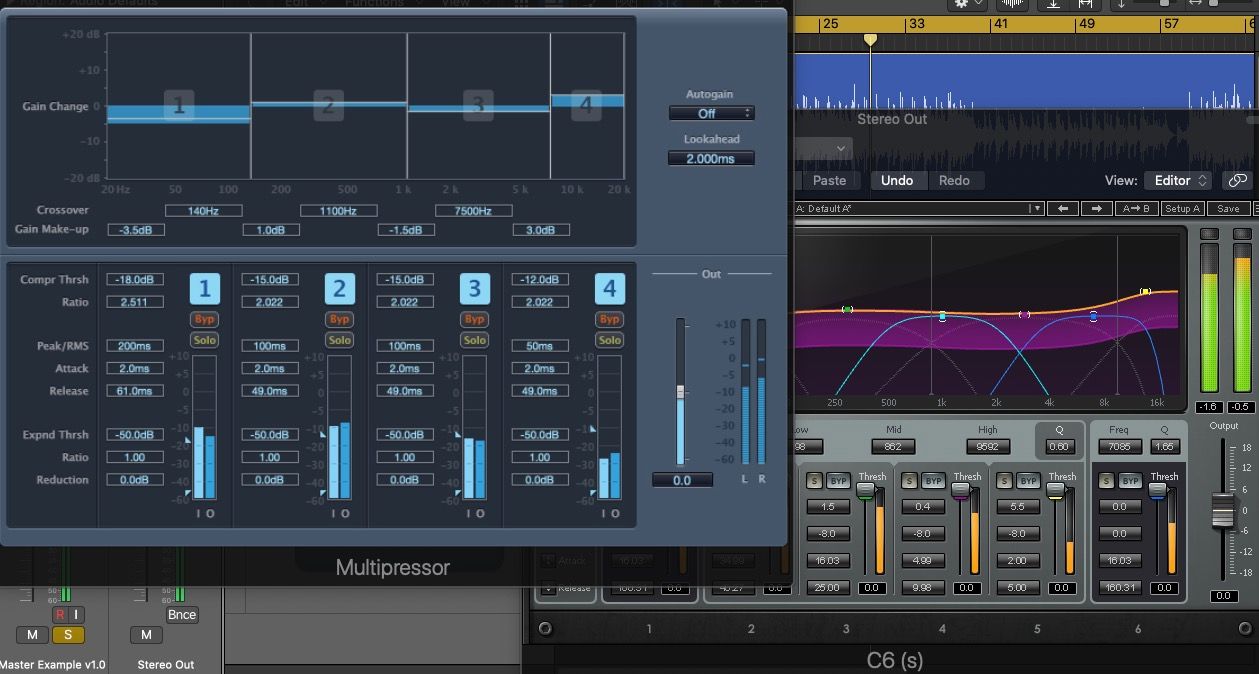
Use Multiband Compressors
Multiband compressors allow you to apply different rates of compression to different frequency bands.
the low- or high-end.
Be careful when applying compression as too much can suck the life out of a dynamic, musical mix.
For a refresher on compressors, look intohow to use compression plugins.
Try out a stock stereo imager plugin to widen your mix.
Extreme usage will mess up the whole master, so go for subtle applications to find the sweet spot.
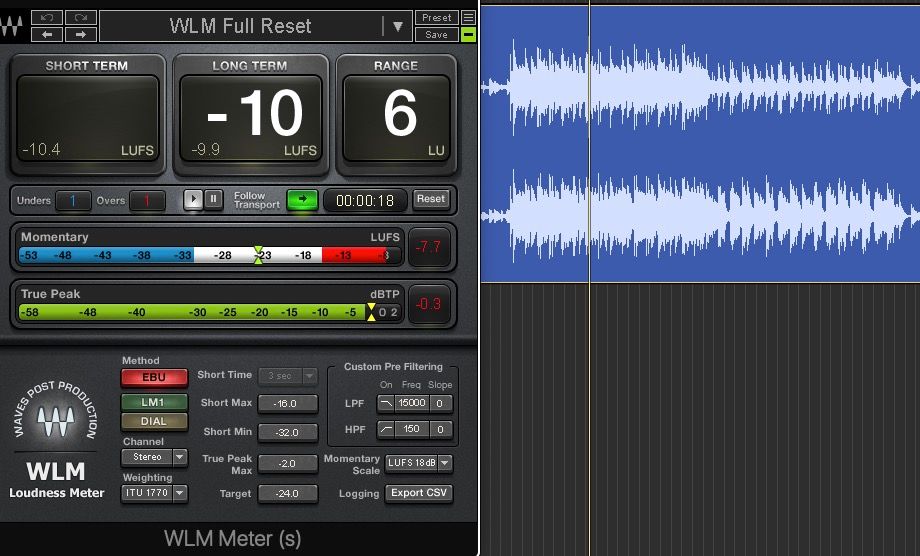
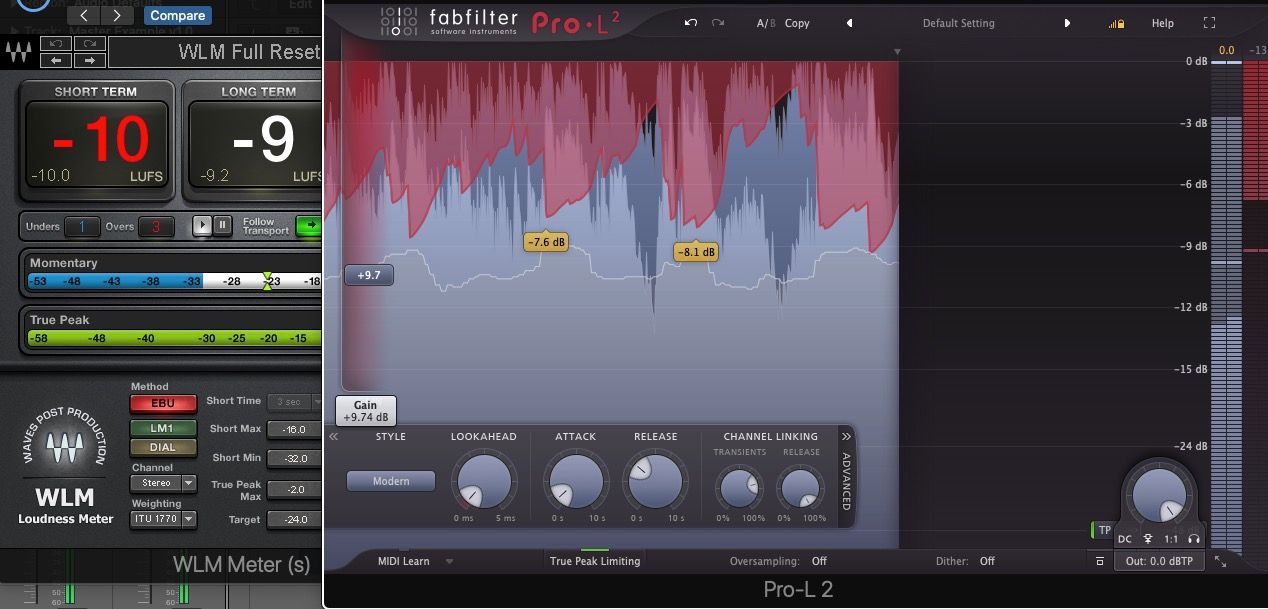
Let’s look at how they work and what this level is.
LUFS represents the average (also called integrated) loudness over time based on the human perception of loudness.
RMS represents the same but based on the average power signal.
The industry standard for measuring levels is LUFS.
Nowadays, streaming platforms like Spotify set -14 LUFS as the maximum level.
Remember to reset your metering plugin each time you reboot your track.
Limiters
Limiters are, essentially, extreme compressors.
They are also called brickwall compressors as they completely stop the level from exceeding a specified volume (e.g.
0 dB), thereby avoiding clipping.
Paired with this function is their ability to raise the gain of your track.
Drive your limiter too hard, and you might ruin the musicality of your track.
Find the sweet spot where sonic quality is maintained while the overall level reaches your desired LUFS.
your speakers, your setup, and your phone.
A good master produces a track that sounds great on any and all sound systems.
While AI can lead to damaging shortcuts,AI mixing and mastering toolscan provide useful references to learn from.
Design a precise start and end, and apply subtle additive and subtractive EQ edits.
Use multiband compression if needed, and stereo enhancement tools for a touch of additional width.
Then, use your limiter and metering plugins to reach competitive loudness levels without sacrificing sonic quality.
Add in some final checks on different sound systems, and your track is now ready for distribution.
