Are you seeking a light, ultra-quick, easy-to-access note-taking solution?
Search online, and you’ll find countless suggestions for such apps.
And that’s allno extra windows, dialogs, menus, or buttons.
Thankfully, such a project is easy to build with AutoHotkey, as we’ll see next.
Feel free to follow even if you haven’t used AutoHotkey before.
However, it might be best if you first checked ourquick AutoHotkey guide for beginners.
So, pay a visit toAutoHotkey’s official site, and hit the friendly greenDownloadbutton.
Skip both the V1 (deprecated) and V2 (beta) versions, and choose toDownload Current Version.
Then, install it on your box.
In other words, AutoHotkey doesn’t “do anything” on its own.
Instead, it works as the platform on which the script we will craft next will run.
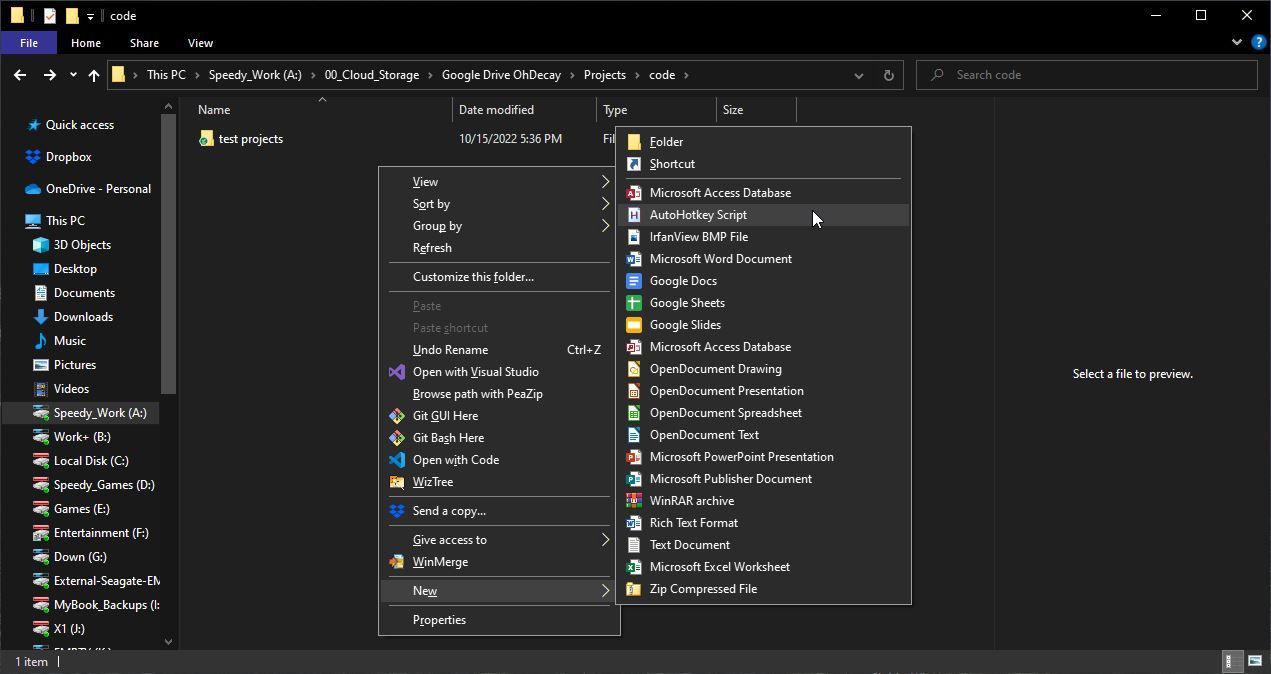
you’re free to choose any directory from your desktop to your personal Documents folder.
The final result will be the same: you will have a new blank AutoHotkey script.
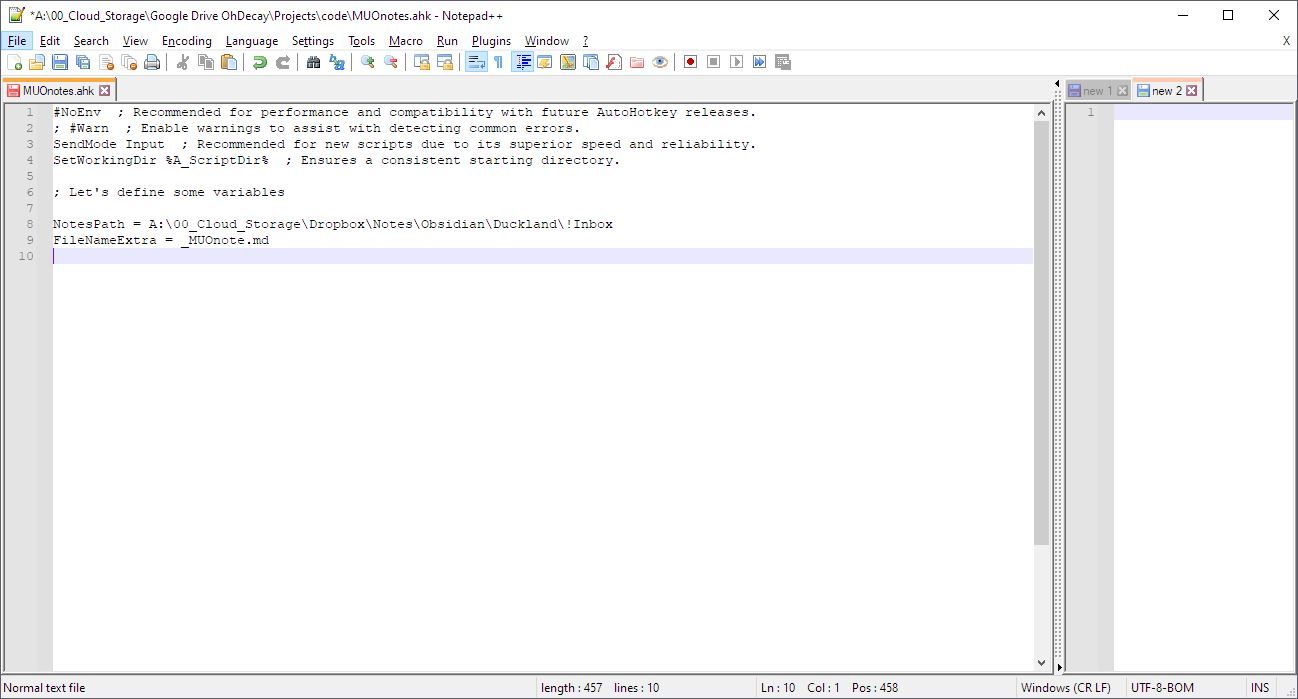
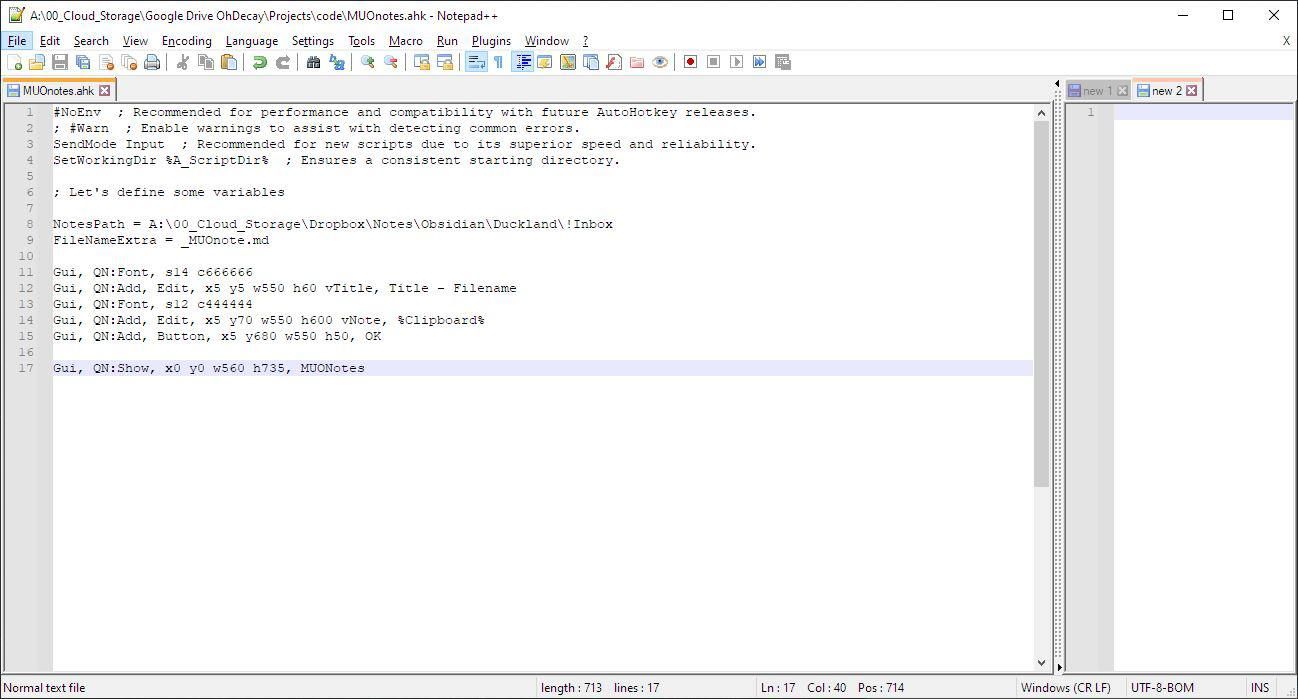
Fire up your favorite text or code editor and initiate the script there to edit it.
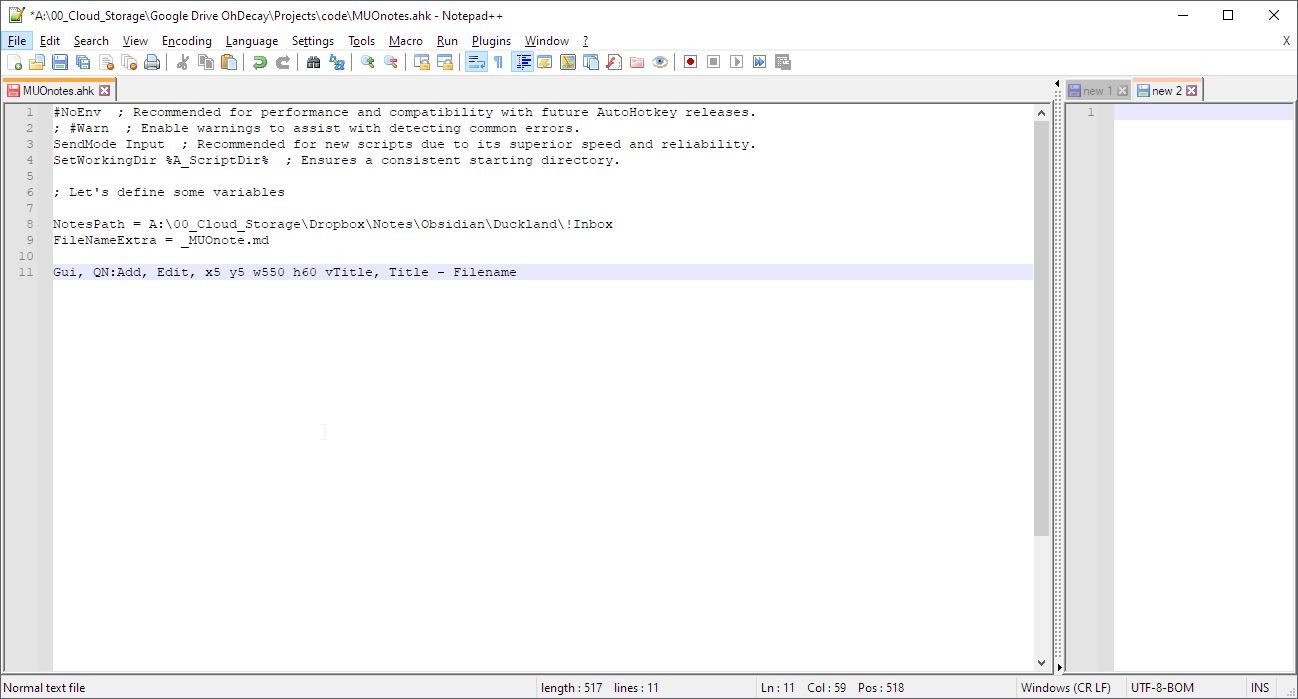
AutoHotkey “taps into” Windows' own “window toolkit”.
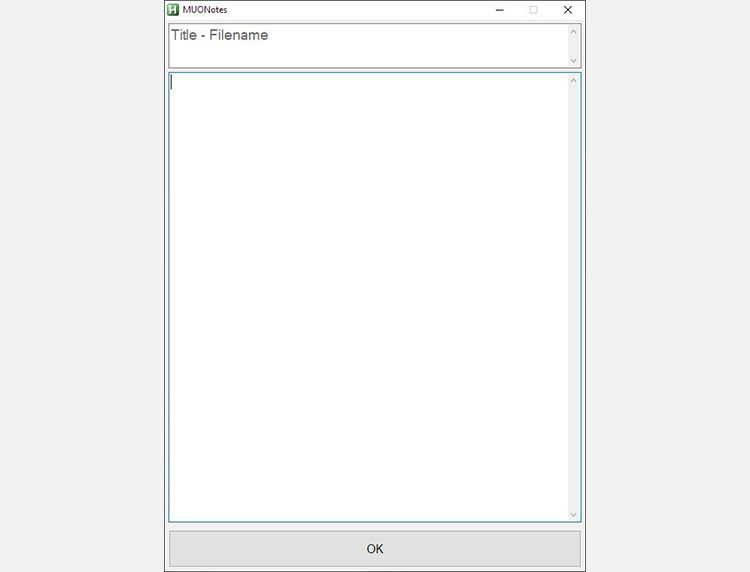
We’ve created a GUI, but we also need a window to display it.
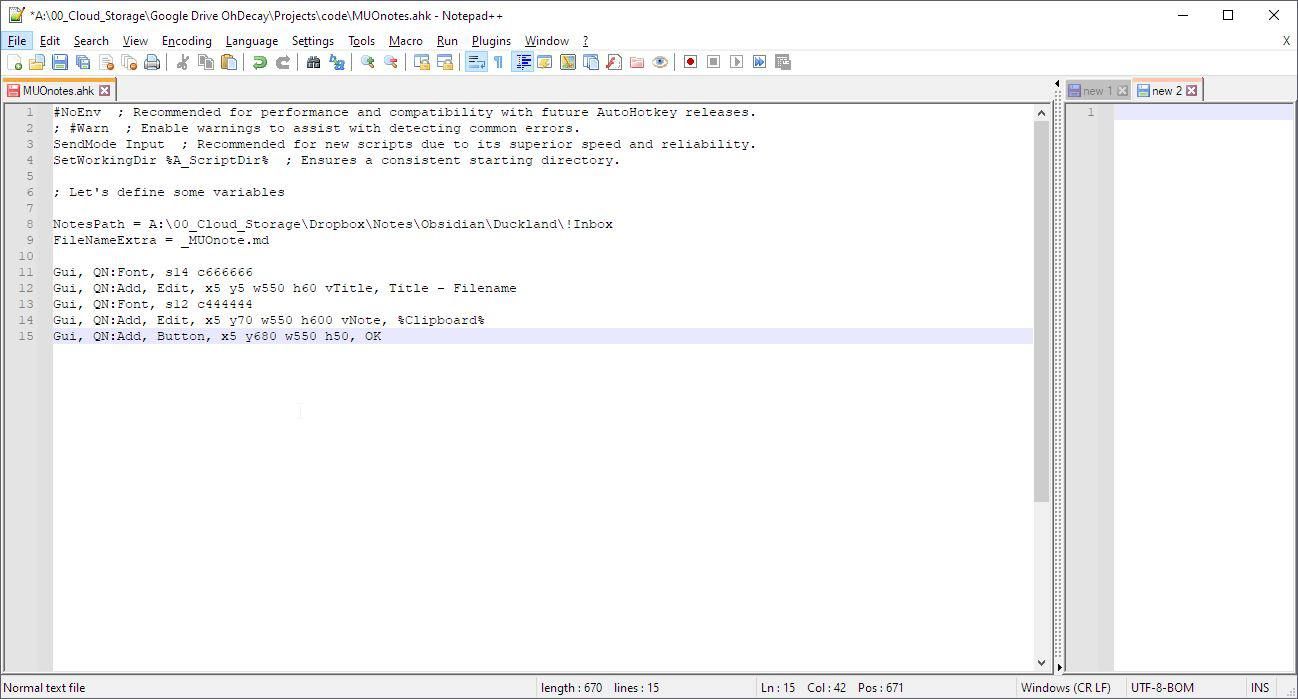
As you will see, the main note’s area will be pre-populated with the clipboard’s contents.
However, the app itself will be useless because we haven’t yet added support for saving anything.
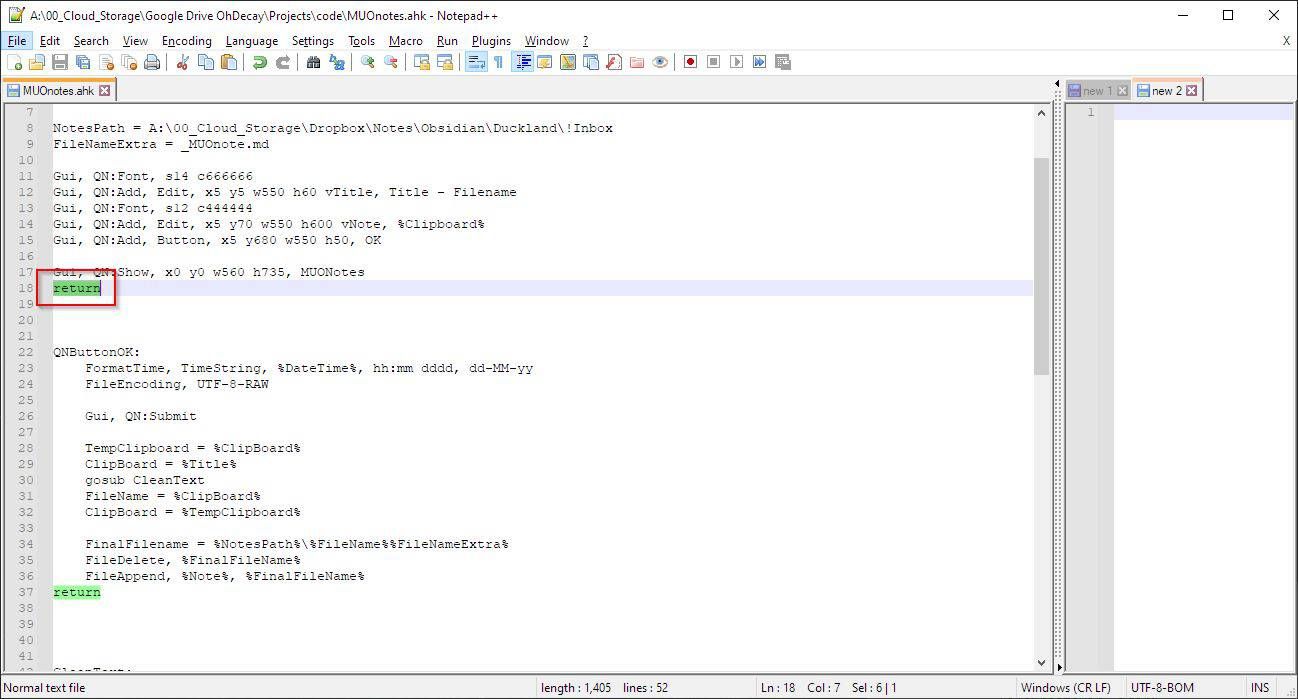
That’s because you also need to “return” each function you defined in it.
Then, right-choose it, chooseProperties, click in theShortcut keyfield, and hit your desired button combination.
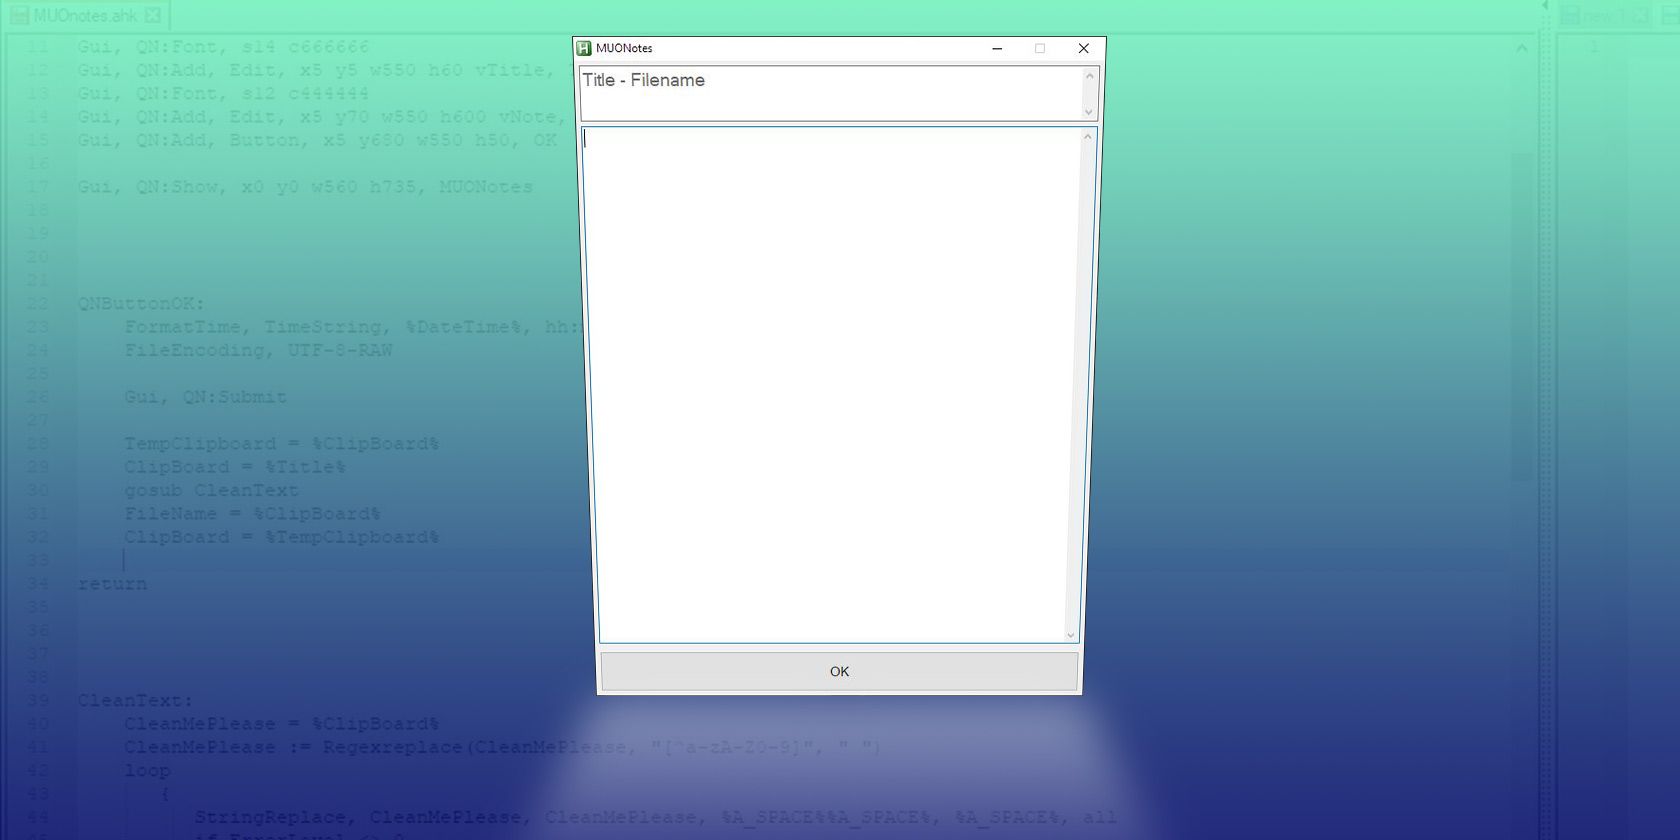
All thanks to AutoHotkey’s human-friendly syntax and ability to take advantage of Windows' default GUI-related elements.