As long as your photos are around 12 megapixels and 300 DPI, they’ll look beautiful.
Here’s how to create your own photo book.
Gather Your Photos
This is one of the most important parts of creating a photo book.
You want your book to have a certain feel to it and be consistent throughout.
For those mainly using smartphone photos, creating albums in Google Photos or Apple’s Photos app will suffice.
Learn the most of Apple’s photo organization features.
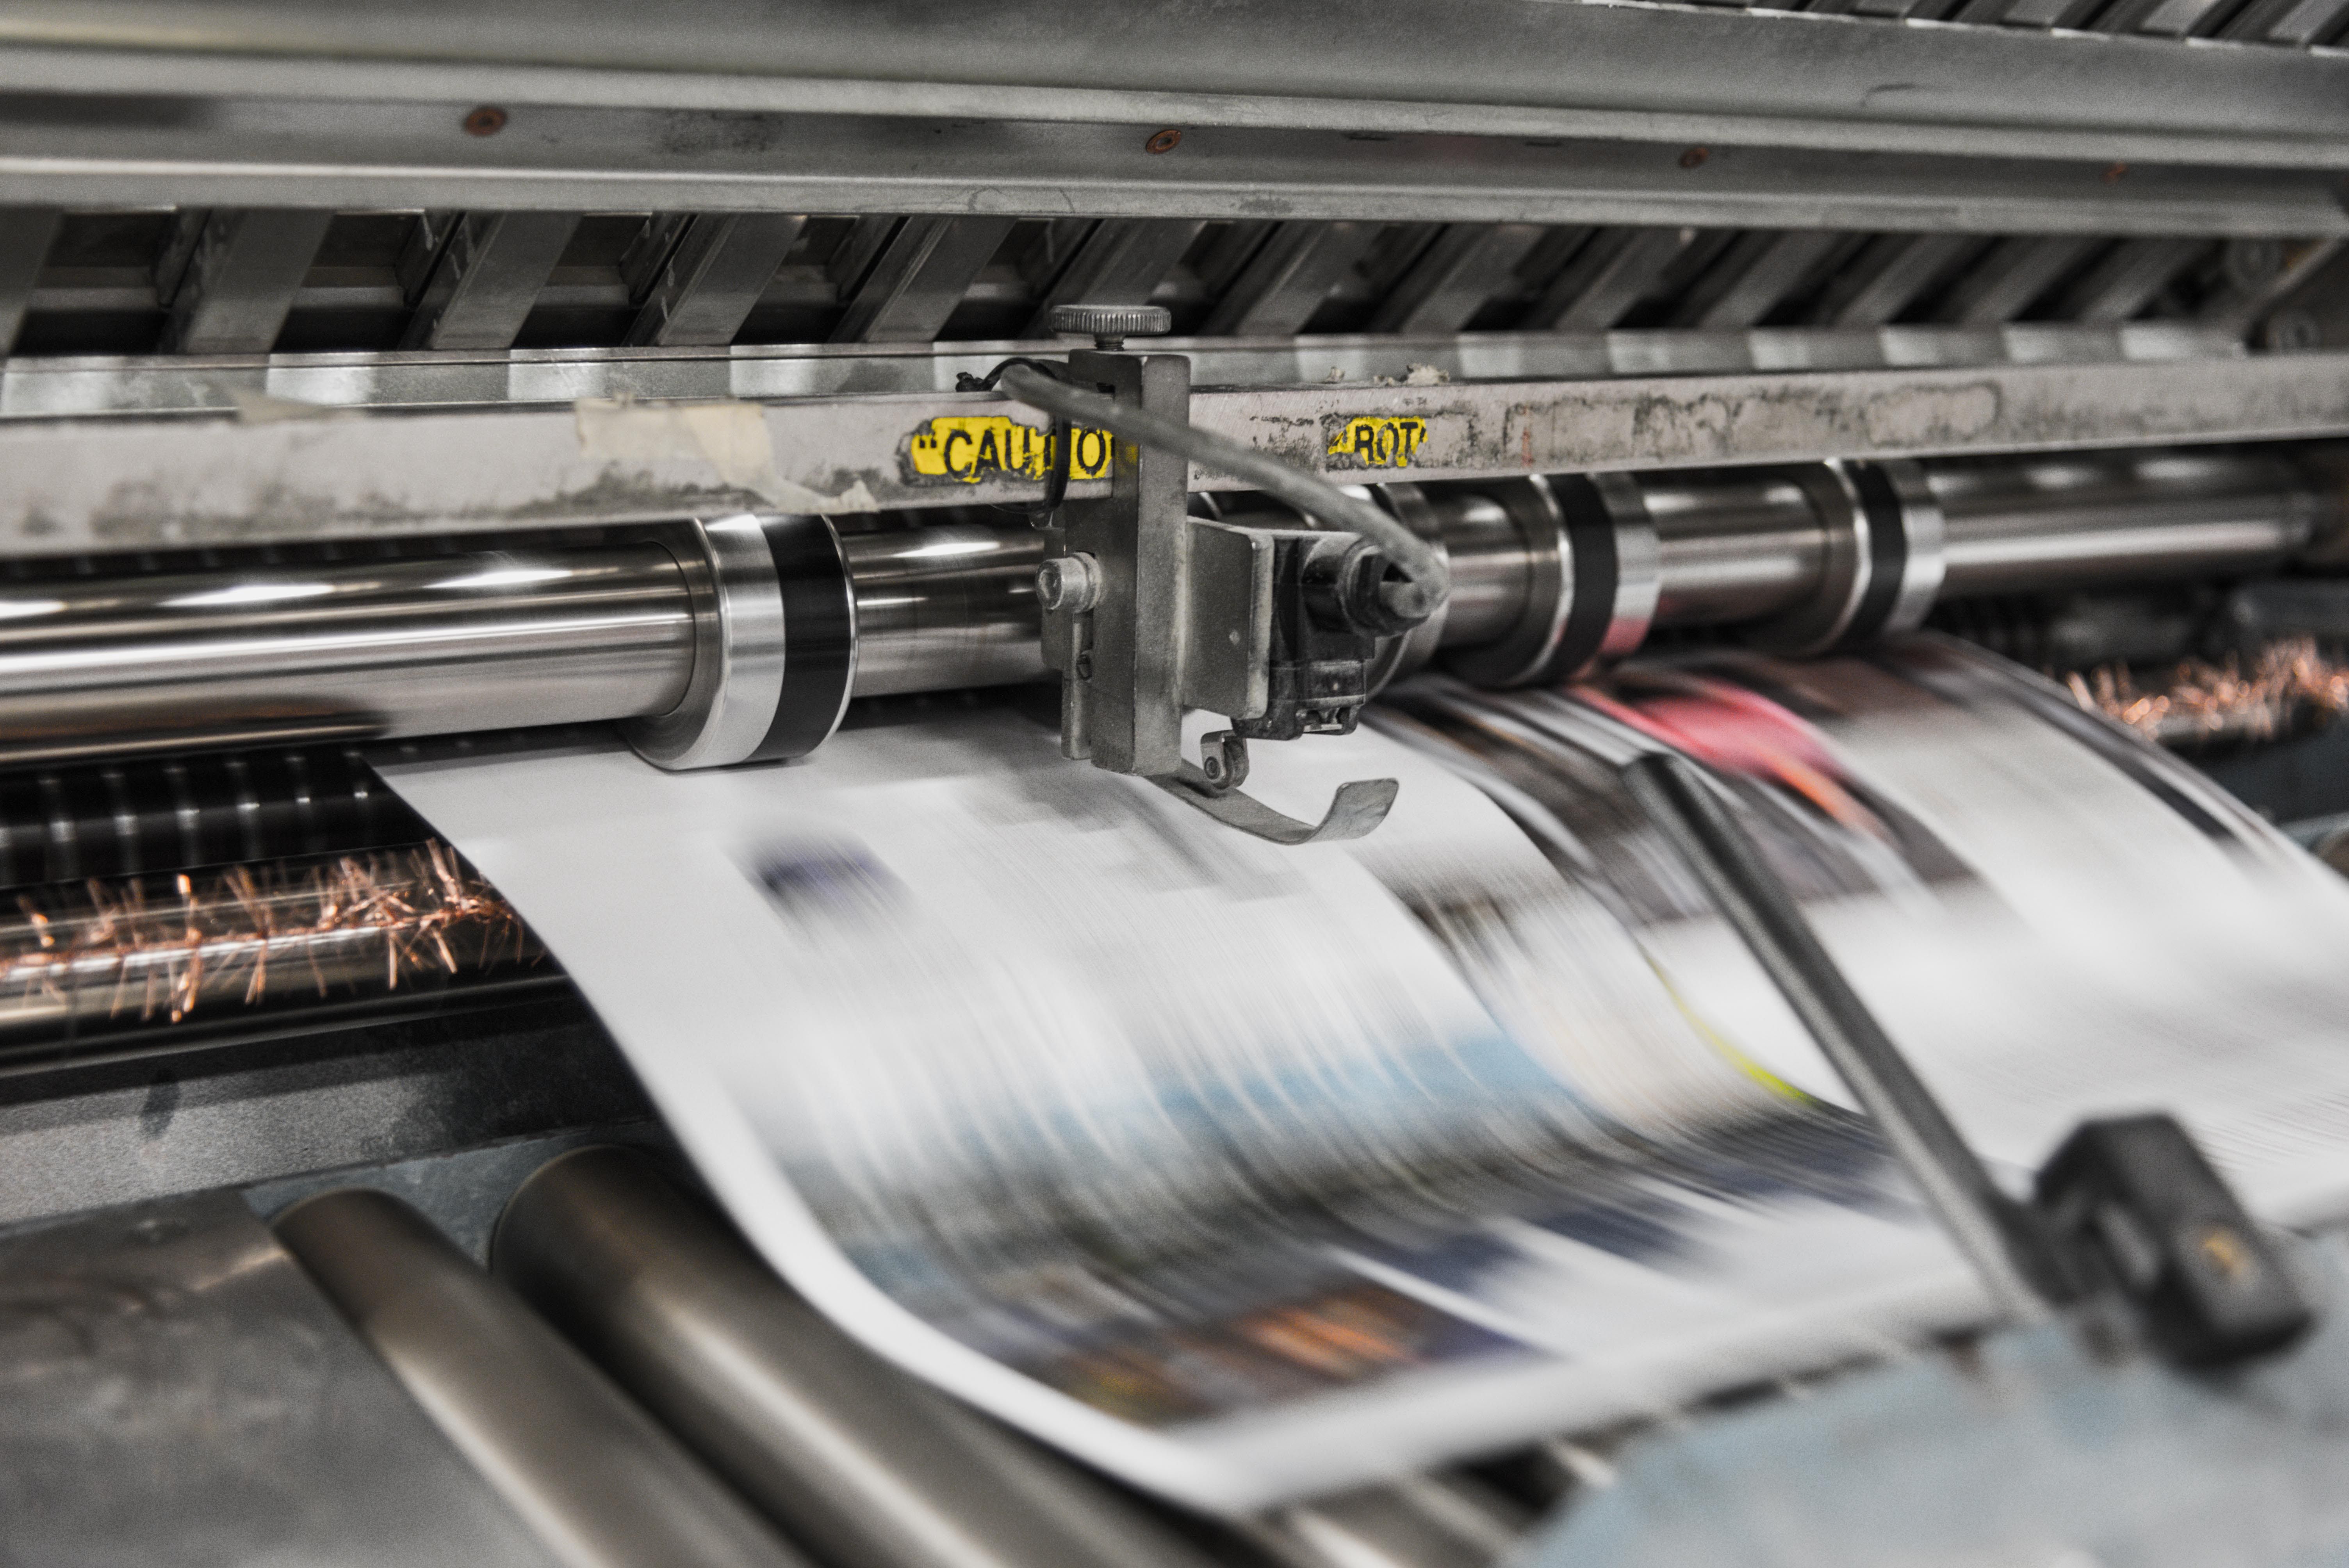
Choose the Right Printer
This can be one of the most overwhelming parts of creating a photo book.
Some of the familiar faces include Google Photos, Canva, Shutterfly, and many retail companies like Walmart.
The choice is yours, but we recommendBlurb.
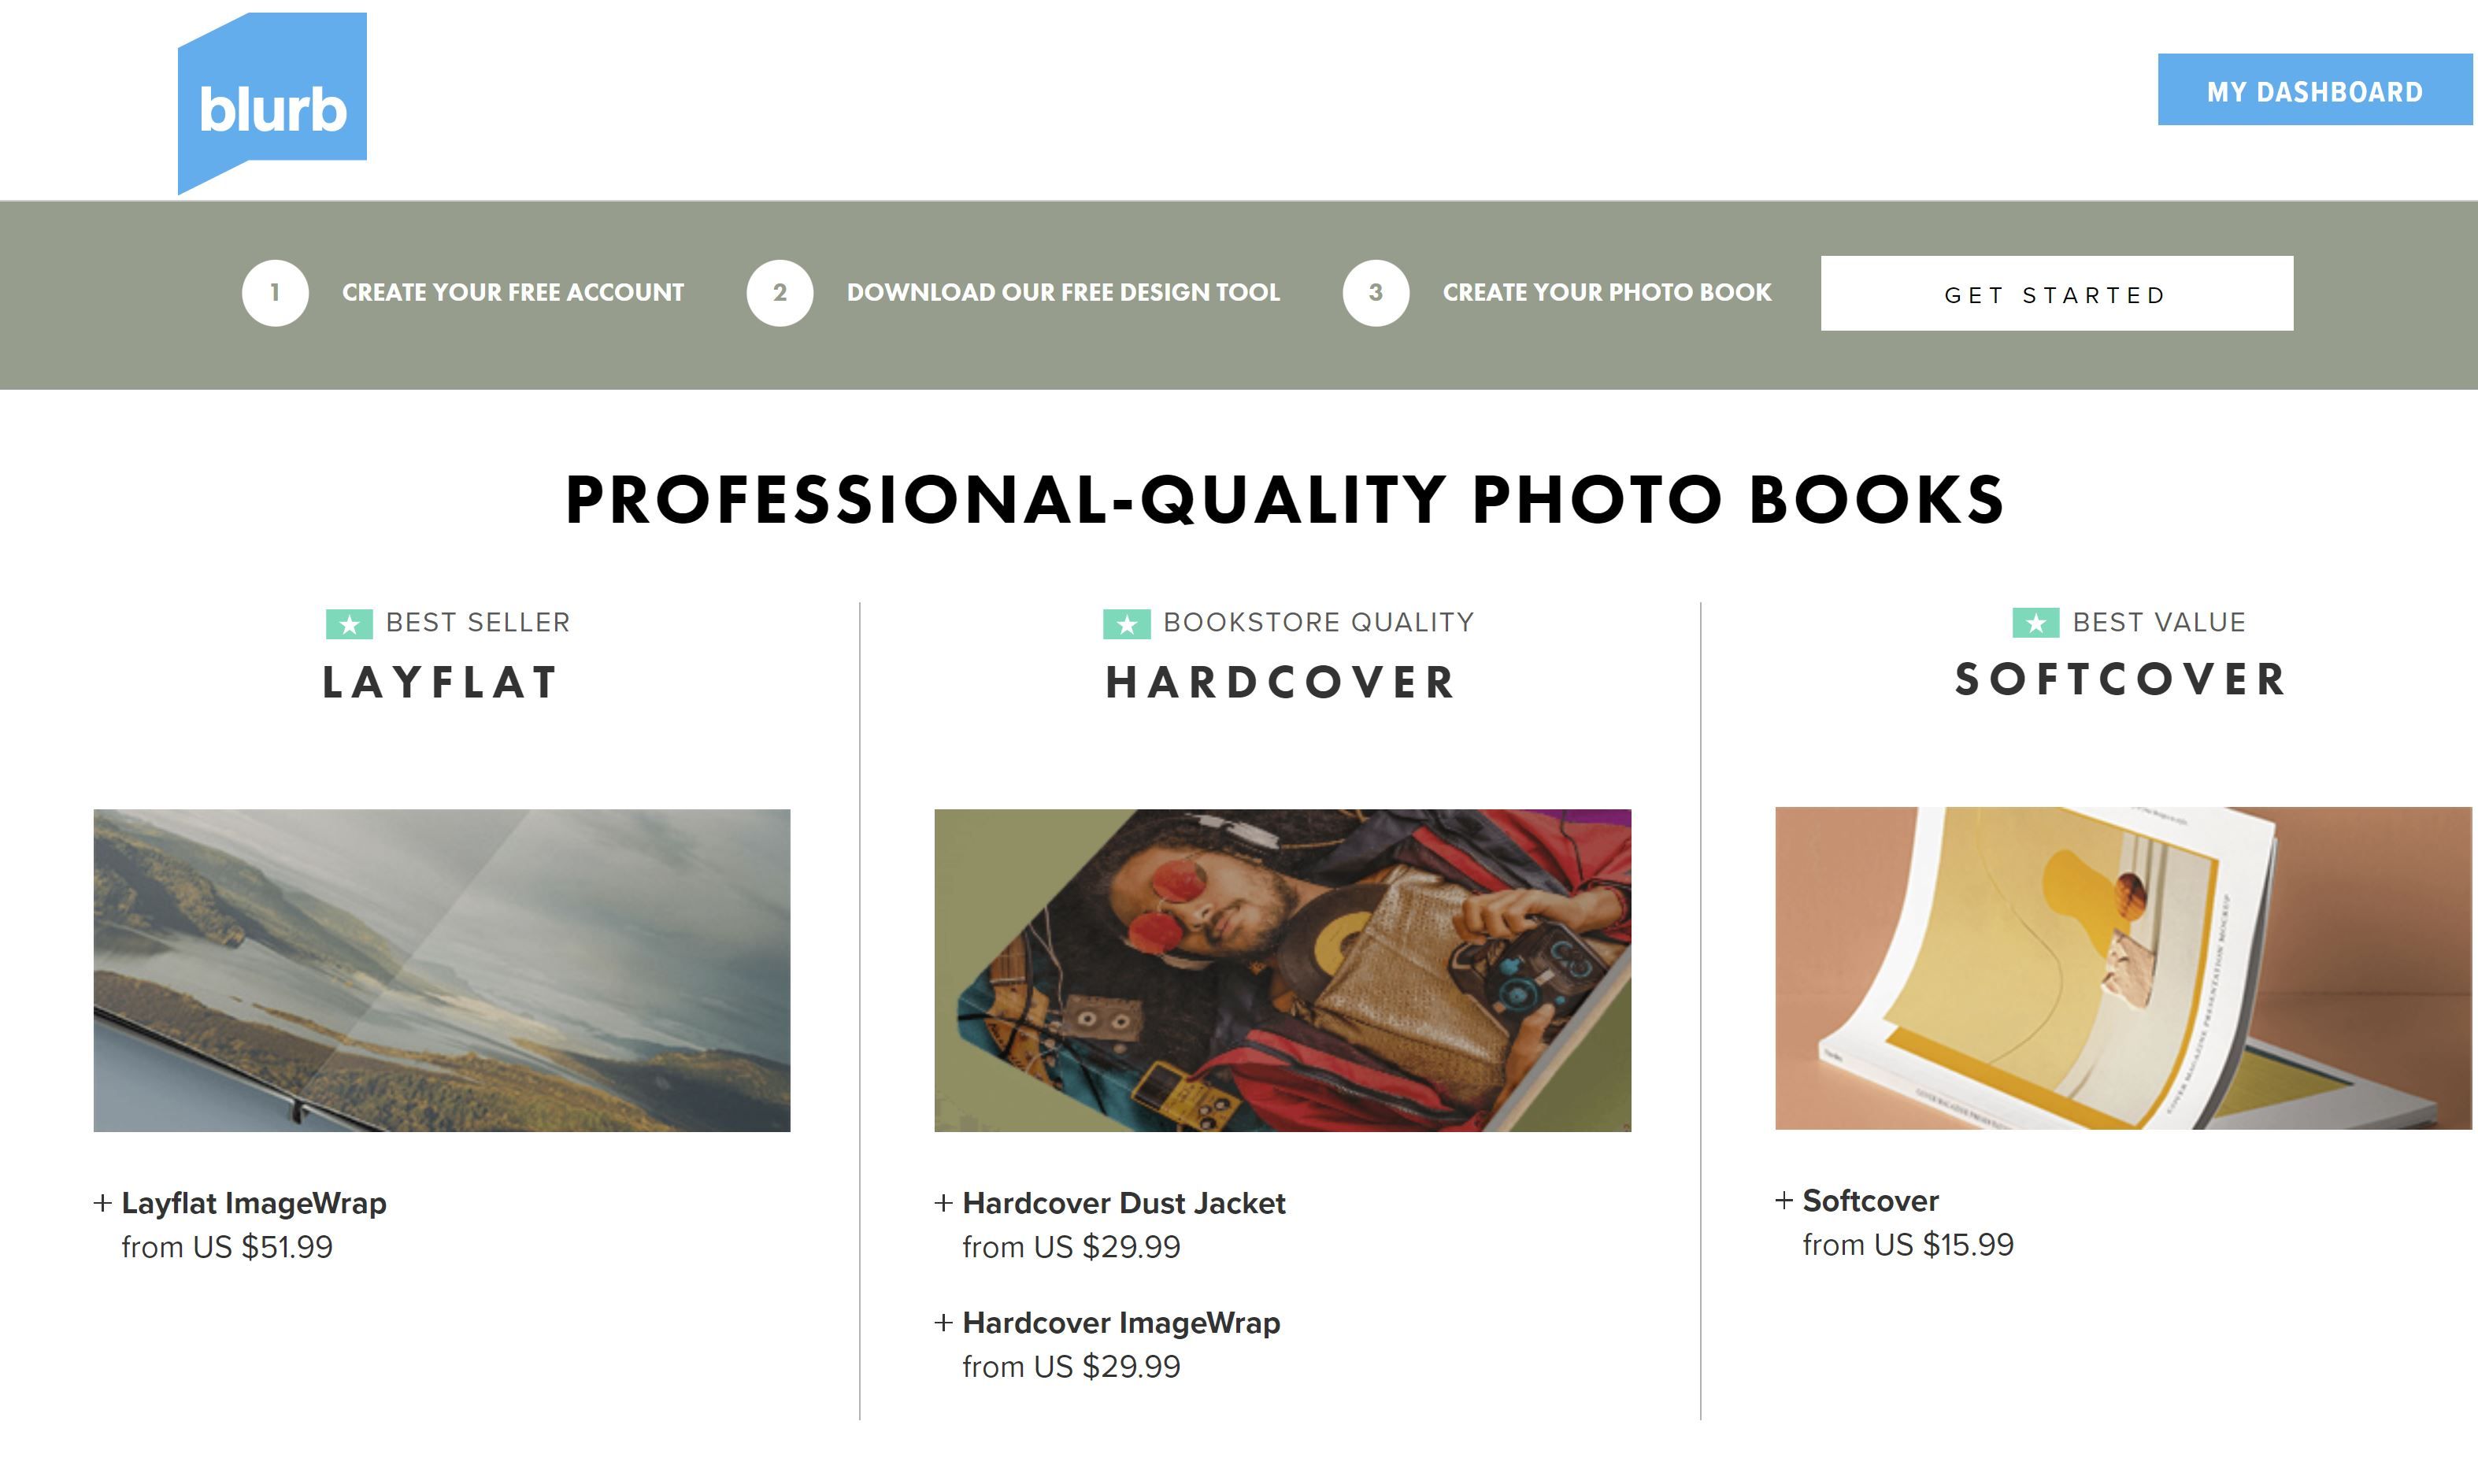
Those looking for affordability and using mostly smartphone photos may opt for the square book.
Cover Types
The cover types are fairly straightforward.
It’s more expensive but looks the most professional.
The price will be deducted from the cost of your final book.
Those who want the most creative freedom can use Adobe InDesign usingBlurb’s InDesign Plugin.
However, the software can be very overwhelming for beginners.
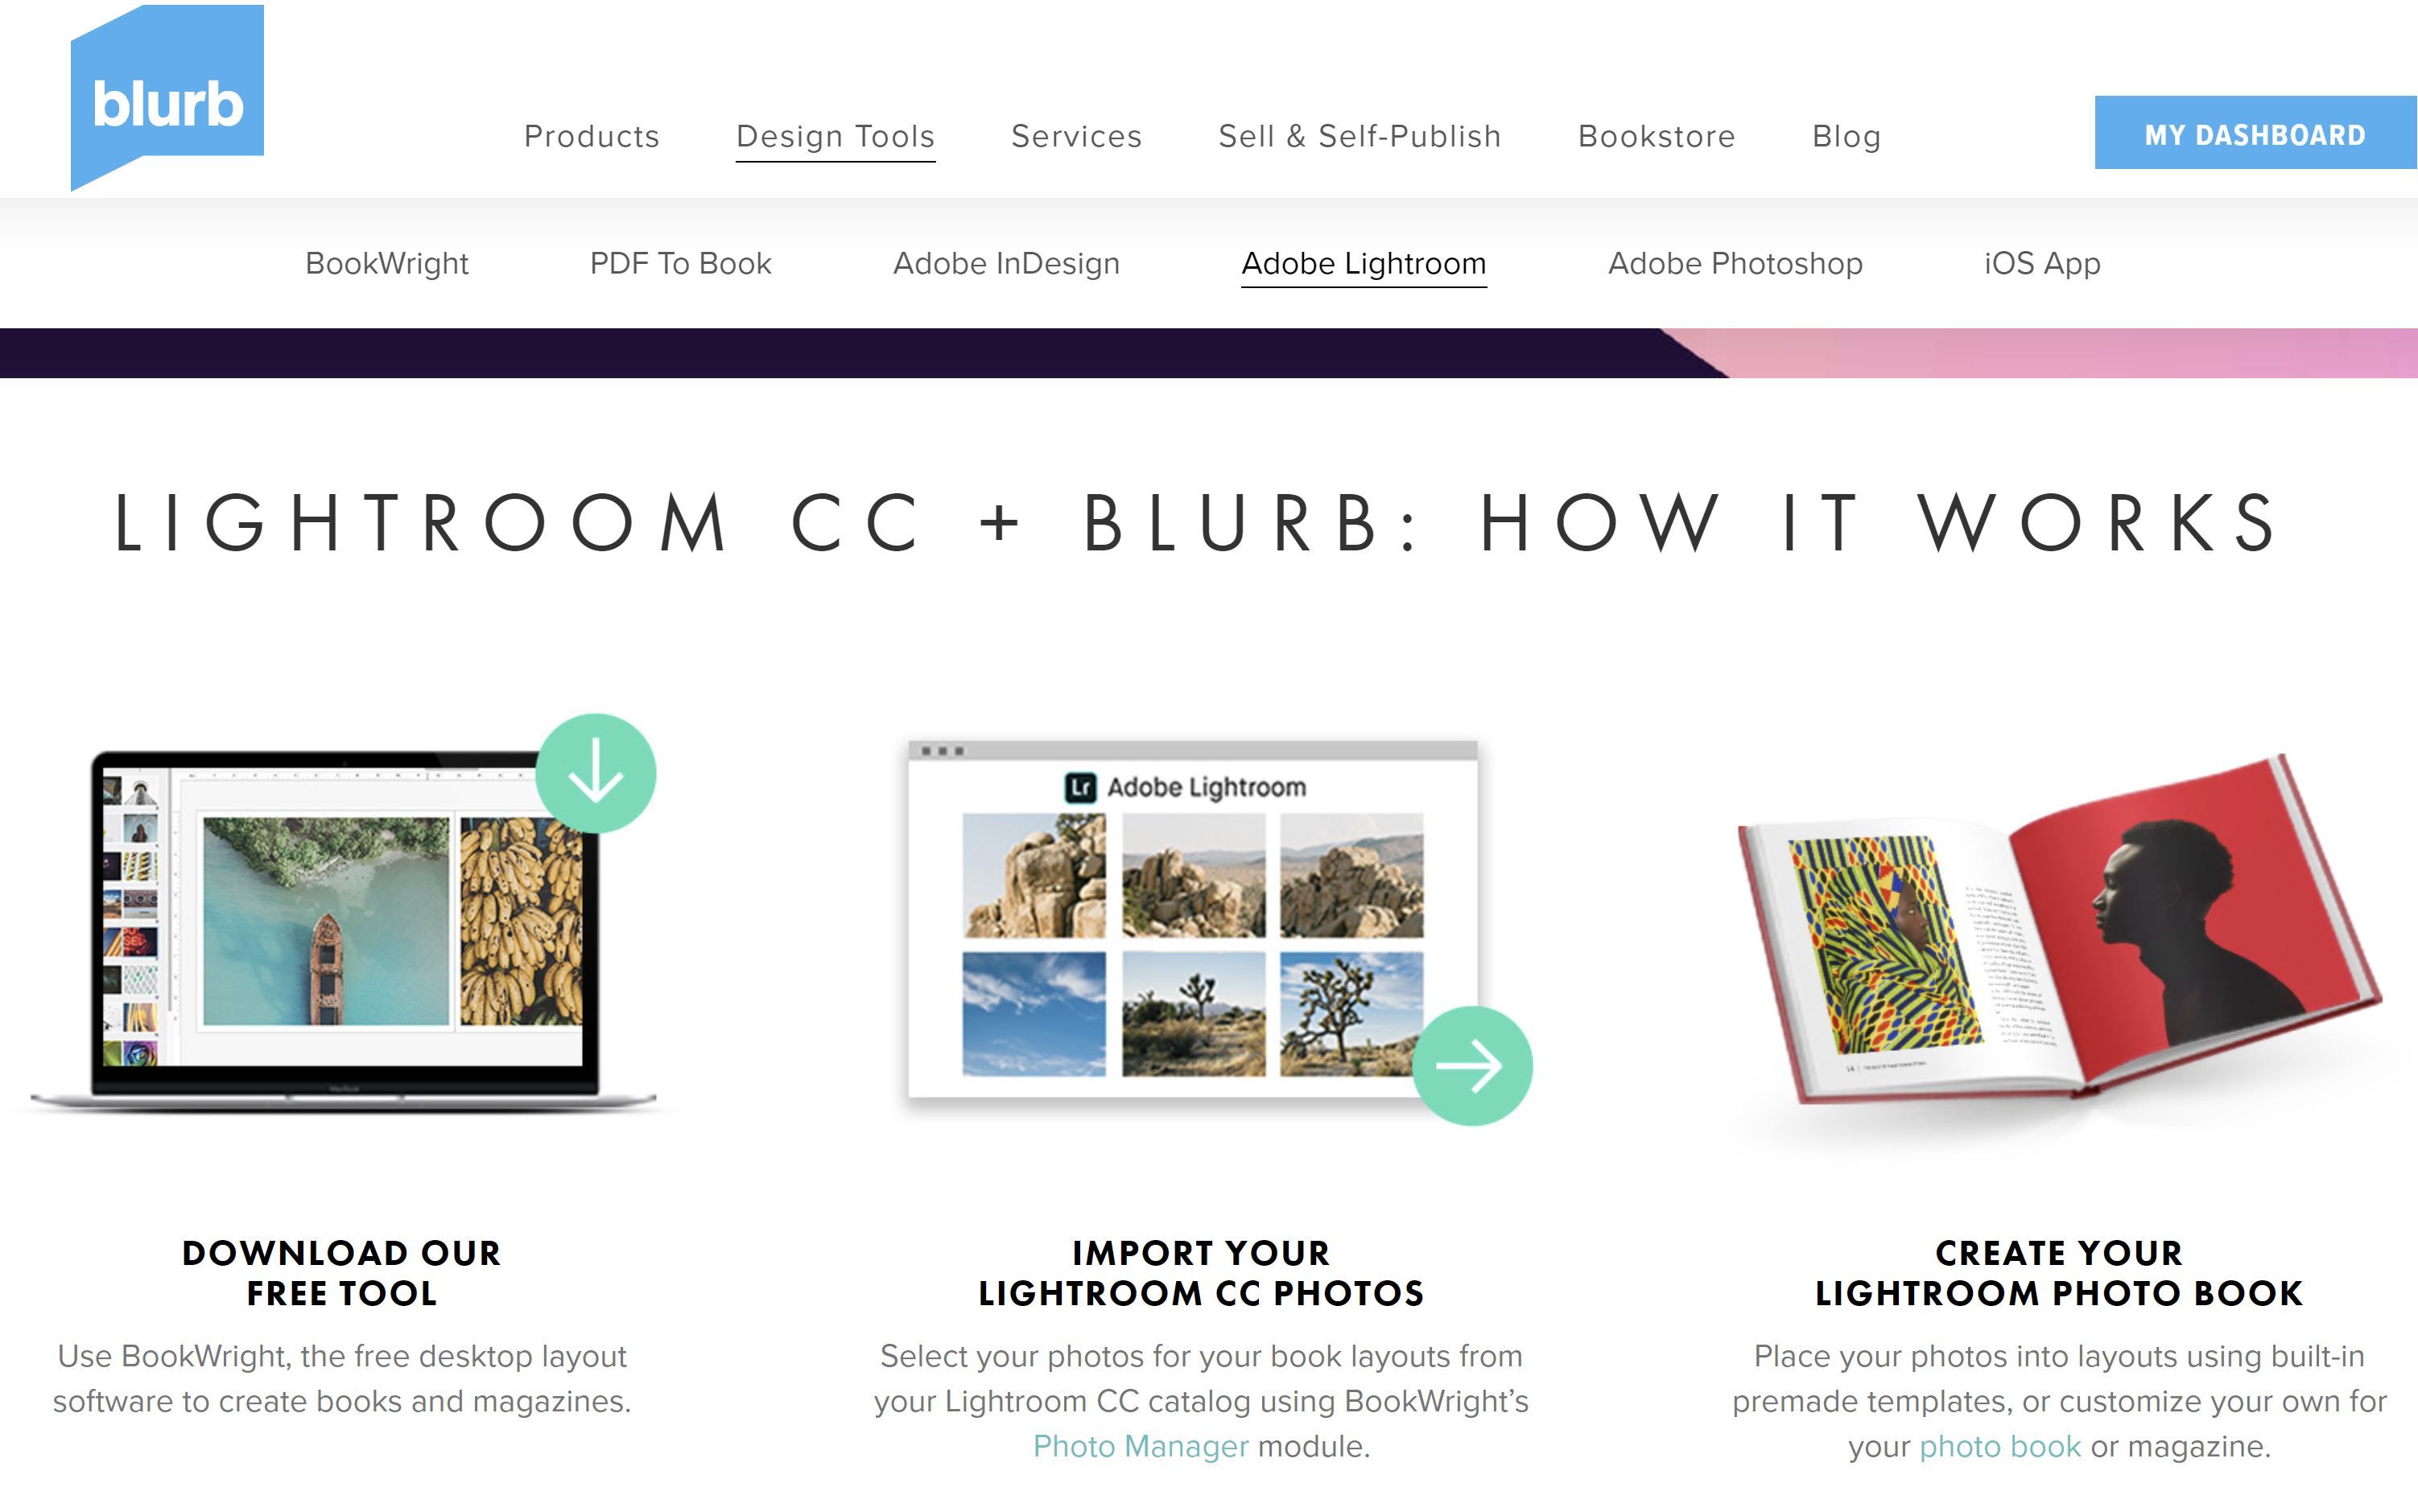
This is the perfect option for those who already use Lightroom Classic with all of their photos imported.
it’s possible for you to also export your book directly from Lightroom into Blurb for printing.
Although there’s a learning curve, there are somegreat ways to use Lightroom Classic and CC together.

Luckily, Blurb has its own software calledBookWright.
you might import photos directly from Lightroom, and sorting through them within BookWright is surprisingly easy.
Its text options are also plentiful for those wanting to get creative with titles and captions.
Looking to challenge yourself?
Seehow you’re free to learn Adobe InDesign for free.
Portrait photos can be placed next to each other with even space between them.
This creates a border around your photos, displaying them more like art.
You also have the option to stretch one portrait photo across the entire page.
Smartphone or square photos may look best in a group of four.
Play around with various templates and see what looks best for your photos.
Choosing the right font for your book is also important, but can get overwhelming very quickly.
Showcase Your Work in a Photo Book
Seeing your photos in print is such an amazing experience.
It makes you more appreciative of graphic design in photo books you’ve enjoyed in the past.
