Then, exporting your finished movie.
I’ll let you experiment with the other stuff yourself.
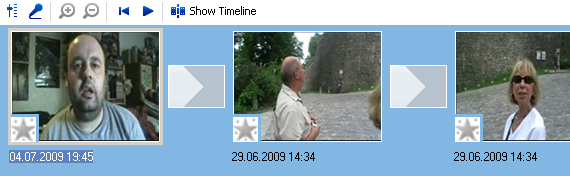
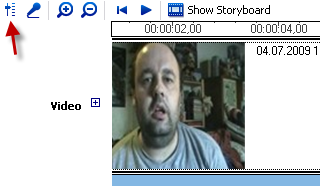
If you press “show timeline”, you’ll see another view of the clips.

The plus one zooms in and gives you the timeline in a more detailed time frame.
Zooming in, you could have the timeline split up into one second intervals.
Again, that’s good for inserting extra features atexactlythe right moment of the movie.
The minus magnifying glass zooms back out into bigger time chunks.
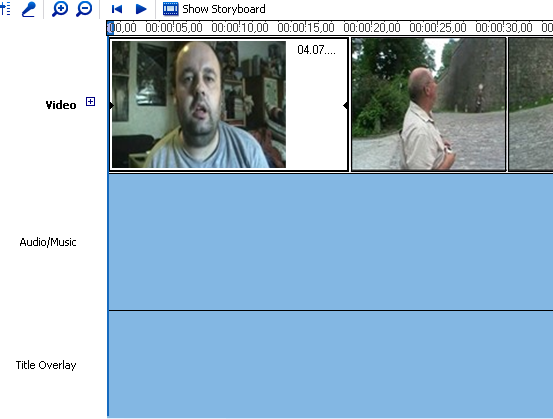
To edit, take one clip at a time.
tap on the “show storyboard” view and then tap on the clip.

This button is your editing button.
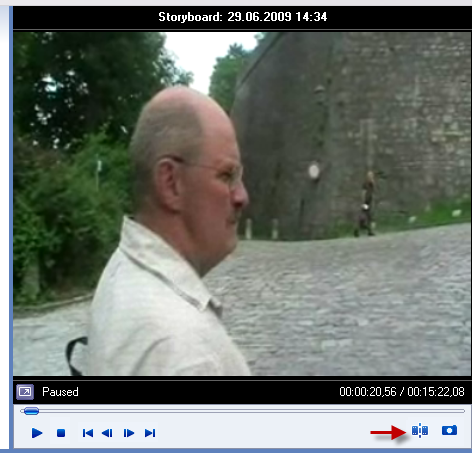
The footage will then be split in two and a new clip will be created.
Keep that clip rolling till you get to the end of the part you want to remove.

grab the button again and again it will be split.
This results in a clip in the middle which is the piece you don’t want.
Now, right-click and select “delete” to remove it from your storyboard.
;-)
It’s a bit difficult to explain this.
It’s one of those things that will become apparent once you start doing it.
It would be an excellent idea to backup your footagebeforestarting the editing.
That way, you could start over if you make a mistake.
The next thing might be to improve the quality of the picture or the sound.
You may have filmed a scene in poor lighting or the audio might be a little faint.
Movie Maker provides some options for improving things like that.
tap on the clip you want to alter and then right-click.
A little menu will pop up.
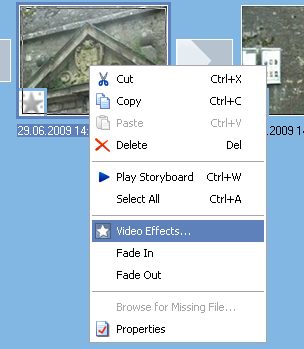
Choose “Video Effects”.
You’ll then see options for changing the clip.
Just make your options and save.
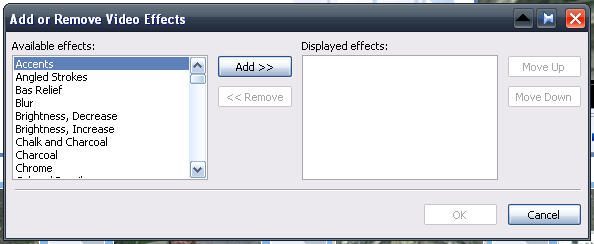
Now, replay the clip and you should see your changes.
Increase or decrease as desired.
Remember to keep saving all your changes.
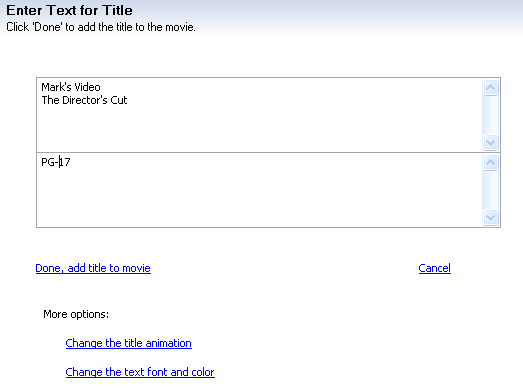
So let’s do the start credits first.
Go to storyboard view and tap on the first clip.
At the top menus, chooseTools–>Titles and credits.
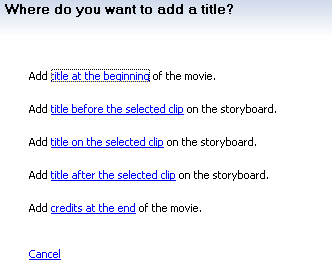
You will then see this.
You have a variety of animations to choose from and you might change the font style and background colours.
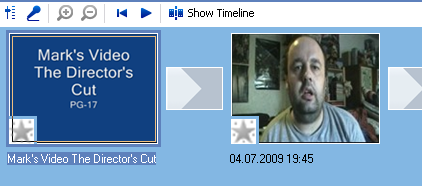
When it is finished, the credits will automatically be inserted into your story board.
Then repeat as before.
So no long thank you’s can be inserted!
There are three other main options to import material into your movie.
Music (more on that in a moment), photos and other movie material.
By inserting photos, you could perhaps put some music to it and have a musical montage!
The last option I am going to tackle here is the music.

You first have to edit your MP3 or WMA file in something likeAudacity.
Movie Maker allows you to fade in and fade out or you could put the fading in via Audacity.
It’s up to you.
Finally, it’s time to export the video file.
It is normally quite fast (5 minutes or less for me).
And that’s really it.
Or it’s possible for you to checkMicrosoft’s webpageon how to do stuff in Movie Maker.
Or at the very least scan your copy with a virus checker.
Normally wethoroughlyvirus check everything before publication.
