3D printers are amazing machines that can create 3D objects from digital designs.
But to get the best results, you must ensure the build platform, or bed, is level.
With the steps below, you’ll have that bed leveled in no time!
Here are five reasons why it’s crucial that you do it.
What you oughta Level Your 3D Printer Bed
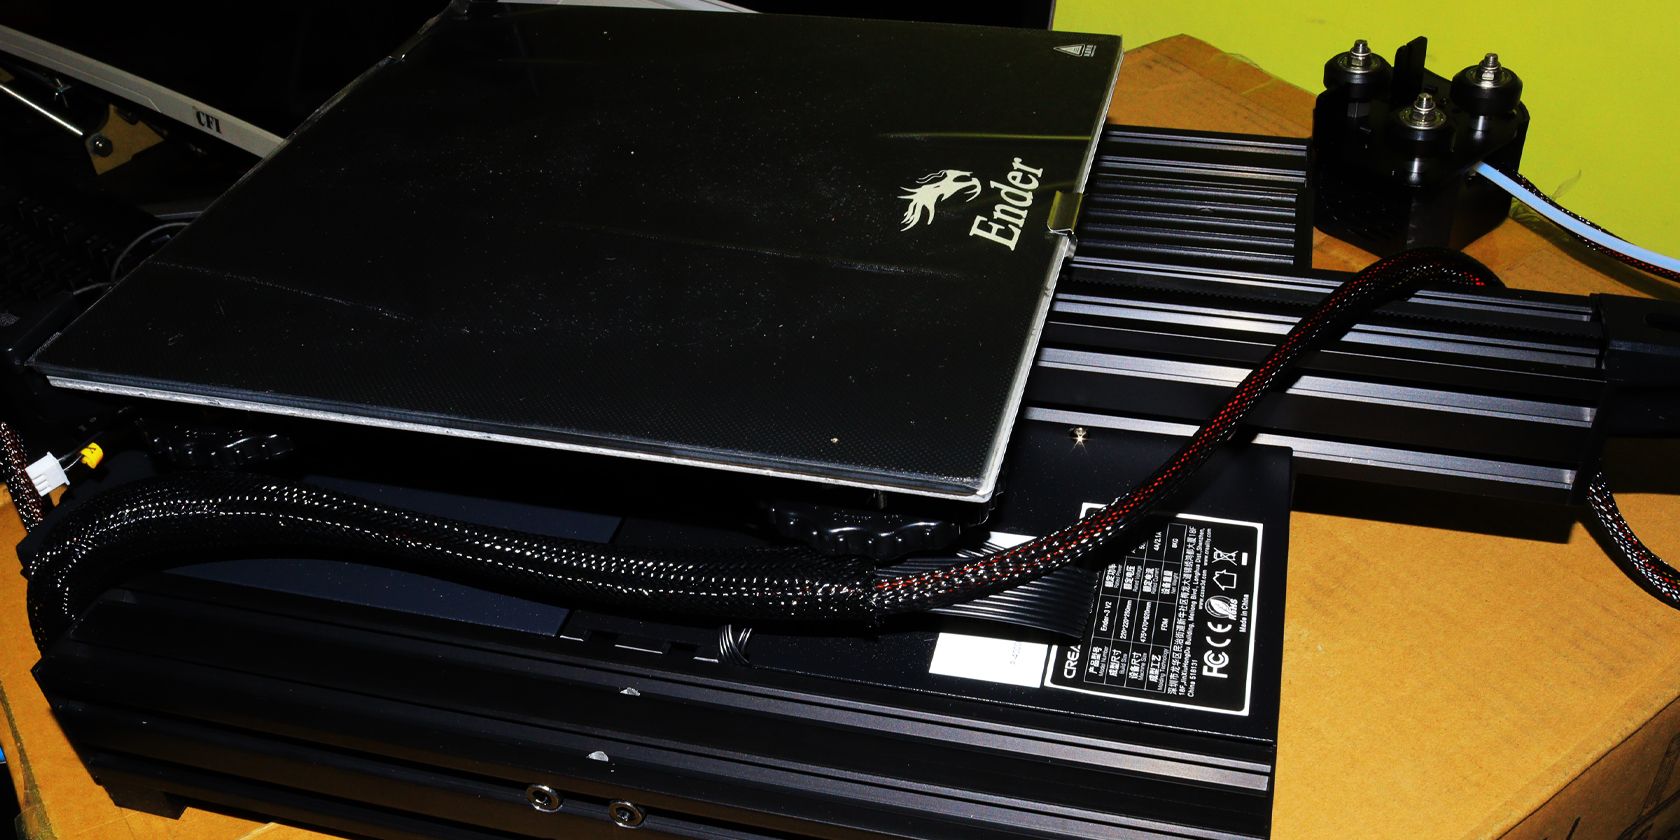
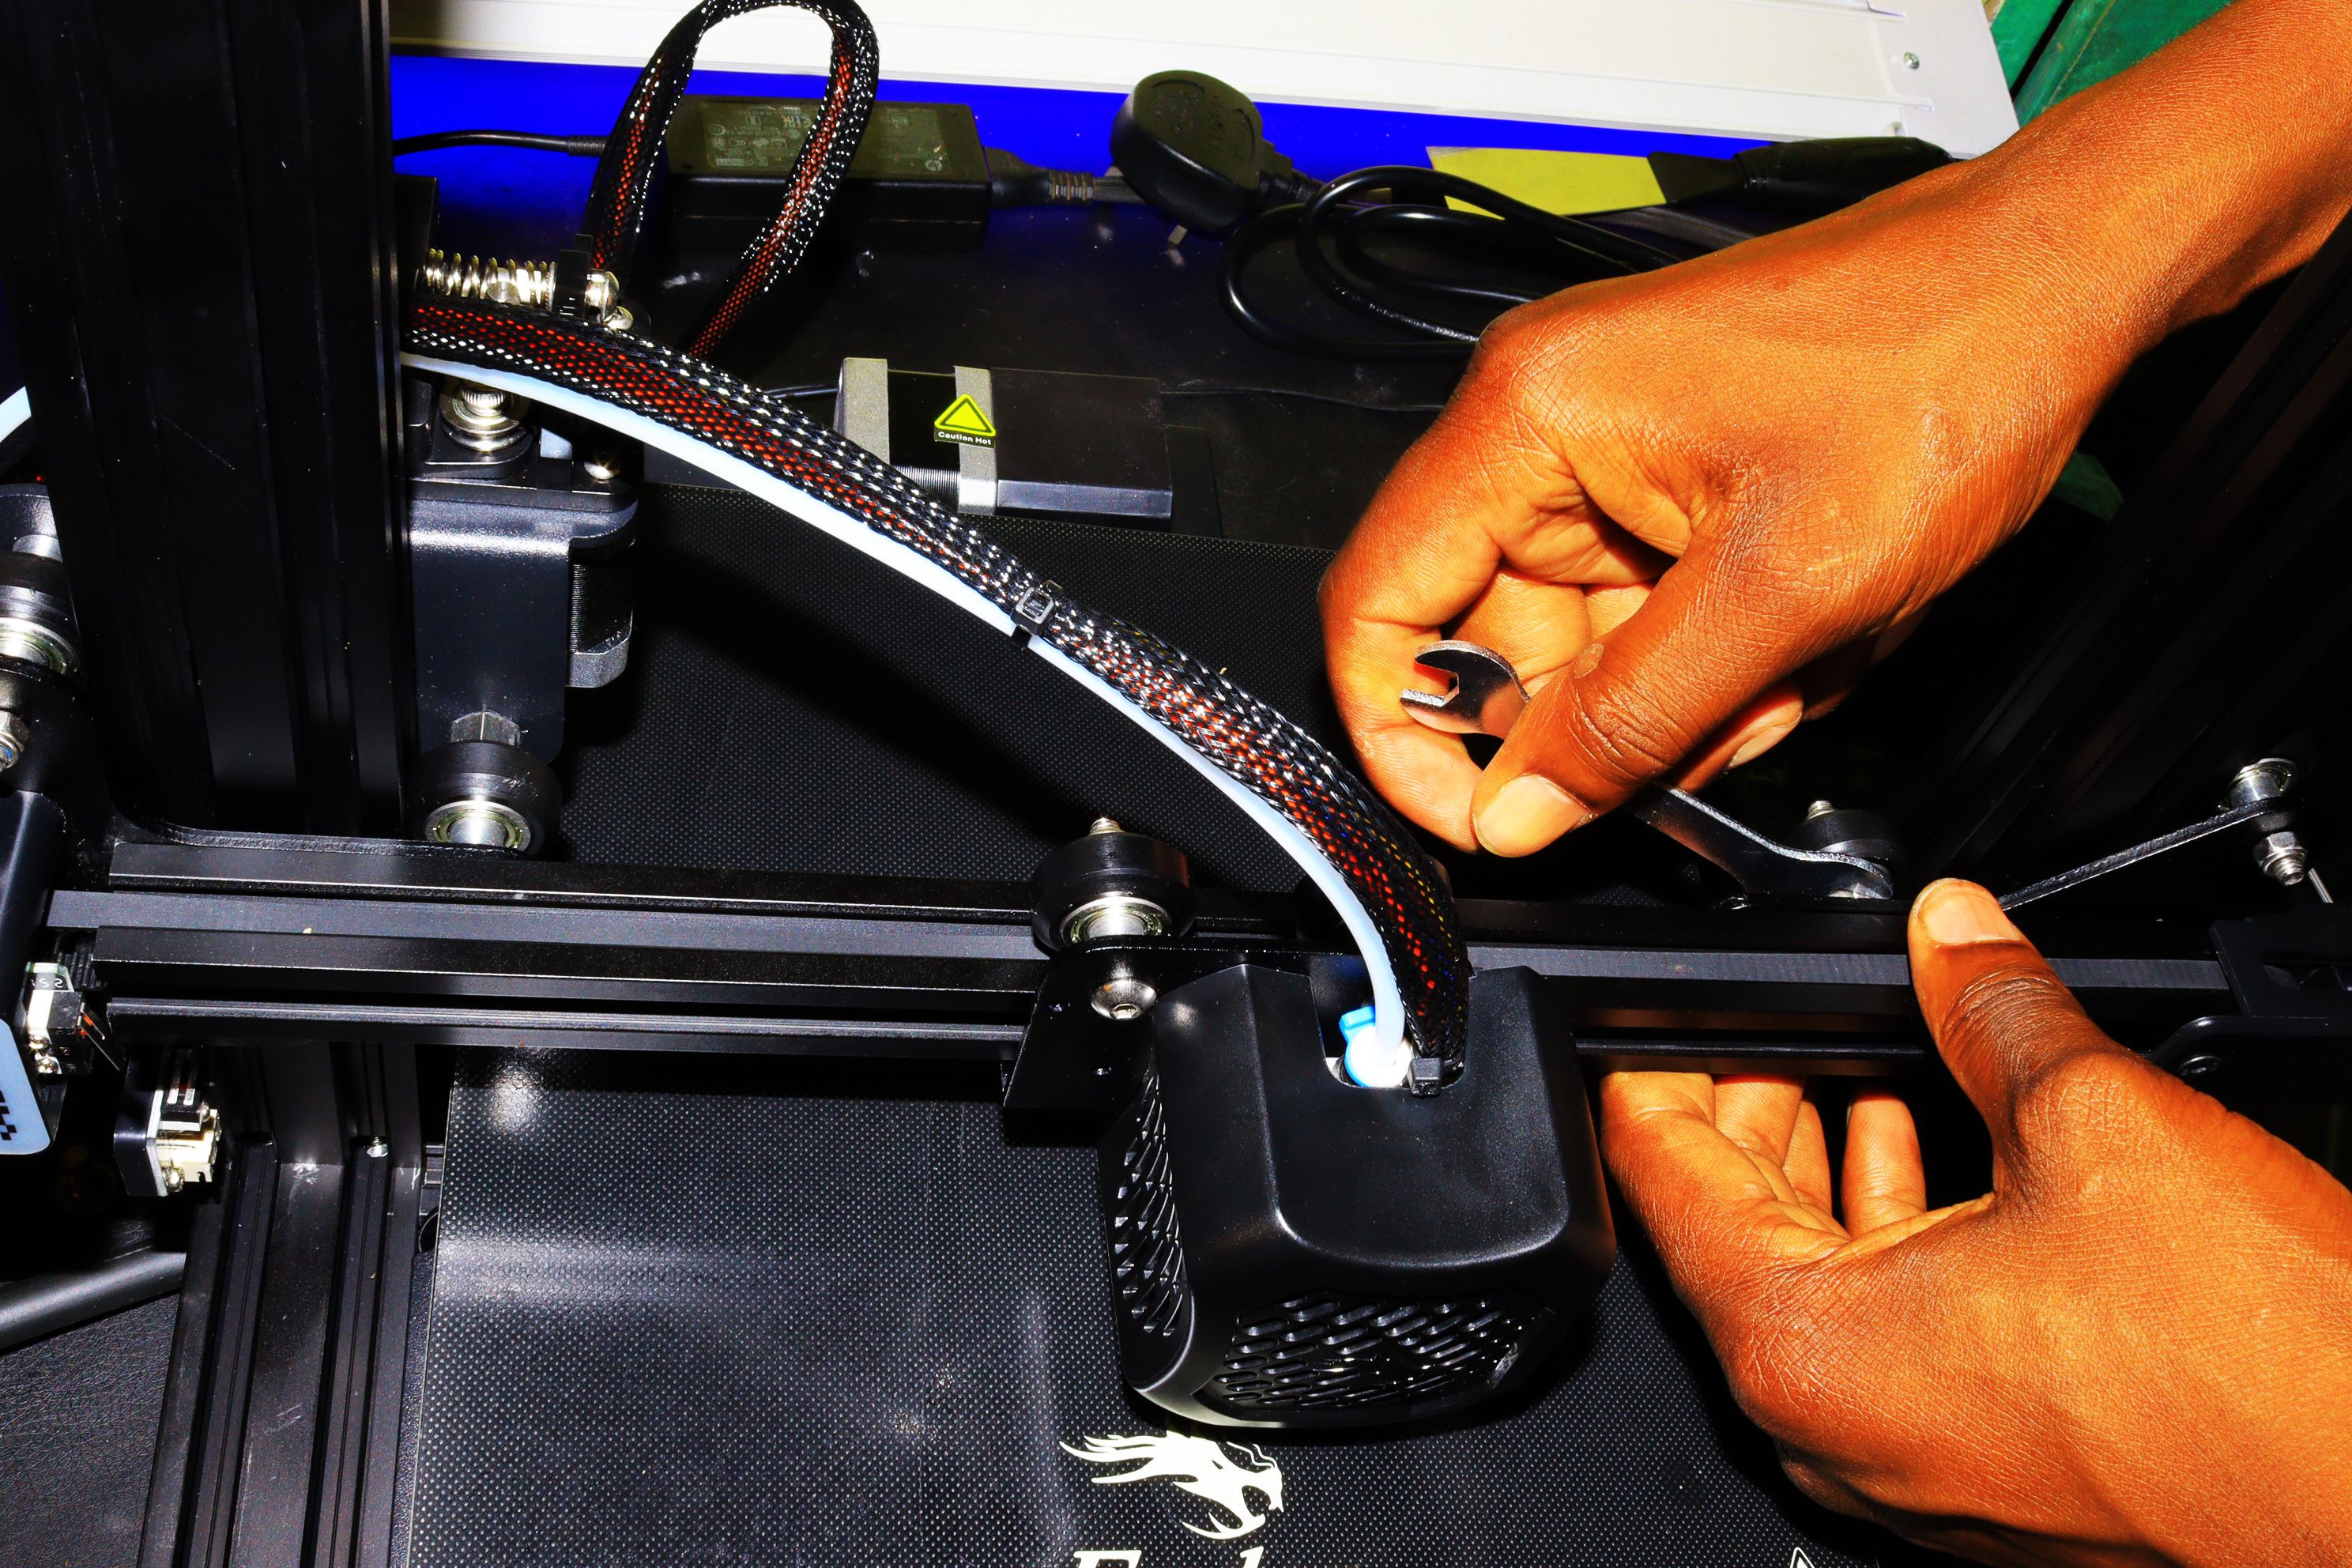
You’ll need to gather a few tools.
Ideally, it would be best to do this at the beginning of every print job.

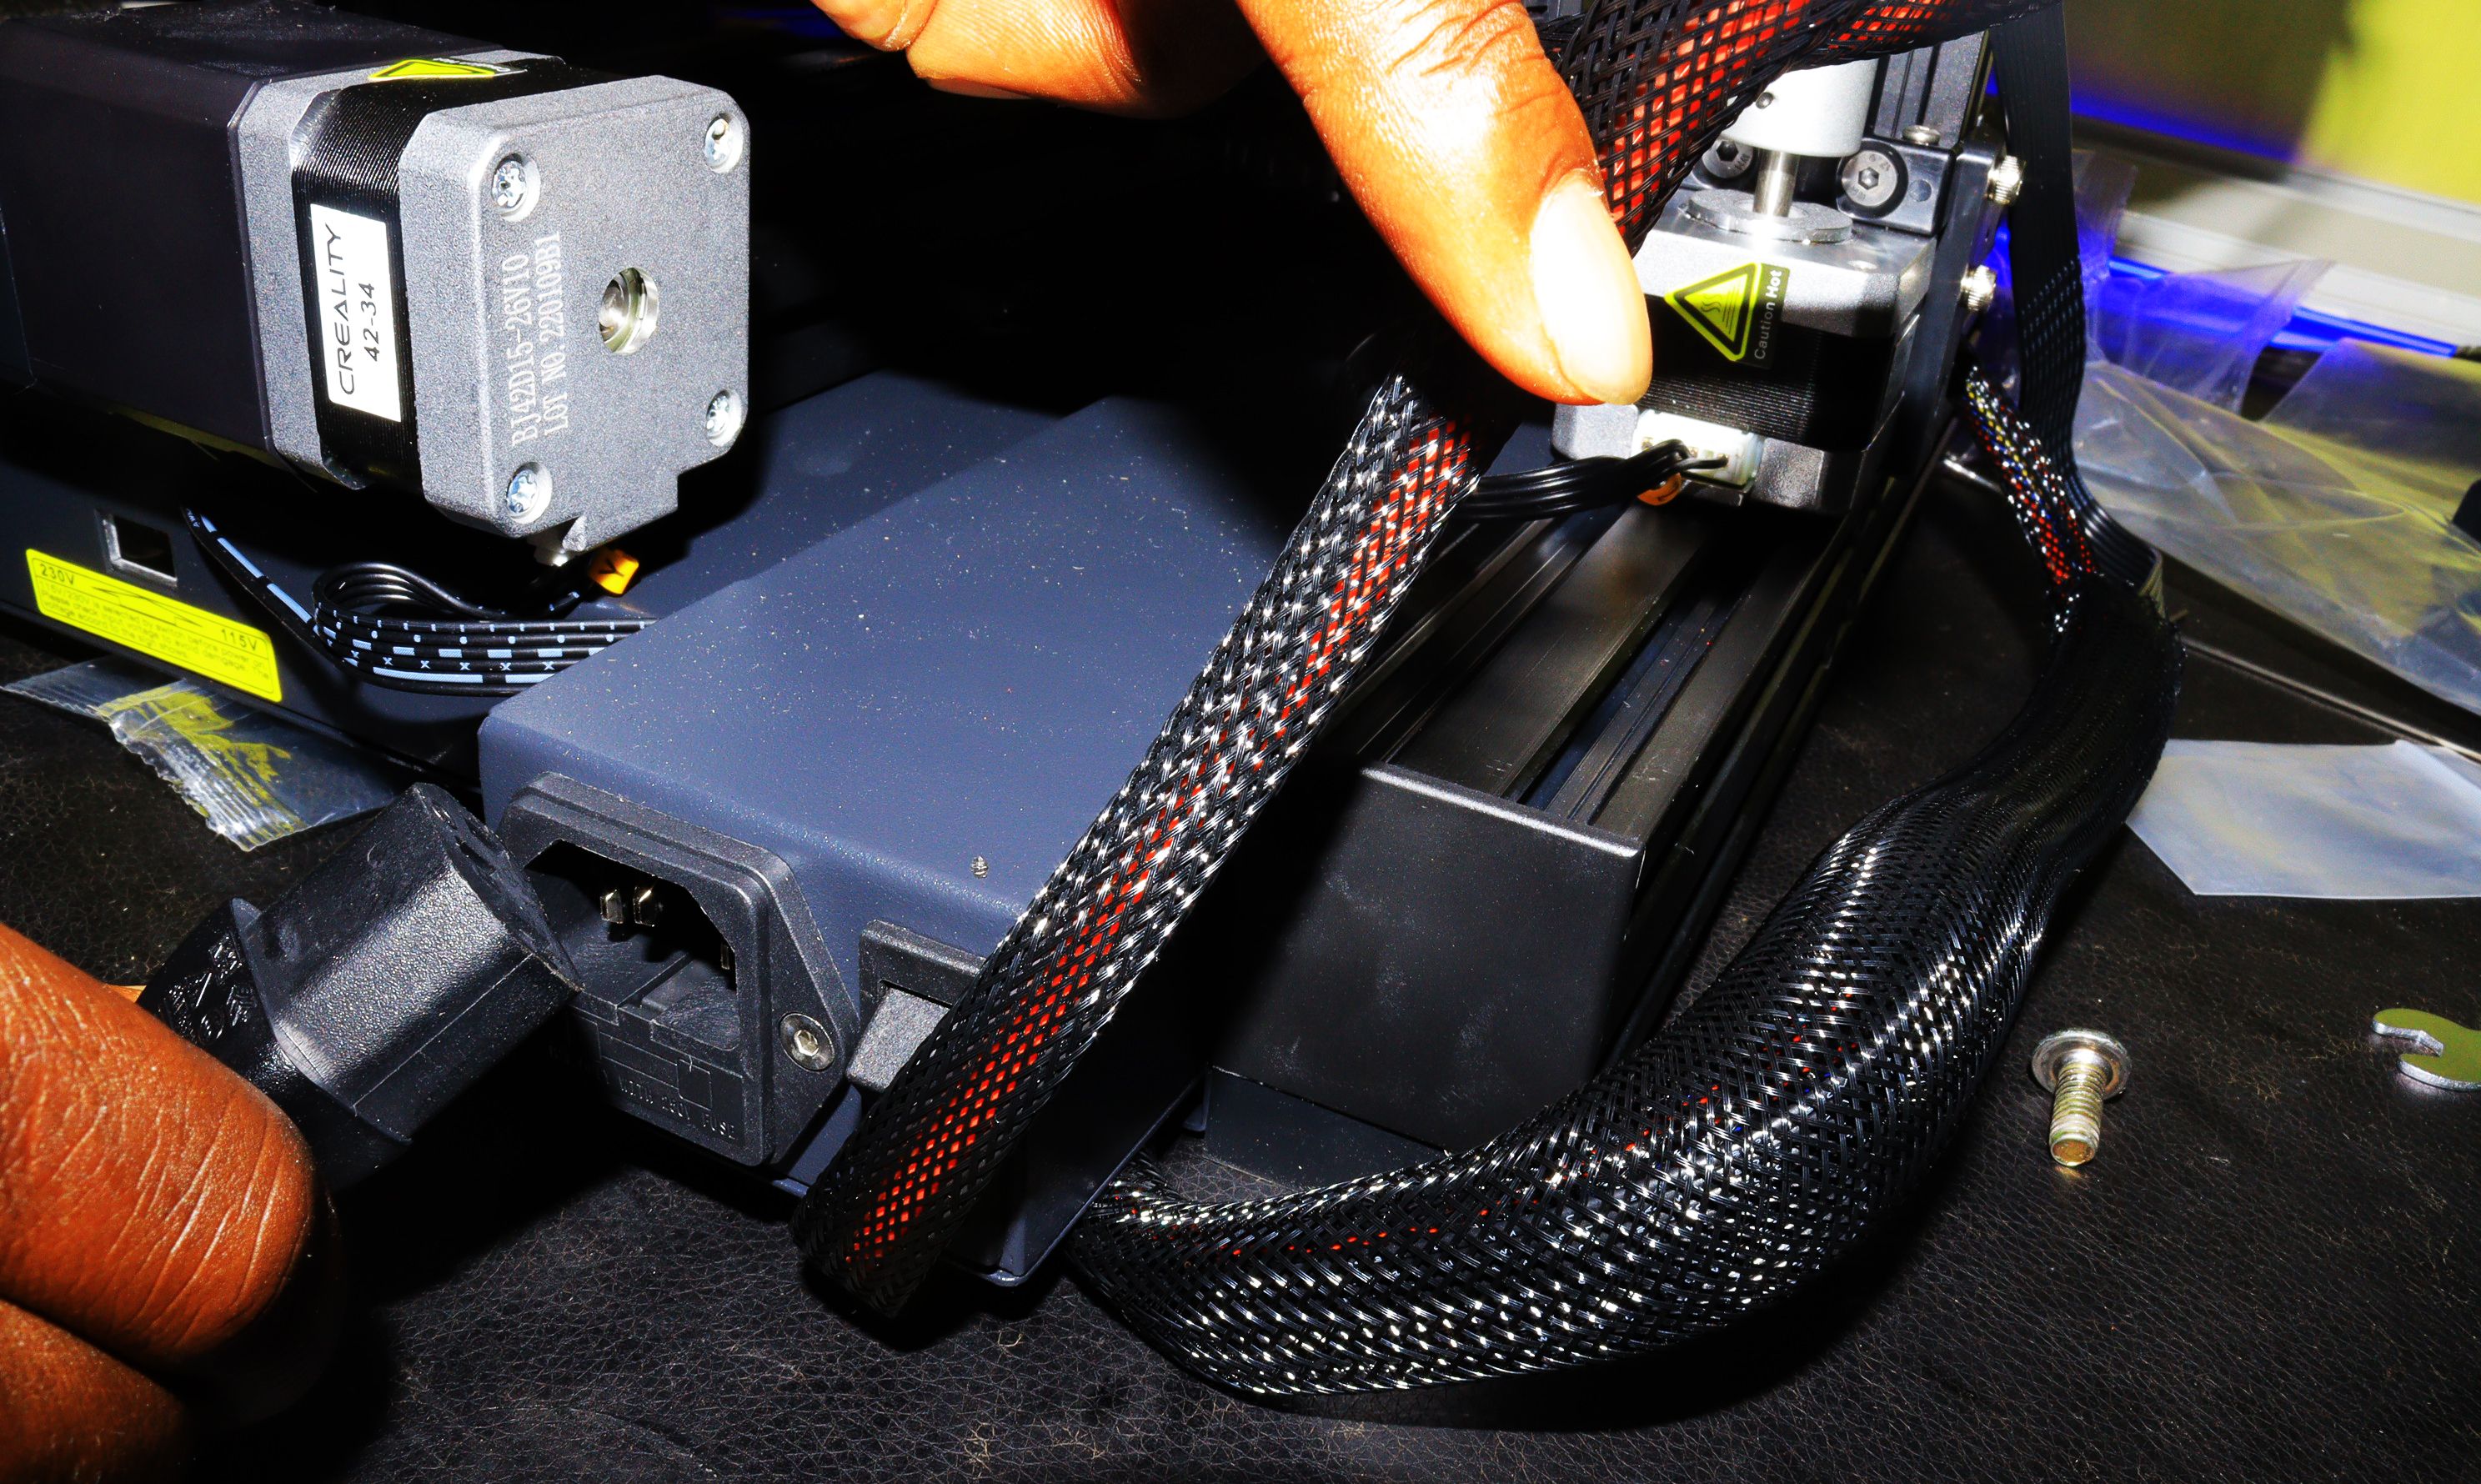
Image Credit:Creality/YouTube
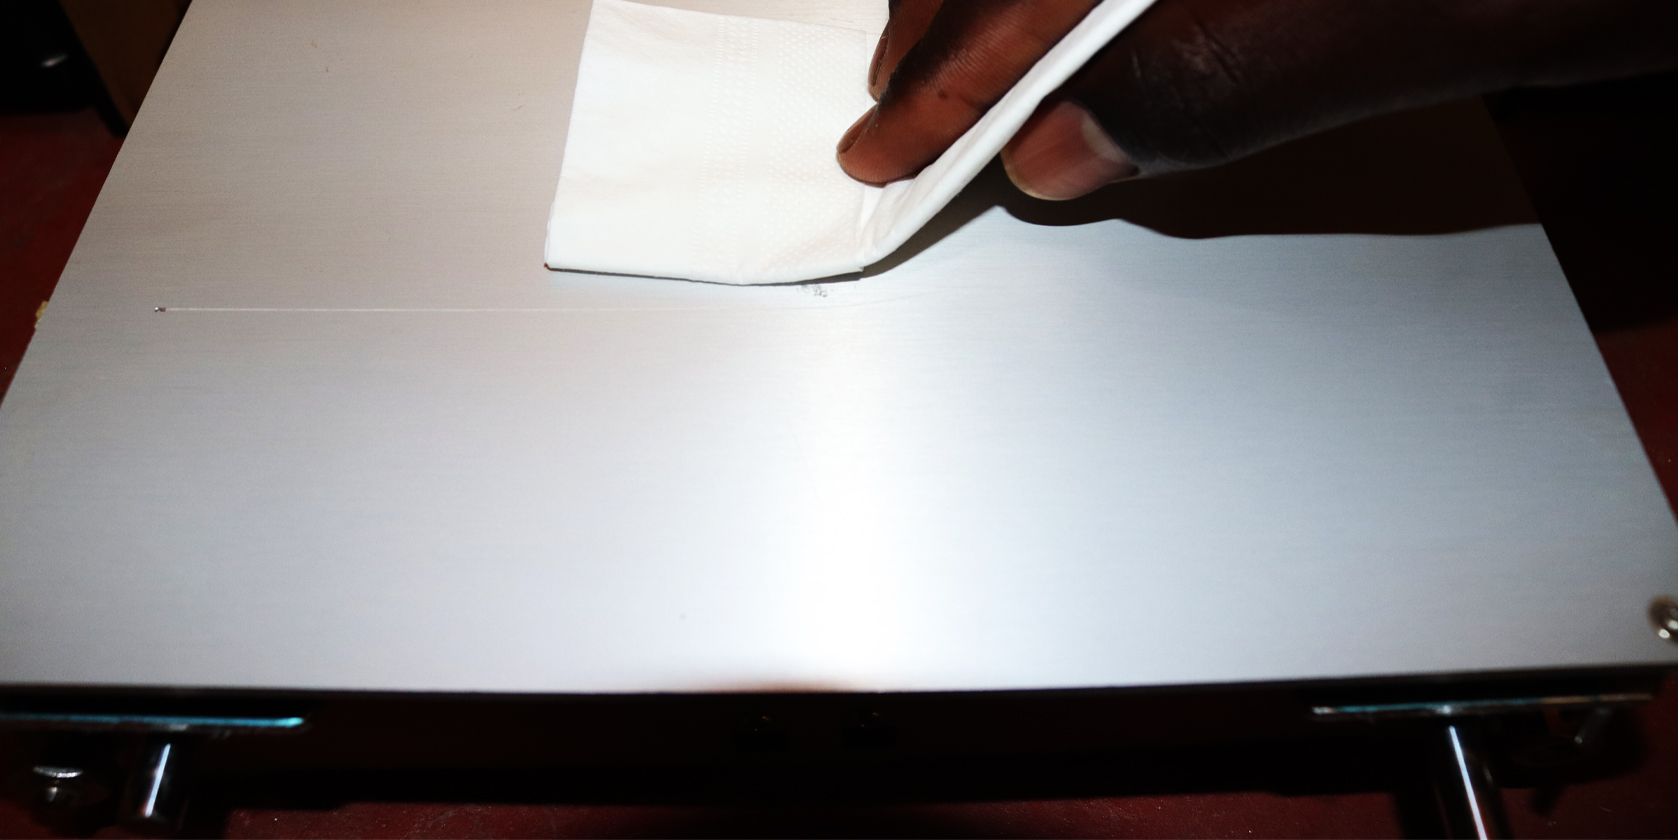
Let the cleaning solution soak the bed for a few minutes to remove any embedded dirt and grease.
This spot is usually where the bed is level.
Set the Allen wrench down, align it with a second screw, and repeat the process.
A good example of a test print is theBed Leveling Calibration Objectcreated by MyPc67.
This object is ideal for gauging your printer’s ability to achieve a smooth and flat surface.
Another interesting model is theCHEP Manual Bed Levelcreated by CHEP.
It’s a model that was designed specifically for Ender 3 Series machines.
If your 3D printer prints that model successfully, it means your bed is well-leveled.
you could also use the famous3DBenchy.
The steps we have described above are for manual bed leveling.
If your 3D printer has an automatic bed leveling capability, you could use it too.
But what is automatic bed leveling?

These probes send and receive electromagnetic pulses, allowing them to measure changes in the distance accurately.
Once they know the location information, the controller software processes it and makes any necessary adjustments.
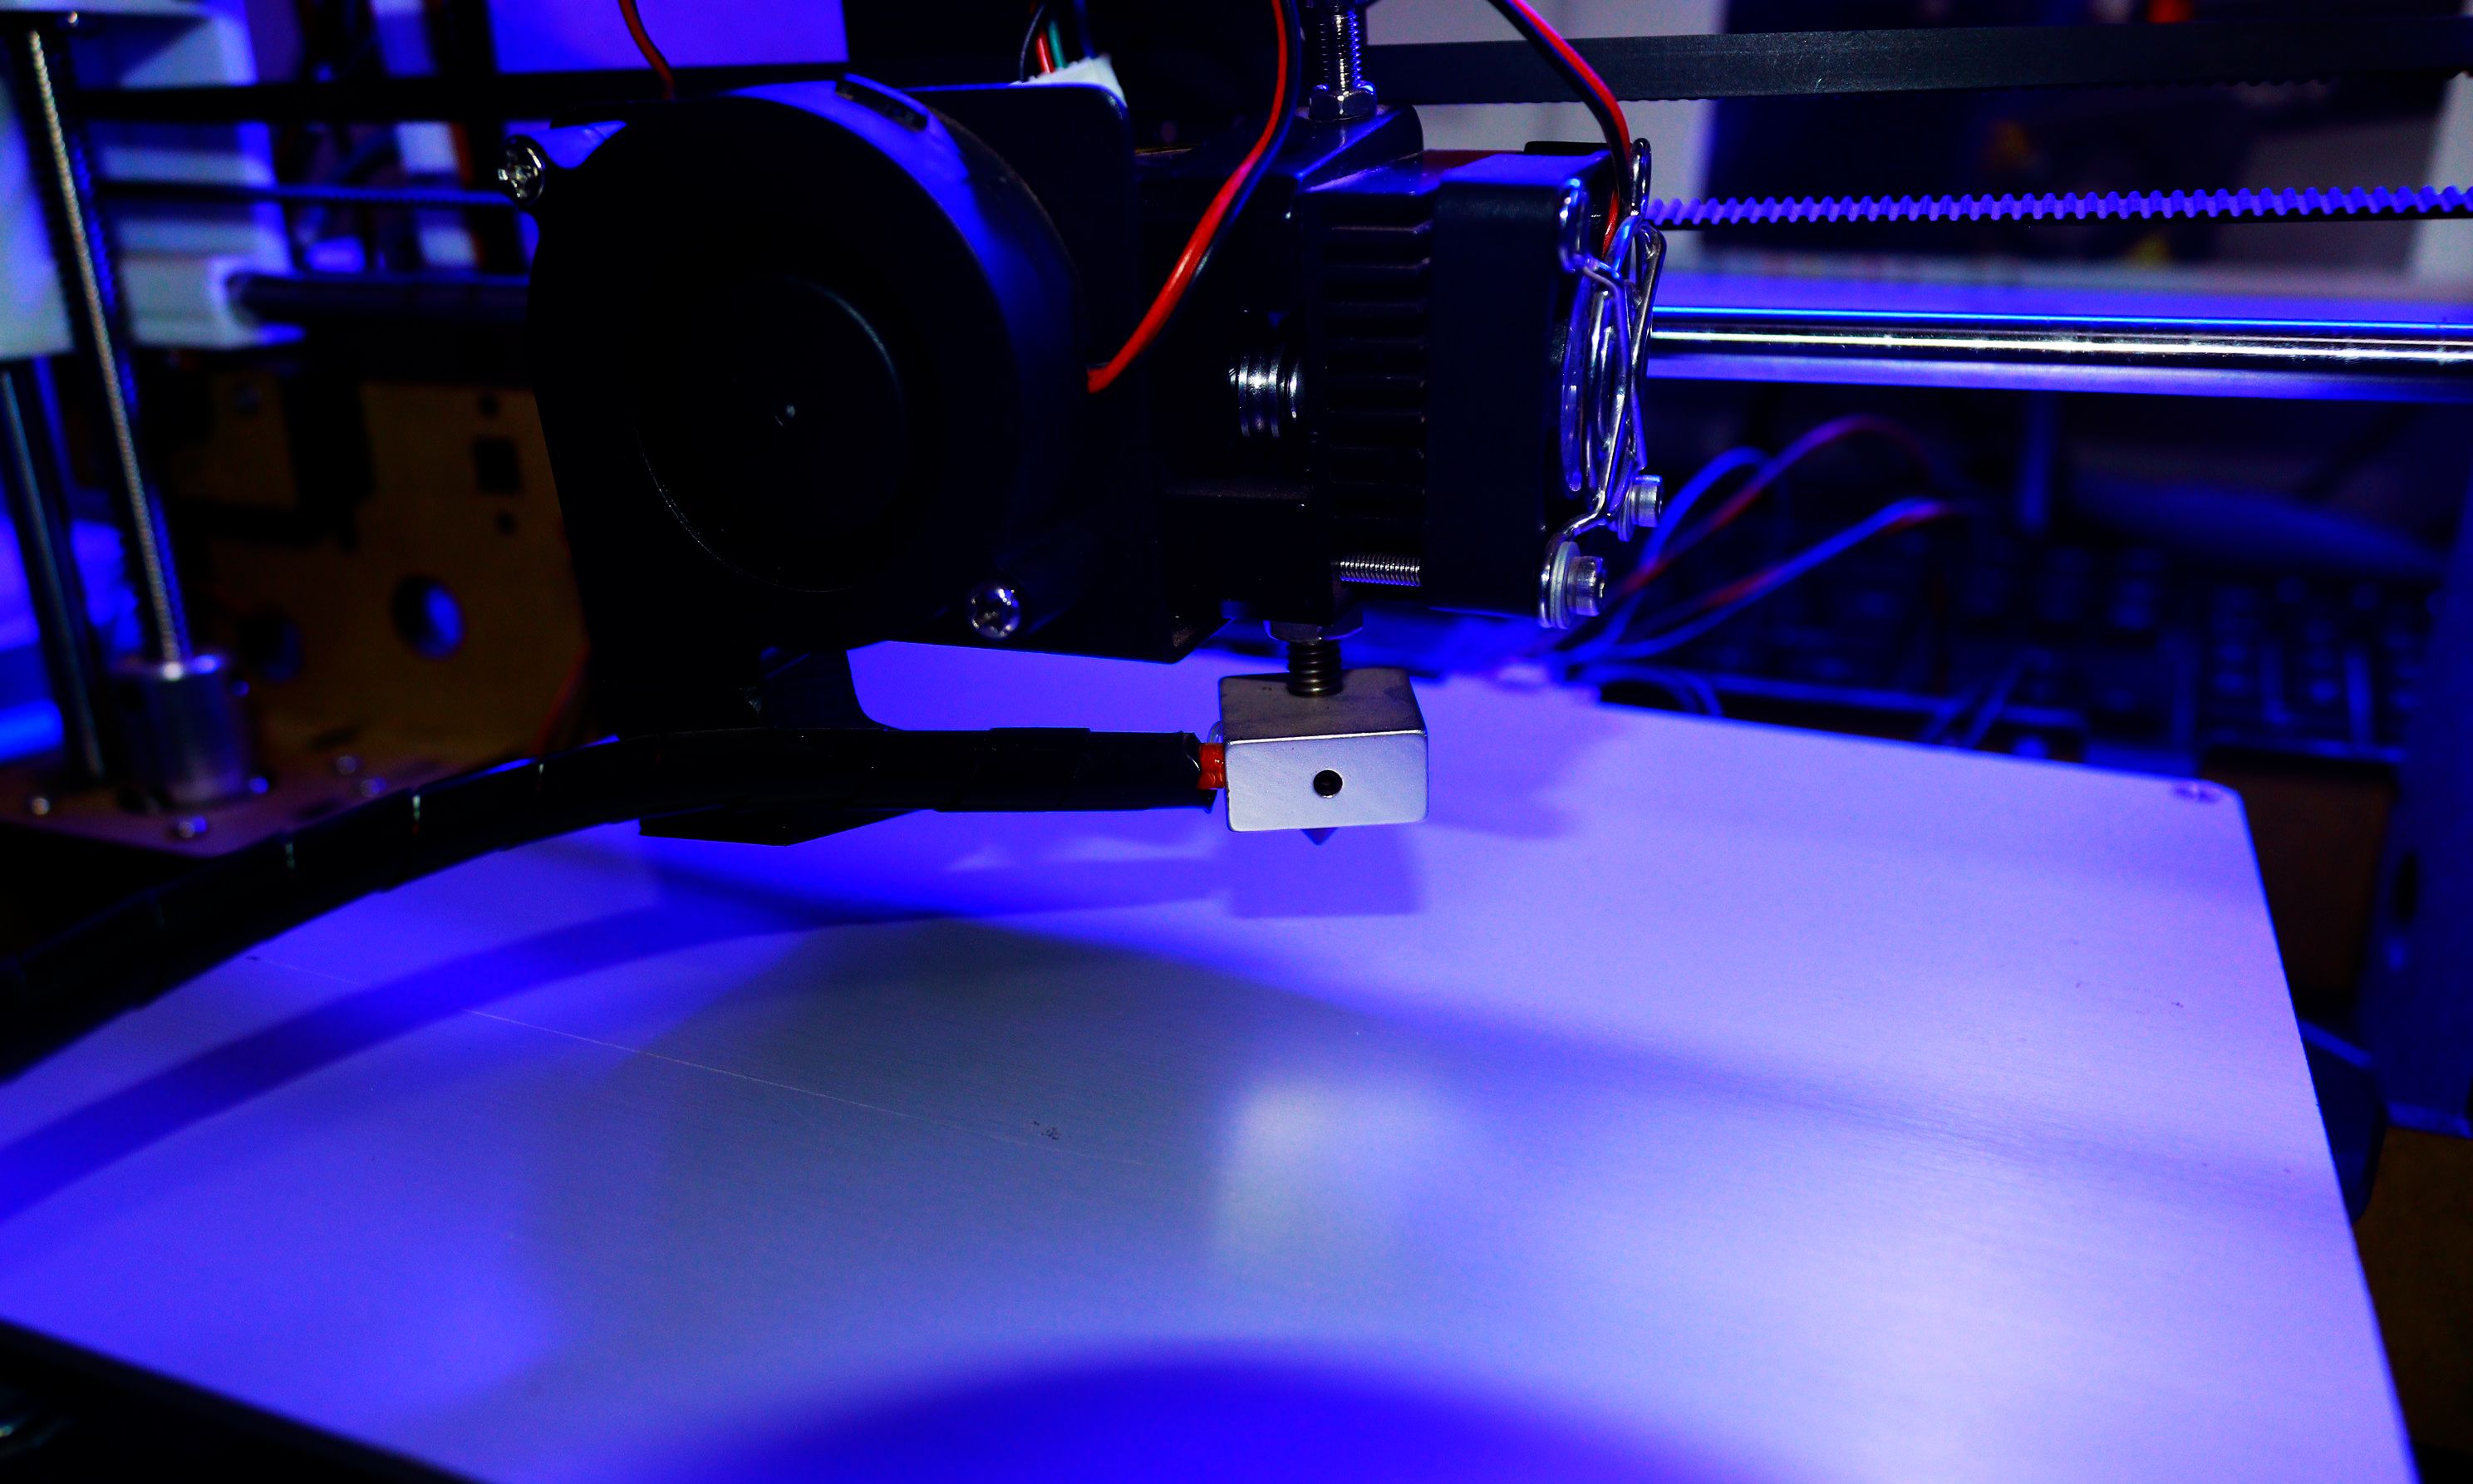
Leveling your bed is one step that ensures that the final design comes out smooth and crisp.
It also helps to prevent errors such as warping or curling.
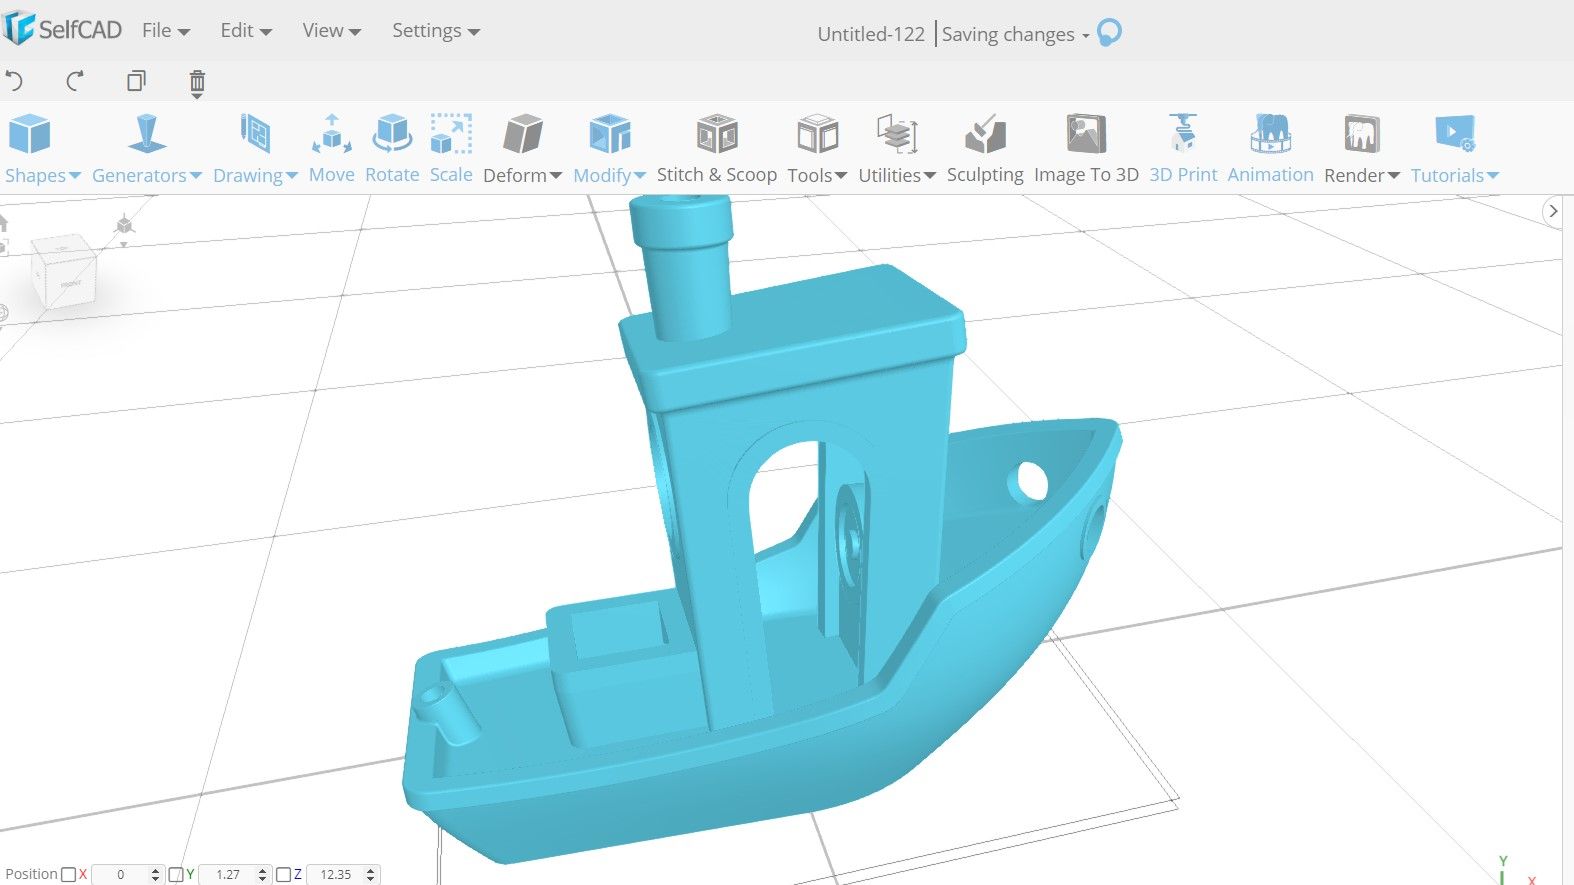
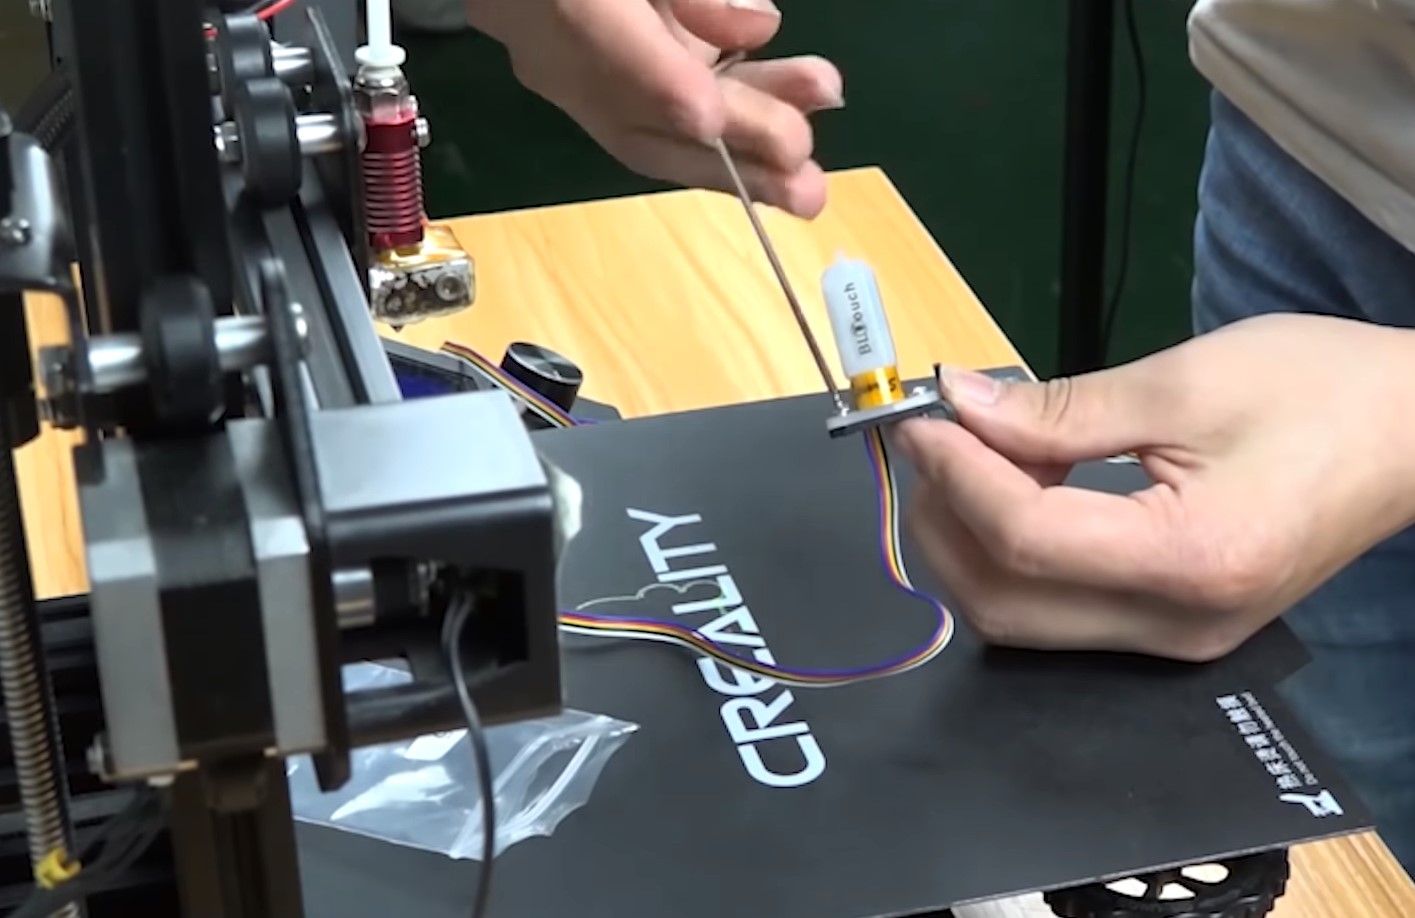
Image Credit:Creality/YouTube
