Building a custom authentication system can be a daunting task.
It requires a deep understanding of authentication protocols, and user authentication and authorization processes.
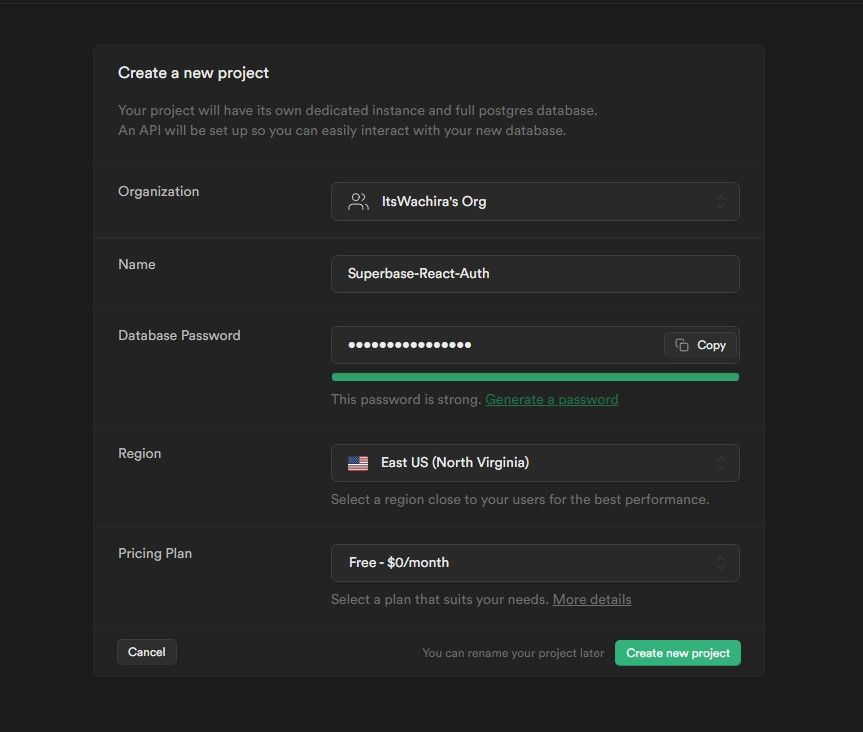
Supabase is an open-source Firebase alternative that provides a cloud-based development platform.

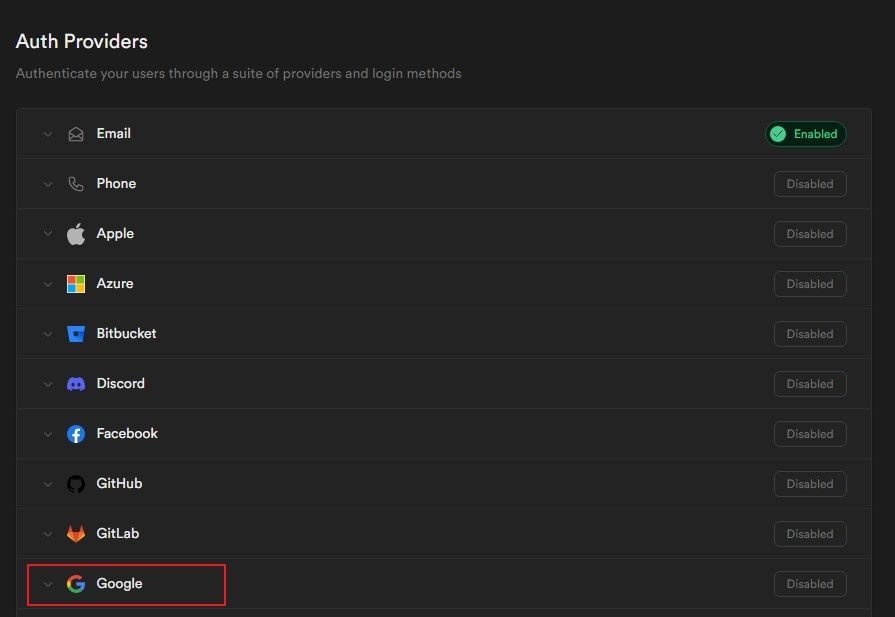
Supabase by default provides an email provider.
Additionally, you might add other providers such as Google, GitHub, or Discord depending on your preferences.
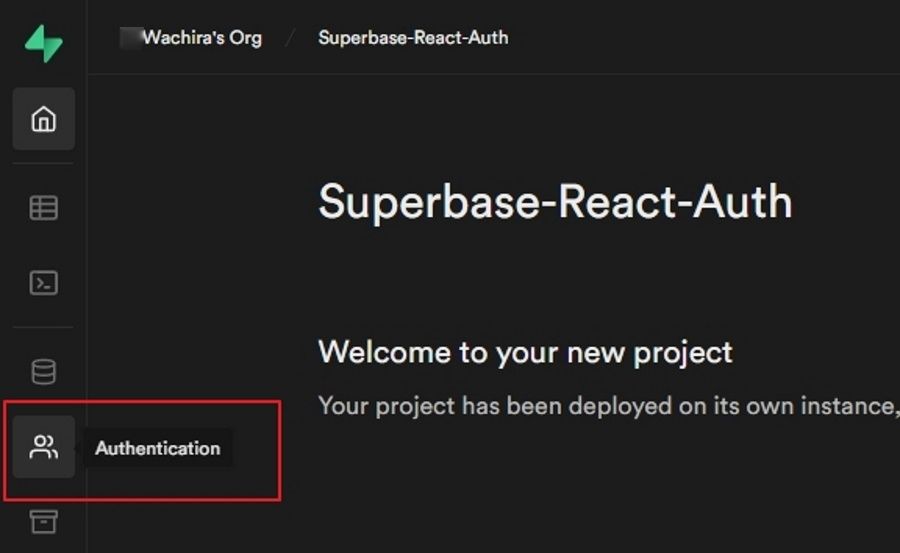
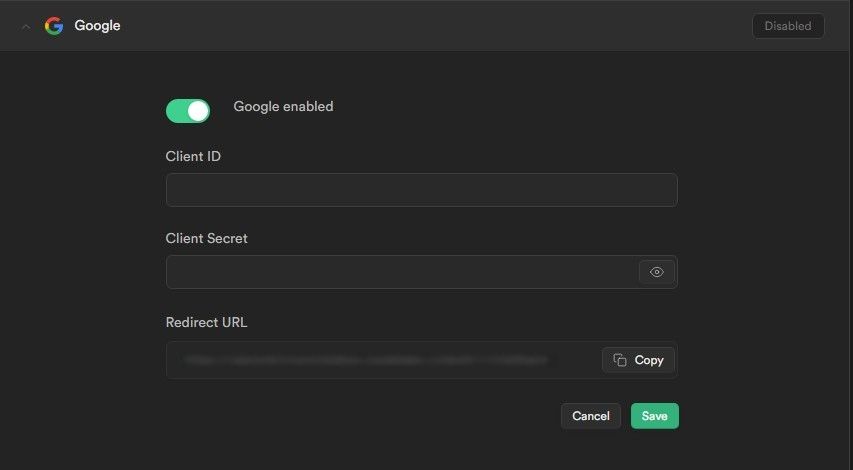
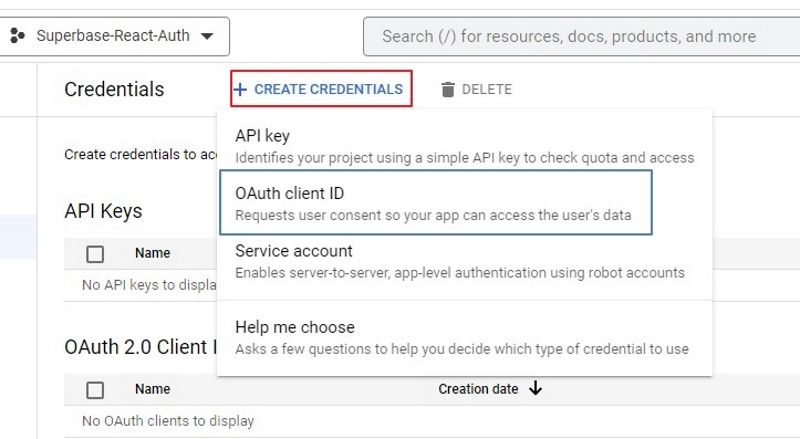
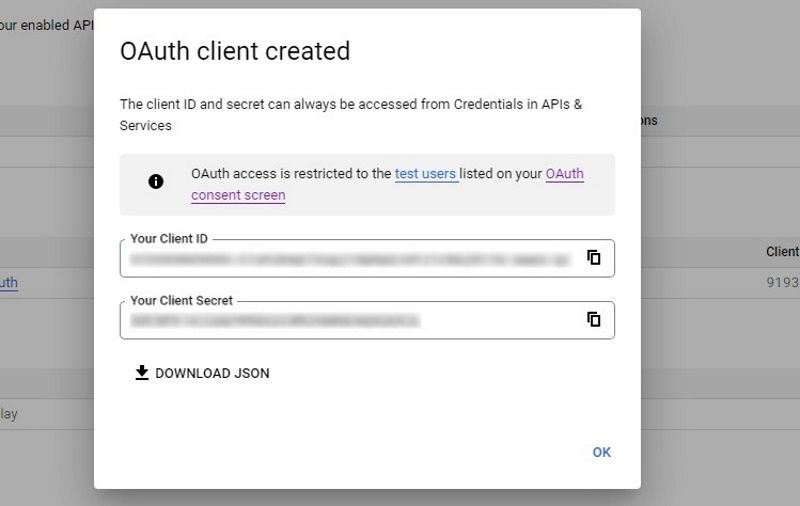
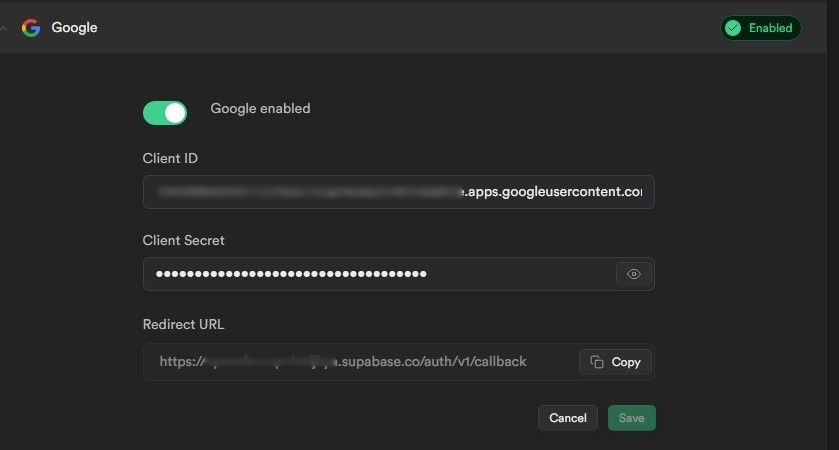
This tutorial will demonstrate how to set up a Google Provider.
Inside this folder, create two files: Login.js and Success.js.
In the login.js file, add the code below:
Let’s break it down:
4.
In the Success.js file, add the code below:
5.
Configure the Page Routes
Finally, configure the routes for both the login and success pages.
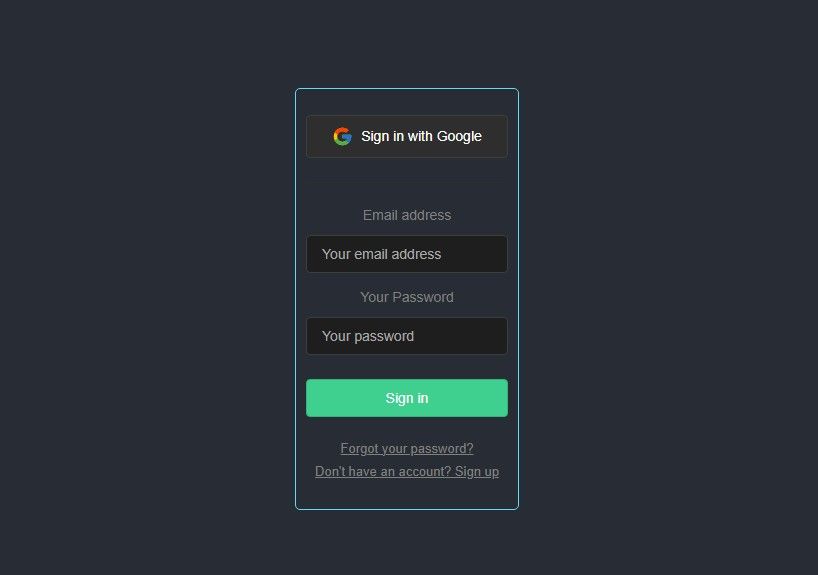
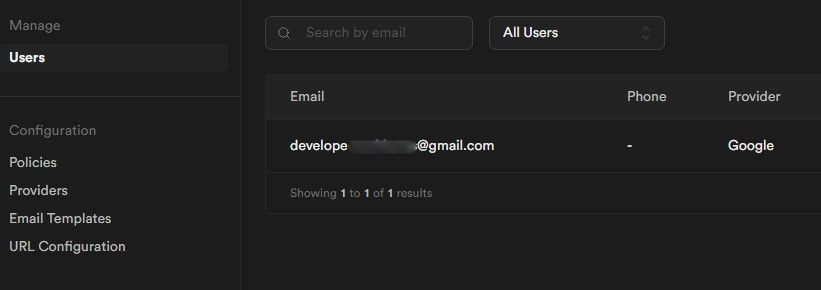
When they sign in using their credentials, Supabase will validate the details against the credentials used to signup.
With its intuitive dashboard and robust API, Supabase is a powerful tool for building scalable and secure applications.