Getting a local WordPress server up and running is surprisingly complicated.
If you’re a seasoned developer, it makes sense to set up a local server withXAMPP or WAMP.
So I recommend you skip this tedious process.
Instead, create a free virtual WordPress installation on a Cloud9 server space.
There’s no coding required.
No need to download specialized software.
You’ll be tinkering with a WordPress installation –customizing themesandadding plugins– in just a couple of minutes.
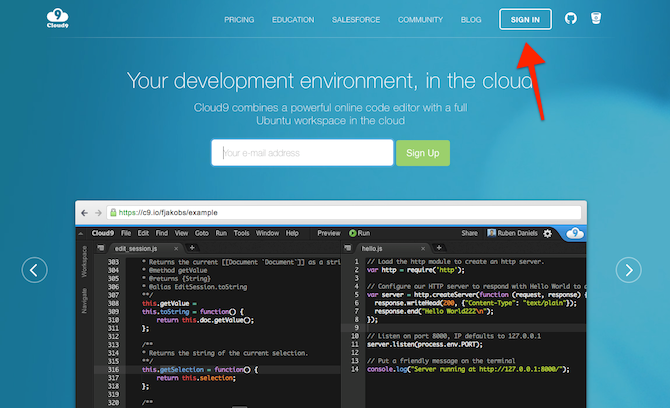
What Is Cloud9?
Cloud9is a cloud-based development environment.
It lets you code in more than 40 languages on servers hosted by the website.
What’s relevant is the fact that Cloud9 lets you create basic workspaces for free.
Plus, installing WordPress on a workspace is just a one-click affair.
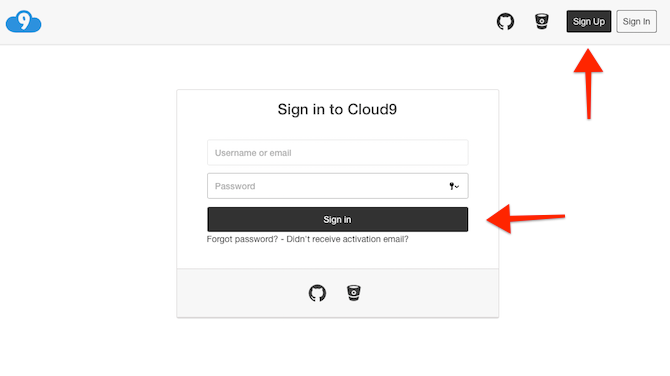
Step 2:On the next page, sign up.
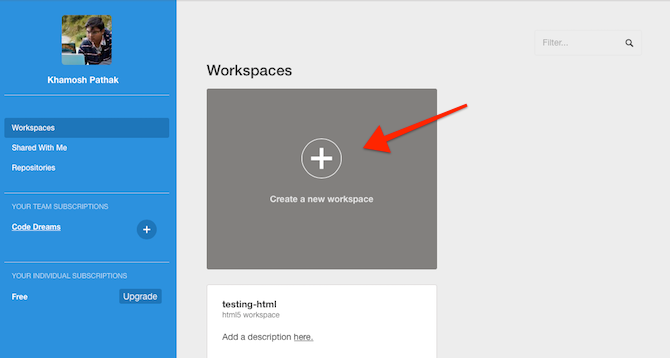
Step 3:Once you’re signed up, you’ll see yourWorkspaceson your account page.
Click onCreate a new workspace.
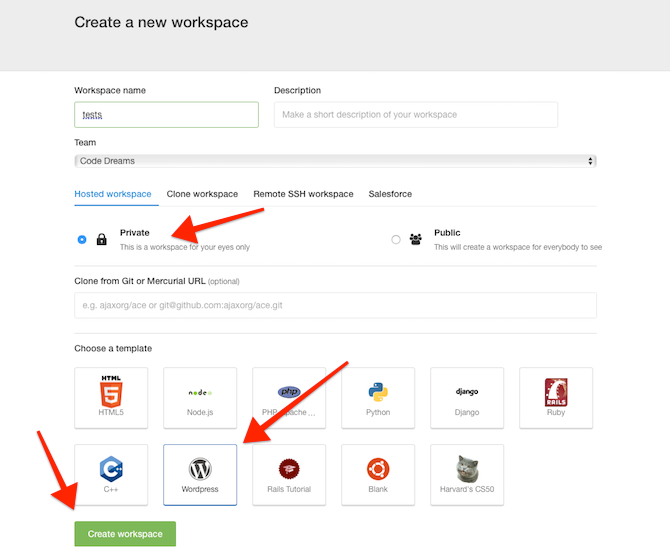
Step 4:Give your workspace a name and opt for team (if any).
Now in the template section, tap on WordPress.
Step 5:Wait while Cloud9 whips up a new virtual server out of thin air.
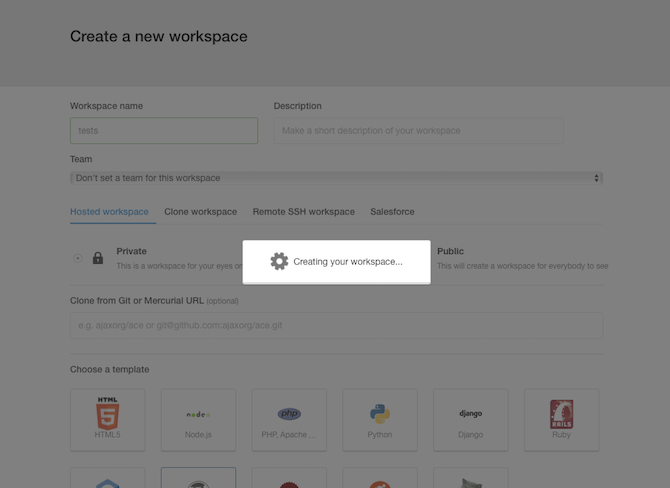
Take this time to appreciate the wonders of technology.
Step 6:You’ll now land in what’s called an IDE.
Feel free to ignore all the code.

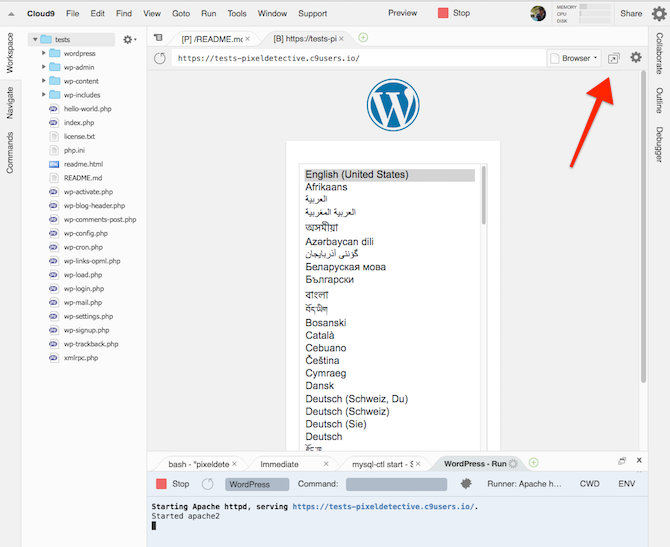
Just select theRun Projectfrom the top toolbar.
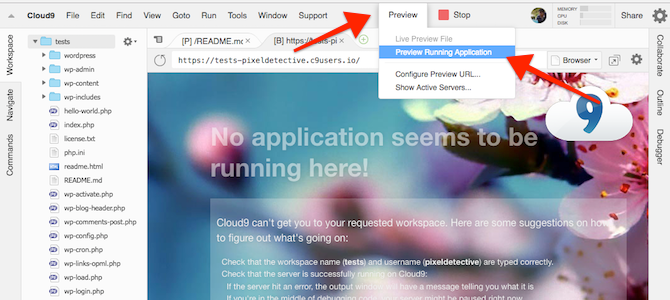
Step 7:The server is now running.
Click onPreviewand selectPreview Running app.
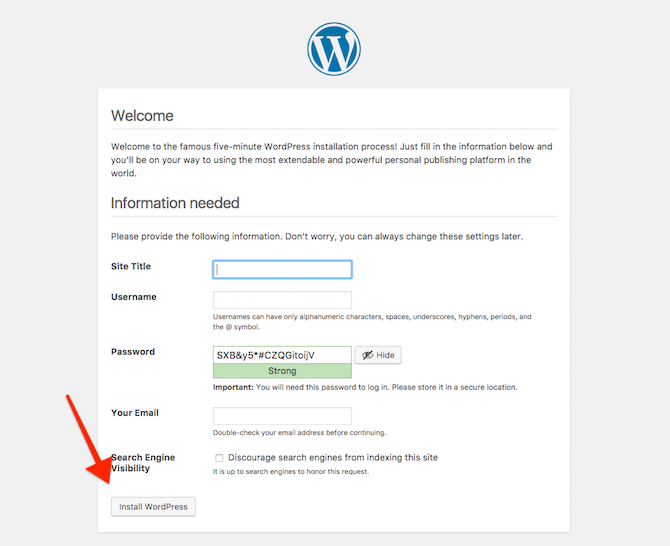
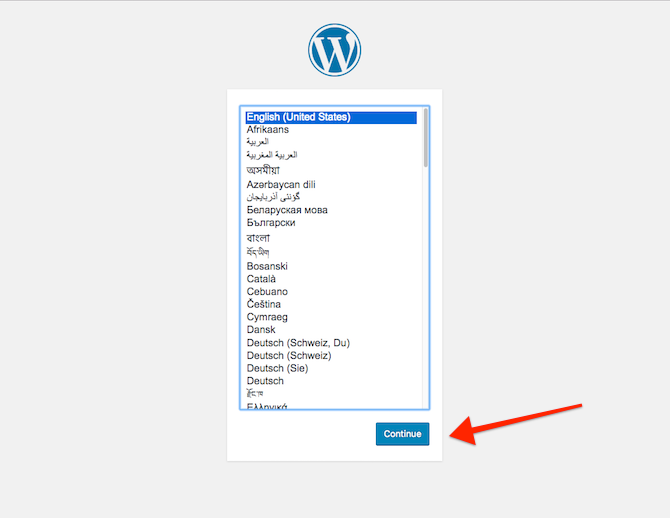
Step 8:Your WordPress installation is now running inside the IDE.
you could see the setup screen here.
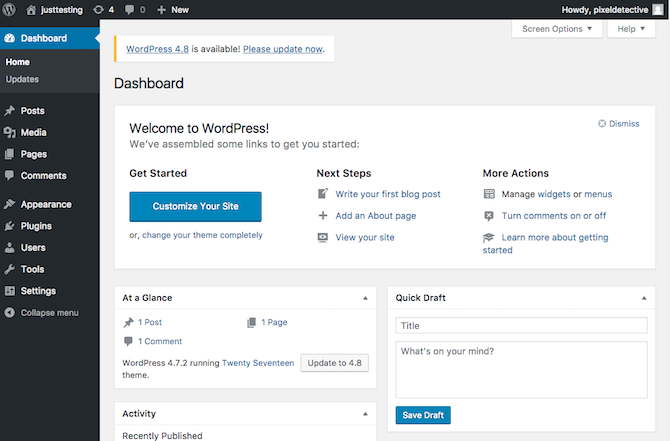
Step 3:And there’s your WordPress dashboard.
you’re able to install themes, customize them, write blog posts, and more.
As long as your Cloud9 workspace is live, so is the WordPress install.
Yes, this is not a live site, but it’s fully equipped for all your experimentation.
Now Level Up Your WordPress Game
A virtual installation is a good playing ground.
Image Credits: Maksym Povozniuk/Shutterstock