Windows 11 system updates typically include security patches, new features, bug fixes, and overall performance improvements.
These updates ensure that your PC runs smoothly and securely all the time.
In this post, well walk you through four different methods for installing Windows 11 updates.
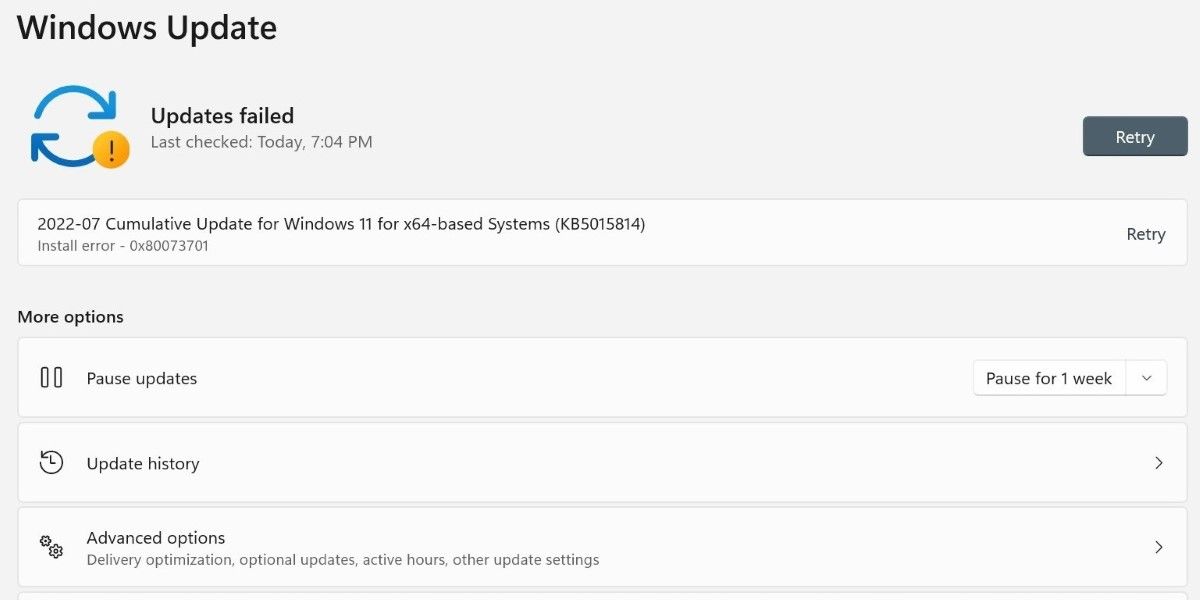
Here’s how you’ve got the option to go about it.
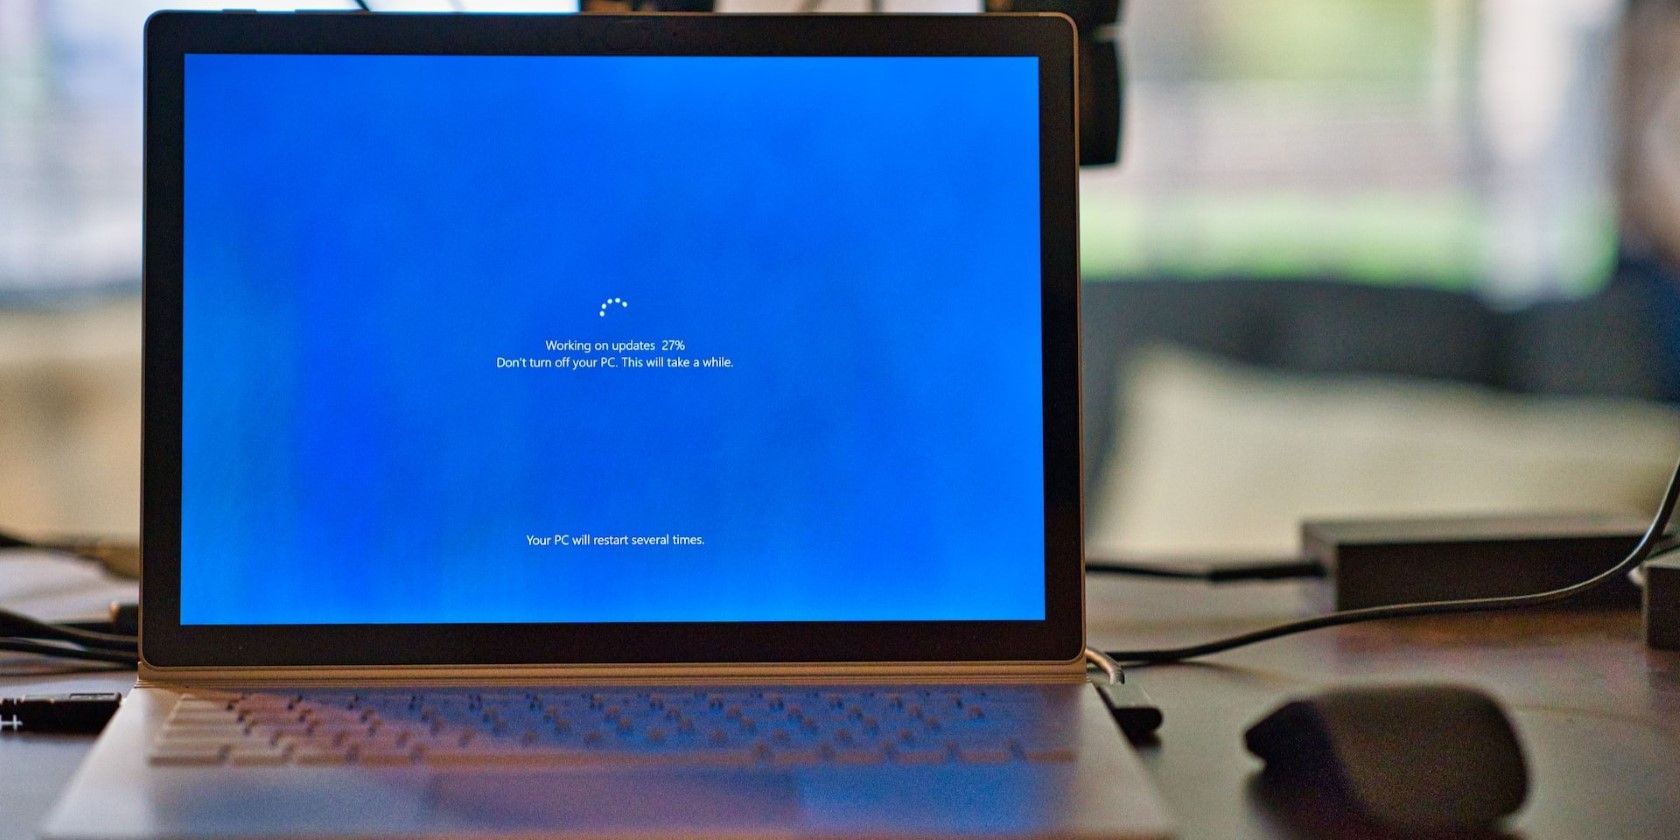
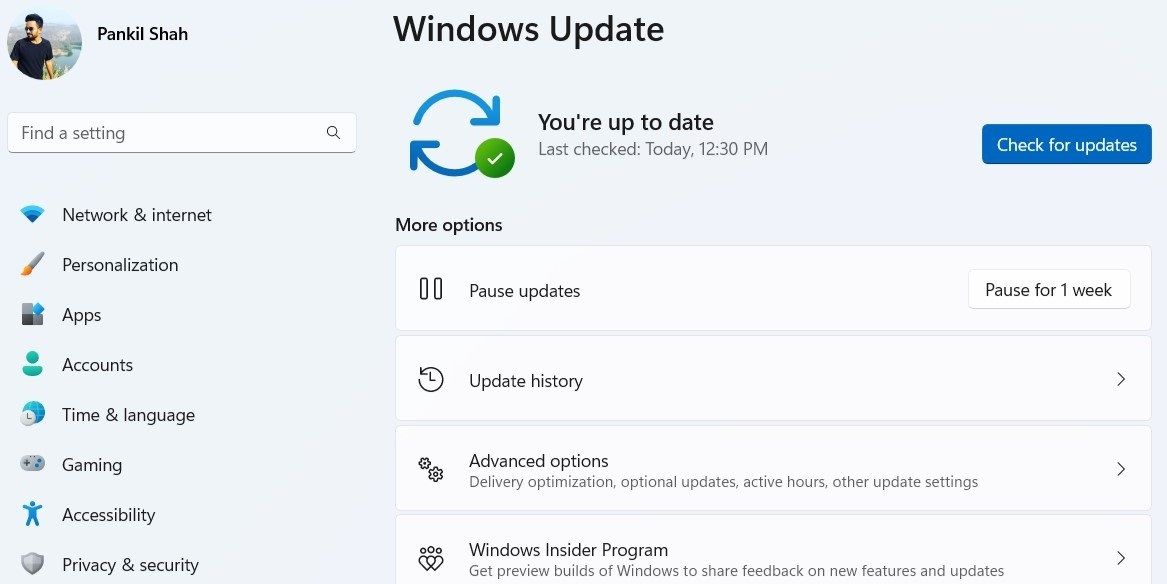
Windows will start looking for new updates and download them.
Once downloaded, click theRestart nowbutton to allow Windows to drop in the updates.
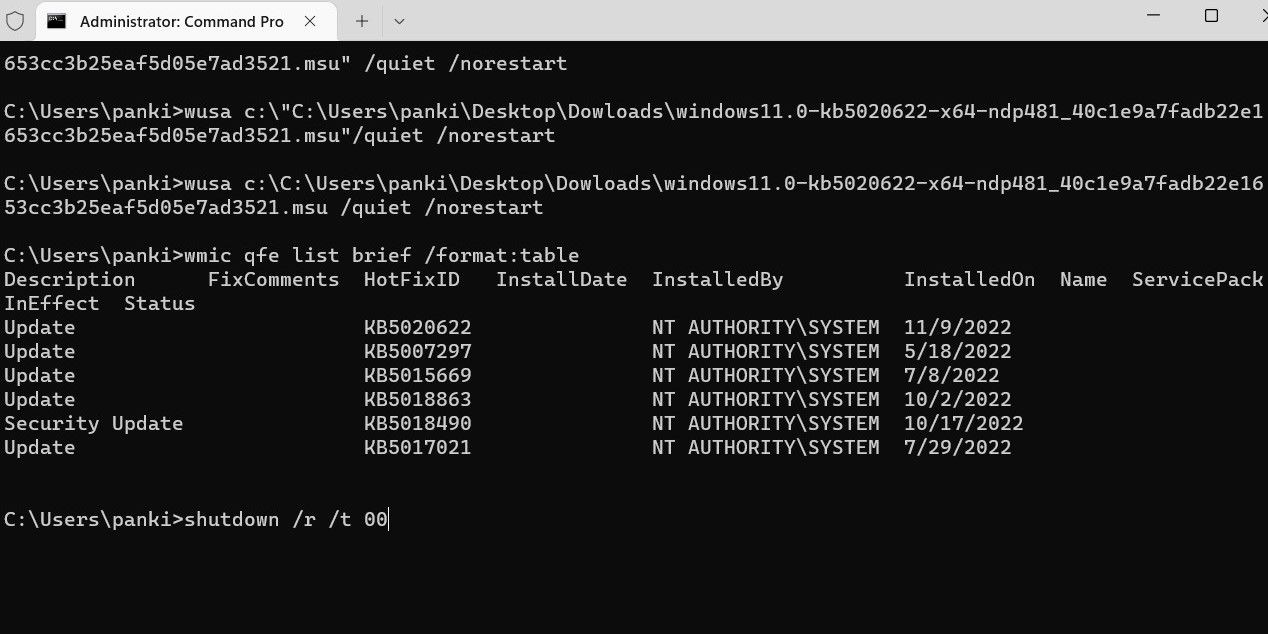
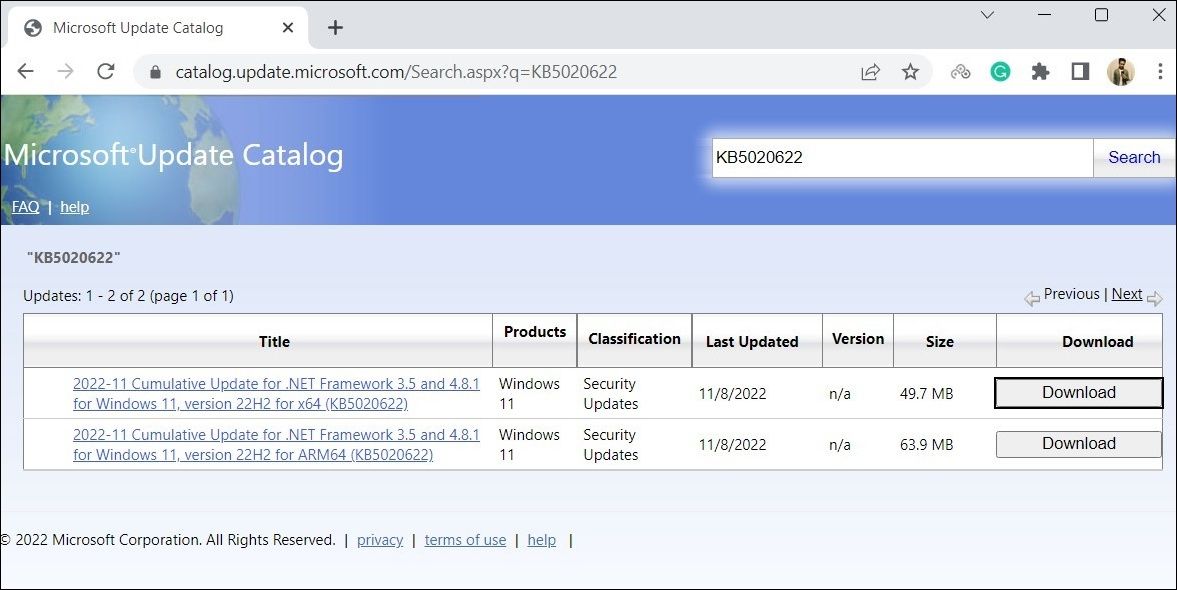
To do so, you oughta know the KB (Knowledge Base) number associated with the update.
Once you do that, you will have updated your Windows 11 PC to its most recent version.
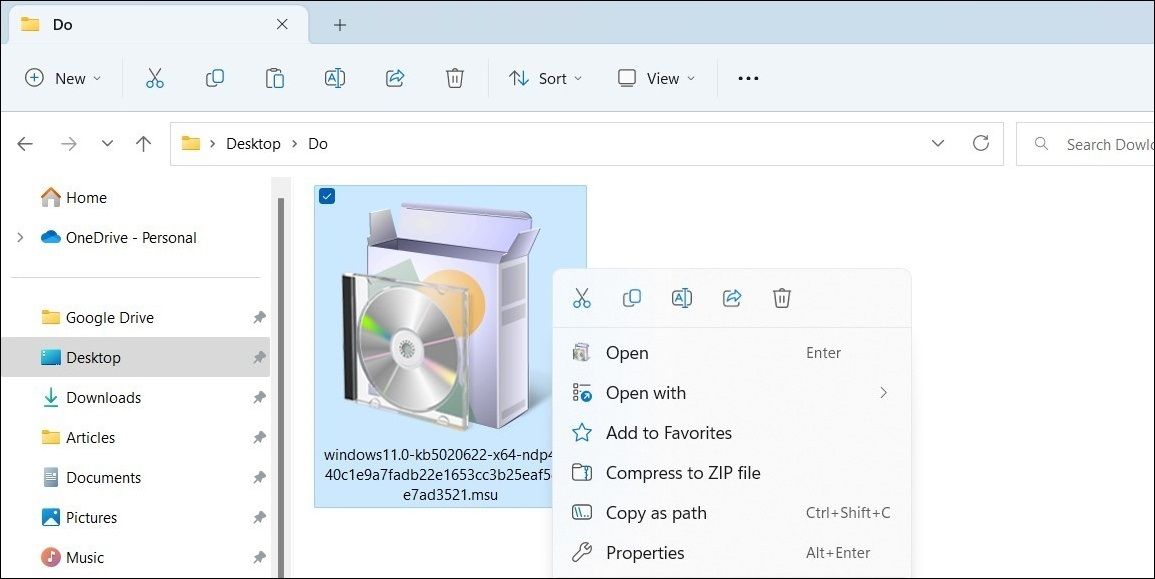
Don’t worry, installing Windows 11 updates via Command Prompt isn’t as difficult as it may sound.
Here are the steps you gotta follow.
Your PC will now reboot, and the update will be applied.
Like using Command Prompt?
Check our guide onhow to master Command Prompt on Windows.
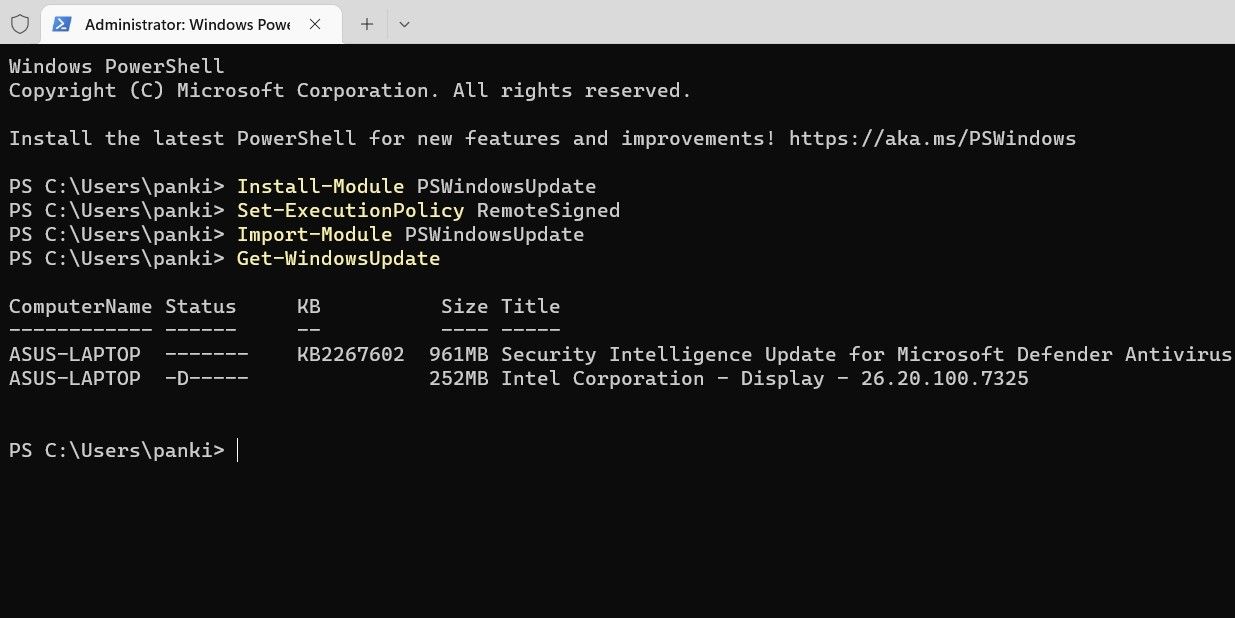
Install Windows 11 Updates Using PowerShell
PowerShell is another option for installing Windows 11 updates.
Unlike Command Prompt, Windows PowerShell does not require you to download the MSU file first.
To install Windows 11 updates using PowerShell:
Using an outdated version of PowerShell?
Check outhow to install or update PowerShell on Windows 11.