Raspberry Pi OS is based on Debian, a Linux operating system.
Most other operating systems youve seen or used on the Raspberry Pi are Linux-based.
But what if you wanted to use a different approach?

What if you wanted to run Windows on the Raspberry Pi?
Incredibly, however, it can be done.
Why Would You Install Windows on a Raspberry Pi 4?
Using a Raspberry Pi typically means embracing the open source world of Linux.
Some cross-platform software may work, as should web-based tools (in the right web app).
This might make you think that running Windows on the Raspberry Pi is a good idea.
Its certainly now feasible, but you should temper your expectations until youve got it running.
As such, you will be limited with what you might achieve.
At best, this is going to run like a very cheap work or college PC.
Which is fair enough, as that’s essentially what it is.
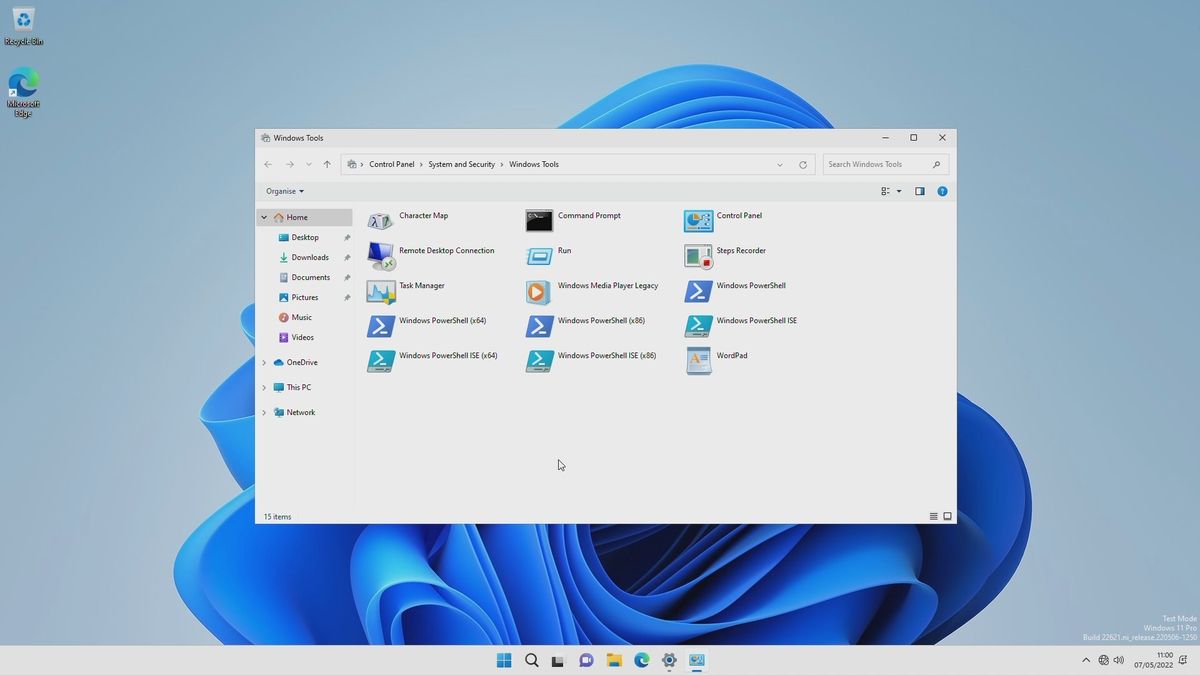
The obvious thing to do on a computer is browse the web.
Can you do this on a Raspberry Pi running Windows 10 or 11?
Oh, and you’re free to still use theRaspberry Pis GPIO pins.
It is feasible to use the WoR-flasher tool with just a Raspberry Pi 4.
First, clone the GitHub repository:
This will install all the required packages.
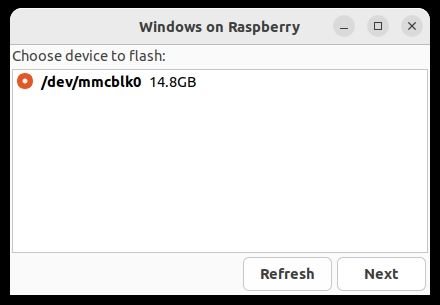
Before proceeding, ensure the microSD card is inserted in your rig.
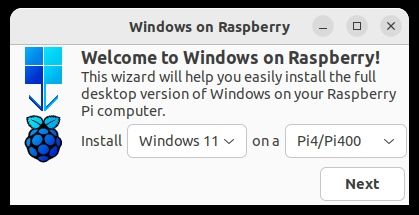
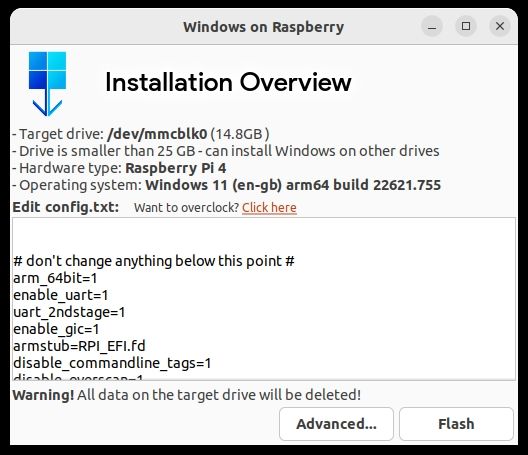
In the Windows on Raspberry box, select your preferred version of Windows, then your Raspberry Pi model.
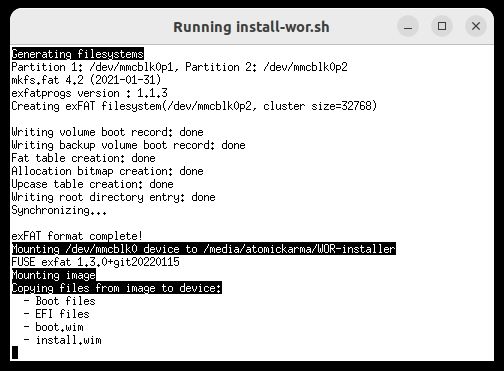
This can take a while, so it is worth finding something else to do while the process completes.
(If you ran the WoR-flasher on your Raspberry Pi 4, simply reboot.)
Booting the Raspberry Pi for the first time with the Windows-based microSD card will take a while.
If your SD card is under 32GB, you will be prompted toSelect the destination diskvia a drop-down menu.
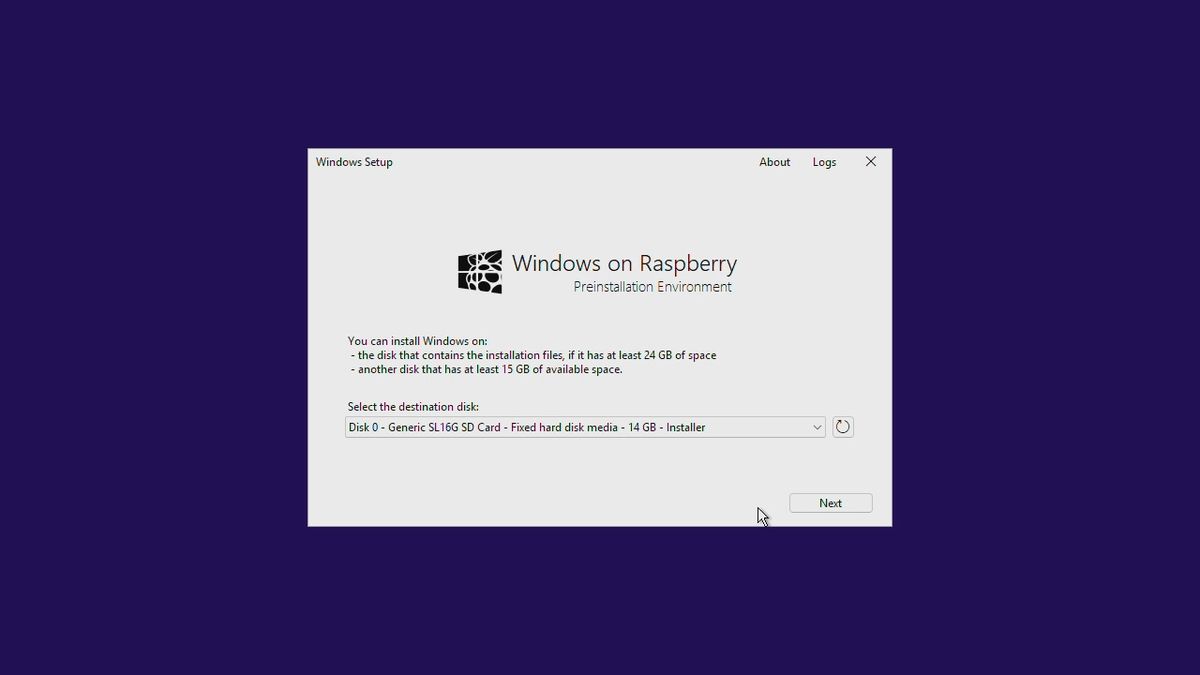
This should be a unit with at least 24GB of space if it contains the installation files.
Alternatively, another disk with at least 15GB of storage can be used.
ClickNextto move onto the next part of the setup.
Here, confirm the editor of Windows to be installed, and clickInstall.
With an SD card of 32GB or more, installation will happen automatically without your input.
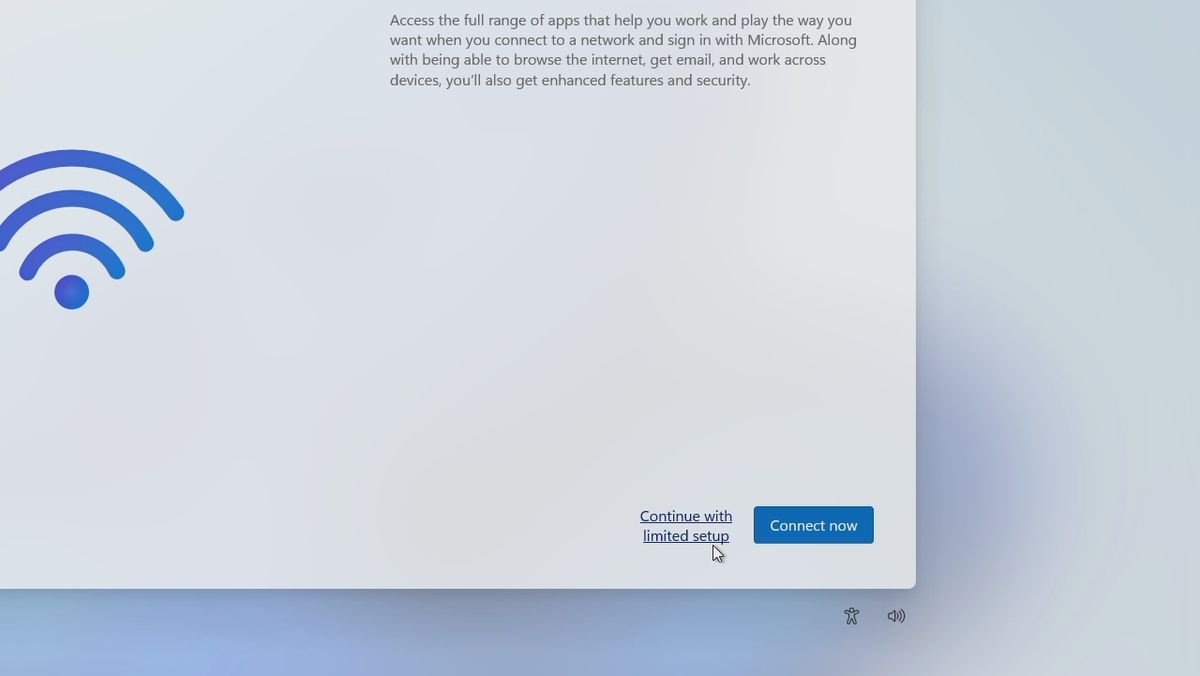
If this doesn’t work, exiting in favor of a internet-free setup is an option preferable.
Proceed with creating a local account, confirming your preference for location-based experiences (e.g.
there is no need to enable Find My gadget) and sending diagnostic data to Microsoft.
You may also prefer to prevent apps using your assigned advertising ID.
On the other hand, you may be happy with each of these options.
After all, you get to use Windows free for a time.
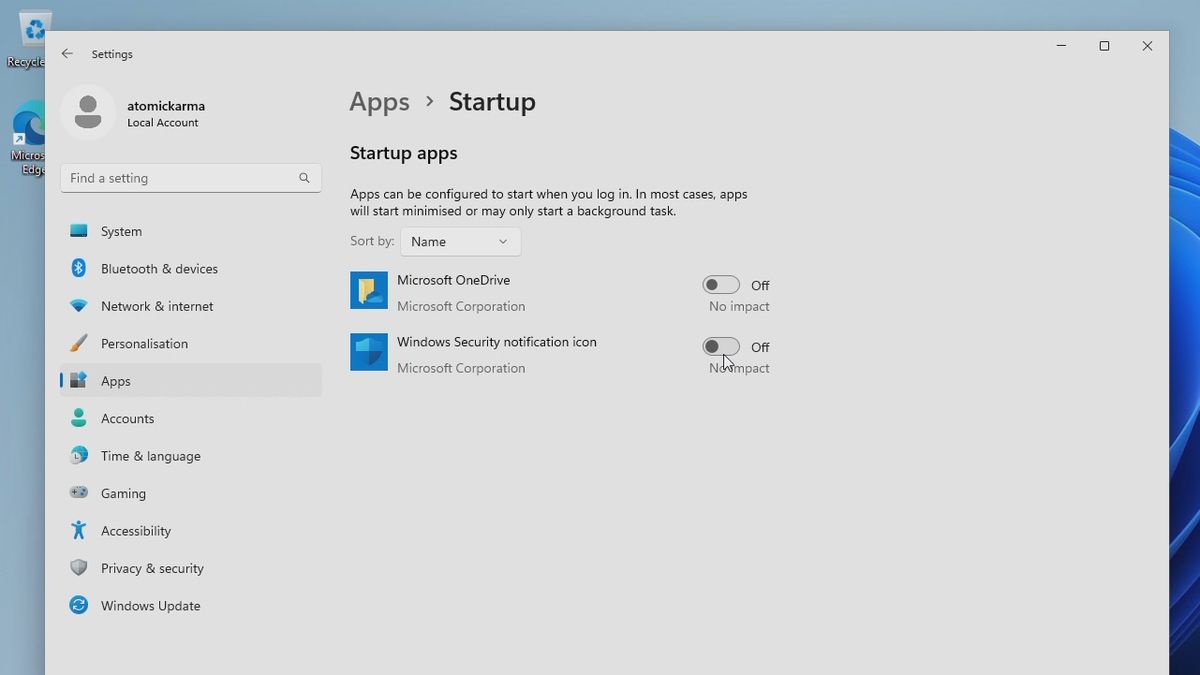
In theStartmenu, jot down startup to find the Startup screen (Startup Apps on Windows 11).
Here, disableMicrosoft OneDriveandMicrosoft Security notification icon.
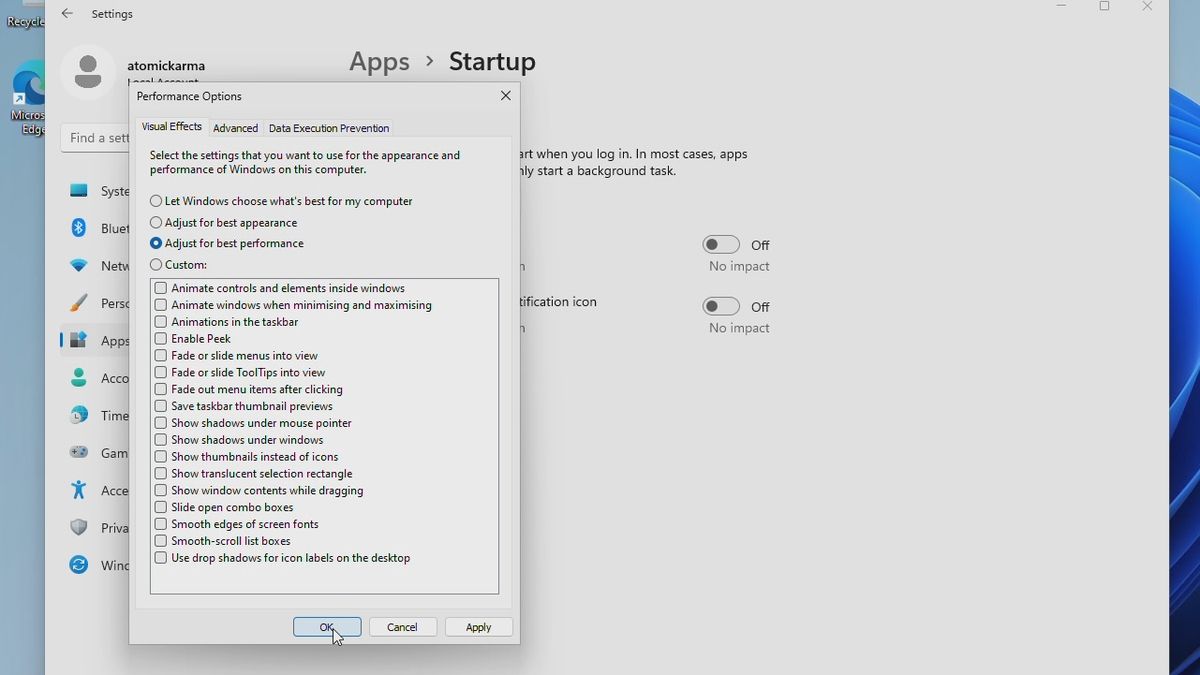
Next, in the search bar, throw in performance and clickAdjust the appearance and performance of Windows.
In the Performance Options screen, on theVisual Effectstab, clickAdjust for best performance, thenOK.
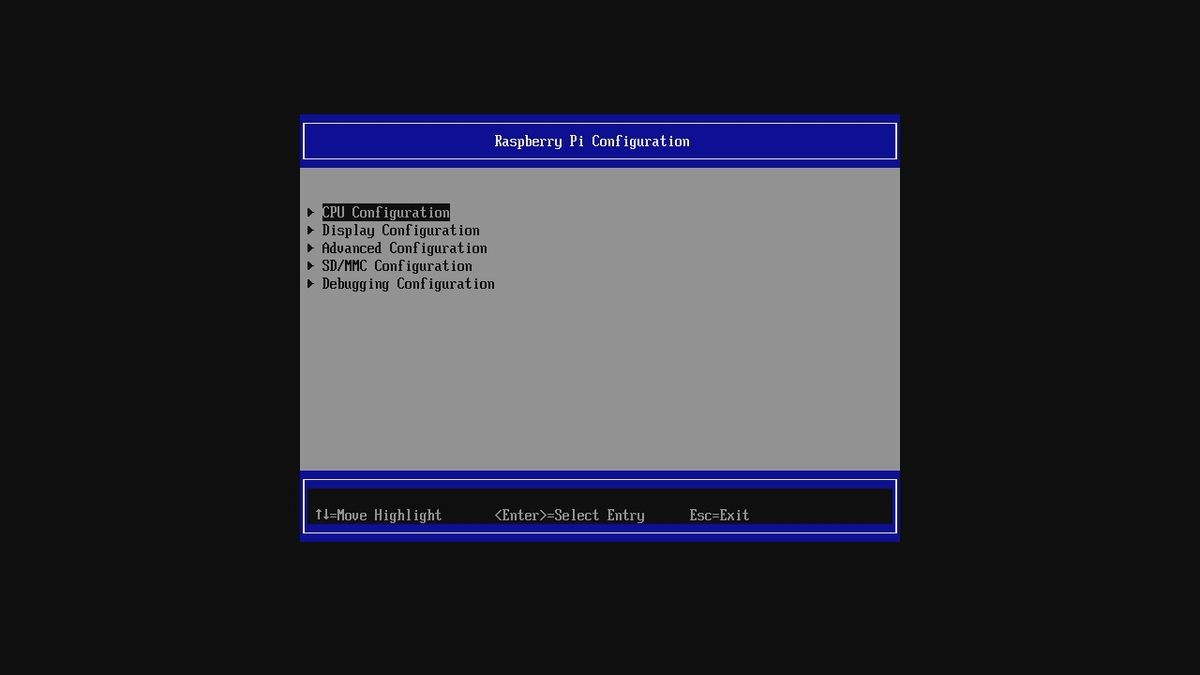
Other options can be found by pressingEscwhen the computer boots.
Another OS Option for Your Raspberry Pi
The Raspberry Pis list if operating systems continues to grow.
For it to support both Windows 10 and Windows 11 is a particularly welcome surprise.
Incredibly, Windows 11 on a Raspberry Pi works really well.
While youre limited with your choice of software, this is actually true of any Windows-compatible computer.
The Raspberry Pi proves that Windows 10 and 11 can run on low spec, inexpensive computers.
