Thanks to their creativity, we now have so many options to choose from.
What Is OpenMediaVault?
OpenMediaVault was originally created as a web link attached storage solution.
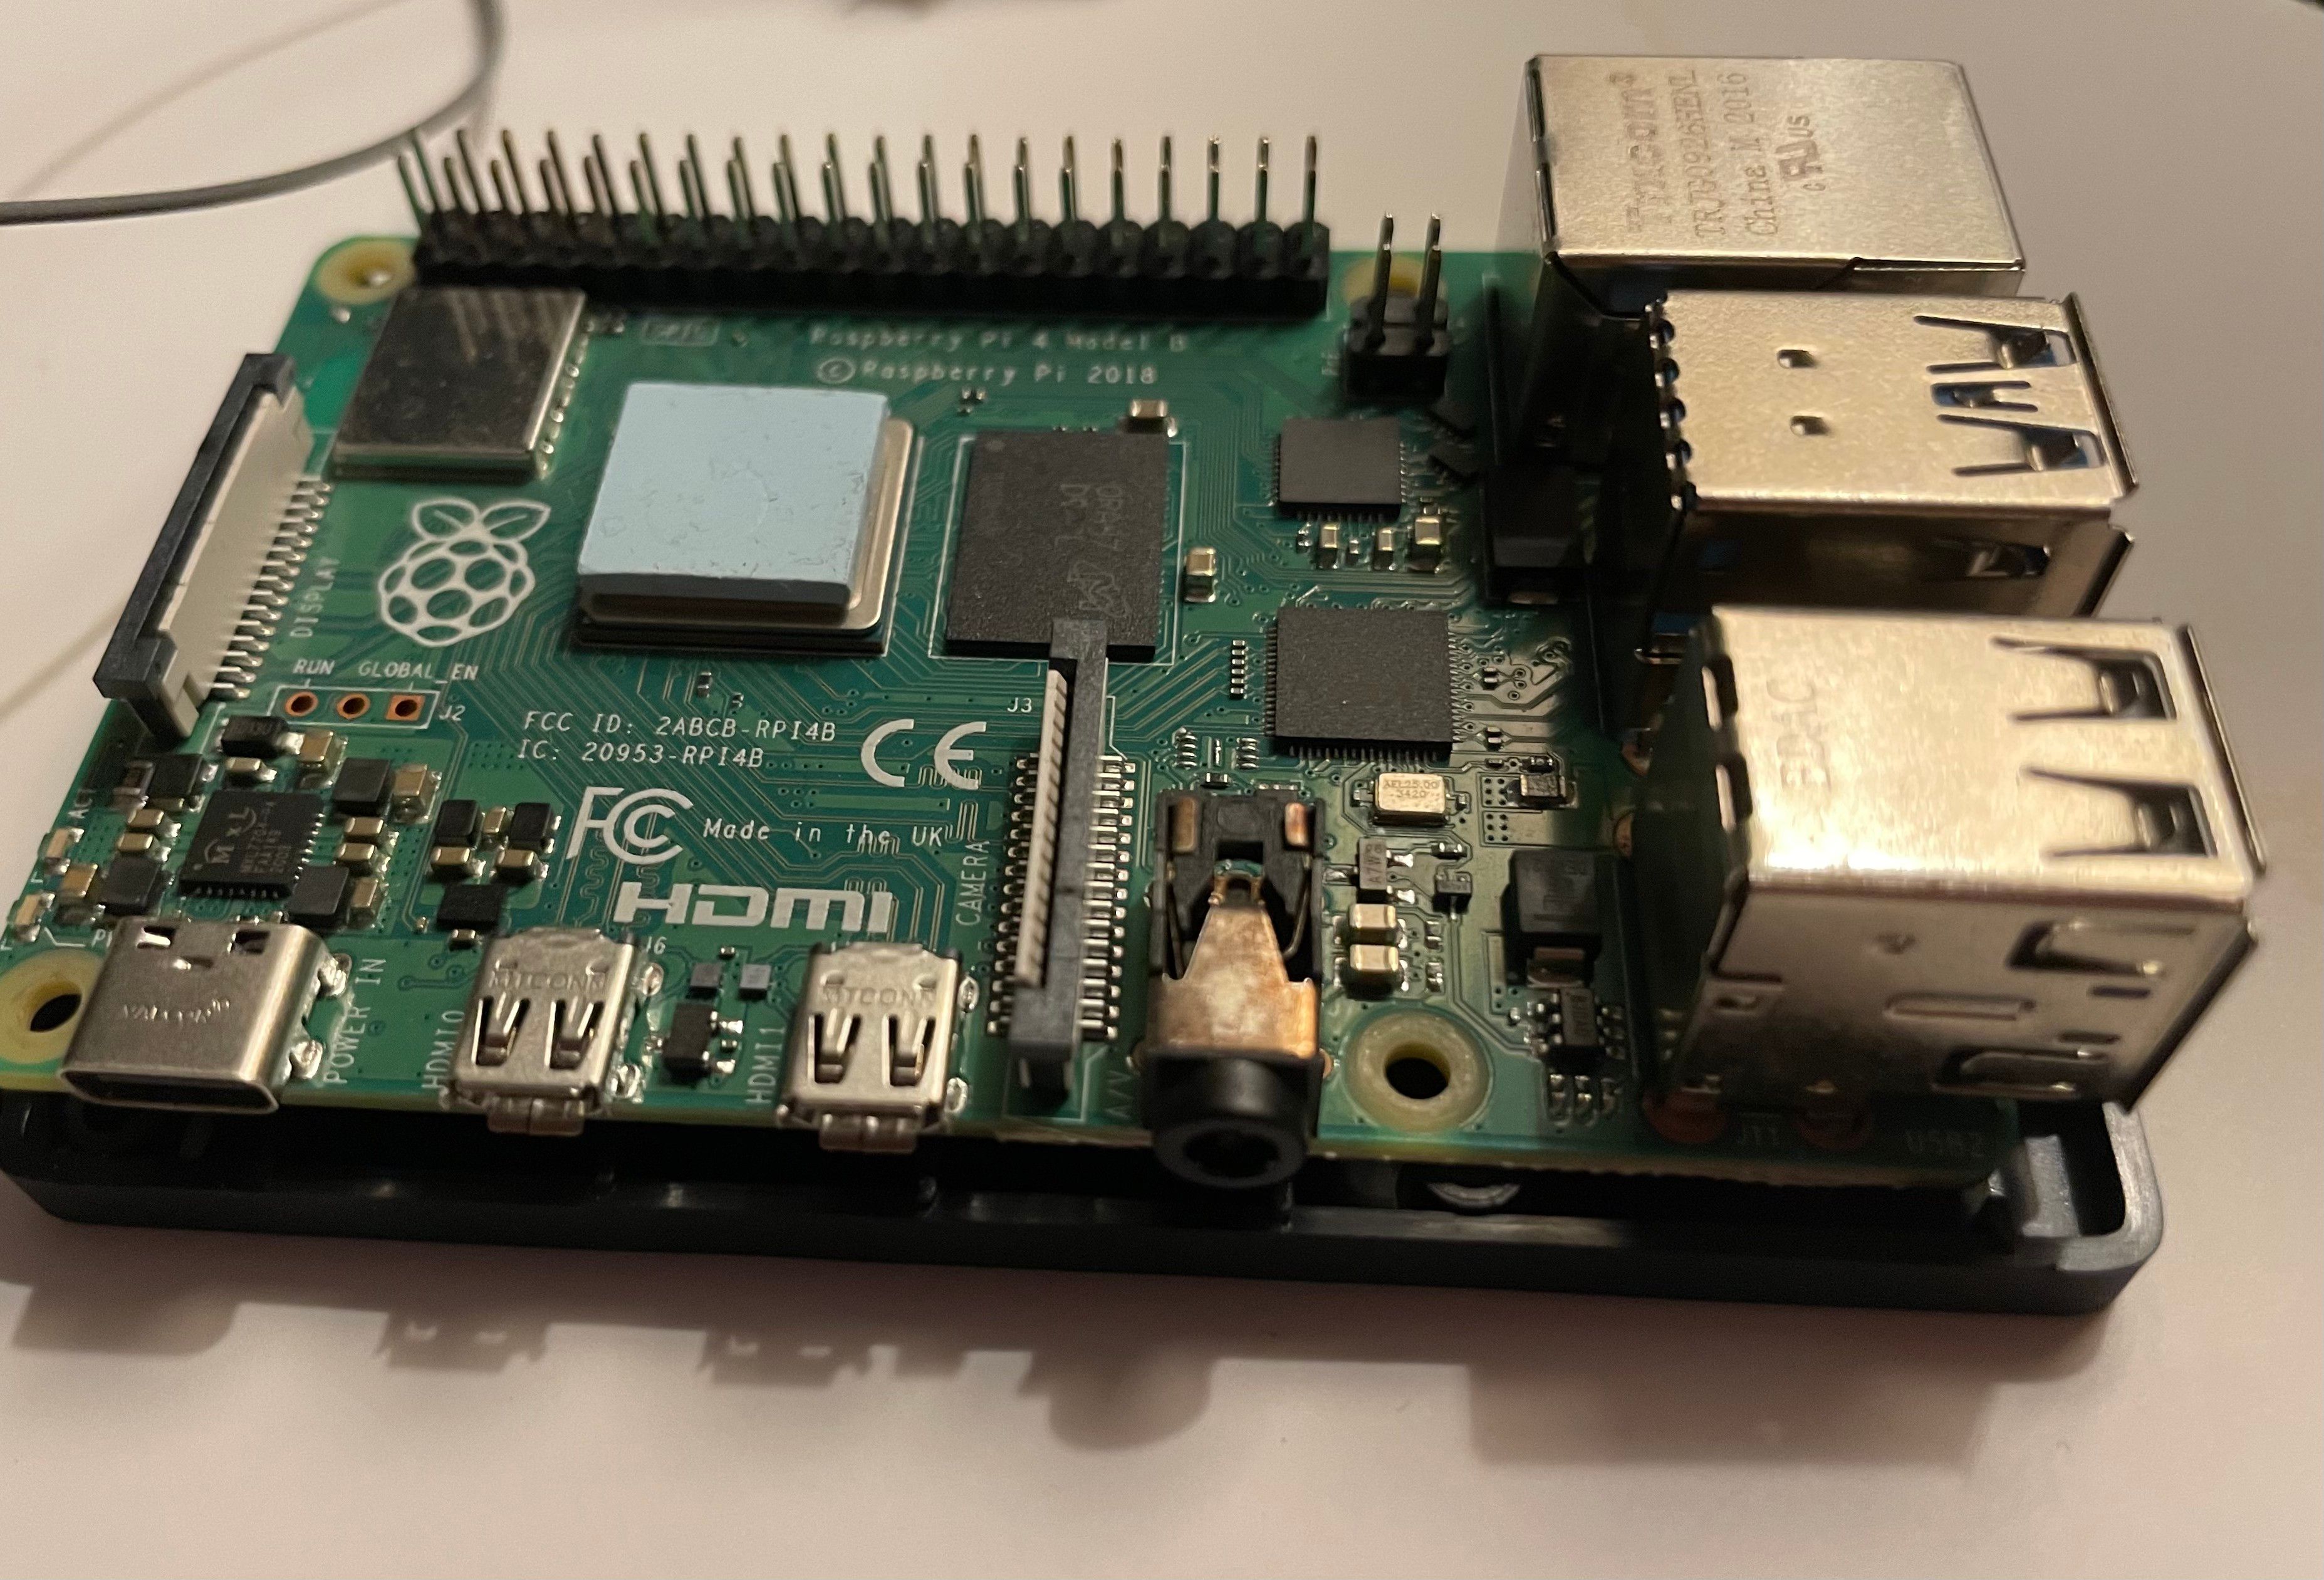
The easiest way to do that is by using the Raspberry Pi installer.
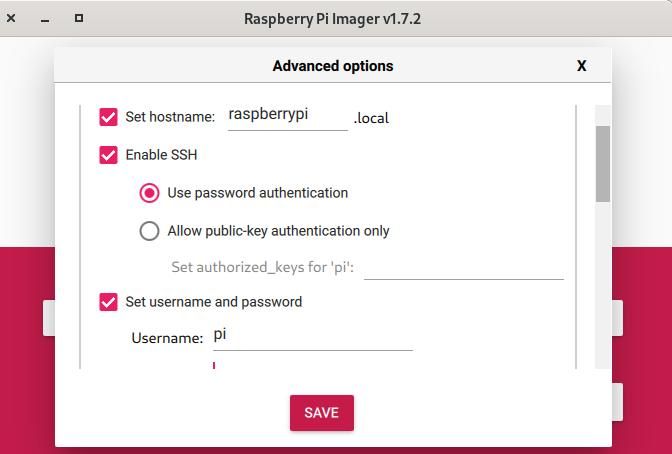
When you set a username and password take extra care to remember this information.
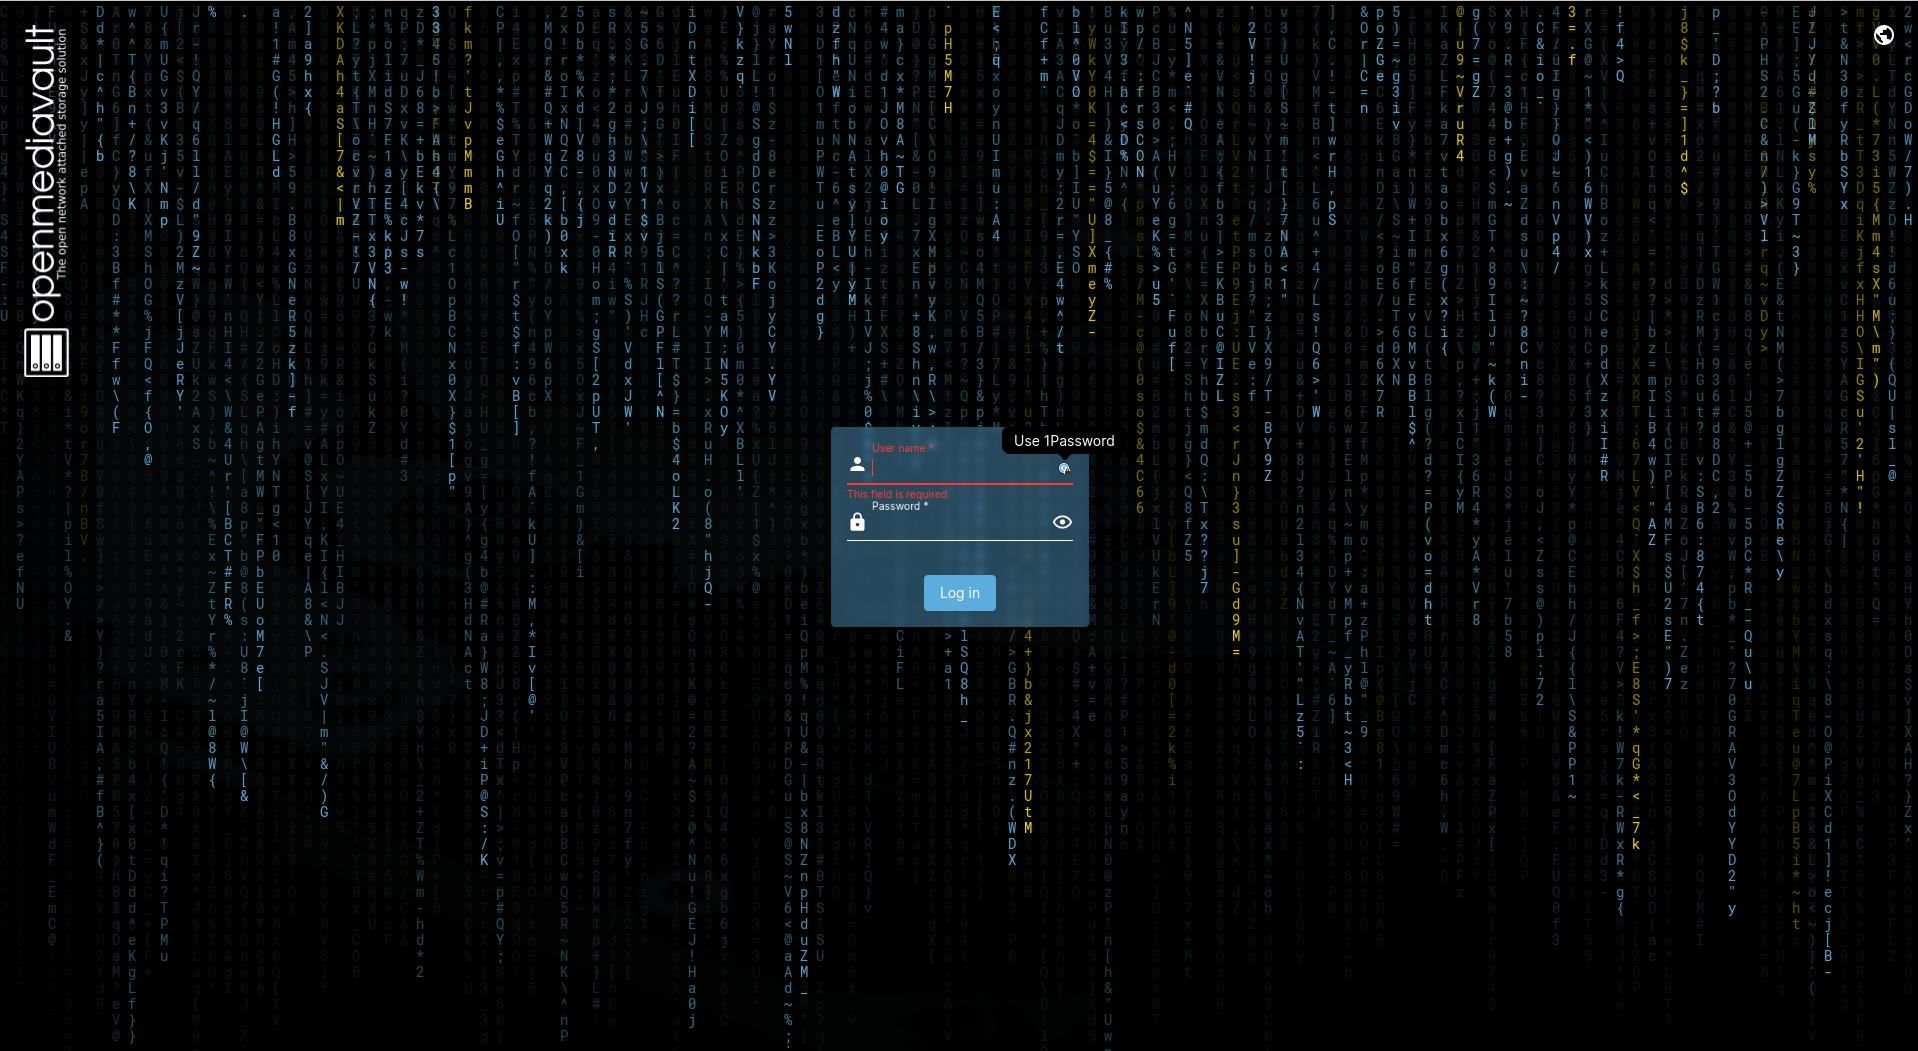
input your username and password you created during the initial installation.
screenshot
Most operating system images that are bundled with installers do not come with the latest updates.
It’s easy to ensure that you’re up-to-date with the following instructions.
As well, type your password when prompted:
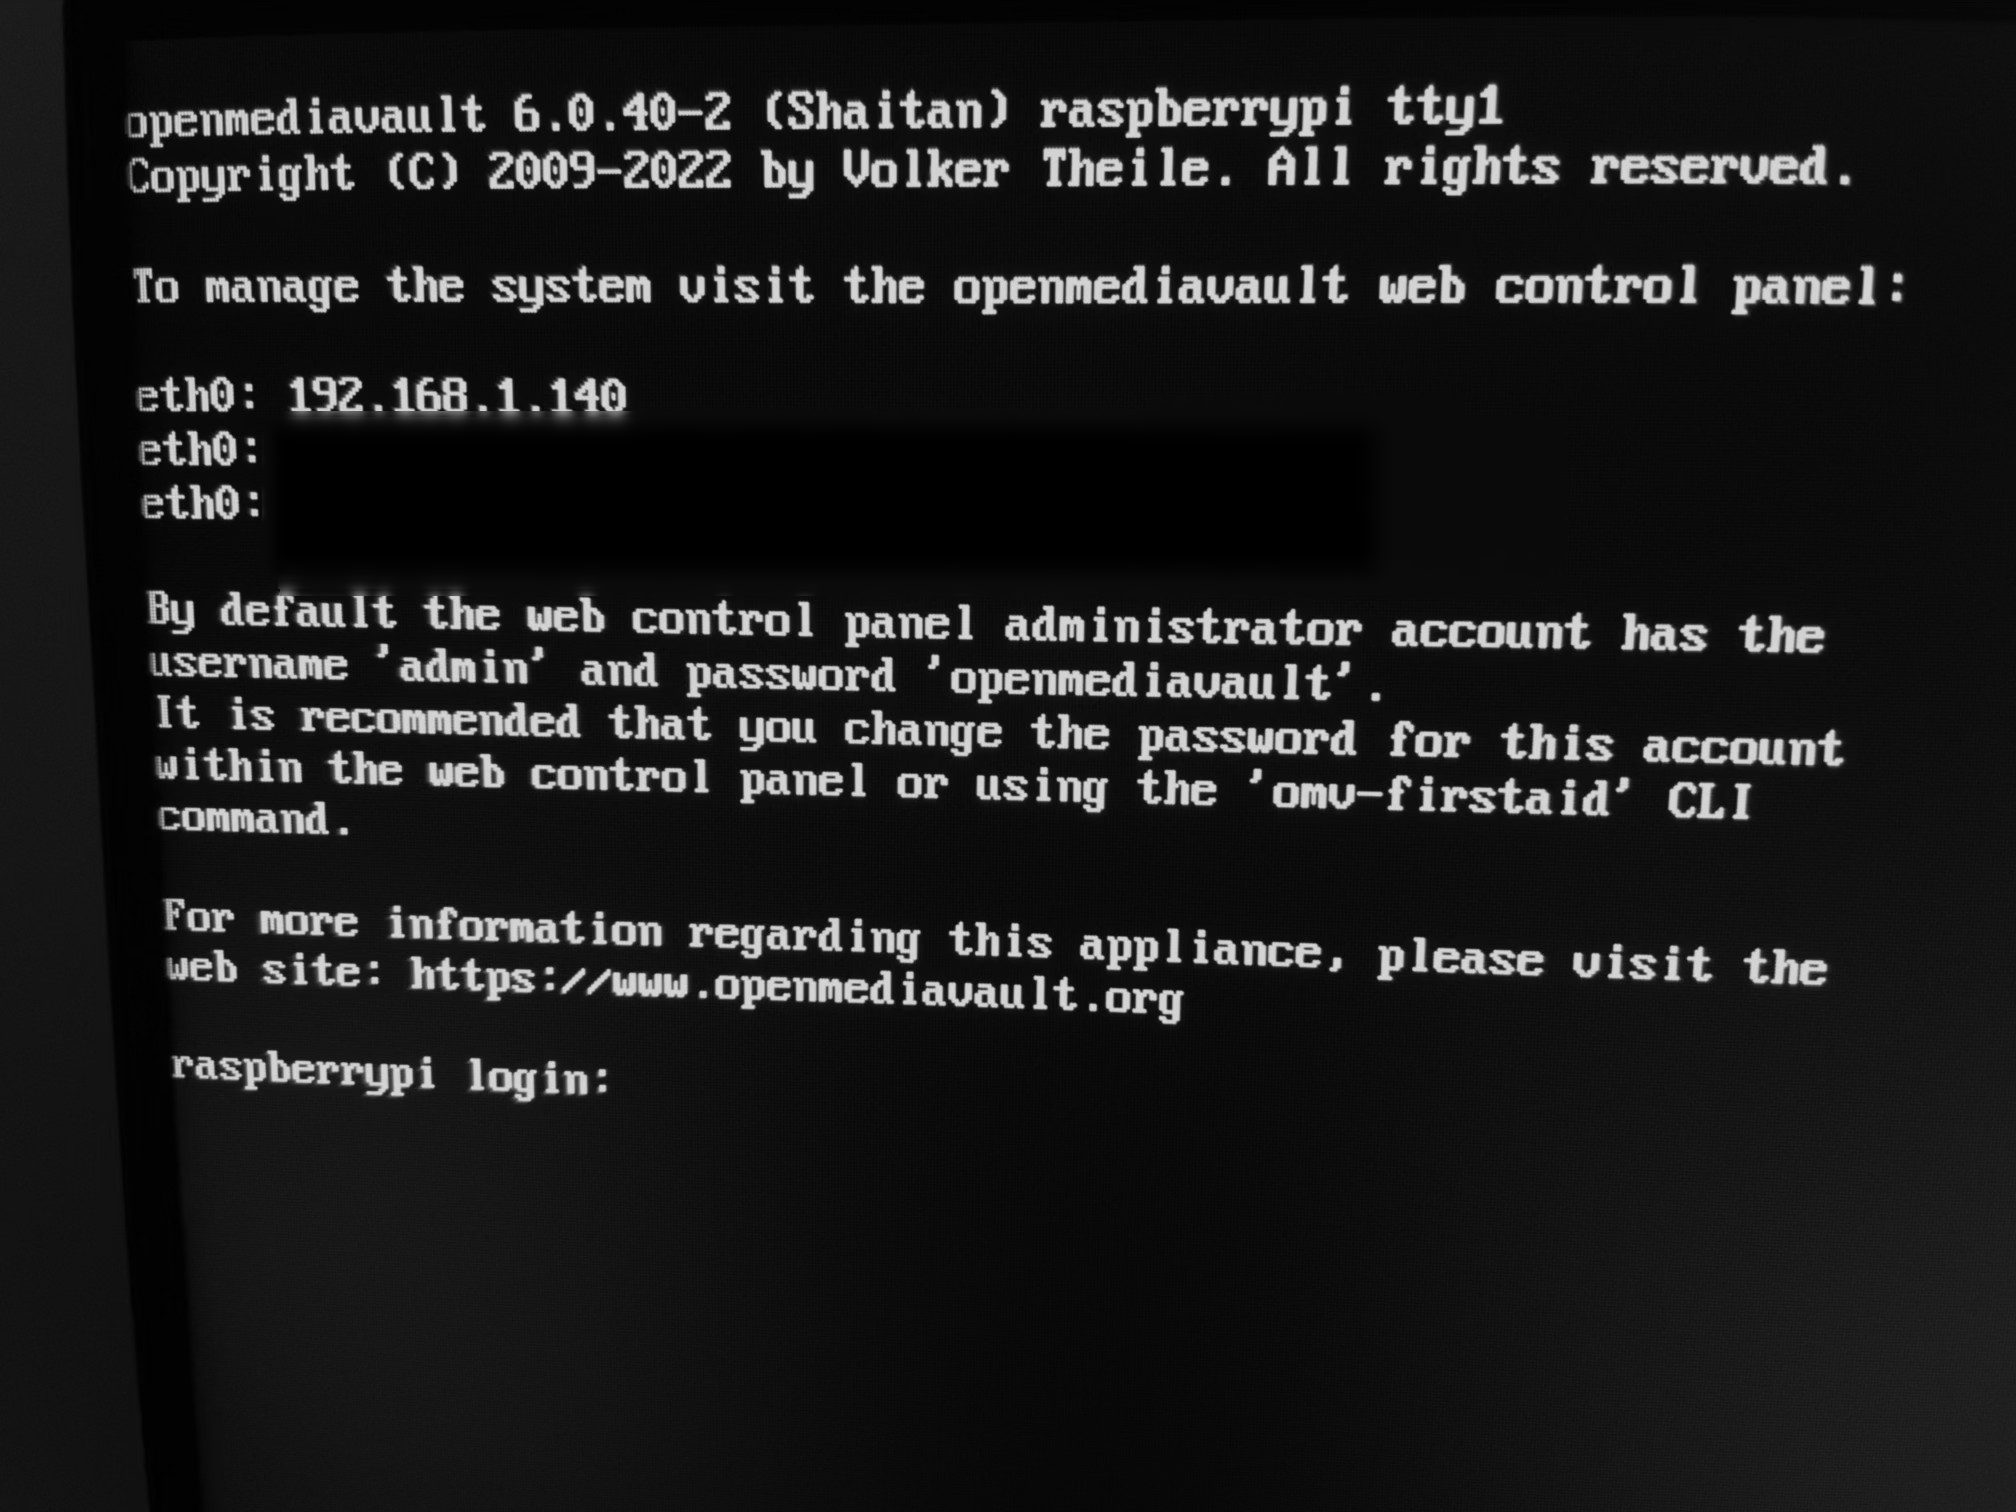
Now, you’ll need to find your IP address.
screenshot
punch in in either of the following commands:
You’ll find your IP address under theeth0section and besideinet.
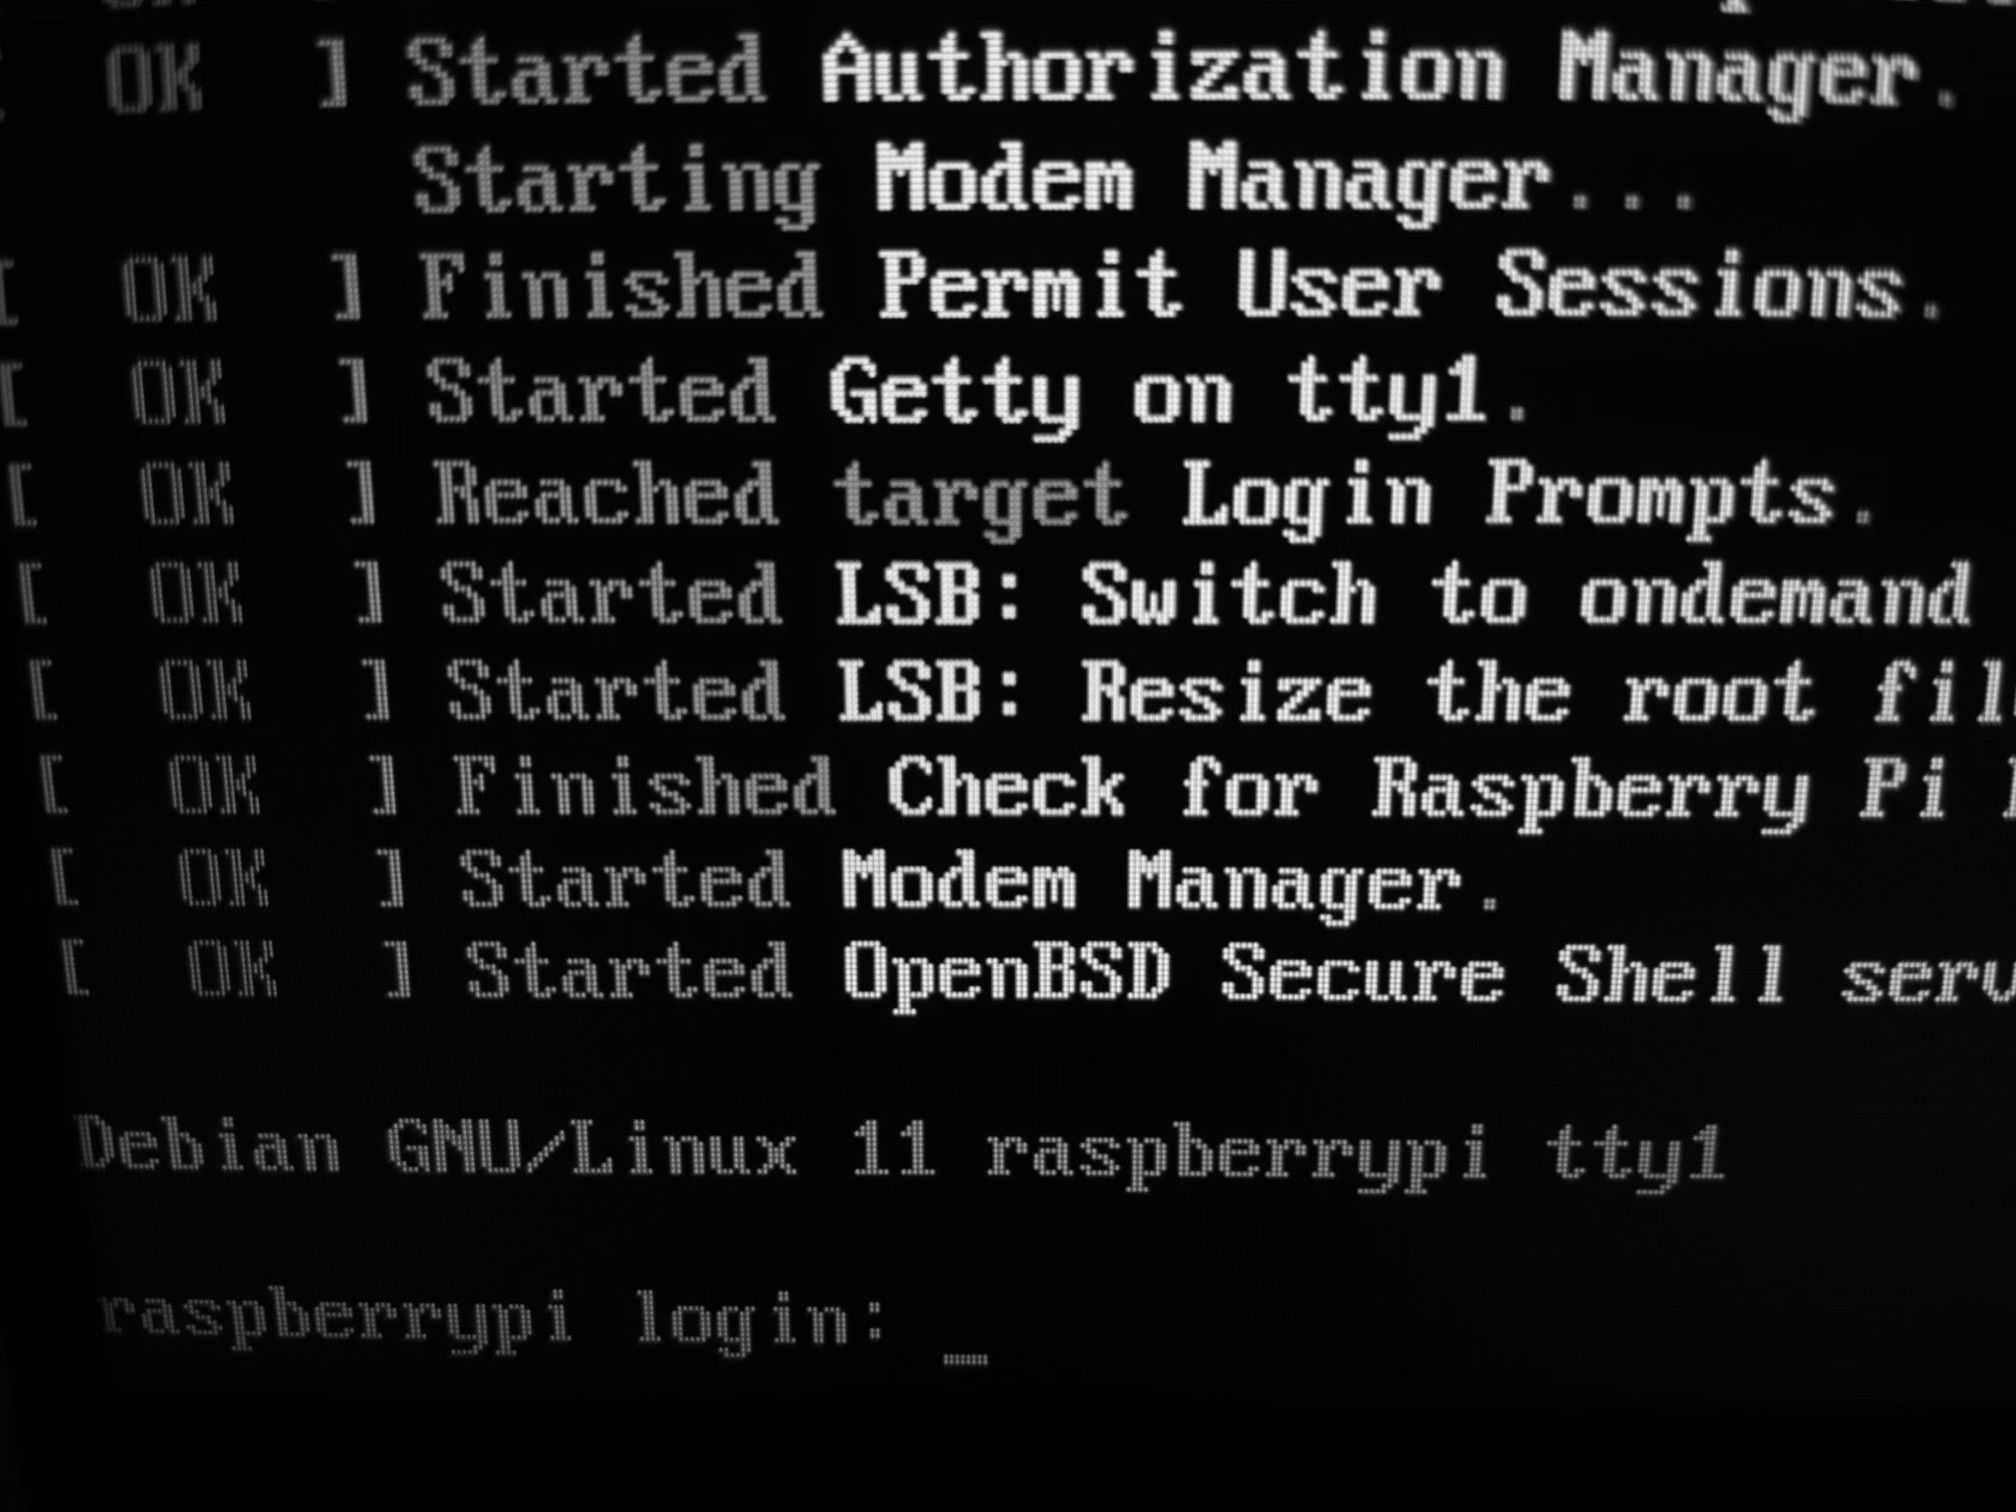
This will take up to 10 minutes to complete.
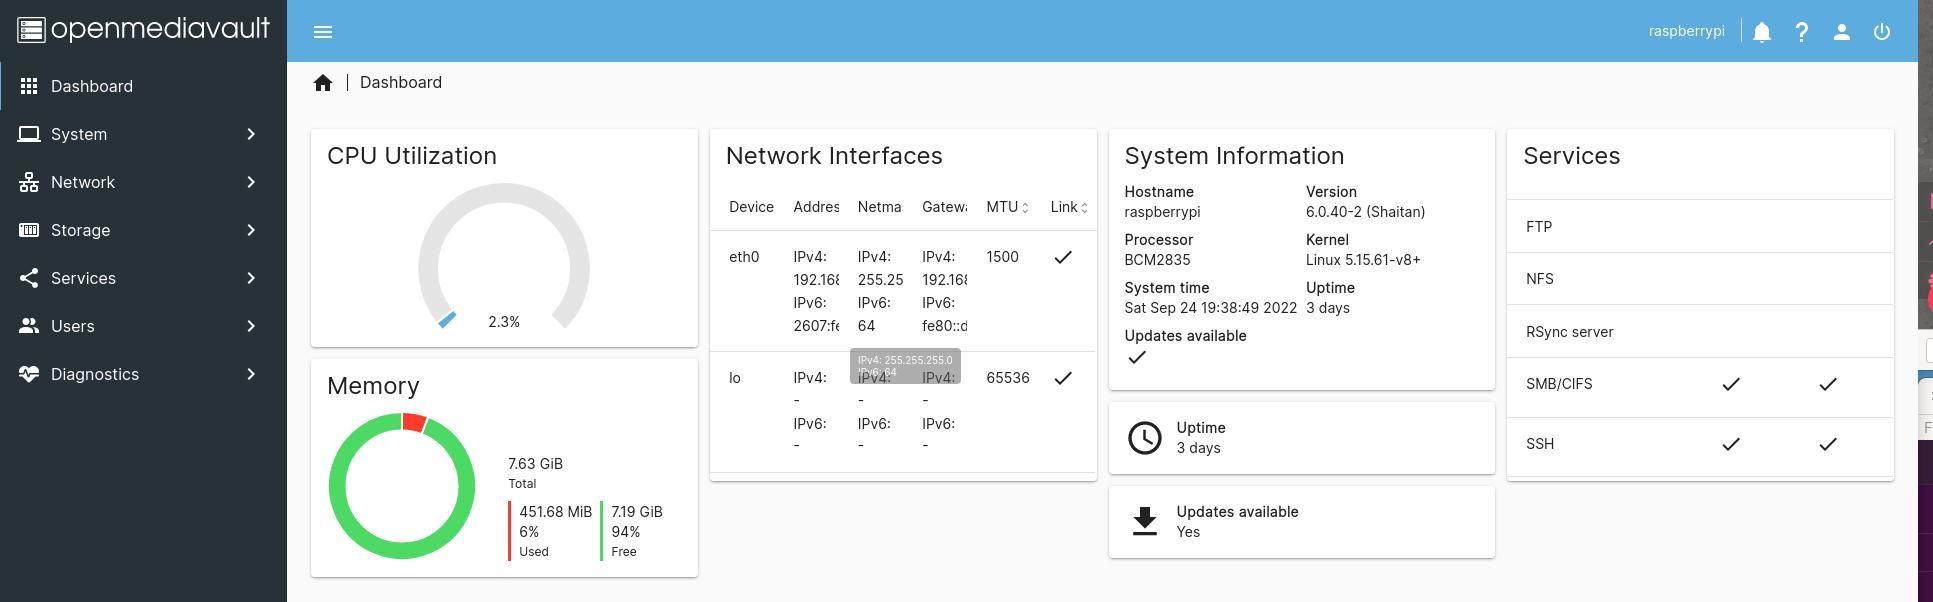
When this activity is completed, you should see a screen similar to the one in the image.
When your Raspberry Pi finishes rebooting, the IP address may have changed.
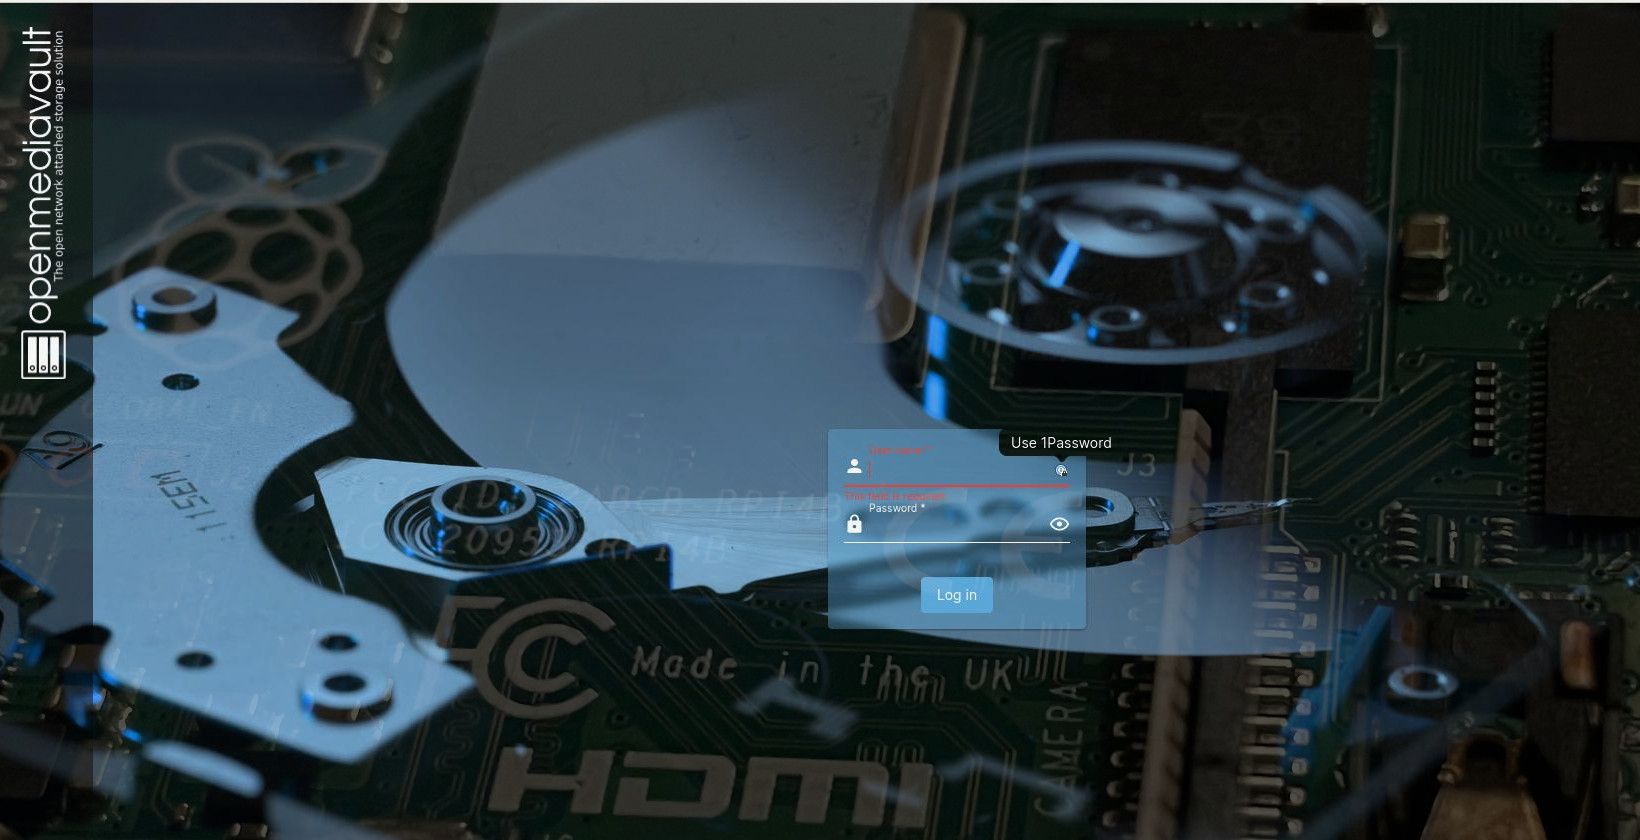
You’ll be greeted with a dashboard that requires setting up.
But, first be sure to change the default password.
To do so, hit the person icon at the top right of the main OpenMediaVault screen.
poke the boxes beside your preferred diagnostic metric and press save.
To modify your dashboard widget tweaks, simply choose the person icon at the top right and select dashboard.
Adding Users
SelectUsers > Usersfrom the left-hand menu.
Then choose the blue plus icon at the top left and fill out the required fields.
Don’t forget to press save.
You’ll see your users listed in along with email and group information related to each user.
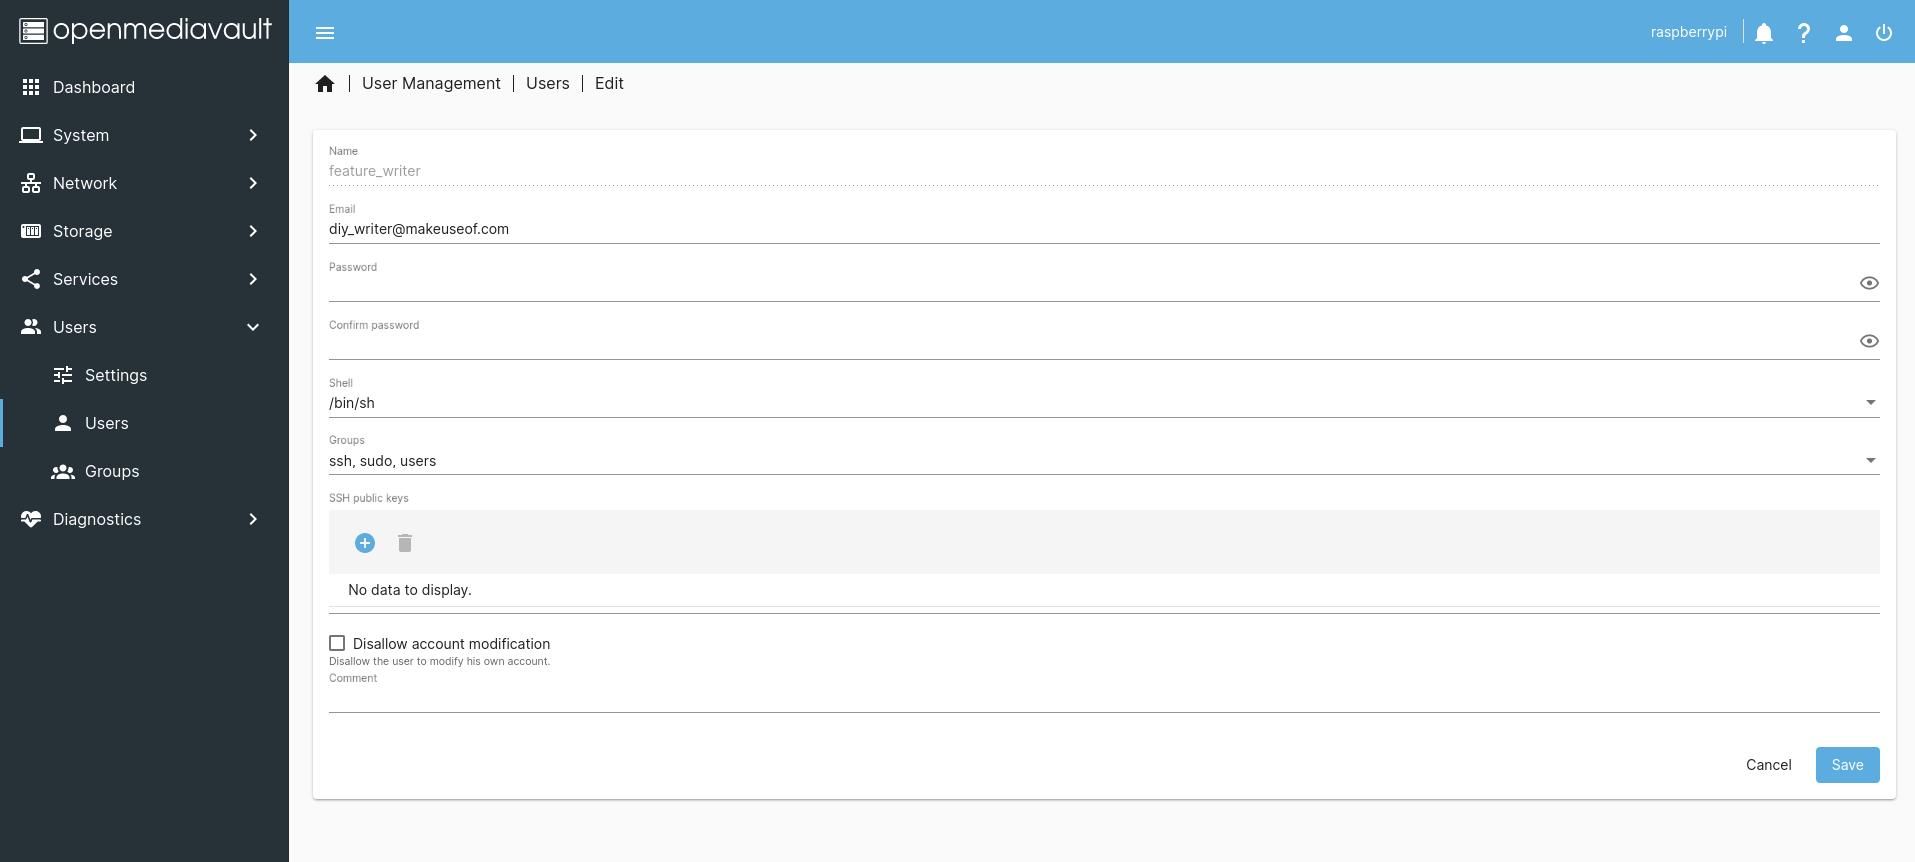
To modify user details, punch the user row and press the pencil icon above the name heading.
You should see something like the user details shown in the image.
Connecting Storage
it’s possible for you to choose how you want to use your attached storage.
you’re free to also use a larger usb drive that is collecting dust.
ChooseSystem > Pluginson the left-hand menu.
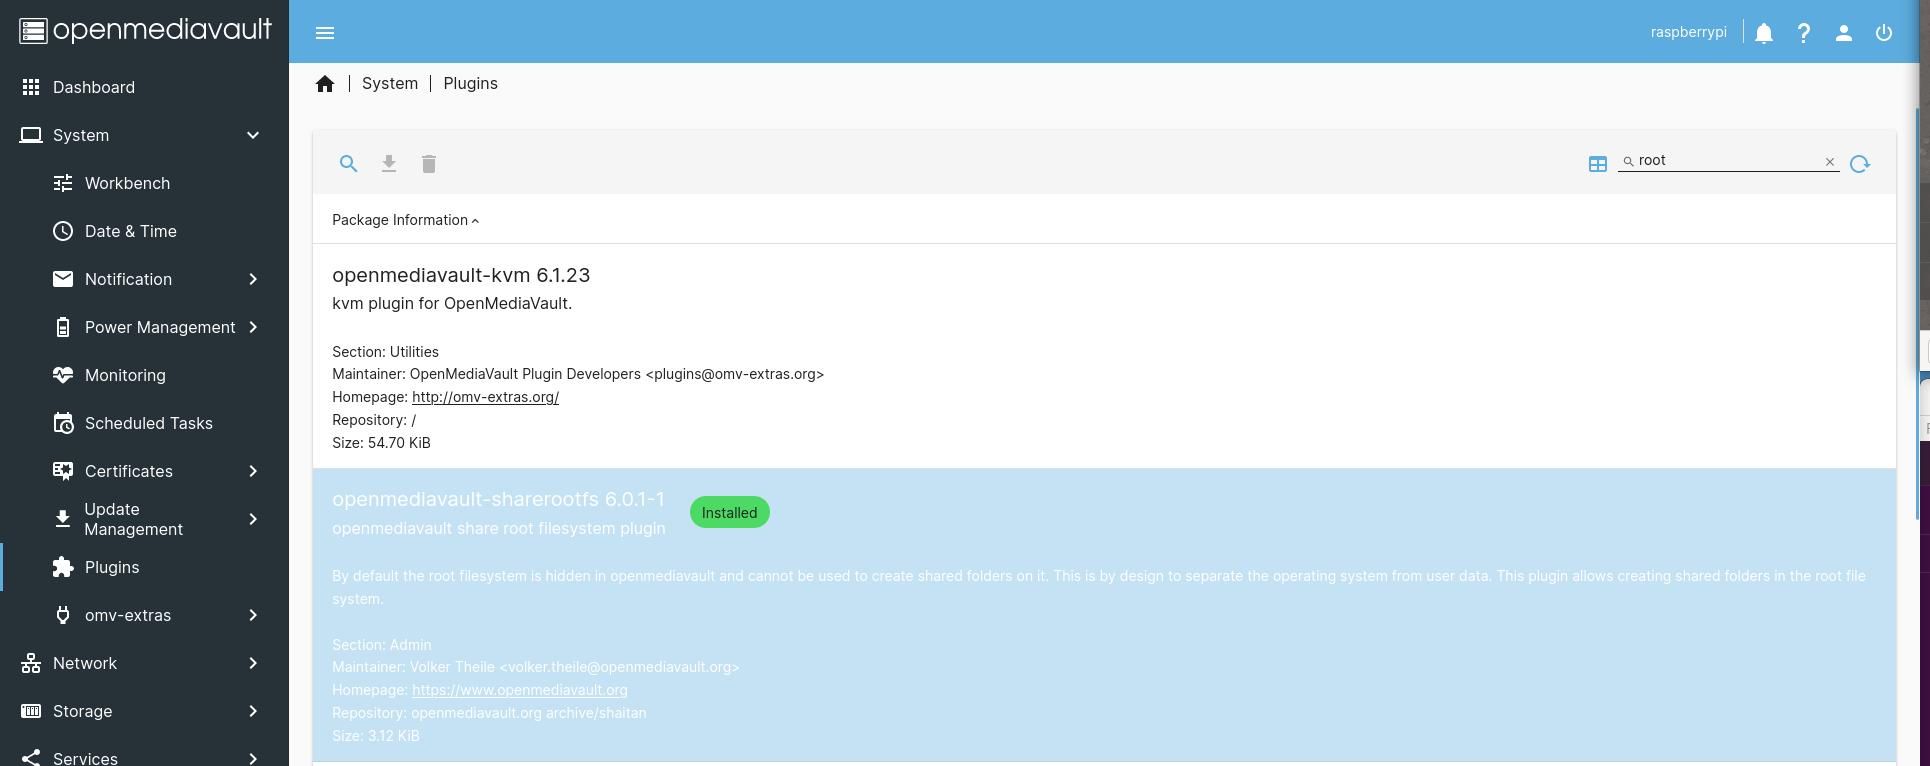
In the top right of this screen you’ll see a magnifying glass and a line.
Search for “root” and you’ll see the “opemediavault-sharerootfs plugin.”
With that out of the way, selectStorage (left side) > File Systems.
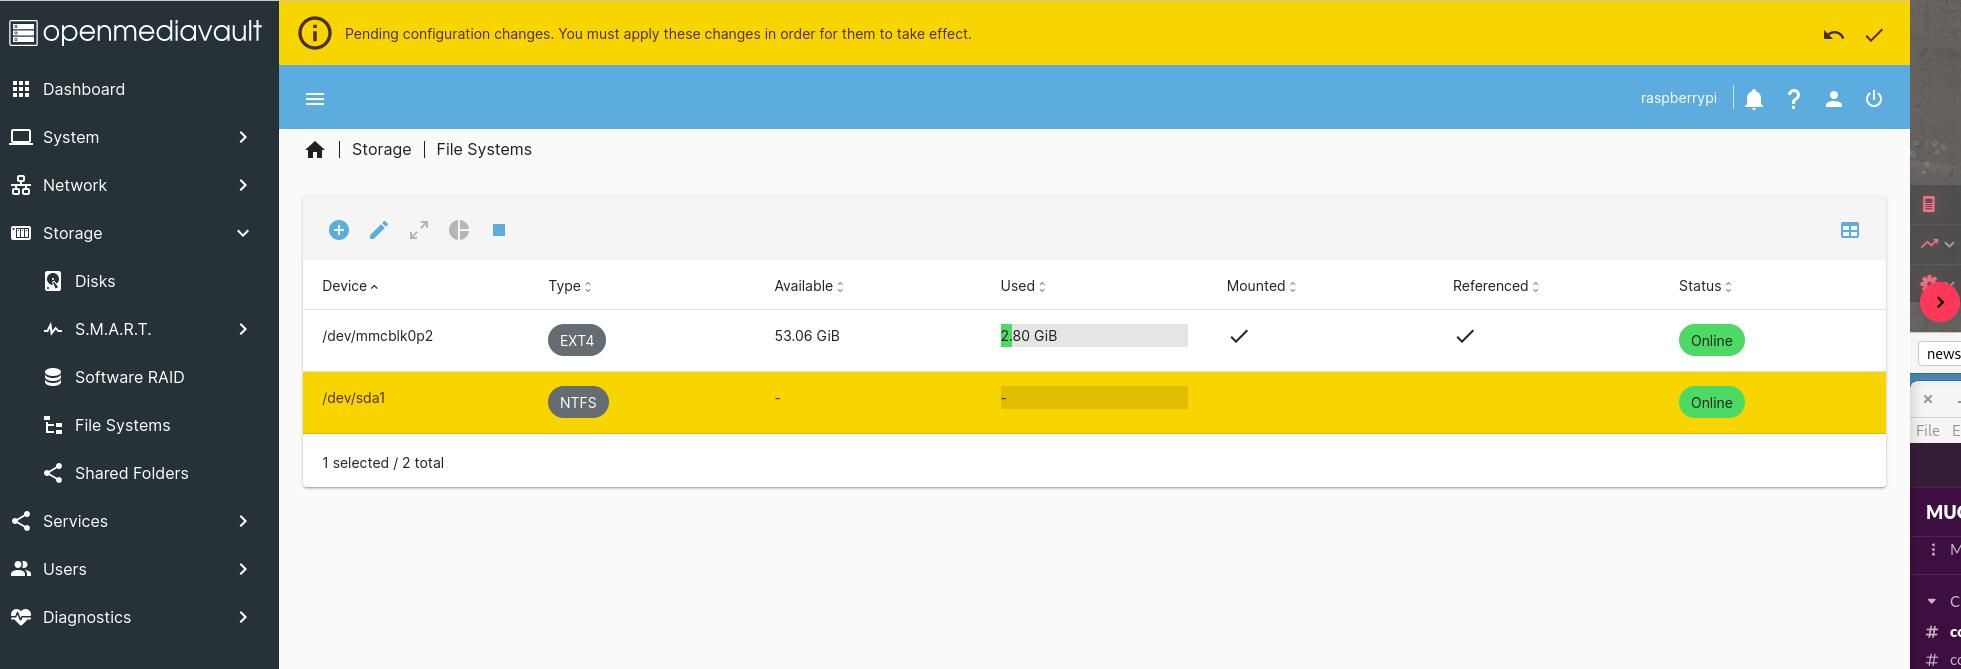
Once you’re there, choose the blue plus icon near the top of the screen and choose mount.
Then, pick the file system you want OpenMediaVault to connect to and press save.
You’ll also notice a warning message at the top.
go for the checkmark (top right of this admin tool) to ensure that your changes are saved.
Press Yes when asked if you want to apply the changes.
To get started, chooseServices > SMB/CIFS.
Check out our guide to learnwhat file transfer method is best for you.
To keep your server secure it is important to deploy certificates.
SelectCertificates > SSH or Certificates > SSL.
tap on the plus and follow the simply prompts.
OpenMediaVault does the rest!
Explore our guide to learn thepurpose of an SSL certificatefor details.
What Will You Create Next?
Will you create a web server, reverse proxy, pi hole, or a plex media server?
