Installing a bootloader is the first step in bringing your Arduino projects to life.
While this may sound like rocket science, its actually simpler than you may thinkeven for beginners.
But first, what exactly is a bootloader on the Arduino board?
What Is a Bootloader?
Its worth noting that all Arduino boards ship with a pre-installed bootloader from their manufacturers.
You may find boards with faulty bootloaders right out of the box sometimes.
However, this rarely happens.
Why Use a Bootloader?
There are several situations where using an Arduino bootloader can be useful.
Why Is My Bootloader Missing?
Installing/Re-Installing the Arduino Bootloader
Microcontrollers are typically programmed before being soldered onto a PCB.
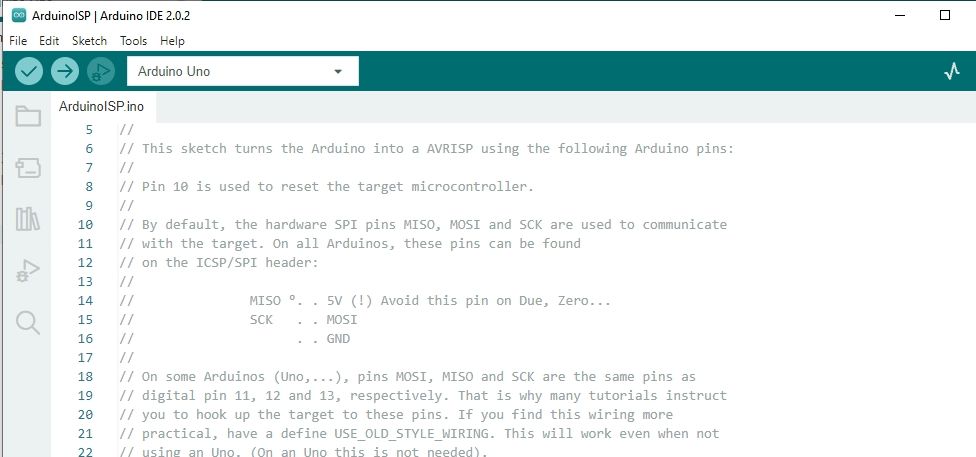
The code should look like this just so you know you are on the right track.
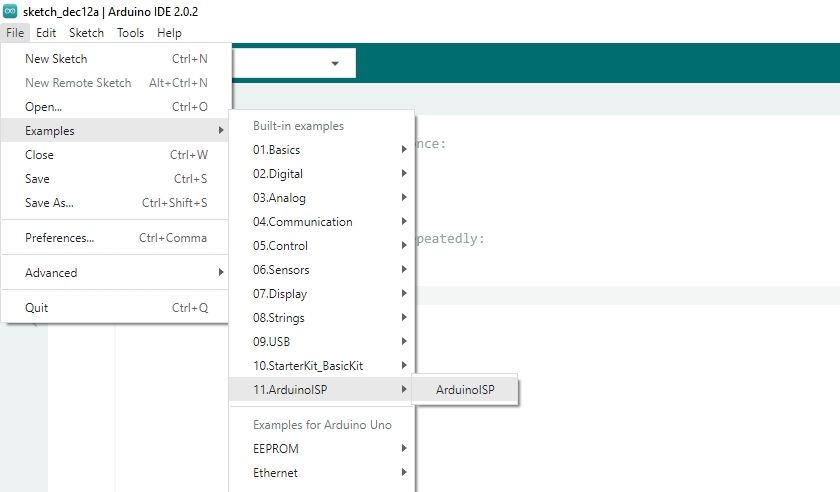
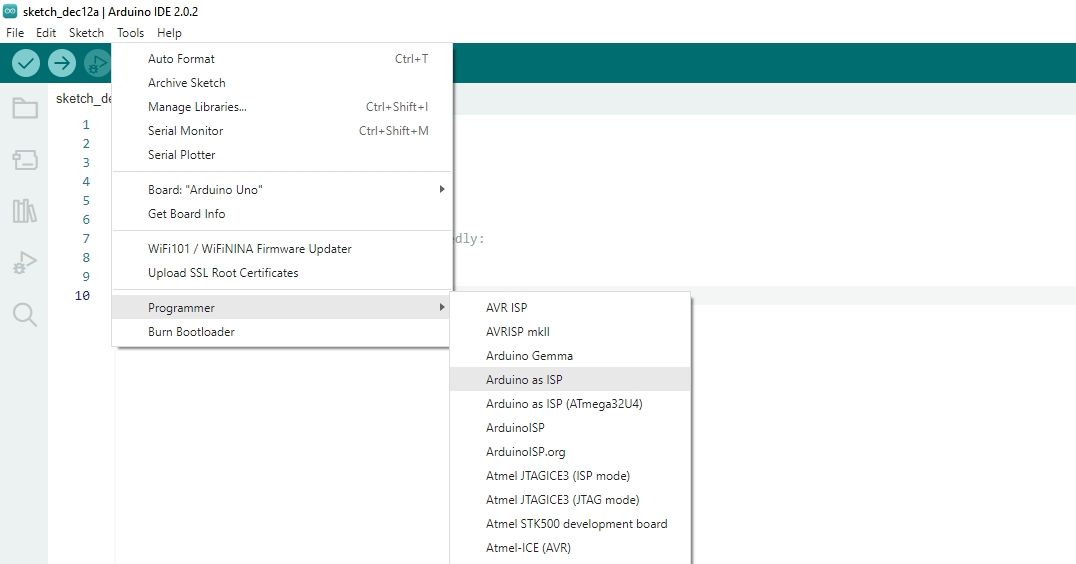
From theToolstab, go toProgrammerthen click onArduino as ISPas shown below.
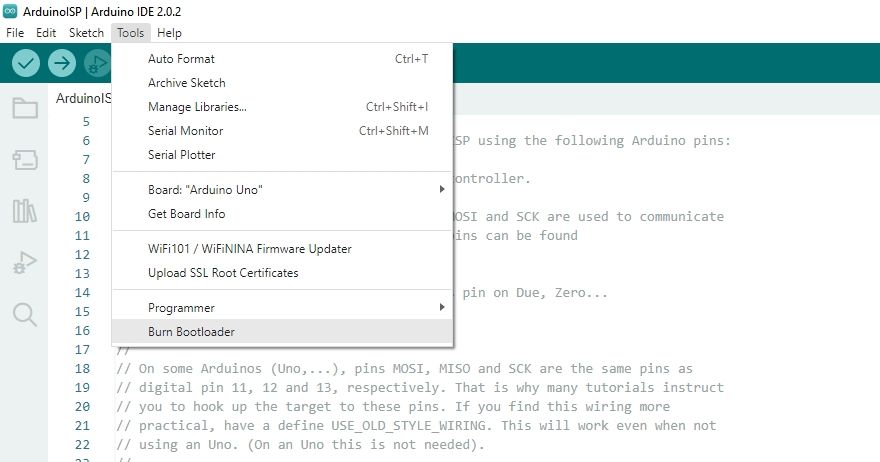
Finally, from theToolstab again, click onBurn Bootloaderas shown.
Once the process is complete, the target board is now ready to be programmed.
Using a Dedicated Programmer
There are many AVR programming devices available for this kind of installation.
It offers a simpler way to program AVR microcontrollers, like the ones found on Arduino boards.
Hook up the Arduino board to the programmer and flash the bootloader.
Refer to this video tutorial below.
The process should be simple and not take more than 20 seconds.
Note:The target board should be powered on properly before attempting this method.
Otherwise, you will not be able to flash the.hexfile to your target.
For power users, there is a more complex way to load the bootloader using the command line.
This will allow you to execute the program on the board.
What Will You Do With Arduino Next?
The Arduino bootloader is what makes it so easy to program, even for beginners.
