While USB ports are becoming more and more commonplace in homes, some houses still don’t have any.
If you are in this situation, don’t worry: installing a USB outlet is quite simple.
Below, we describe the six steps you must follow for proper installation.
But before that, let’s look at the benefits of installing a USB power outlet.
If in doubt, consult a qualified electrician.
This will help to ensure that the outlet is placed in a convenient spot.
Another consideration is the length of the cords that will be used to charge devices.
The outlet should be close enough to outlets so that cords can reach them without being stretched or tangled.
Moreover, you’re free to also replace existing power sockets with a USB outlet.
When drilling pilot holes, be sure to use a bit that is slightly smaller than the screw.
This will create a snug fit and help to keep the screw in place.
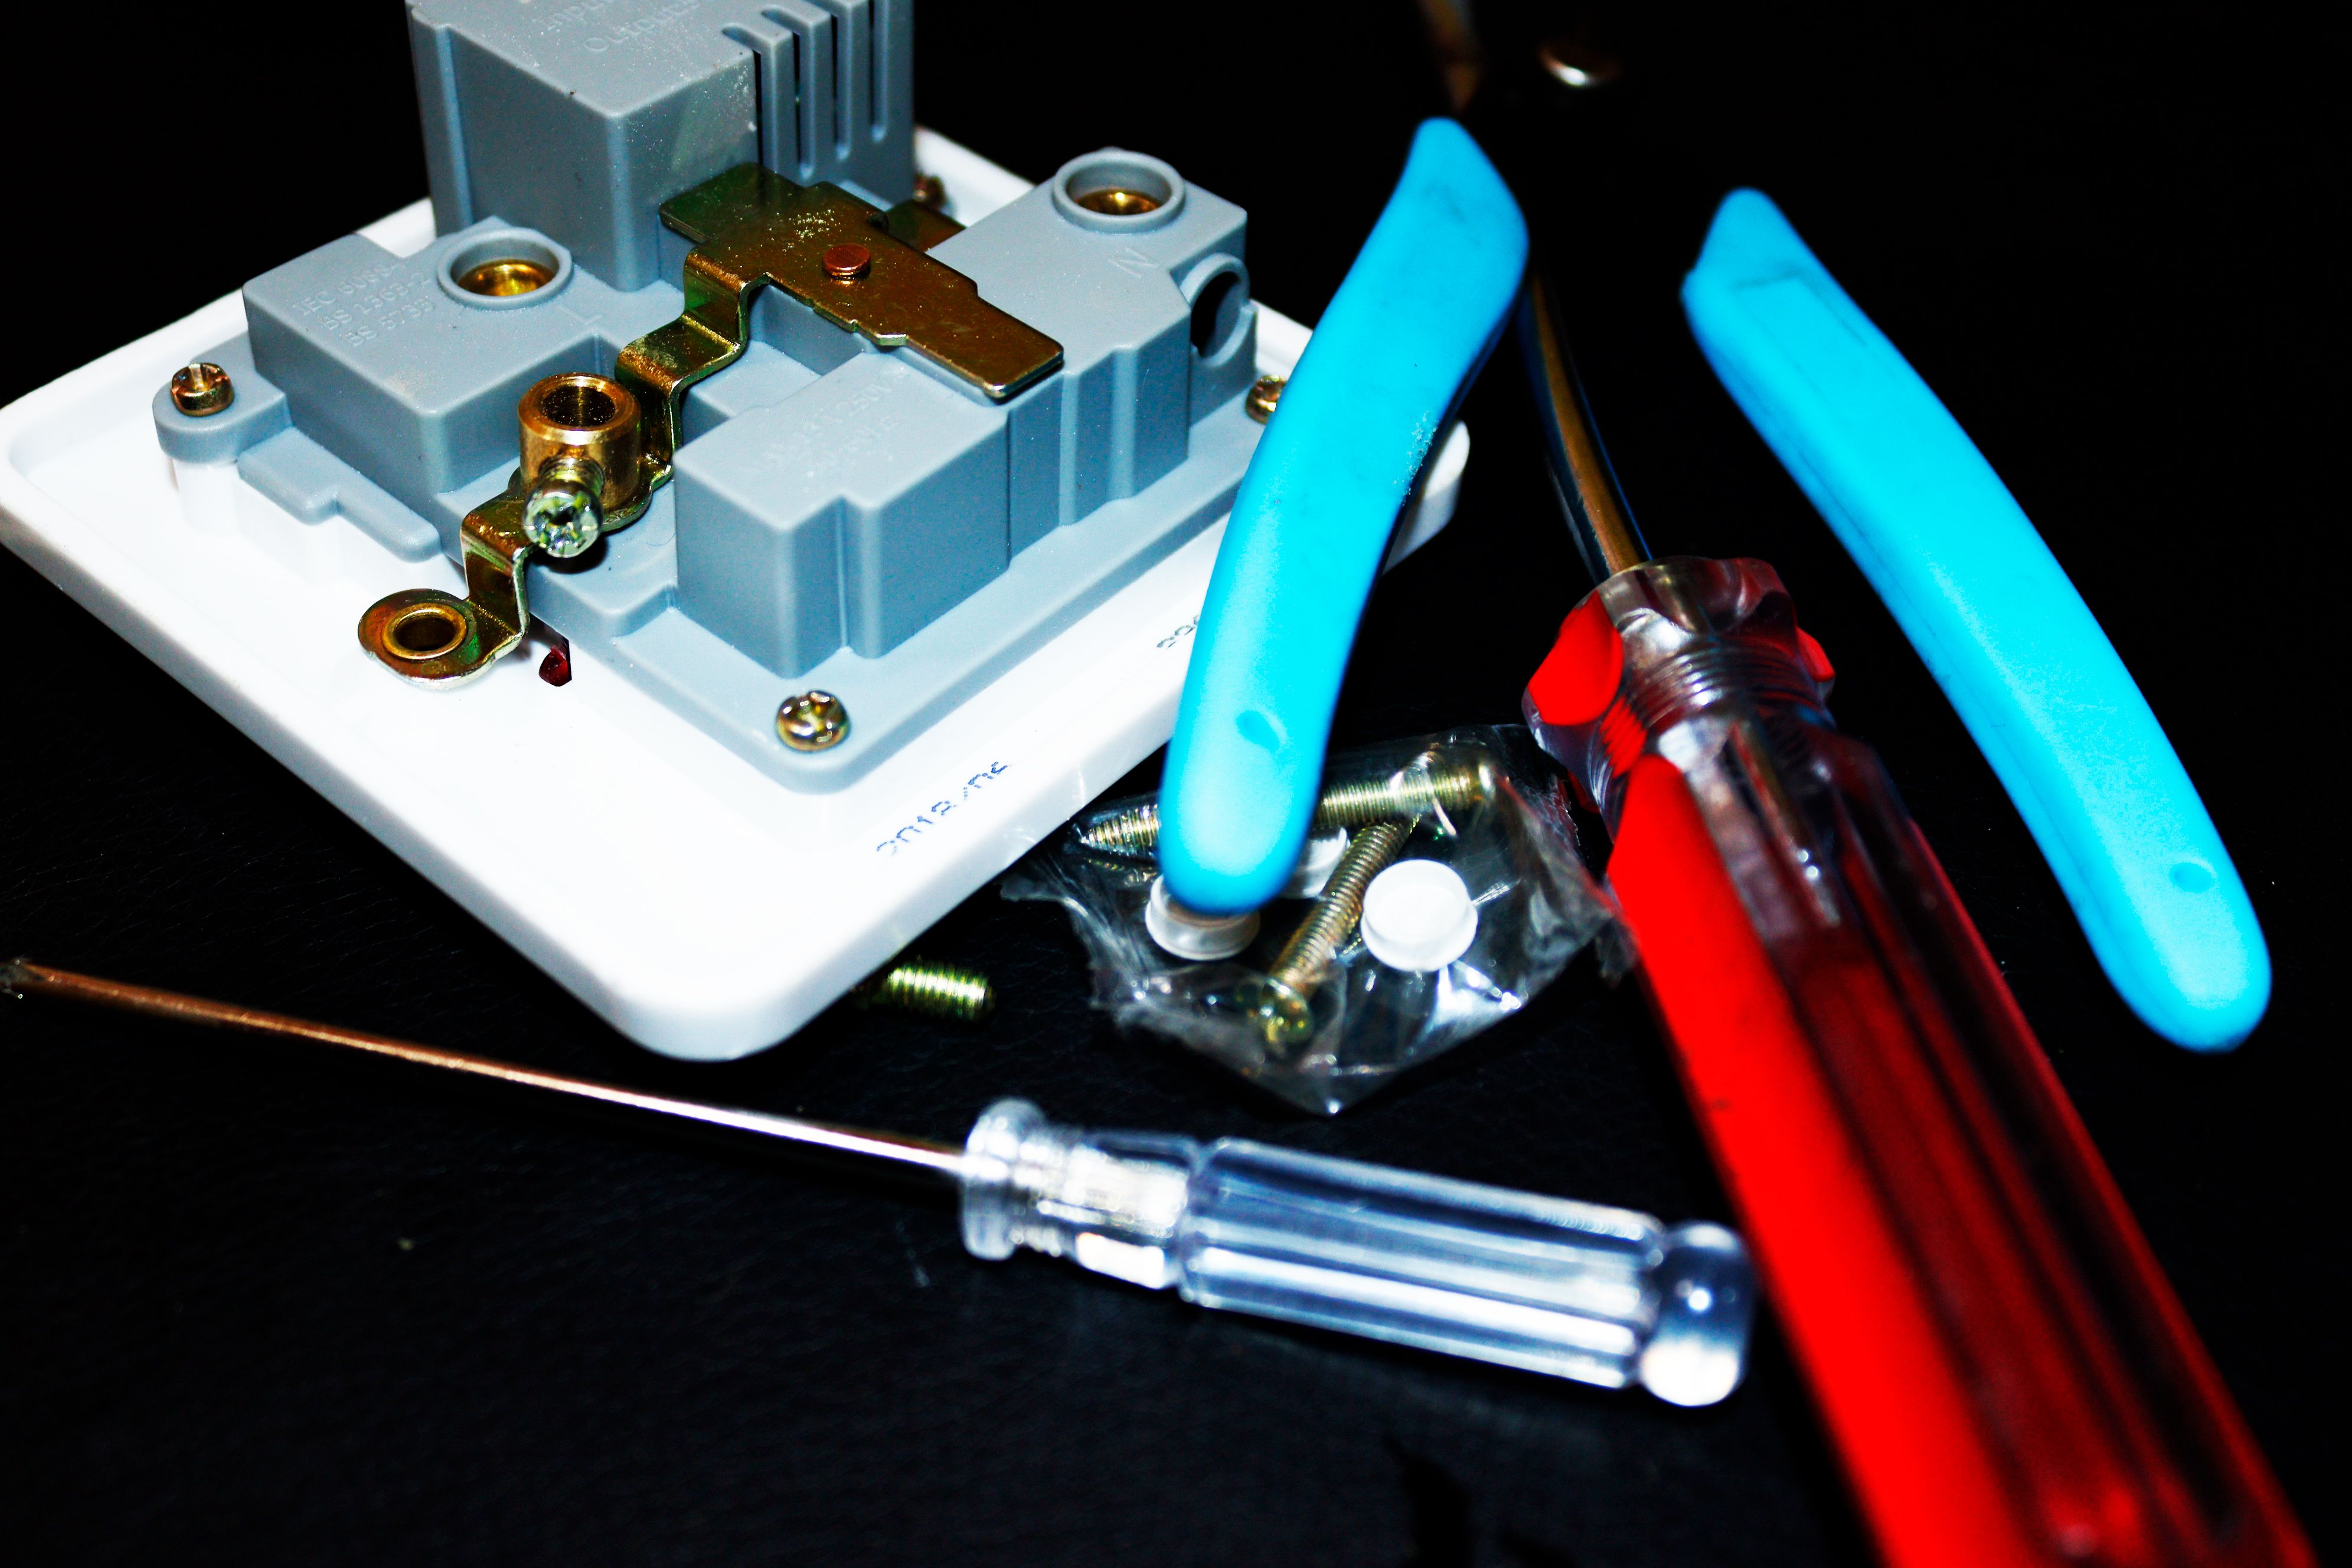
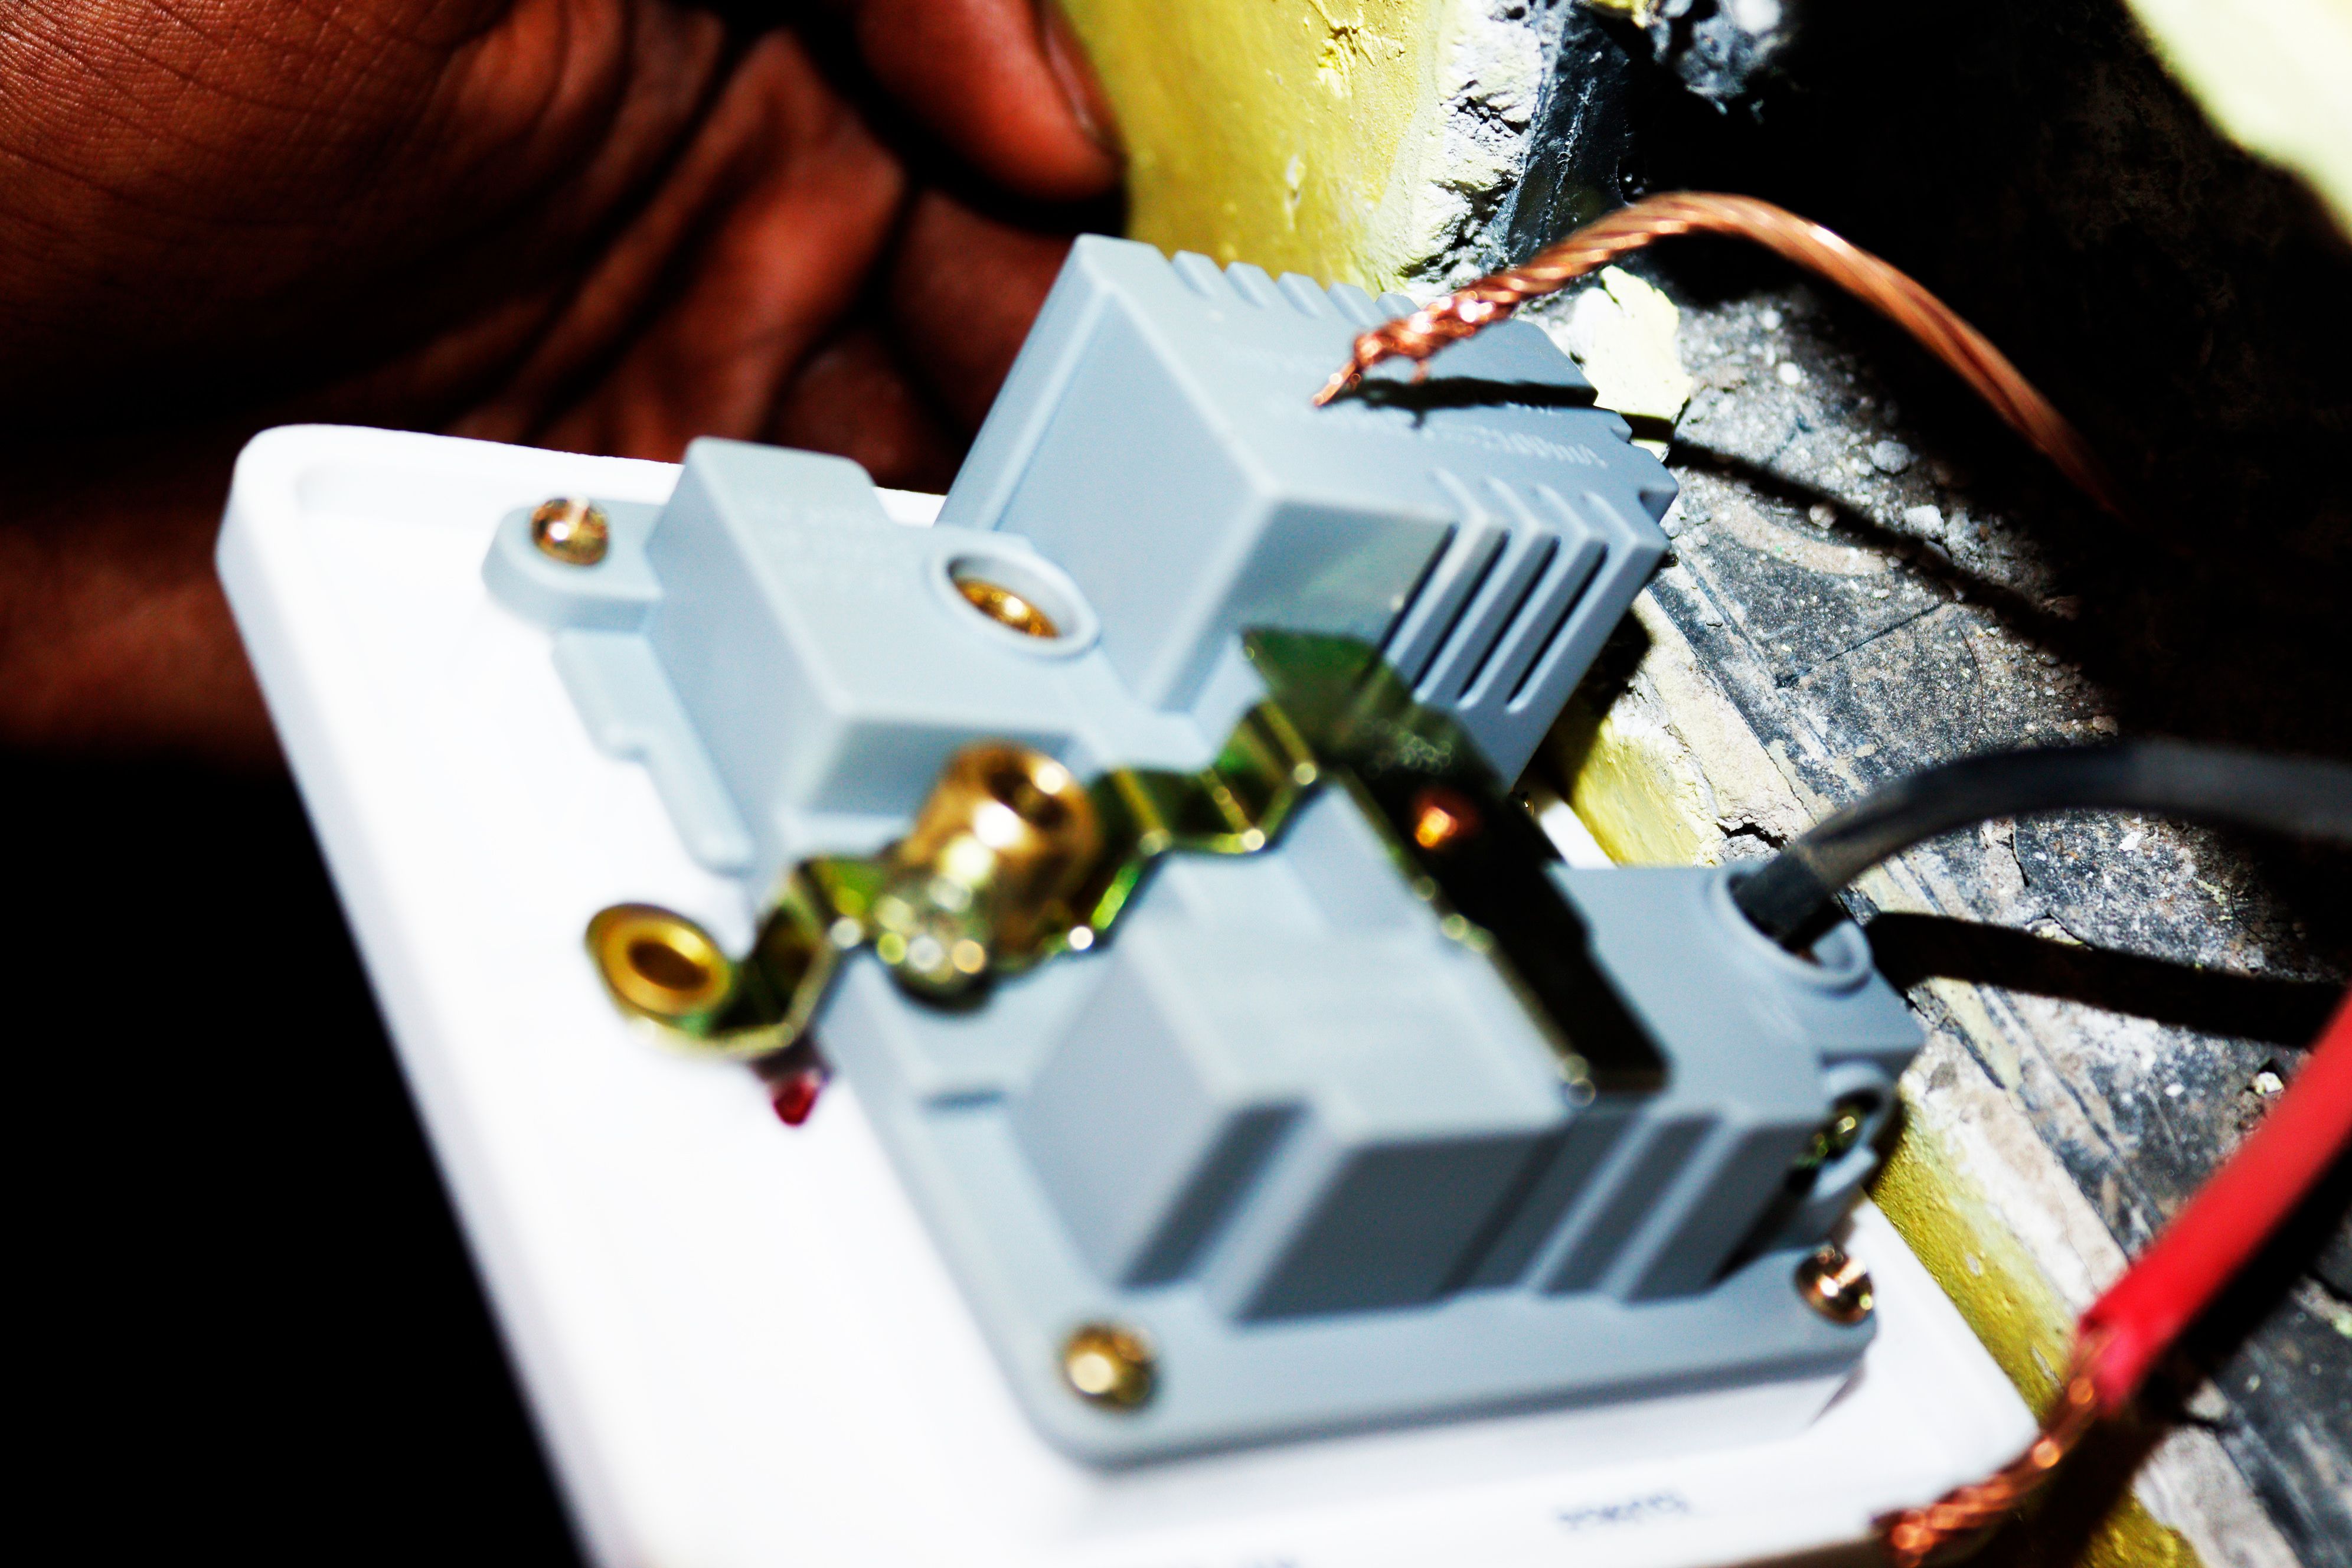
The casing often comes with two sections on both sides that can support the screws, as shown below.

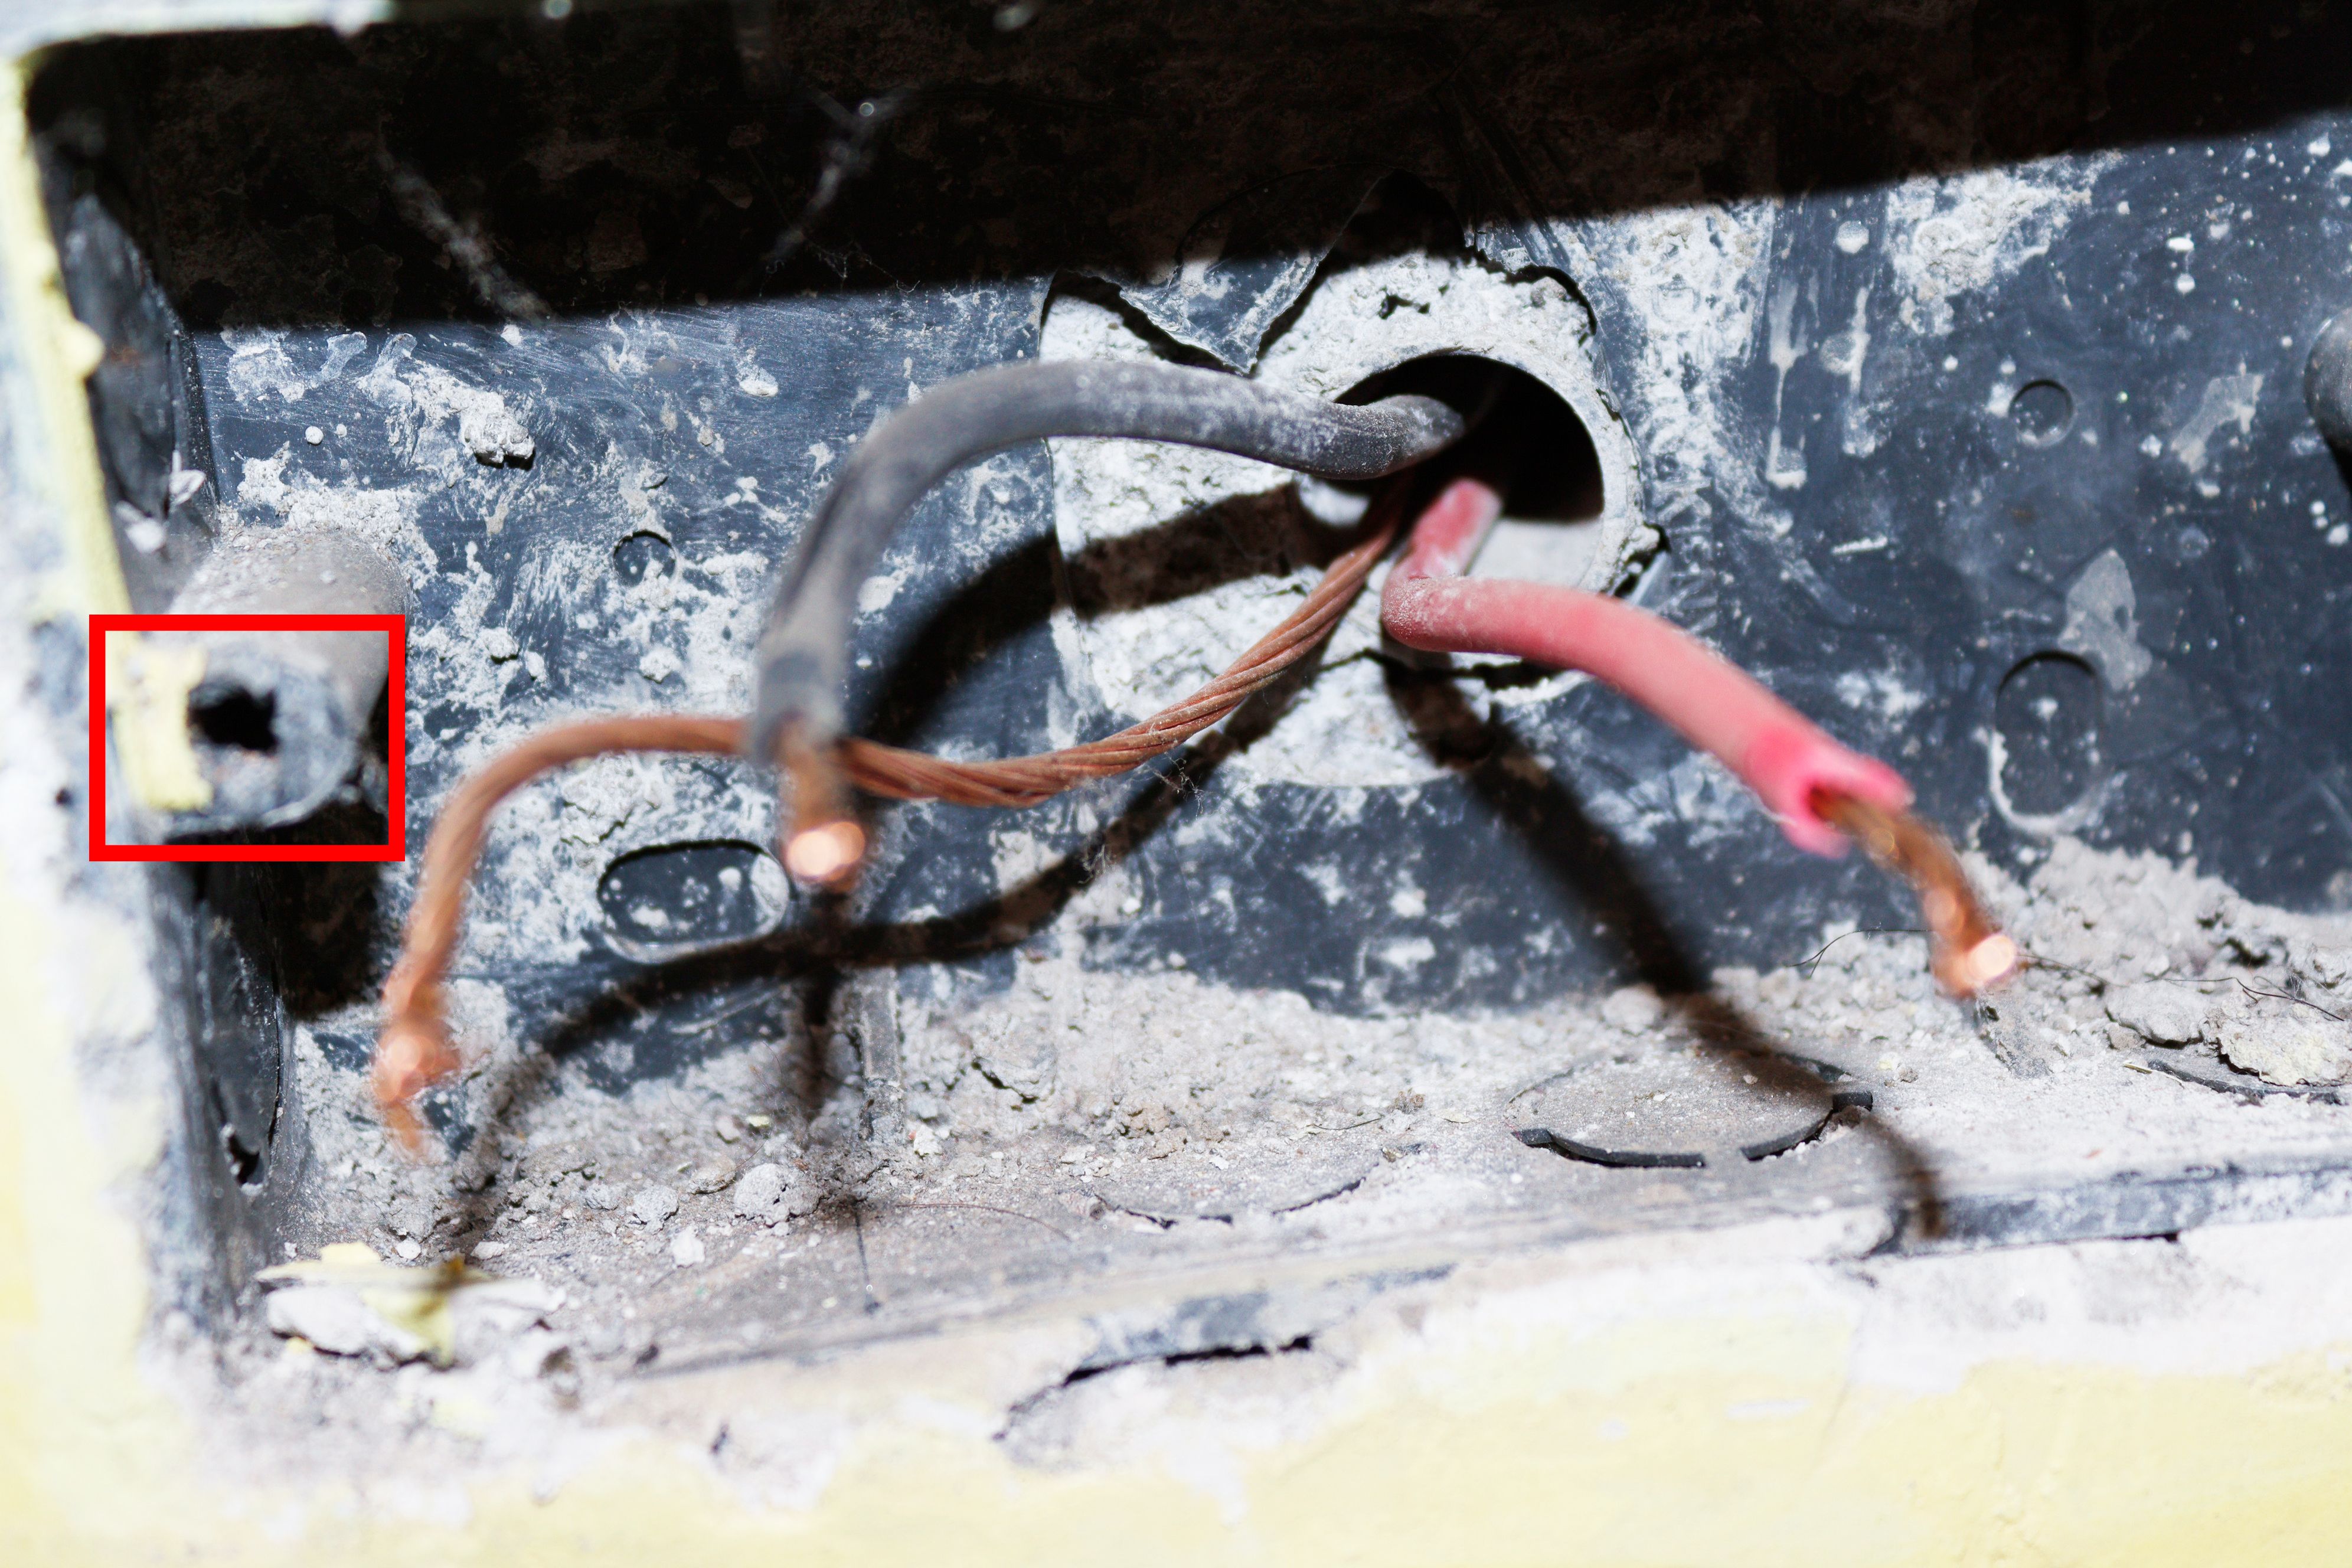
Doing this will allow the wires from the power source to pass through easily.
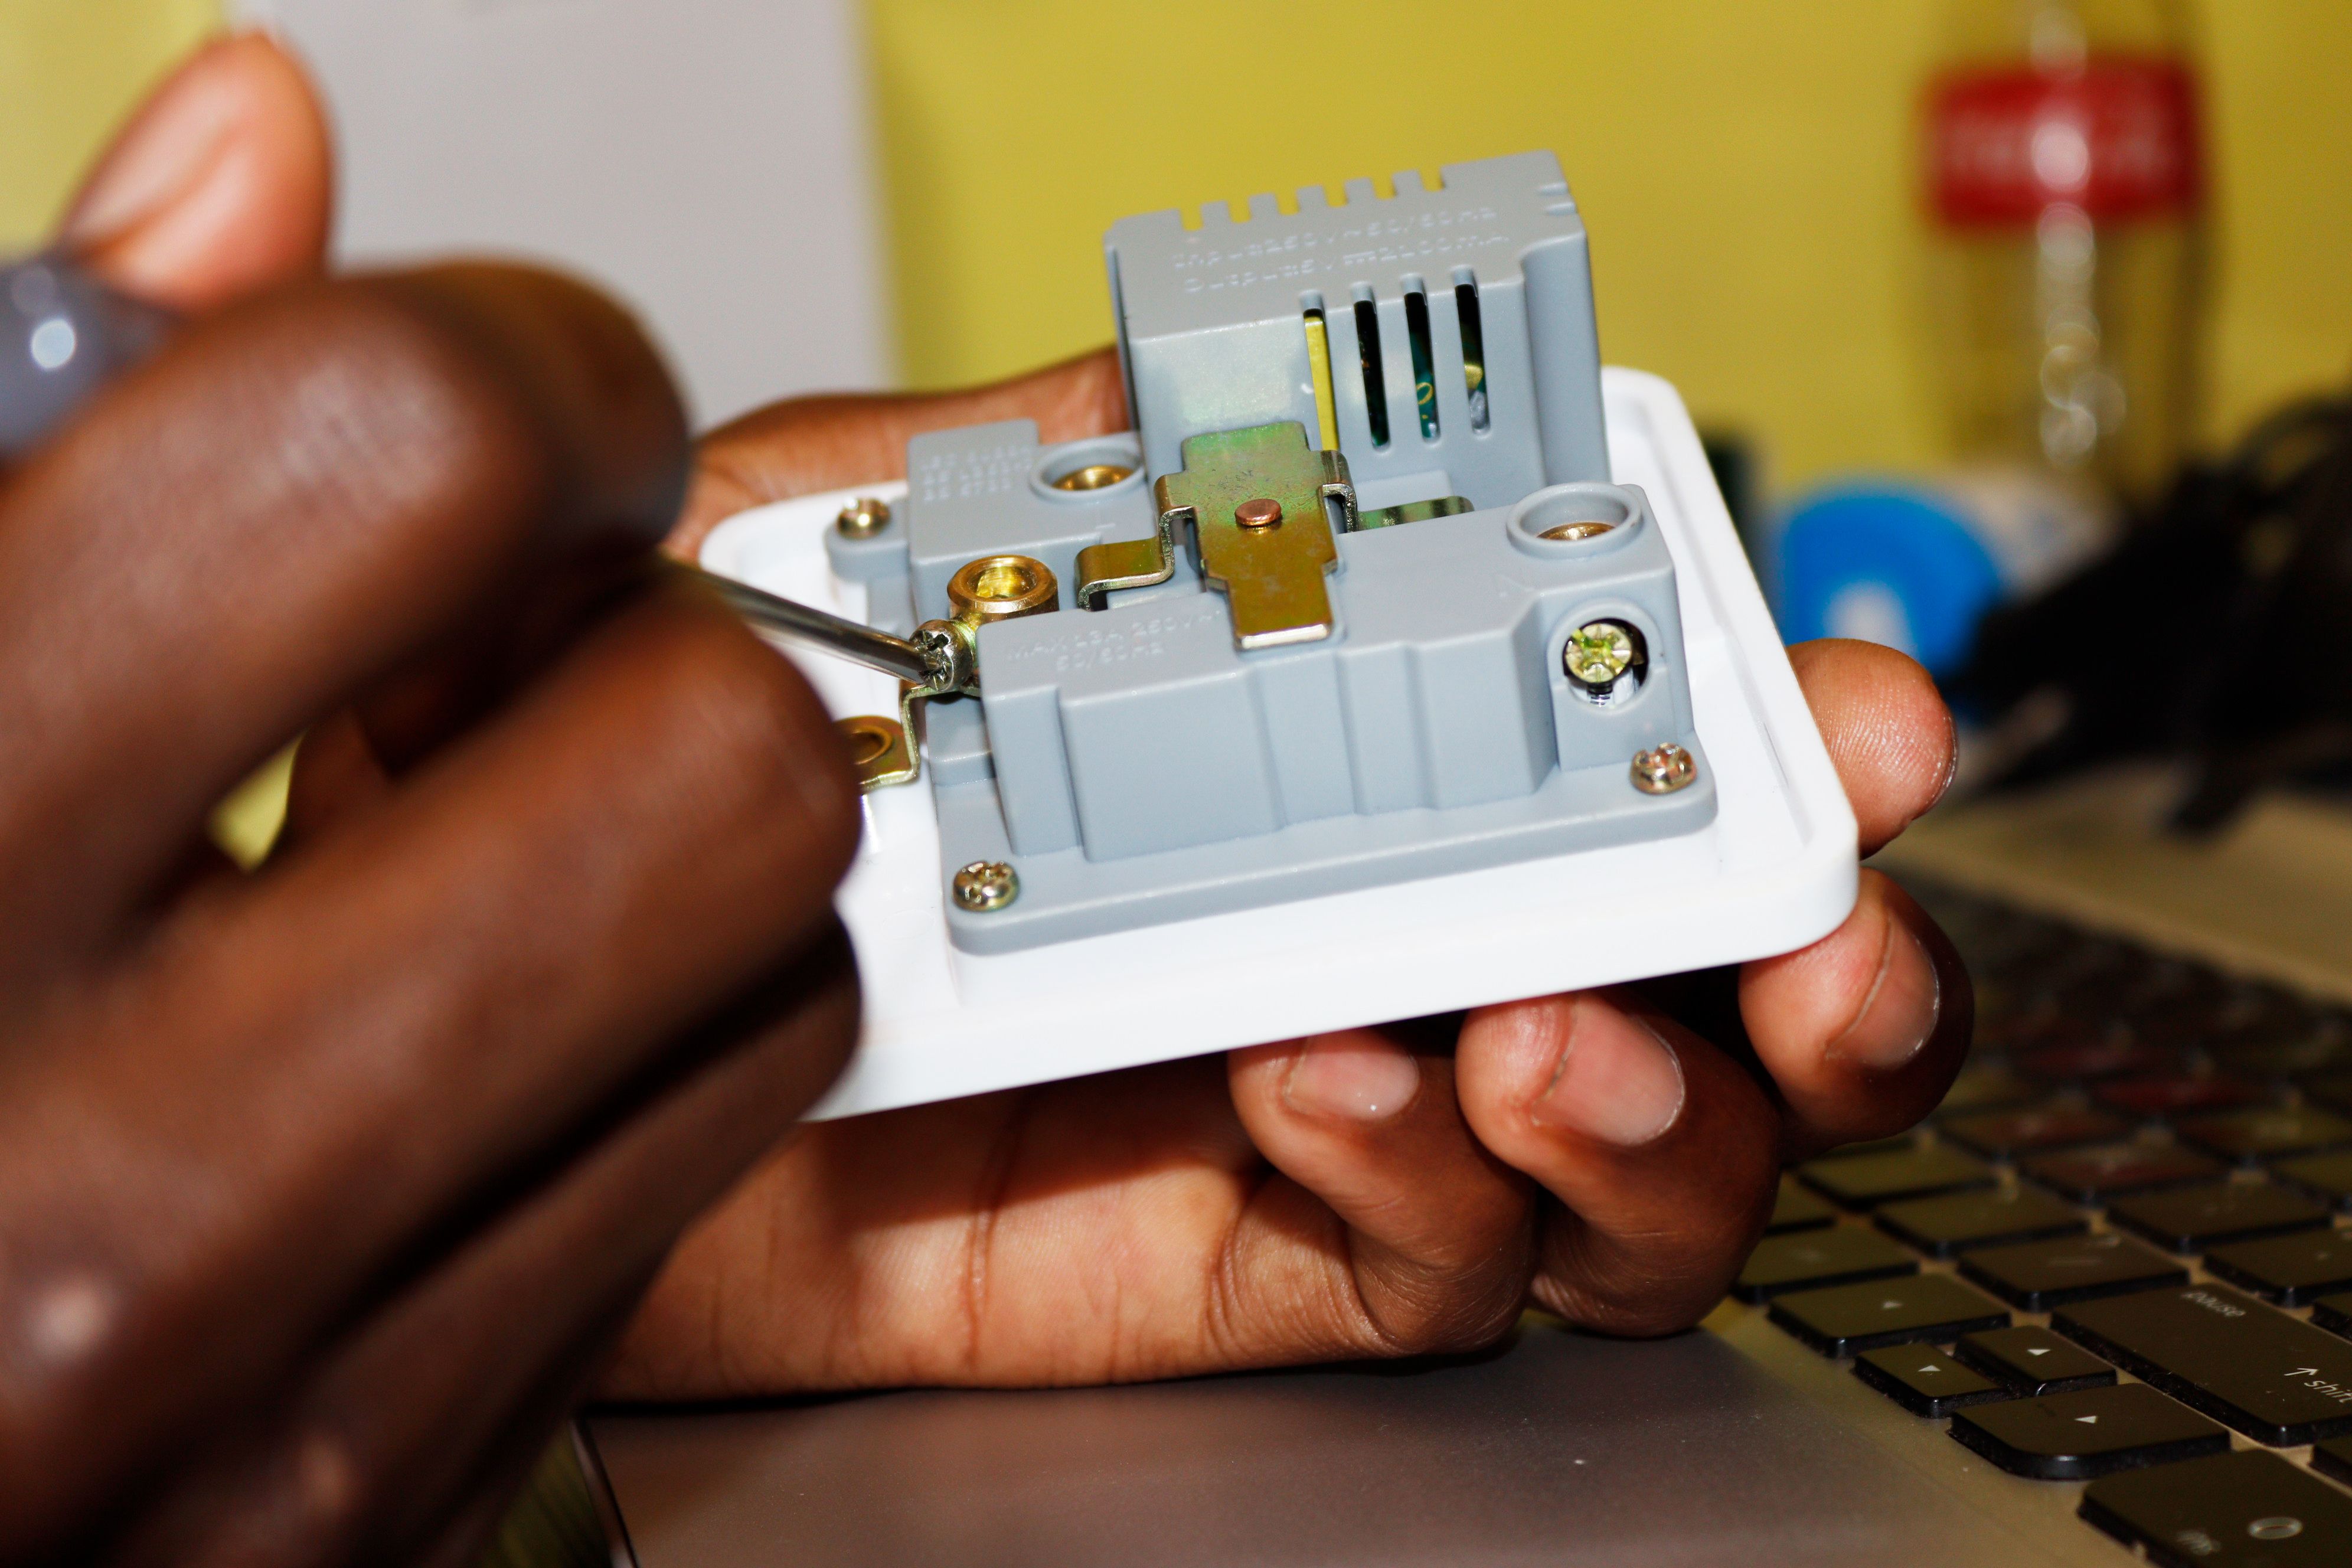
double-check you tighten the screws back up once the wires are in place to ensure everything is good.
Just be careful not to lose them as you loosen them.
Then, use a wire cutter to pull the plastic away from the cables gently.
Once it’s pulled away, you should be able to see the wires exposed.
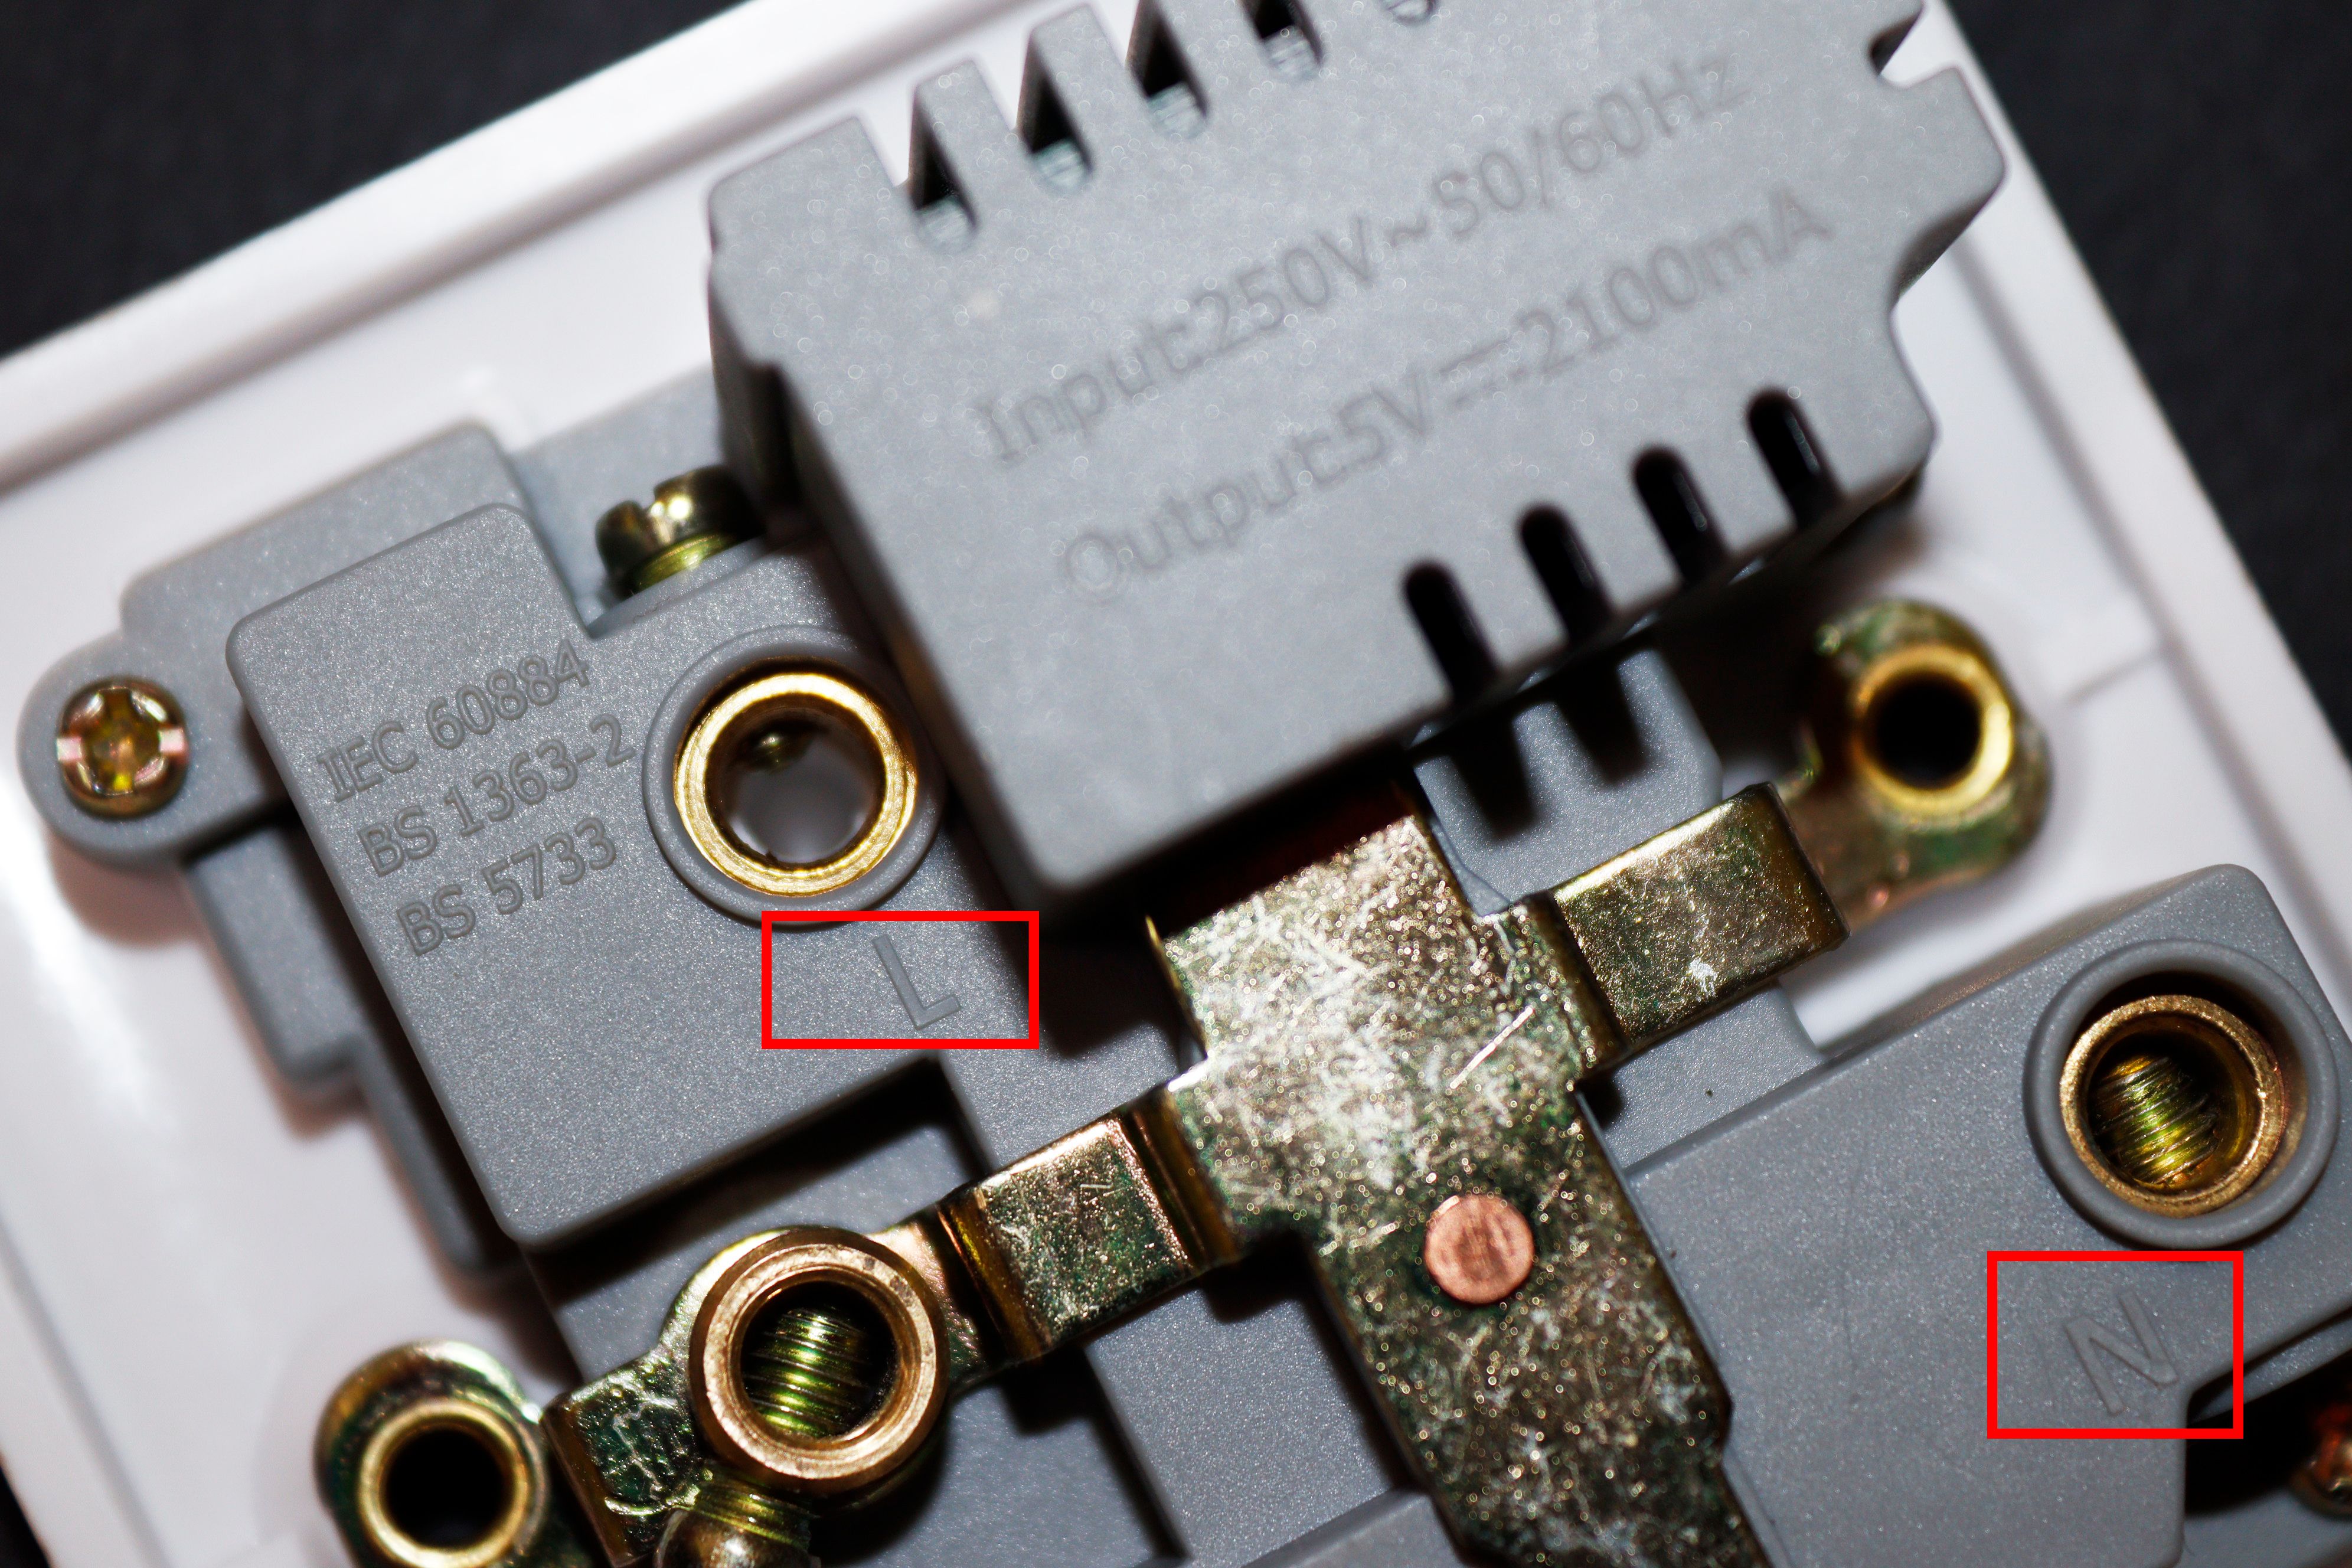
For instance, in the US, neutral is white, live is black, and earth is green.
Check your own territory’s standard wiring colors before starting to connect your USB outlet.
The earth wire (green) should then be inserted into the remaining port.
Finally, twist on a wire connector to secure each of these wires.
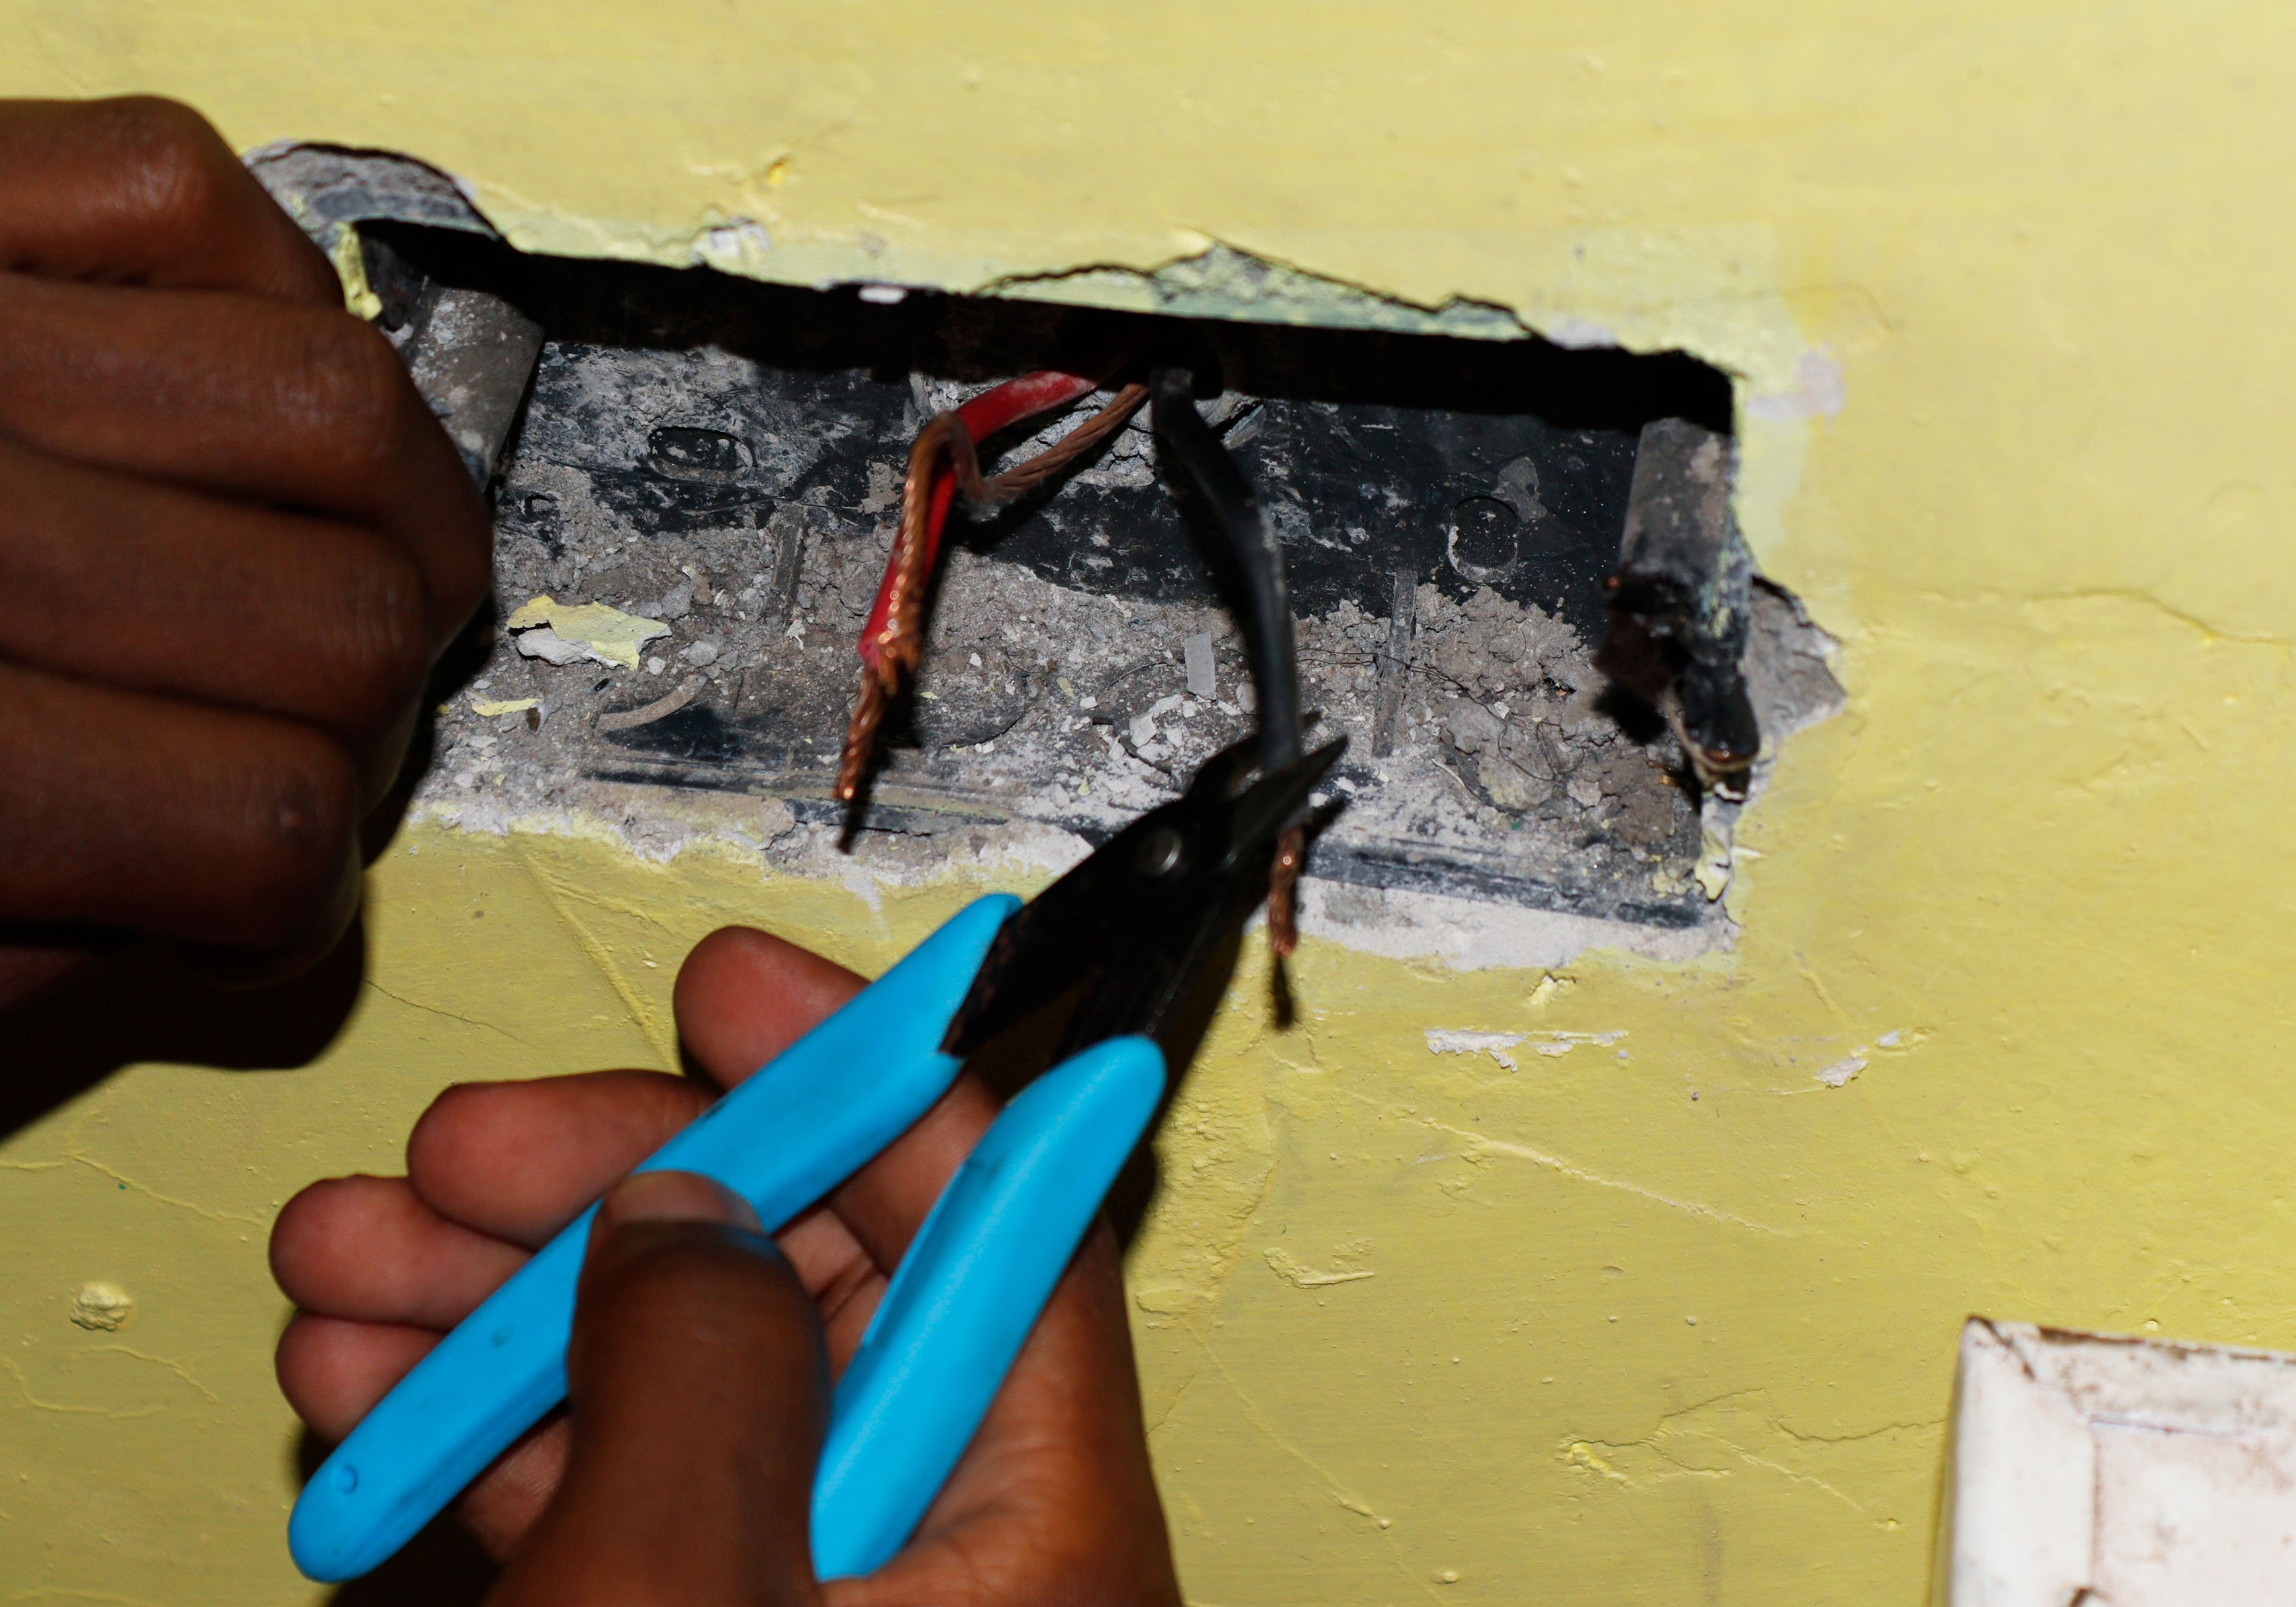
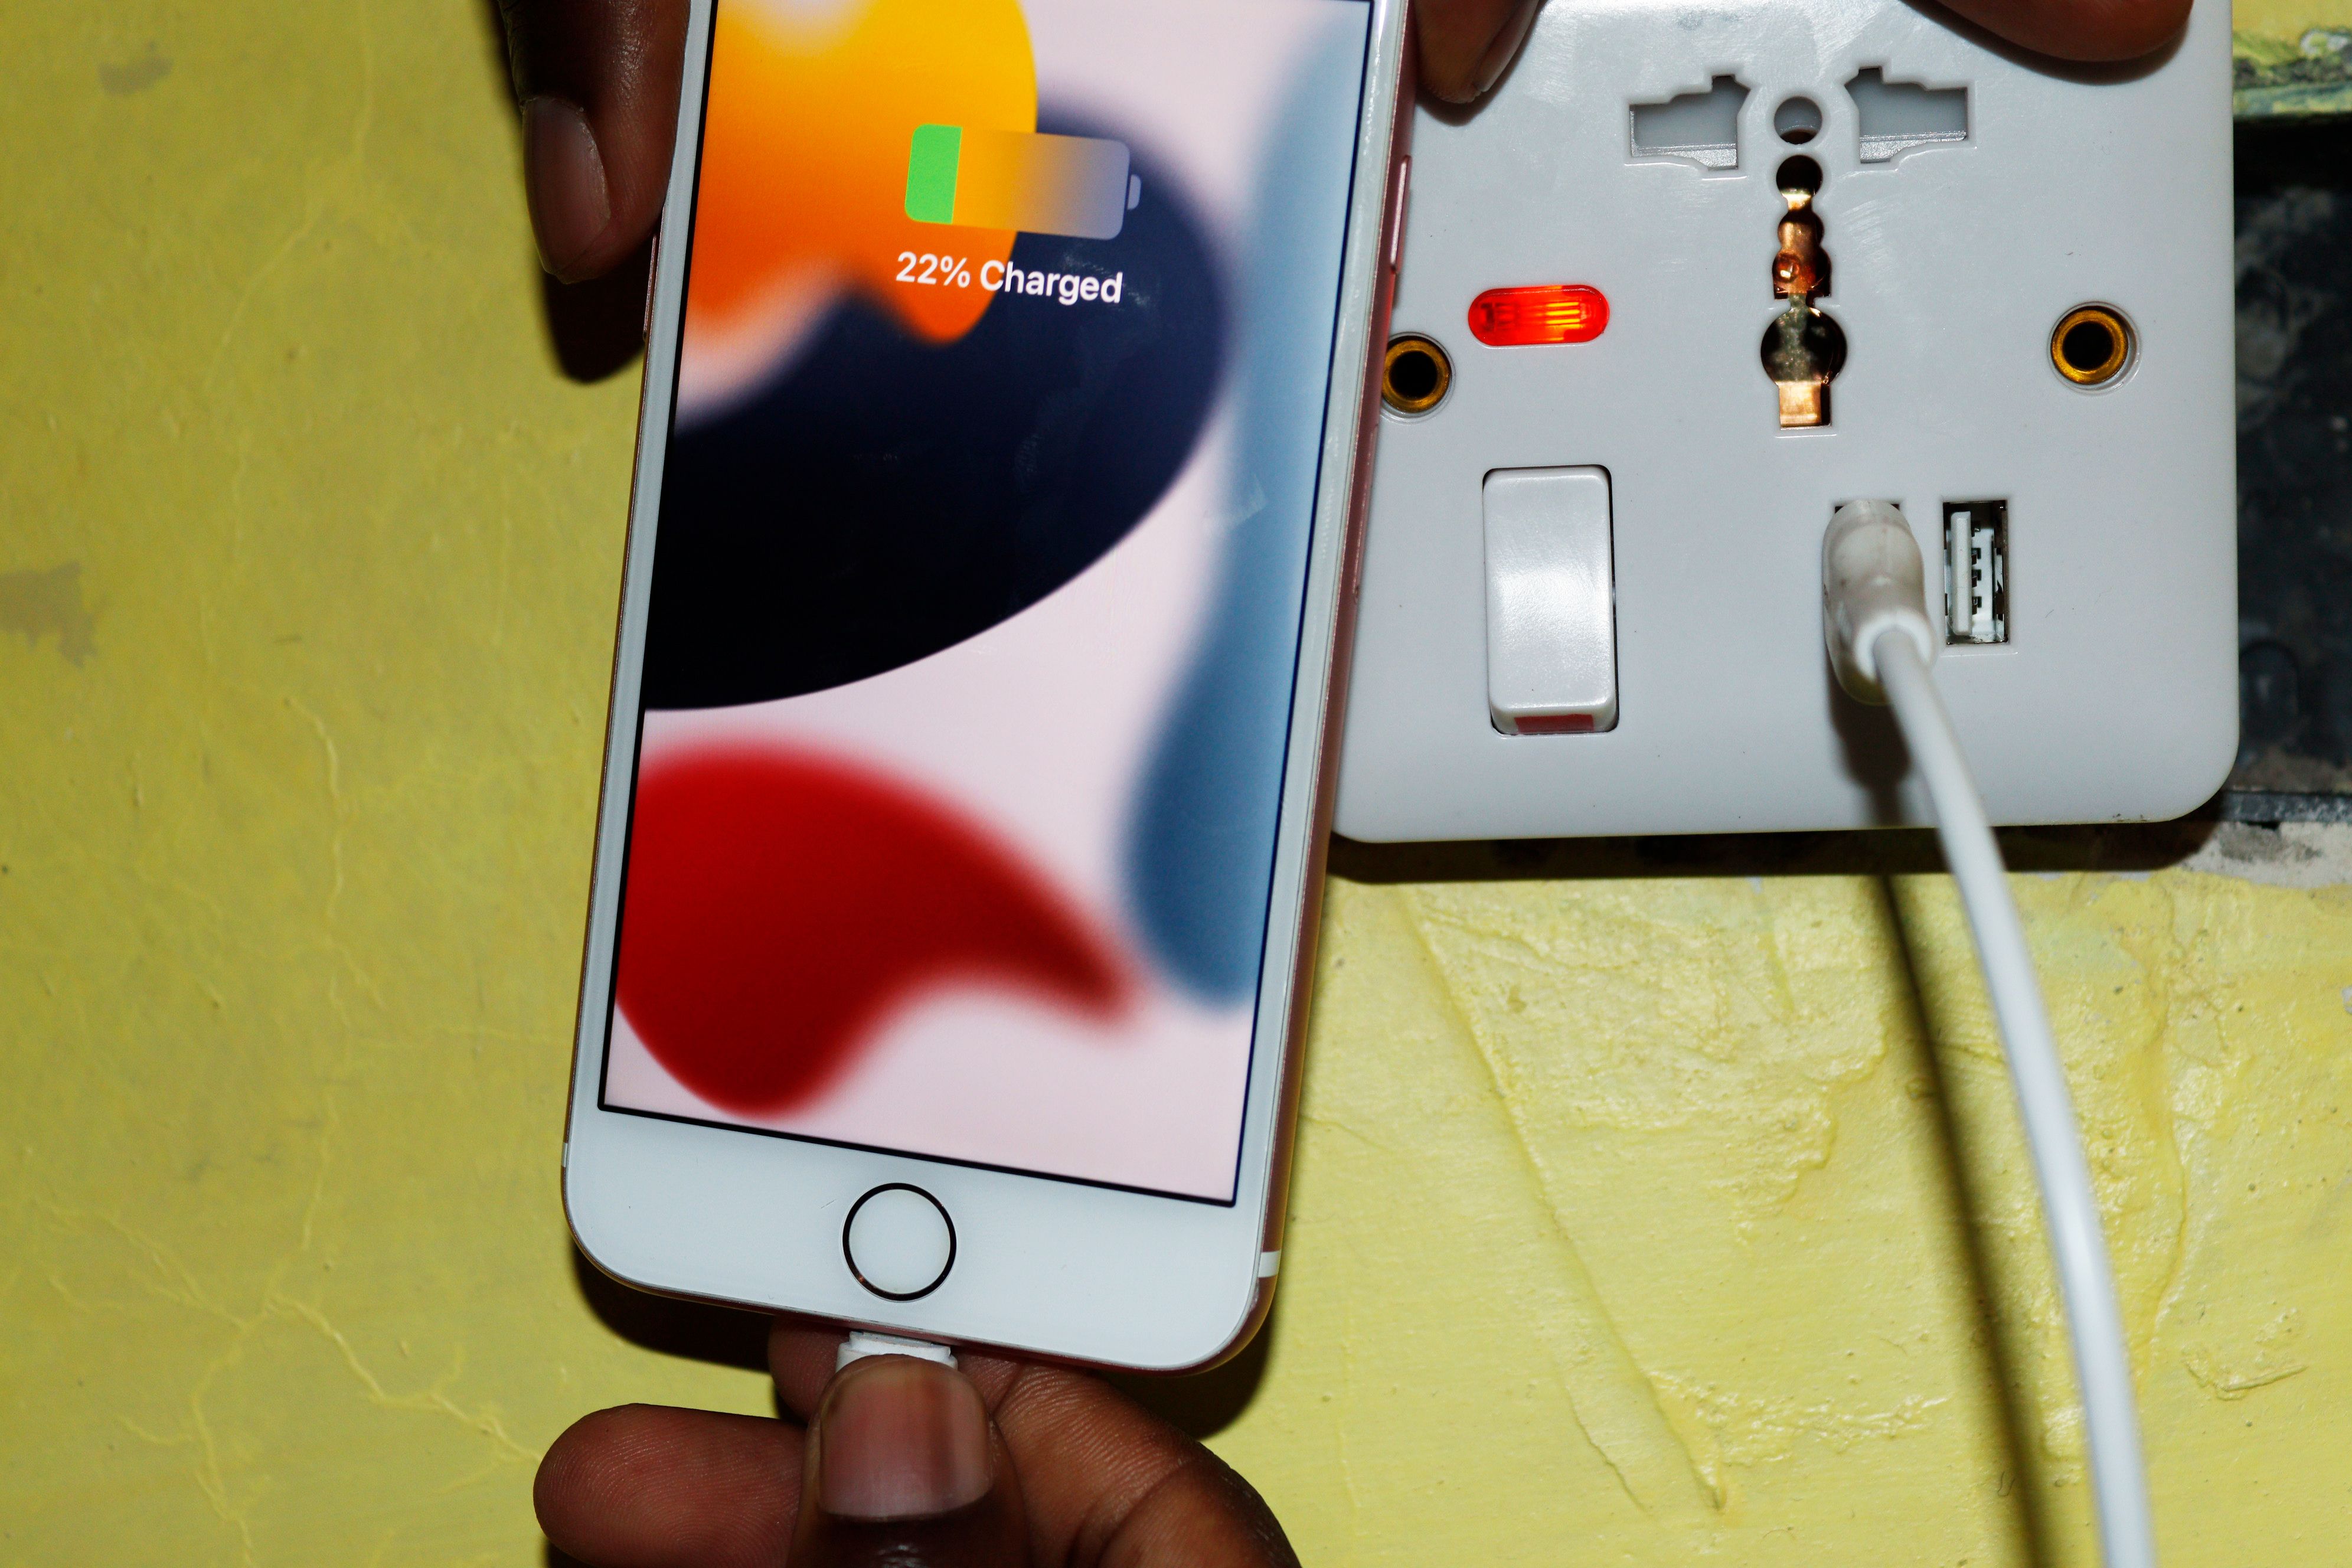
you’re free to try charging a unit to see if its charging correctly.
The image below shows the USB power outlet being used to charge the phone.
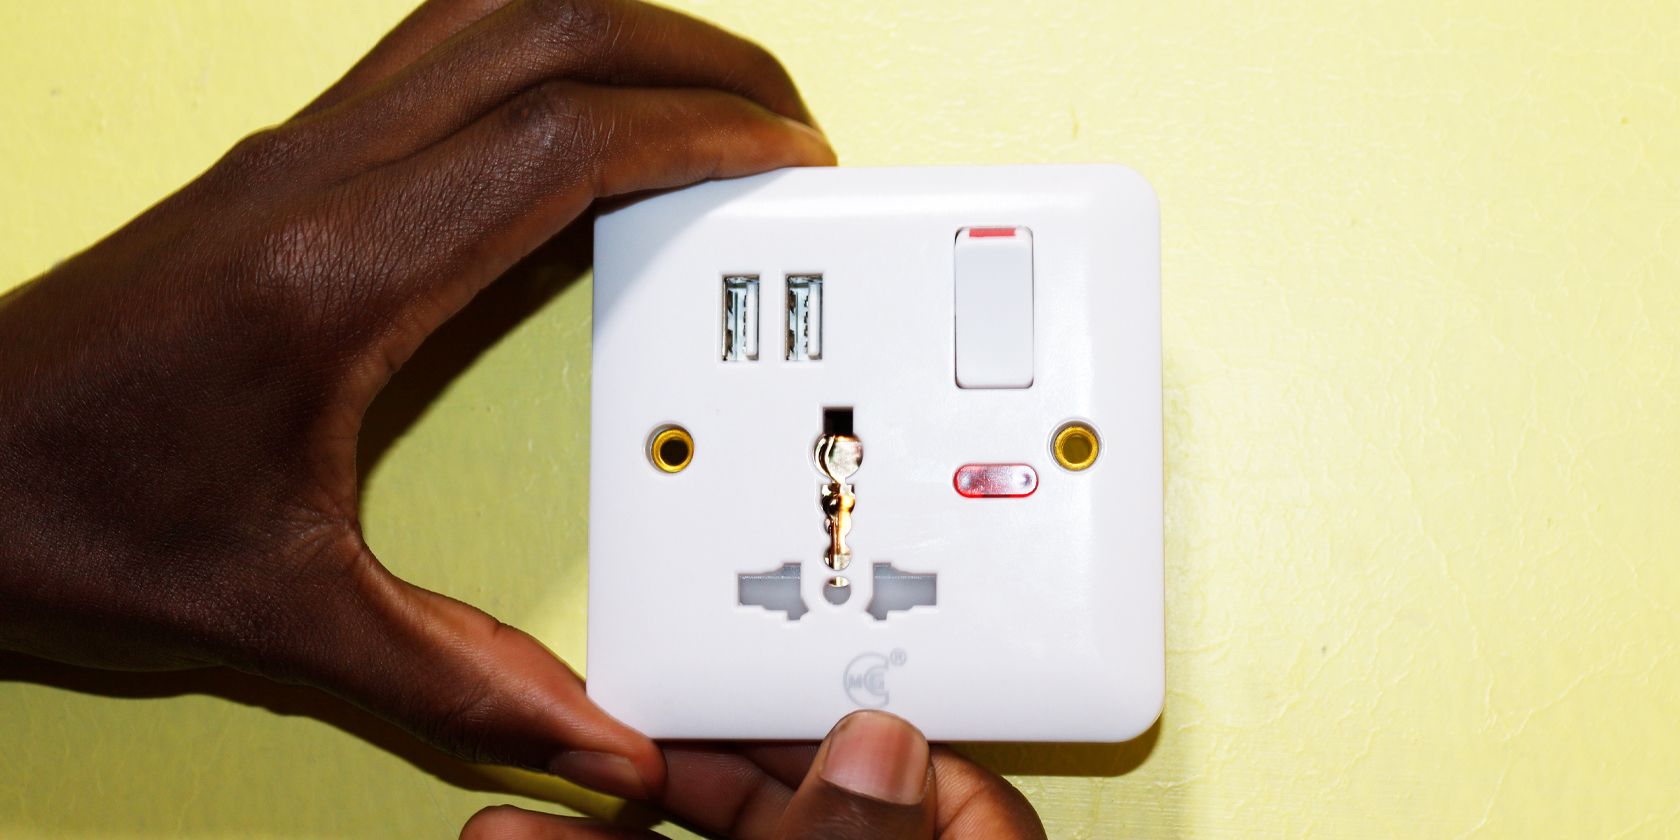
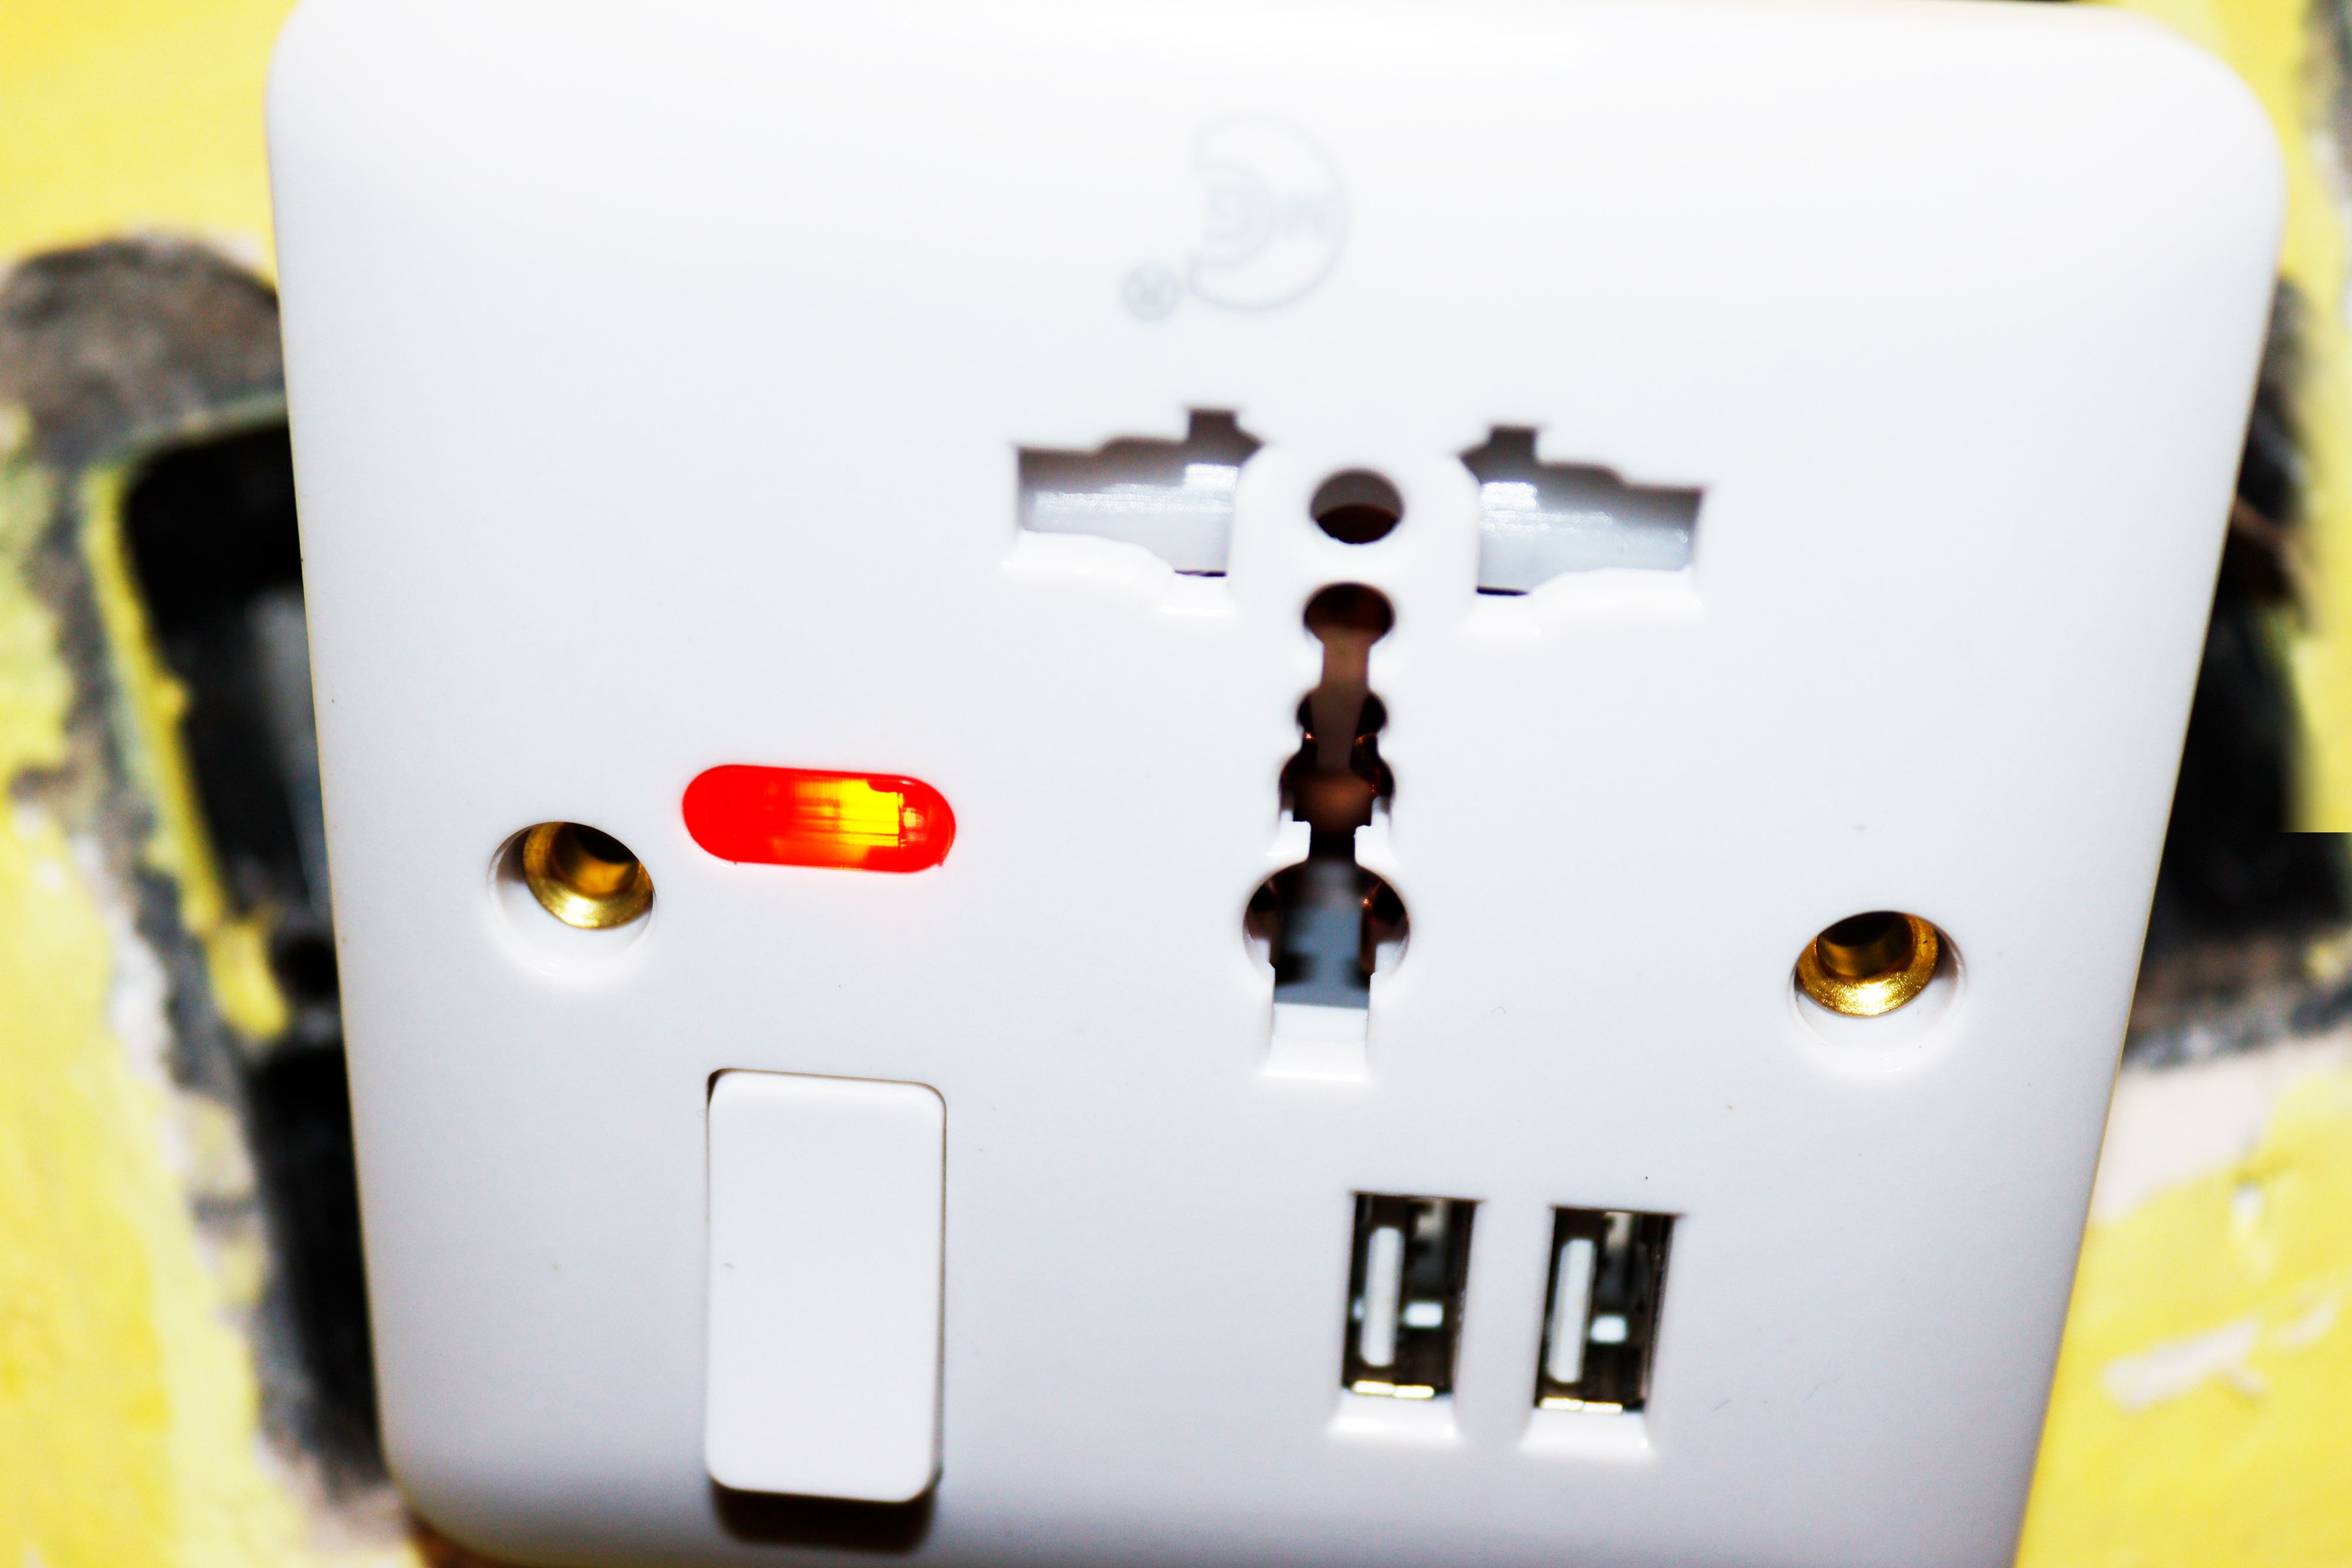
You have now successfully installed your USB power outlet!
Just be sure to follow all safety precautions when working with electricity.
If you face any challenge, seek help from an electrician.