Related
I am a bit of aGoogle Maps&Google Earthfan.
I used them to get hopelessly lost between Germany and the Netherlands the other week.
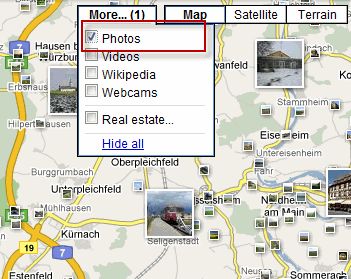
But what about all those photos you see when you hit themoretab at the top of a Google map?

Where do all those photos come from?
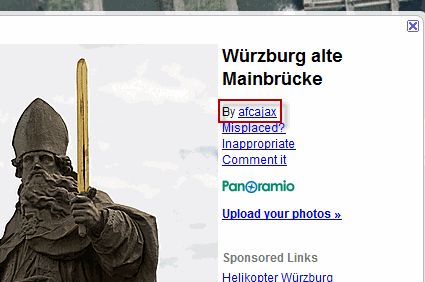
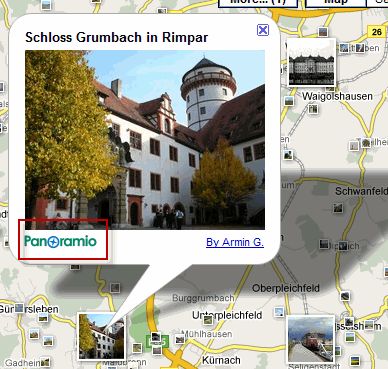
That’s right -Panoramio.
Basically, this will be a guide on how to geotag your photos.

Using Panoramio is a good way to get more eyeballs on your photography work and gain some more exposure.
I mean, how many people use Google Maps and Google Earth?
Our journey to photographic fame and fortune starts withPanoramio, obviously.

If you don’t have a free account then you willneed to make one.
after you snag logged in, you’ll see a link at the top which says “upload”.
punch that to begin sending your photos to Panoramio.
If you don’t know what geo-tagging means then you probably haven’t done it before.
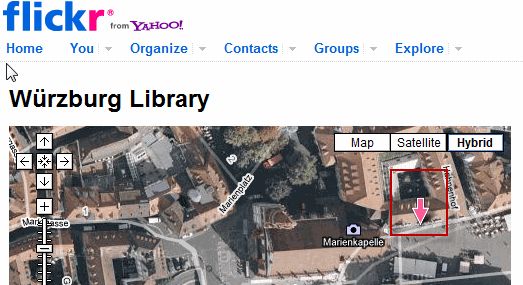
The way I like to do it is by using a bookmarklet called Localize.
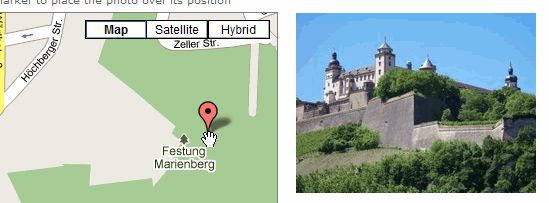
Move the pink arrow, as shown in the screenshot, to the photo’s correct location and save.
That’s all there is to it.
OK, back to Panoramio and our upload link.
Once the photos are uploaded, you will be asked to tag your photos.
This isnotgeo-tagging, just tags for Panoramio visitors to find your pictures when they search.
Fill out all the required information and save it all.
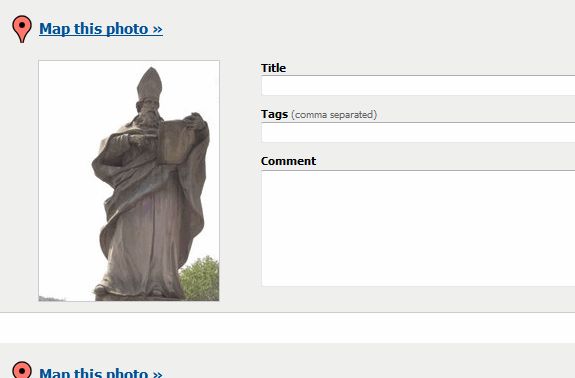
Now it’s time to properly geo-tag them (if you haven’t done that already).

hit that and you will then be prompted to enter the location for the photo.
As you move each photo to its proper position on the map, Panoramio will update.
Now it is worth stressing here that your photo uploads don’t take effect immediately.
Have faith my young apprentice.