Although these updates are generally helpful, they can result in Windows malfunctioning or displaying error messages.
In this article, we’ll look at what causes Windows Update Error 0x80190001 and how to fix it.
What Causes Windows Update Error 0x80190001?

Windows Update Error 0x80190001 occurs most often when trying to download and install Windows Updates.
Here are a few things you’re free to try if you run into this error.
1. reboot your machine
A corrupted system file is often the cause of the Windows Update Error.
To fix the issue and get your system running again, restarting your box is always a good start.
Its important to note that simply clicking Restart in Windows will not reset all the memory caches and processes.
Instead, you may need to perform a hard reboot.
Upon restarting, check to see if Windows Update has now started working correctly.
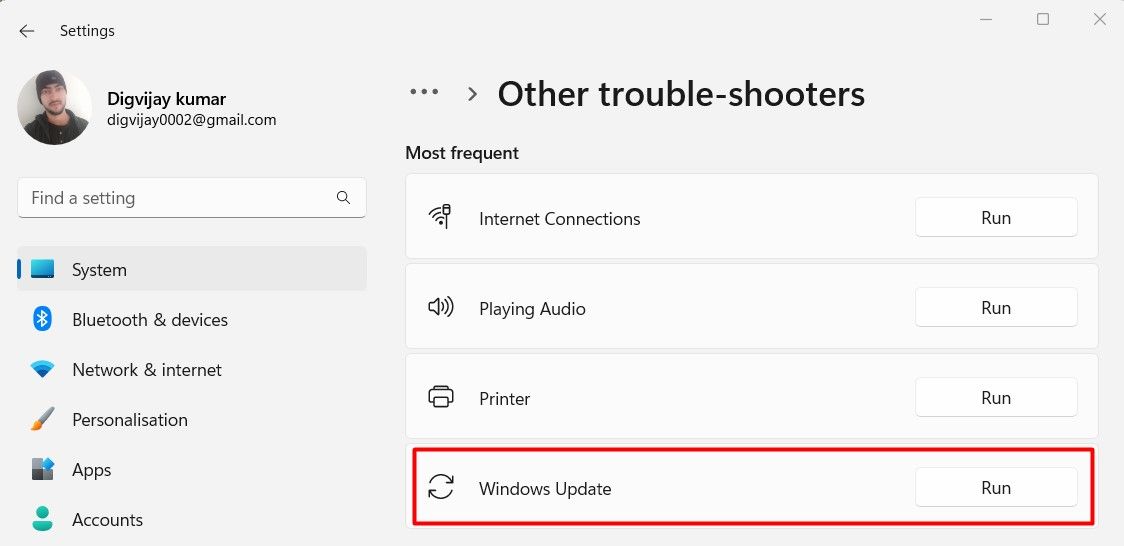
Run Windows Update Troubleshooter
The Windows Update Troubleshooter is an important tool to have.
After completing the above steps, try installing updates on Windows.
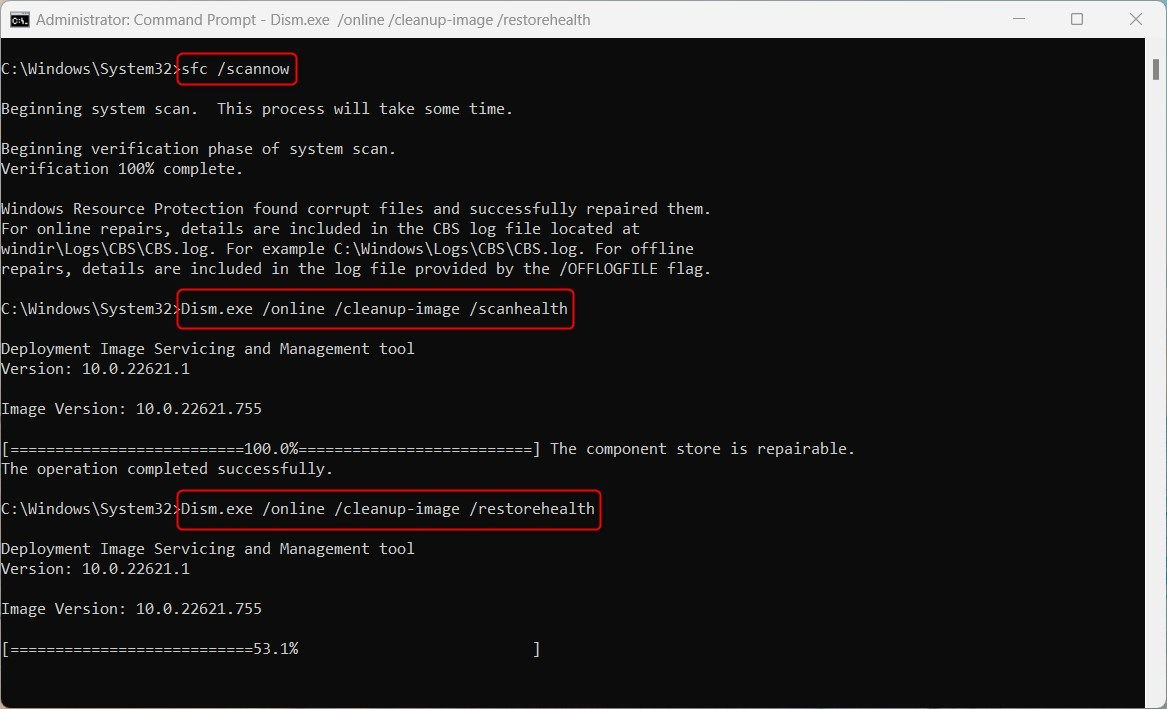
To resolve this, you must first run SFC and DISM.
Both scans are relatively quick and straightforward processes that dont require any advanced technical knowledge.
Once the process is completed, try updating Windows again.
After you fire off the DISM command, reboot your setup to see if the issue has been resolved.
This will free up space on your machine and potentially resolve any errors you are experiencing.
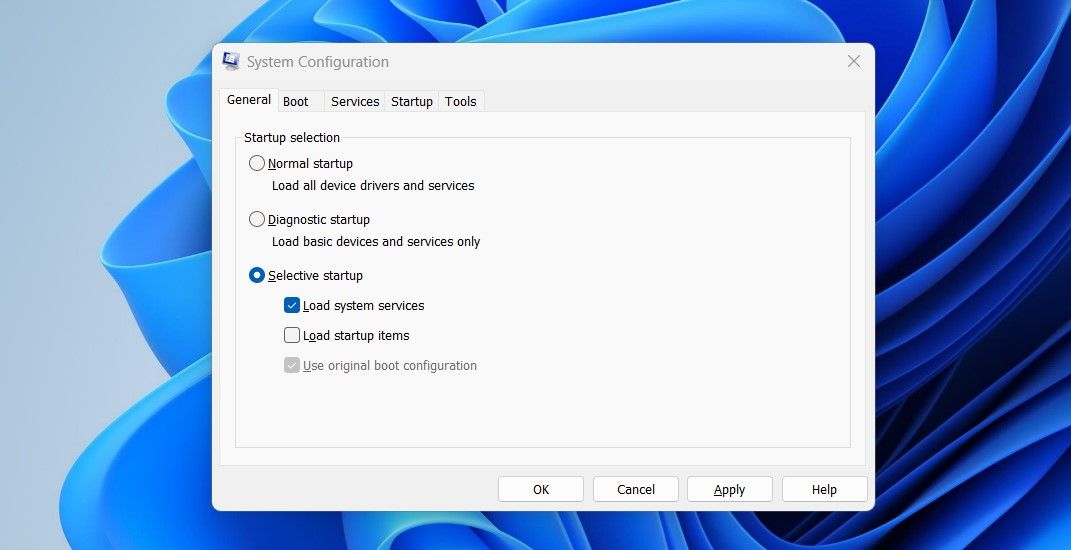
Here’s how to do this:
start your gear after you have completed the above steps.
You should now be able to update Windows.
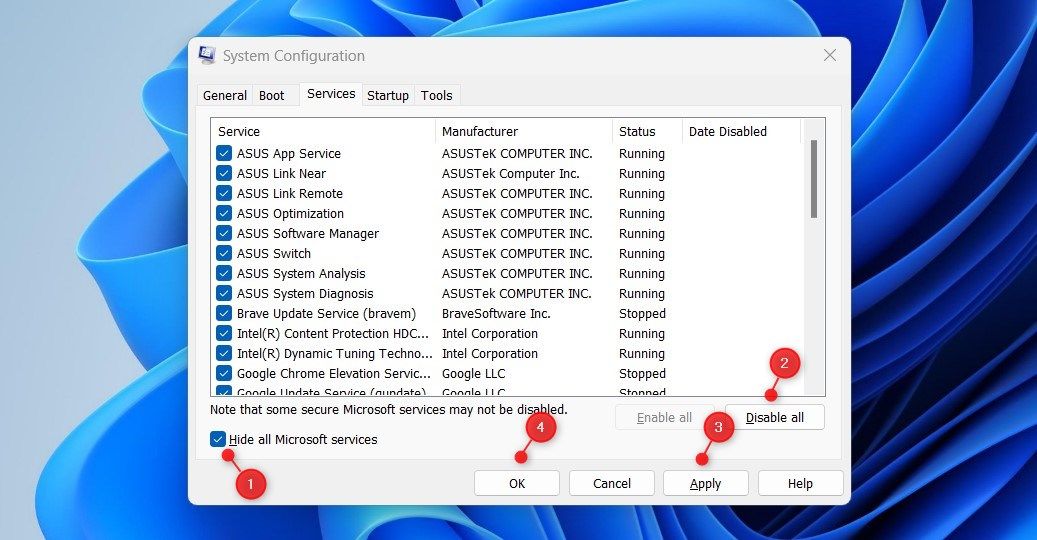
So, try this out if none of the above solutions work.
when you land finished the steps above, reboot your rig and try updating Windows again.
If you find this method helpful, it means the problem lies with one of the services you disabled.
As such, enable each service one by one and identify the one causing the problem.
Fortunately, this article contains several strategies to help you identify and patch this up.
